Home » BLOG » electrical

Tag: electrical

Quick Haul Out Checklist

untitled
Hauling out SV Winterlude from www.CommuterCruiser.com

Mary Christine is scheduled for haul out tomorrow morning for some fresh paint and a few minor repairs to be made over the next few days before we begin heading North, up island.

Before we go, we wanted to make sure we are totally prepared. We knew our good friends at Commuter Cruiser would have JUST WHAT WE NEEDED! Jan and David have put together a very helpful checklist of all the things we need to remember to do BEFORE, DURING and AFTER our time on the hard. The process may seem like a no-brainer for some, but Peter and I both found some very helpful things in this article that we wouldn’t have thought of otherwise during our first time hauling out.

With many of our cruiser friends also getting hauled out this time of year, we urge you to take a peek at the wisdom Commuter Cruiser has shared.

Check out www.commutercruiser.com for a TON of helpful how-to articles!

Houston, We have a problem: NO STEERING

IMG_4376

Saturday afternoon, 2.8.14, we began to stow everything away to head back to Brown’s Marina. The water tanks needed to be topped off and we needed to fix the leaking bladder tank. The anchor went up without any trouble and we began to navigate away from the adjacent sand bar. Suddenly, it was very apparent to everyone that we had NO STEERING!! The current was strong, but there’s no way it could be strong enough to counteract our steering all together. The rudder position moved back and forth clear as day in the autopilot gauge but the rudder itself was just not moving.

In a panic to stay off the sand bar that was almost underneath us we let out the Genoa to the port side to catch enough wind to turn the bow in the direction we were trying to turn. With the help of our trusty prop walk to starboard in reverse (she only goes to the right in reverse no matter which way you steer) combined with full sail to port, we got back to our original location and quickly dropped the anchor again.

Peter dove off the back to see if the rudder moved at all as the wheel turned and to see if maybe it was hung up on something. Negative on both. There were no obstructions and it was no longer connected to the steering mechanisms.

Immediately, Peter told me to go get the emergency tiller arm. The previous owner, Steve, had it strapped inside the corner of the forward hanging locker with old, crusty and almost disintegrated bungee cords because they had been untouched for so long. This is one of those things that you haul around with you ‘just incase’. It’s a massive two-part aluminum pipe that could double as a weapon if we were feeling barbaric.

I scrambled to lift it up through the companionway into the cockpit and bring it out to Peter where he needed to insert it through the hole in the aft deck. It runs diagonally down into the aft cabin. The mattress had to be pulled off to access a removable board covering the hydraulic steering arm that connects to the rudder. We had the emergency tiller all ready to attach and then… BINGO! That was it! One of two bolts holding the top of the arm in place was completely busted off. With it just hanging there, the hydraulic steering system was unable to grip and turn the rudder. We were lucky it was only a bolt and nothing worse. The second bolt had bent a bit from the force of keeping it all together but it kept holding. There had been a grounding wire attached to the bolt intended to diffuse the electrolysis in the water and had completely disintegrated the bolt from the inside out. Guess it should have been placed somewhere else :(

IMG_4382

IMG_4386

IMG_4389

IMG_4390

IMG_4396

We made it back to Brown’s Marina two hours later. Josh steered us all the way with the emergency tiller arm while Peter navigated from the helm. By the time we arrived, it was already dark and the current was whipping through the channel as usual. It was past closing time so no one at the marina answered our call on the VHF radio. We tucked in on the outside of the dock behind a catamaran in the only space that was visibly available to us at the time and hoped someone would come out to help grab a line. It took two tries but the Mary Christine was finally tied back up at the dock safe and sound for the night.

We were all exhausted so we tied up the dogs in the cockpit to guard our home and walked up the road to Sherry’s for some dinner. It was a decent local meal but way overpriced. The bill was $100 for four people for some fish and lobster plates. After our minor disaster, it was worth not having to make dinner. Plus we got to relax in a super cute little beachfront patio.

IMG_4399

Back at the boat everyone at the dock was wondering what had happened. With the help of new cruiser friends John (S/V New Moon) and Alex (S/V Nikimat), Peter was able to put a new temporary bolt in, reconnect the hydraulic steering arm, and they even temporarily fixed a leak at the stuffing box packing nut. Before they made the fix Peter borrowed John’s 4lb hammer and used a screwdriver to pry off the emergency tiller arm. It had to be done that night or Peter and I wouldn’t have anywhere to sleep.

We spent that Saturday night 2.8.14 and Sunday night 2.9.14 at the marina. Betsy had been confused and shamefully peed on one of the cockpit cushions while we were underway coming back from North Rock. Poor thing. It was just too hectic when we lost our steering. Sunday we cleaned the boat and did a tiny bit of laundry. The cockpit cushions and covers got washed on the dock and the guys did a soap test on the water tank bladder to see if they could find a leak. That night we grilled some steak and lobster with our neighbor Alex. It was a nice relaxing evening before casting off the docklines  again in the morning…

IMG_4410

New Electronics

Here are a few pics from our install of our Garmin HD Radar before we left the dock. It was a priority to add the radar and upgrade the chart plotter and VHF radio as we outfitted the boat for our adventures. There was a screaming deal around Black Friday for a combo radar dome and Garmin 740S chart plotter so we took the deal!
DSC_0039

DSC_0042

DSC_0046

DSC_0048

DSC_0050


DSC_0054

DSC_0057

Boy are we glad we added this stuff!! We’ve sailed through the fog and overnight twice already and it sure is nice to be able to see other boats around us when visibility is poor.

We also opted for a new AIS capable VHF radio. Although we don’t transmit through the AIS, we can still see other vessels (especially large commercial ones) and get info about their speed and course.

The boat came with a Single Sideband radio (SSB), Pactor modem and automatic tuner. Its like a ham radio with limited email capability at sea :) We set up our ships station license and restricted radio operator license with the FCC. At the same time, they assigned us our MMSI number.

Although the cost adds up, it’s items like these that make us feel safe as we navigate into uncharted (for us) territories.

Here’s a little bit of the technical stuff we had to figure out along the way:

SSB, DSC, MMSI, FCC, FRN, VHF, ABCDEFG… WTF??

Who needs a ships station license?

http://wireless.fcc.gov/services/index.htm?job=licensing&id=ship_stations

You do not need a license to operate a marine VHF radio, radar, or EPIRBs aboard voluntary ships operating domestically. If you travel to a foreign port (e.g., Canada, Mexico, Bahamas, British Virgin Islands), a license is required. Additionally, if you travel to a foreign port, you are required to have an operator permit. (Everyone I’ve talked to says they have never been asked for their license info but we’d rather play it safe when it comes to this kind of stuff.)

Ships that use MF/HF single side-band radio, satellite communications, or
telegraphy must continue to be licensed by the FCC.

A Ship’s Station License is valid for a term of 10 years and costs $160. Here’s the breakdown:

Application Payment/Fee Type Code: PASM – $60.00 Fee

Regulatory Payment/Fee Type Code: PASR – $100.00

If you have a marine radio with Digital Selective Calling (DSC) capability, you must obtain a nine-digit maritime mobile service identity (MMSI) number and have it programmed into the
unit before you transmit. This is really important if you want to be able to use the distress button in the event of an emergency. I’ve also heard that if you plan to go off shore, make sure you get your MMSI number from the FCC not from BoatUS.

A Restricted Radiotelephone Operator Permit does not require a test, is valid for your lifetime and costs $60.

** Here are the steps we took:

First you must register with the FCC by creating a FCC Registration Number (FRN). The FCC online system is called the Universal Licensing System (ULS) and can be found here: http://wireless.fcc.gov/uls/index.htm?job=home

Click the first button to Register and follow the prompts.

After you have received your FRN, print the confirmation page or be sure to write down the FRN somewhere safe.

Return to the ULS home page http://wireless.fcc.gov/uls/index.htm?job=home and click the second button to Log In.

Select the first link on the left sidebar to Apply for a New License.

Select SA or SB-Ship

When you are done, apply for another new license and select RR for Restricted Operator.

For further information regarding the Restricted Radiotelephone Operator permit, visit http://wireless.fcc.gov/commoperators/index.htm?job=rr

The Rules that govern the Restricted Radiotelephone Operator Permits can be found under 47 CFR – Part 13 and are accessible at the following website:http://www.fcc.gov/encyclopedia/rules-regulations-title-47

If you have any further questions, or need additional information, submit a request through http://esupport.fcc.gov or call the
FCC Licensing Support Center at (877) 480-3201.

It’s FREEZING, literally!

Okay, yes the temperature outside is on its way down to 36 degrees before sunrise tomorrow, but that’s not the kind of freezing we’re talking about here.

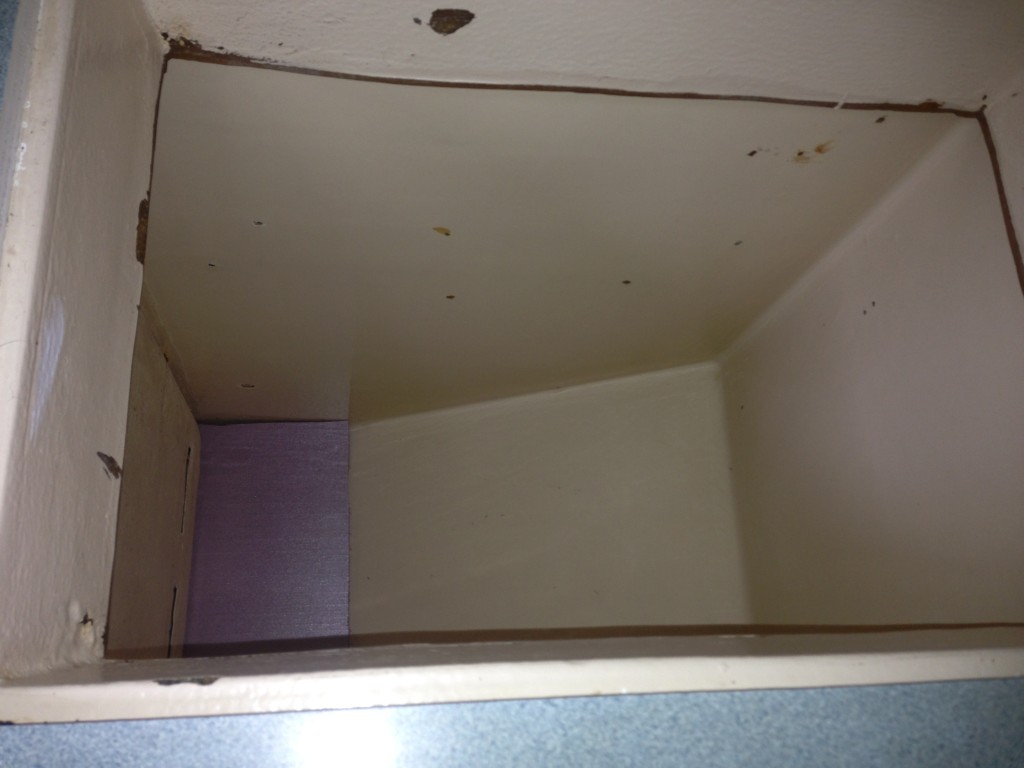
We are getting really close to leaving Florida and there are still a few minor projects that need to be finished up. One of the MANY boat projects that have been keeping us busy over the last few months was to install another refrigeration unit in the empty space next to the refrigerator we already have. The space was used as a freezer many moons ago but someone took it out. OBVIOUSLY they weren’t catching any 100 pound tuna like we will be soon ;)

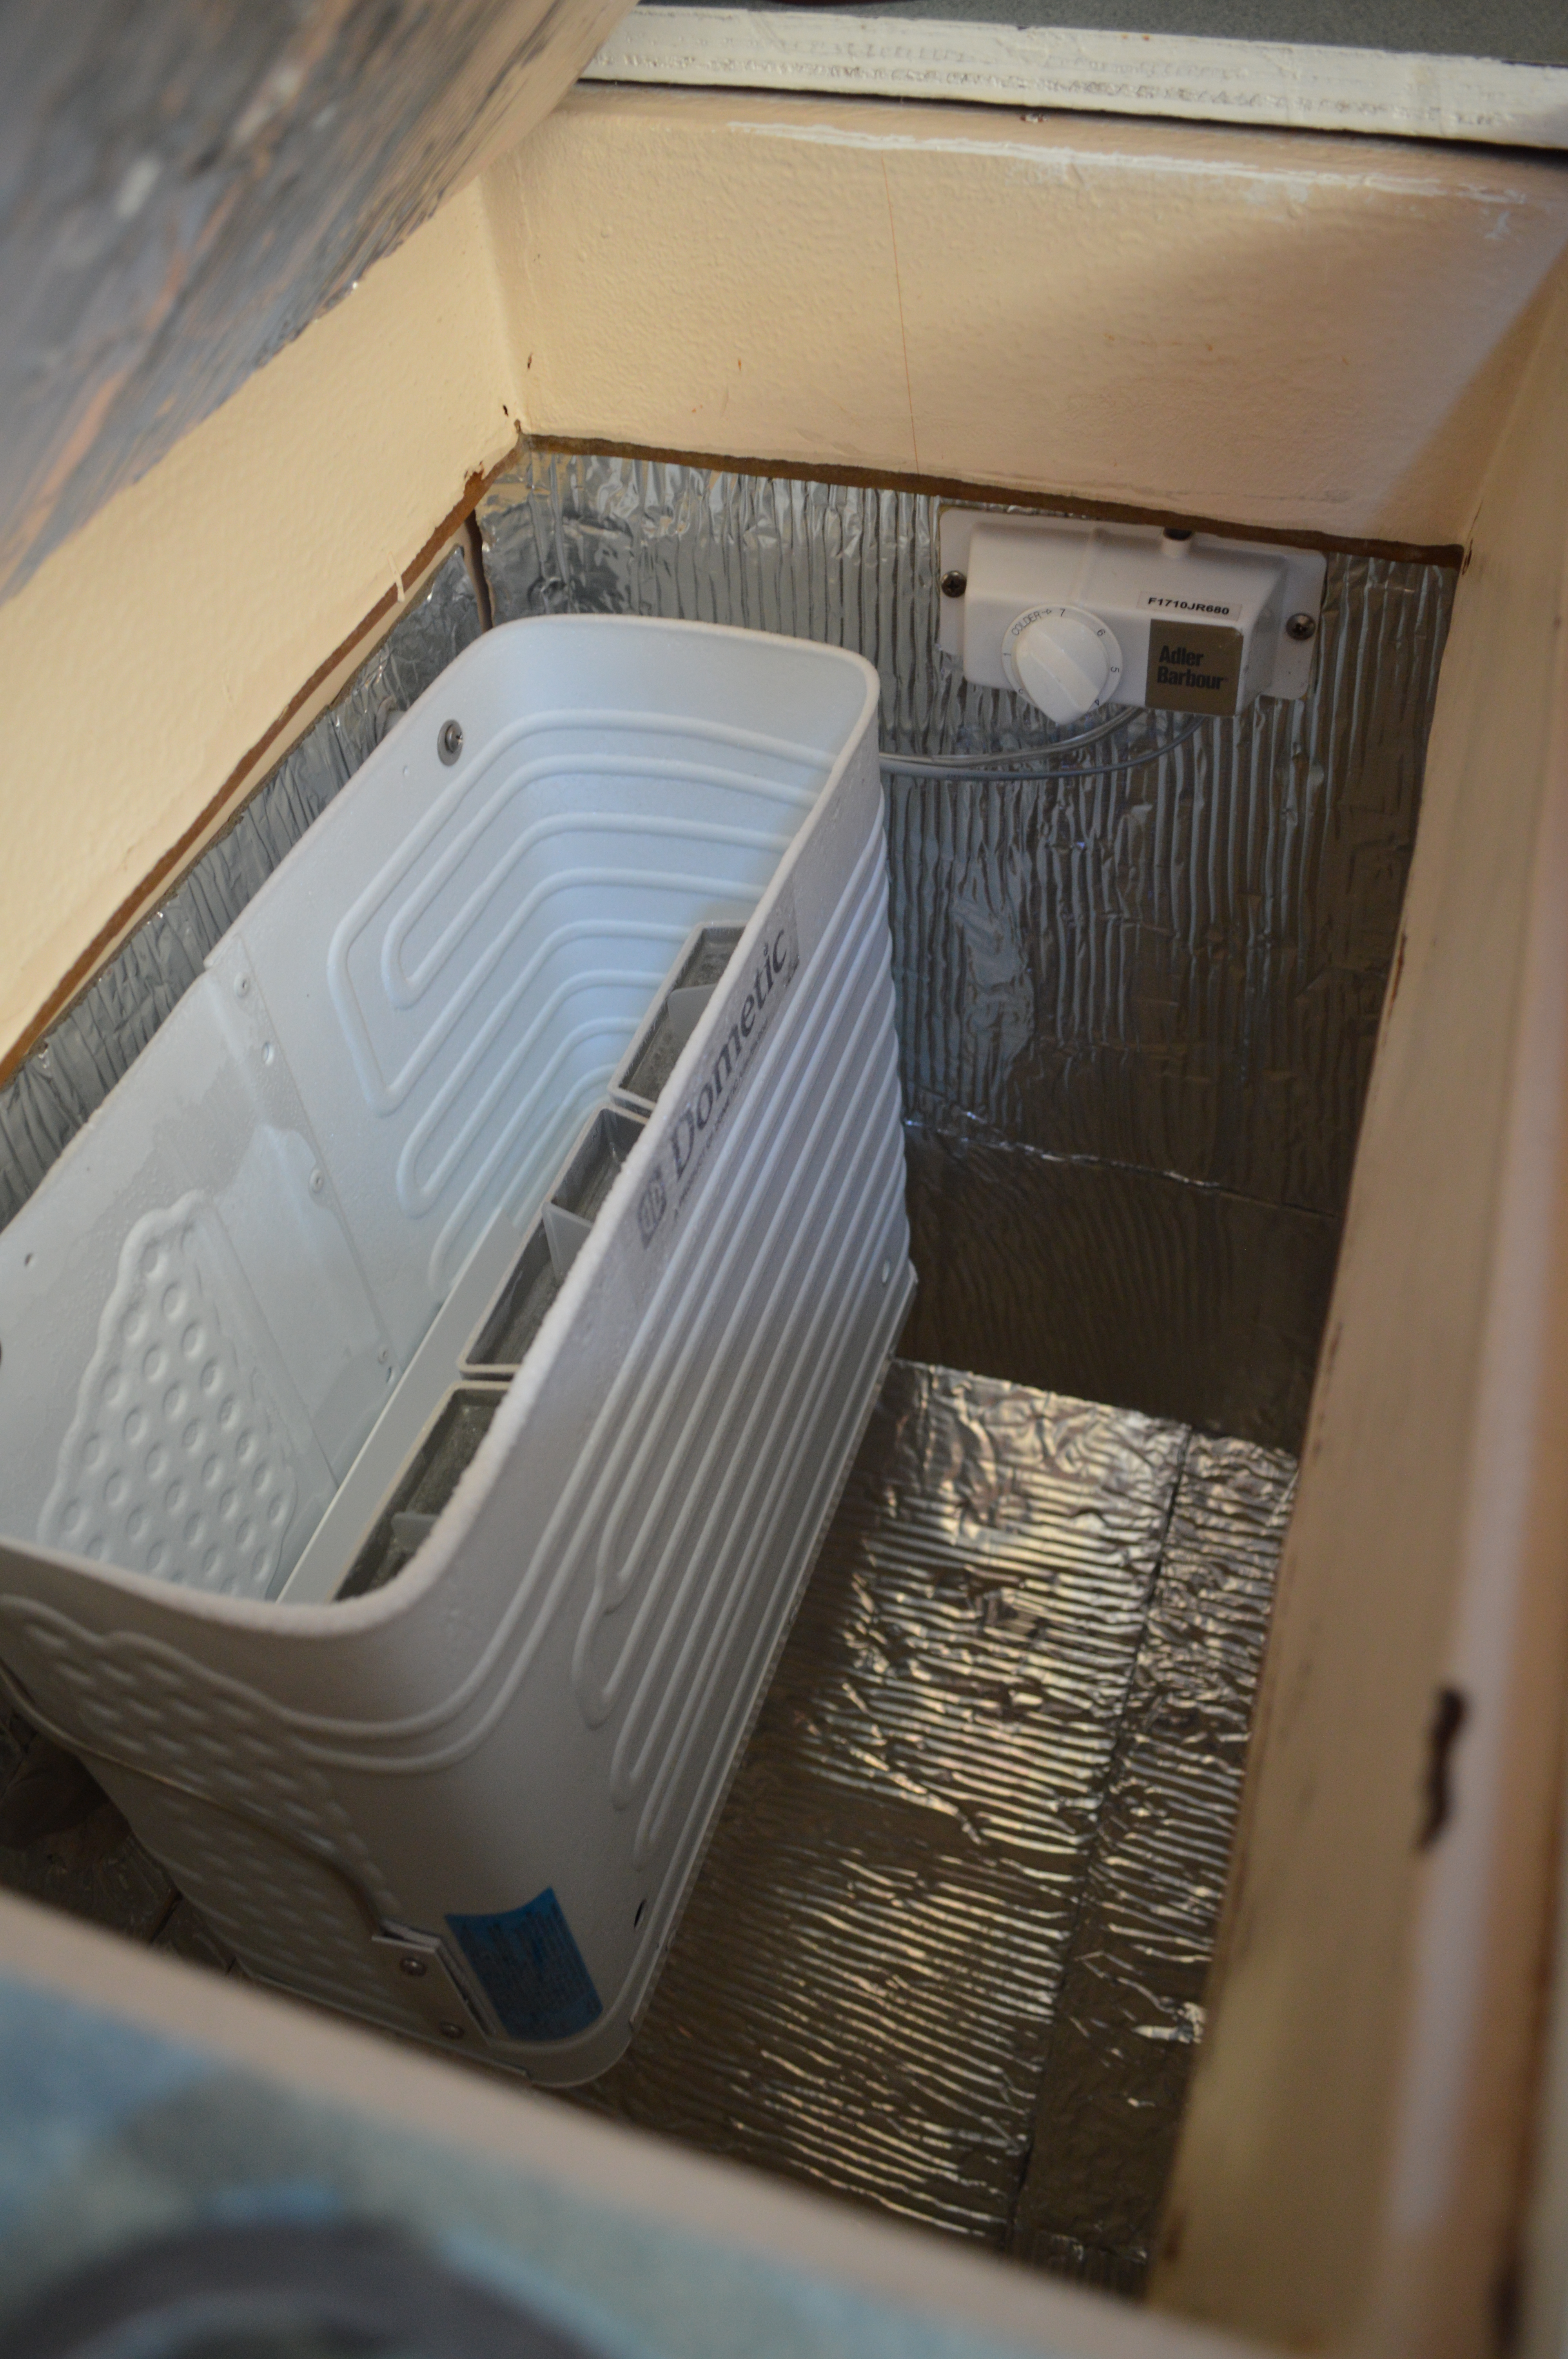
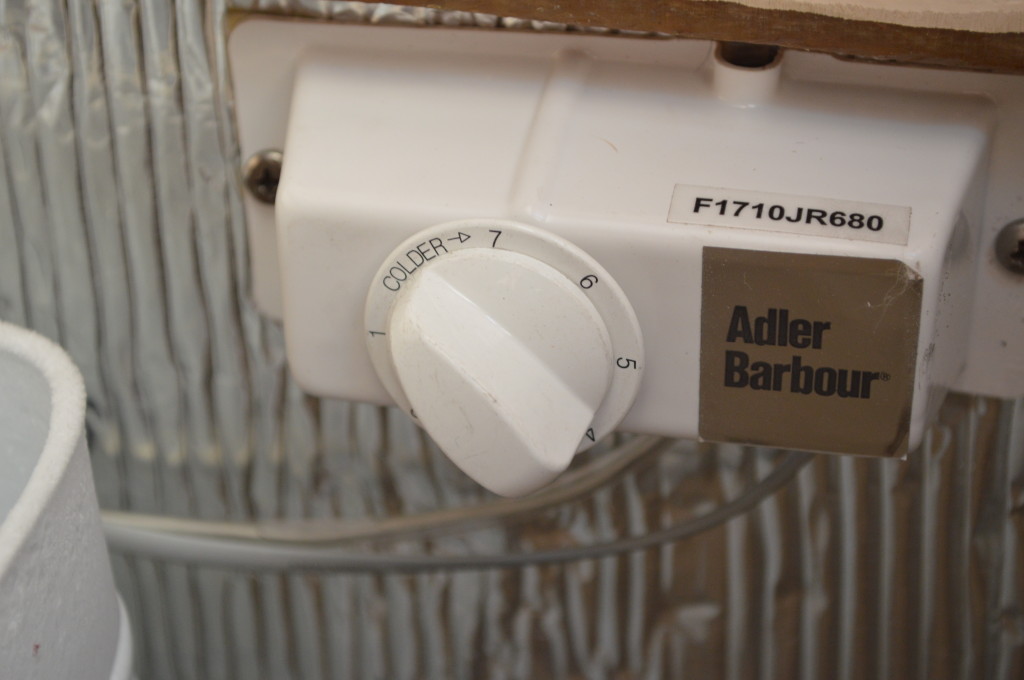
Our existing refrigerator is an Adler/Barbour Dometic air-cooled CU-100 ColdMachine. It consists of a large vertical evaporator and an air-cooled condenser unit. The dial can be set from 1 to 7 and we only need to leave it at 3 1/2 in order to keep the inside of the evaporator at freezing temps. This is perfect for keeping the rest of the insulated box a nice cool temp resembling what a normal household refrigerator would be.

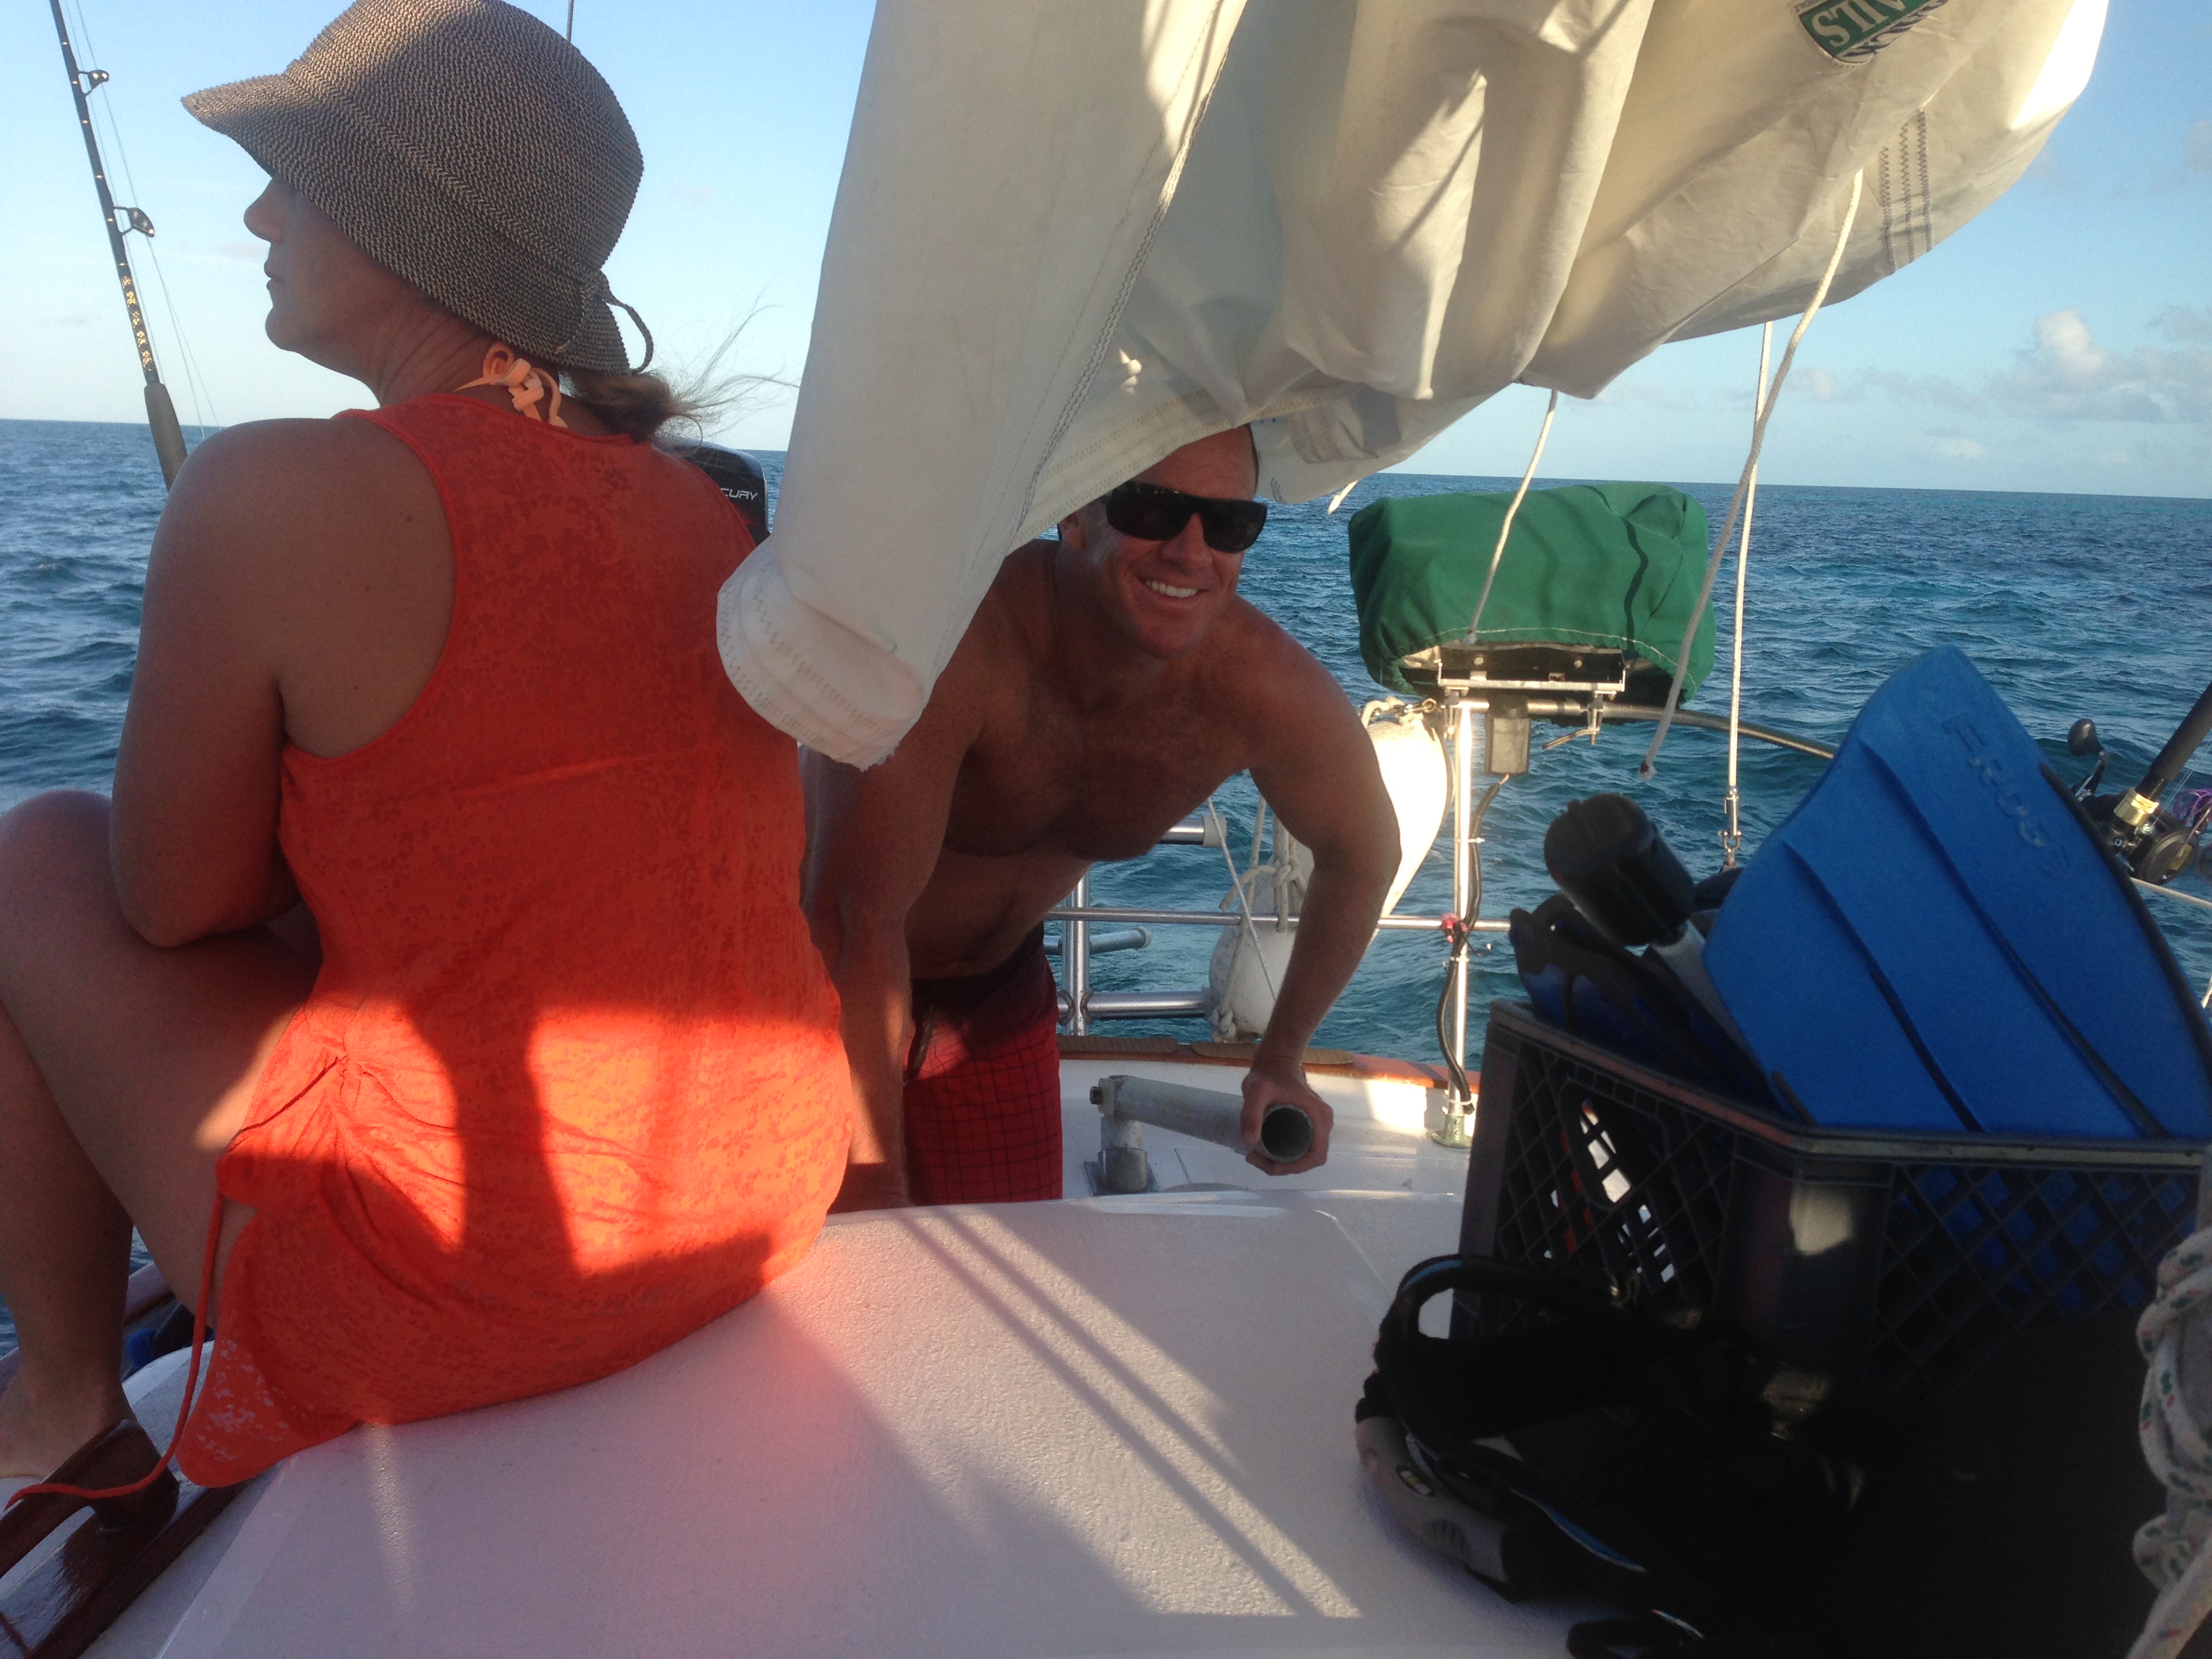
We like it so much that we opted to install the same unit in soon-to-be freezer compartment. This way, we can either set the dial for normal refrigeration and freezer space, or we can just crank the dial to freeze the whole thing and use it as one big freezer if when Peter catches all that fish. This isn’t his first luau… the man sure does know how to hook ’em!

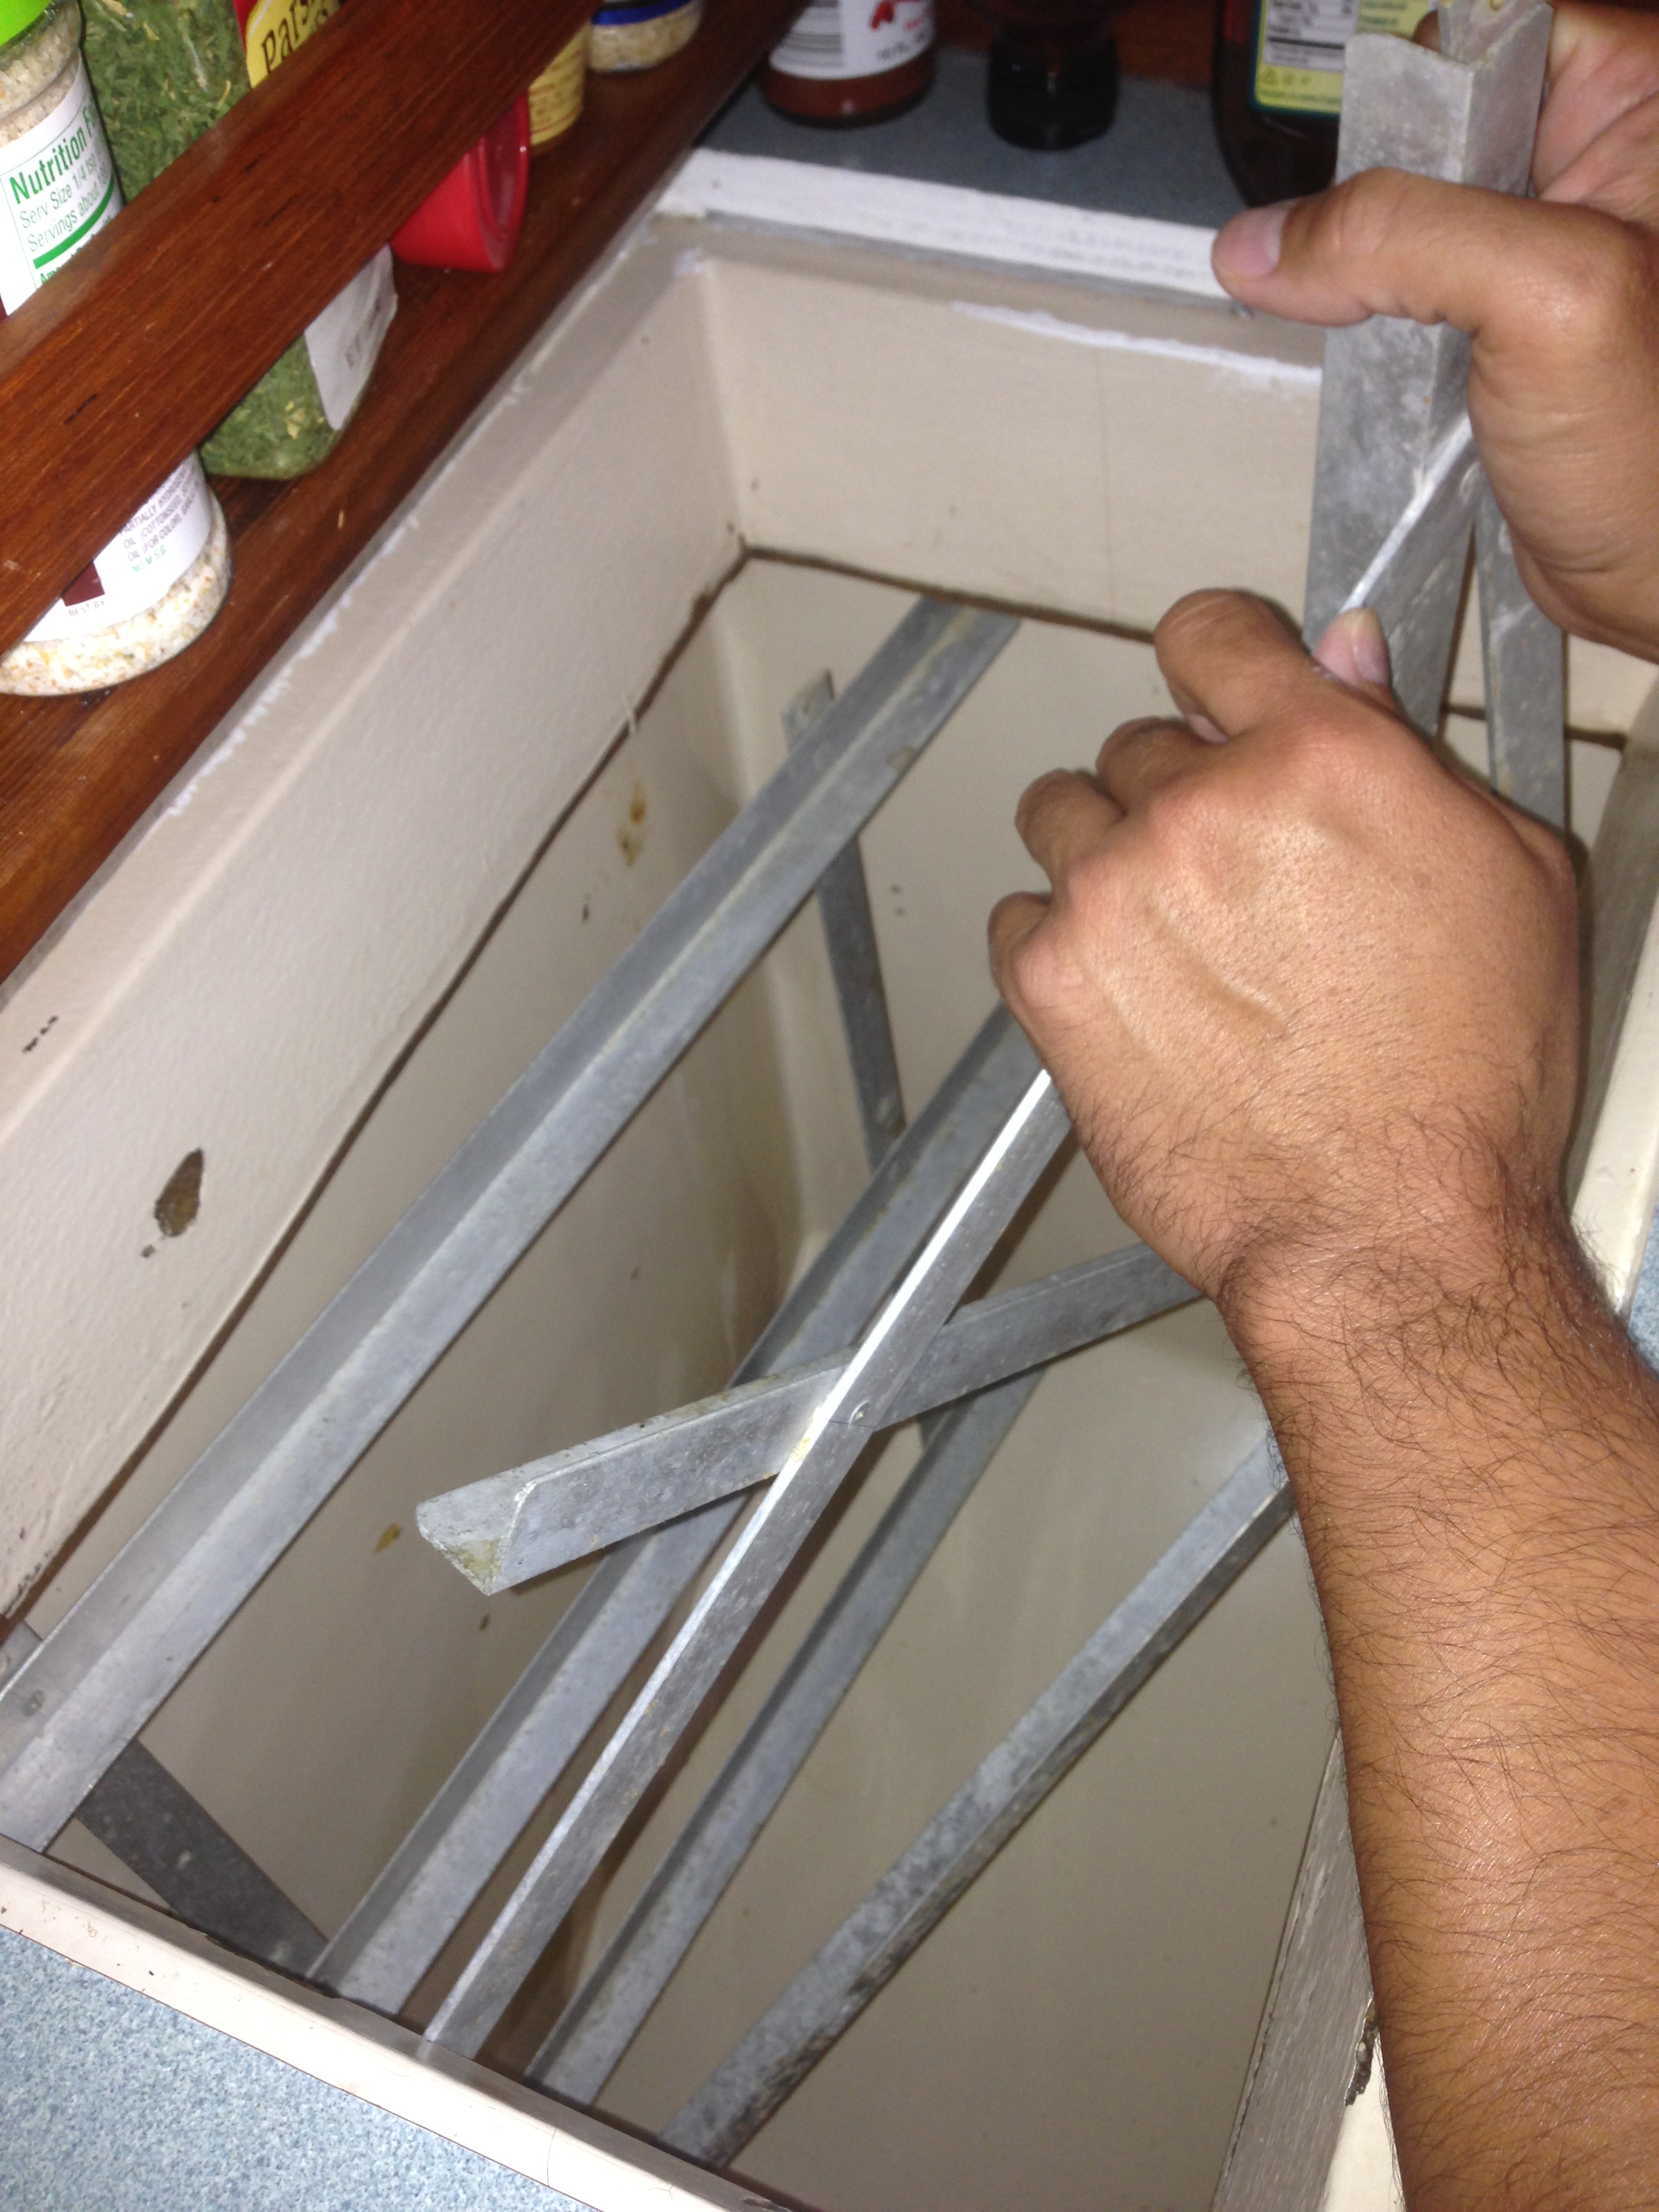
Before the new unit could be installed we had to remove the plexiglass shelf and the aluminum rails that were inside the space. It was a puzzle to get those suckers out of there but we finally figured out that they had to be unscrewed and then pivoted out.

IMG_3513

It got cleaned out really well. Peter did this project all by himself, and I kept busy with the camera ;)

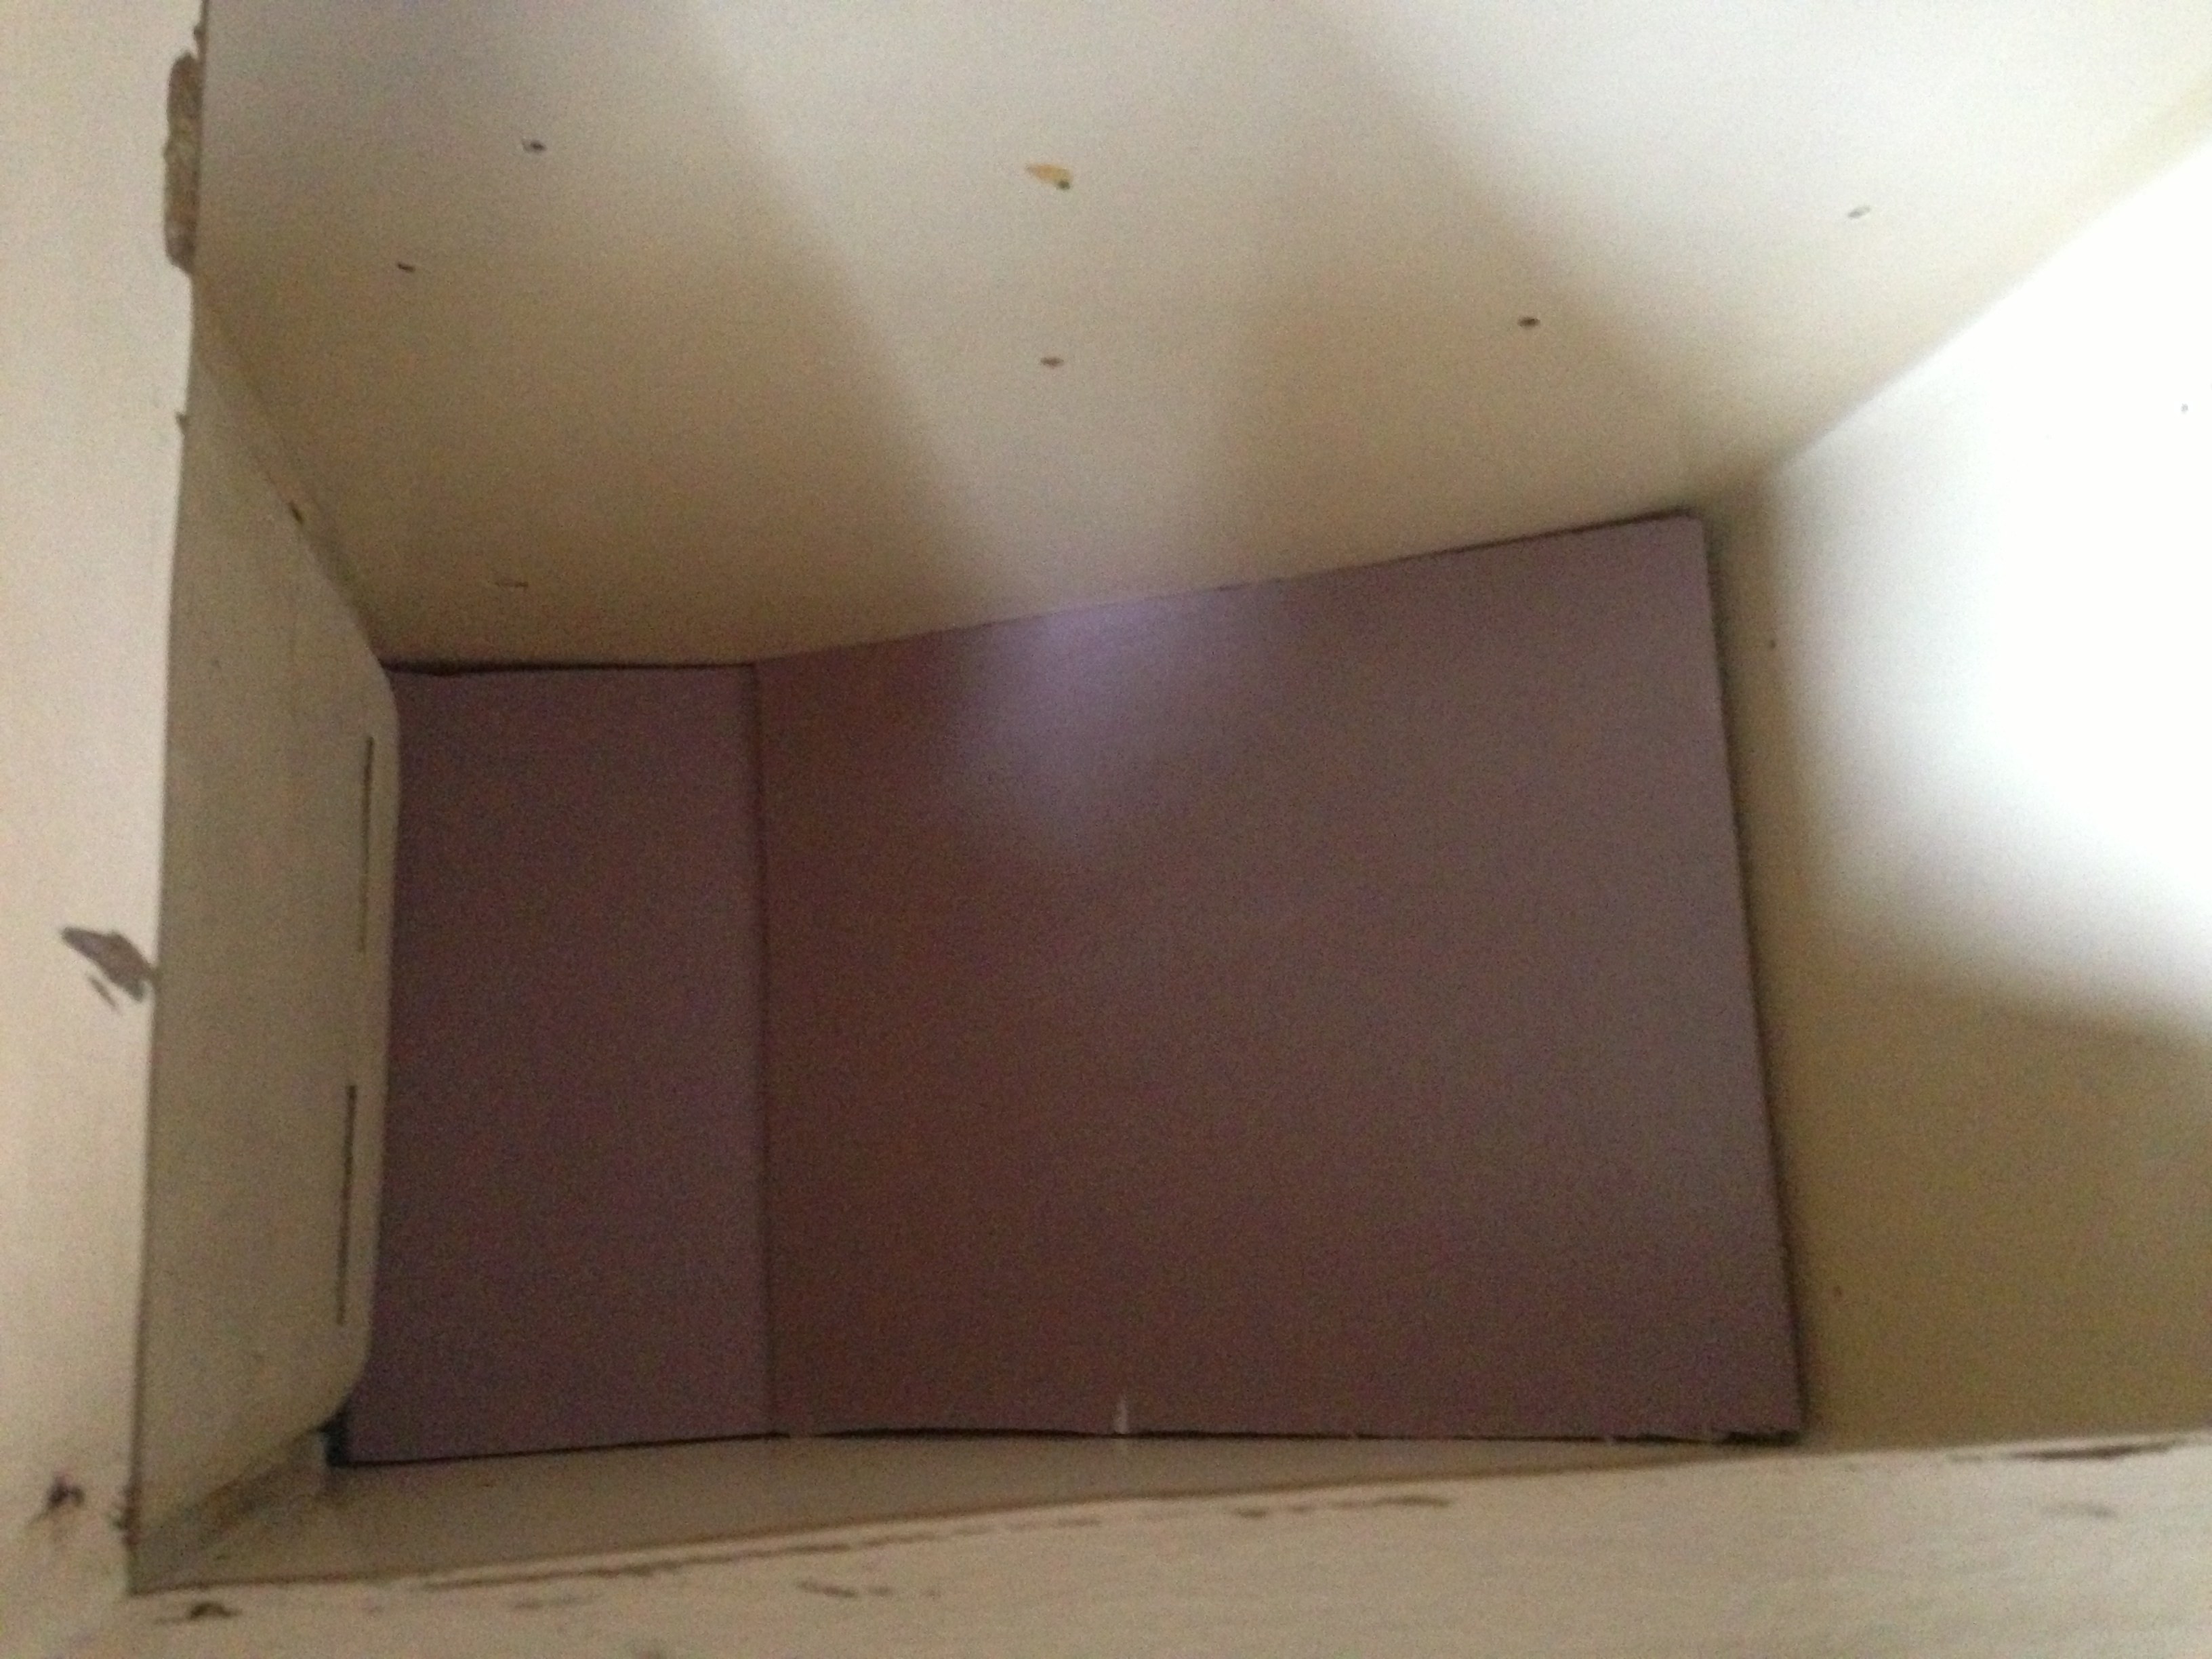
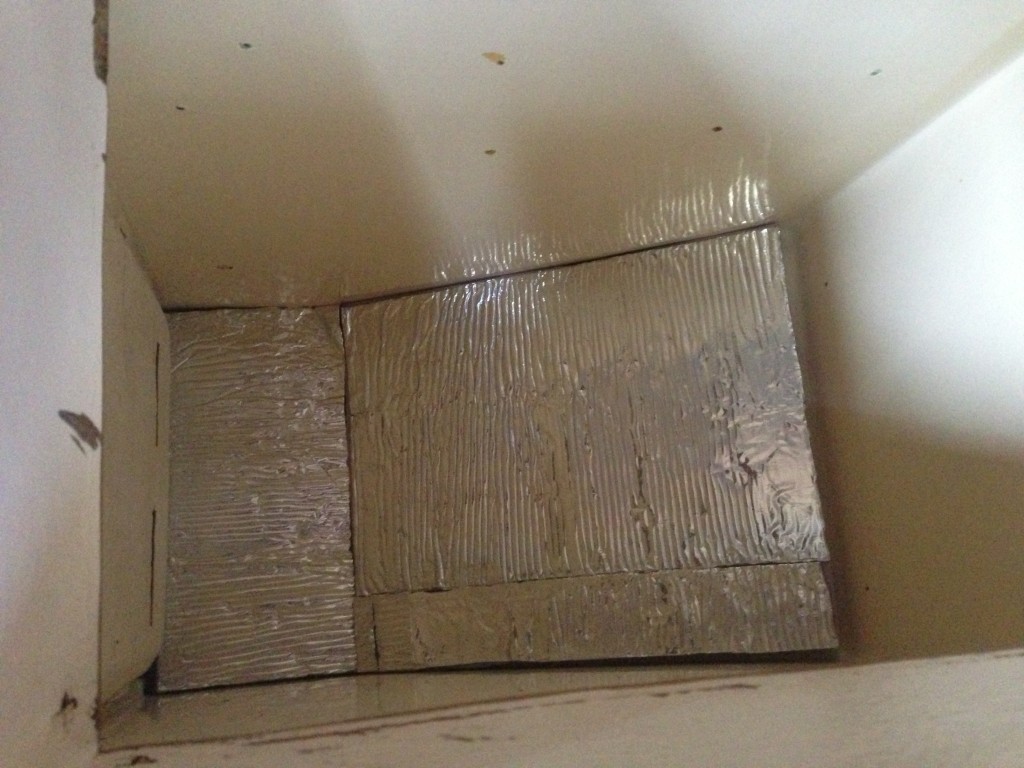
Next, he marked up the rigid insulation foam we bought from Home Depot. It came in monster size sheets, or you can buy cute little 2×2 squares of the purple stuff. We got two of the squares. A bread knife worked well enough to slice through the foam.

IMG_3523

IMG_3518

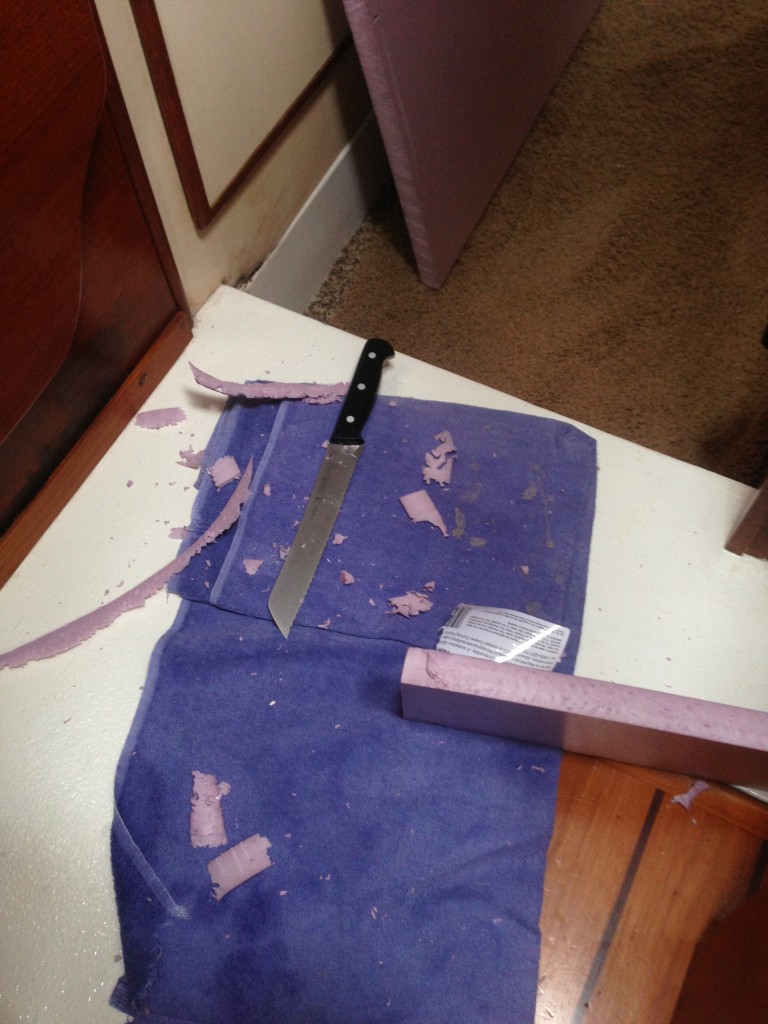
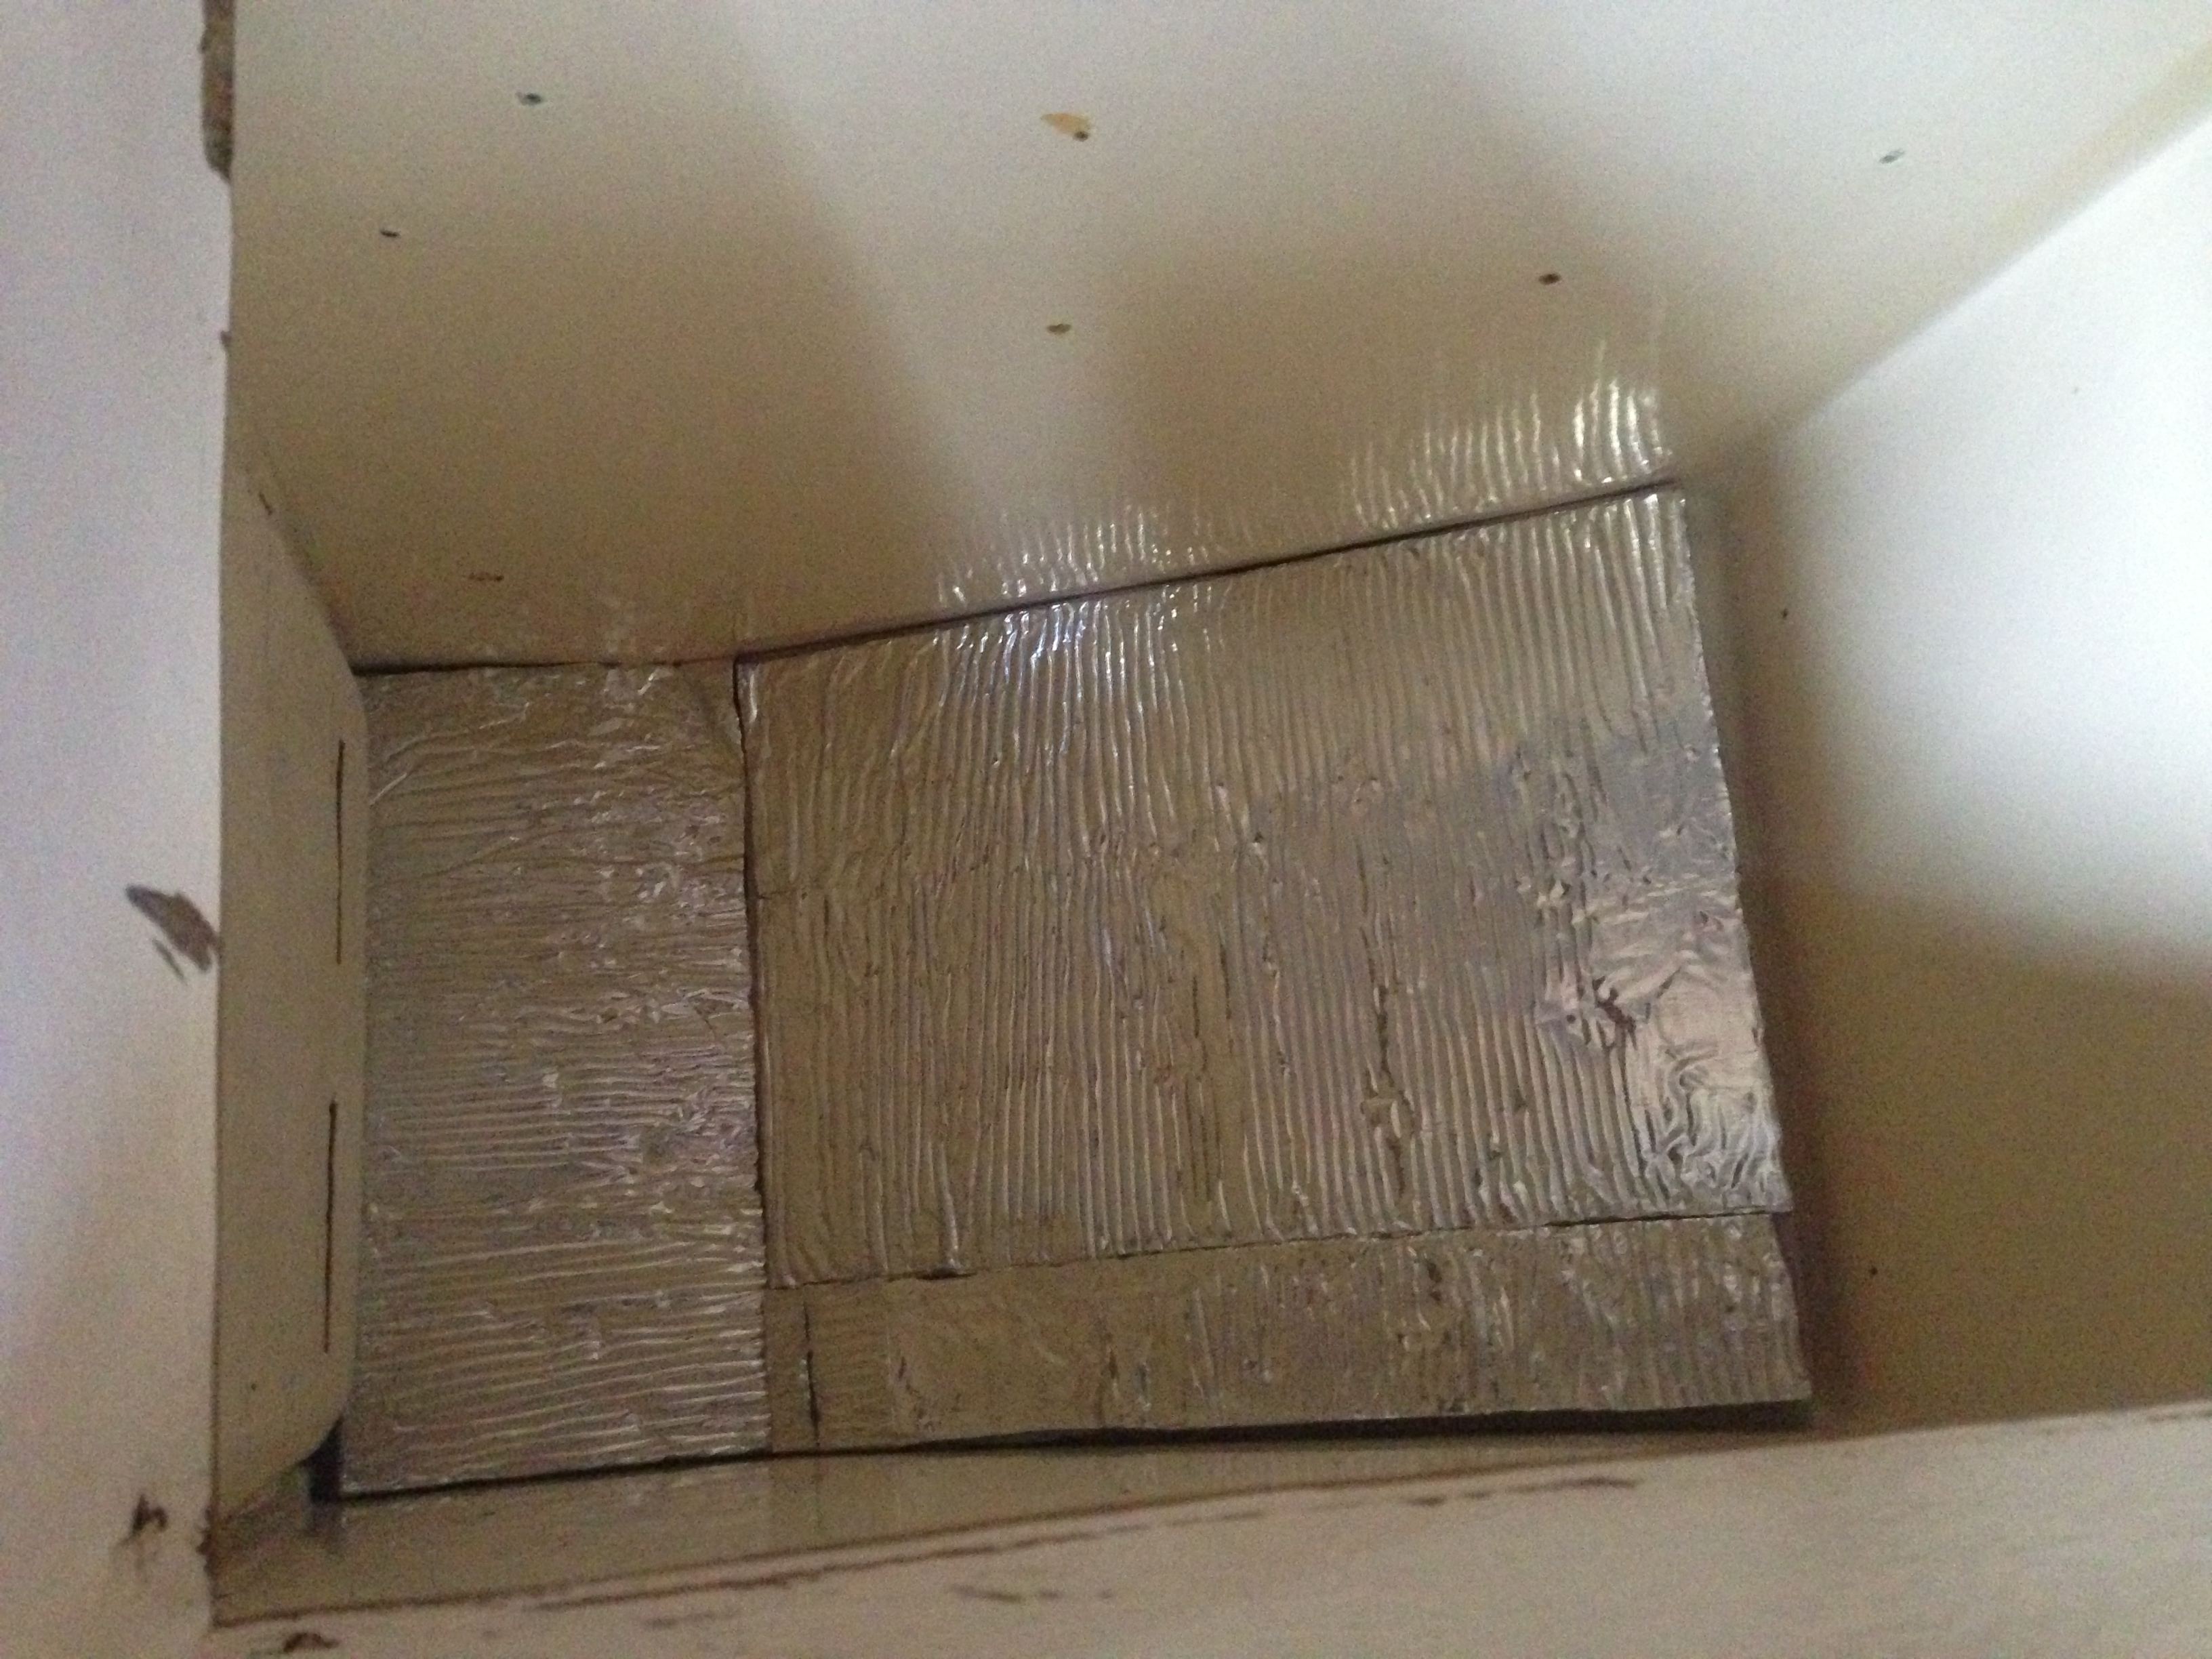
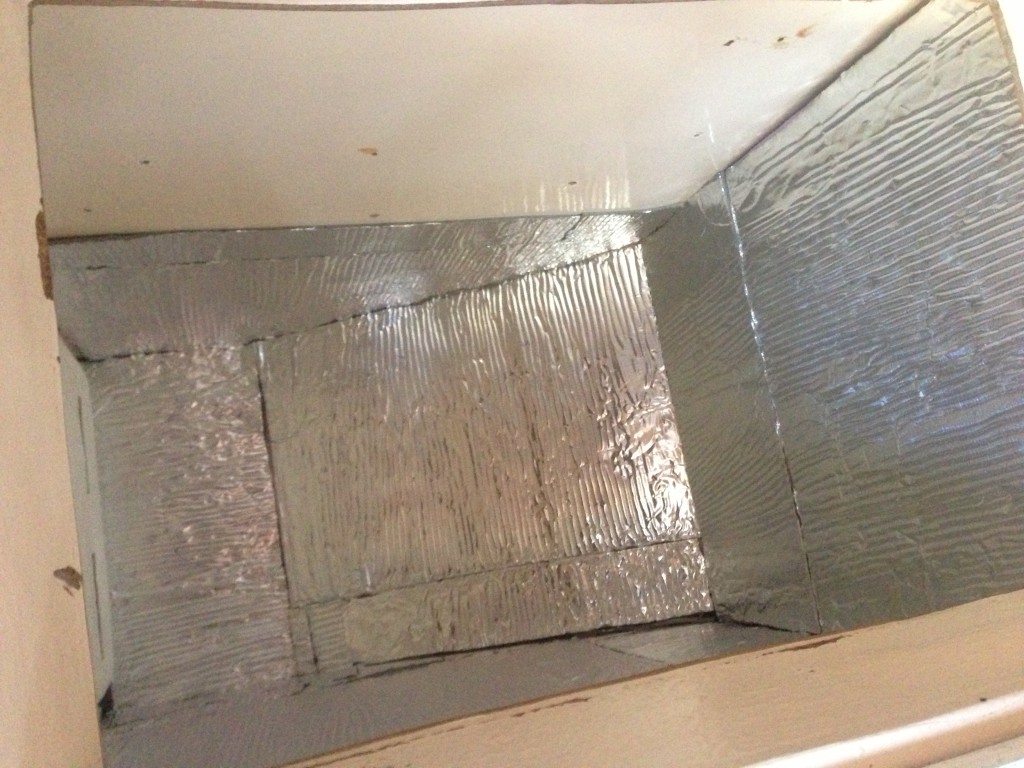
Piece by piece the odd-shaped walls of our freezer compartment started coming to life. It wasn’t too critical to get an exactly flush cut, but he got it close enough.

IMG_3524

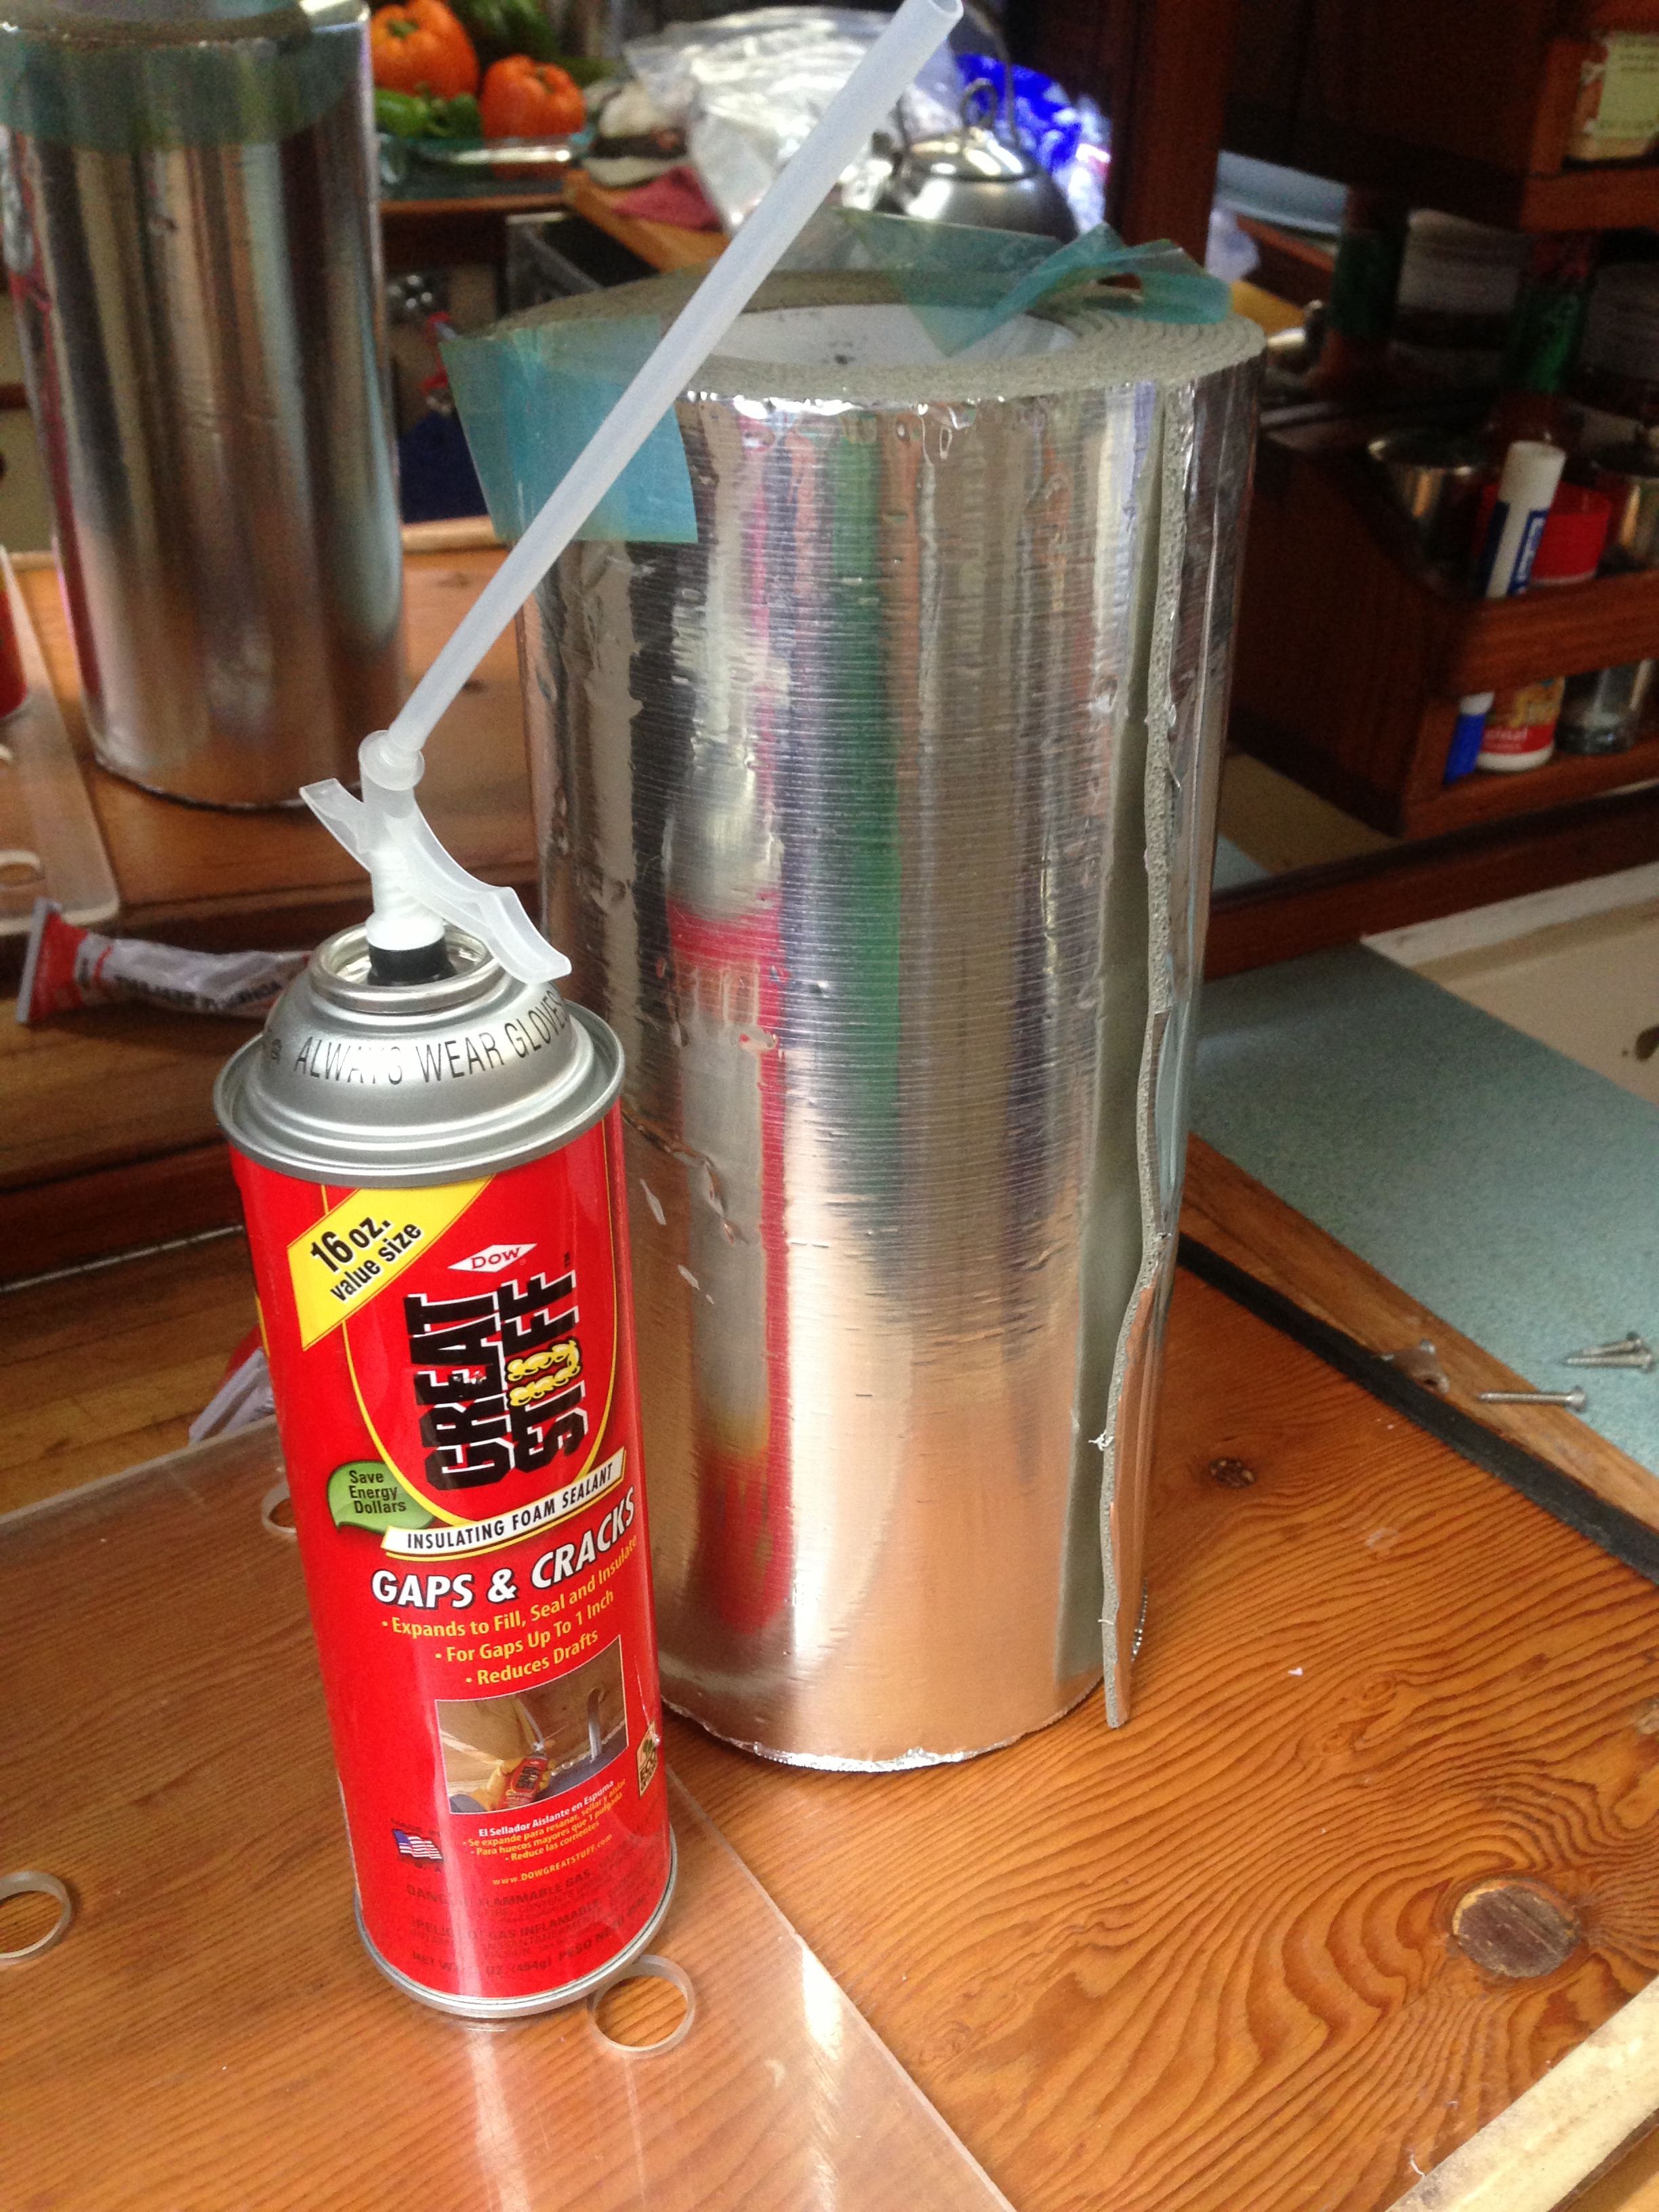
We also bought a roll of Self-Stick Foam/Foil Duct Insulation to apply over the rigid foam. We thought the Great Stuff was a great idea, but didn’t end up using it for this project after all.

IMG_3525

The walls of the space were already insulated and fiberglassed in but we wanted to just add a little bit more insurance so we don’t end up with an unnecessary loss of cold air.

IMG_3527

IMG_3539

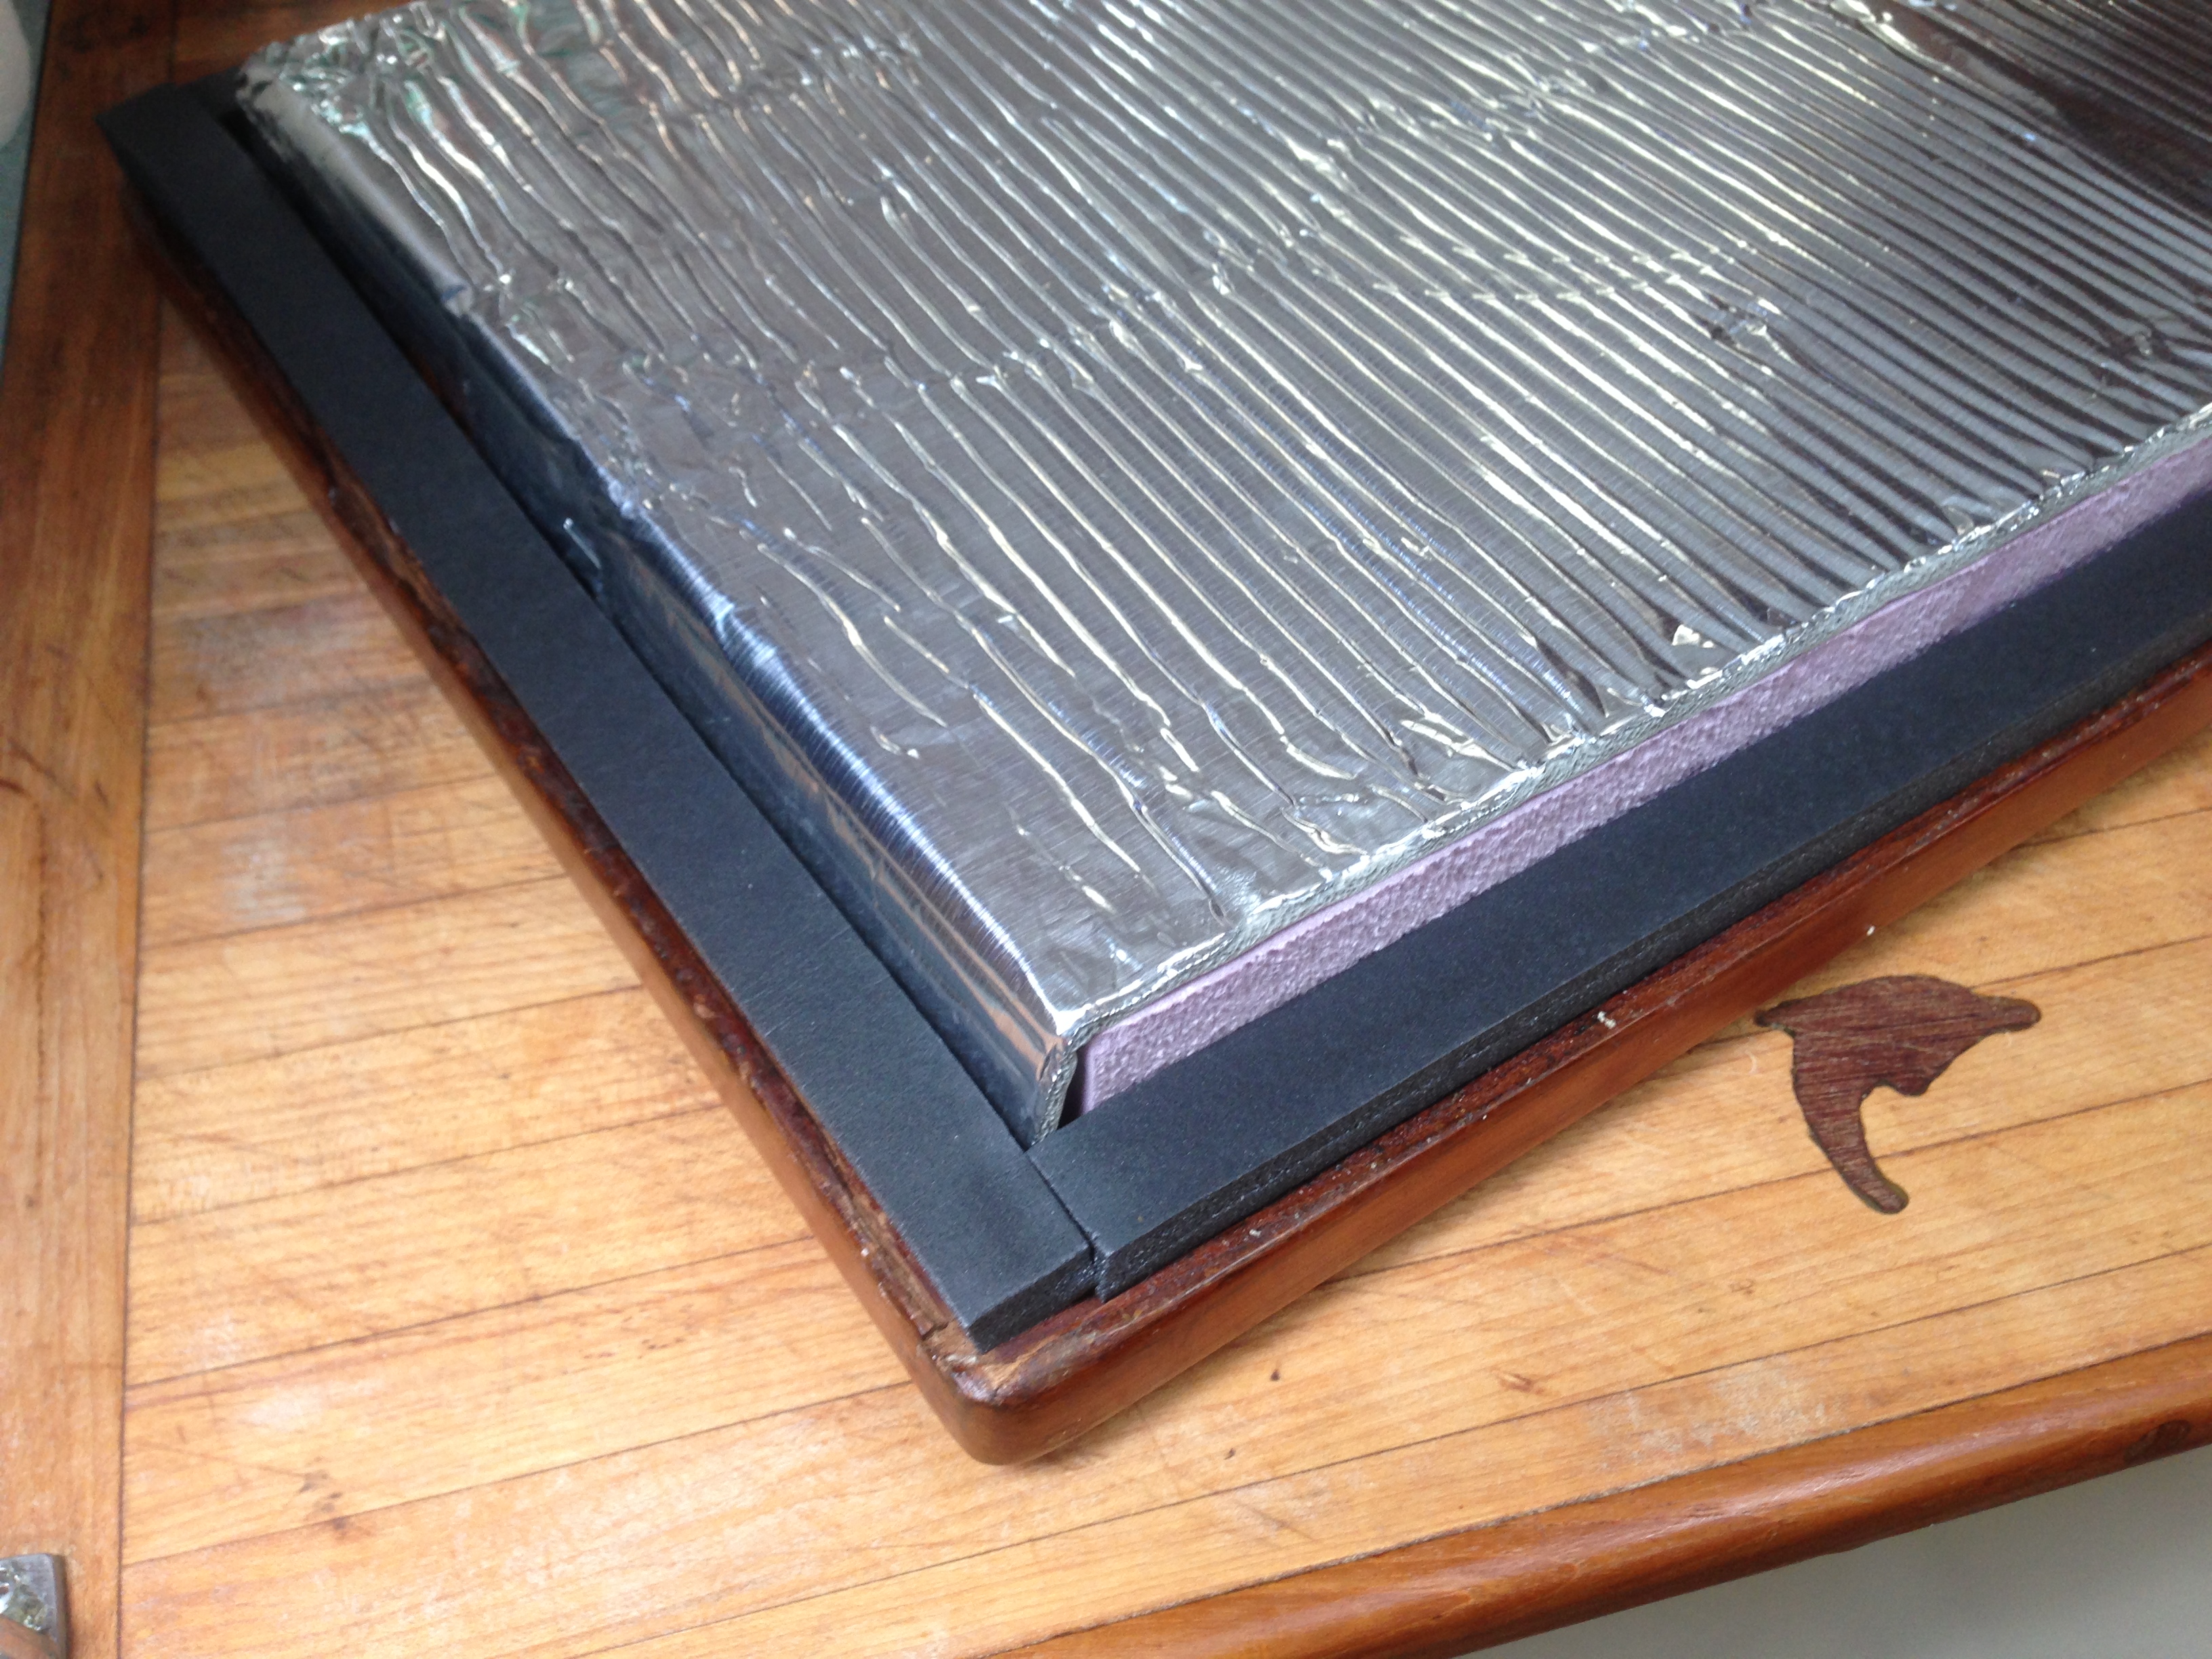
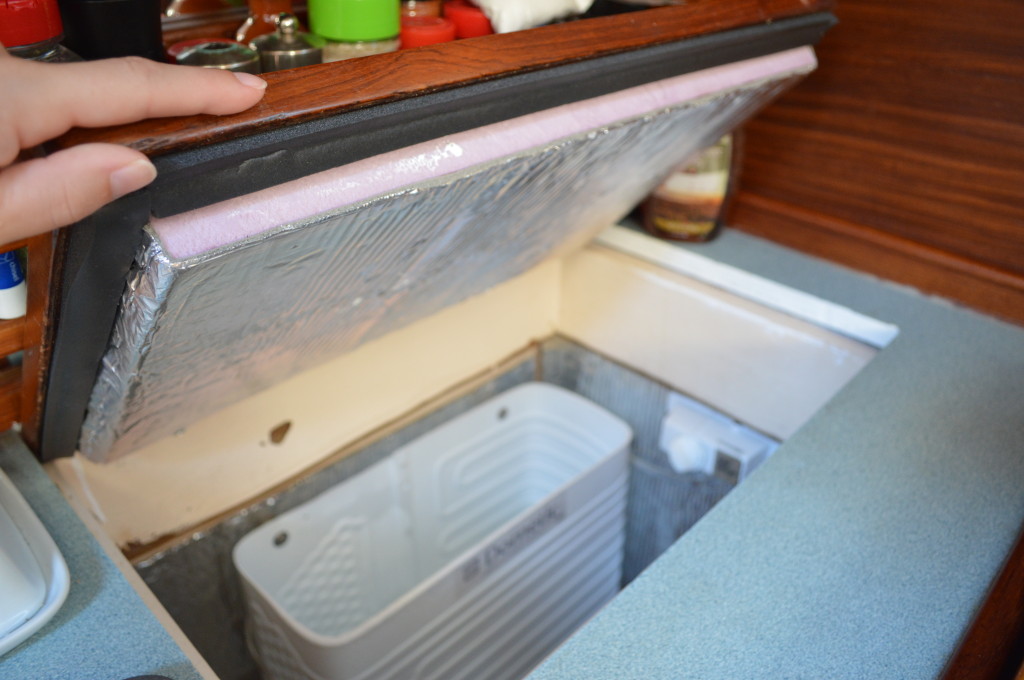
A chunk of purple stuff was attached to the lid and a layer of the foil wrap was pressed on top too.

IMG_3531

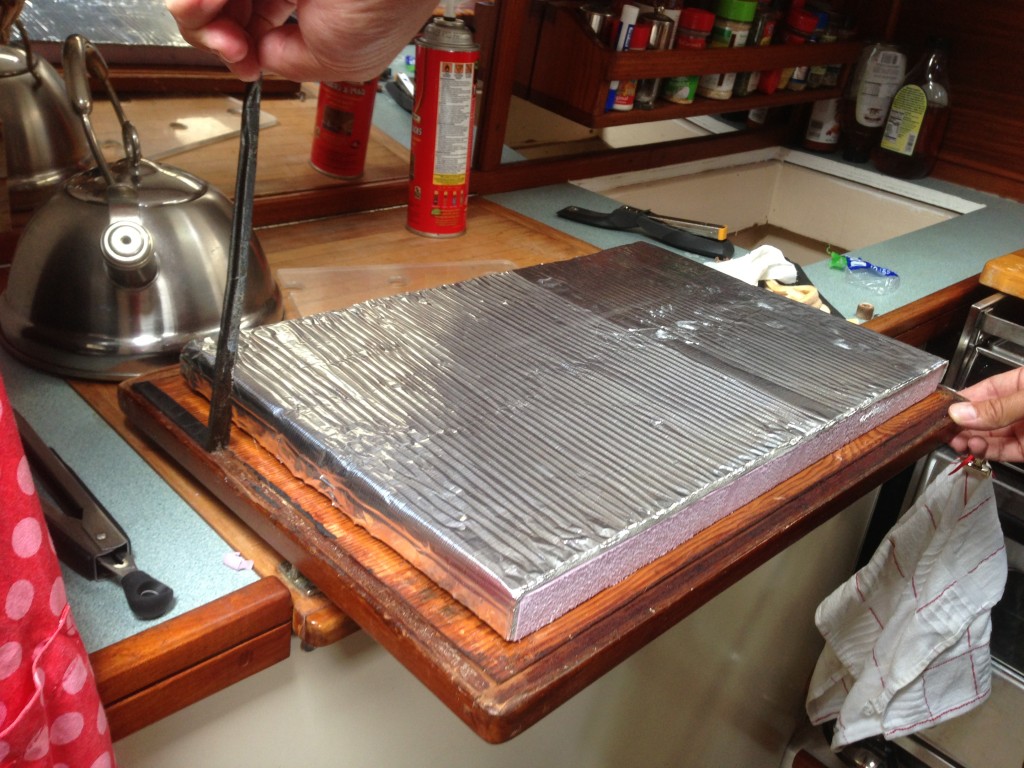
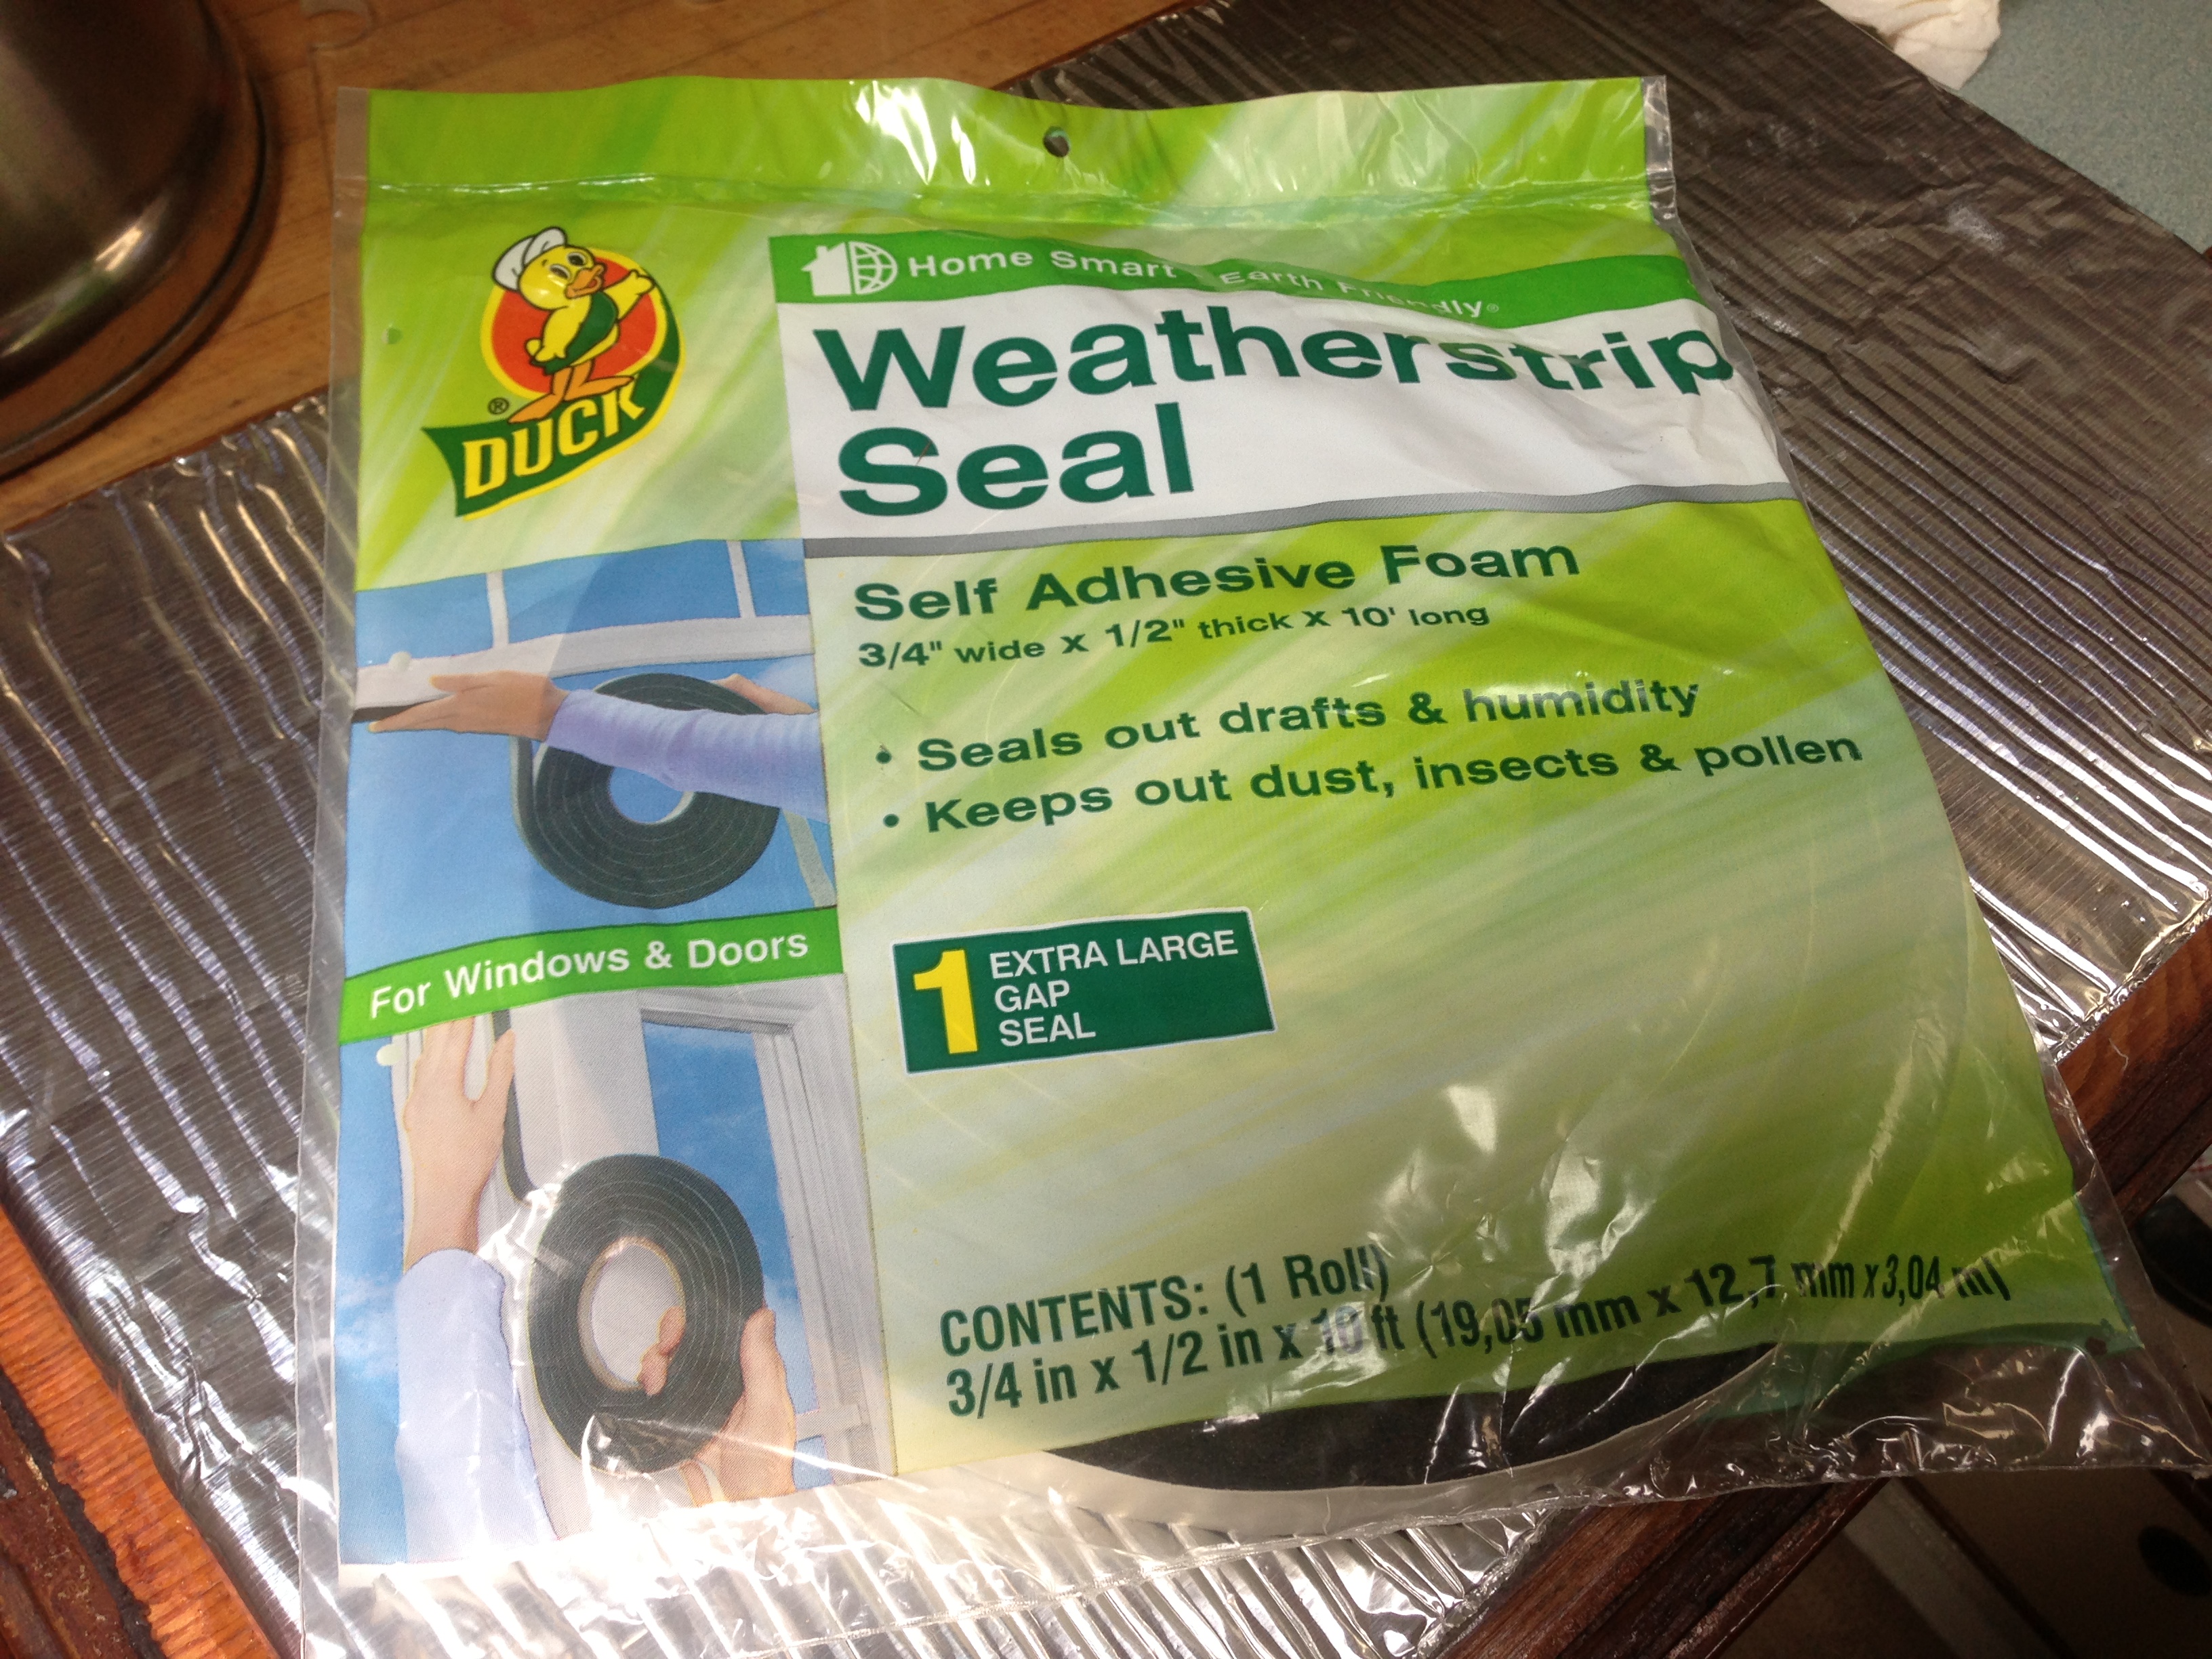
The lid needed a new seal. Again with the Duck brand… I swear it’s just a coincidence. This stuff really stays put though. No sponsorship or affiliation, we just really like it :)

IMG_3533

IMG_3535

IMG_3541

Here comes the ‘cool’ part!! haha

We decided to limit the DIY part of this project to just the insulation. We hired a professional marine refrigeration guy to handle the install of the actual condenser unit and evaporator. So we’ve been told, refrigeration is nothing to mess around with if you don’t know what you’re doing.

The parts cost much less through a distributor: $1200 (compared to $1800 retail)

We paid about $800 in labor so the whole project cost $2000.

This is only $200 more than it would have cost us to do the whole thing ourselves and having it done right is totally worth 200 bucks. It was done way faster than we could have done it, and we know all the wiring and refrigerant is installed safely too.

DSC_0001

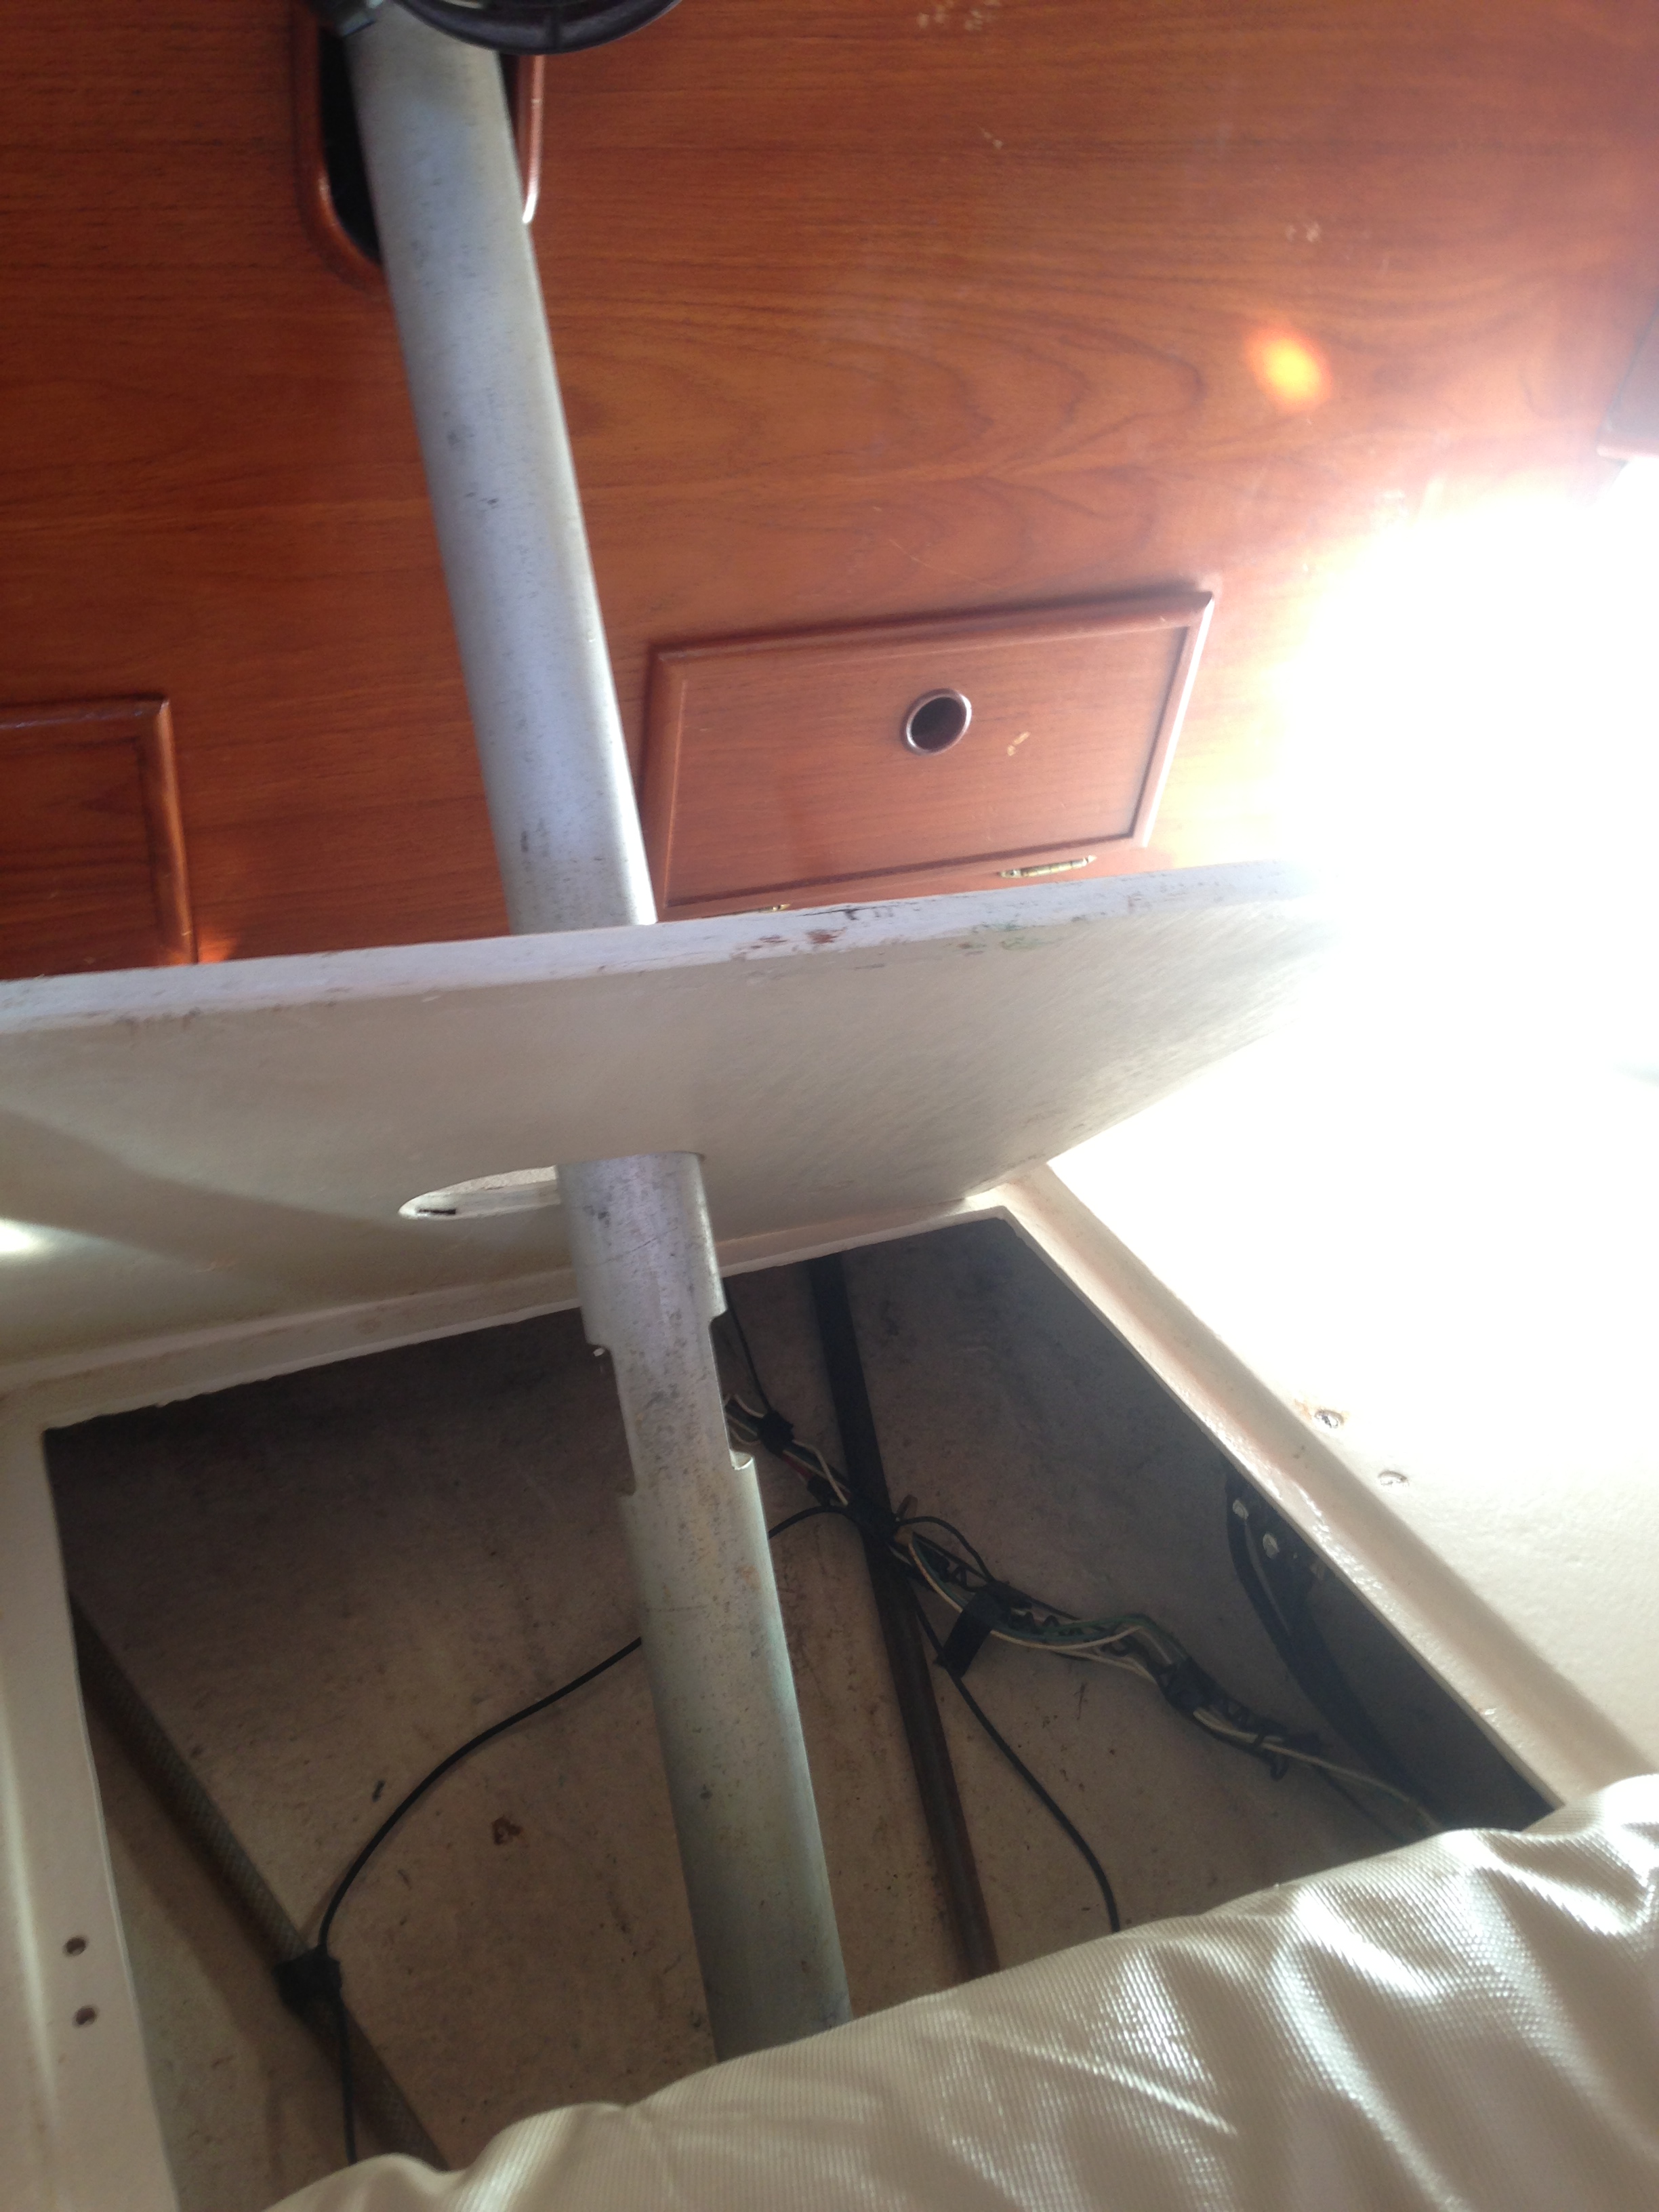
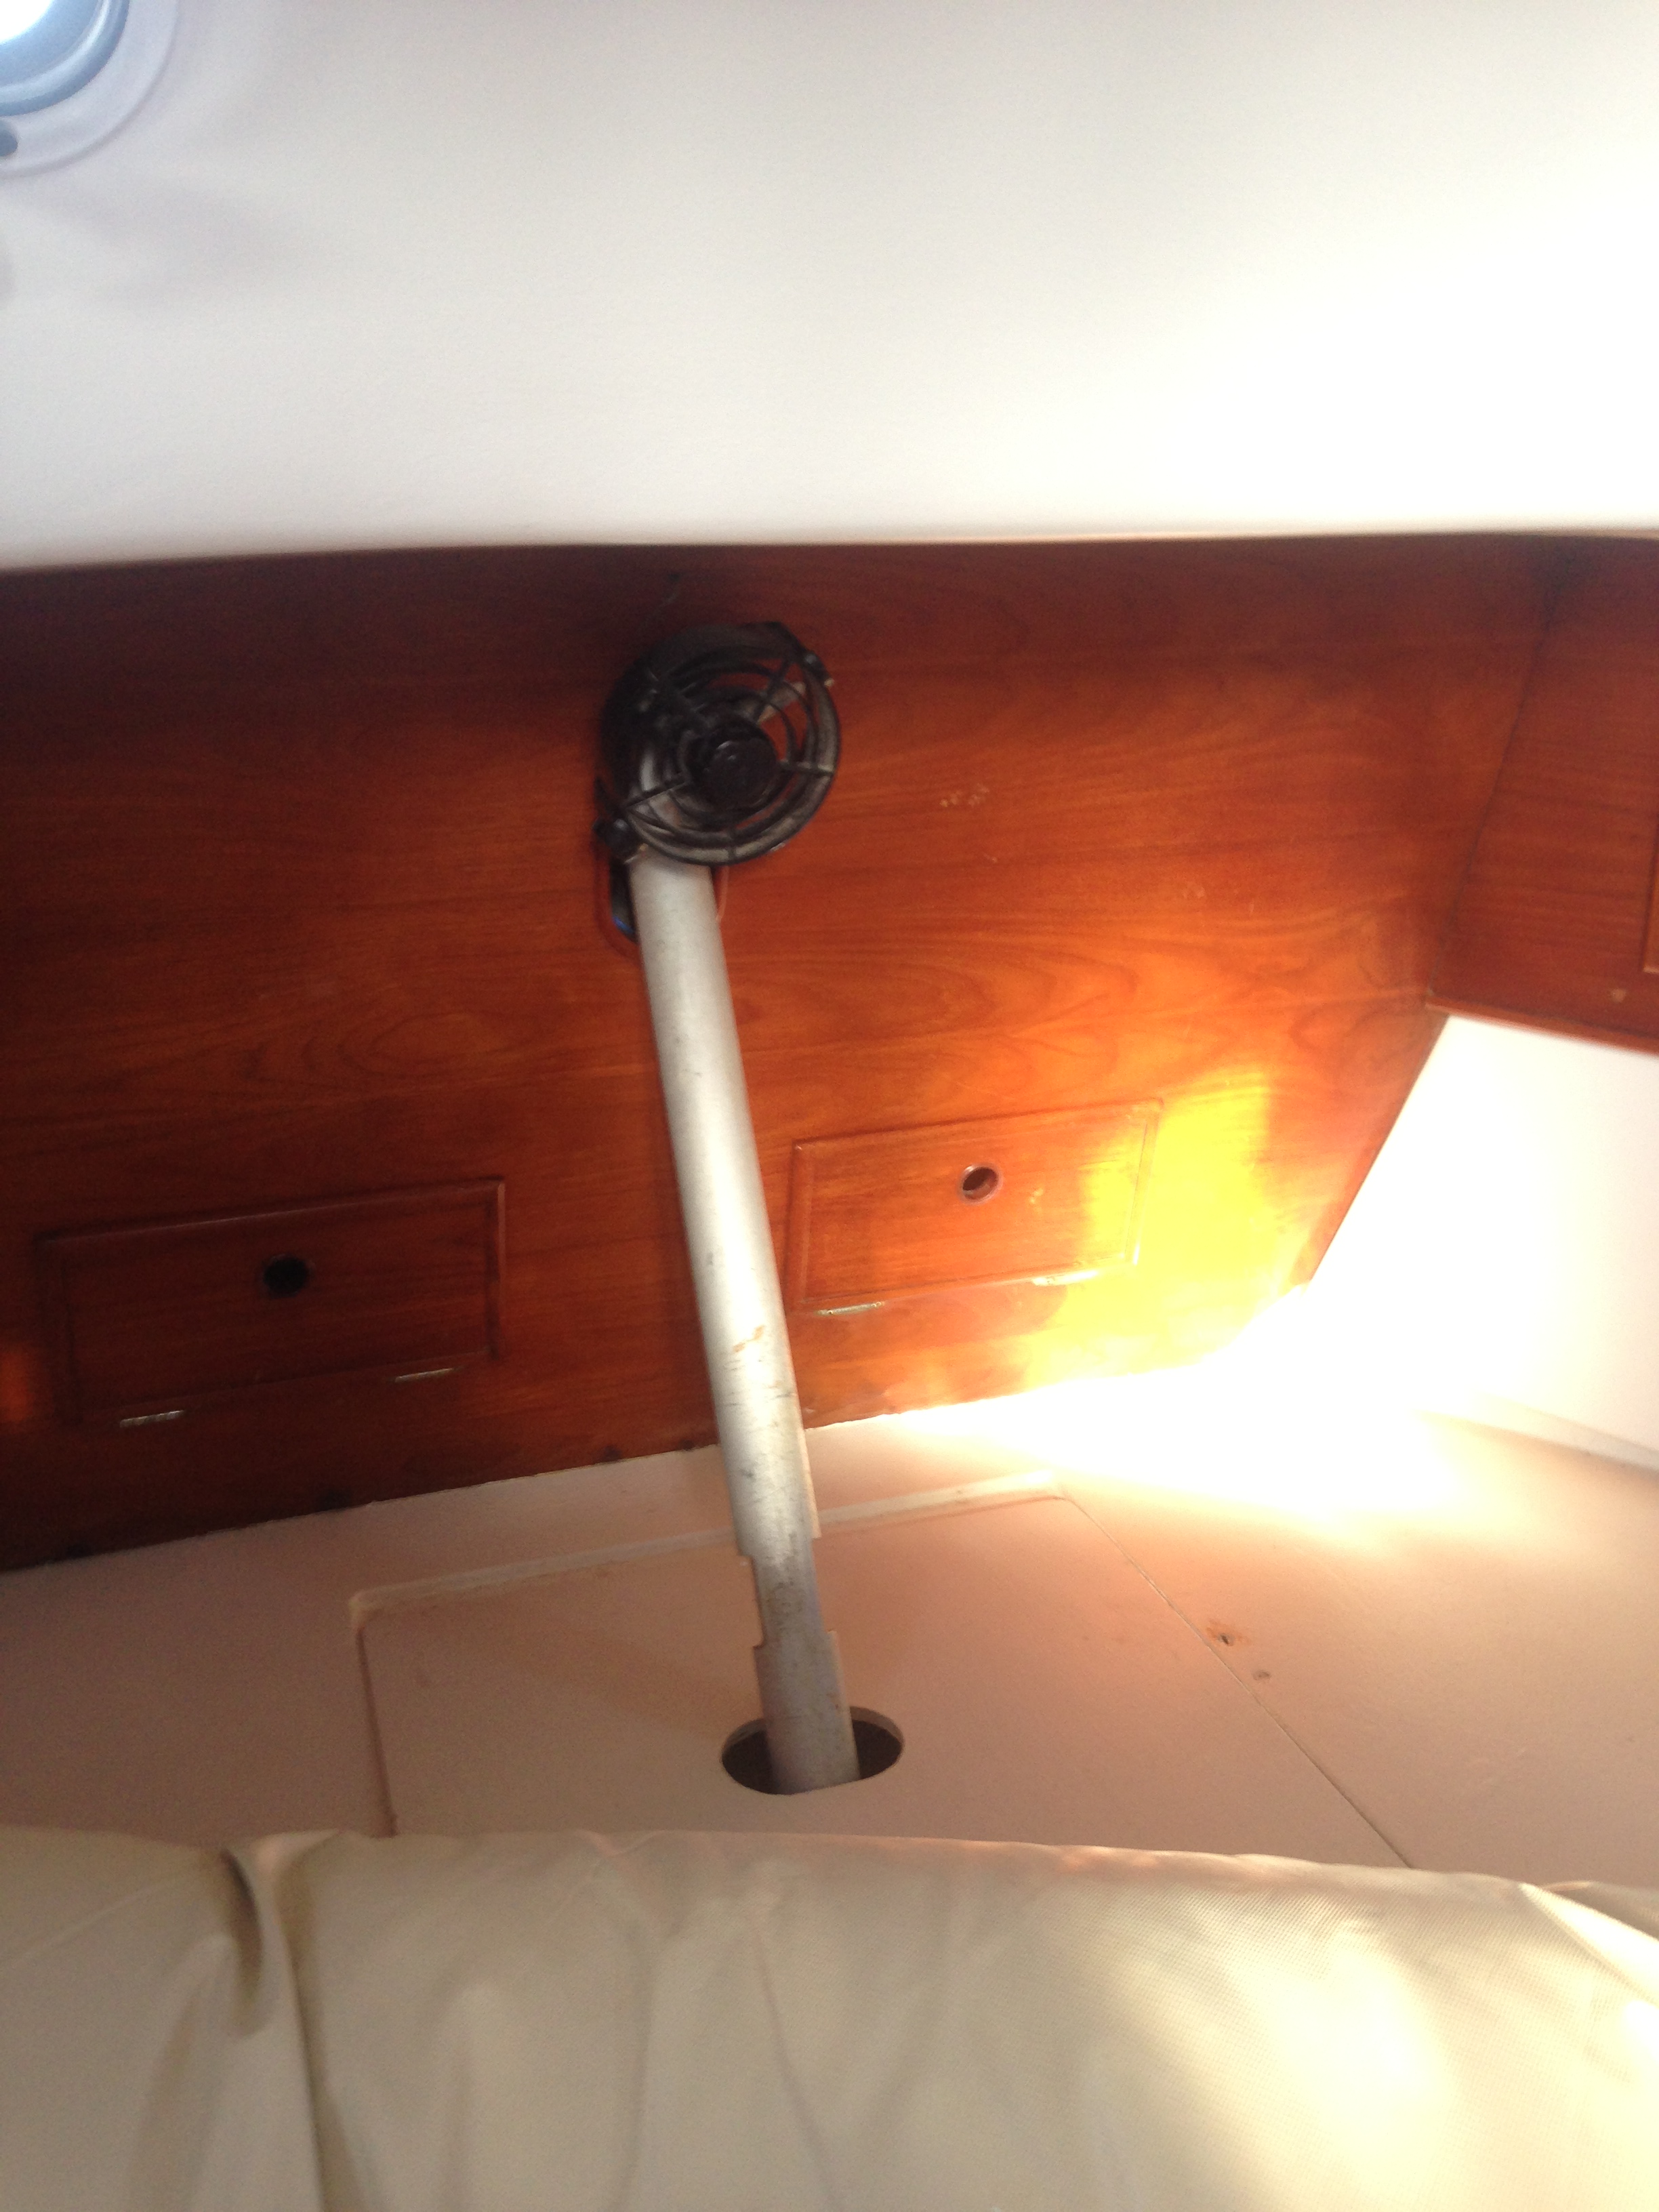
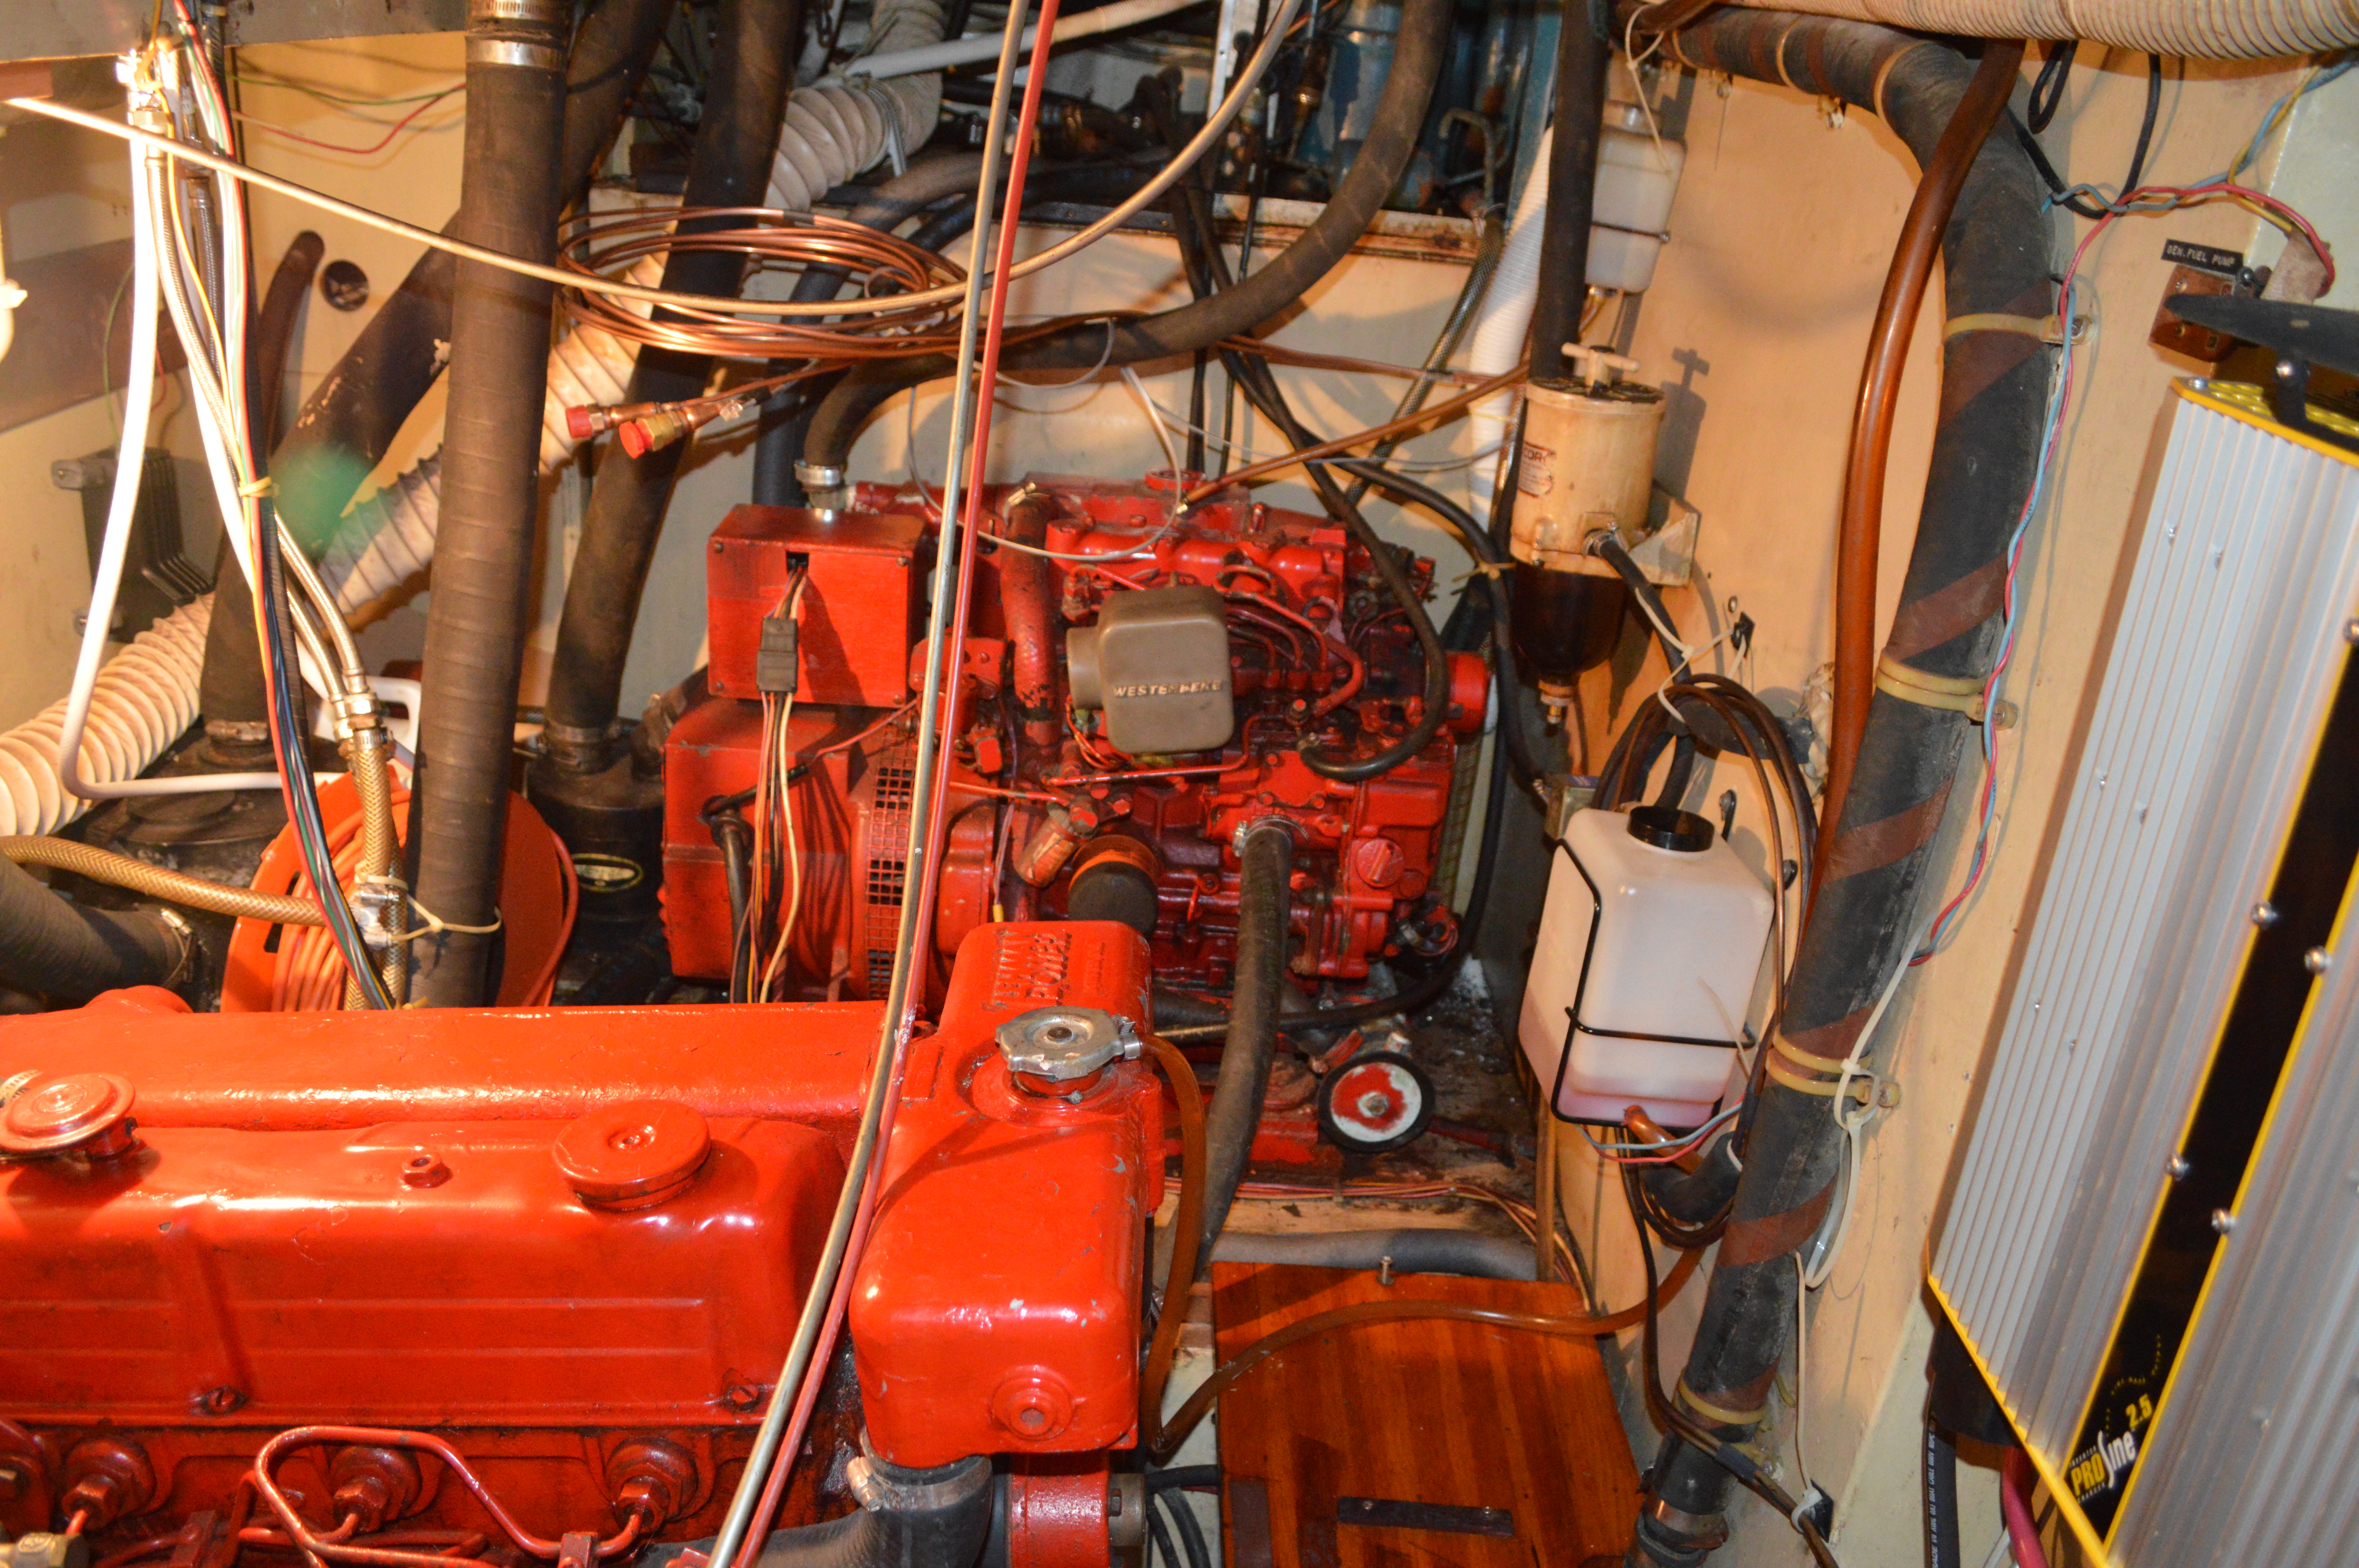
The condenser unit was installed in the engine room which was directly behind where the refrigerator and freezer are in the galley.

DSC_0002

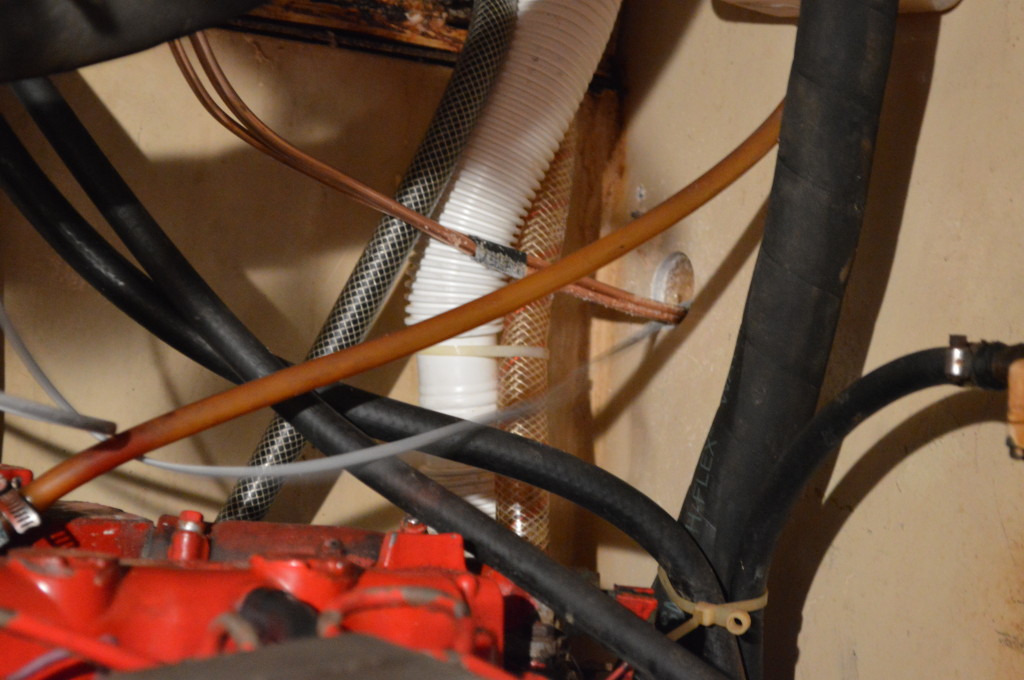
This may be the first picture I’ve posted of our engine room but how frickin awesome is this?? There is so much room in here! If you look closely you can see a nice empty spot on the wall on the right where the condenser unit is going to be installed. The refrigerant lines have been run through.

DSC_0009

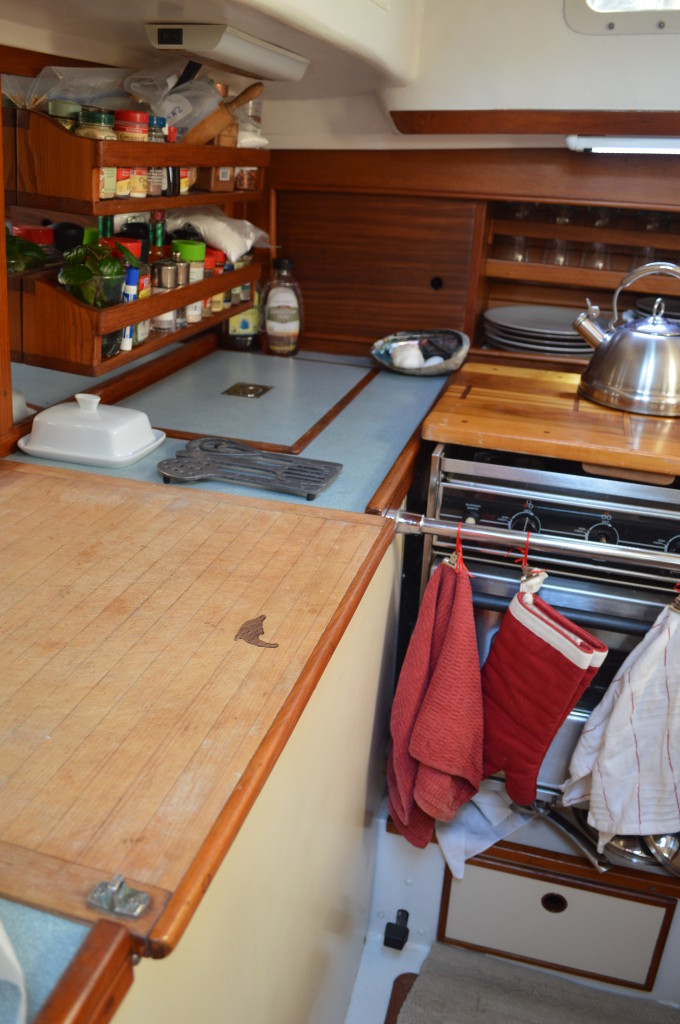
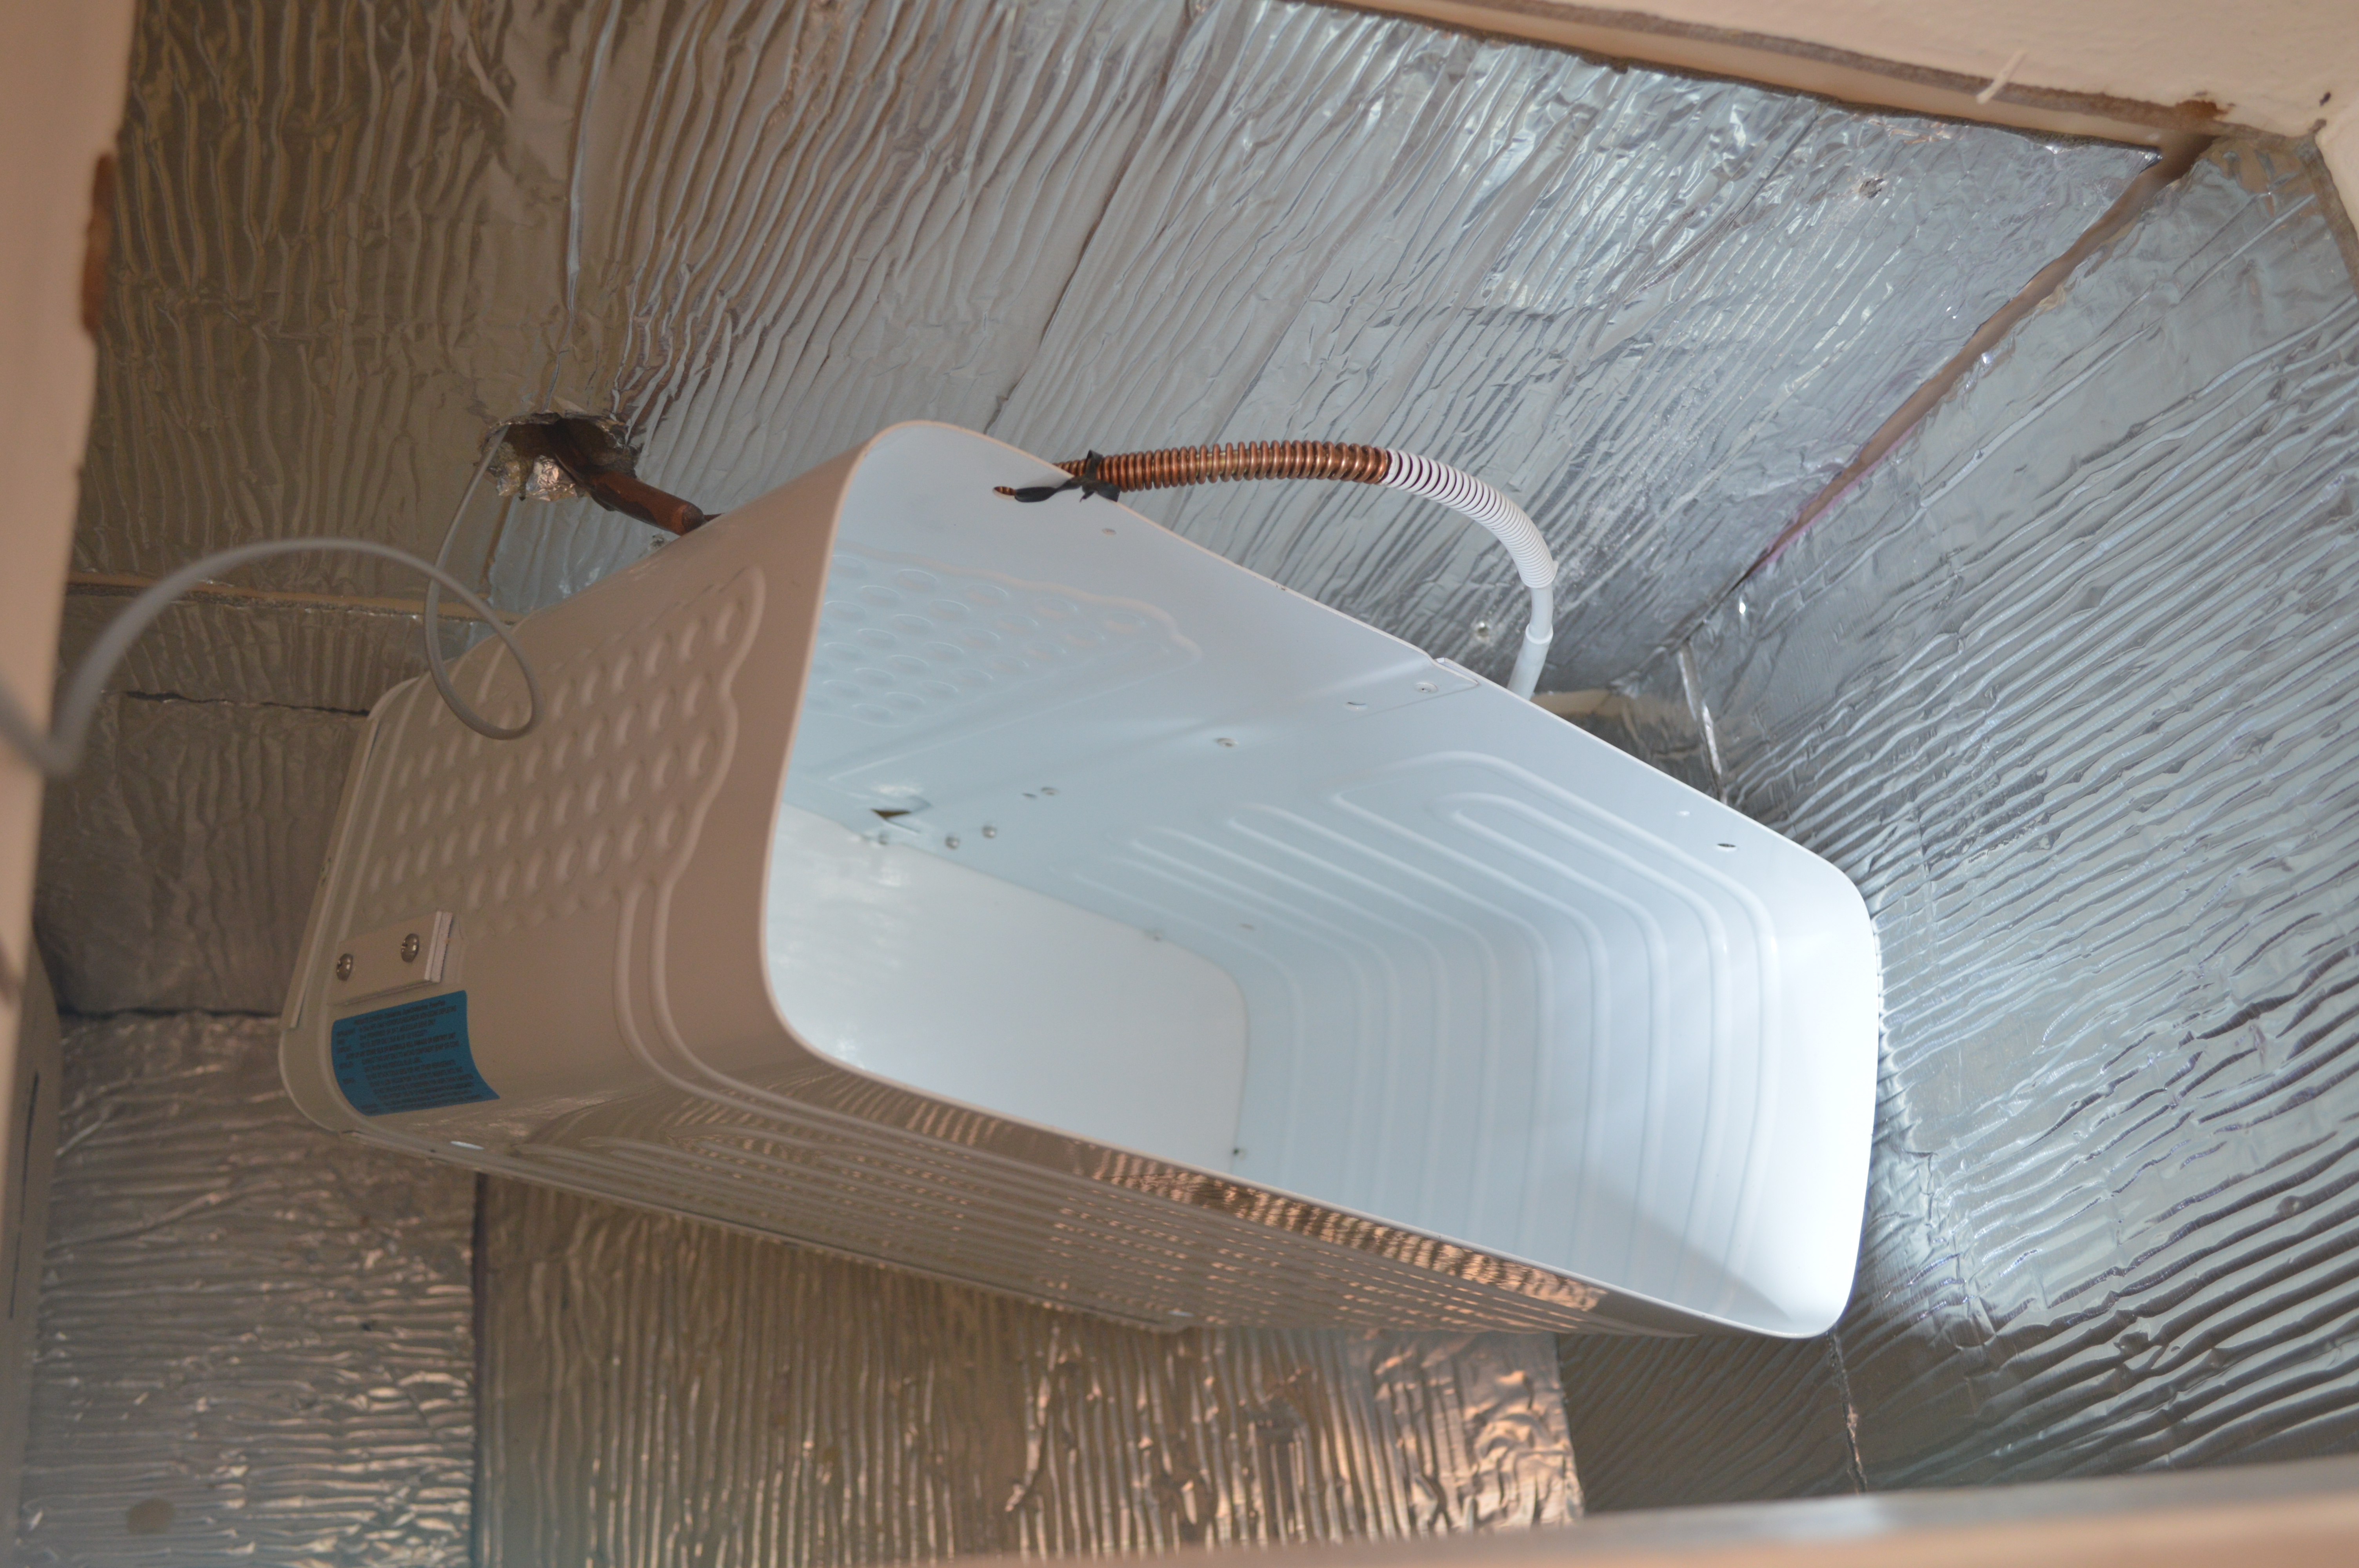
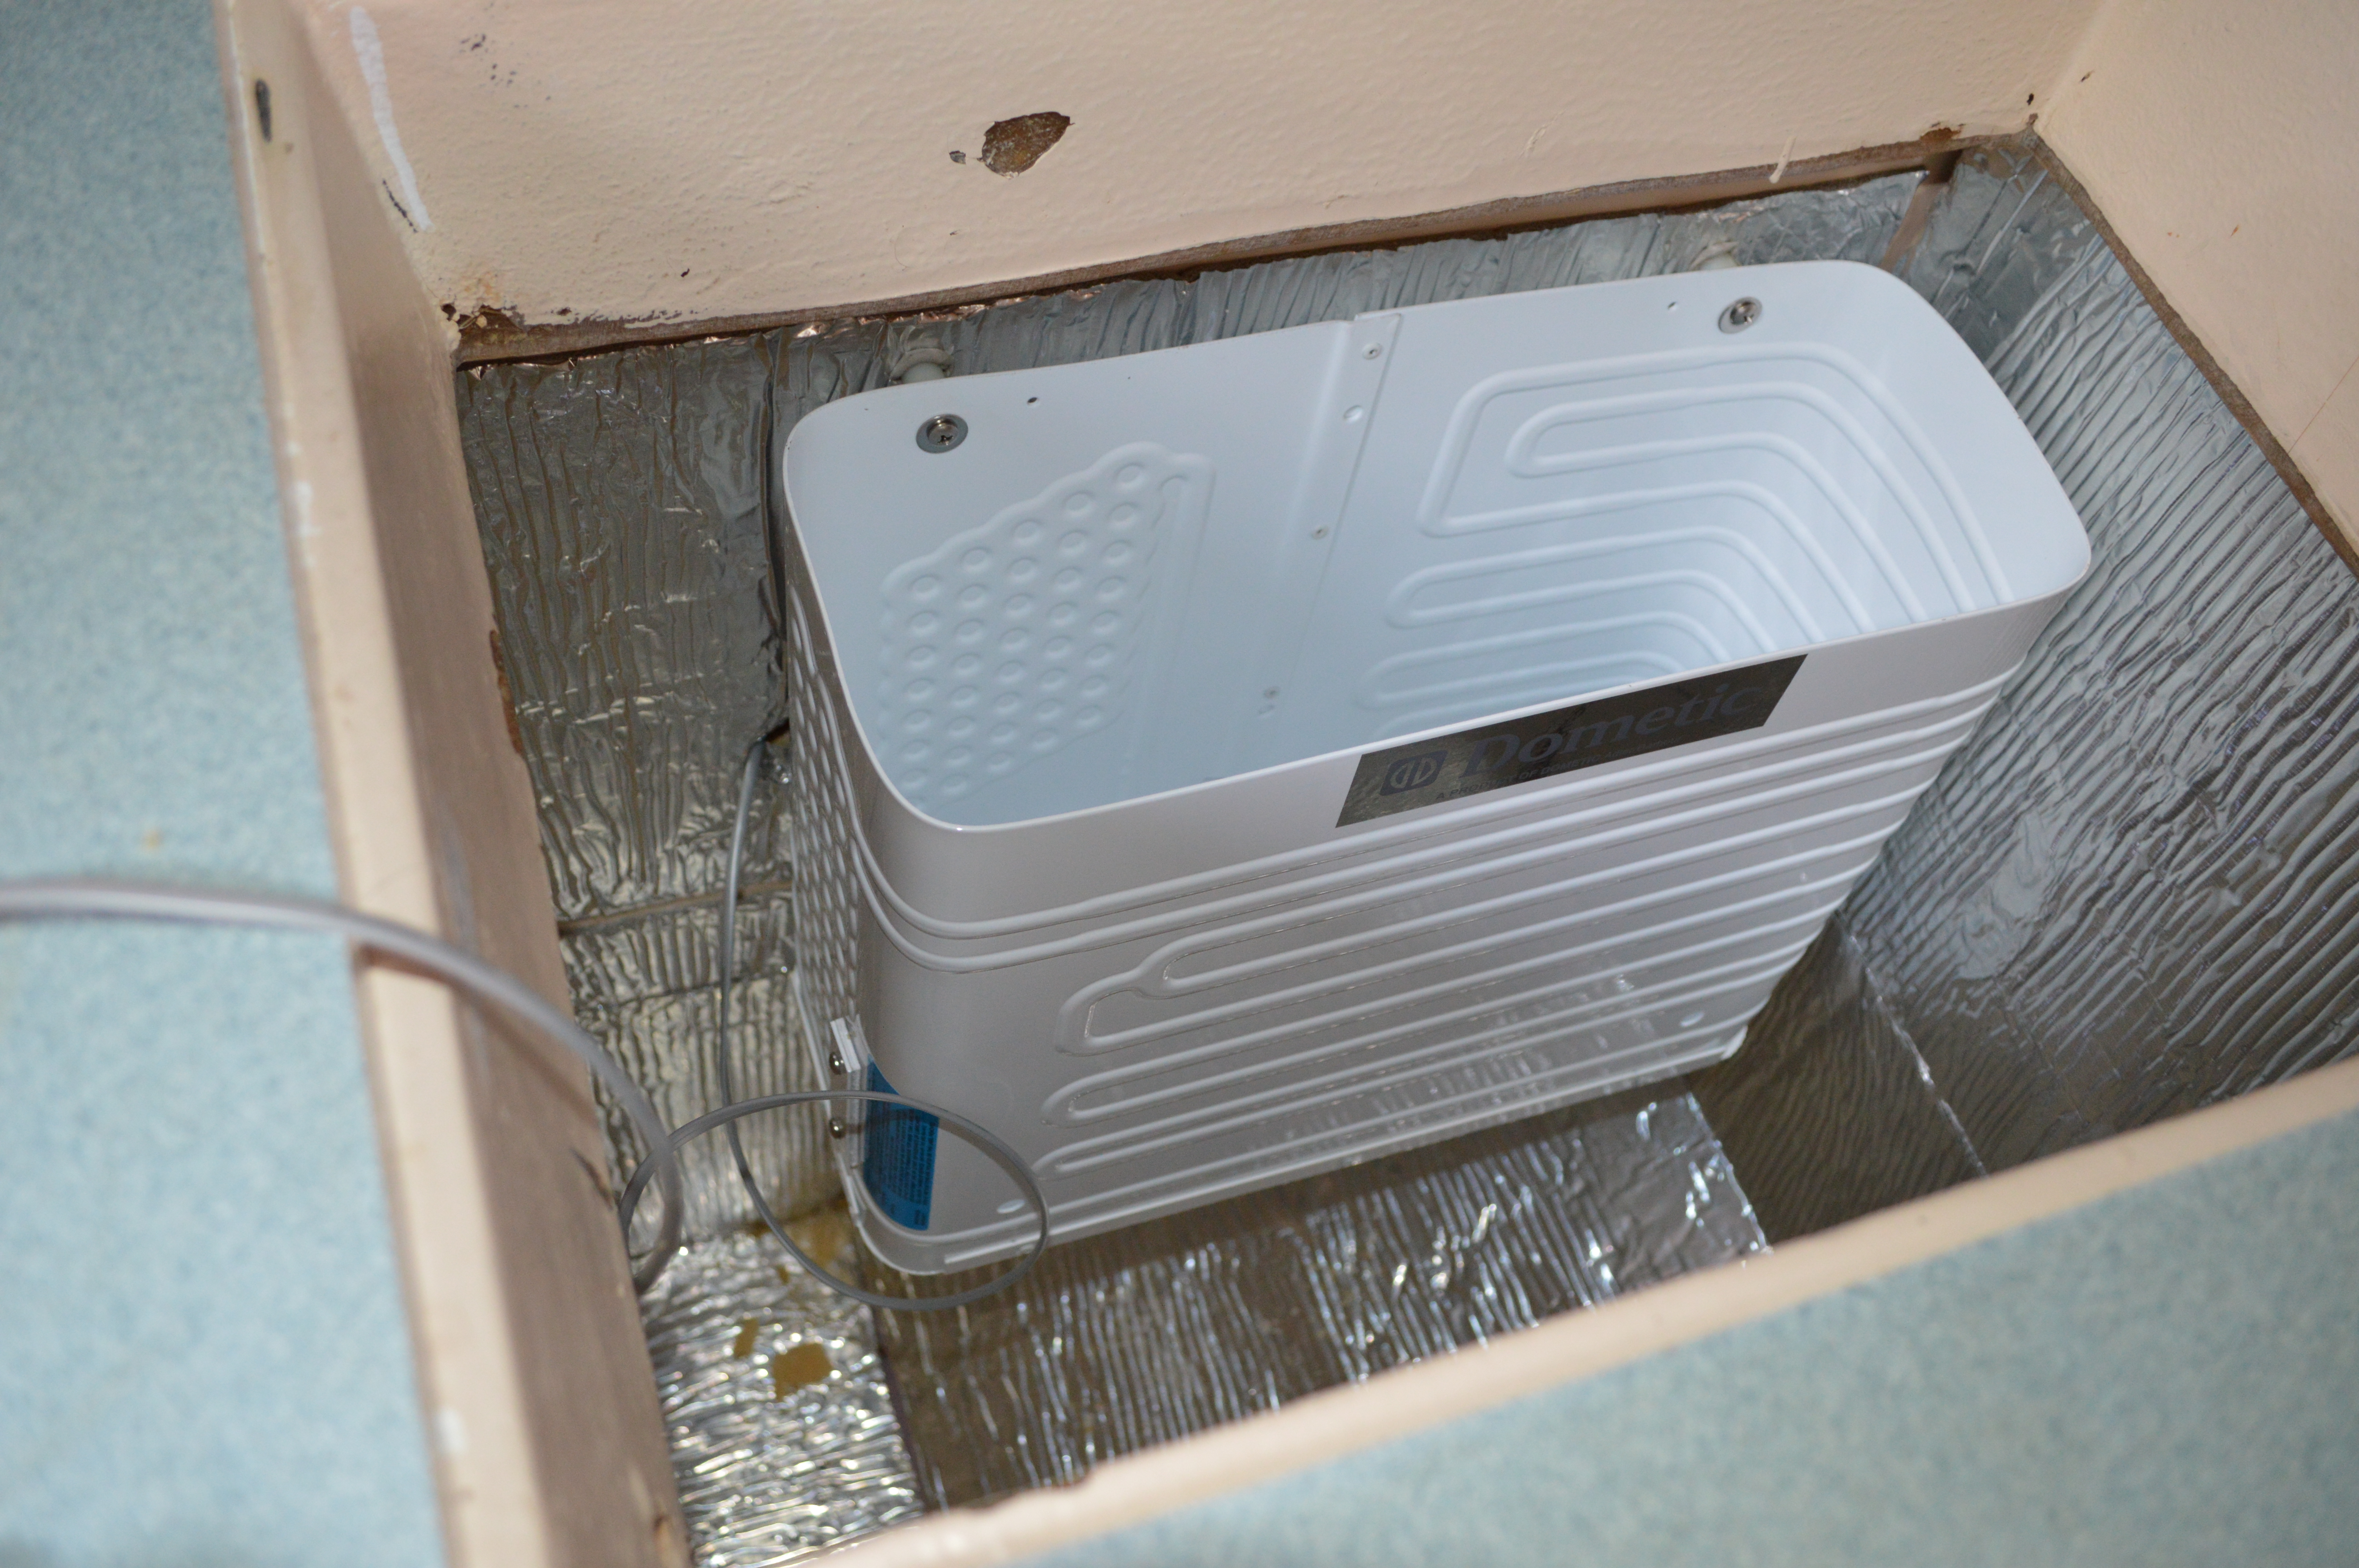
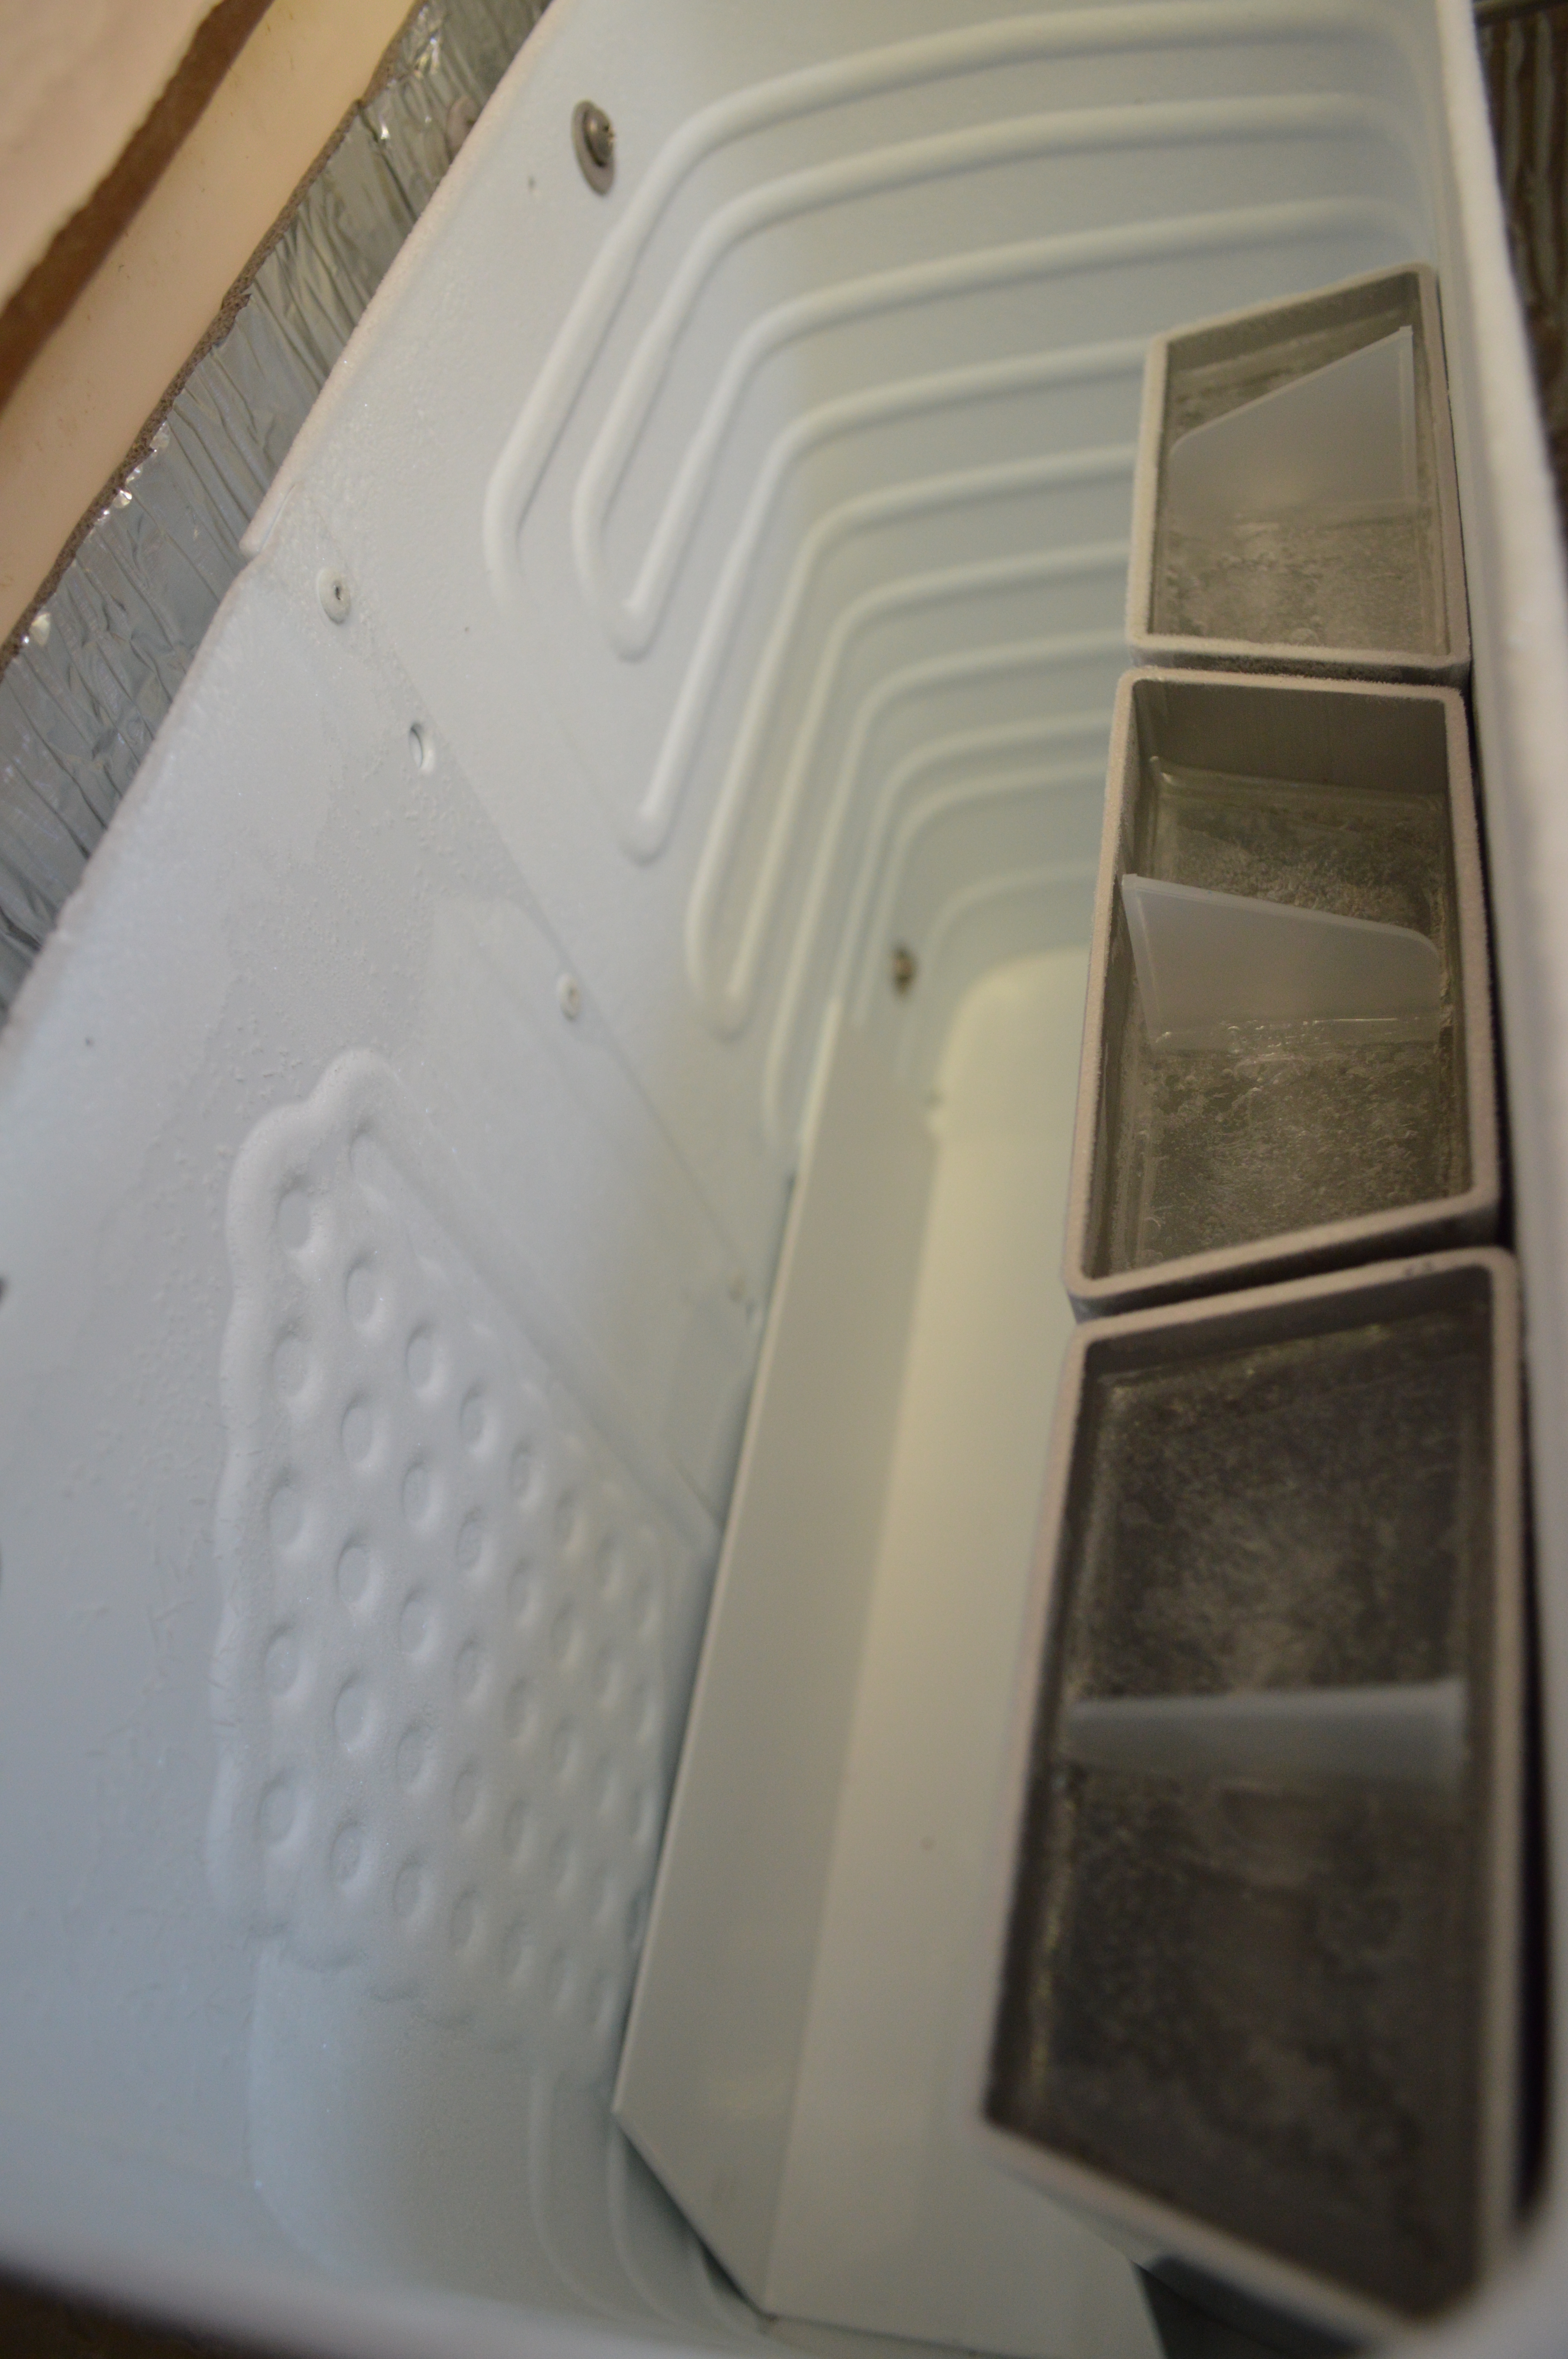
Back on the other side… the evaporator box was mounted along with all the other components that go inside the freezer.

DSC_0012

DSC_0014

DSC_0092

DSC_0093

DSC_0101

DSC_0103

DSC_0108

My favorite part of this whole deal?? I get THREE, yes THREE new aluminum Adler/Barbour vertical ice-cube trays!! These suckers are something like $80 a piece brand new!! They make awesome monster size ice cubes and last a long time. Every morning we soak one tray upside down inside a 52oz bubba keg filled 3/4 of the way with water. When the ice is melted a little, it will slide right out. We top off the rest with water and it lasts practically all day even in 90 degree weather.

If you’re interested in other options for ice-cubes on a boat, check out my friend Carolyn’s recent post on The Boat Galley. Search her site to see a ton of other amazing tips and ideas for making life so much easier in the galley. If you weren’t as lucky as I was to score these awesome vertical trays, be sure to check out all the other ideas Carolyn has for making ice on a boat.

DSC_0120

DSC_0122

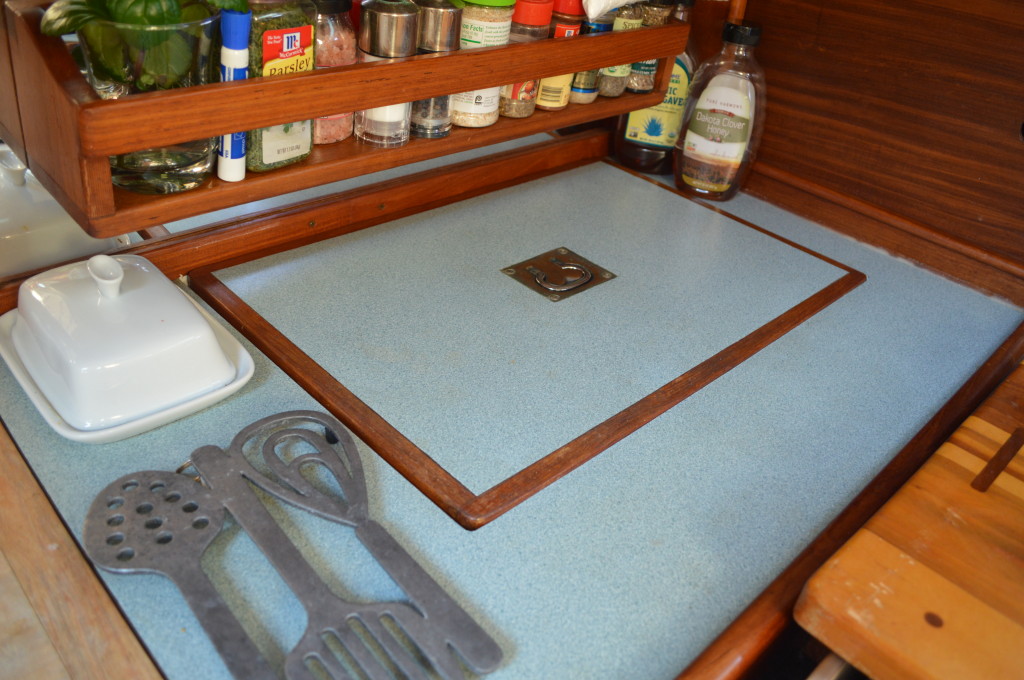
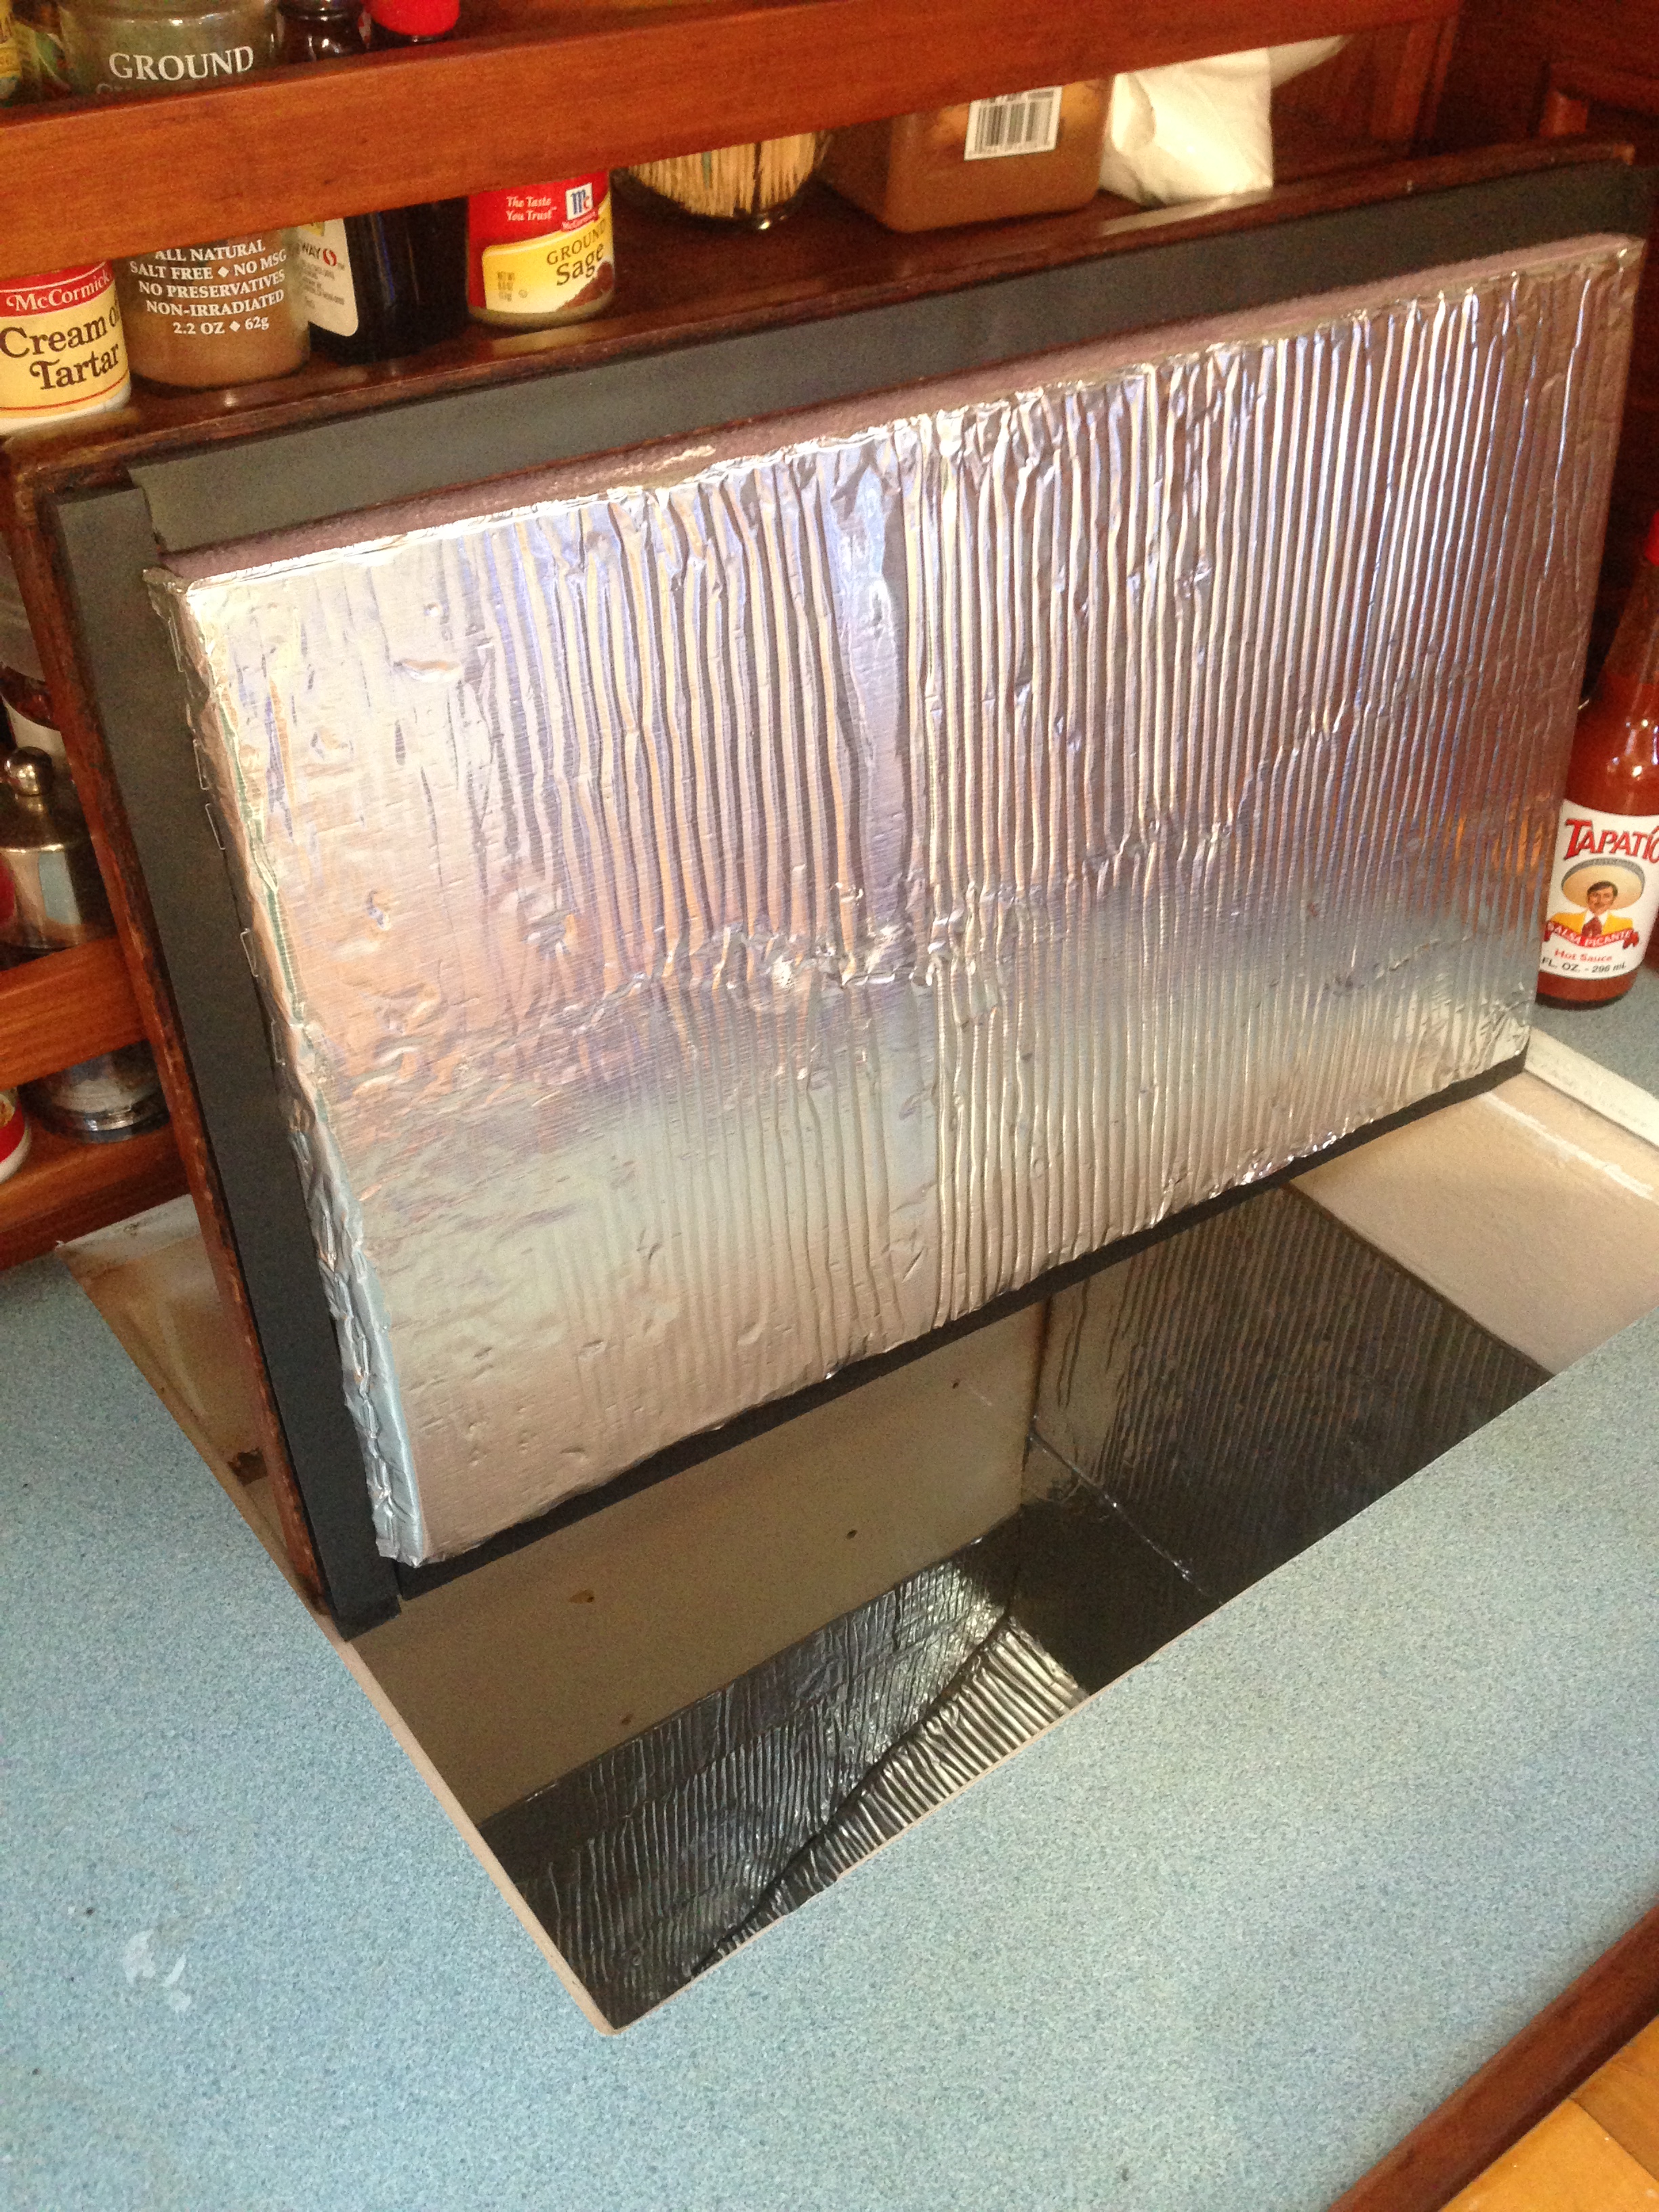
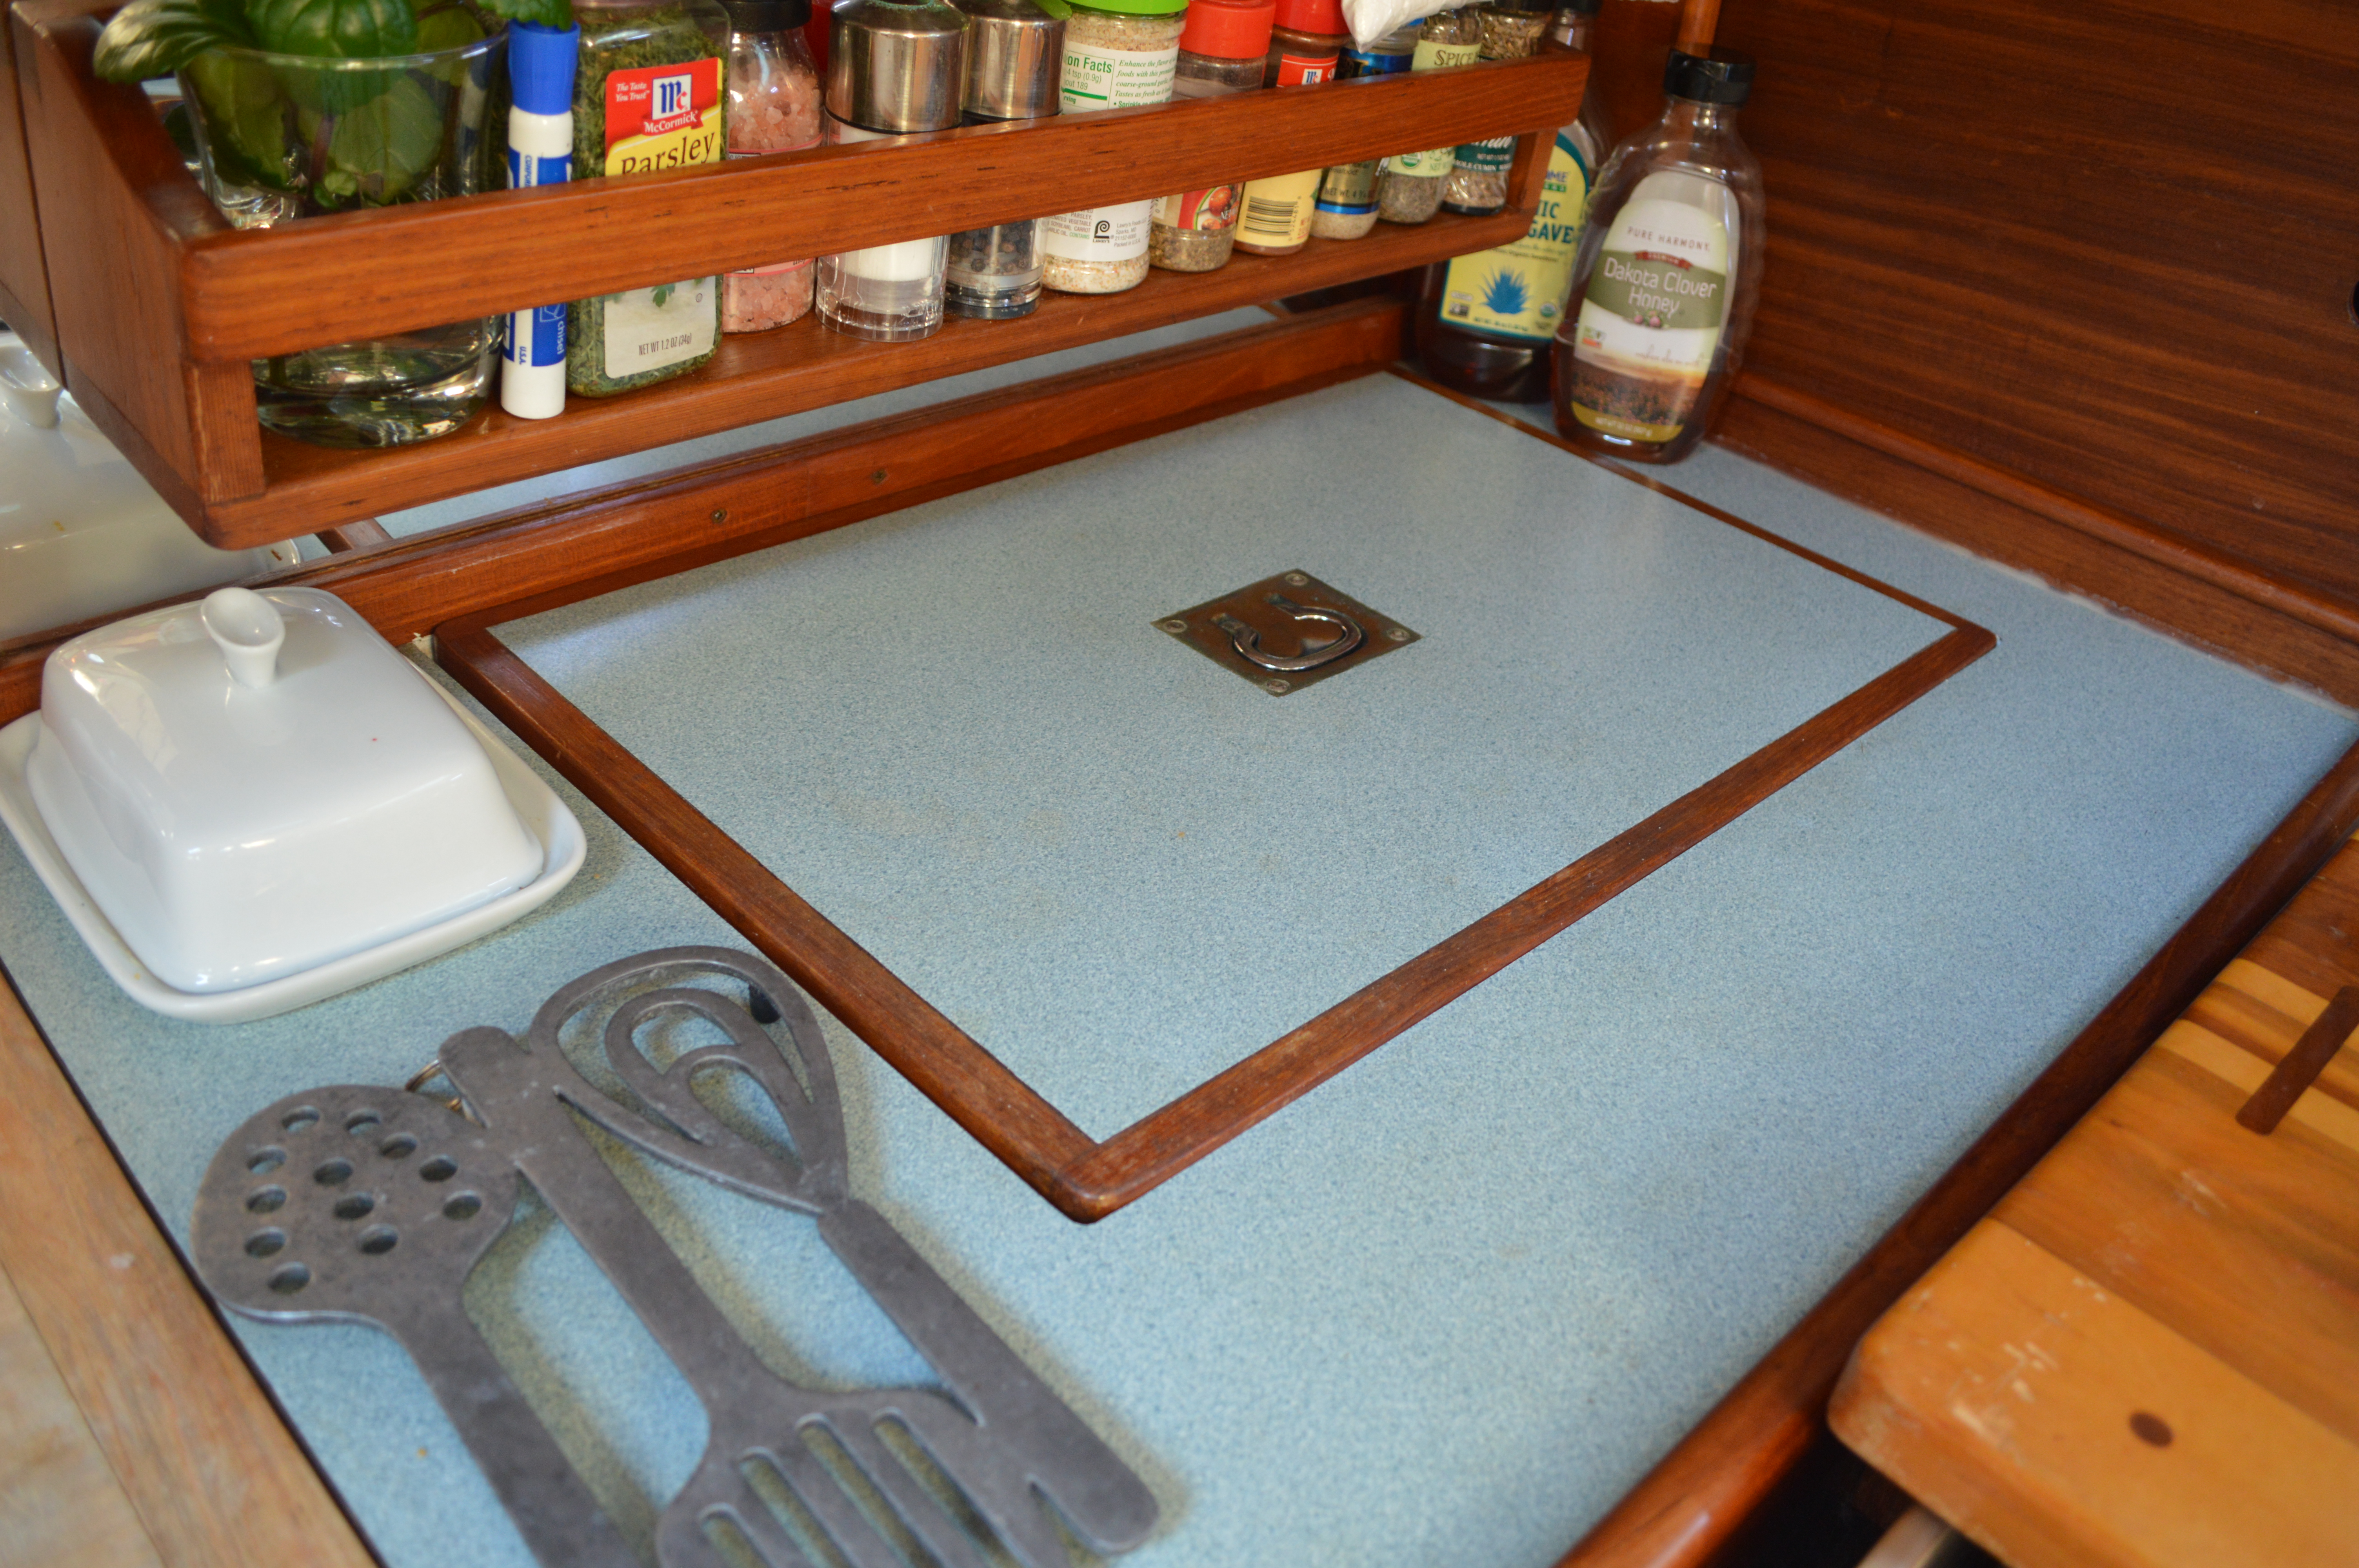
The finished product: a dedicated freezer for all of Peter’s fish… and other provisioning of course :)

DSC_0131

A trip to St.Petersburg

DSC_0011

We are back safe and sound after a weekend trip 2 hours north to Saint Petersburg for the boat show. It was a last-minute decision to make the journey north, but we’re glad we went. The puppies got to go with us, of course, and they got to lounge around the hotel while Peter and I were at the boat show both Saturday and Sunday. This show was much smaller than the Fort Lauderdale Boat Show and we got out of St. Pete with significantly less damage. There were just a few items we wanted to check out – solar panels, lazy jacks, anchors, and spear guns. We’re already pretty set as far as equipment and upgrades but its worth checking out the deals at a boat show if you get a chance. There were also some great seminars and special events going on that we were excited to see.

Sailing Florida Charters had an awesome program going on that Peter and I didn’t want to miss! They were offering FREE 45 minute sailing cruises with paid boat show admission. All we had to do was show up, get on the boat and enjoy a nice little jaunt out on a Catalina 445. We’d choose to get out on the water any chance we get. While we can always take our own boat out anytime we want (weather permitting) its nice to be able to hop on someone else’s boat for a relaxing cruise. There wasn’t much wind and we only motorsailed but it was still fun to play with the sails on a 2010 Catalina! Our view of the boat show was much better from the water :)

DSC_0013

DSC_0014

DSC_0015

DSC_0016

We didn’t take too many photos this weekend, we were too busy looking for things we had to have! We did end up purchasing some additional 100 watt solar panels and controllers to supplement the two 80 watt panels we have on the boat now. A post about those will follow as soon as they are shipped to us :) They are really good quality and the efficiency is probably double the ones that came with the boat. Hopefully we will have more than enough juice to power the new radar and freezer we are installing ;)

There were a ton of great seminars at the show too. We really wanted to see Chris Parker in action talking about the weather. We ended up getting one of his books and talked with him about the customized forecasting service he provides. There was a lot of great info he went over but we’re going to need to read his book a few more times to really get a handle on it. Weather is no joke and we need to make sure we can read the weather and how to watch for weather windows before making a passage. Peter is practically an expert already but I have a lot to learn!!

Another seminar we went to was Bob Bitchin’s “How to keep a starboard attitude while cruising.” Wow, this guy is a trip!! He really knows what it means to be Livin the Dream. And, his wife’s name is pretty “bitchin” too – Jody with a Y!! A little bio on him from the boat show program: Since the early 60’s, adventure has been a way of life for Bob Bitchin. He worked as a traveling companion and bodyguard for famous motorcycle daredevil, Evil Knievel. Then in the early 70’s he started sailing and for over thirty years he lived aboard sailboats and cruised most of the Pacific and Central America.  In 1996 he created Latitudes & Attitudes Magazine. Currently Bob and his wife Jody are creating a new title, Cruising Outpost, which will launch this winter.  www.cruisingoutpost.com . Bob has written seven books: Letters from the Lost Soul, The Sailing Life, Brotherhood of Outlaws, BIKER, Emerald Bay, King Harbor, and Starboard Attitude which was released in June of 2011. – See more at: http://www.showmanagement.com/st_petersburg-boat-show/event/seminars/418#sthash.VMZwJGA5.dpuf

Last but most certainly not least, we got to meet Kim and Jereme from S/V LAHO (lahowind.com)!! We chatted with them for a while about our boats and cruising plans. We definitely have a lot in common. They will be setting sail around the same time, from almost the same starting point, with about the same experience, going in the same direction, without time restrictions, and even with the same furry four-legged kind of crew!! We hope to meet Oliver soon and hopefully Betsy and Gunner will have a new cruising buddy :)

The drive back home to our cozy boat was beautiful as well. Its always fun to see new places and experience a bit more of Florida before heading to the Bahamas.

DSC_0022

DSC_0026