A very LONG overdue galley project finally got completed this week! Though it cost us nearly $2000 it was a necessary purchase. Our stove/oven had slowly become unusable over the last several years and we finally bit the bullet and replaced it!
Our old stove was a Seward Princess – a brand that is not manufactured anymore. While I liked the setup, it was just plain dangerous to use anymore. For starters, the oven door busted on one side so it would not close all the way. It never really got very hot to begin with but when a good portion of the heat began to escape right out the front it was hardly helpful and took forever to bake anything.
Next, the front right burner was completely seized up. I guess the valves on these units eventually get all gummed up inside and its nearly impossible to clean or service them. The knob just wouldn’t turn at all.
The middle burner in the back would not stay lit unless I stood there and held in the knob for a minimum of 10 minutes after lighting it. At which time, the temperature could not be reduced to low heat, meaning I had to carefully decide what I was going to cook on that burner knowing it could only be done at high heat and I might not have an extra hand to stir anything else. Most likely, the thermo-coupler was shot, preventing it from getting hot enough to stay lit on its own. Total pain in the a$$ so I just didn’t use that burner anymore either.
The right front burner was the only one I had been able to use but it was most definitely on it’s way out too. The flame would ALWAYS blow out the first two times, requiring me to stand there and light it a total of three times. It wasn’t bad propane or a lack of oxygen, it just wouldn’t stay lit unless I did it three times. Weird. But that’s not all. If I was using the oven at the same time, the knobs on the front of the stove would get so warm that they would stick (just like the first burner). This was particularly scary when cooking if I couldn’t shut off the frickin flame. It’s a small space to begin with and if I’m cooking up a storm then there is definitely not room to have an open flame just burning away! Shut off then required me to be done using the oven because I’d have to turn off the propane solenoid on the wall, which stopped the flow of propane, but then I had to wait for the whole unit to cool off before I could turn the stove knob back to “off” position. Yep total P.I.T.A. And so very unsafe.
R.I.P. old girl…

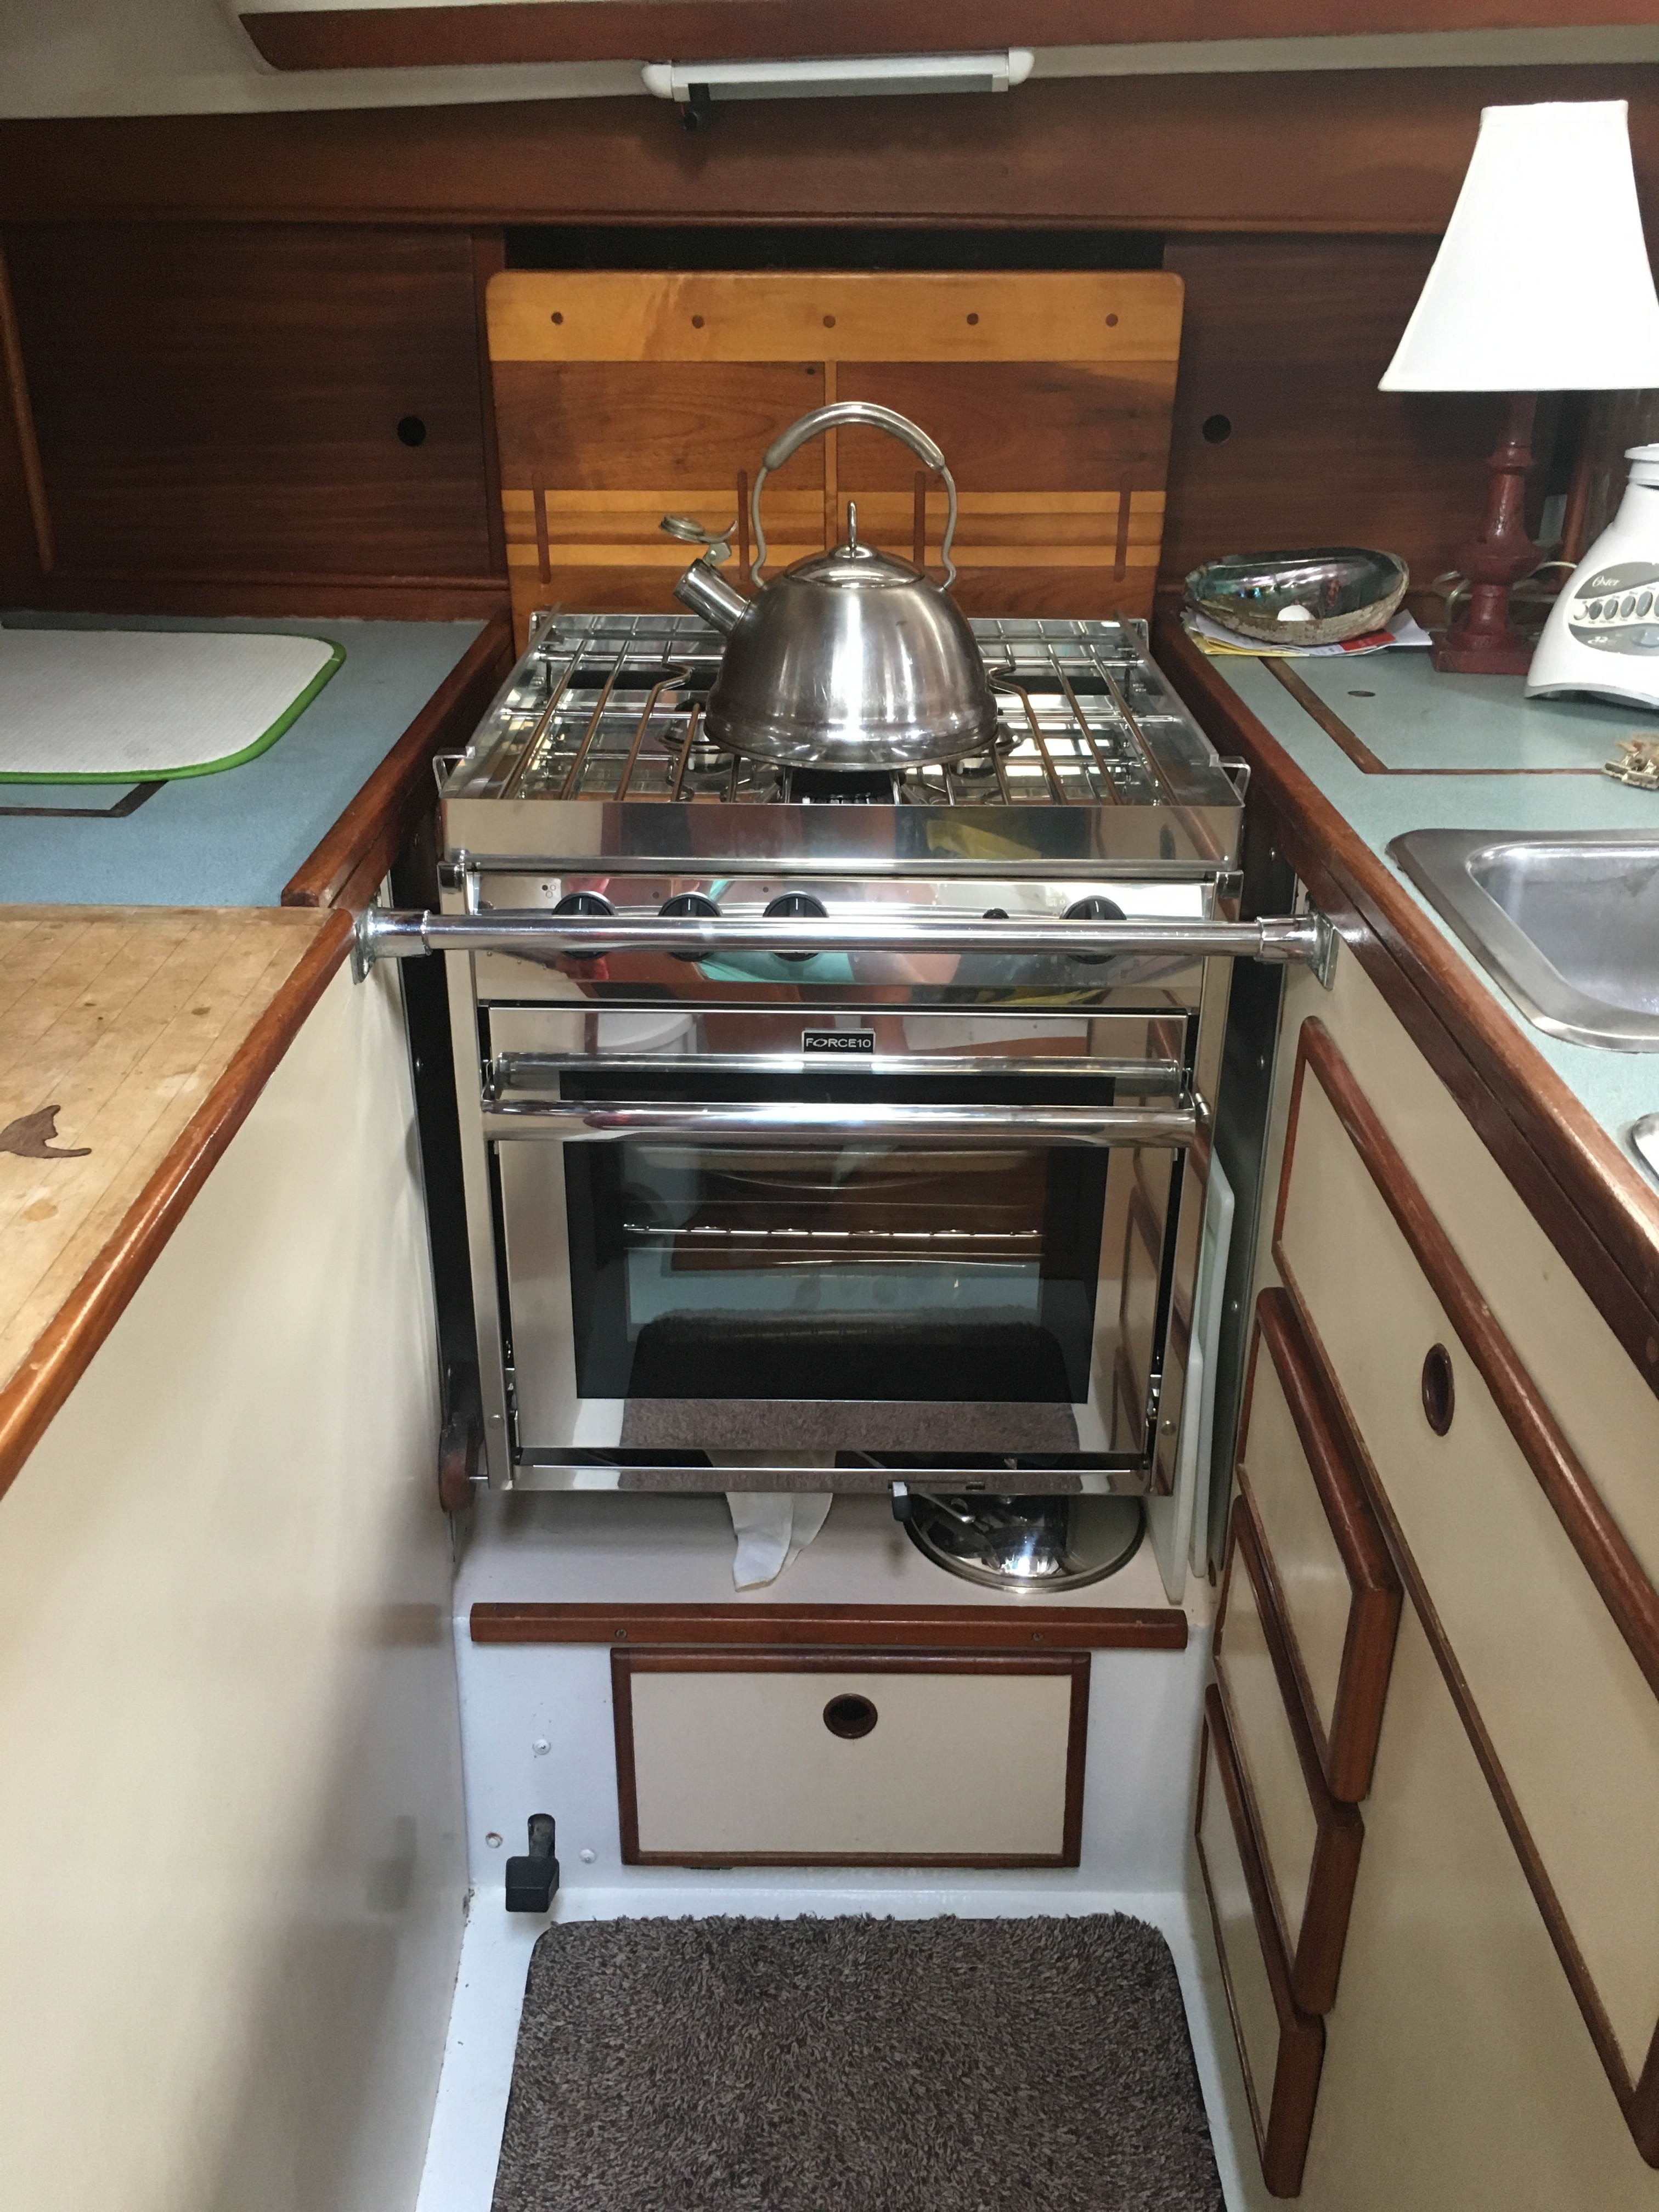
It was probably meant to be… I had Peter verify my measurements of the space allowance we had compared to the new stoves available in the Budget Marine catalog. We decided on the American version of the 3-burner Force 10 – a very popular brand and model. It was a product that the chandlery here on Tortola at Nanny Cay either carried or could order in with their regular shipments. On our next trip past Nanny Cay we stopped in to replace our leaking BBQ propane tank (yep, more money spent on necessary upgrades). While locating the new tank we inquired about the specific part number we wanted to order since we didn’t see any three-burners on the floor. Turns out, the very model number we wanted WAS right there in the store, on the display floor, packed nicely in it’original box!! I was sold. It was right there all along, concealed from everyone else, we just had to ask and their system told us it was right there. Perfect.
We were disappointed that the pricing had gone up since the chandlery there was no longer operating as Budget Marine but it didn’t matter. It was not economically feasible for us to try to sail our boat all the way to St. Thomas on the off chance that Peter may get a consecutive three days in a row off work. Maybe if I wasn’t 8 months pregnant, but we agreed it was just better to spend a little extra and get one that was already imported into BVI. All we had to do was load it in the car, into the dinghy and into our boat.
Luckily, our friend Mike from Three Sheets was available to help Peter with the awkward lifting. It was only about 85 lbs but still rather large and definitely a two-man job for getting it into our boat. Even our friend Branson came to help lift the new one up and through our companionway. Such sweet guys to help a pregnant lady out ;) The old one was much easier to get it out.
It took quite a bit of cleaning once the old unit was out. Messes are nearly impossible to avoid once these suckers are installed.
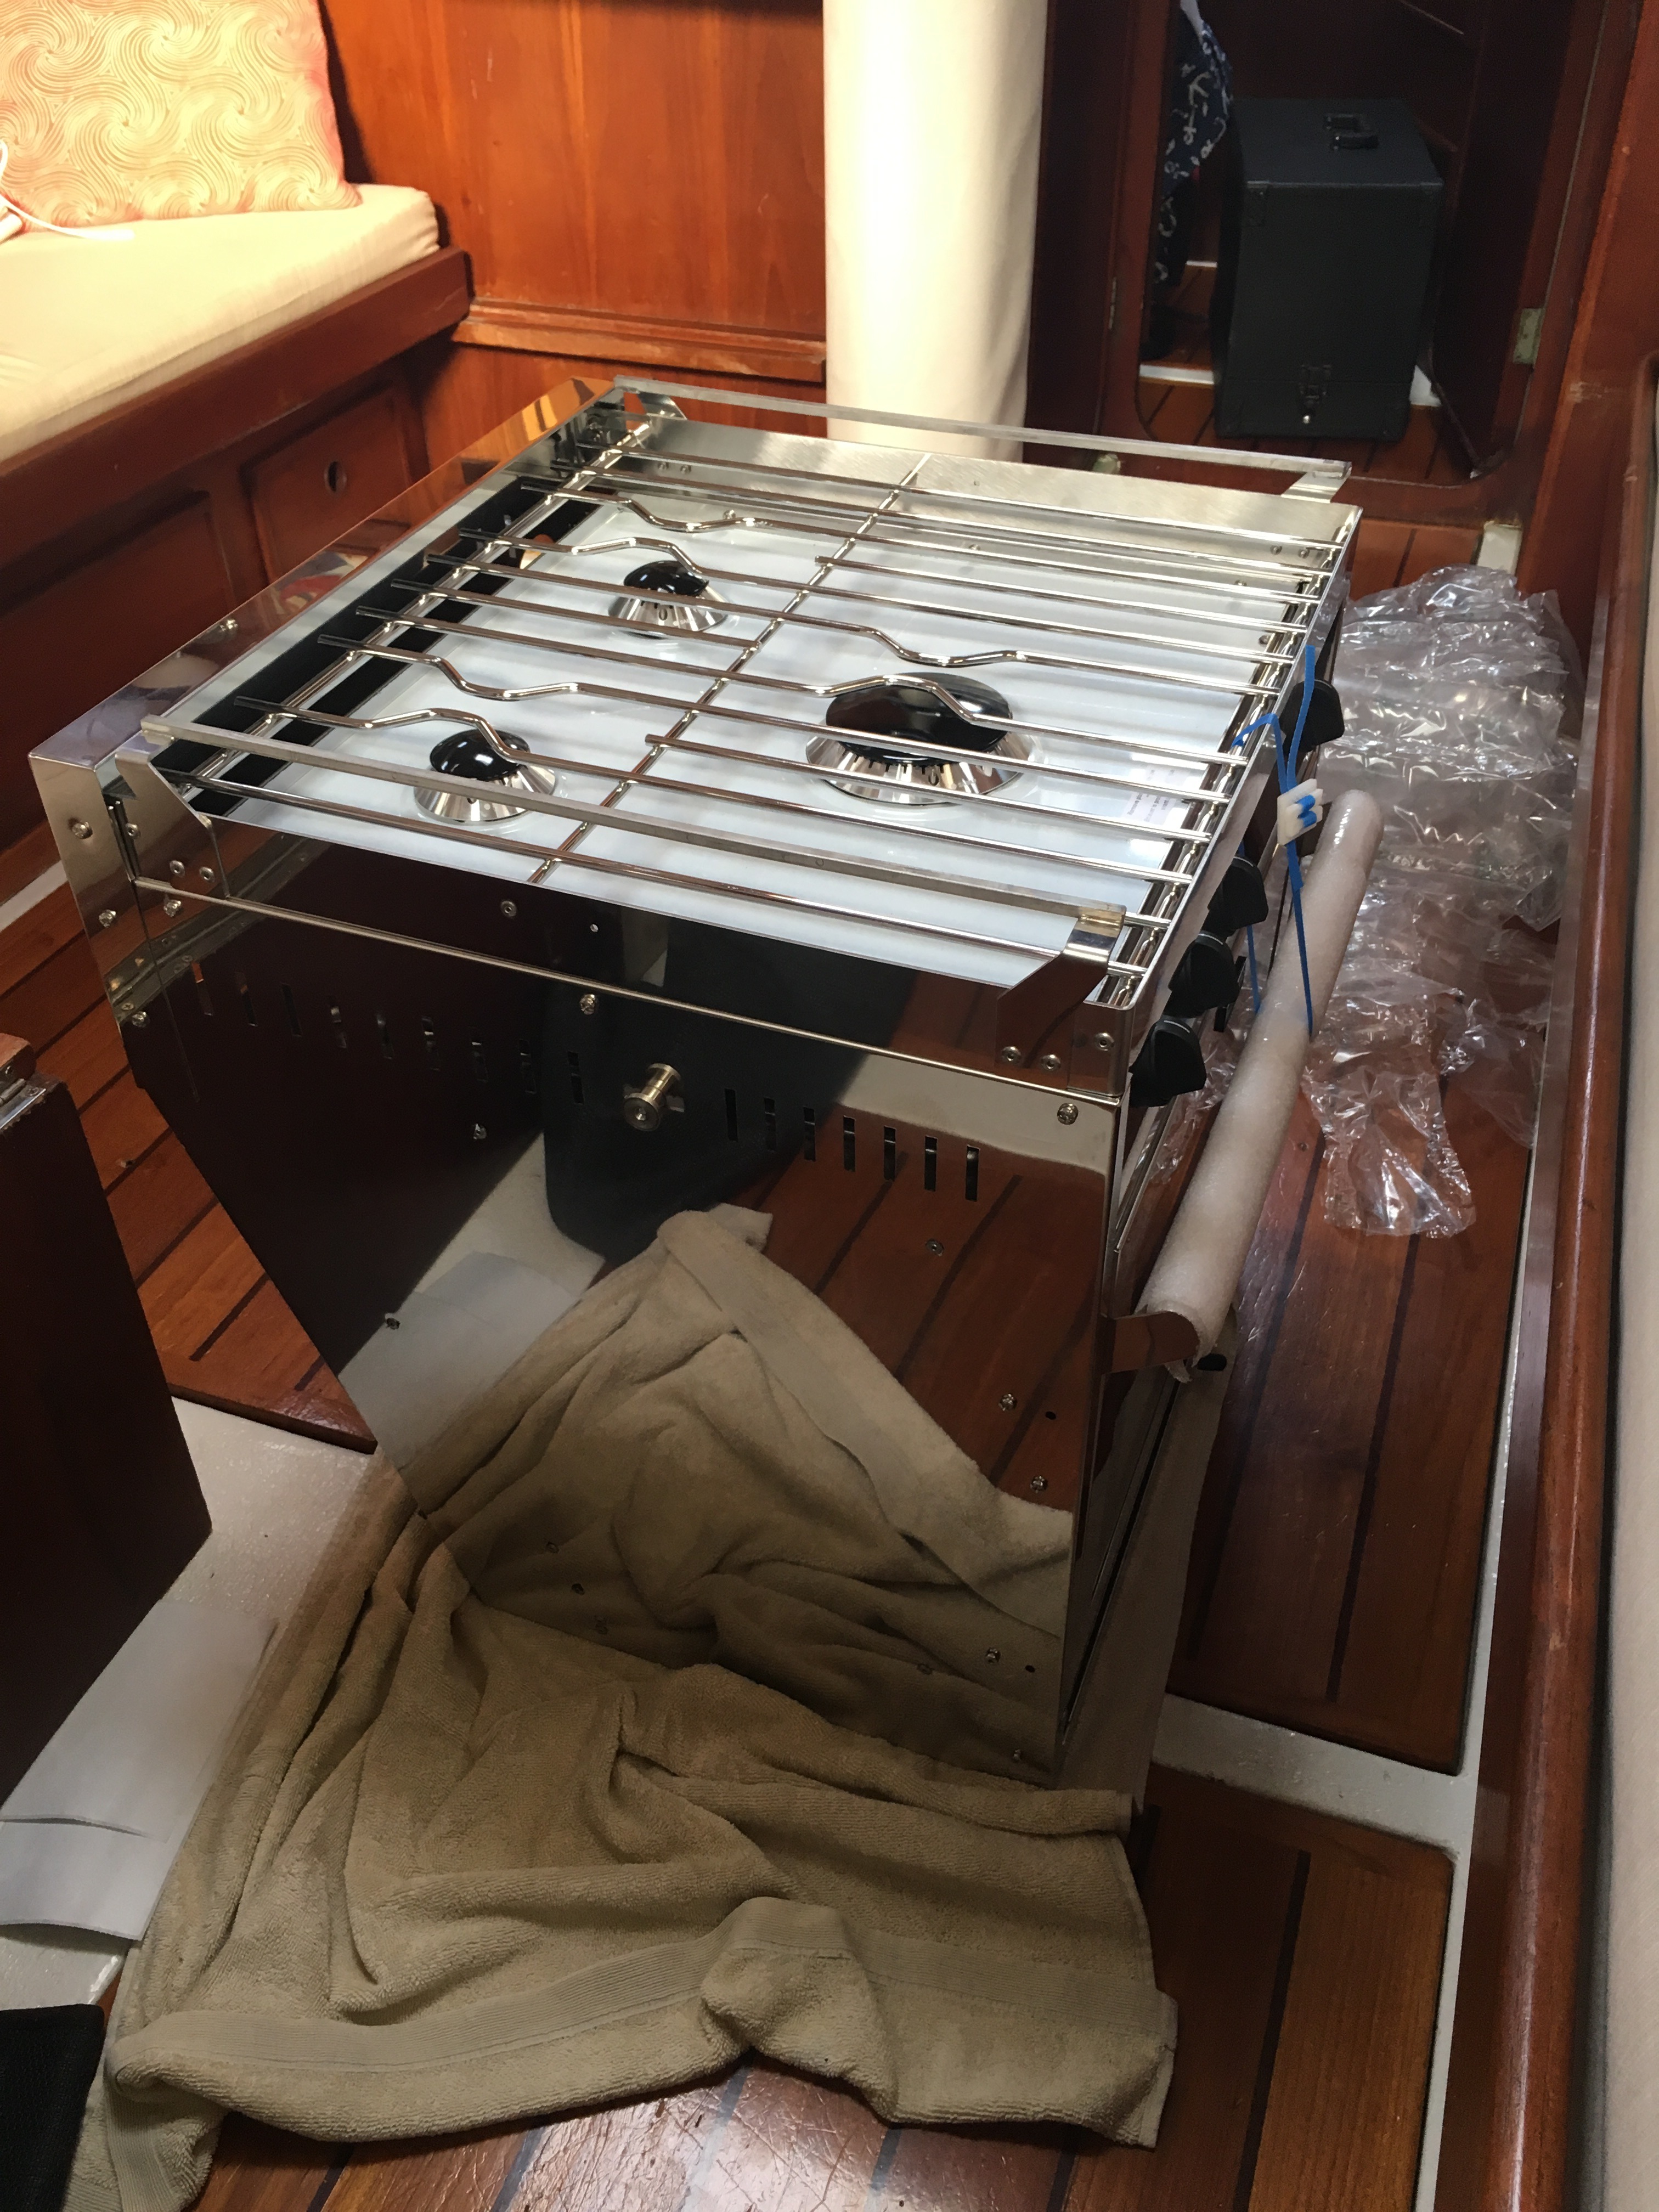
While the guys hauled the old one out, I started unpacking the new one :) It’s so SHINY!! Probably the shiniest thing we have on our boat now!
Now what do I want to bake first? :)