Okay, yes the temperature outside is on its way down to 36 degrees before sunrise tomorrow, but that’s not the kind of freezing we’re talking about here.
We are getting really close to leaving Florida and there are still a few minor projects that need to be finished up. One of the MANY boat projects that have been keeping us busy over the last few months was to install another refrigeration unit in the empty space next to the refrigerator we already have. The space was used as a freezer many moons ago but someone took it out. OBVIOUSLY they weren’t catching any 100 pound tuna like we will be soon ;)
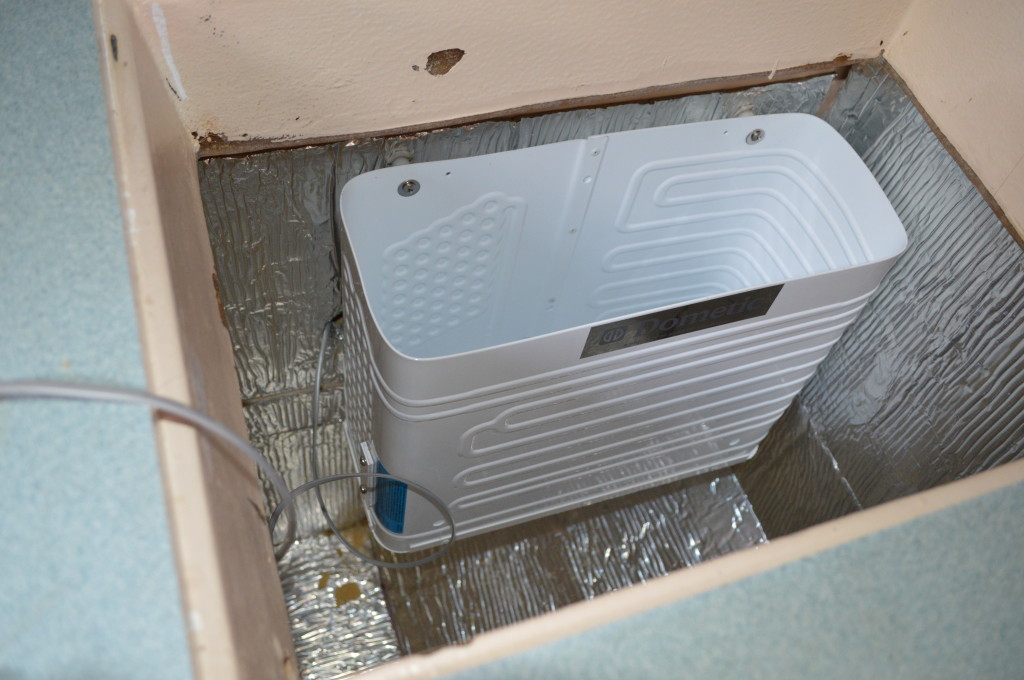
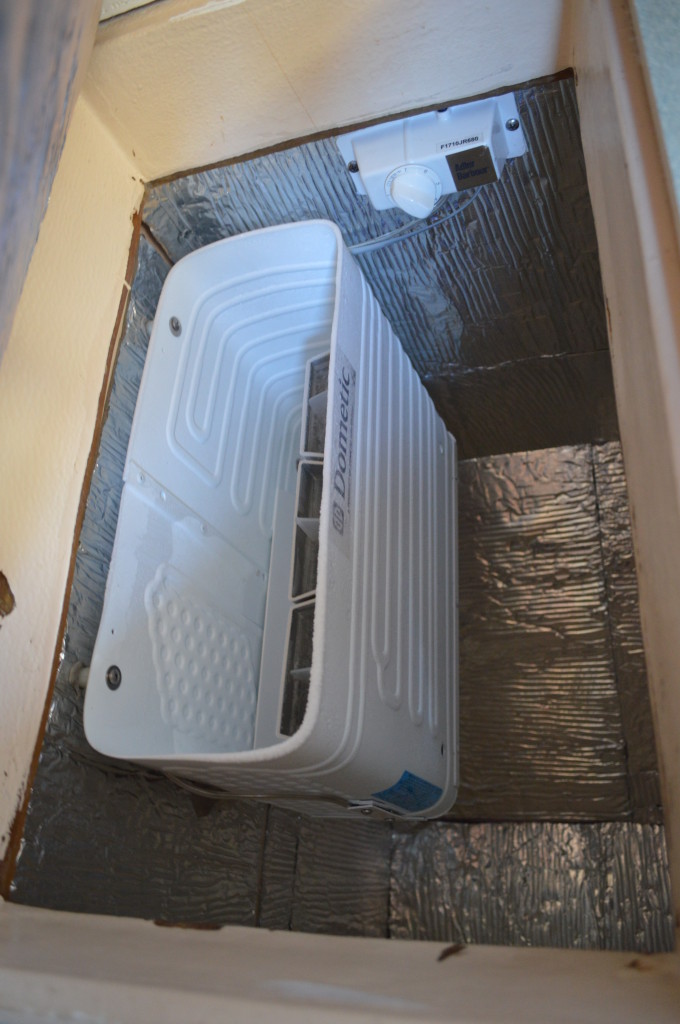
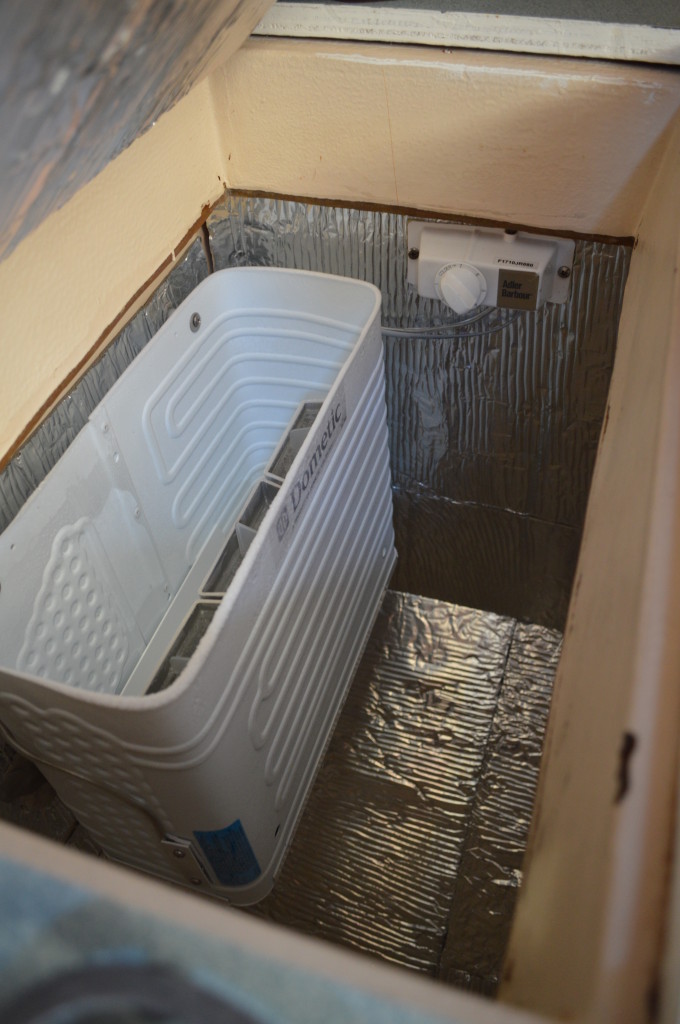
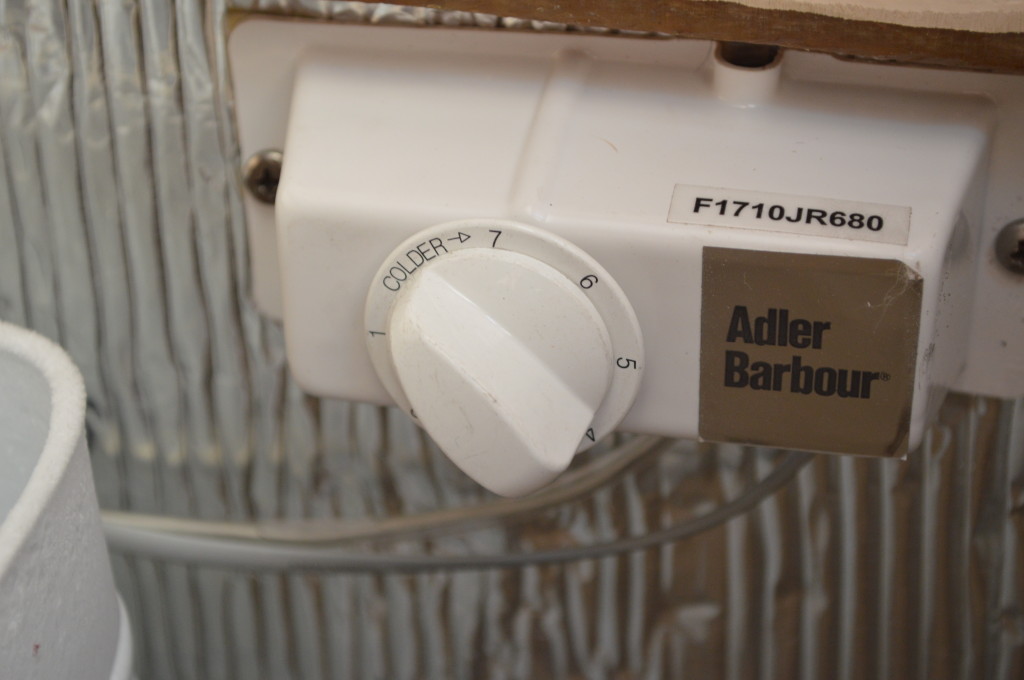
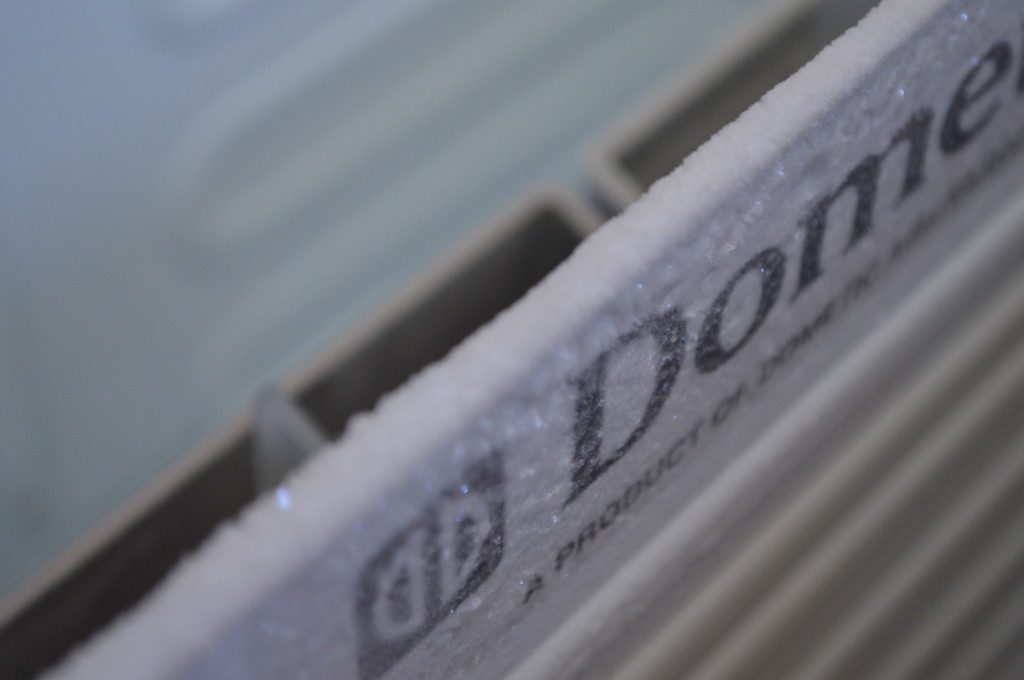
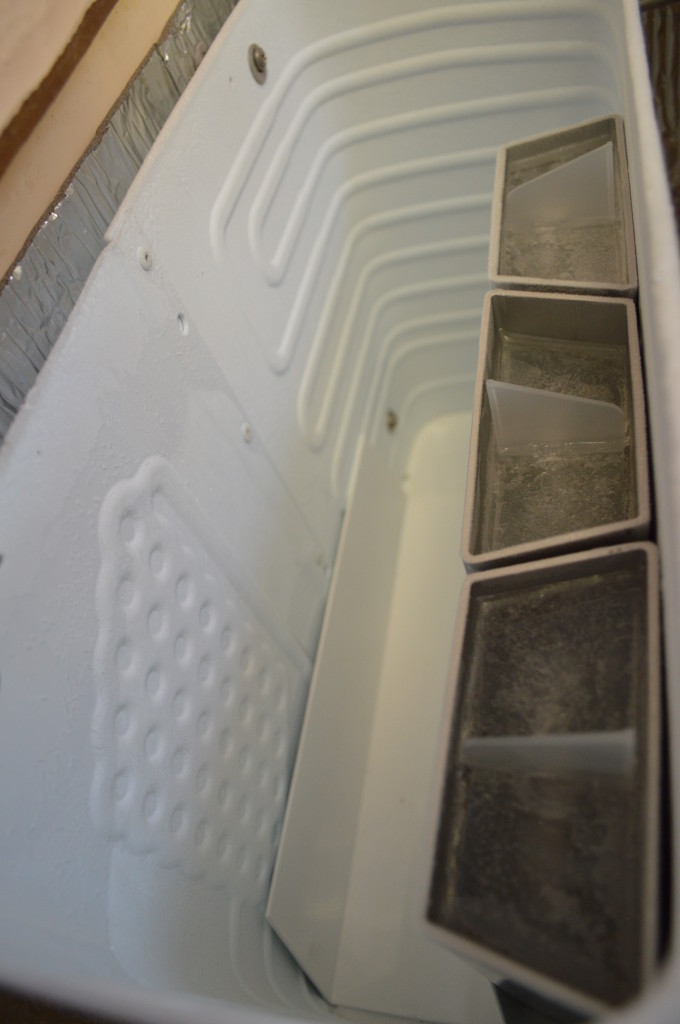
Our existing refrigerator is an Adler/Barbour Dometic air-cooled CU-100 ColdMachine. It consists of a large vertical evaporator and an air-cooled condenser unit. The dial can be set from 1 to 7 and we only need to leave it at 3 1/2 in order to keep the inside of the evaporator at freezing temps. This is perfect for keeping the rest of the insulated box a nice cool temp resembling what a normal household refrigerator would be.
We like it so much that we opted to install the same unit in soon-to-be freezer compartment. This way, we can either set the dial for normal refrigeration and freezer space, or we can just crank the dial to freeze the whole thing and use it as one big freezer if when Peter catches all that fish. This isn’t his first luau… the man sure does know how to hook ’em!
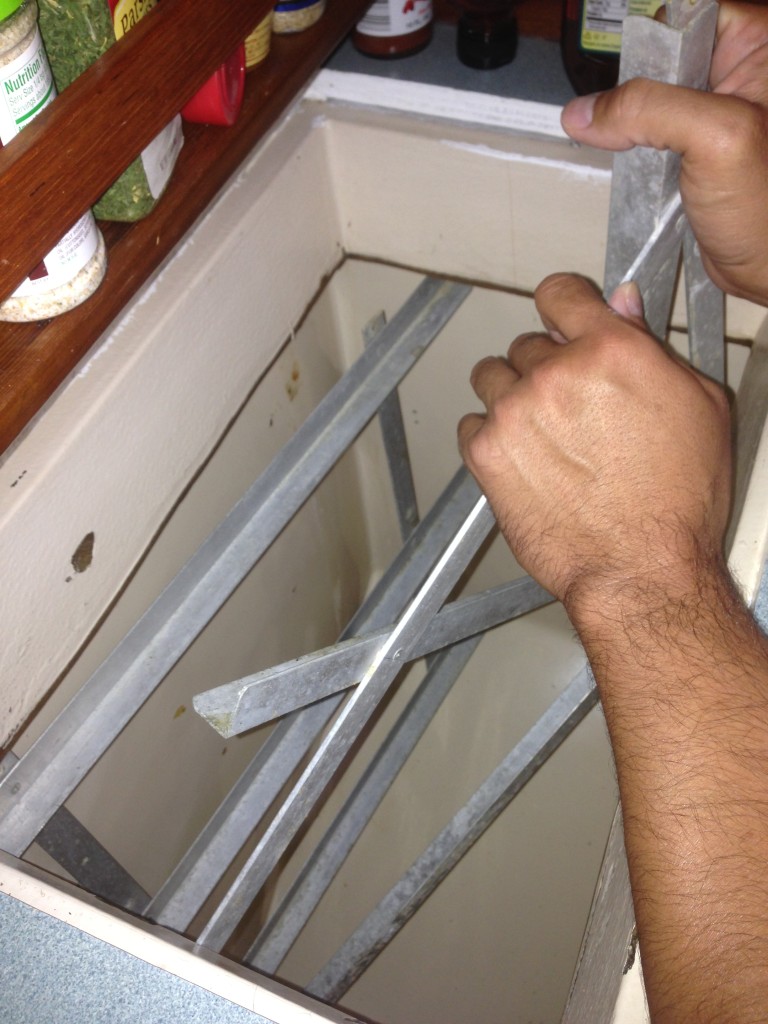
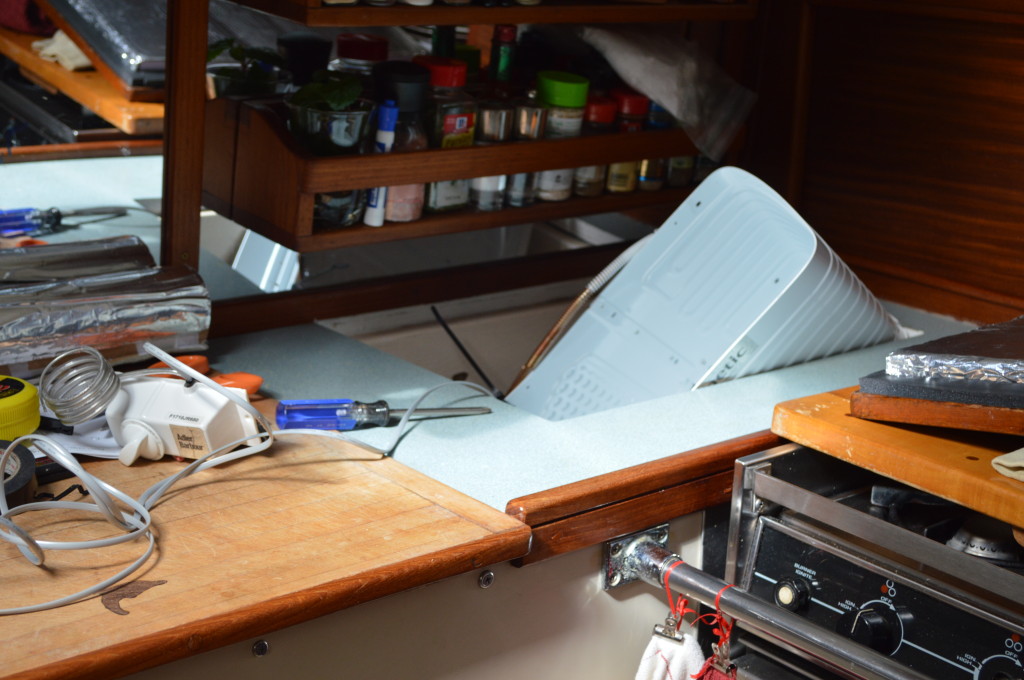
Before the new unit could be installed we had to remove the plexiglass shelf and the aluminum rails that were inside the space. It was a puzzle to get those suckers out of there but we finally figured out that they had to be unscrewed and then pivoted out.
It got cleaned out really well. Peter did this project all by himself, and I kept busy with the camera ;)
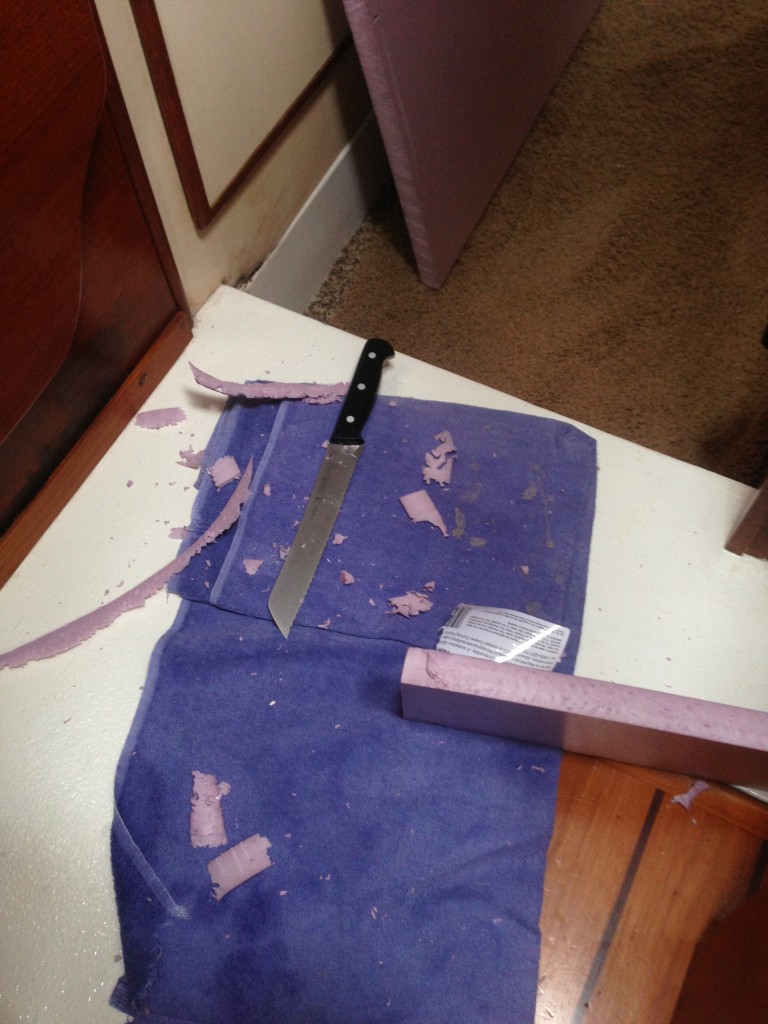
Next, he marked up the rigid insulation foam we bought from Home Depot. It came in monster size sheets, or you can buy cute little 2×2 squares of the purple stuff. We got two of the squares. A bread knife worked well enough to slice through the foam.
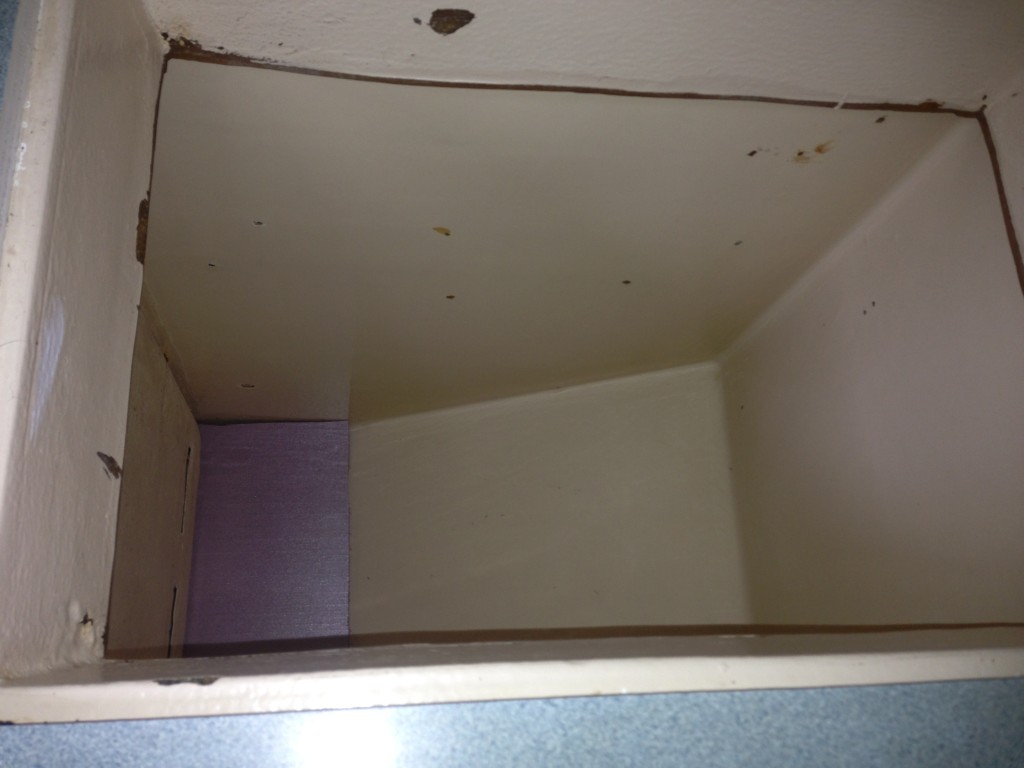
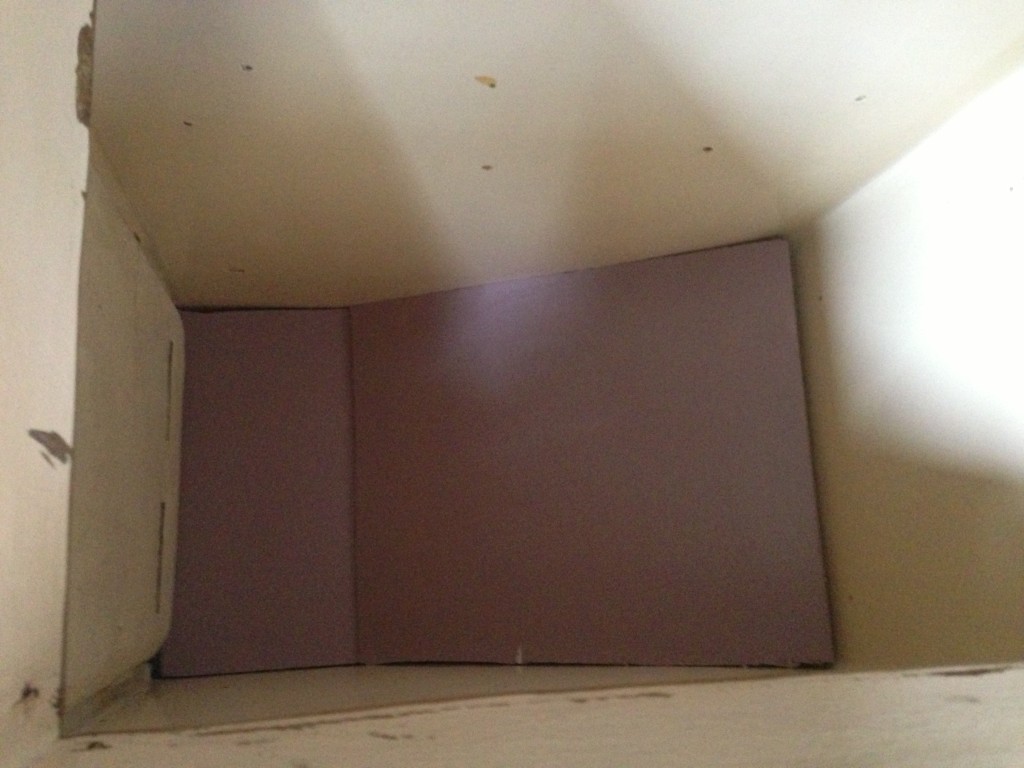
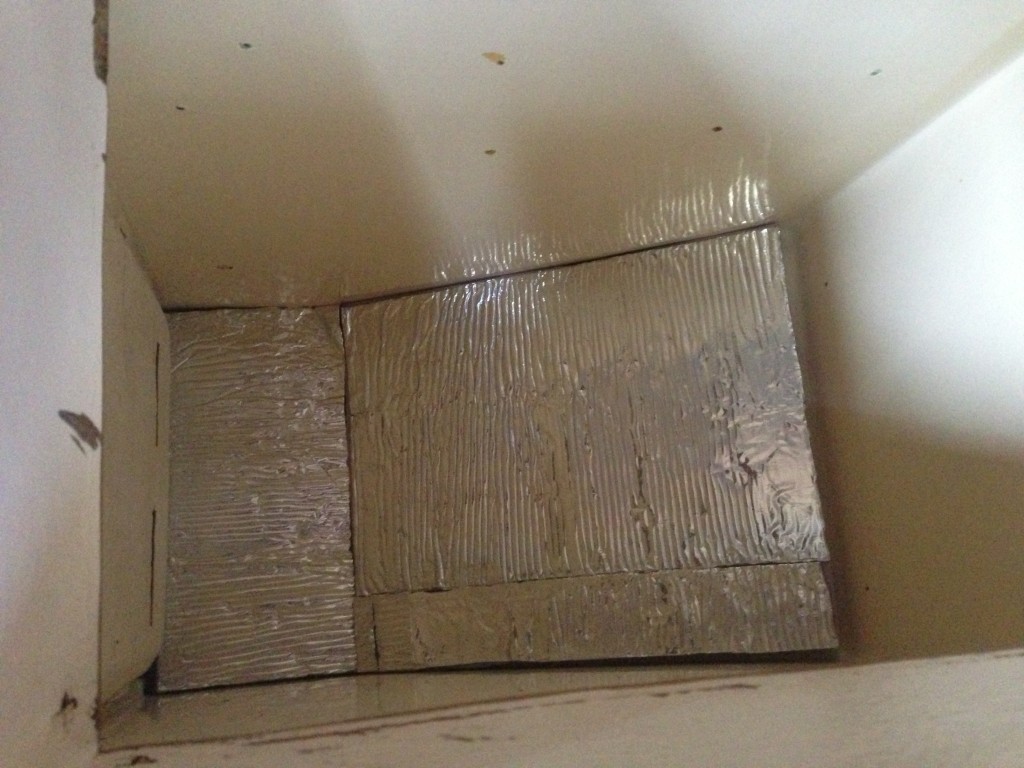
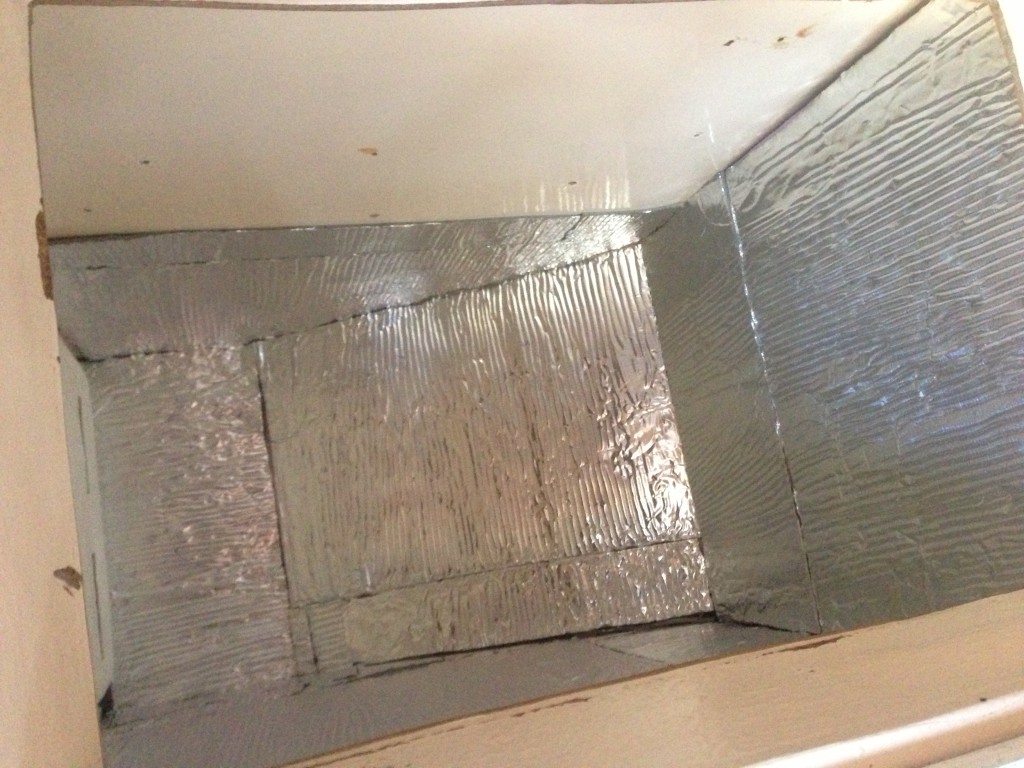
Piece by piece the odd-shaped walls of our freezer compartment started coming to life. It wasn’t too critical to get an exactly flush cut, but he got it close enough.
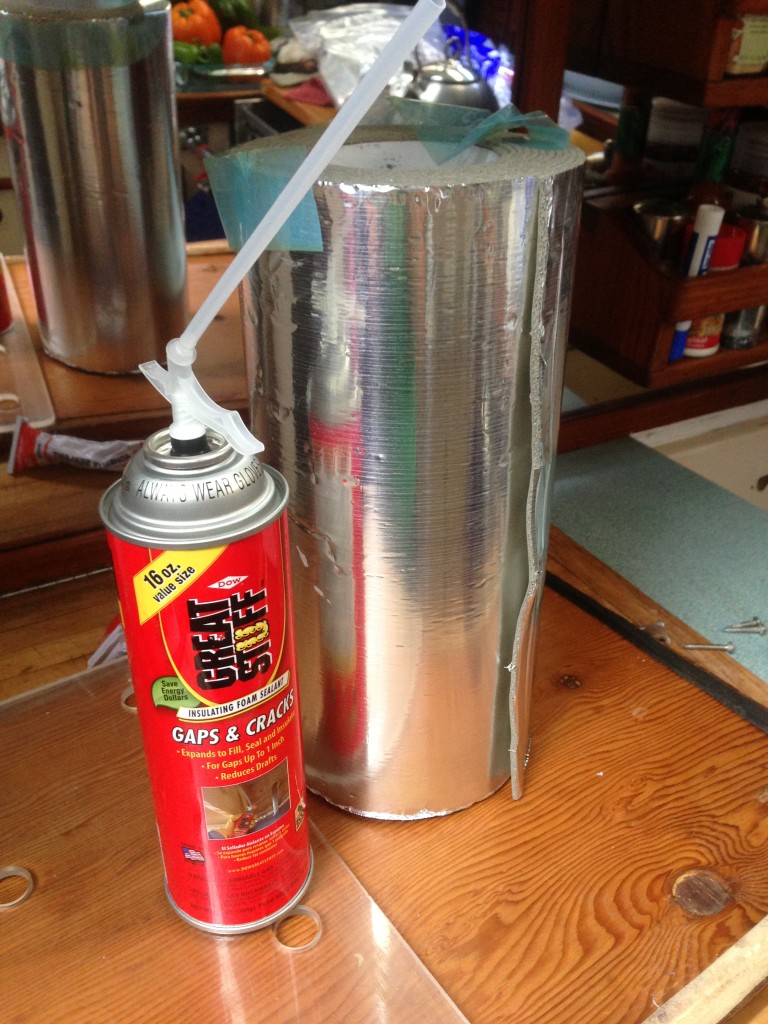
We also bought a roll of Self-Stick Foam/Foil Duct Insulation to apply over the rigid foam. We thought the Great Stuff was a great idea, but didn’t end up using it for this project after all.
The walls of the space were already insulated and fiberglassed in but we wanted to just add a little bit more insurance so we don’t end up with an unnecessary loss of cold air.
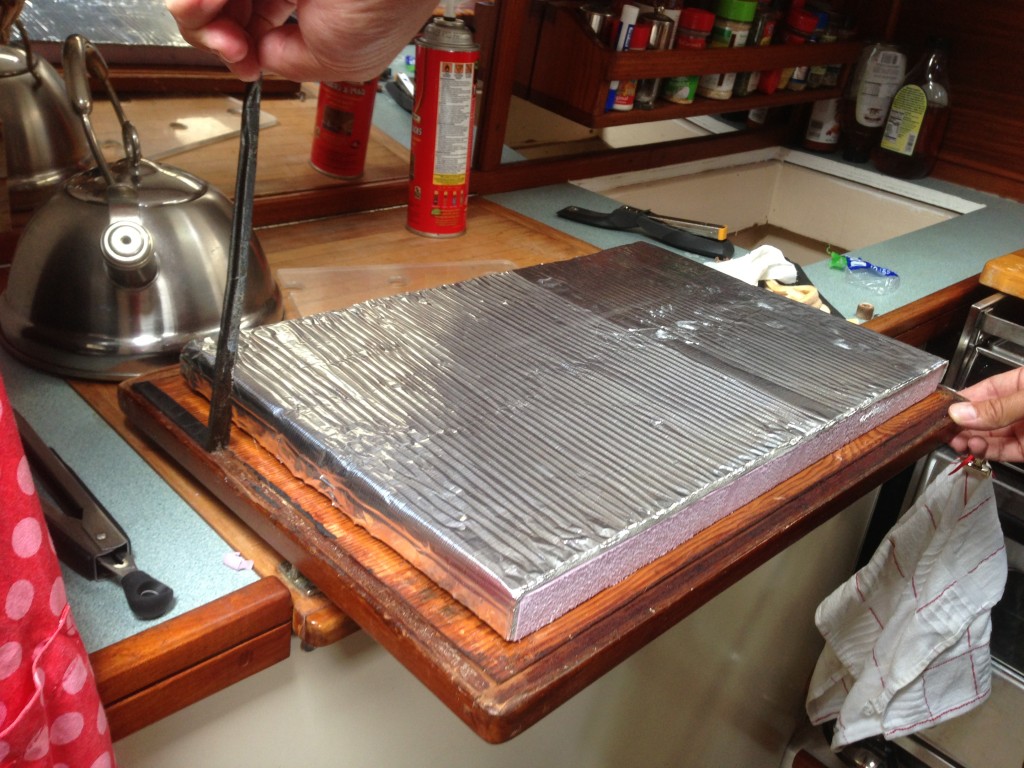
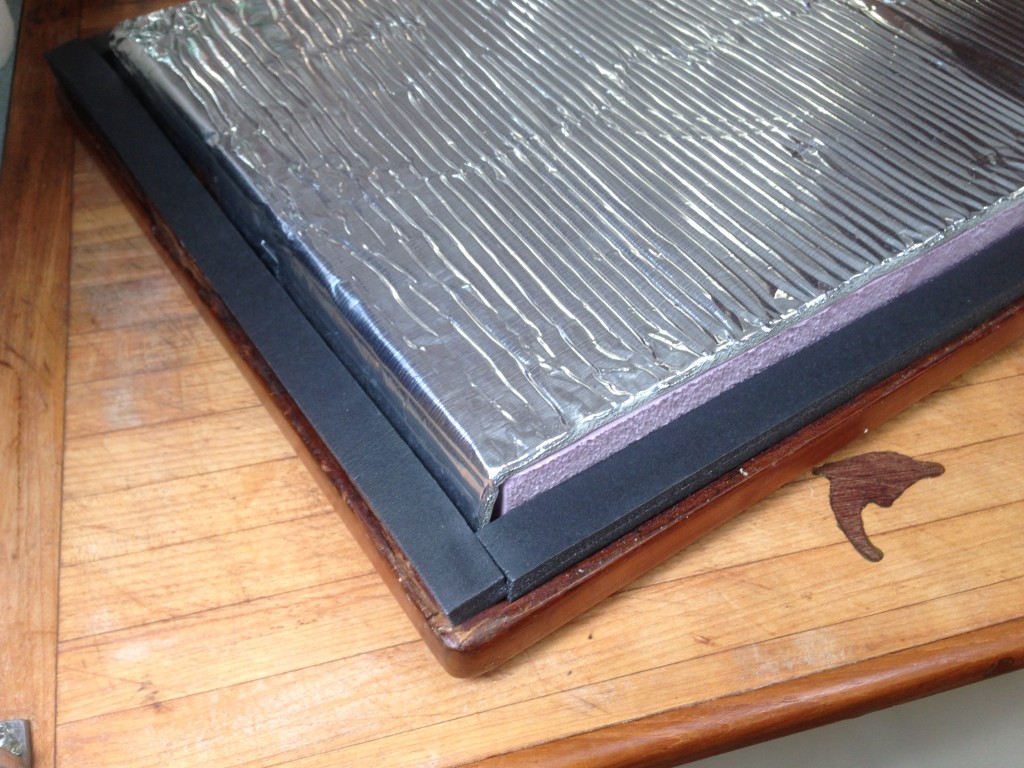
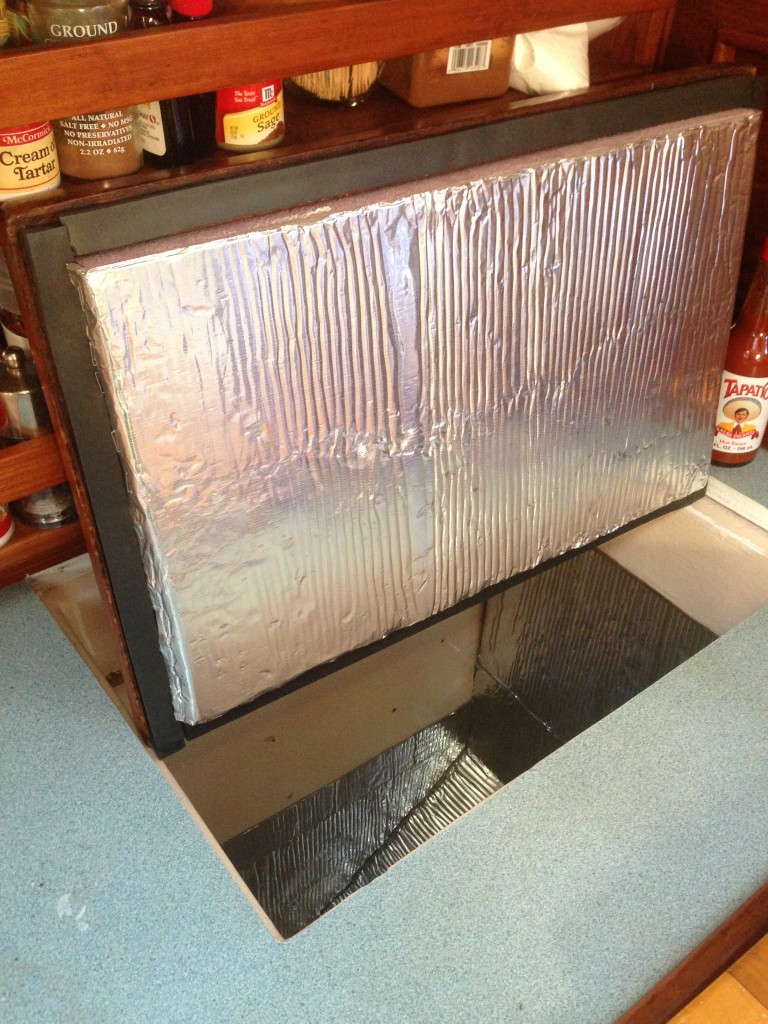
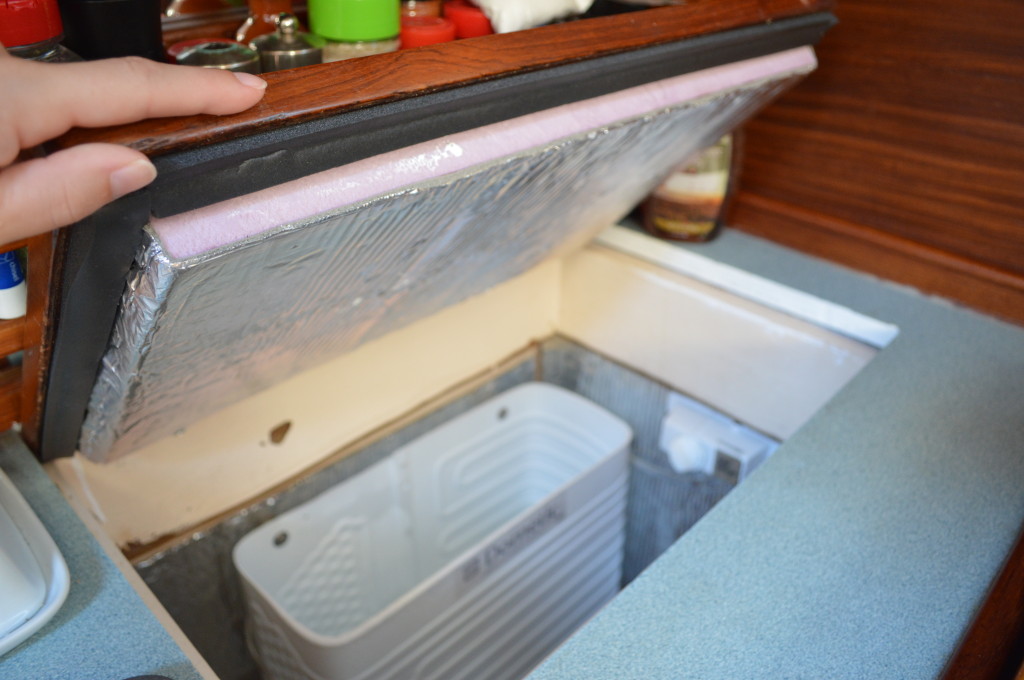
A chunk of purple stuff was attached to the lid and a layer of the foil wrap was pressed on top too.
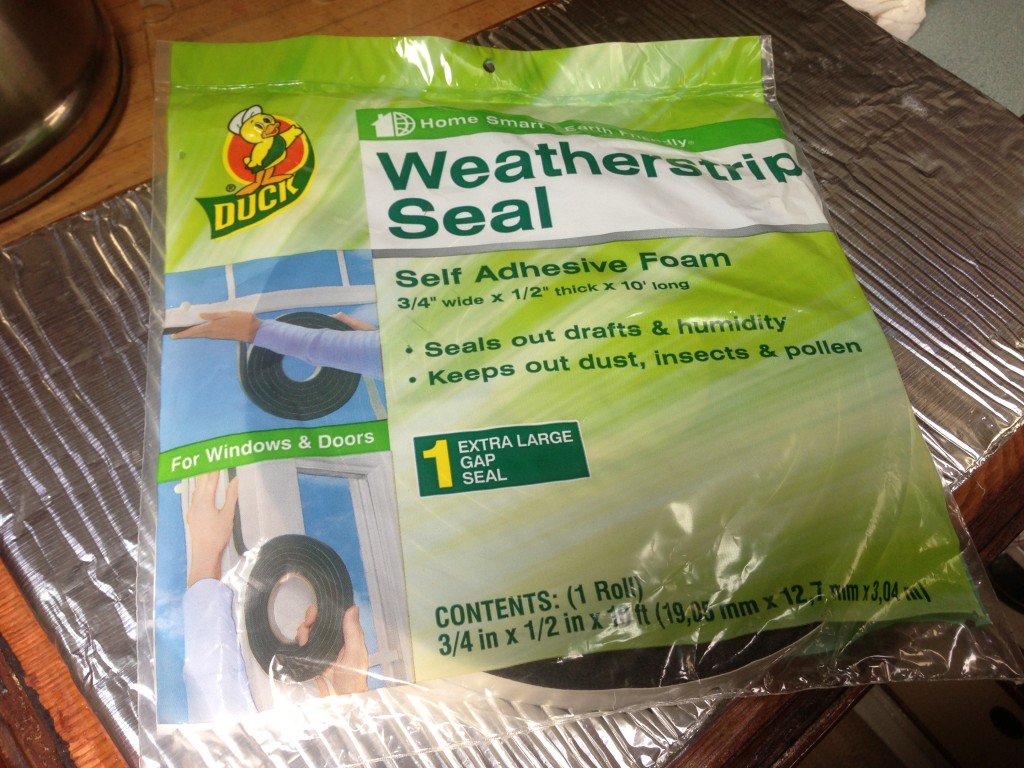
The lid needed a new seal. Again with the Duck brand… I swear it’s just a coincidence. This stuff really stays put though. No sponsorship or affiliation, we just really like it :)
Here comes the ‘cool’ part!! haha
We decided to limit the DIY part of this project to just the insulation. We hired a professional marine refrigeration guy to handle the install of the actual condenser unit and evaporator. So we’ve been told, refrigeration is nothing to mess around with if you don’t know what you’re doing.
The parts cost much less through a distributor: $1200 (compared to $1800 retail)
We paid about $800 in labor so the whole project cost $2000.
This is only $200 more than it would have cost us to do the whole thing ourselves and having it done right is totally worth 200 bucks. It was done way faster than we could have done it, and we know all the wiring and refrigerant is installed safely too.
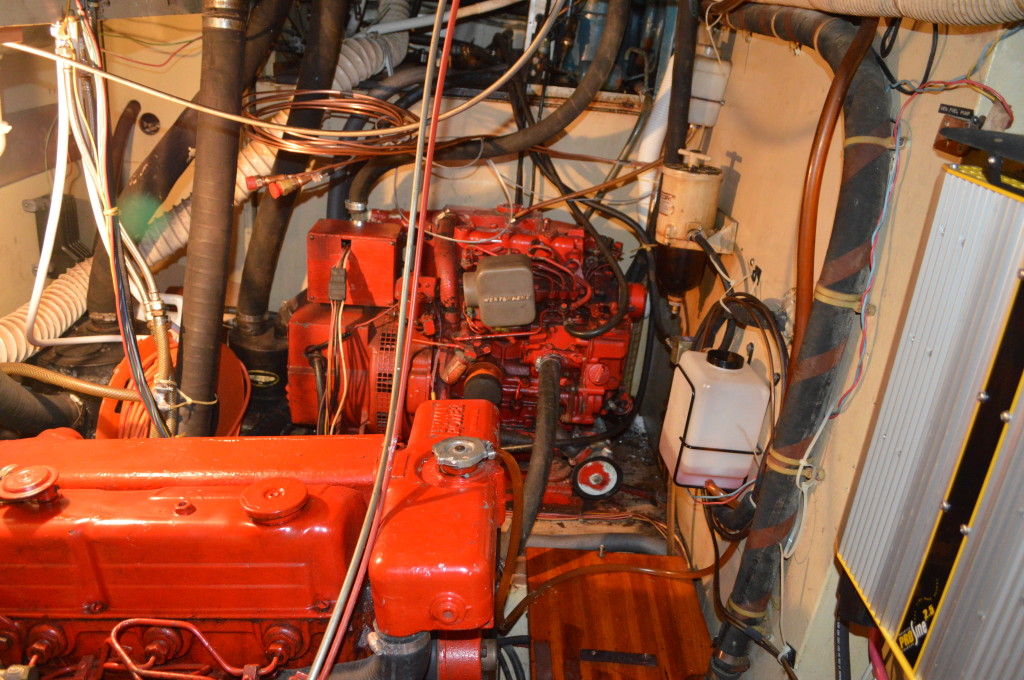
The condenser unit was installed in the engine room which was directly behind where the refrigerator and freezer are in the galley.
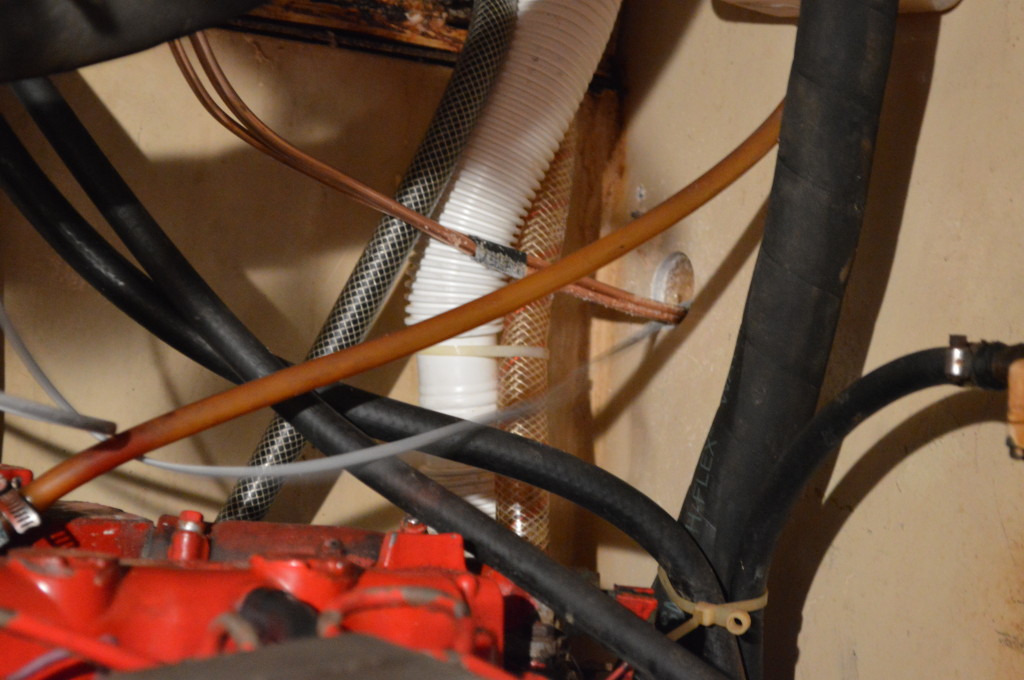
This may be the first picture I’ve posted of our engine room but how frickin awesome is this?? There is so much room in here! If you look closely you can see a nice empty spot on the wall on the right where the condenser unit is going to be installed. The refrigerant lines have been run through.
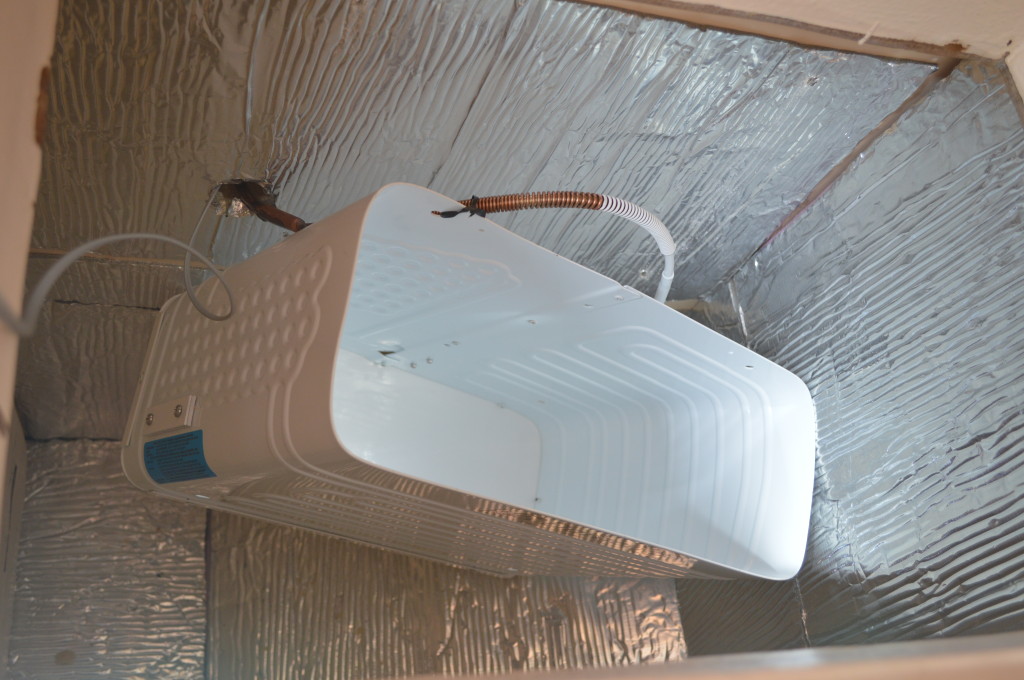
Back on the other side… the evaporator box was mounted along with all the other components that go inside the freezer.
My favorite part of this whole deal?? I get THREE, yes THREE new aluminum Adler/Barbour vertical ice-cube trays!! These suckers are something like $80 a piece brand new!! They make awesome monster size ice cubes and last a long time. Every morning we soak one tray upside down inside a 52oz bubba keg filled 3/4 of the way with water. When the ice is melted a little, it will slide right out. We top off the rest with water and it lasts practically all day even in 90 degree weather.
If you’re interested in other options for ice-cubes on a boat, check out my friend Carolyn’s recent post on The Boat Galley. Search her site to see a ton of other amazing tips and ideas for making life so much easier in the galley. If you weren’t as lucky as I was to score these awesome vertical trays, be sure to check out all the other ideas Carolyn has for making ice on a boat.
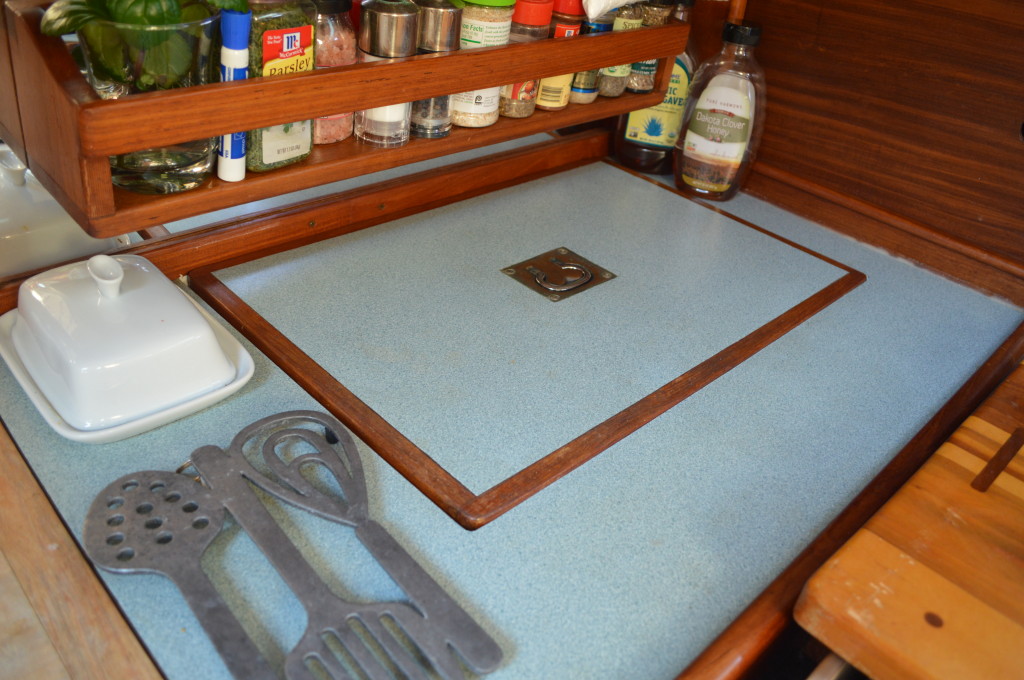
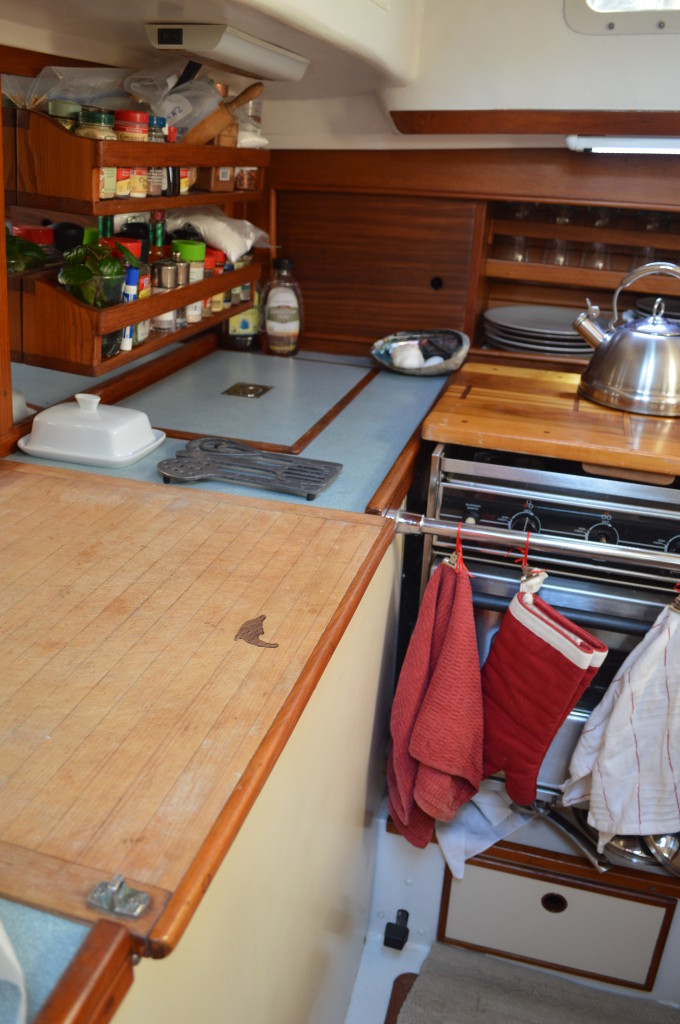
The finished product: a dedicated freezer for all of Peter’s fish… and other provisioning of course :)

