Home » BLOG » diy

Tag: diy

Houston, We have a problem: NO STEERING

IMG_4376

Saturday afternoon, 2.8.14, we began to stow everything away to head back to Brown’s Marina. The water tanks needed to be topped off and we needed to fix the leaking bladder tank. The anchor went up without any trouble and we began to navigate away from the adjacent sand bar. Suddenly, it was very apparent to everyone that we had NO STEERING!! The current was strong, but there’s no way it could be strong enough to counteract our steering all together. The rudder position moved back and forth clear as day in the autopilot gauge but the rudder itself was just not moving.

In a panic to stay off the sand bar that was almost underneath us we let out the Genoa to the port side to catch enough wind to turn the bow in the direction we were trying to turn. With the help of our trusty prop walk to starboard in reverse (she only goes to the right in reverse no matter which way you steer) combined with full sail to port, we got back to our original location and quickly dropped the anchor again.

Peter dove off the back to see if the rudder moved at all as the wheel turned and to see if maybe it was hung up on something. Negative on both. There were no obstructions and it was no longer connected to the steering mechanisms.

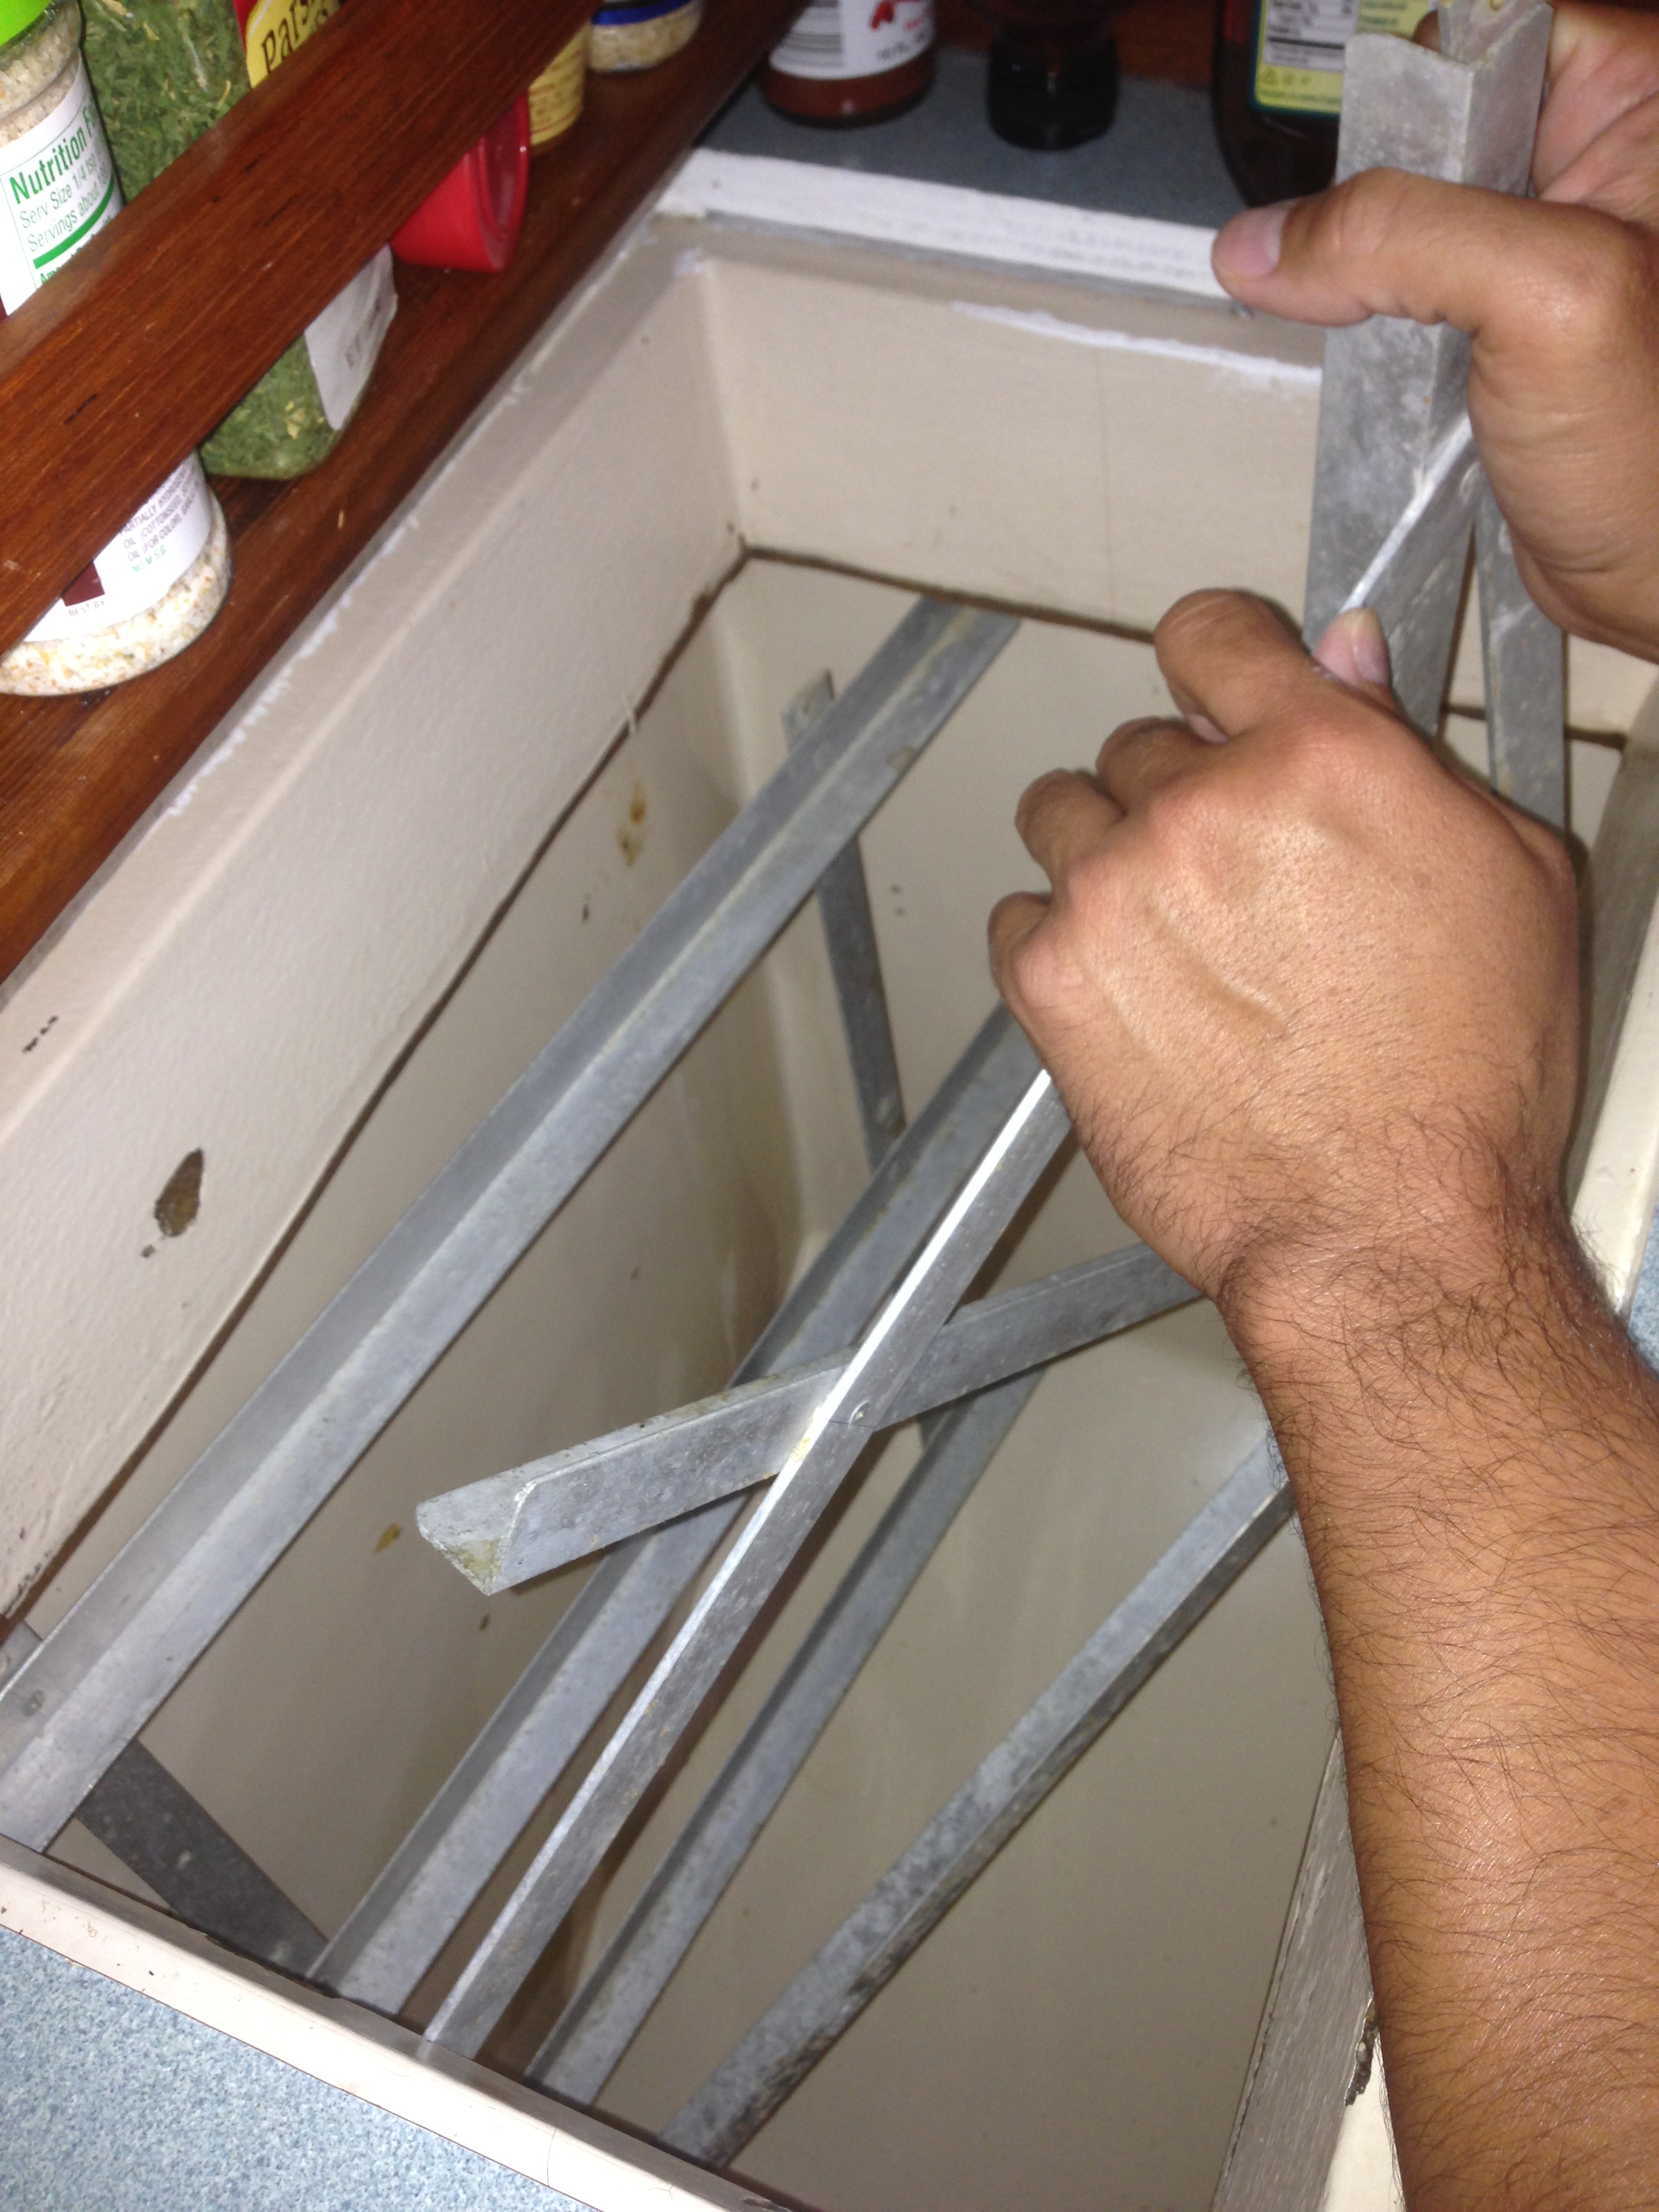
Immediately, Peter told me to go get the emergency tiller arm. The previous owner, Steve, had it strapped inside the corner of the forward hanging locker with old, crusty and almost disintegrated bungee cords because they had been untouched for so long. This is one of those things that you haul around with you ‘just incase’. It’s a massive two-part aluminum pipe that could double as a weapon if we were feeling barbaric.

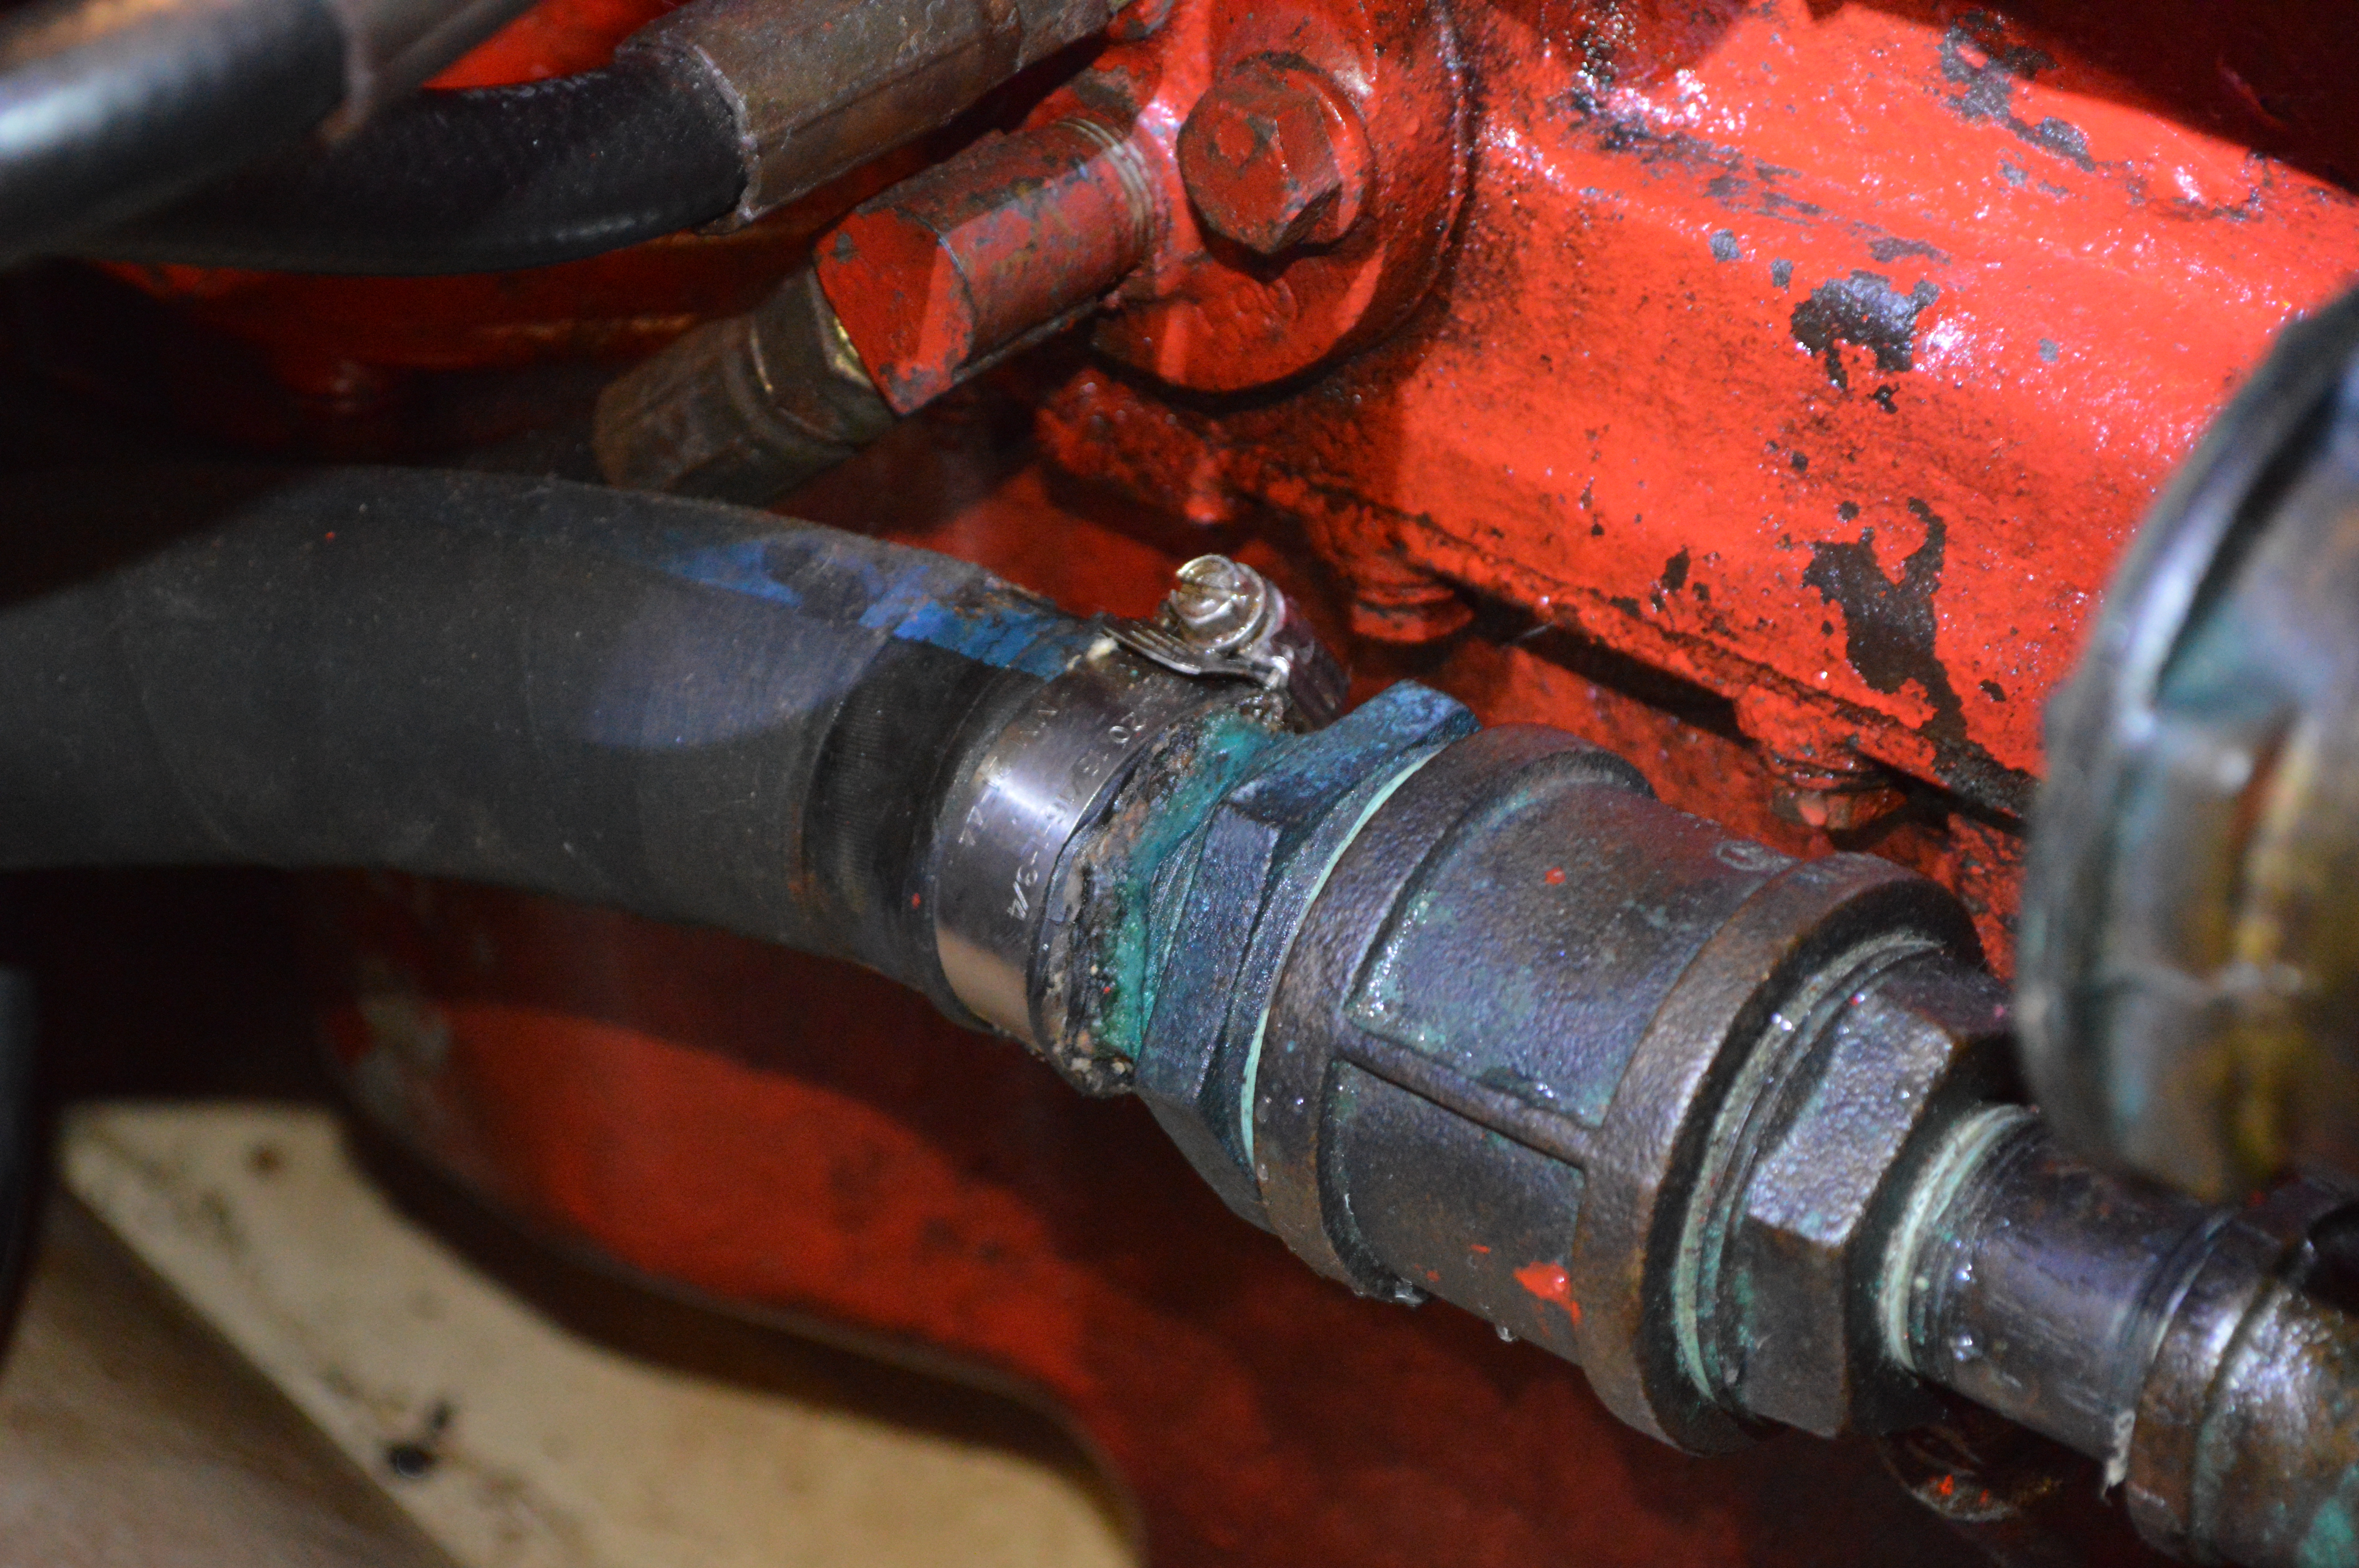
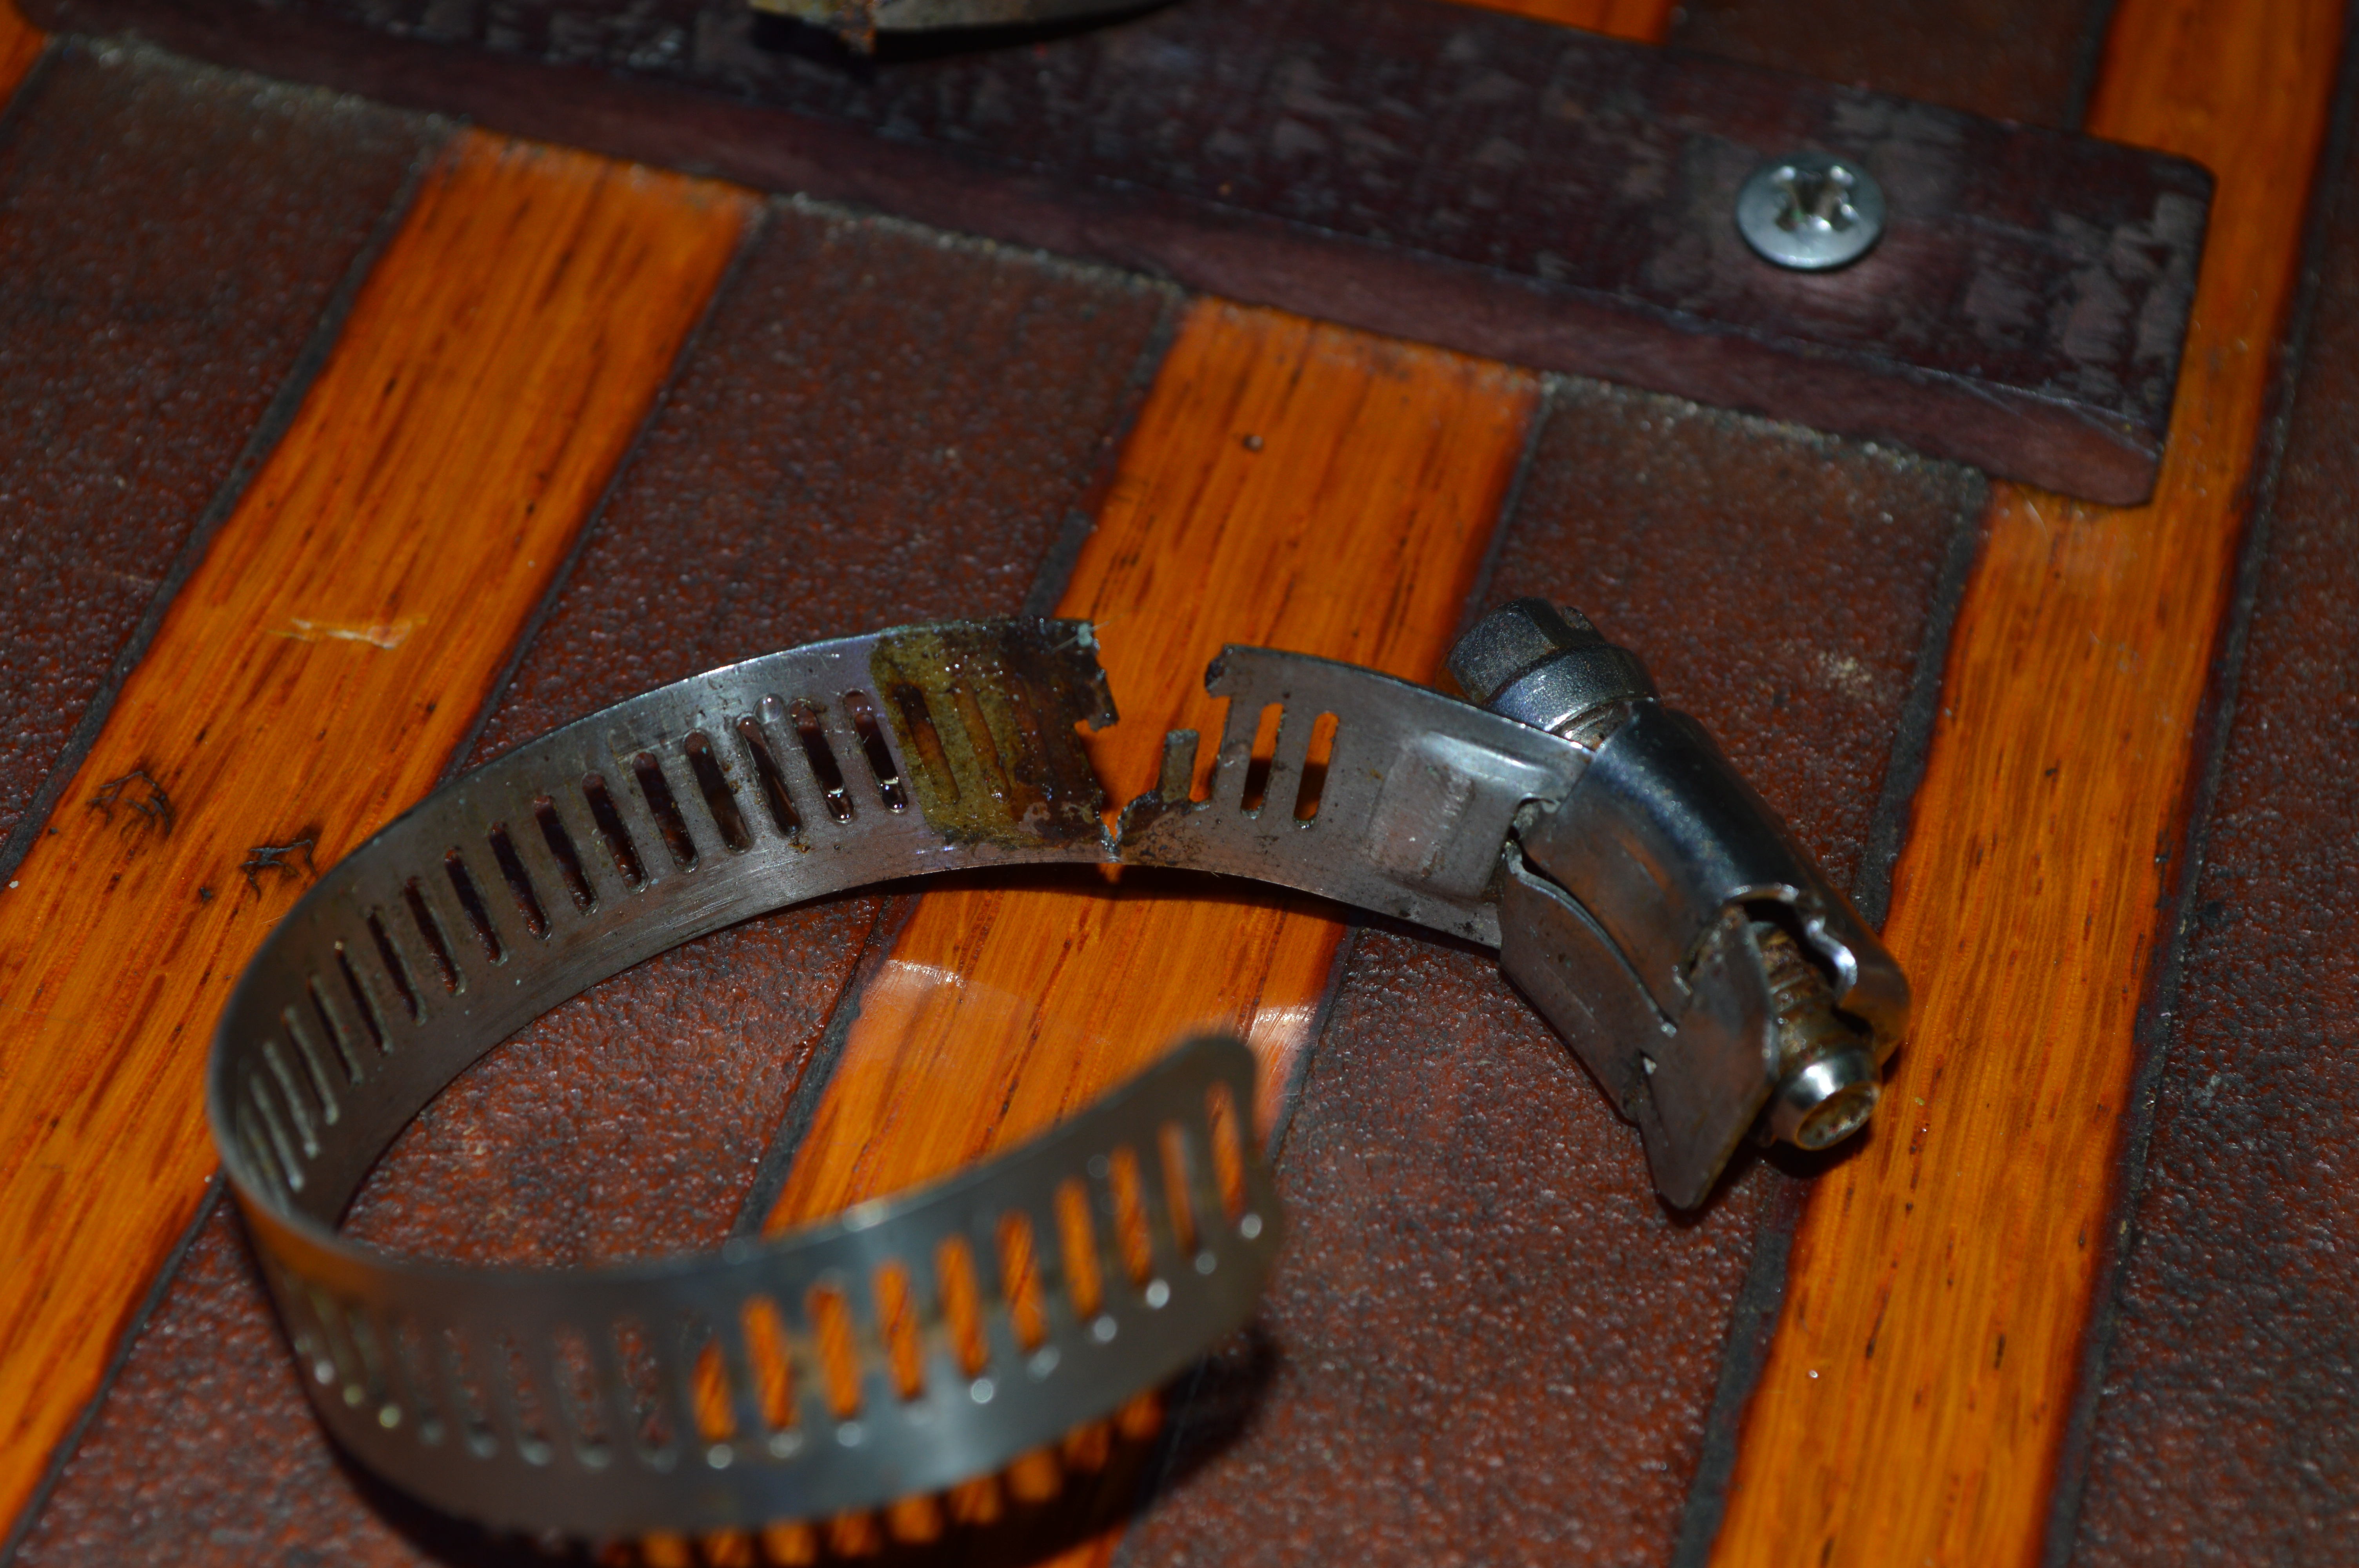
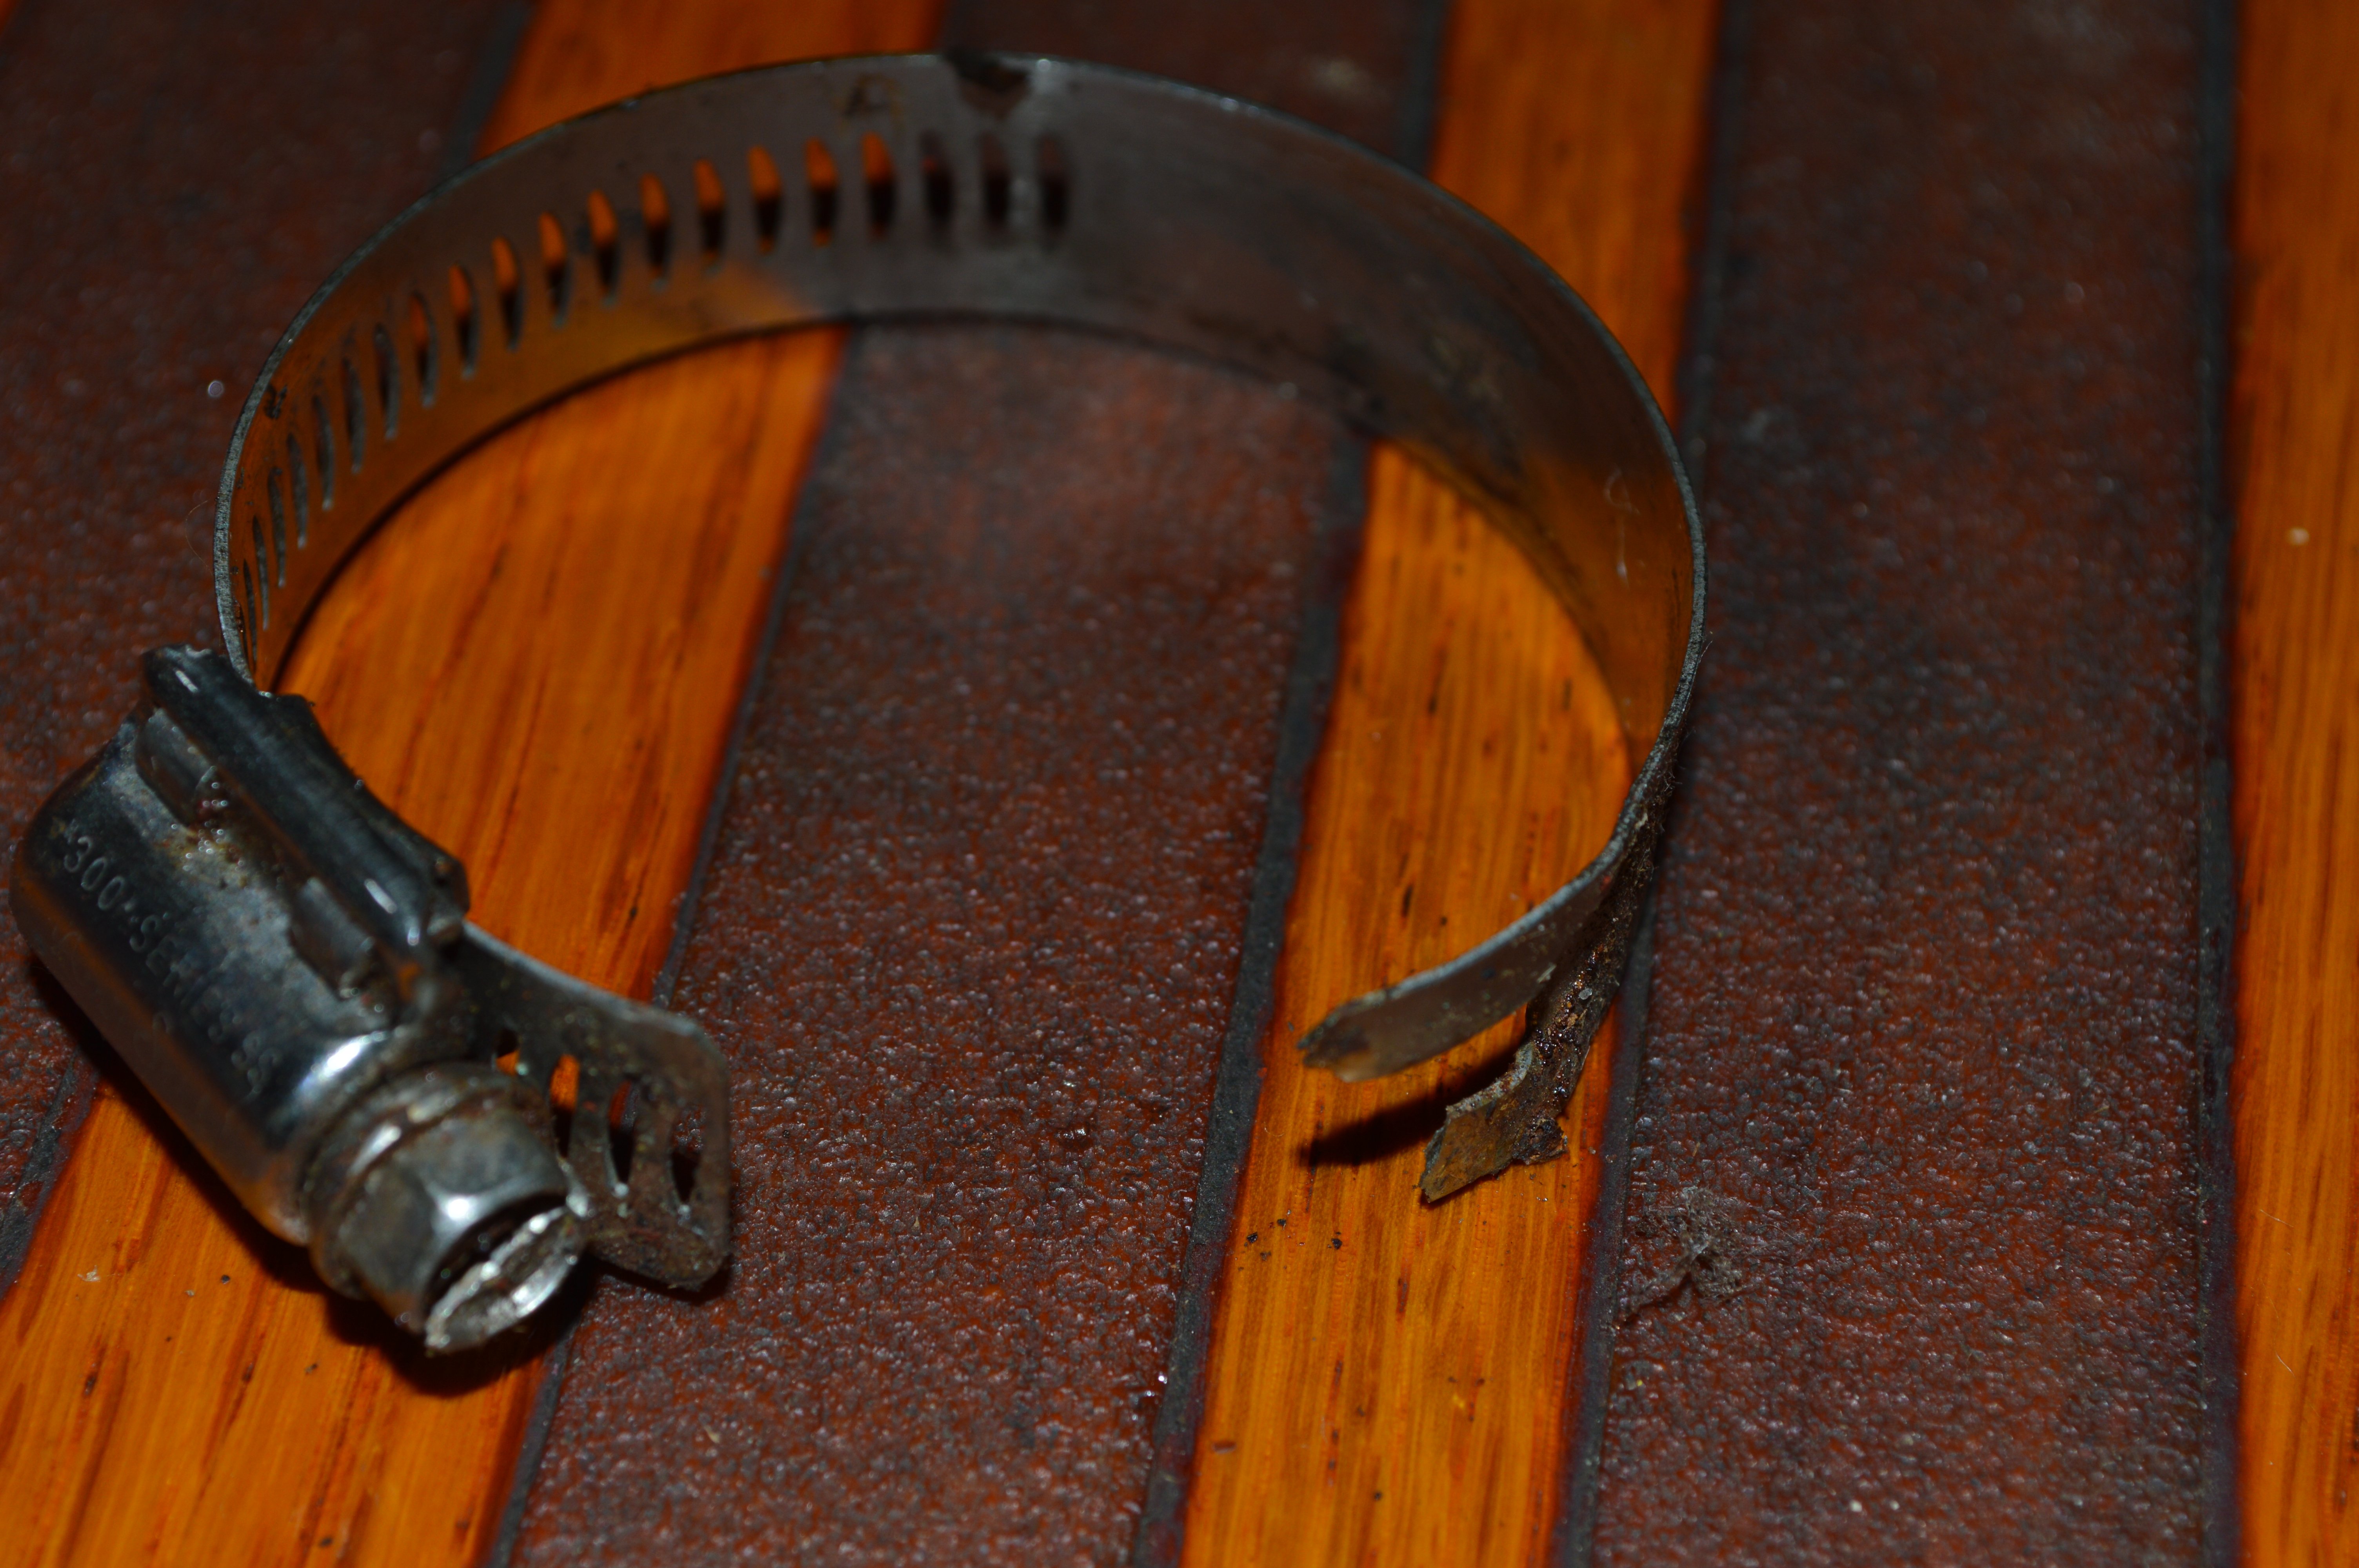
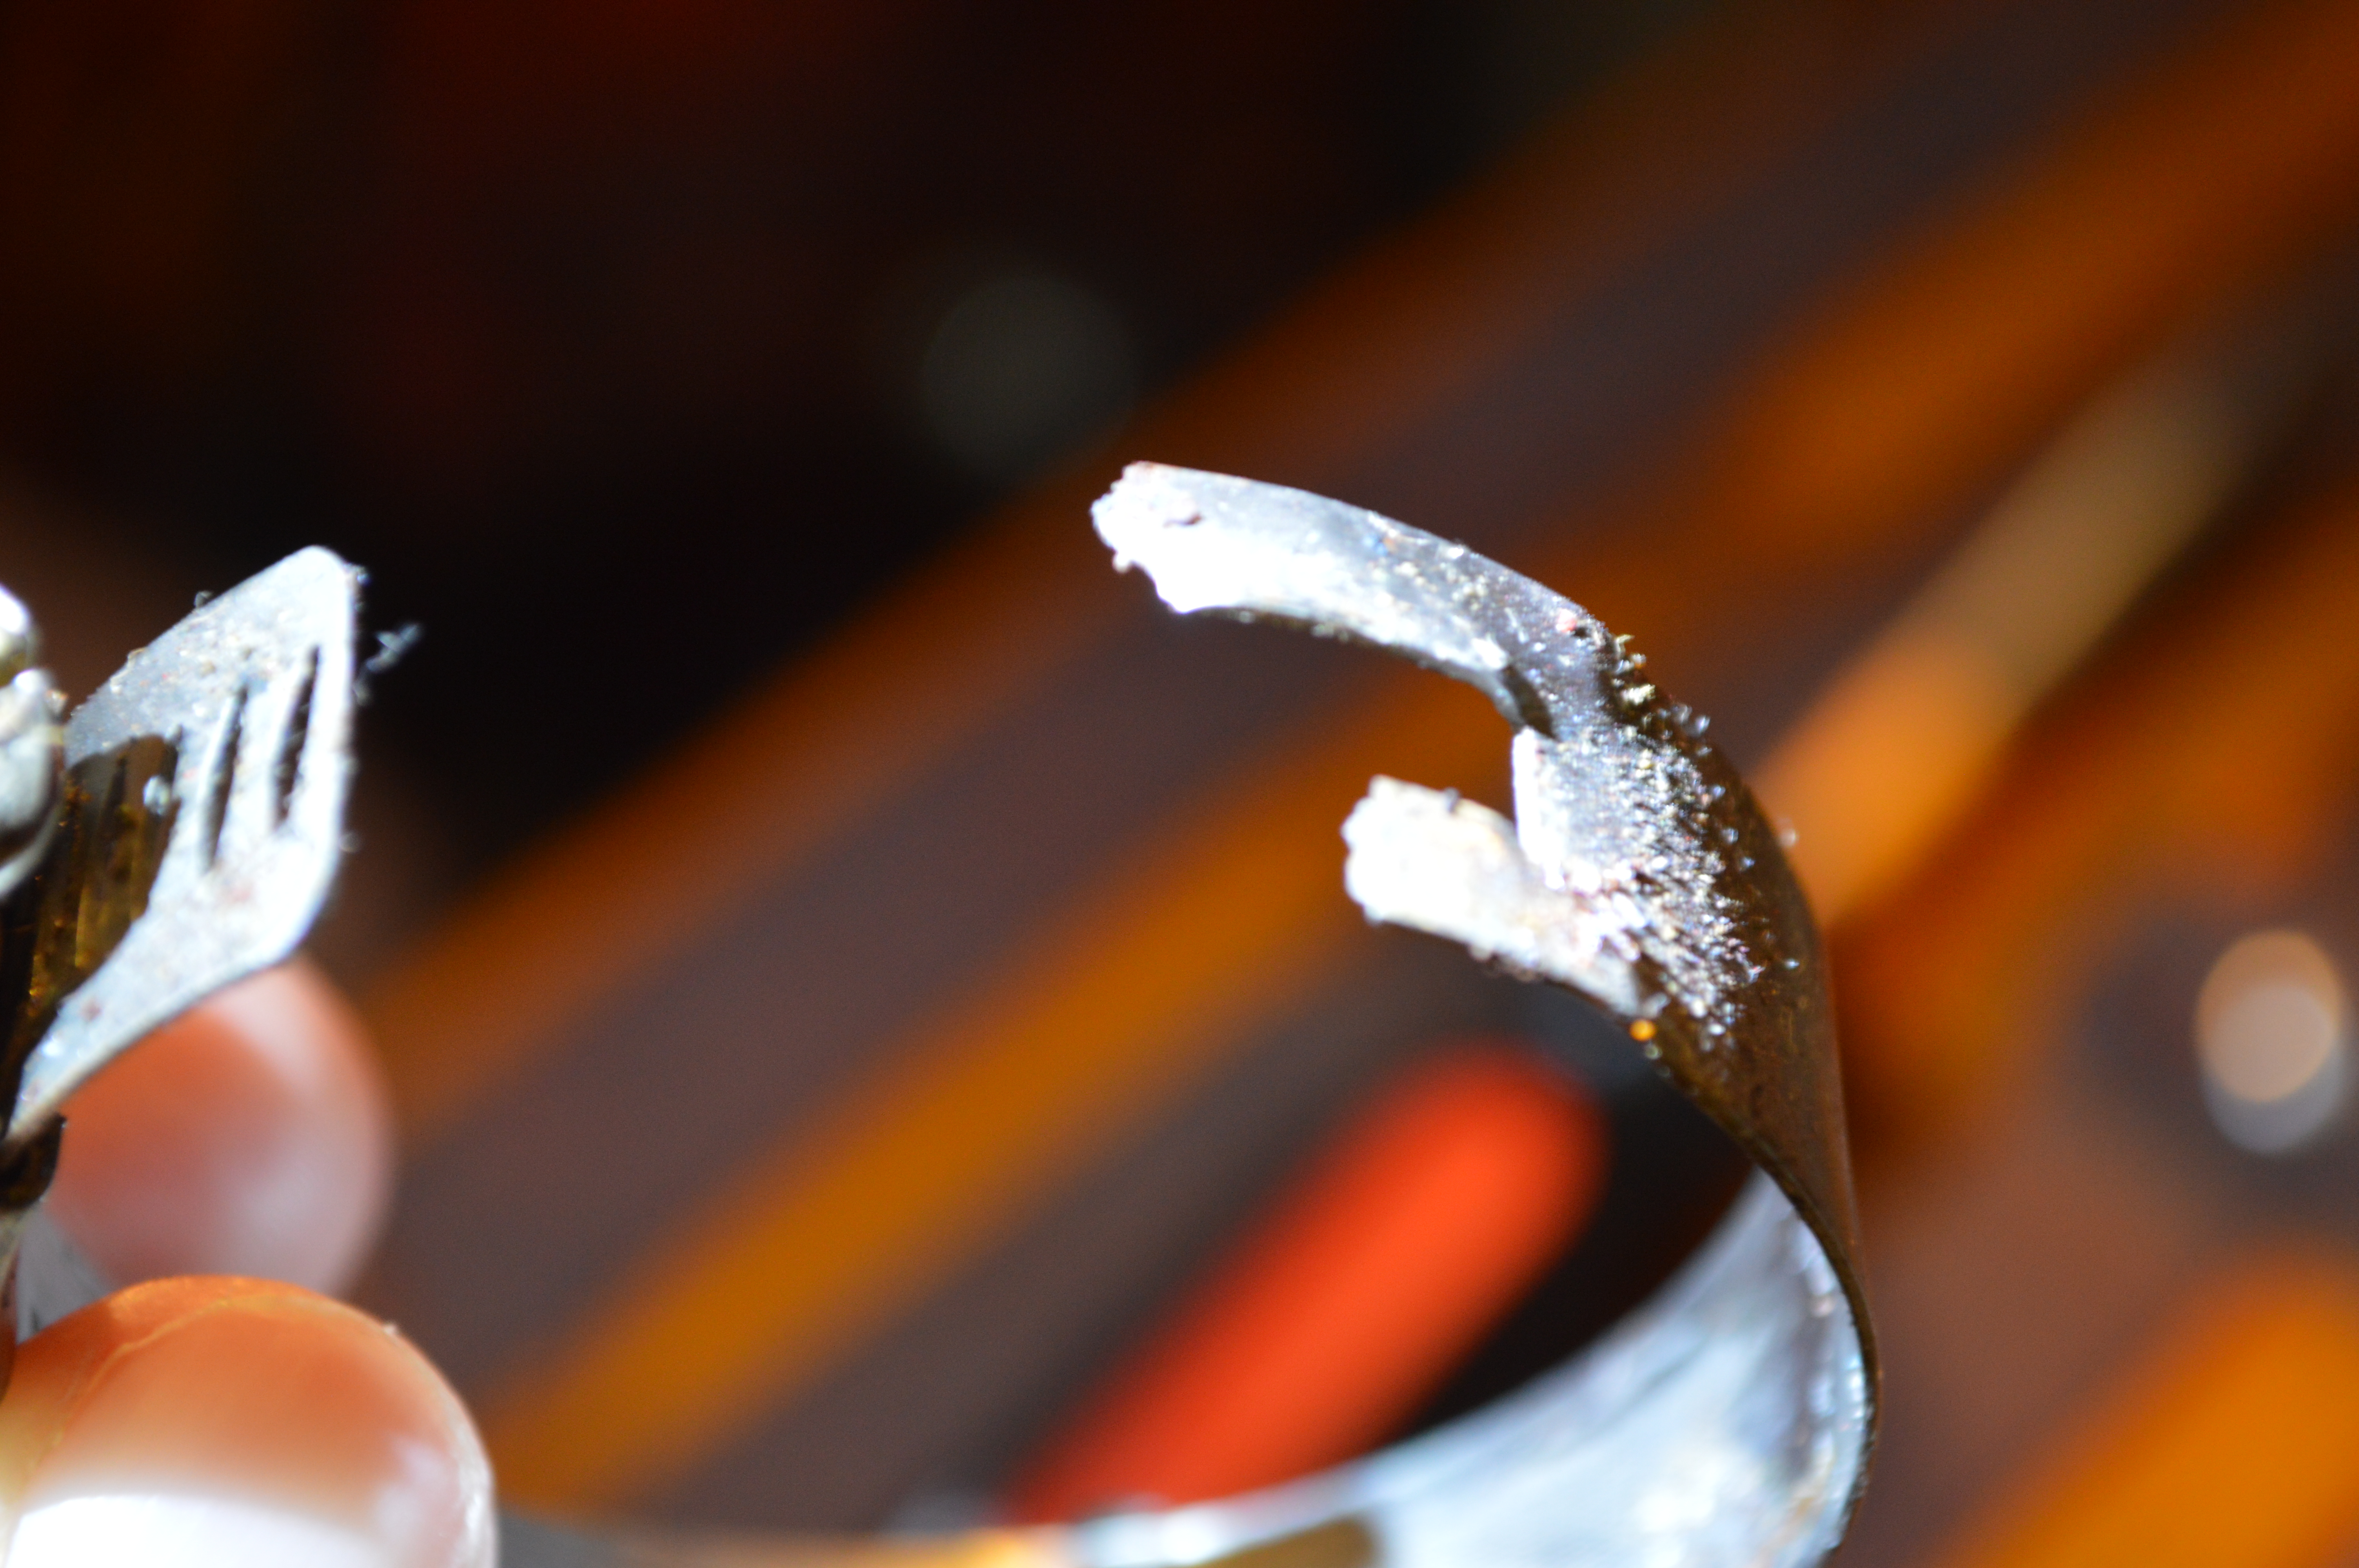
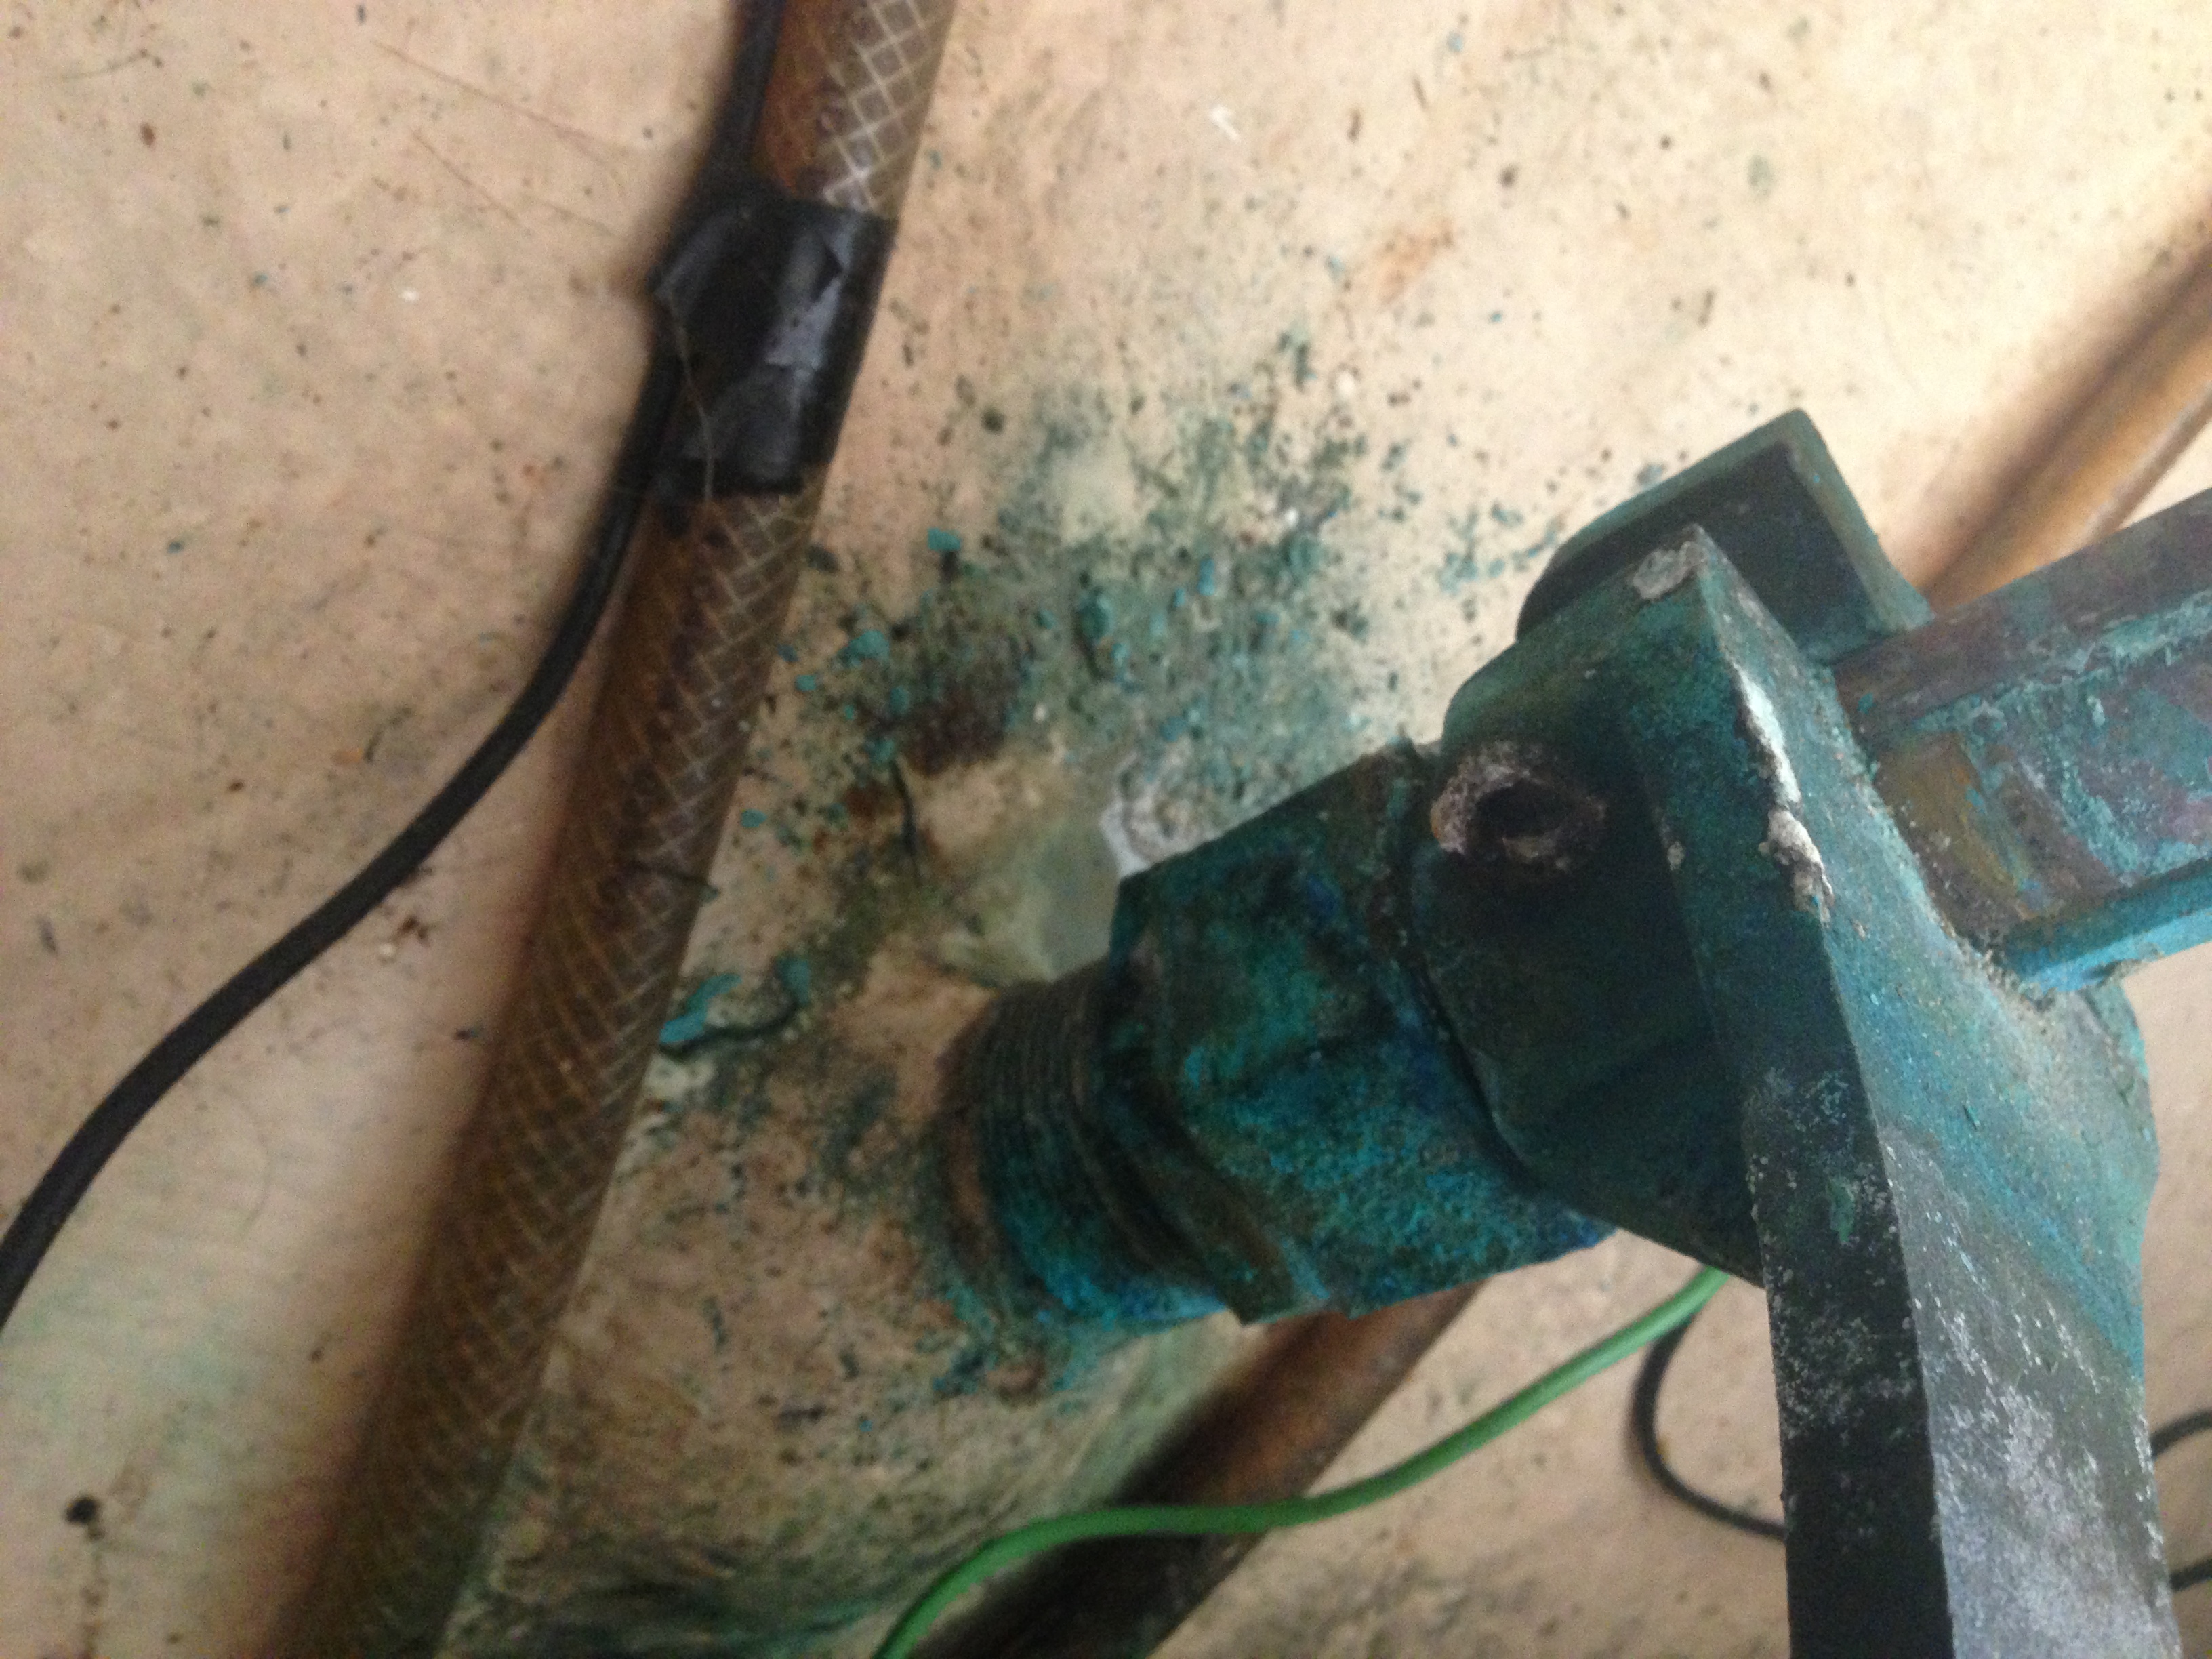
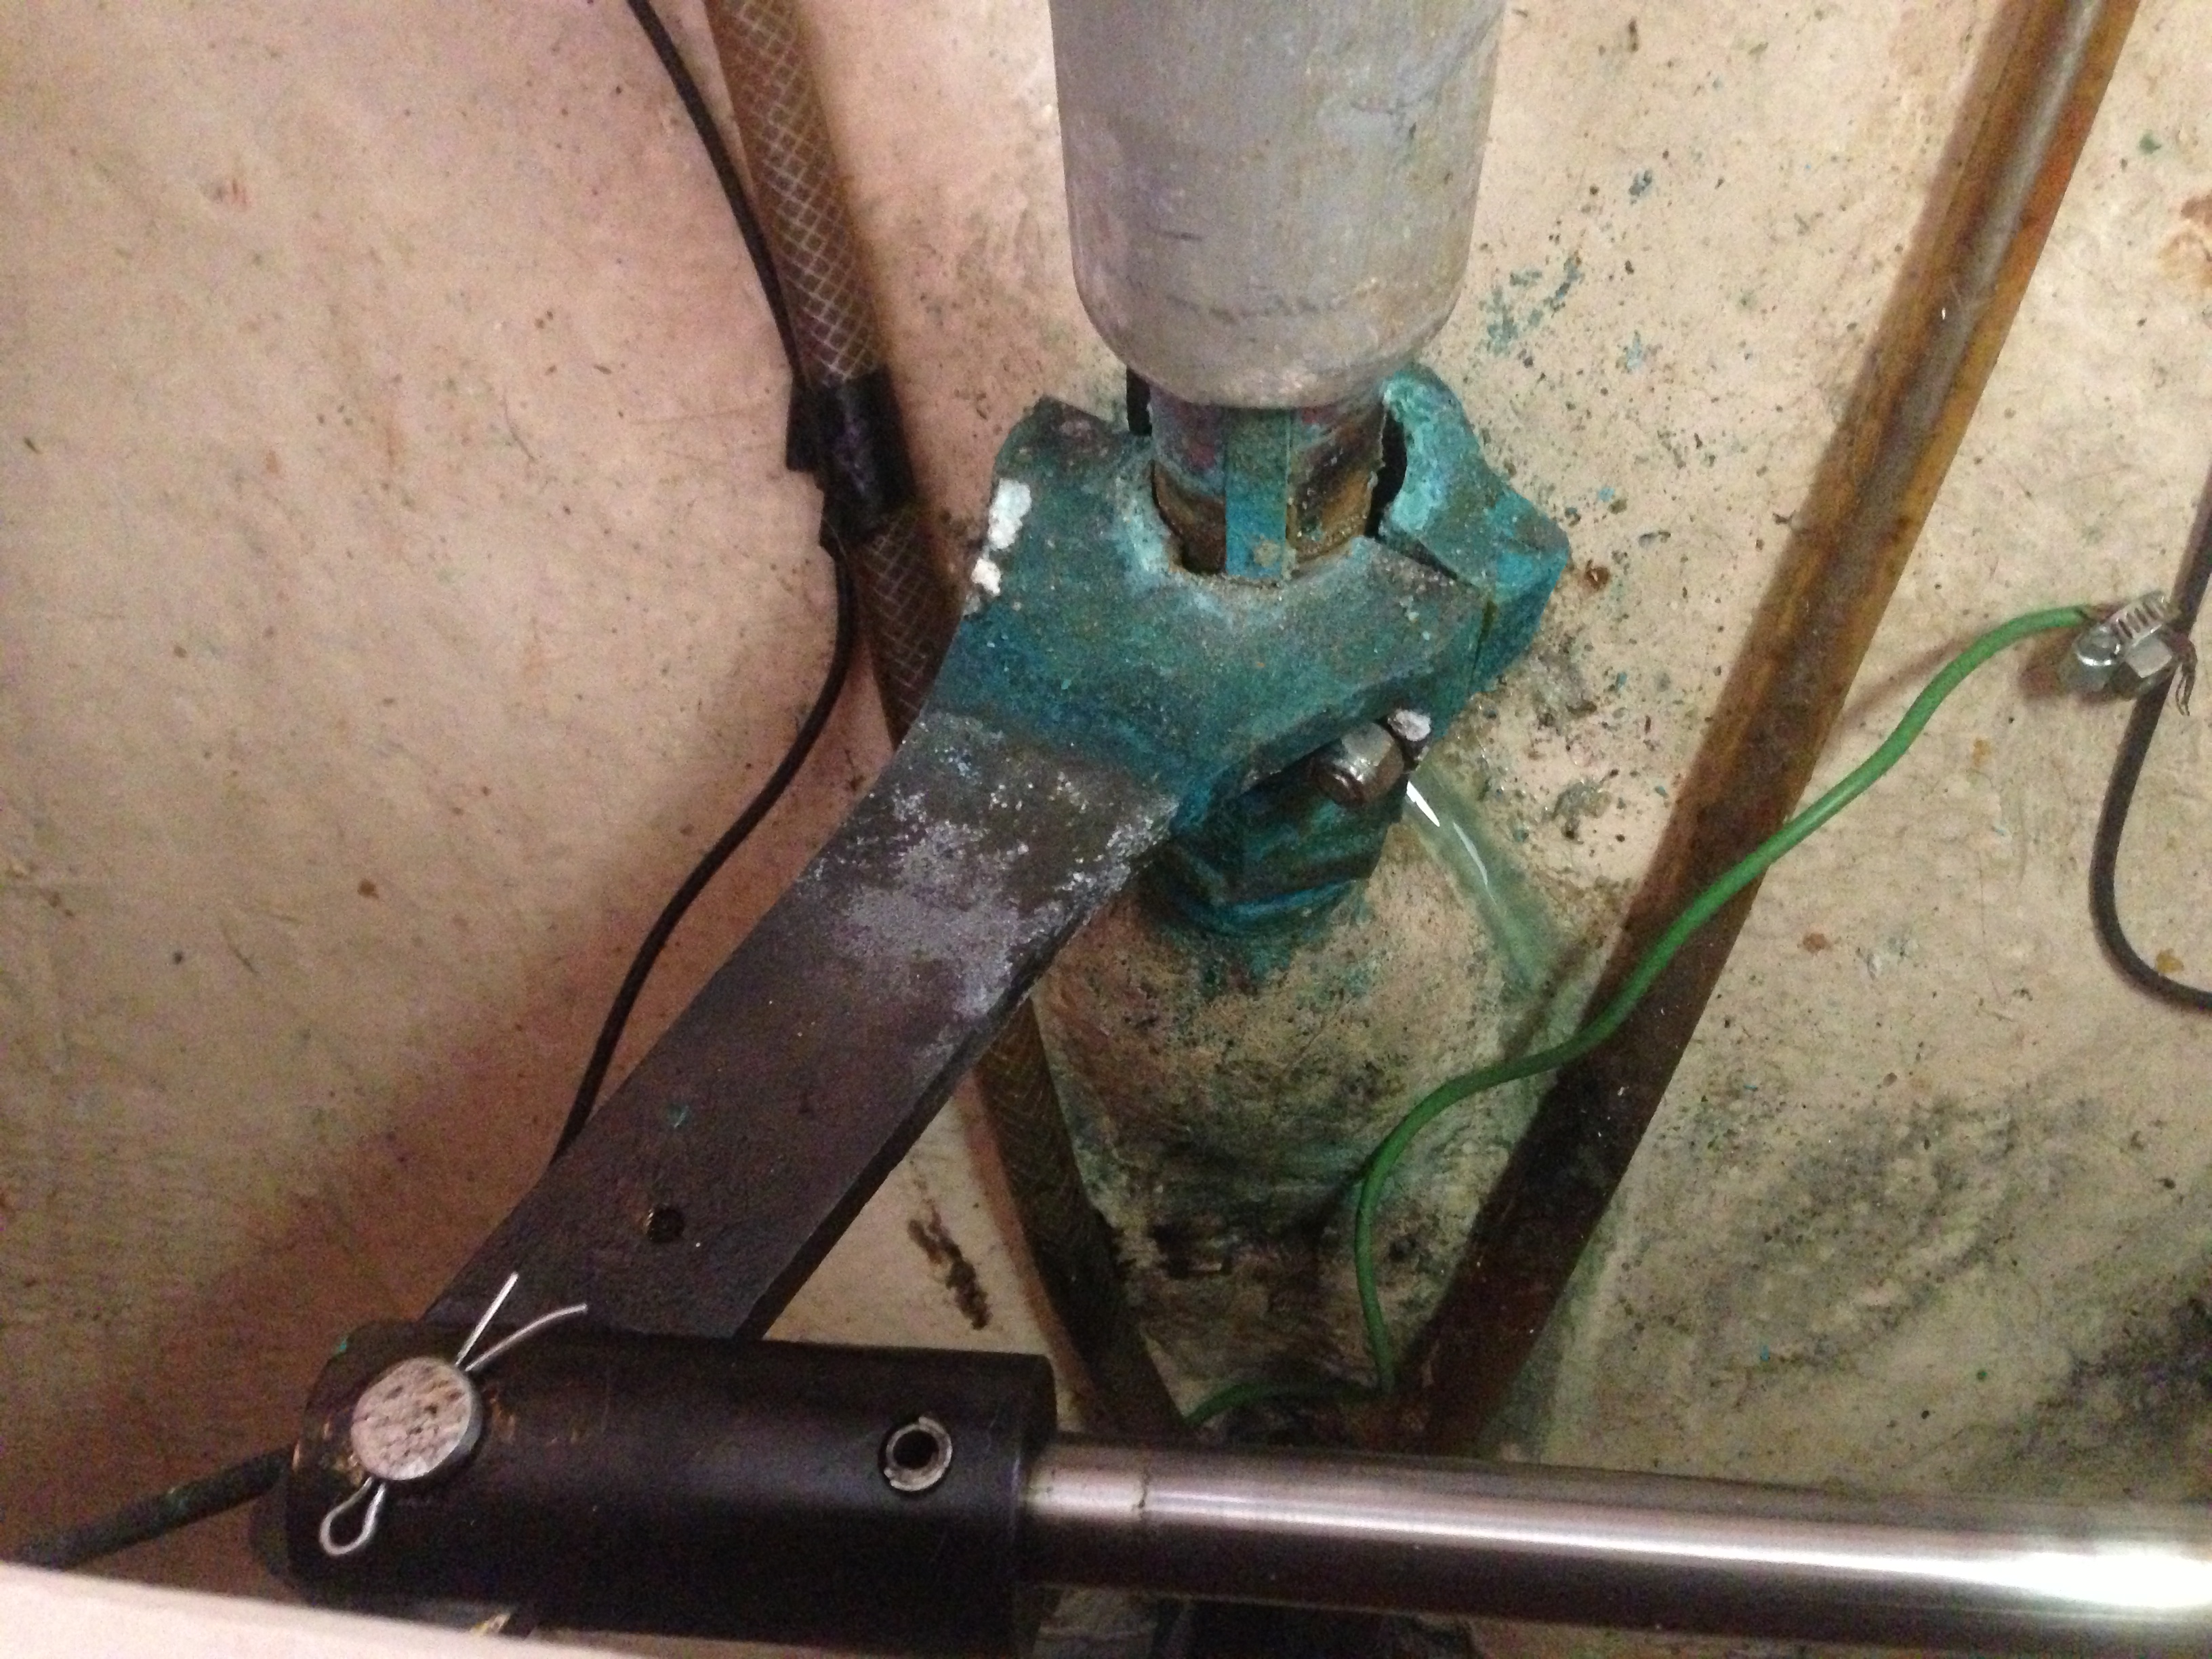
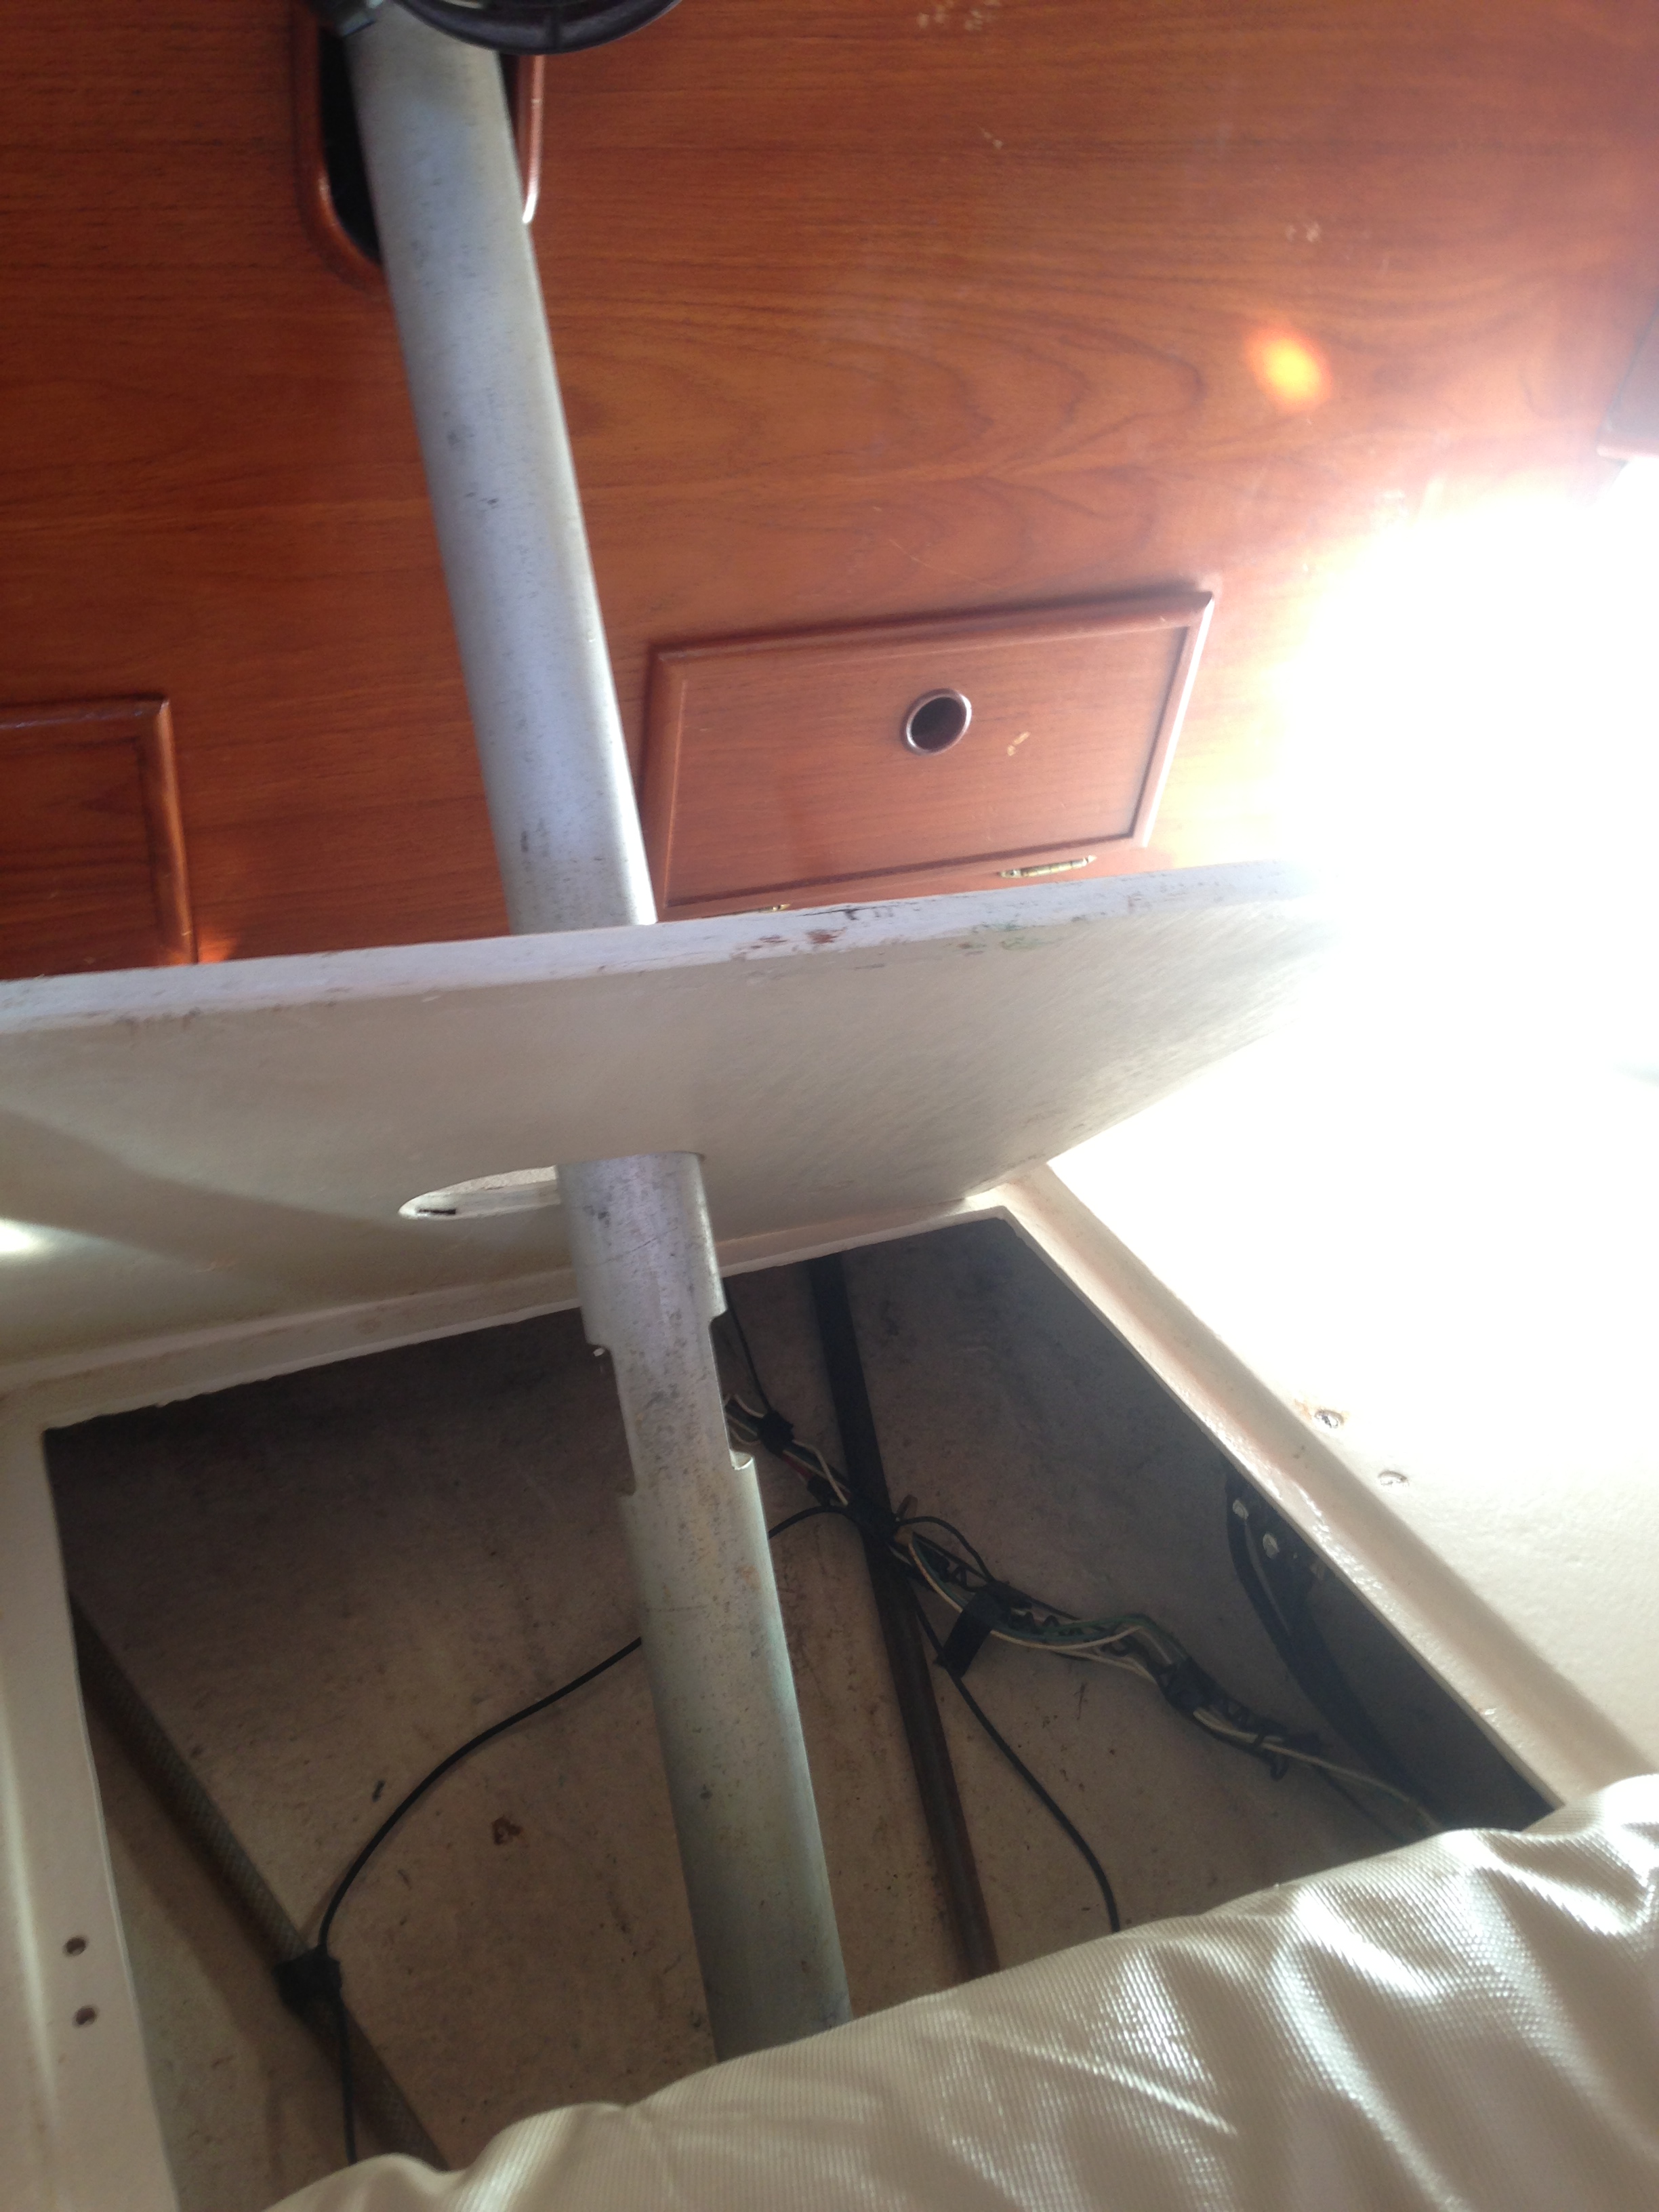
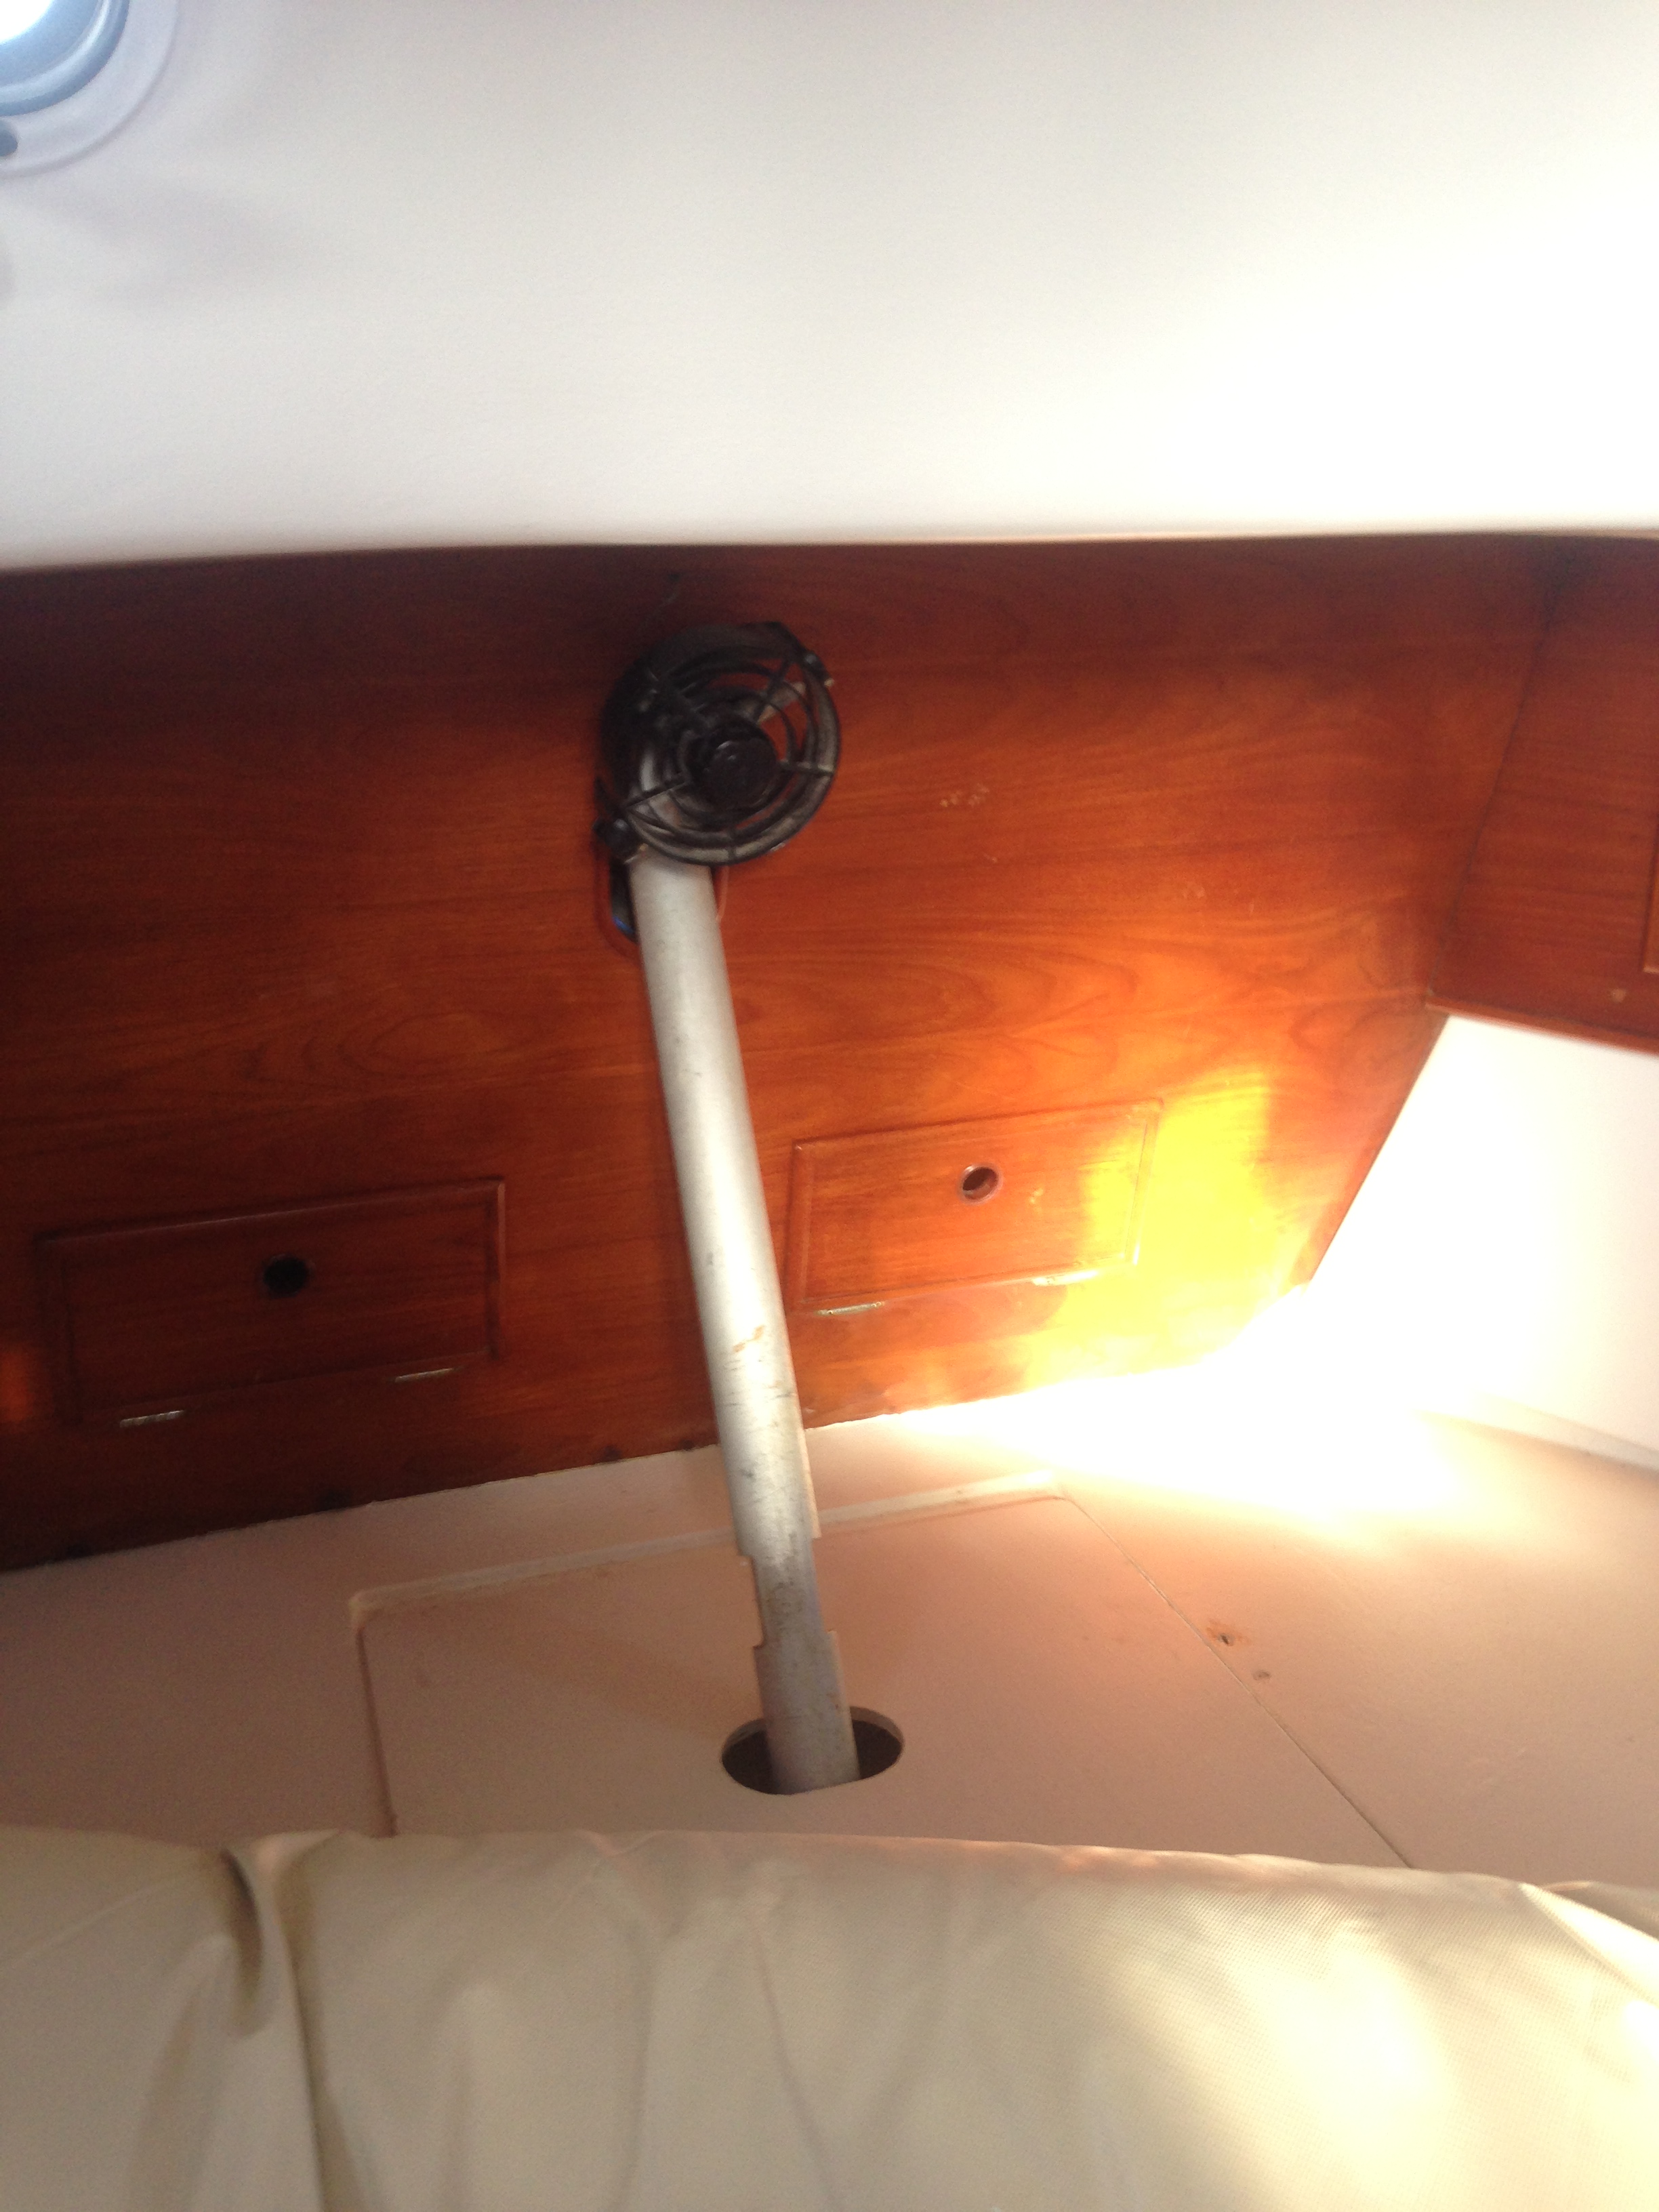
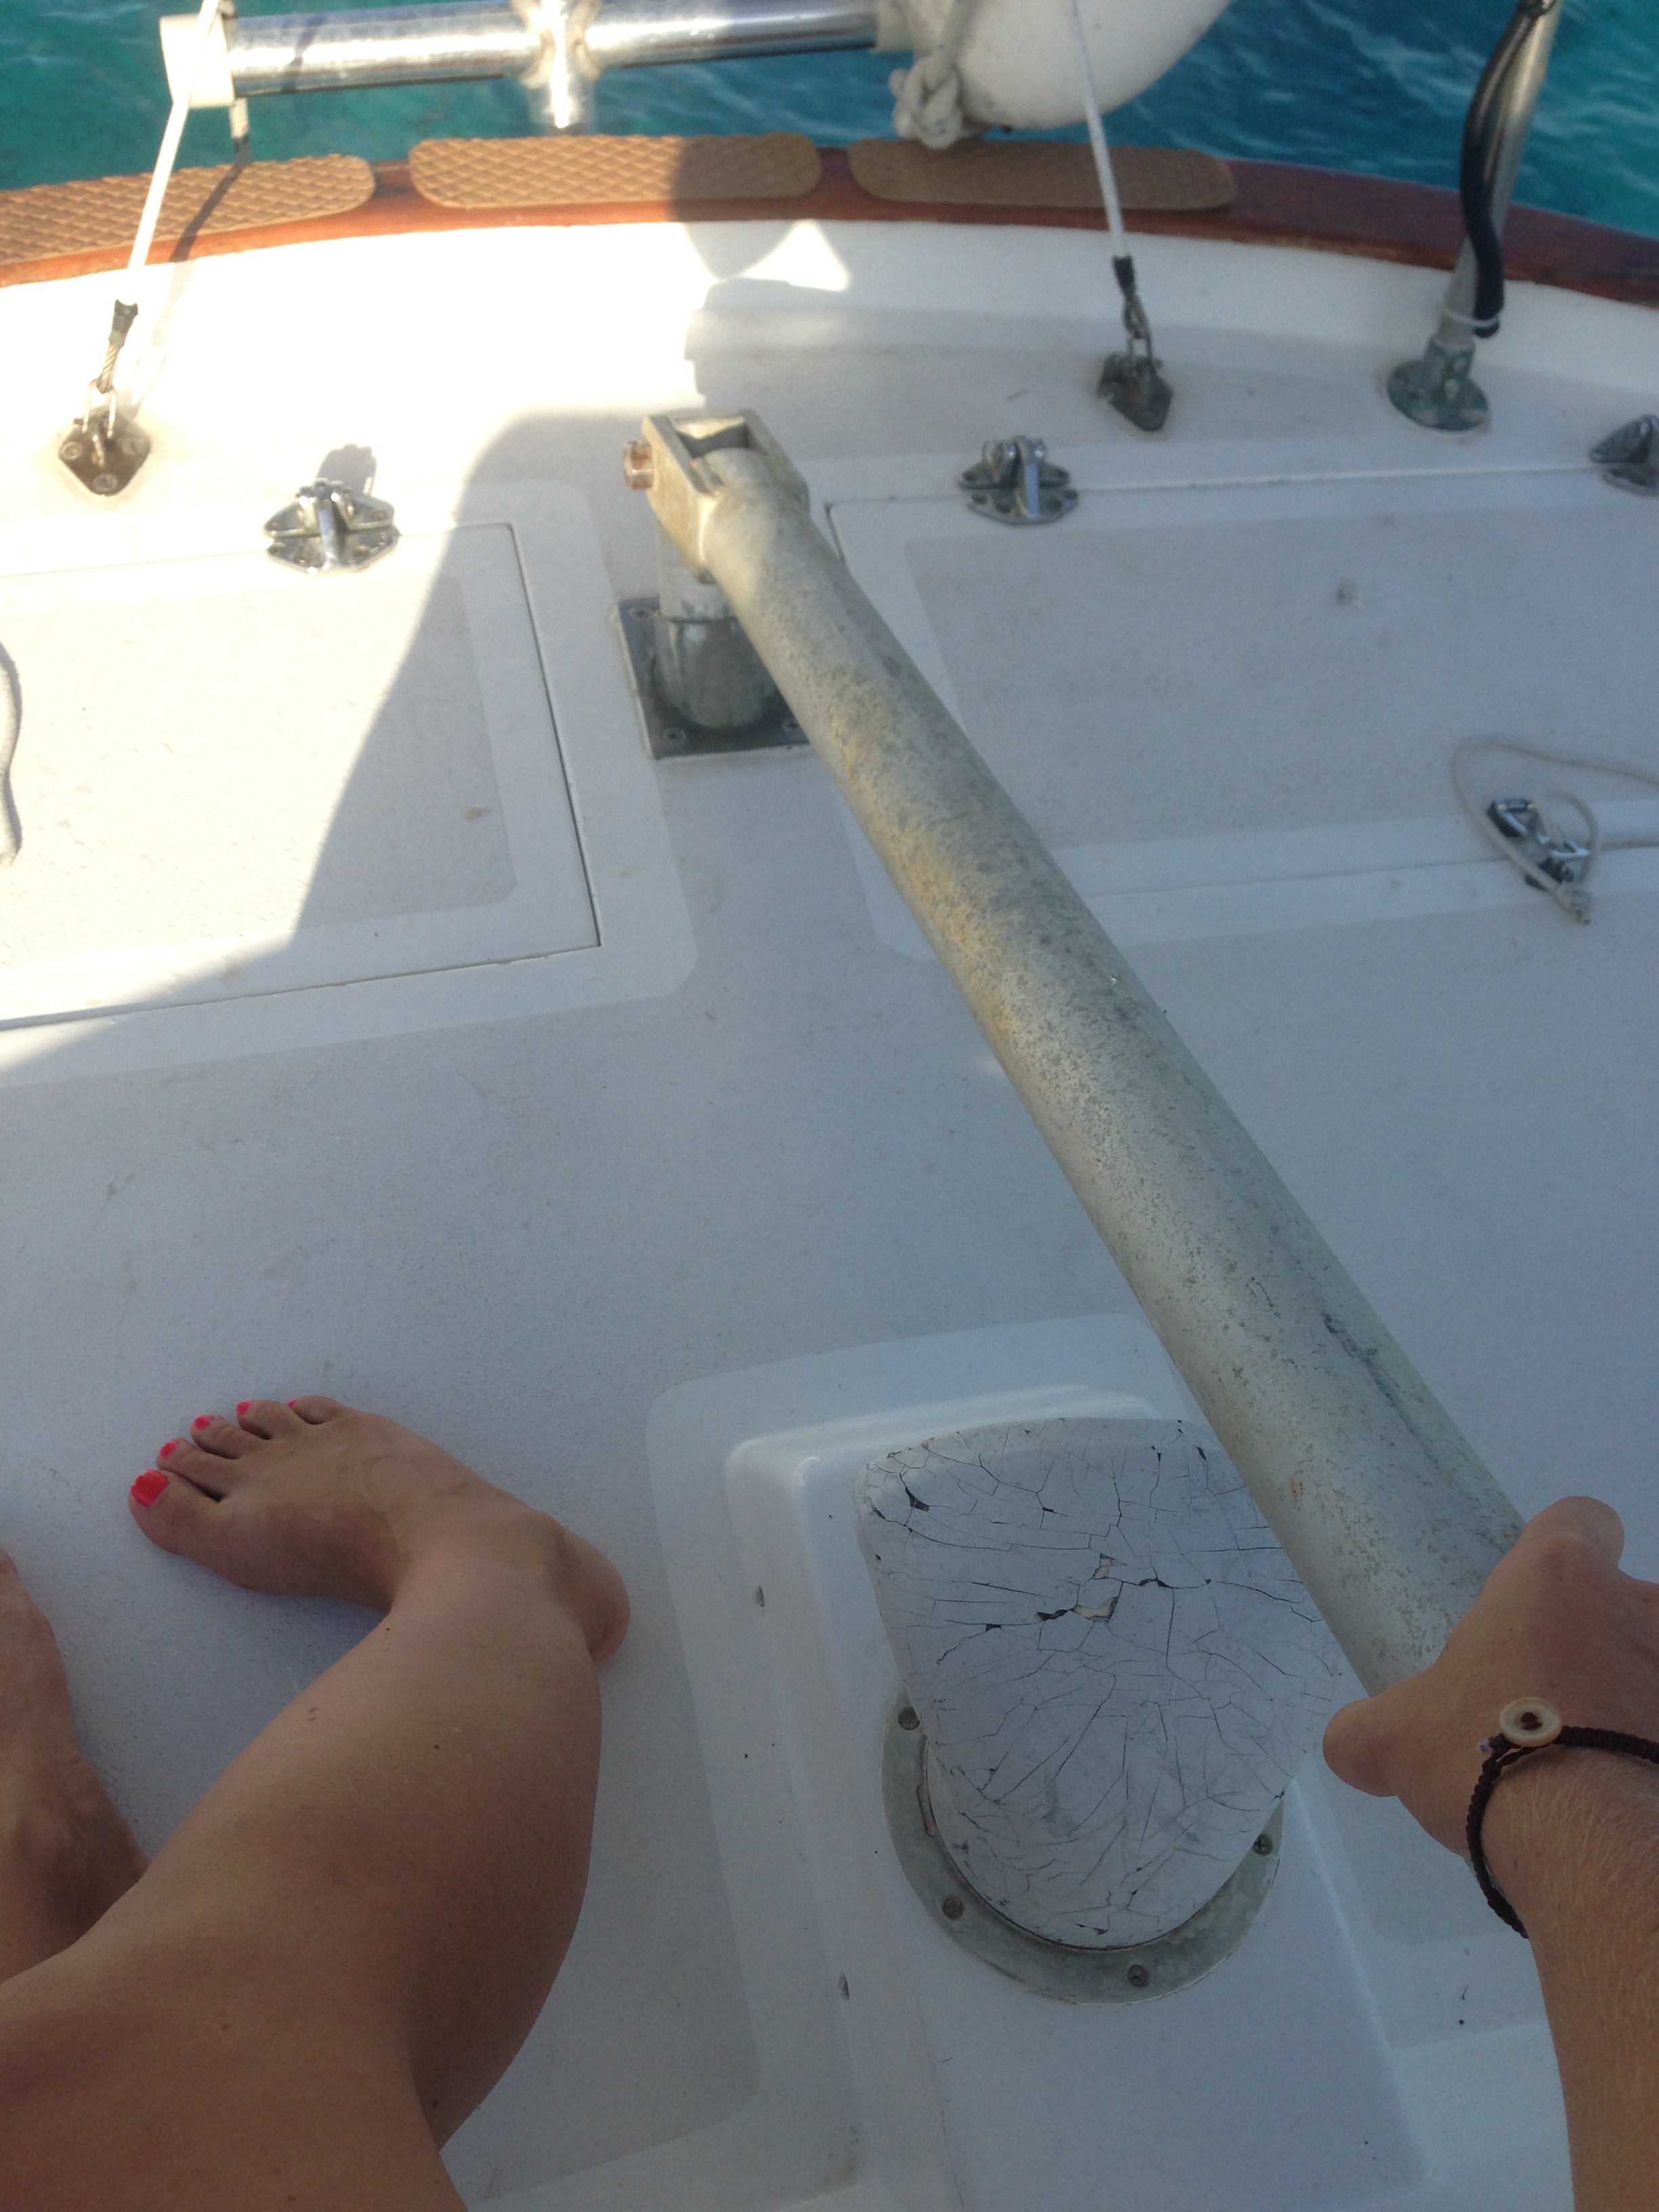
I scrambled to lift it up through the companionway into the cockpit and bring it out to Peter where he needed to insert it through the hole in the aft deck. It runs diagonally down into the aft cabin. The mattress had to be pulled off to access a removable board covering the hydraulic steering arm that connects to the rudder. We had the emergency tiller all ready to attach and then… BINGO! That was it! One of two bolts holding the top of the arm in place was completely busted off. With it just hanging there, the hydraulic steering system was unable to grip and turn the rudder. We were lucky it was only a bolt and nothing worse. The second bolt had bent a bit from the force of keeping it all together but it kept holding. There had been a grounding wire attached to the bolt intended to diffuse the electrolysis in the water and had completely disintegrated the bolt from the inside out. Guess it should have been placed somewhere else :(

IMG_4382

IMG_4386

IMG_4389

IMG_4390

IMG_4396

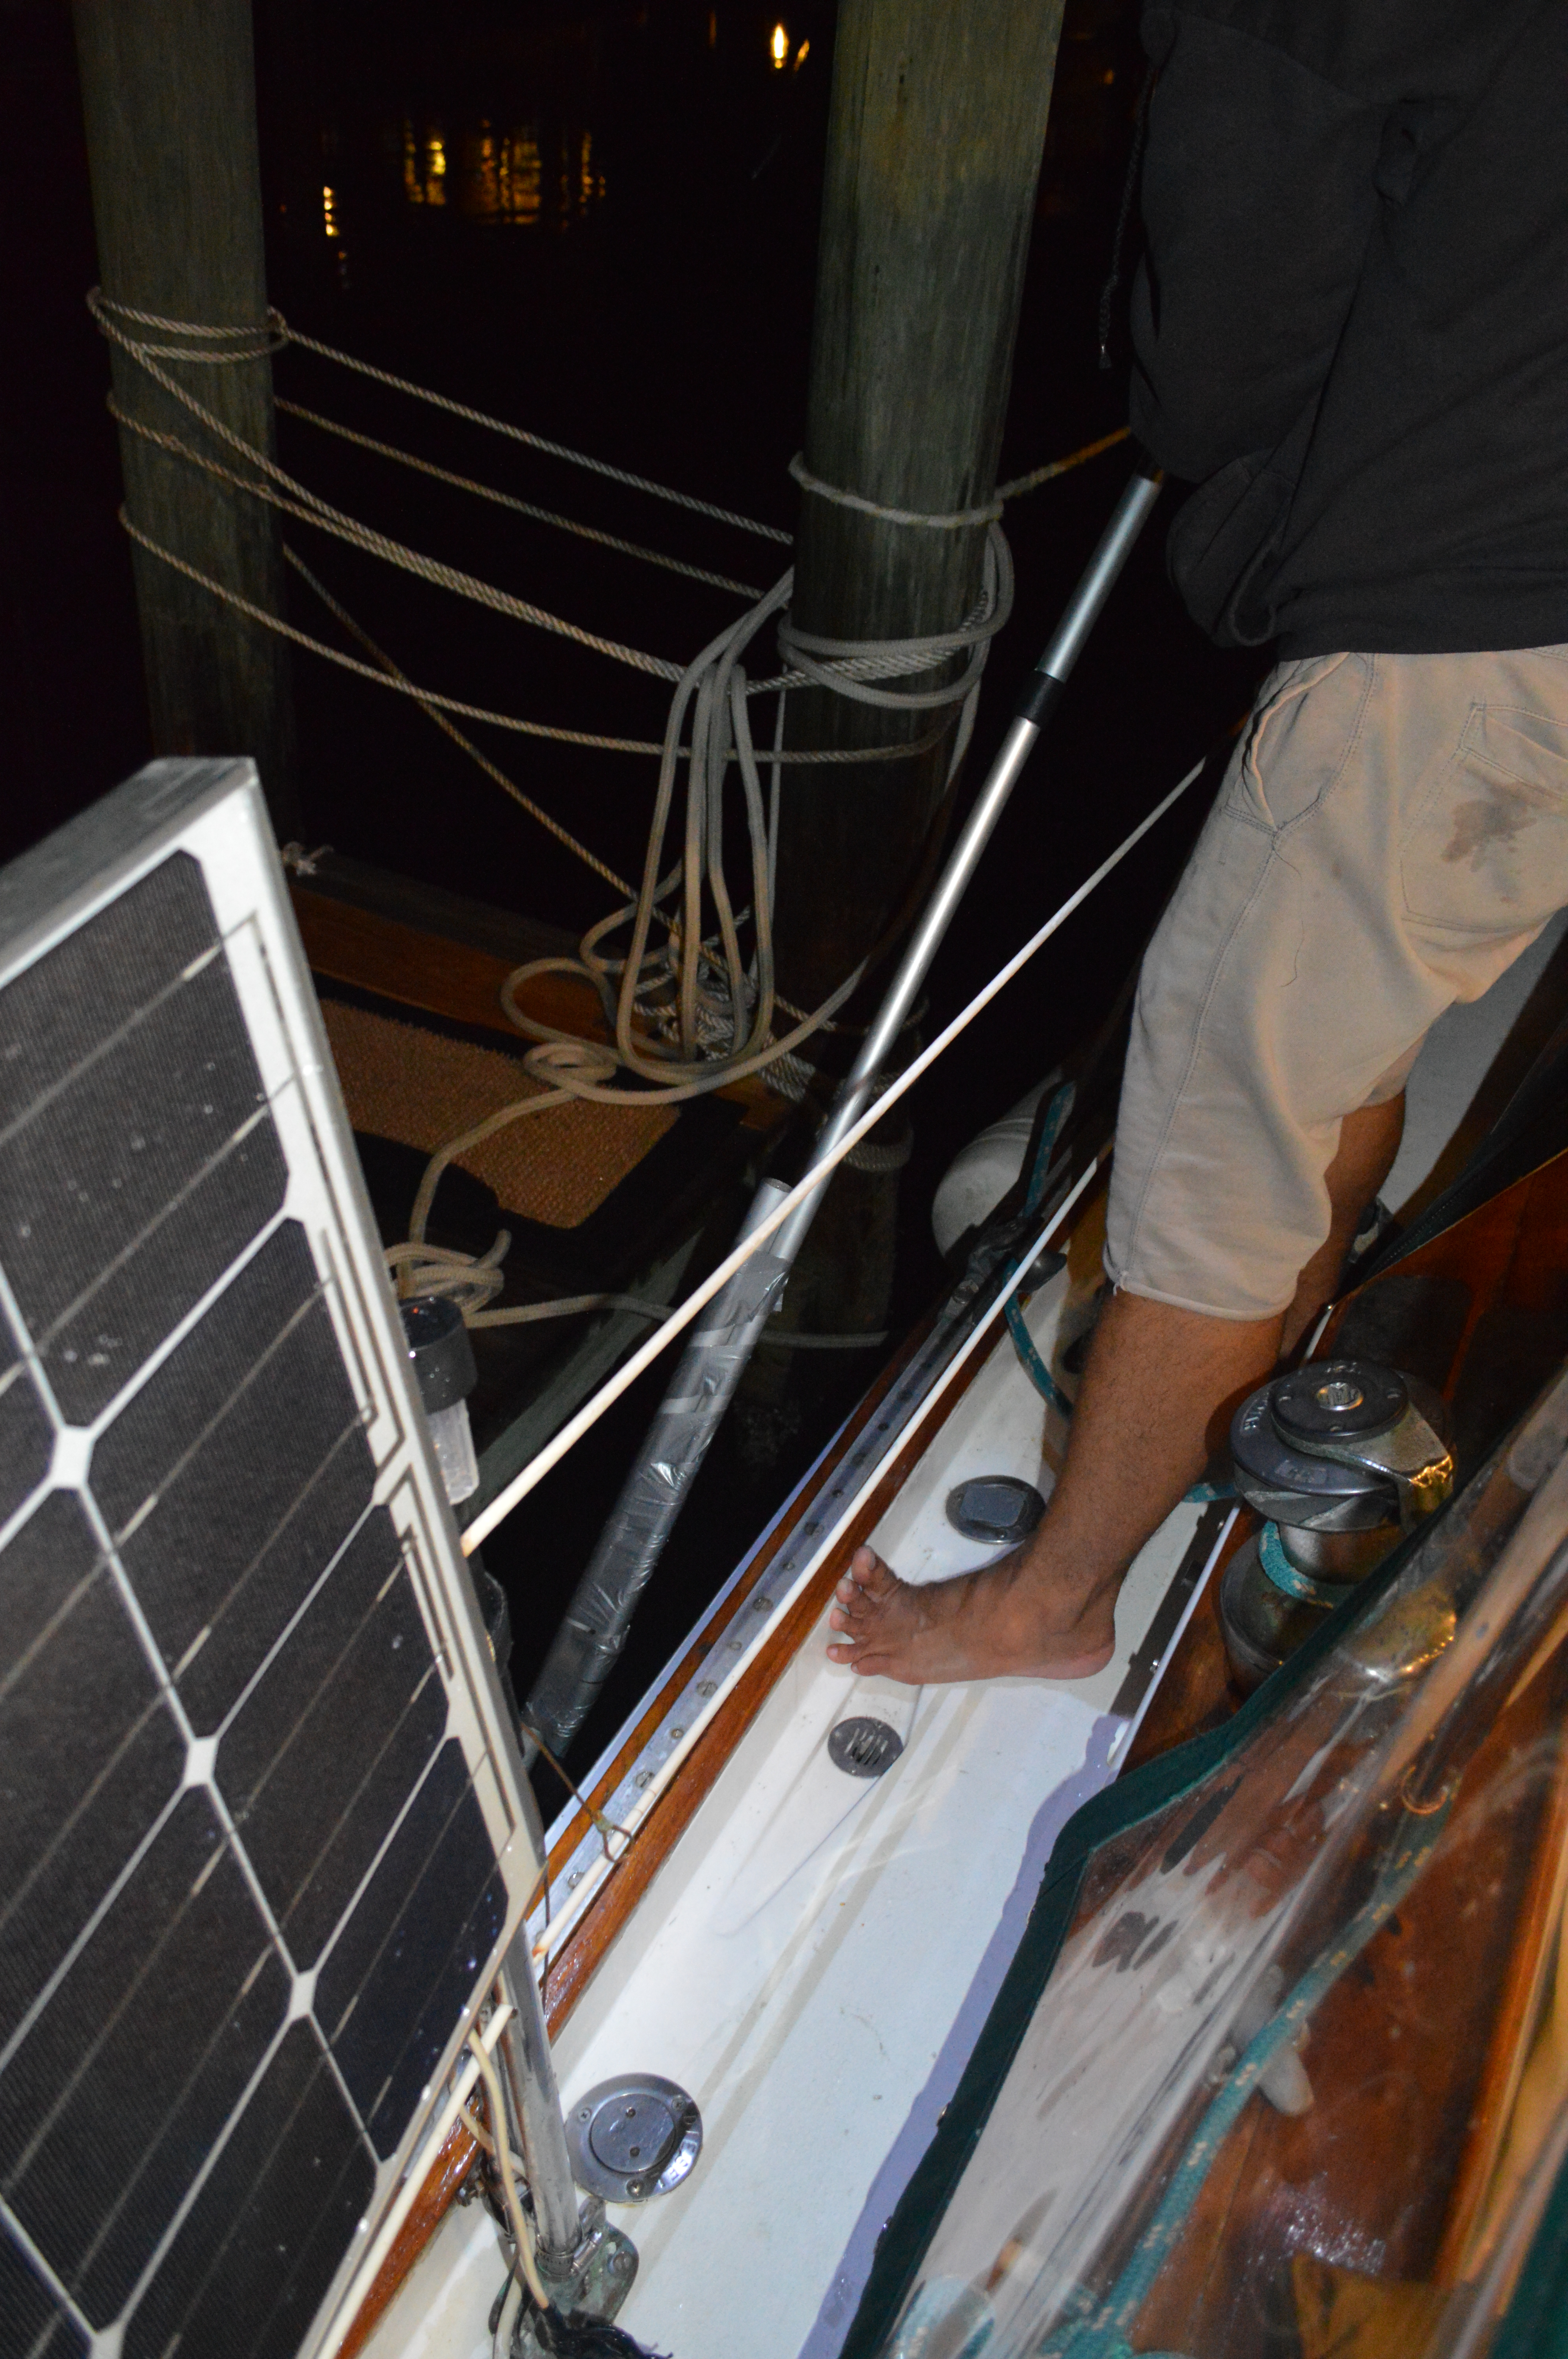
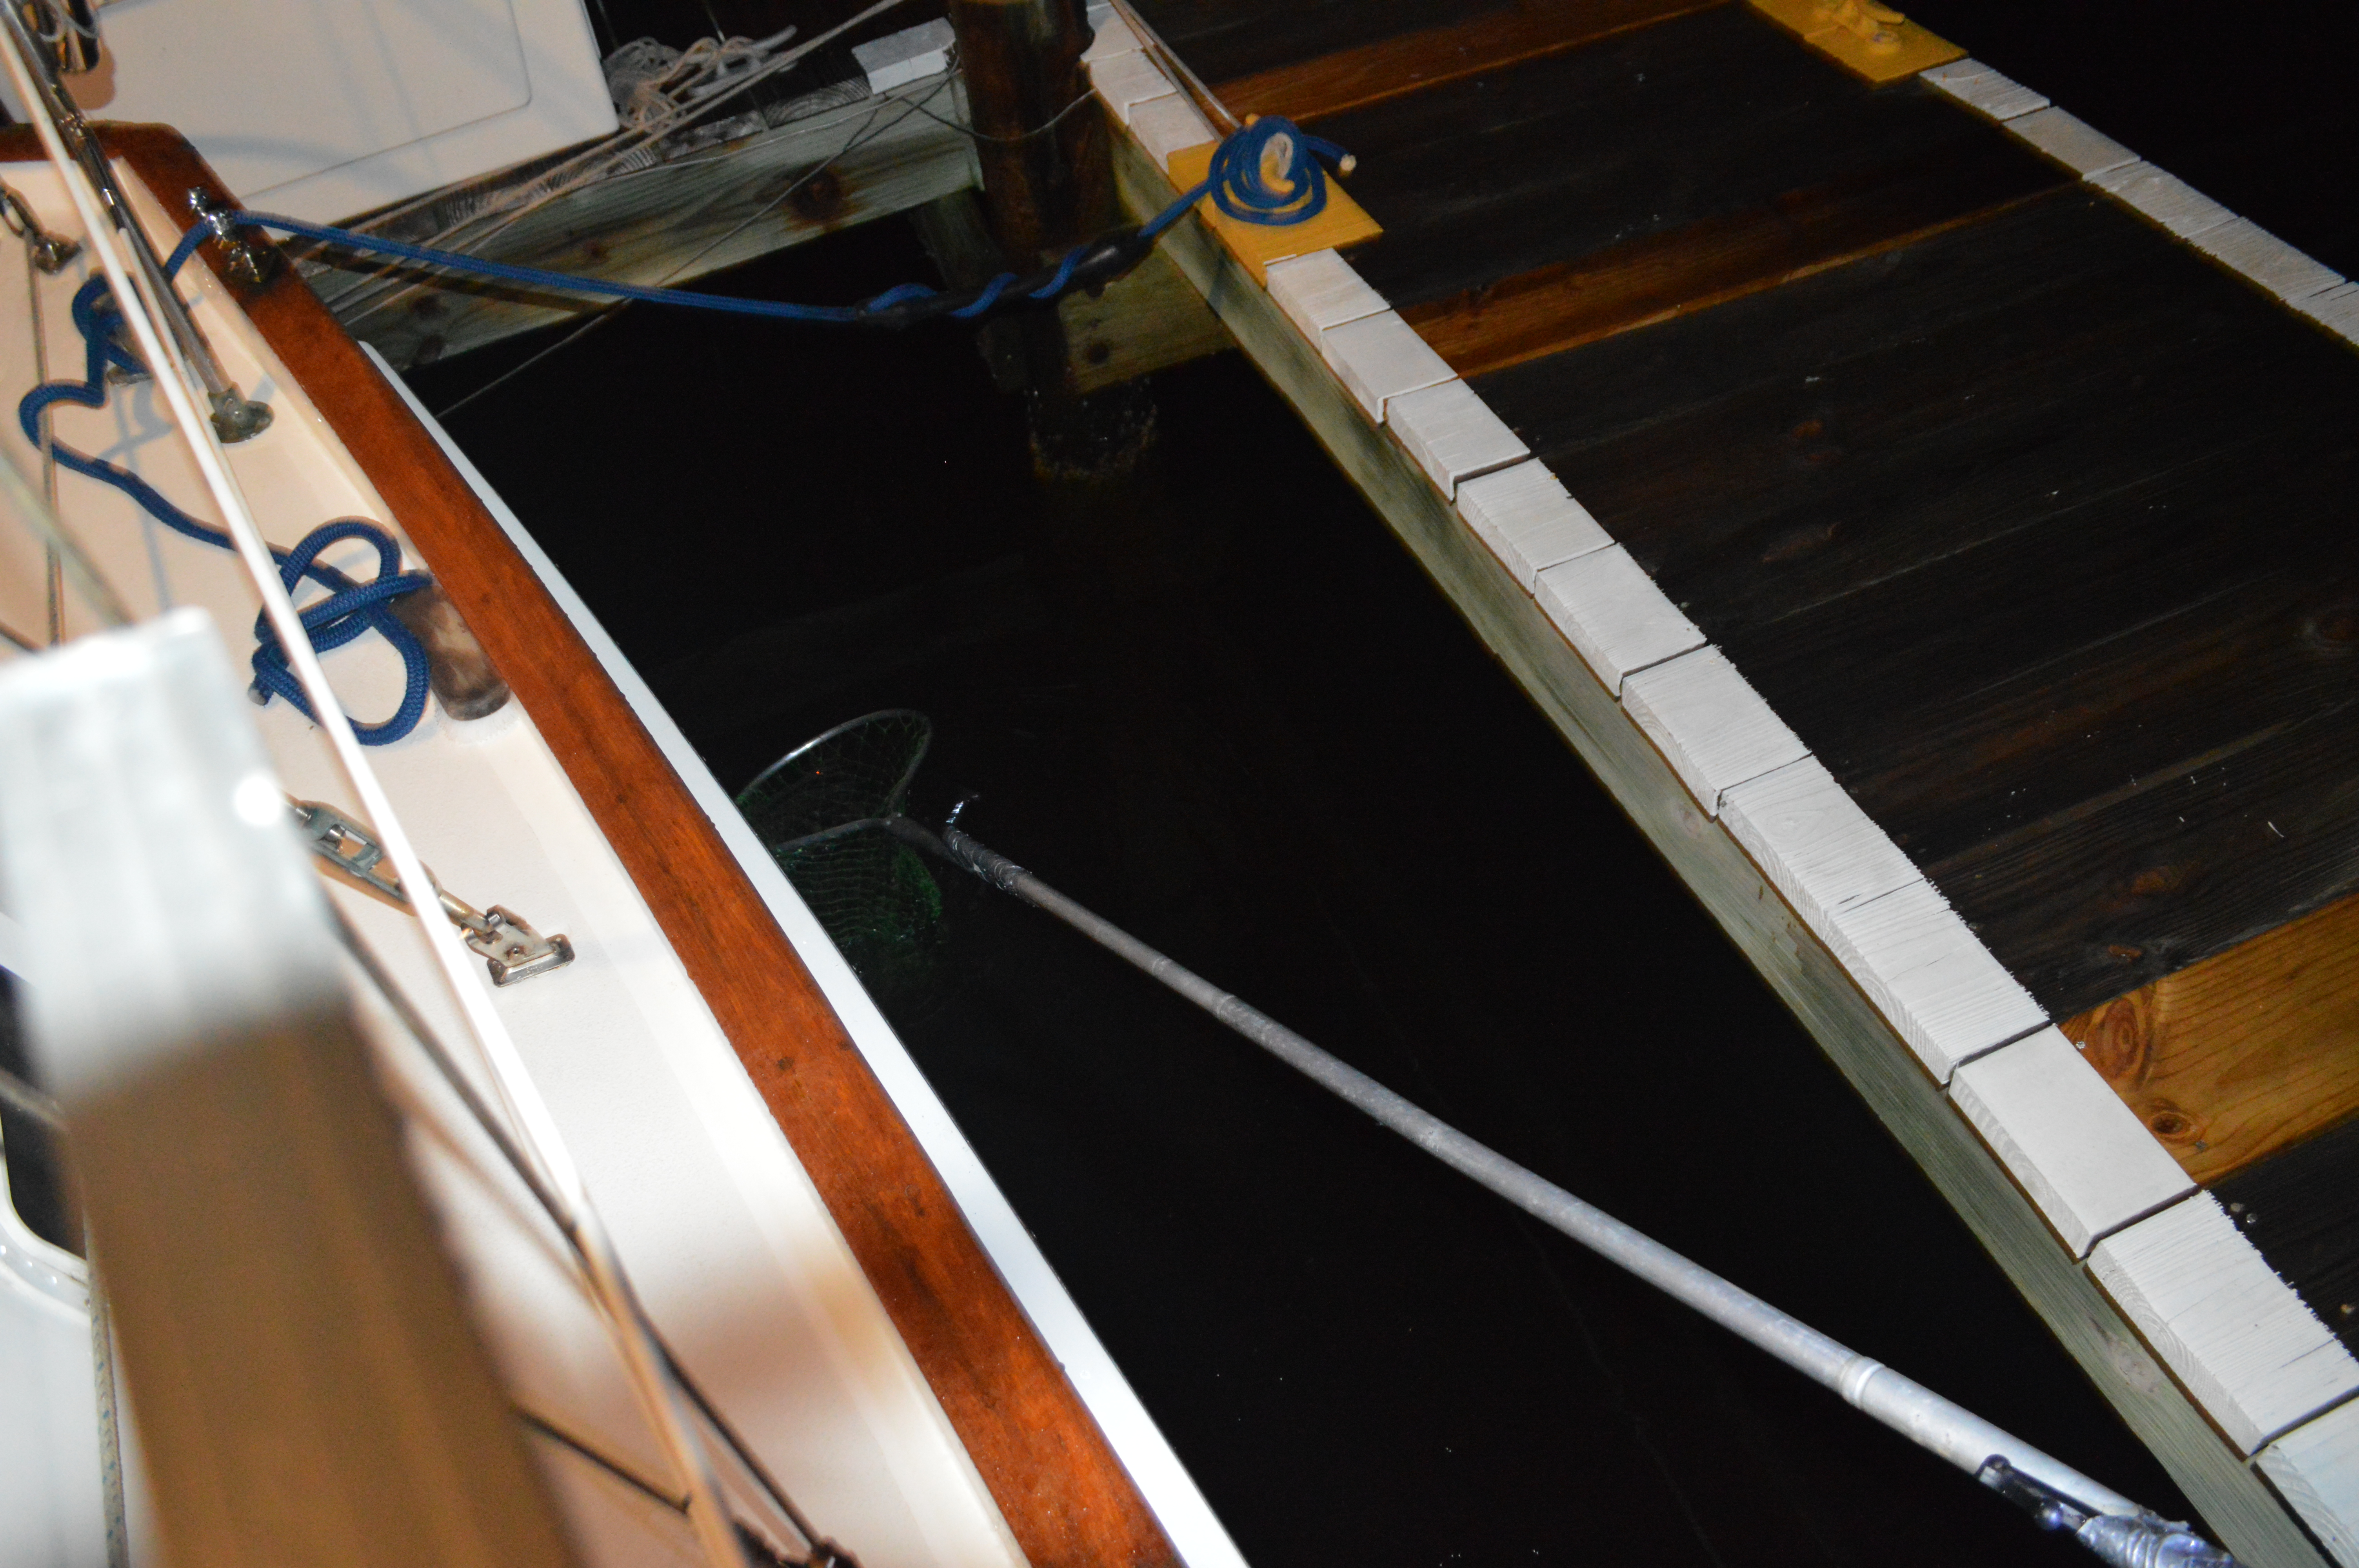
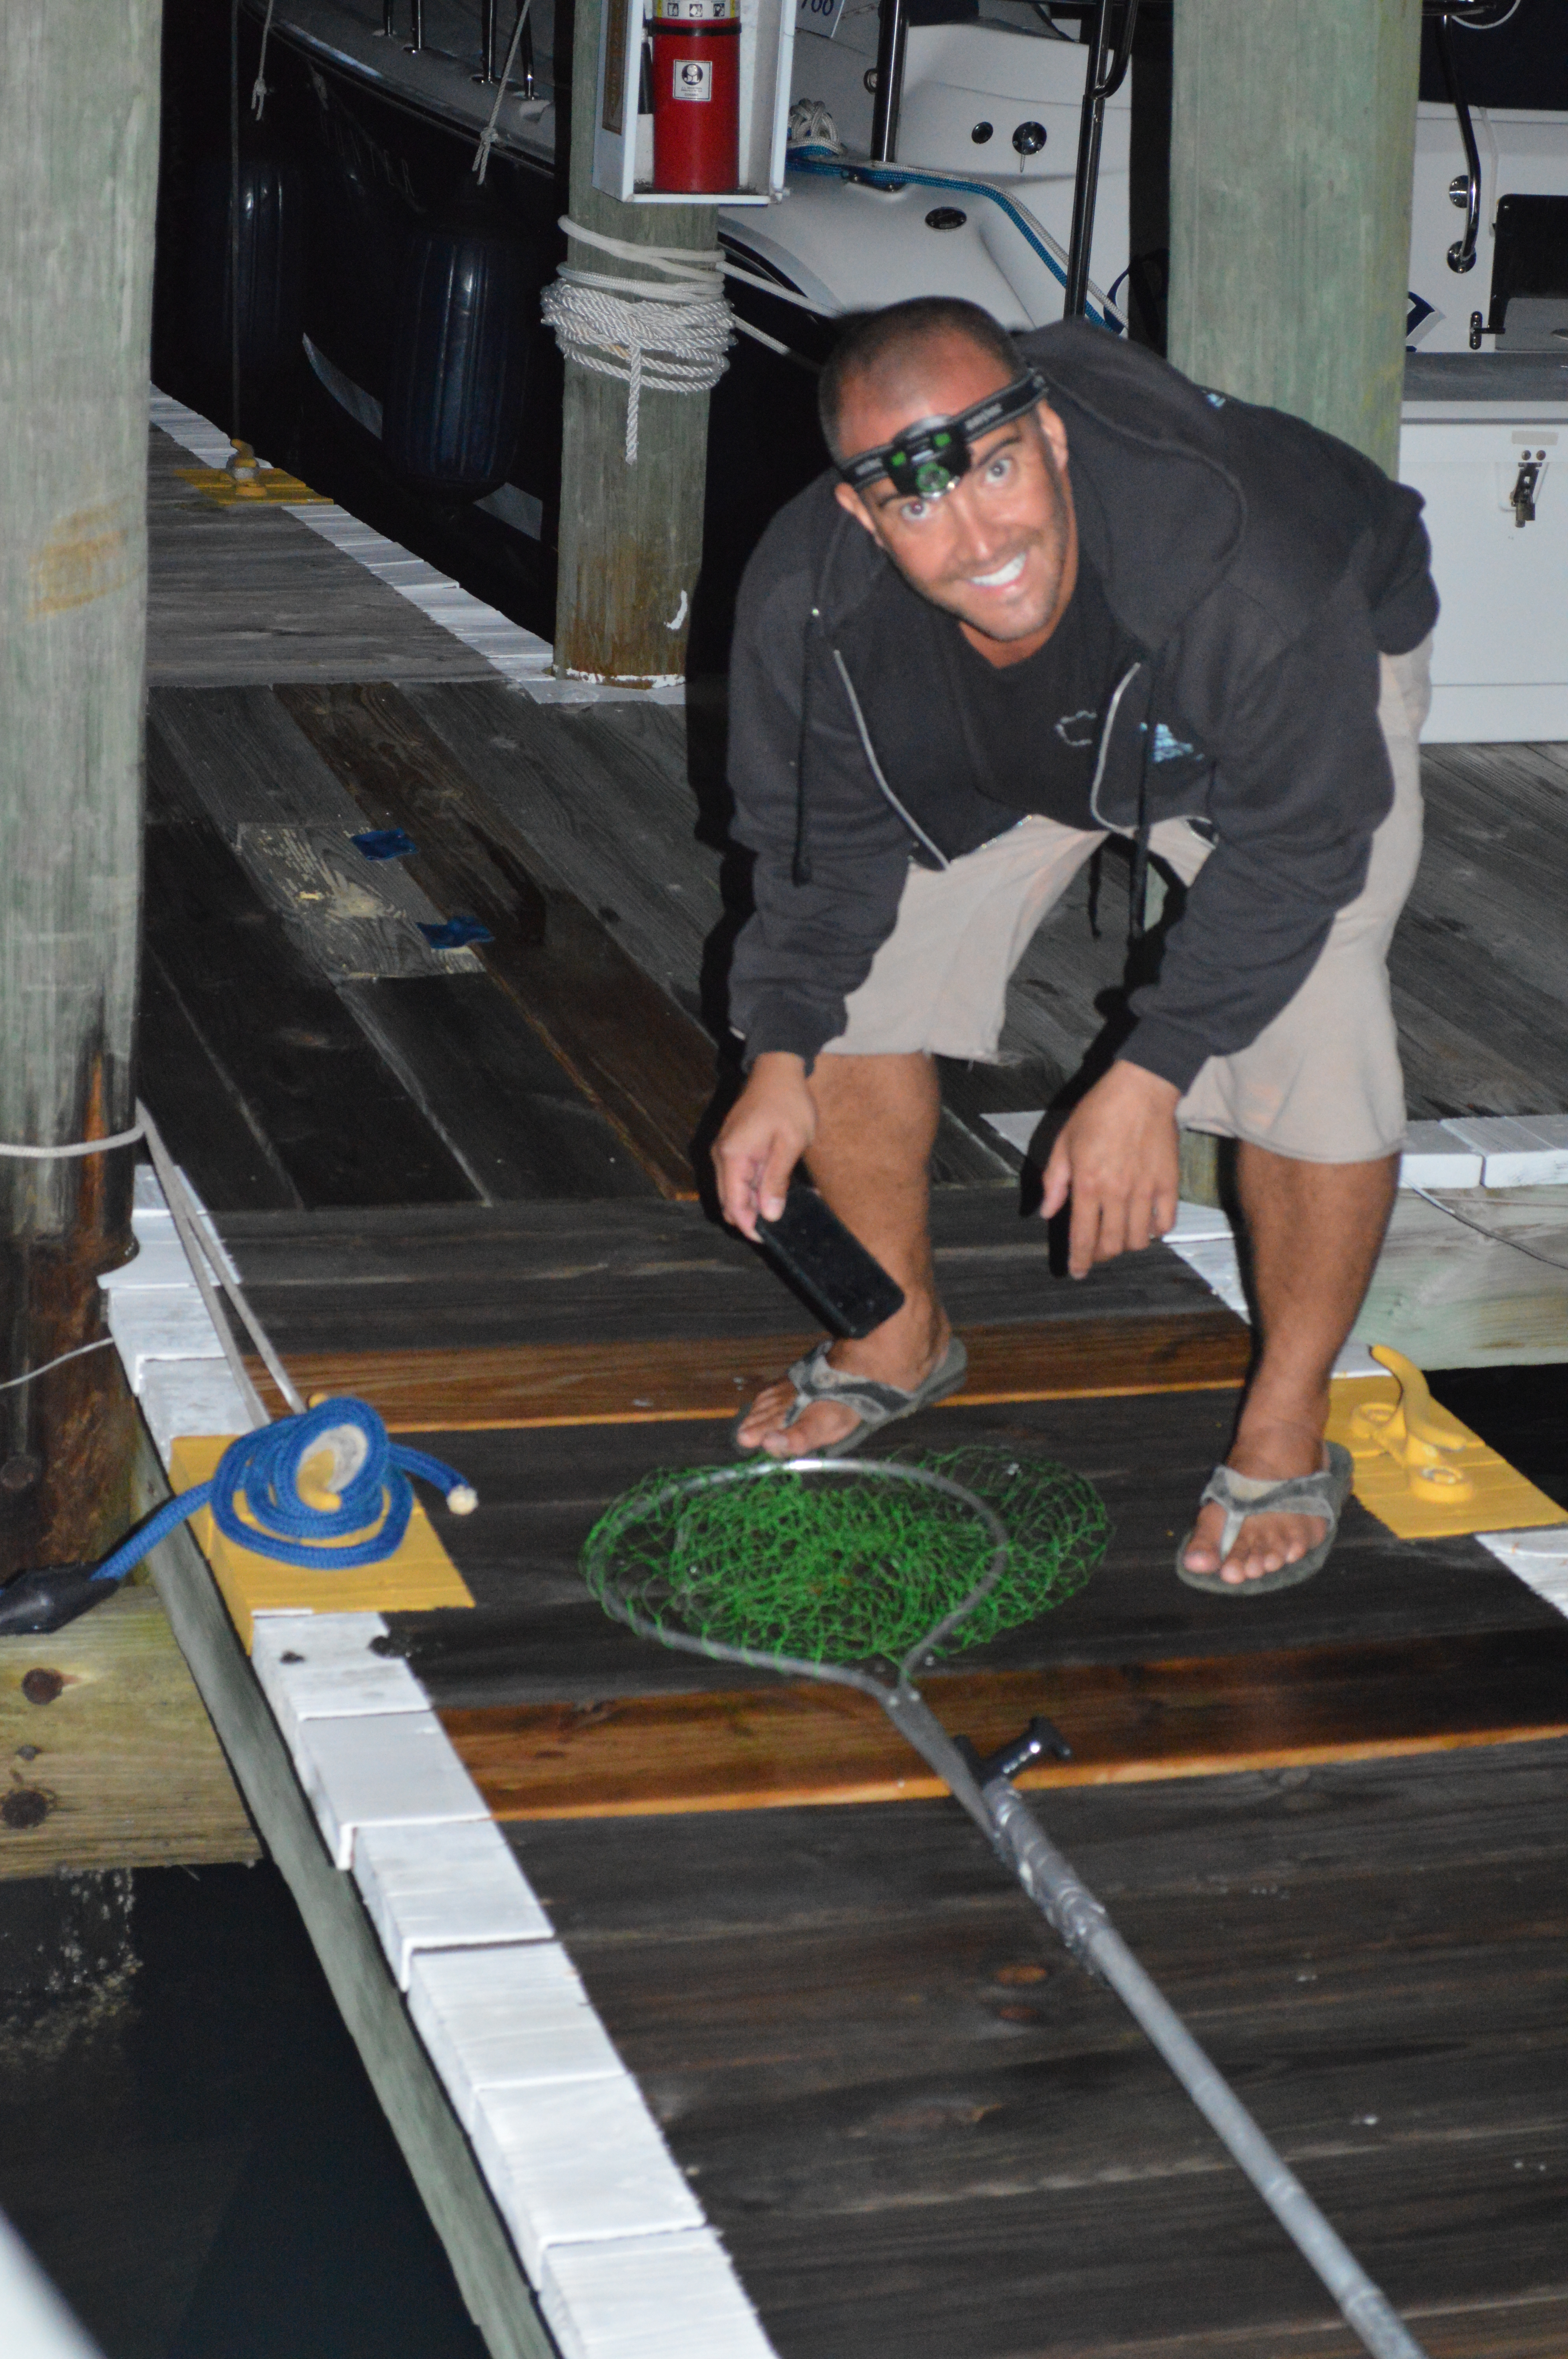
We made it back to Brown’s Marina two hours later. Josh steered us all the way with the emergency tiller arm while Peter navigated from the helm. By the time we arrived, it was already dark and the current was whipping through the channel as usual. It was past closing time so no one at the marina answered our call on the VHF radio. We tucked in on the outside of the dock behind a catamaran in the only space that was visibly available to us at the time and hoped someone would come out to help grab a line. It took two tries but the Mary Christine was finally tied back up at the dock safe and sound for the night.

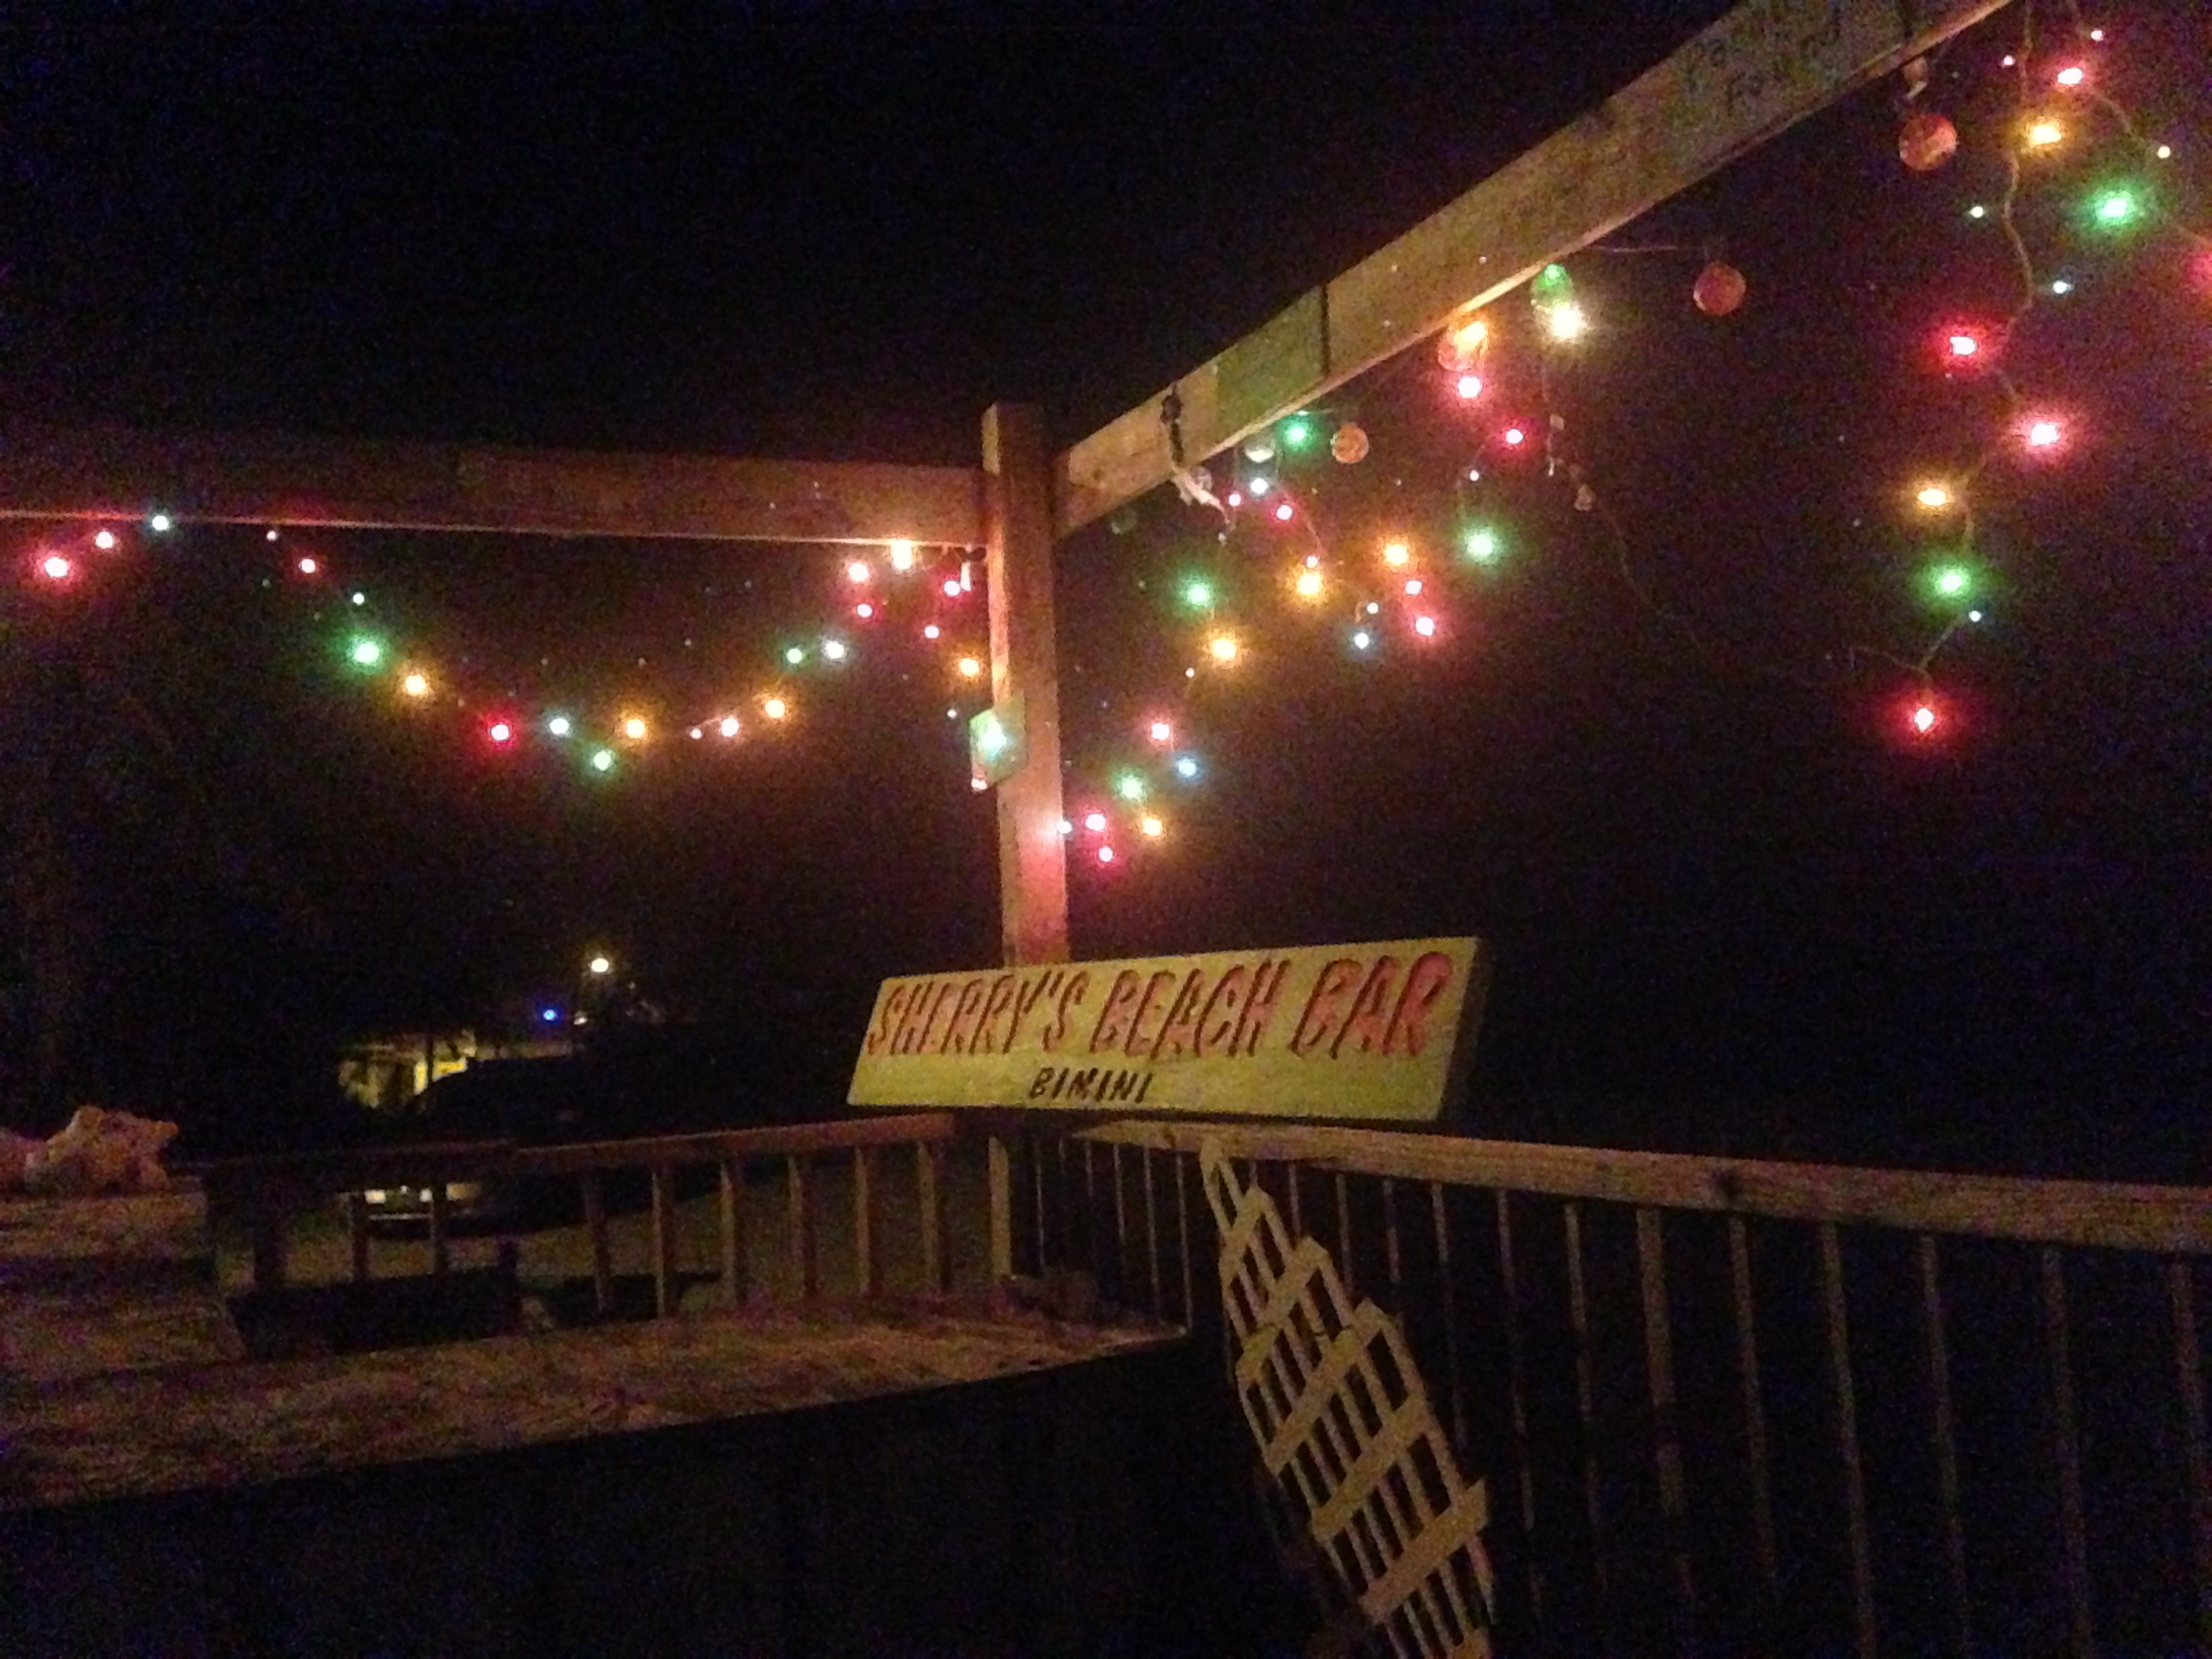
We were all exhausted so we tied up the dogs in the cockpit to guard our home and walked up the road to Sherry’s for some dinner. It was a decent local meal but way overpriced. The bill was $100 for four people for some fish and lobster plates. After our minor disaster, it was worth not having to make dinner. Plus we got to relax in a super cute little beachfront patio.

IMG_4399

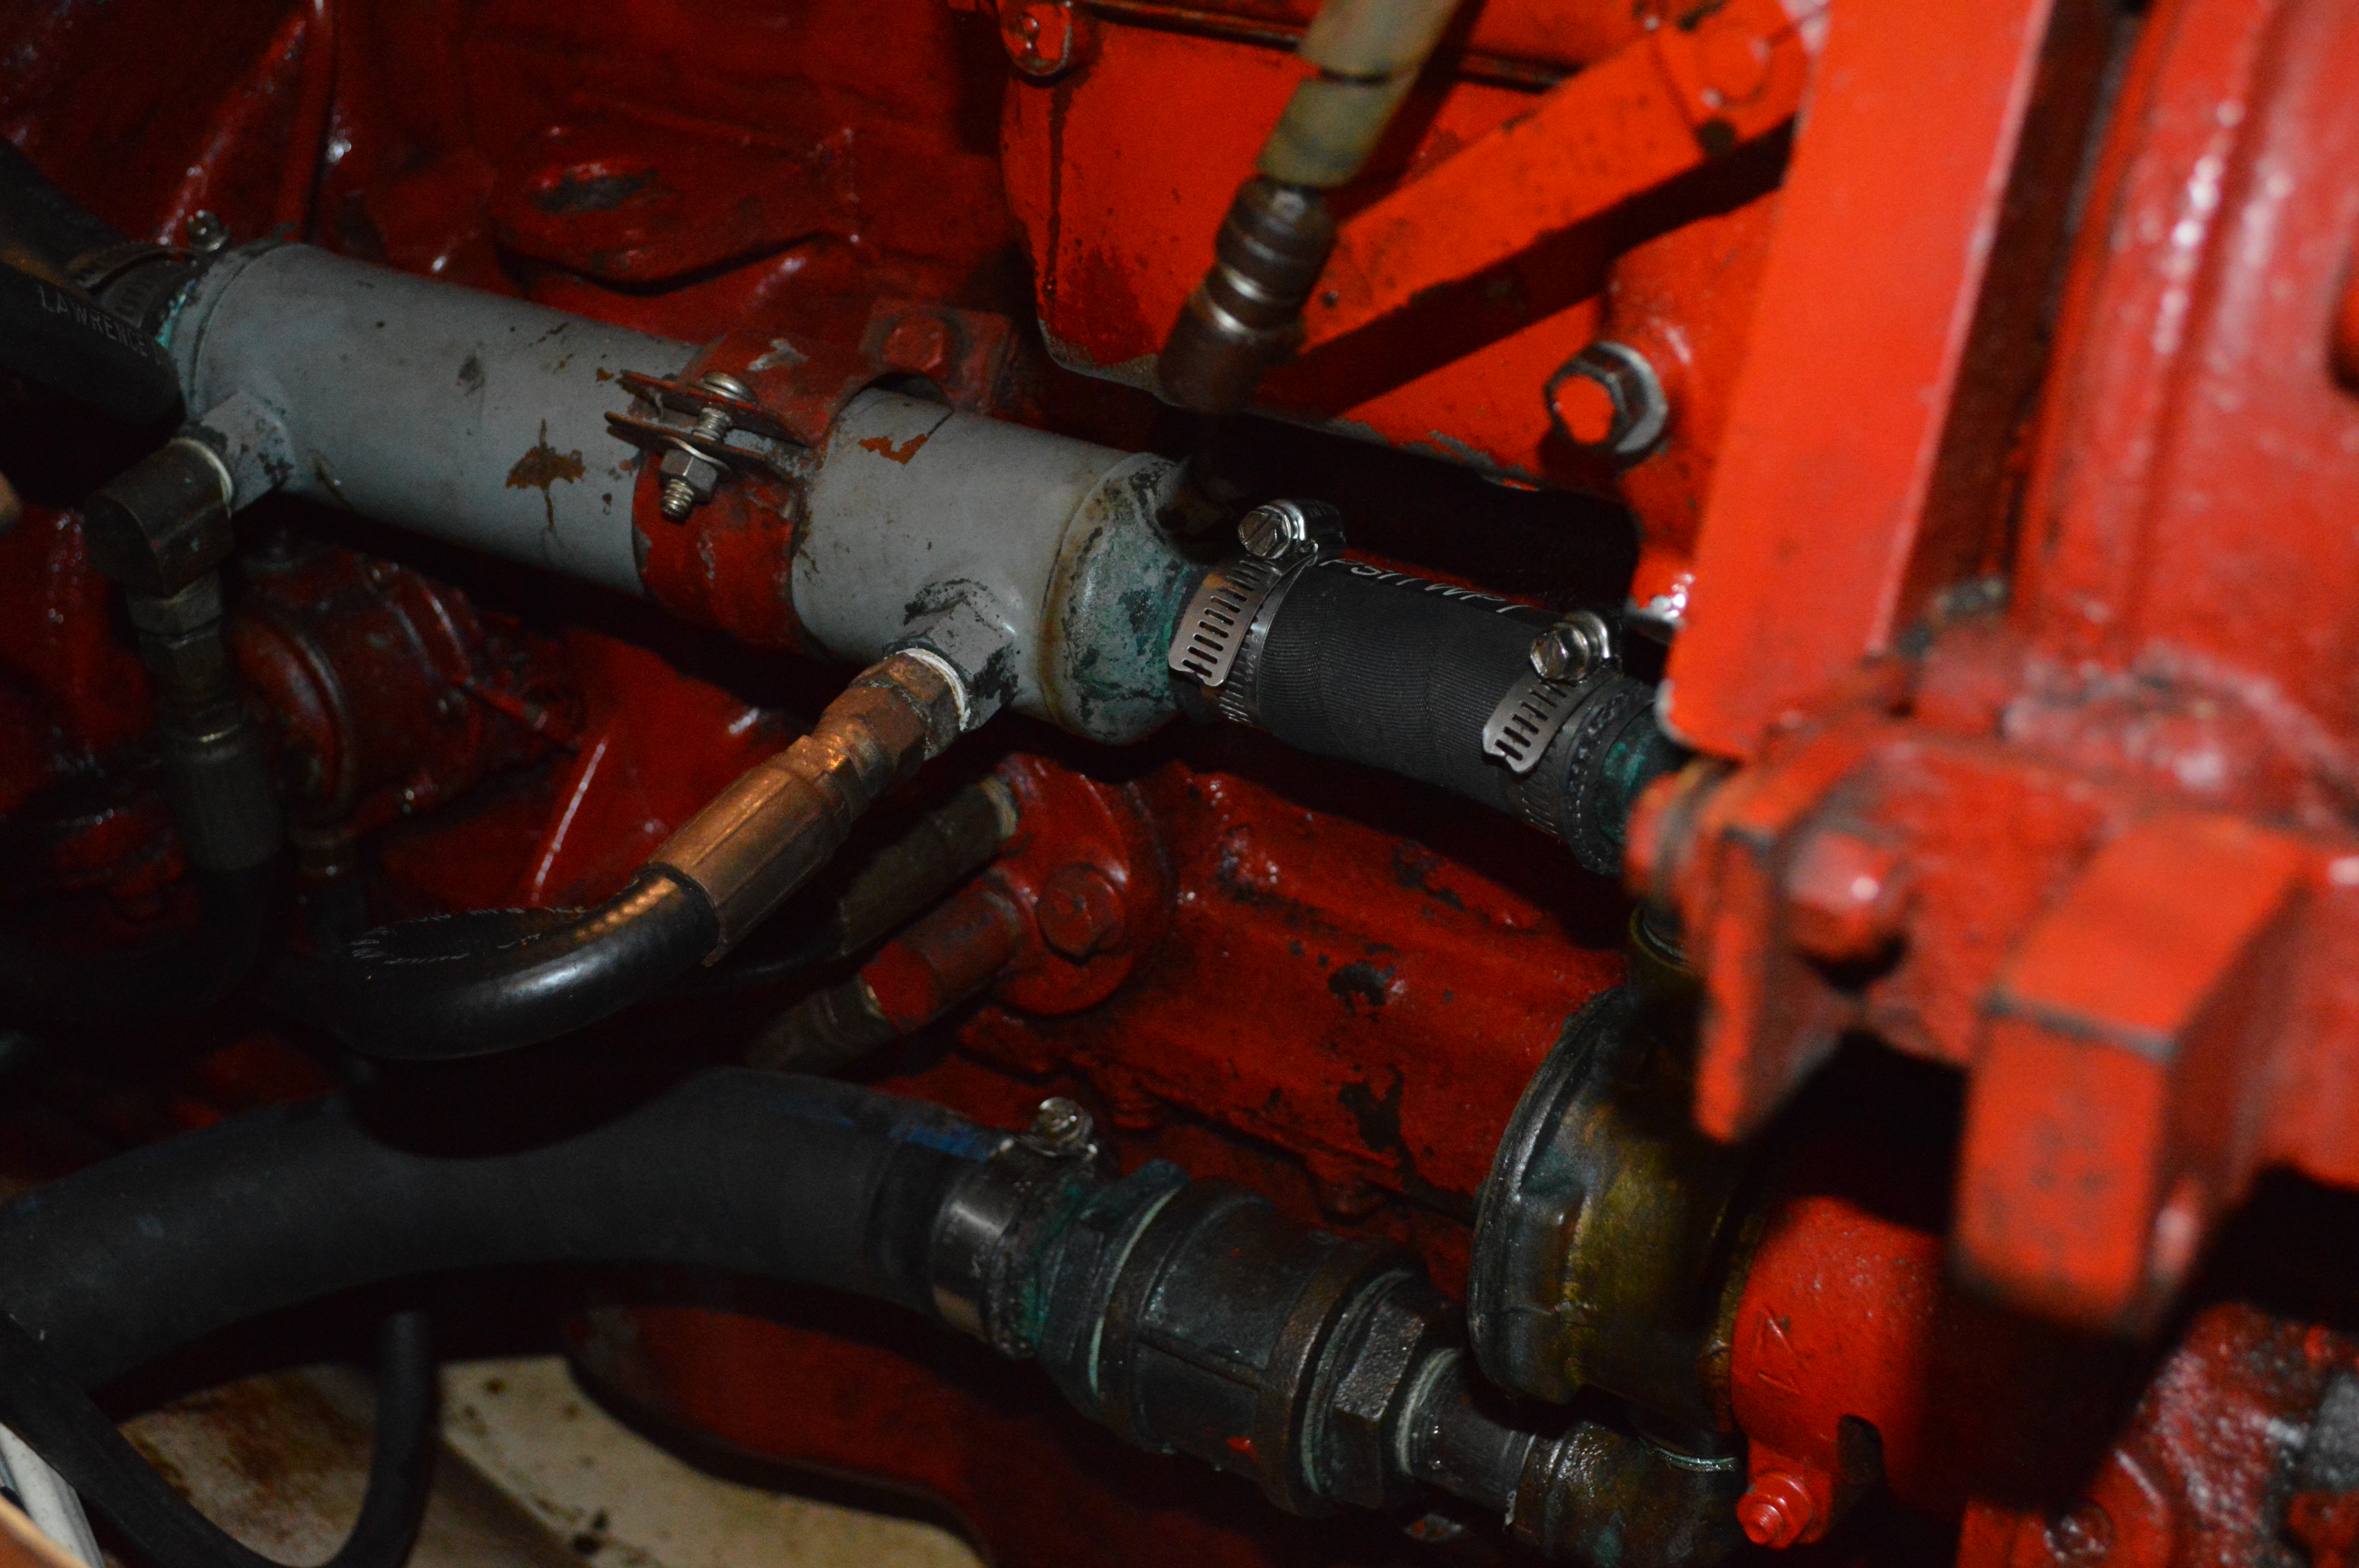
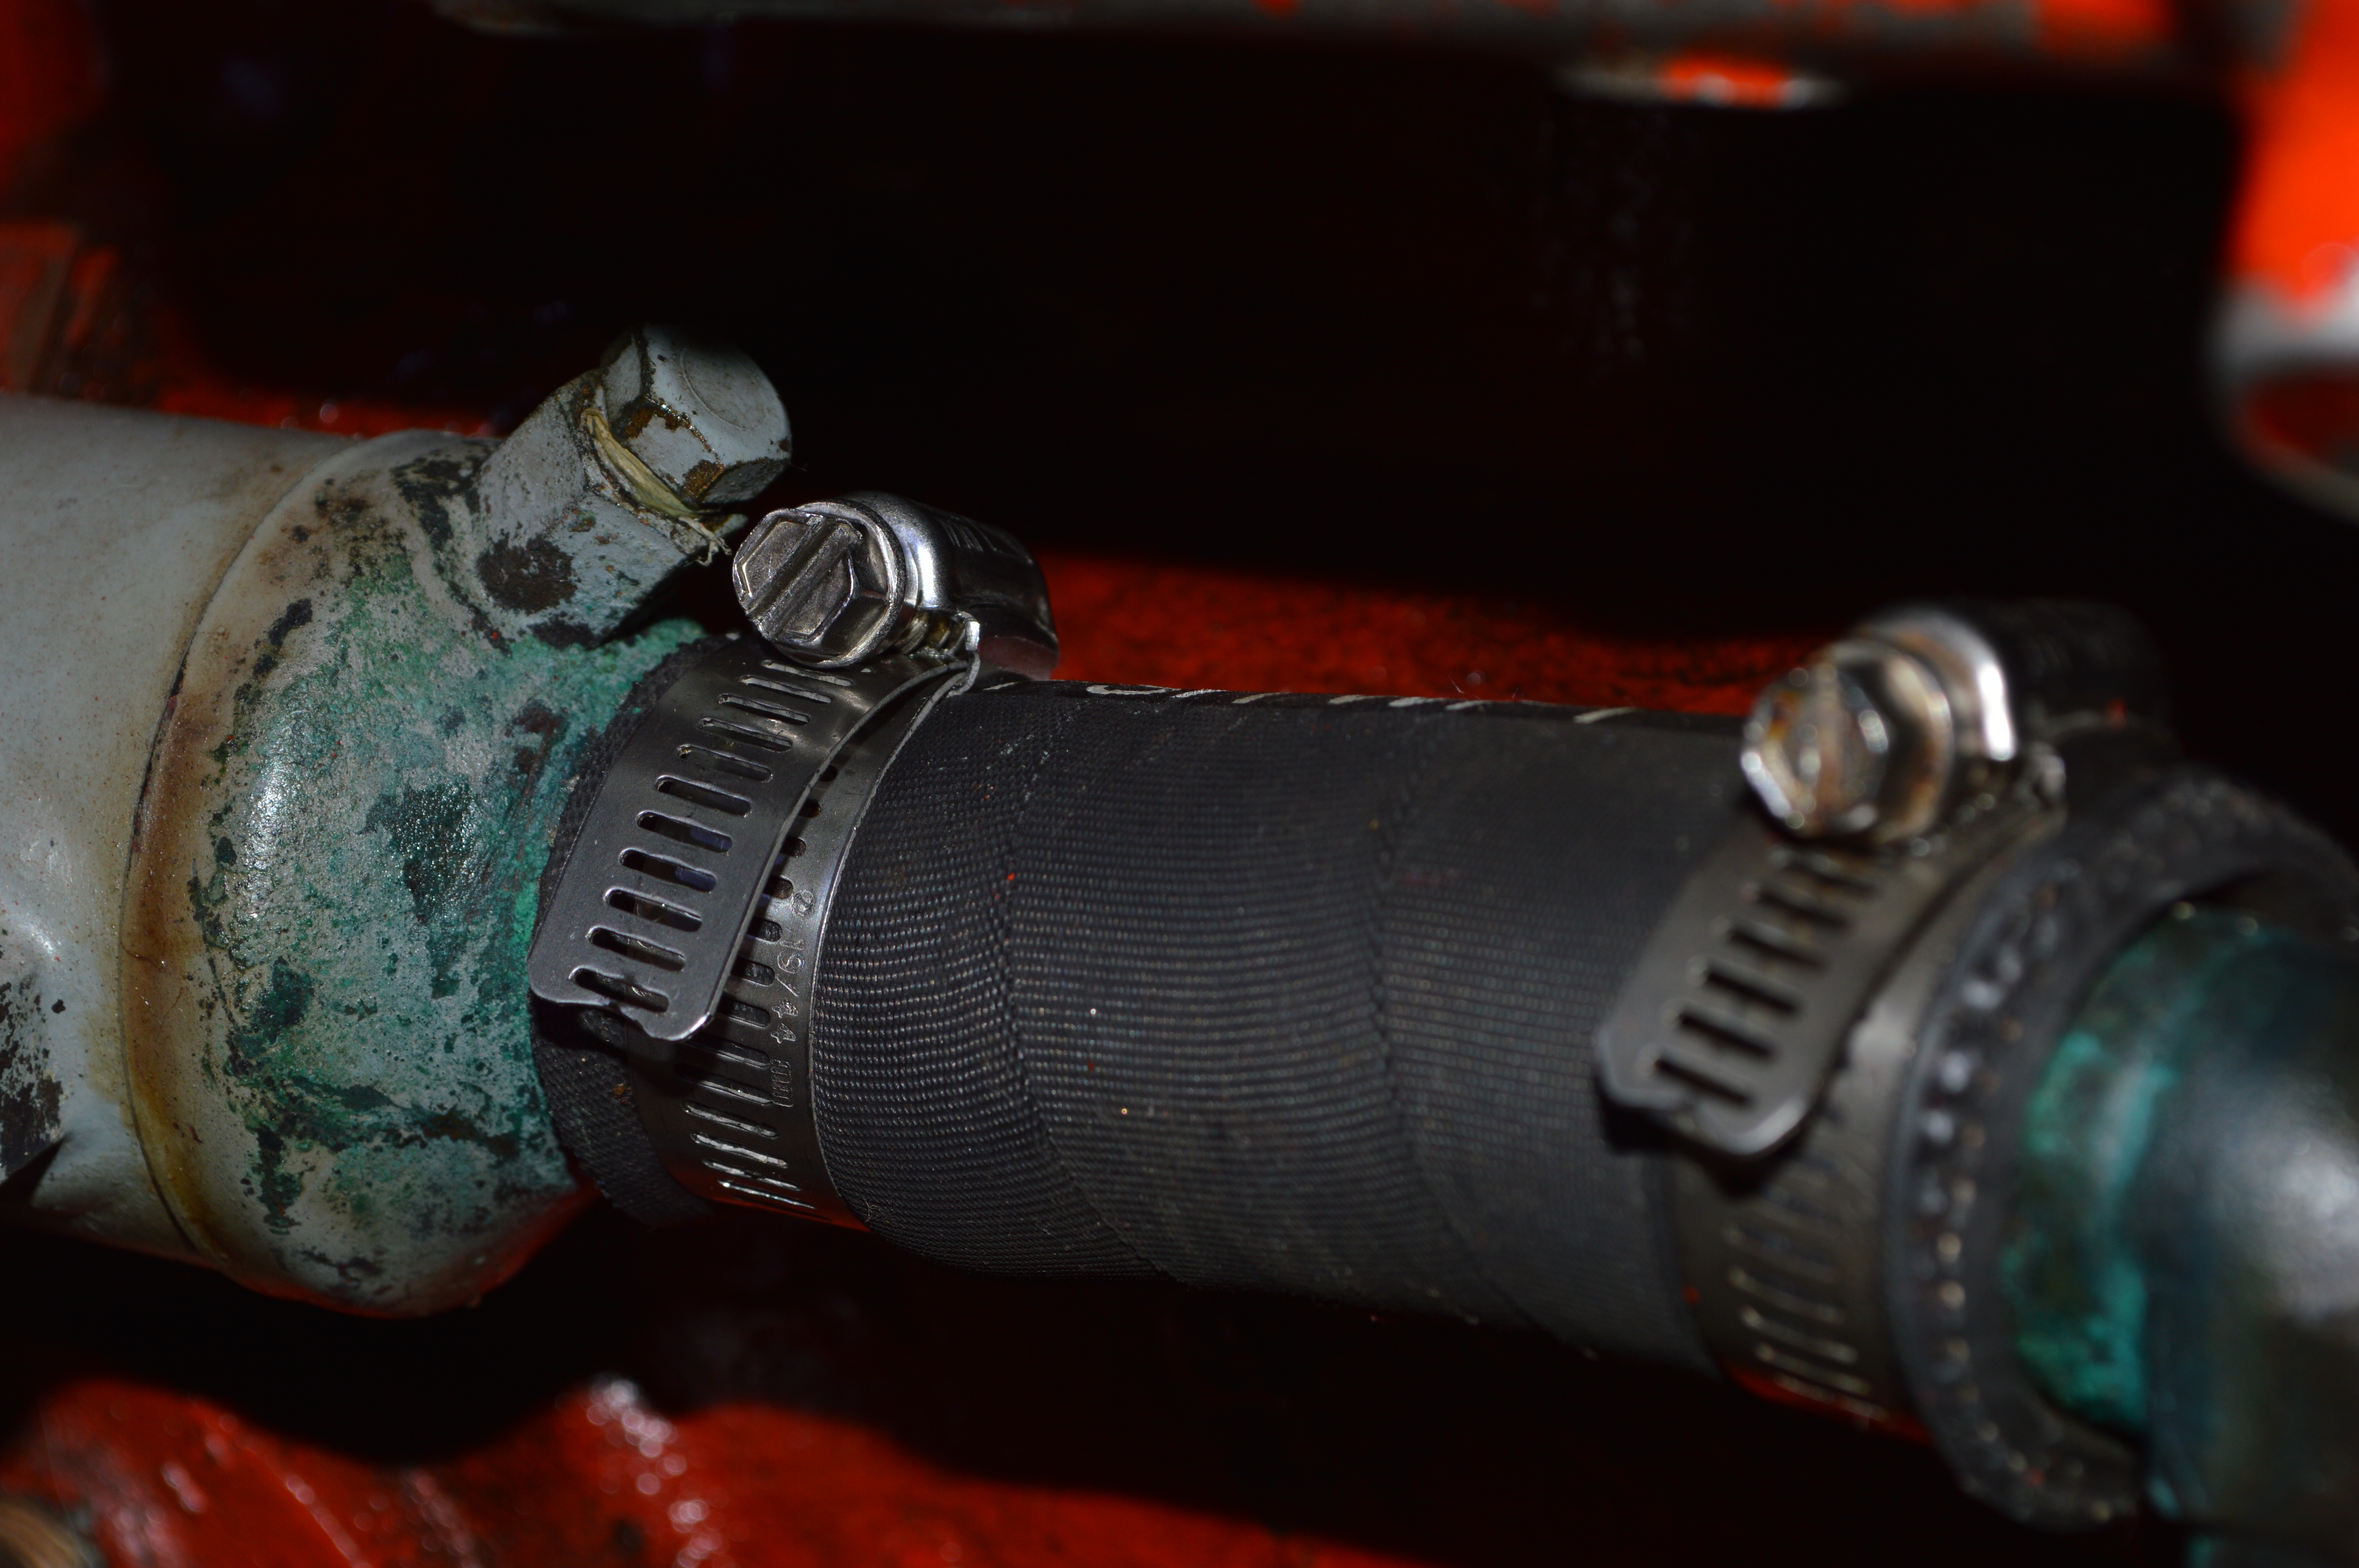
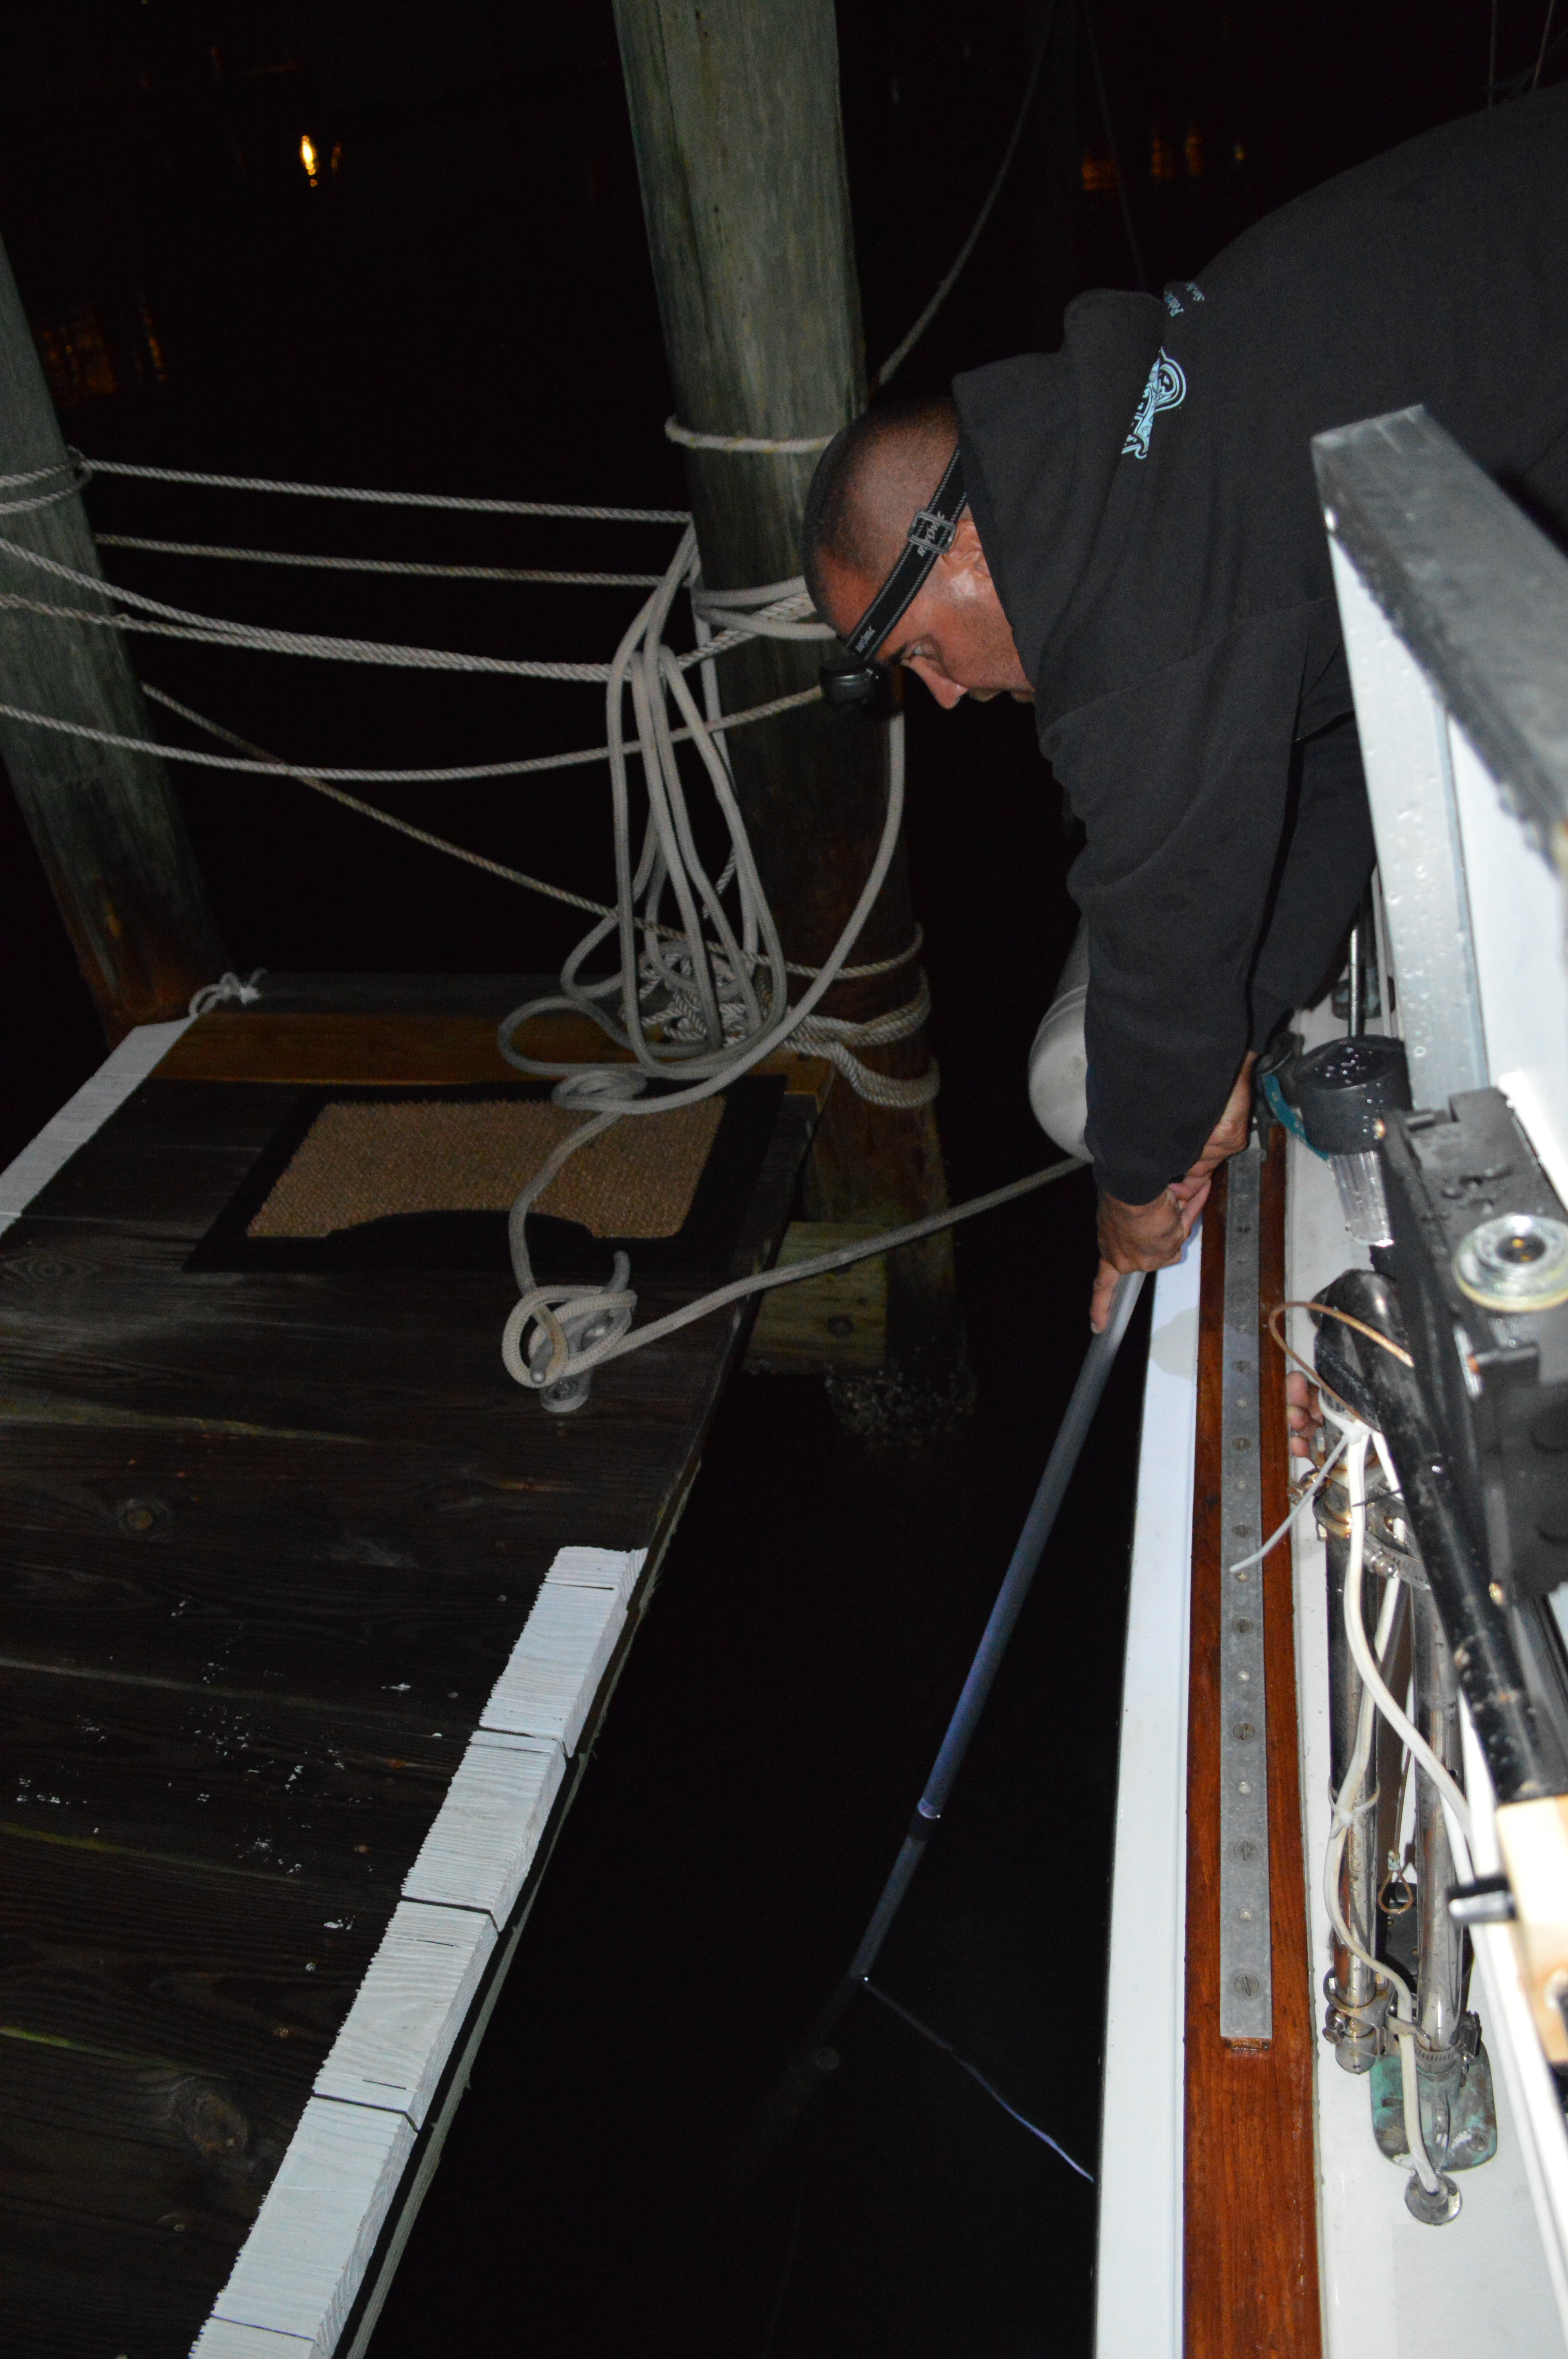
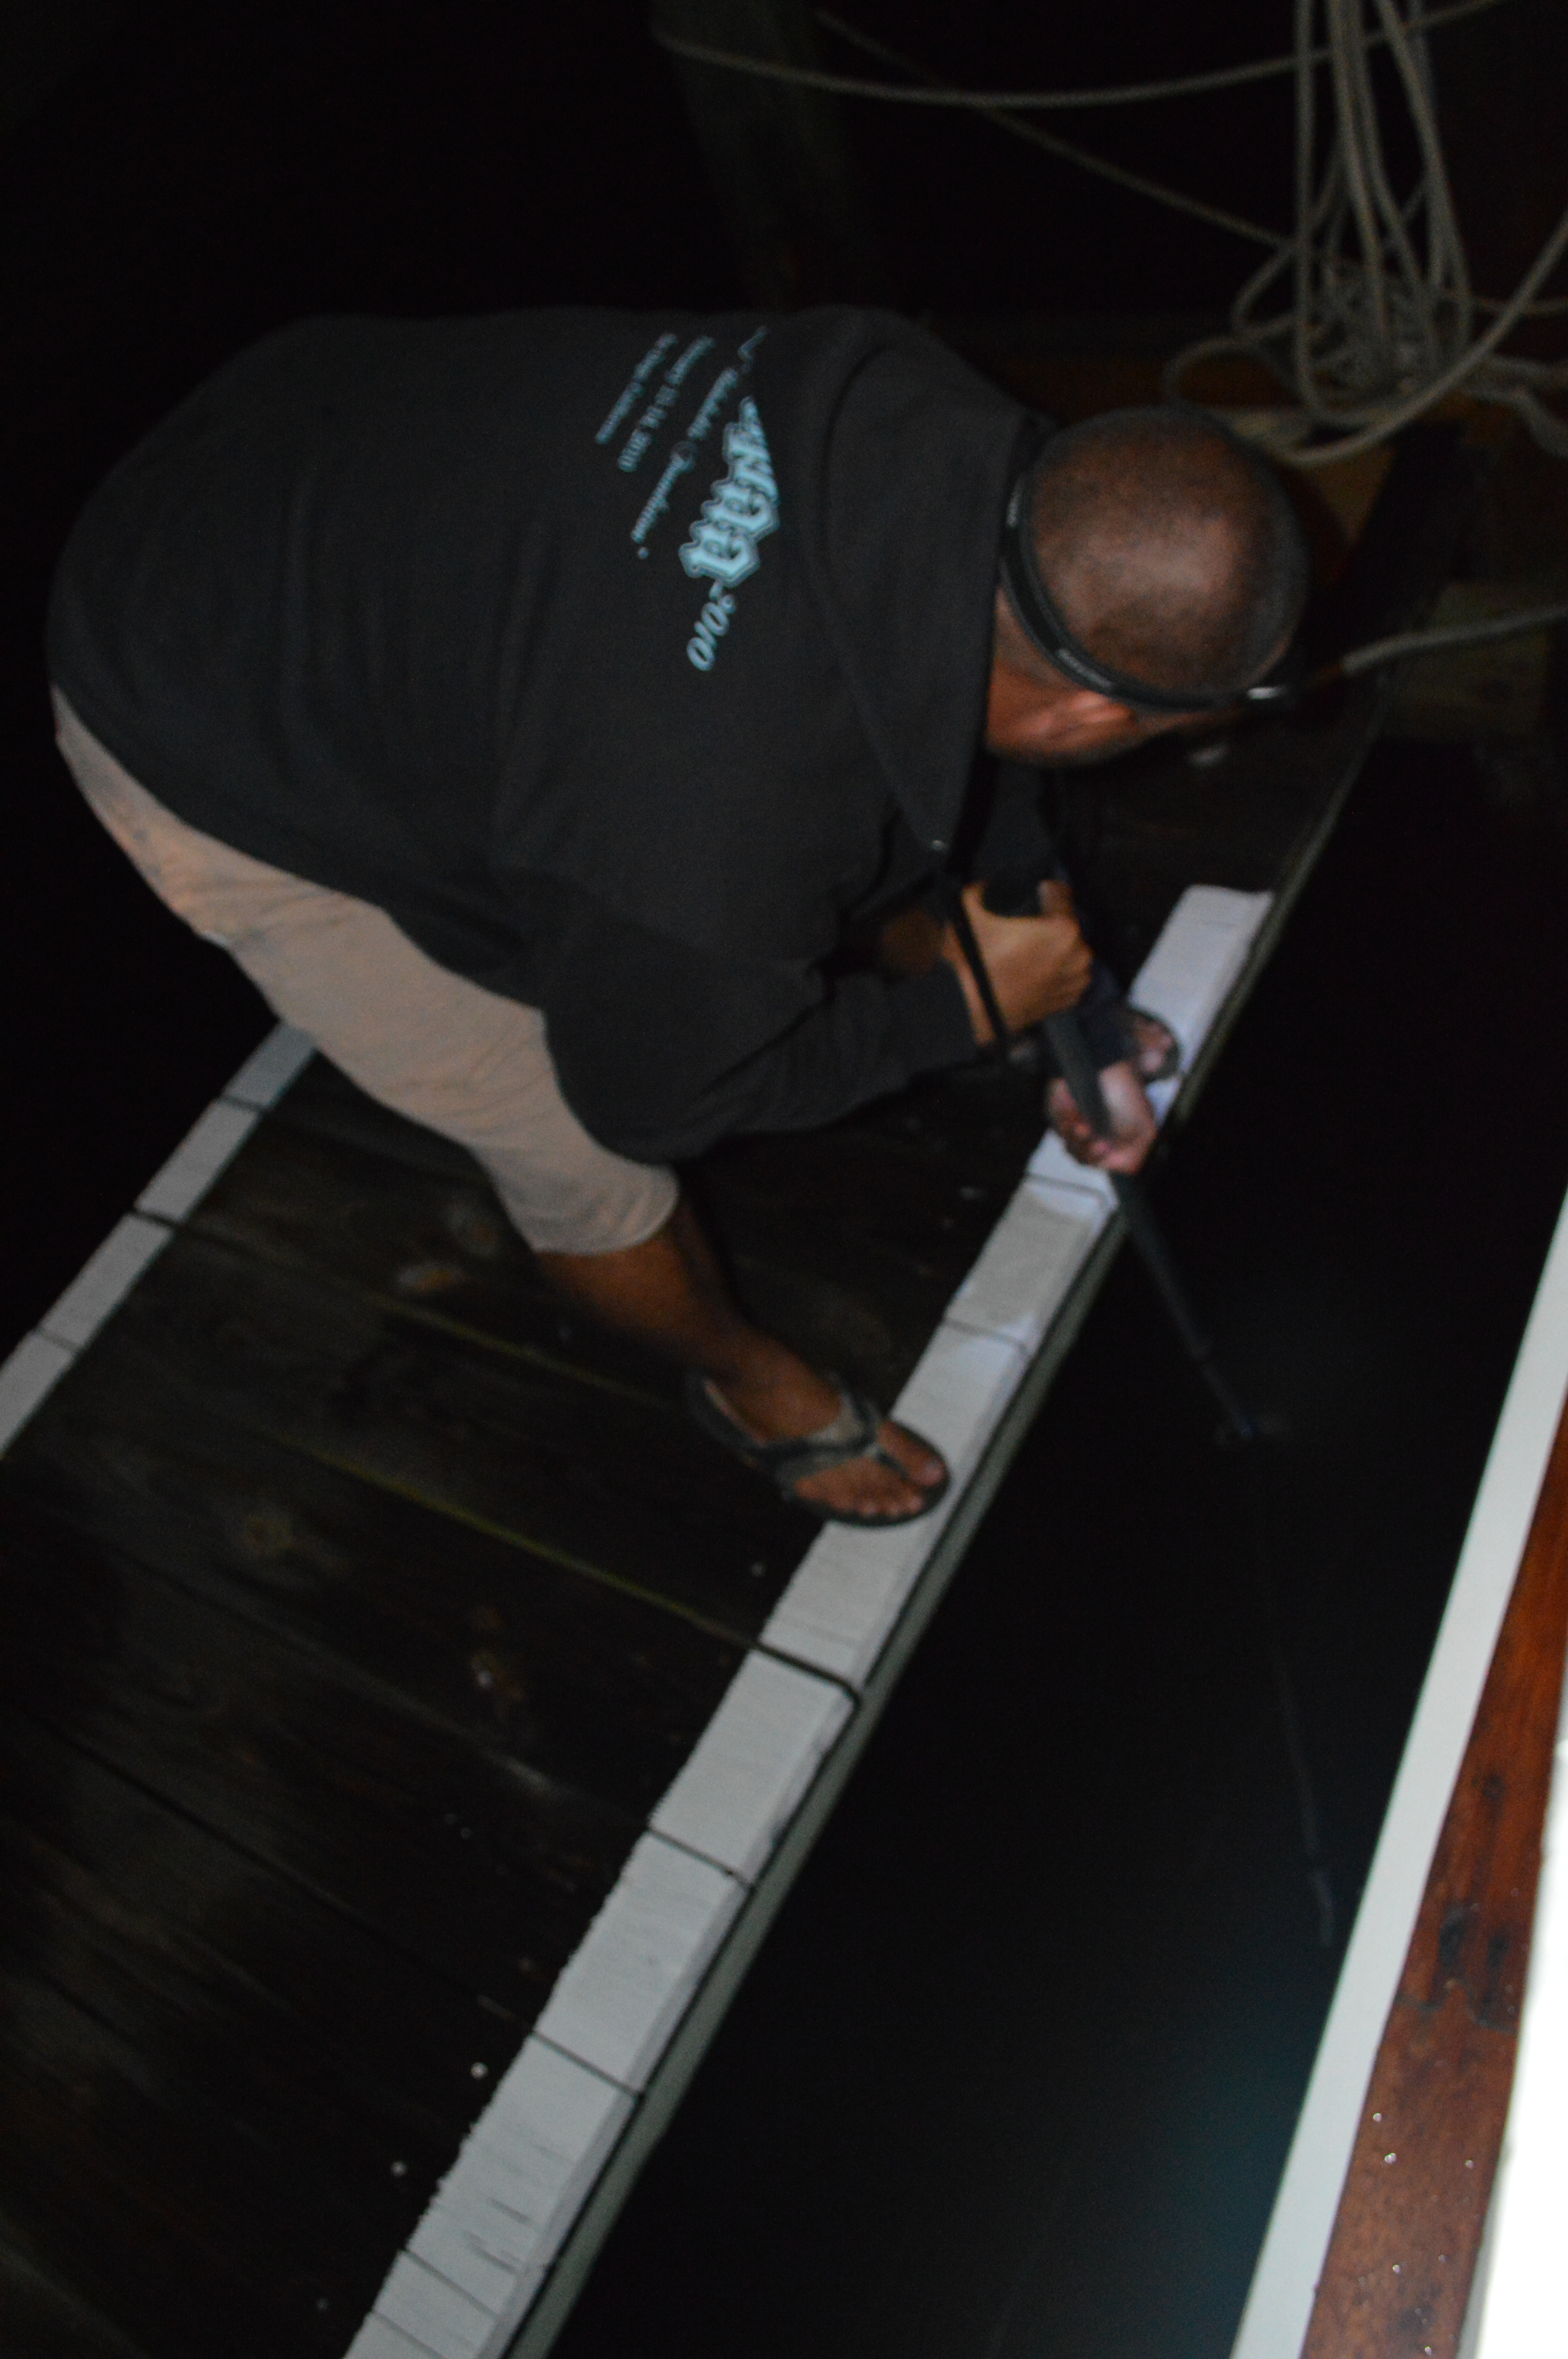
Back at the boat everyone at the dock was wondering what had happened. With the help of new cruiser friends John (S/V New Moon) and Alex (S/V Nikimat), Peter was able to put a new temporary bolt in, reconnect the hydraulic steering arm, and they even temporarily fixed a leak at the stuffing box packing nut. Before they made the fix Peter borrowed John’s 4lb hammer and used a screwdriver to pry off the emergency tiller arm. It had to be done that night or Peter and I wouldn’t have anywhere to sleep.

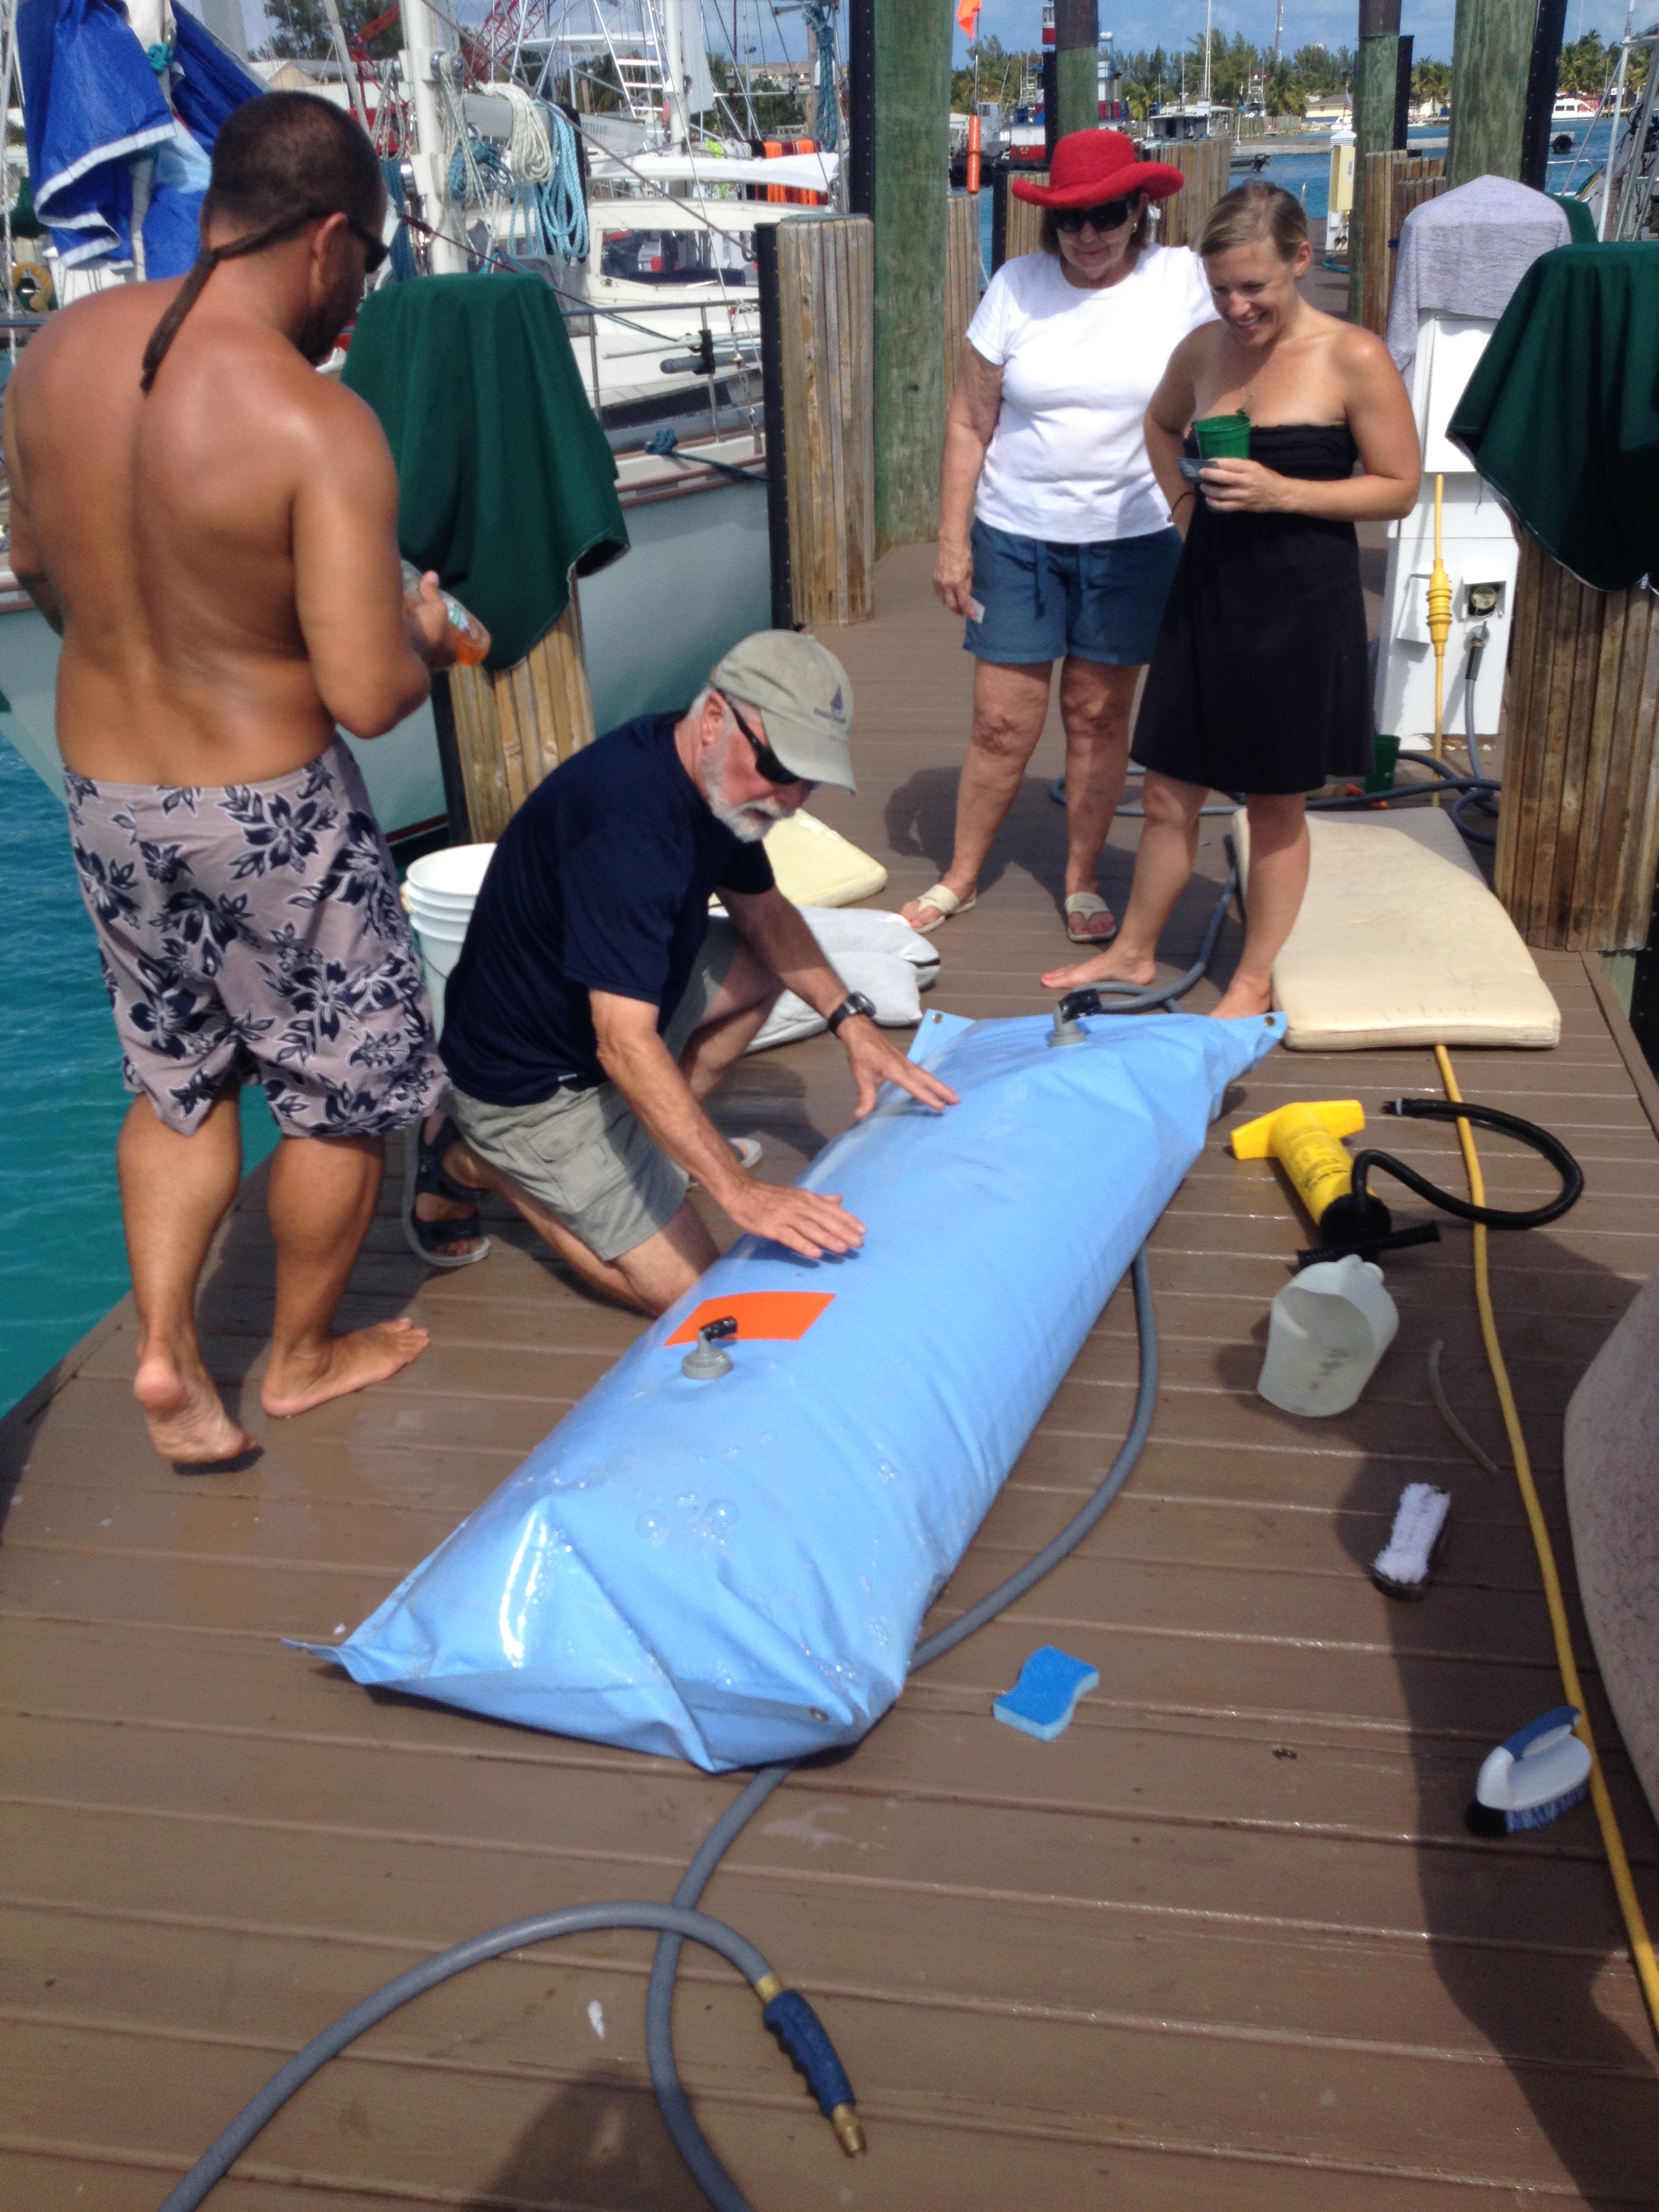
We spent that Saturday night 2.8.14 and Sunday night 2.9.14 at the marina. Betsy had been confused and shamefully peed on one of the cockpit cushions while we were underway coming back from North Rock. Poor thing. It was just too hectic when we lost our steering. Sunday we cleaned the boat and did a tiny bit of laundry. The cockpit cushions and covers got washed on the dock and the guys did a soap test on the water tank bladder to see if they could find a leak. That night we grilled some steak and lobster with our neighbor Alex. It was a nice relaxing evening before casting off the docklines  again in the morning…

IMG_4410

Today’s surprise: Busted hose clamps

DSC_0368

Every day we learn something new about this boat. We’re just about ready to sail to the Bahamas and we’re doing a final inspection of all equipment to see if there are any other spare parts we need to order before shoving off the dock.

During a random glance at the engine, Peter noticed one of the hose clamps was corroded and split. It was amazing there was any tension left to hold it on still. Luckily this was in a location that had been double clamped so it wasn’t a code-red emergency yet. Nonetheless, this is not something you want to find on your main engine.

DSC_0375

After a little futher investigation, Peter spotted busted clamp #2. Crap! How many more of these are there throughout the entire boat?

DSC_0376

DSC_0380

Here’s a pic of where both busted clamps occured:

DSC_0372

The upper hose had a single clamp on each end and we replaced one of those. The lower hose had the double clamp and we replaced the broken one there too.

DSC_0369

No damage was done and a small catastrophe was averted. WIN! We continued through the boat double checking all the major hose clamps, screws and visible bolts. We didn’t find anything else today that needed to be replaced but we’ll definitely be reinspecting these kinds of things during our monthly safety checks.

It’s FREEZING, literally!

Okay, yes the temperature outside is on its way down to 36 degrees before sunrise tomorrow, but that’s not the kind of freezing we’re talking about here.

We are getting really close to leaving Florida and there are still a few minor projects that need to be finished up. One of the MANY boat projects that have been keeping us busy over the last few months was to install another refrigeration unit in the empty space next to the refrigerator we already have. The space was used as a freezer many moons ago but someone took it out. OBVIOUSLY they weren’t catching any 100 pound tuna like we will be soon ;)

Our existing refrigerator is an Adler/Barbour Dometic air-cooled CU-100 ColdMachine. It consists of a large vertical evaporator and an air-cooled condenser unit. The dial can be set from 1 to 7 and we only need to leave it at 3 1/2 in order to keep the inside of the evaporator at freezing temps. This is perfect for keeping the rest of the insulated box a nice cool temp resembling what a normal household refrigerator would be.

We like it so much that we opted to install the same unit in soon-to-be freezer compartment. This way, we can either set the dial for normal refrigeration and freezer space, or we can just crank the dial to freeze the whole thing and use it as one big freezer if when Peter catches all that fish. This isn’t his first luau… the man sure does know how to hook ’em!

Before the new unit could be installed we had to remove the plexiglass shelf and the aluminum rails that were inside the space. It was a puzzle to get those suckers out of there but we finally figured out that they had to be unscrewed and then pivoted out.

IMG_3513

It got cleaned out really well. Peter did this project all by himself, and I kept busy with the camera ;)

Next, he marked up the rigid insulation foam we bought from Home Depot. It came in monster size sheets, or you can buy cute little 2×2 squares of the purple stuff. We got two of the squares. A bread knife worked well enough to slice through the foam.

IMG_3523

IMG_3518

Piece by piece the odd-shaped walls of our freezer compartment started coming to life. It wasn’t too critical to get an exactly flush cut, but he got it close enough.

IMG_3524

We also bought a roll of Self-Stick Foam/Foil Duct Insulation to apply over the rigid foam. We thought the Great Stuff was a great idea, but didn’t end up using it for this project after all.

IMG_3525

The walls of the space were already insulated and fiberglassed in but we wanted to just add a little bit more insurance so we don’t end up with an unnecessary loss of cold air.

IMG_3527

IMG_3539

A chunk of purple stuff was attached to the lid and a layer of the foil wrap was pressed on top too.

IMG_3531

The lid needed a new seal. Again with the Duck brand… I swear it’s just a coincidence. This stuff really stays put though. No sponsorship or affiliation, we just really like it :)

IMG_3533

IMG_3535

IMG_3541

Here comes the ‘cool’ part!! haha

We decided to limit the DIY part of this project to just the insulation. We hired a professional marine refrigeration guy to handle the install of the actual condenser unit and evaporator. So we’ve been told, refrigeration is nothing to mess around with if you don’t know what you’re doing.

The parts cost much less through a distributor: $1200 (compared to $1800 retail)

We paid about $800 in labor so the whole project cost $2000.

This is only $200 more than it would have cost us to do the whole thing ourselves and having it done right is totally worth 200 bucks. It was done way faster than we could have done it, and we know all the wiring and refrigerant is installed safely too.

DSC_0001

The condenser unit was installed in the engine room which was directly behind where the refrigerator and freezer are in the galley.

DSC_0002

This may be the first picture I’ve posted of our engine room but how frickin awesome is this?? There is so much room in here! If you look closely you can see a nice empty spot on the wall on the right where the condenser unit is going to be installed. The refrigerant lines have been run through.

DSC_0009

Back on the other side… the evaporator box was mounted along with all the other components that go inside the freezer.

DSC_0012

DSC_0014

DSC_0092

DSC_0093

DSC_0101

DSC_0103

DSC_0108

My favorite part of this whole deal?? I get THREE, yes THREE new aluminum Adler/Barbour vertical ice-cube trays!! These suckers are something like $80 a piece brand new!! They make awesome monster size ice cubes and last a long time. Every morning we soak one tray upside down inside a 52oz bubba keg filled 3/4 of the way with water. When the ice is melted a little, it will slide right out. We top off the rest with water and it lasts practically all day even in 90 degree weather.

If you’re interested in other options for ice-cubes on a boat, check out my friend Carolyn’s recent post on The Boat Galley. Search her site to see a ton of other amazing tips and ideas for making life so much easier in the galley. If you weren’t as lucky as I was to score these awesome vertical trays, be sure to check out all the other ideas Carolyn has for making ice on a boat.

DSC_0120

DSC_0122

The finished product: a dedicated freezer for all of Peter’s fish… and other provisioning of course :)

DSC_0131

How to hang pictures on a boat

DSC_0151

When we packed up our little house to drive across the country, I made sure to bring a few decorations to make the boat feel a little more like home.  On a boat, you can’t just set something down and expect it to stay there. Everything must be either secured or stowed so that when the boat is under way we don’t end up with surprise missiles flying through the cabin. In July the previous owner showed me how they used hang pictures along with a few other tips and tricks for stowage they used to use while living on this boat. She had several watercolor paintings she had done throughout their travels and hung the frames with velcro instead of hammering nails into the beautiful teak.

I had to remove the adhesive from where their pictures were hung and tried using velcro to put our decorations up in their place. It worked for about a week but the so-called heavy-duty indoor/outdoor velcro I bought was no match for the heat and humidity. Pretty soon I had frames and wood decorations crashing down off the walls. The inside of the velcro strips held up no problem but the adhesive side just peeled off.

I was already making a mess of our doors and walls by taking off varnish with each attempt to hang something up so there was no turning back. Those pictures were getting installed no matter what! We tried some 3M double-sided adhesive foam tape next but that warmed up too and peeled right off just like the velcro.

The next idea was to use DUCK brand adhesive foam tape. I tried it first on the slippery finish over the fiberglass to hang a wood sign. Unfortunately it took me a few times to realize how uneven the surface was, but eventually I found the areas that needed an extra layer of foam to make the contacts flush. It may not look pretty underneath but this stuff really did the trick. My sign isn’t going anywhere now!

DSC_0138

My mom had given me this sign a few years back for my birthday and I always found a special place for it wherever I lived. When we first saw the boat I knew right where I was going to put it.  The space above the fridge was perfect and it looked like it was just waiting to be decorated :) We’ve got special decorations and sentimental items all throughout the boat and its these things from our loved ones that remind us “Home Is Where The Heart Is.”

DSC_0140

The sign reads:

“Sunshine On My Shoulders Makes Me Happy”

It’s a song recorded and co-written by John Denver. This little sign represents exactly what I was talking about in our last post. Our priorities are changing and its the little things in life that we appreciate the most. Sunshine On My Shoulders really DOES make me happy!!

DSC_0153

About to set sail on an adventure of a lifetime, we are forever in search of surf, sun, sand and serenity :)

When your iPhone goes overboard… Waterproof. Mudproof. LIFEPROOF.

So… we live on a boat. And we have iPhones. It was only a matter of time before we got one of them REALLY wet.

A lot of people get protective cases for their phones, tablets, ipads and other electronics to protect them from scratches and from shattering if dropped on the concrete. Earlier in the year, while planning for our epic adventures, our friends Josh and Leah suggested we invest in the LifeProof iPhone cases. They had just purchased two of them before their travels to Costa Rica to keep their iPhones waterproof while playing on the beautiful beaches. I was a little skeptical on how necessary it was to have a waterproof case since they retail for something like $80!! I mean, do you really need to have your phone with you when you’re at the beach? How often are we really in the water?

It had never occurred to me that I could just buy a rugged case and then be able to take pictures and video no matter where we go!! If we had waterproof cases we wouldn’t have to worry about sand getting in the buttons or worry about salt water ruining the screen. Even dropping it on the rocks wouldn’t bust the phone. We decided it would be a pretty important investment if we wanted to be able to have the iPhone camera and GPS apps handy no matter what kind of crazy places we might end up in.

Two LifeProof cases arrived soon after that :) The volume quality is slightly diminished when on a call but the slight sound sacrifice is SO worth it… even though family members might get tired of telling us they can’t understand what we are saying… (sorry Bean!)

LifeProof claims to be water proof, dirt proof, shock proof and snow proof – even to military specs!! Boy did we get a chance to test out how well it keeps out water! Last night Peter was stepping up from the dock onto the boat and as he ducked into the cockpit he heard something hit the deck and plop into the water. His hands went straight to his pocket and, sure enough, his phone was GONE. Just as fast as the phone must have sunk to the bottom of the marina, so did Peter’s stomach. It’s such a sickening feeling when you know something really bad just happened.

It didn’t just fall in the water… it fell in the really icky brown salt water with 6″ visibility. Our slip is at least 11′ deep according to our sonar transducer on the boat and the bottom is a foot thick with mud. Our neighbor Cyndy reminded us that the reason it’s so stinky is probably because there’s more manatee poop on the bottom than there is mud!! There’s a LOT of manatees here and its a frequent occurence to see a big fat turd going out with the tide after floating up from underneath a manatee. We’re not kidding folks, it’s not from the boaters either.

Determined to find a way to save the phone we had to do some quick thinking. What do we do? Grab our two boat hooks, the net and some duct tape of course!! It was 11:00 at night, dark and the clock was ticking to figure out how to find it before it was sucked into the mud. We knew he had the LifeProof case on, but we weren’t totally sure if he closed the latch on the bottom where you plug in the power cord. If it was closed, there was hope for his phone yet! If not, it was toast. Mark is the local diver that cleans the bottoms of most of the boats here in the marina and Peter and I both knew he would say, “It’s GONE man!” Not even Mark would dive for it in this mud.

DSC_0228

I scrambled to grab the camera while Peter started making a couple sweeps with the jury rigged net. I just knew this was going to be our next blog post, hehehe :)

DSC_0231

With just a foot between the boat and the dock there was at least a focused area for Peter to search. It just had to be down there somewhere. He saw where it went in but we weren’t sure if it went straight down, or if it had bounced out a little from the boat underneath the dock.

DSC_0234

We were actually lucky that all that manatee poo and mud was down there or else the net might have just pushed the phone around on a hard bottom surface. The mud allowed Peter to stab the net down a few inches into the mud and then pull it sideways a couple of inches. He would lift the net up and over one inch, then stab it back down to sift through some more. It was so thick that he couldn’t just drag it all the way across the bottom.

DSC_0235

After a few minutes of this he was ready to give up. He was thinking of how much of a pain it was going to be to file an insurance claim with the cell company and get a replacement. He would have to pay a $200 deductible for the replacement, then go through the hassle of reinstating the last backup he did. Who knows how long ago that was :S Of course, all of his photos and personal settings would be gone. Not the end of the world, but for our generation its heart wrenching when something happens to your smartphone!!

I just KNEW he was going to get it eventually. I begged, “Keep looking! Keep looking! Just a little longer…” Peter was doubtful, but took another “stab” at it. As the net came up to the surface it was a little heavier than before.

DSC_0236

Can you believe it???? With NO visibility, we got it!!!!!!! But HOLY CRAP that was some stinky mud that came up with it. It smelled like a port-a-potty! Yuk!!

DSC_0240

Now for the test. He pressed the home button… and it was still on!!!!!!!!!

DSC_0242

I tried to get a shot of just how long our contraption was but it was as long as the whole finger pier of the dock. By this time I was over the photos and just snagged a quick shot on my iPhone but it was still hard to see.

IMG_3585

LifeProof only guarantees their cases for water immersion up to 2 meters for 1 hour. That’s about 6.5 feet. Peter’s phone was at 11 feet for about 20 minutes and it passed the test with flying colors. There was just a TINY bit of water on one edge of the phone when we opened the case but not enough to make any impact at all. The case got a thorough bath and we placed the case and the phone near our AirDryer 1000 dehumidifier for about an hour to make sure they got totally dry.

If our LifeProof cases can withstand the saltwater and mud at 11′ deep then it should do just fine for taking underwater pics of all the sea life when we get to that crystal clear water in the Bahamas ;) I’m feeling a little more confident now in just how “lifeproof” our cases are and can’t wait to test it out again in a more desirable setting :)

IMG_3576

Peter is one lucky guy ;)