Home » BLOG » outfitting

Tag: outfitting

How we store dog food: SoftStore 30 bags from Gamma2

Part of our provisioning for shoving off the dock is finding a safe place to store dog food. We searched high and low for air tight/water tight/bug tight containers. We searched even harder for containers that would fit in the odd-shaped storage areas we have on our boat.

The most important part to me was something that wouldn’t serve as a smorgus board for bugs. I’m absolutely terrified of getting an infestation after reading several warnings in other cruiser blog posts about making sure every crumb is accounted for.

I found a company online that has several of the best solutions for storing dry pet food, Gamma2. They also happen to be based out of Carlsbad, San Diego! We love to support local businesses from our home town :)

DSC_0039

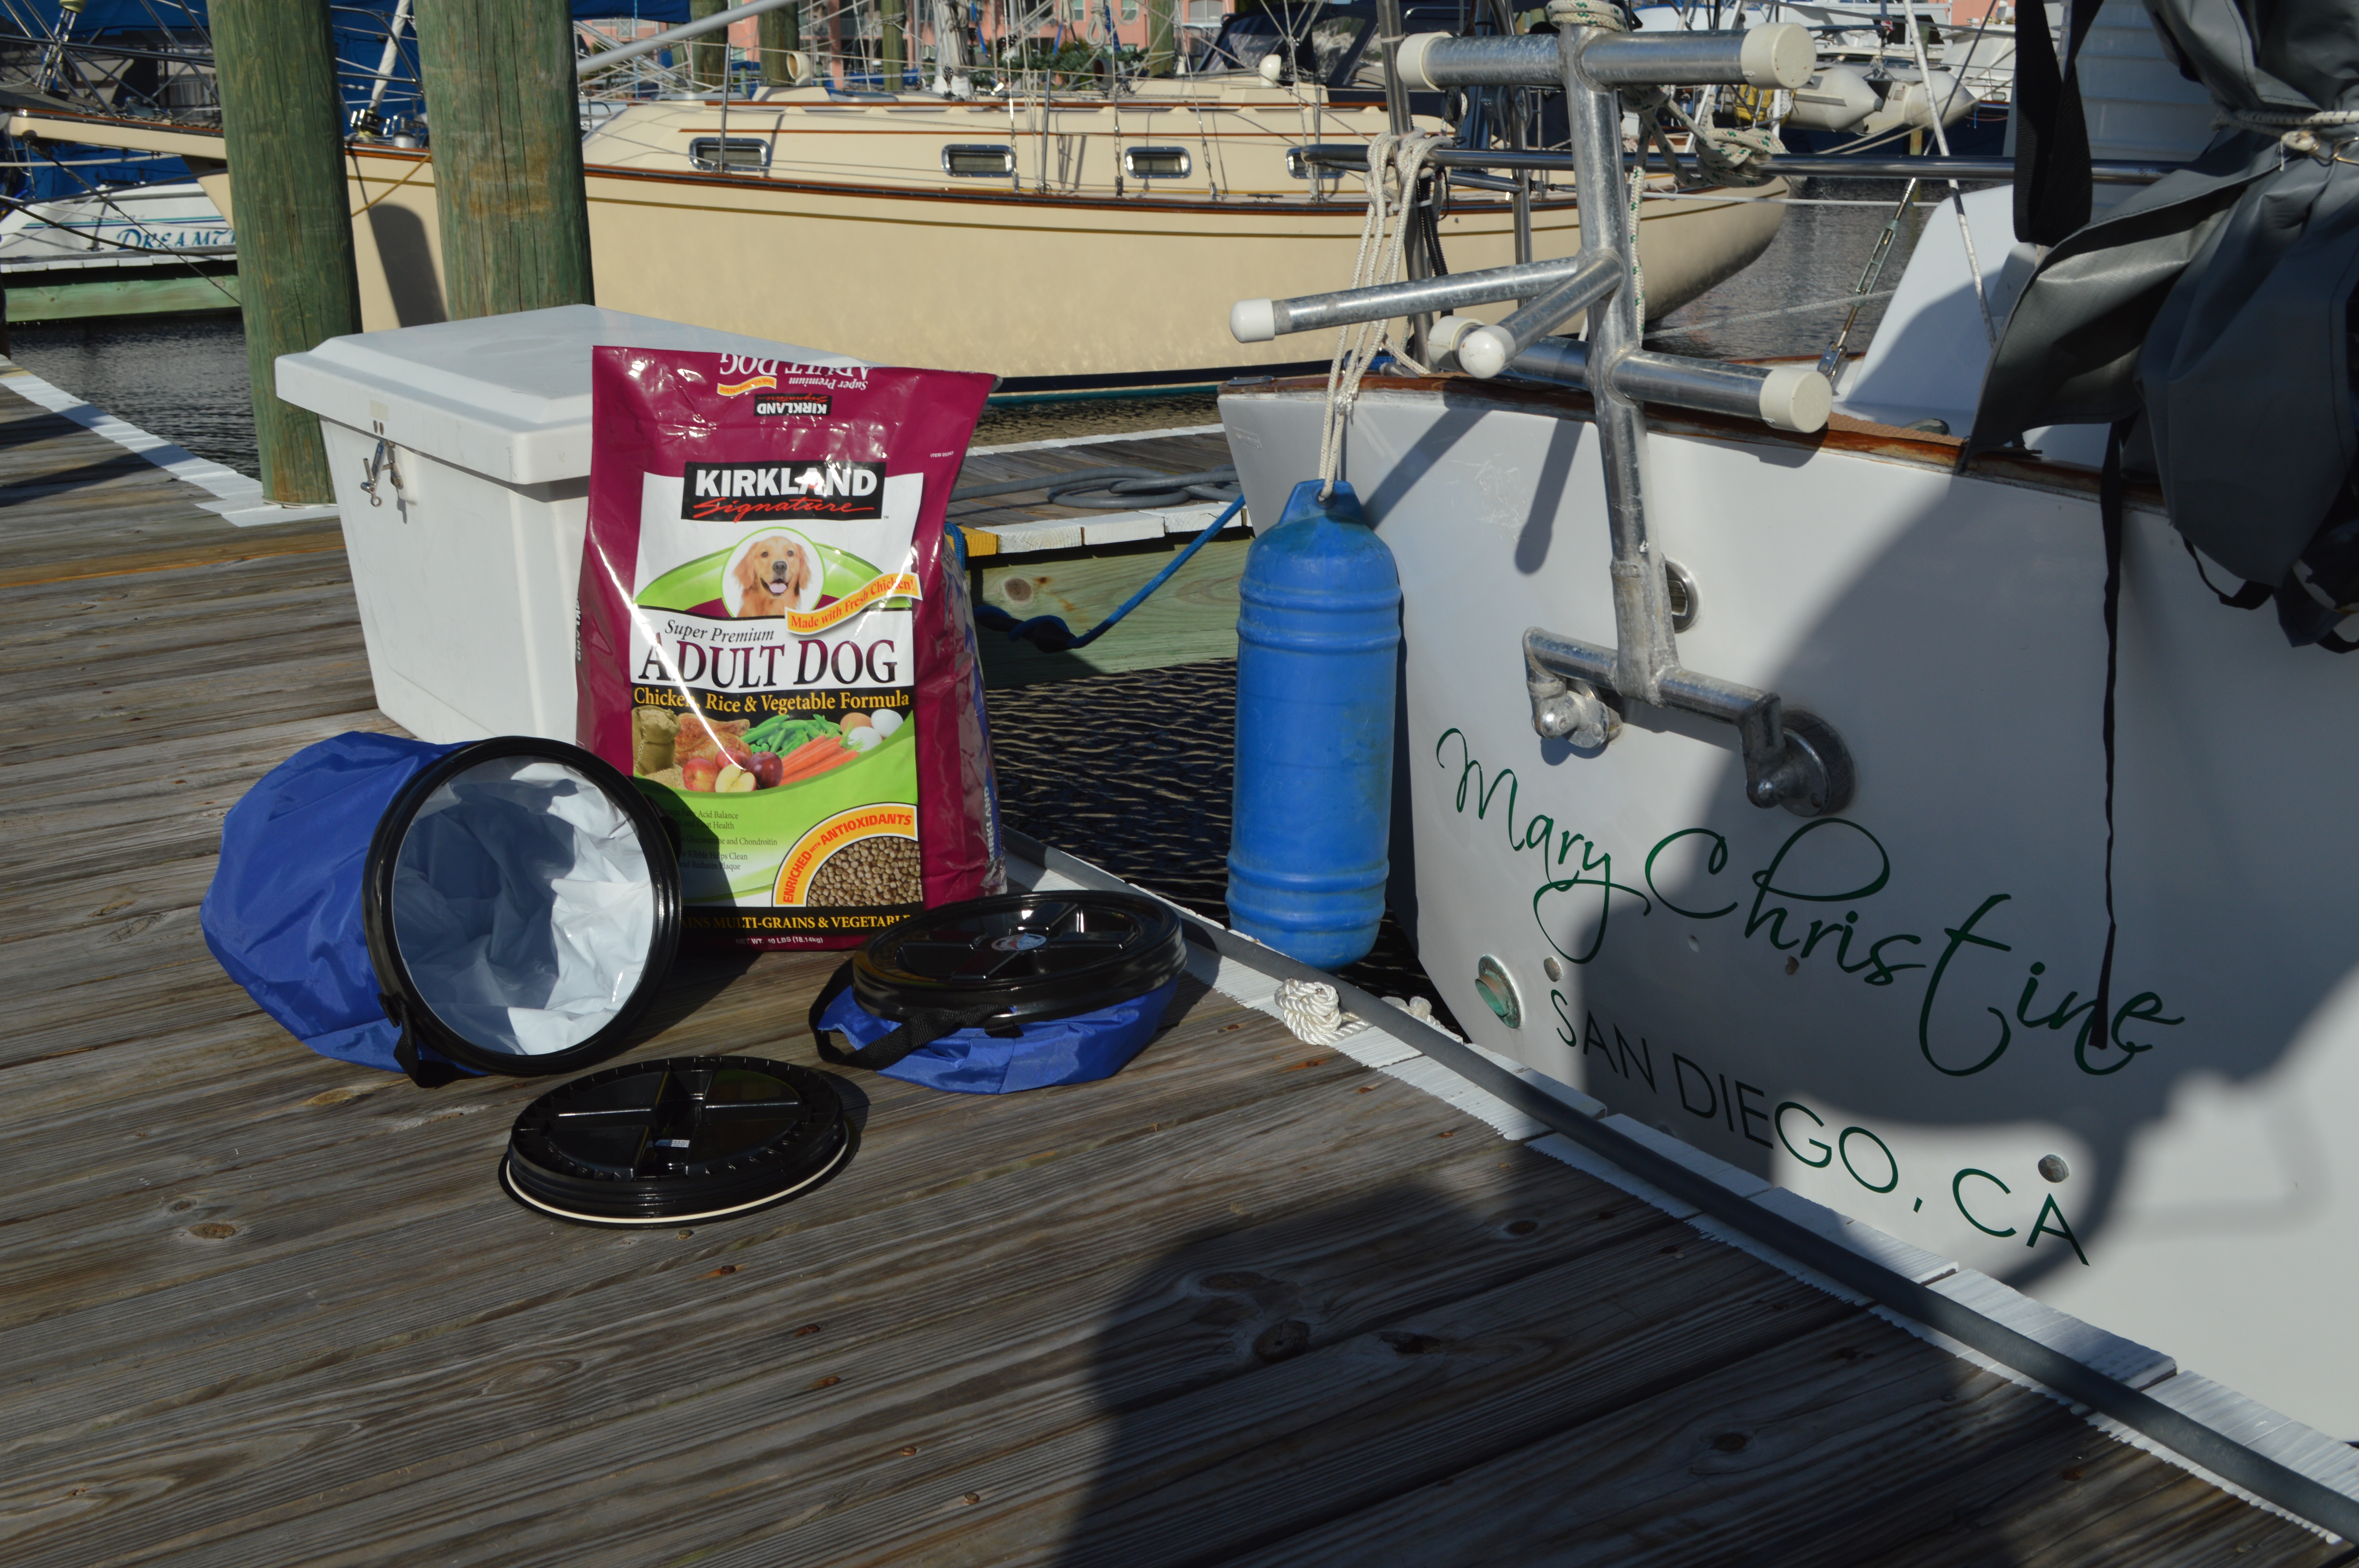
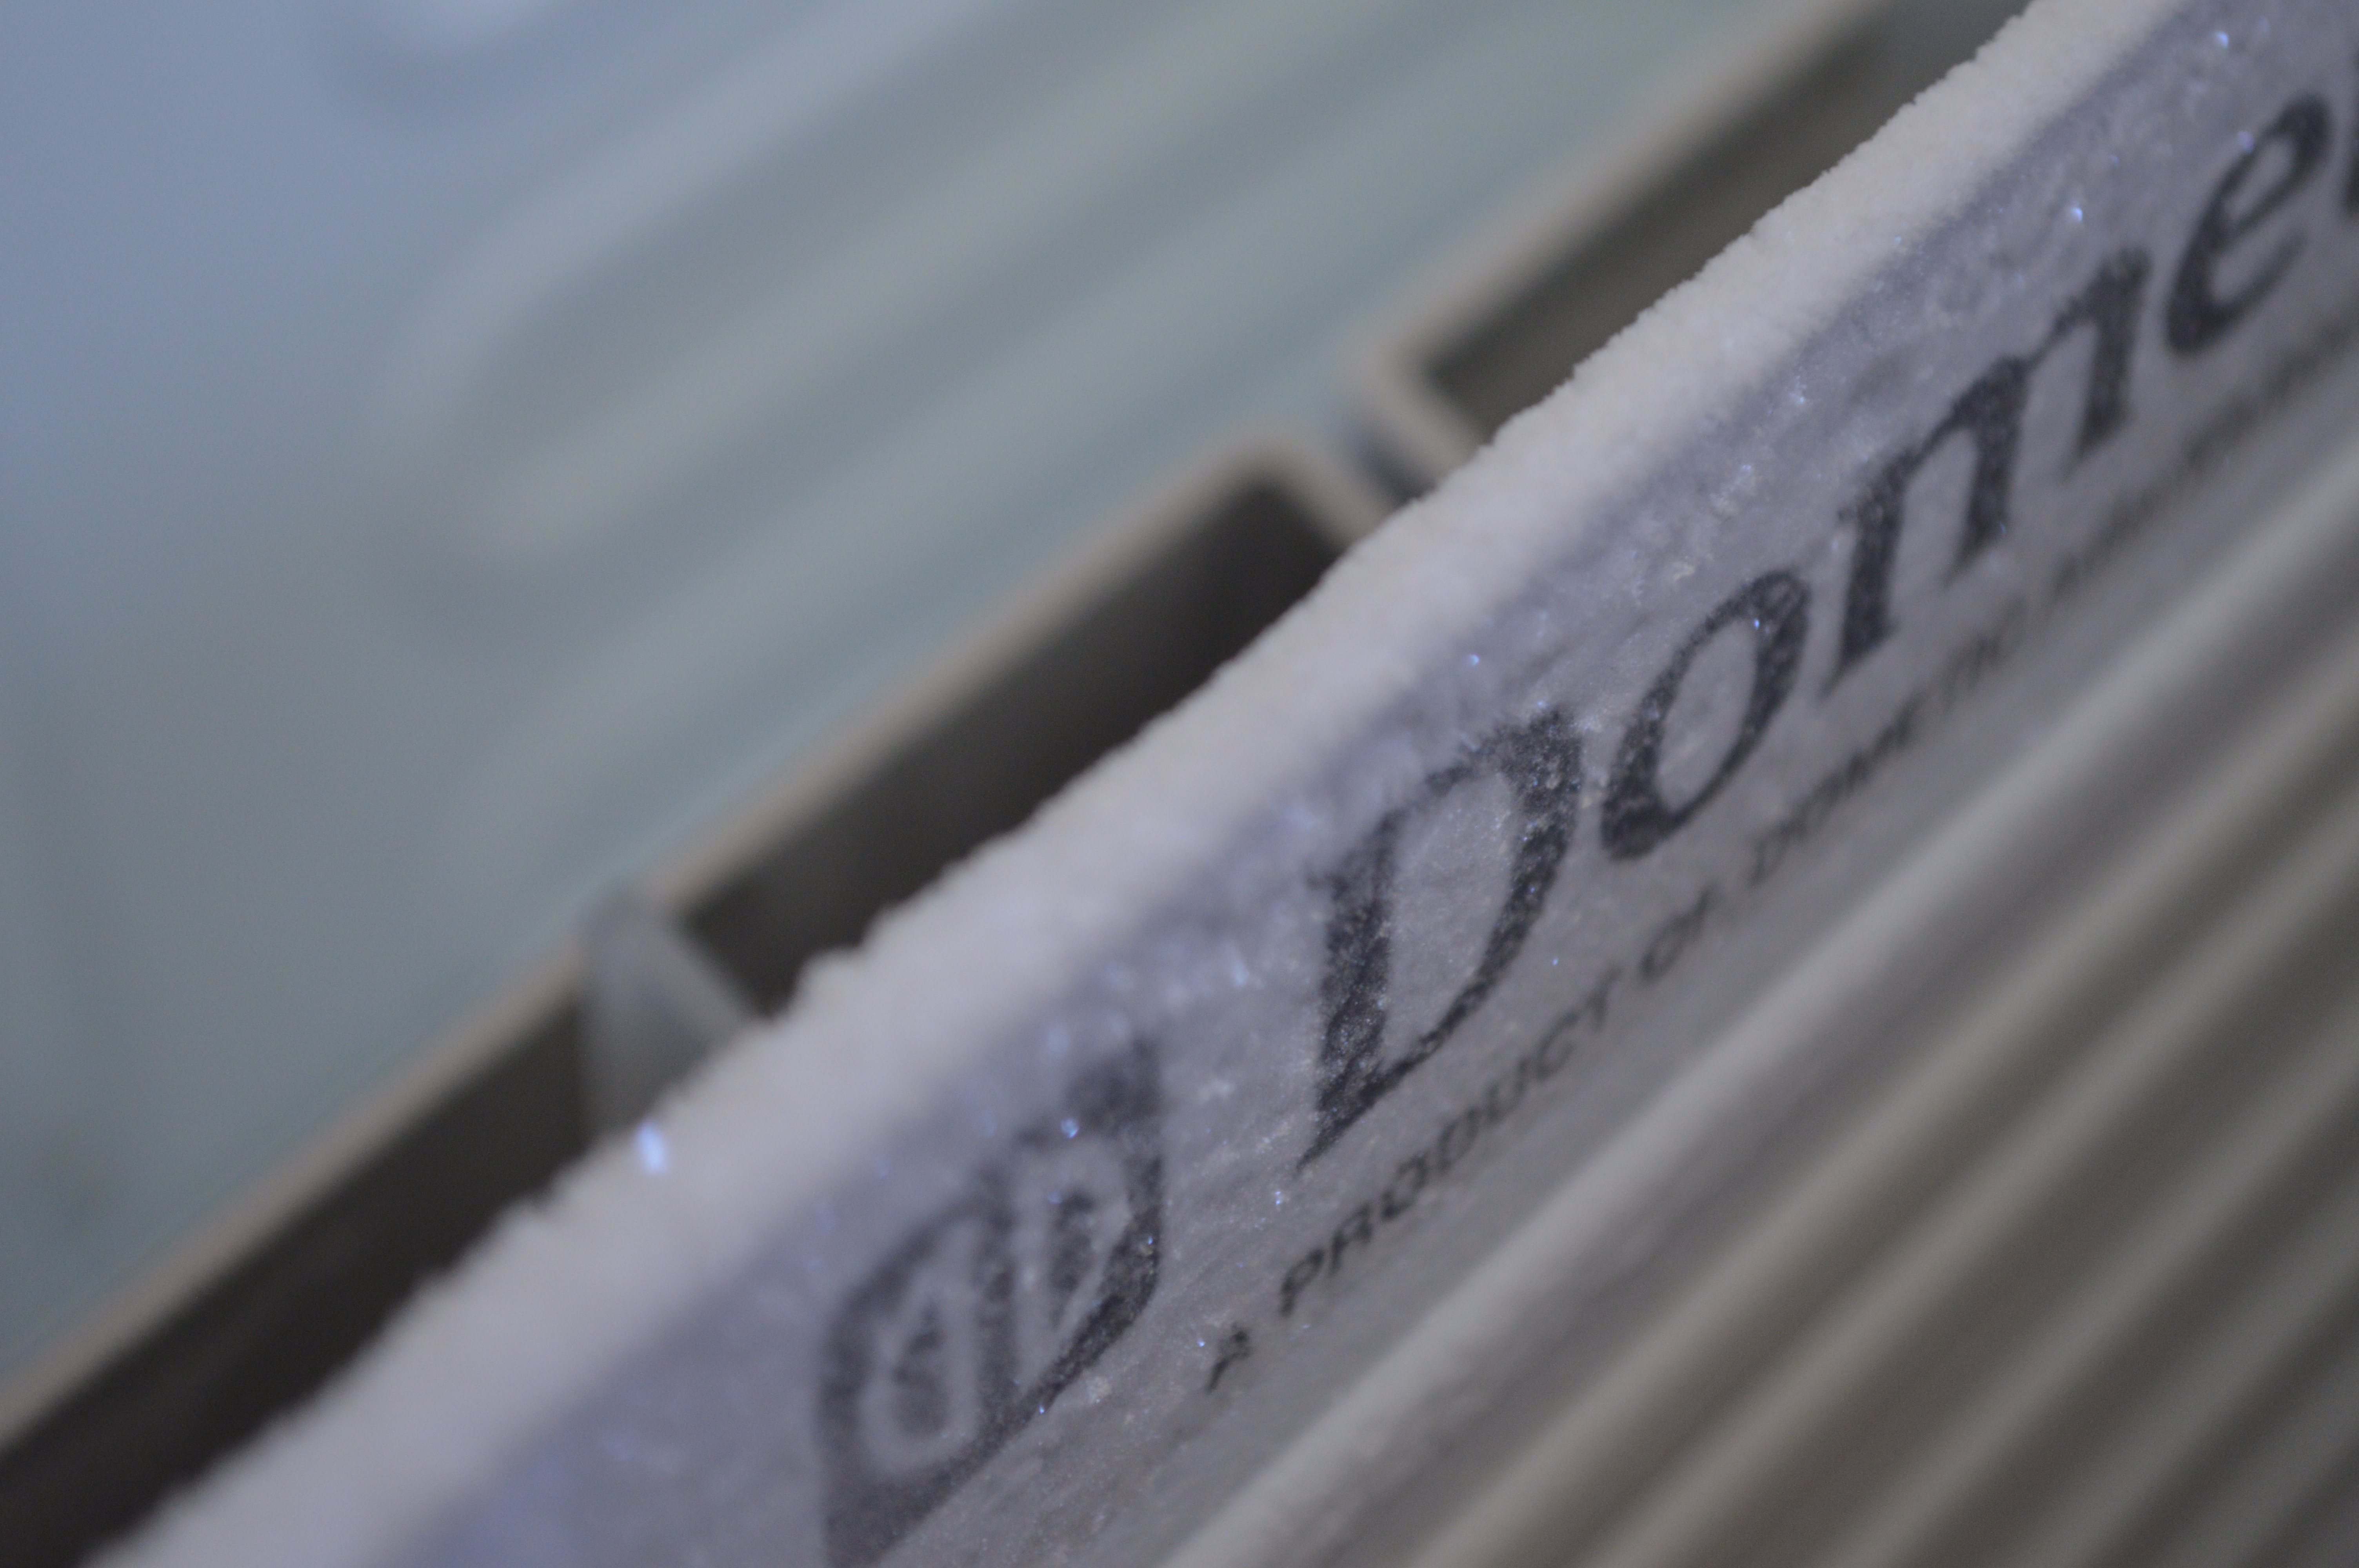
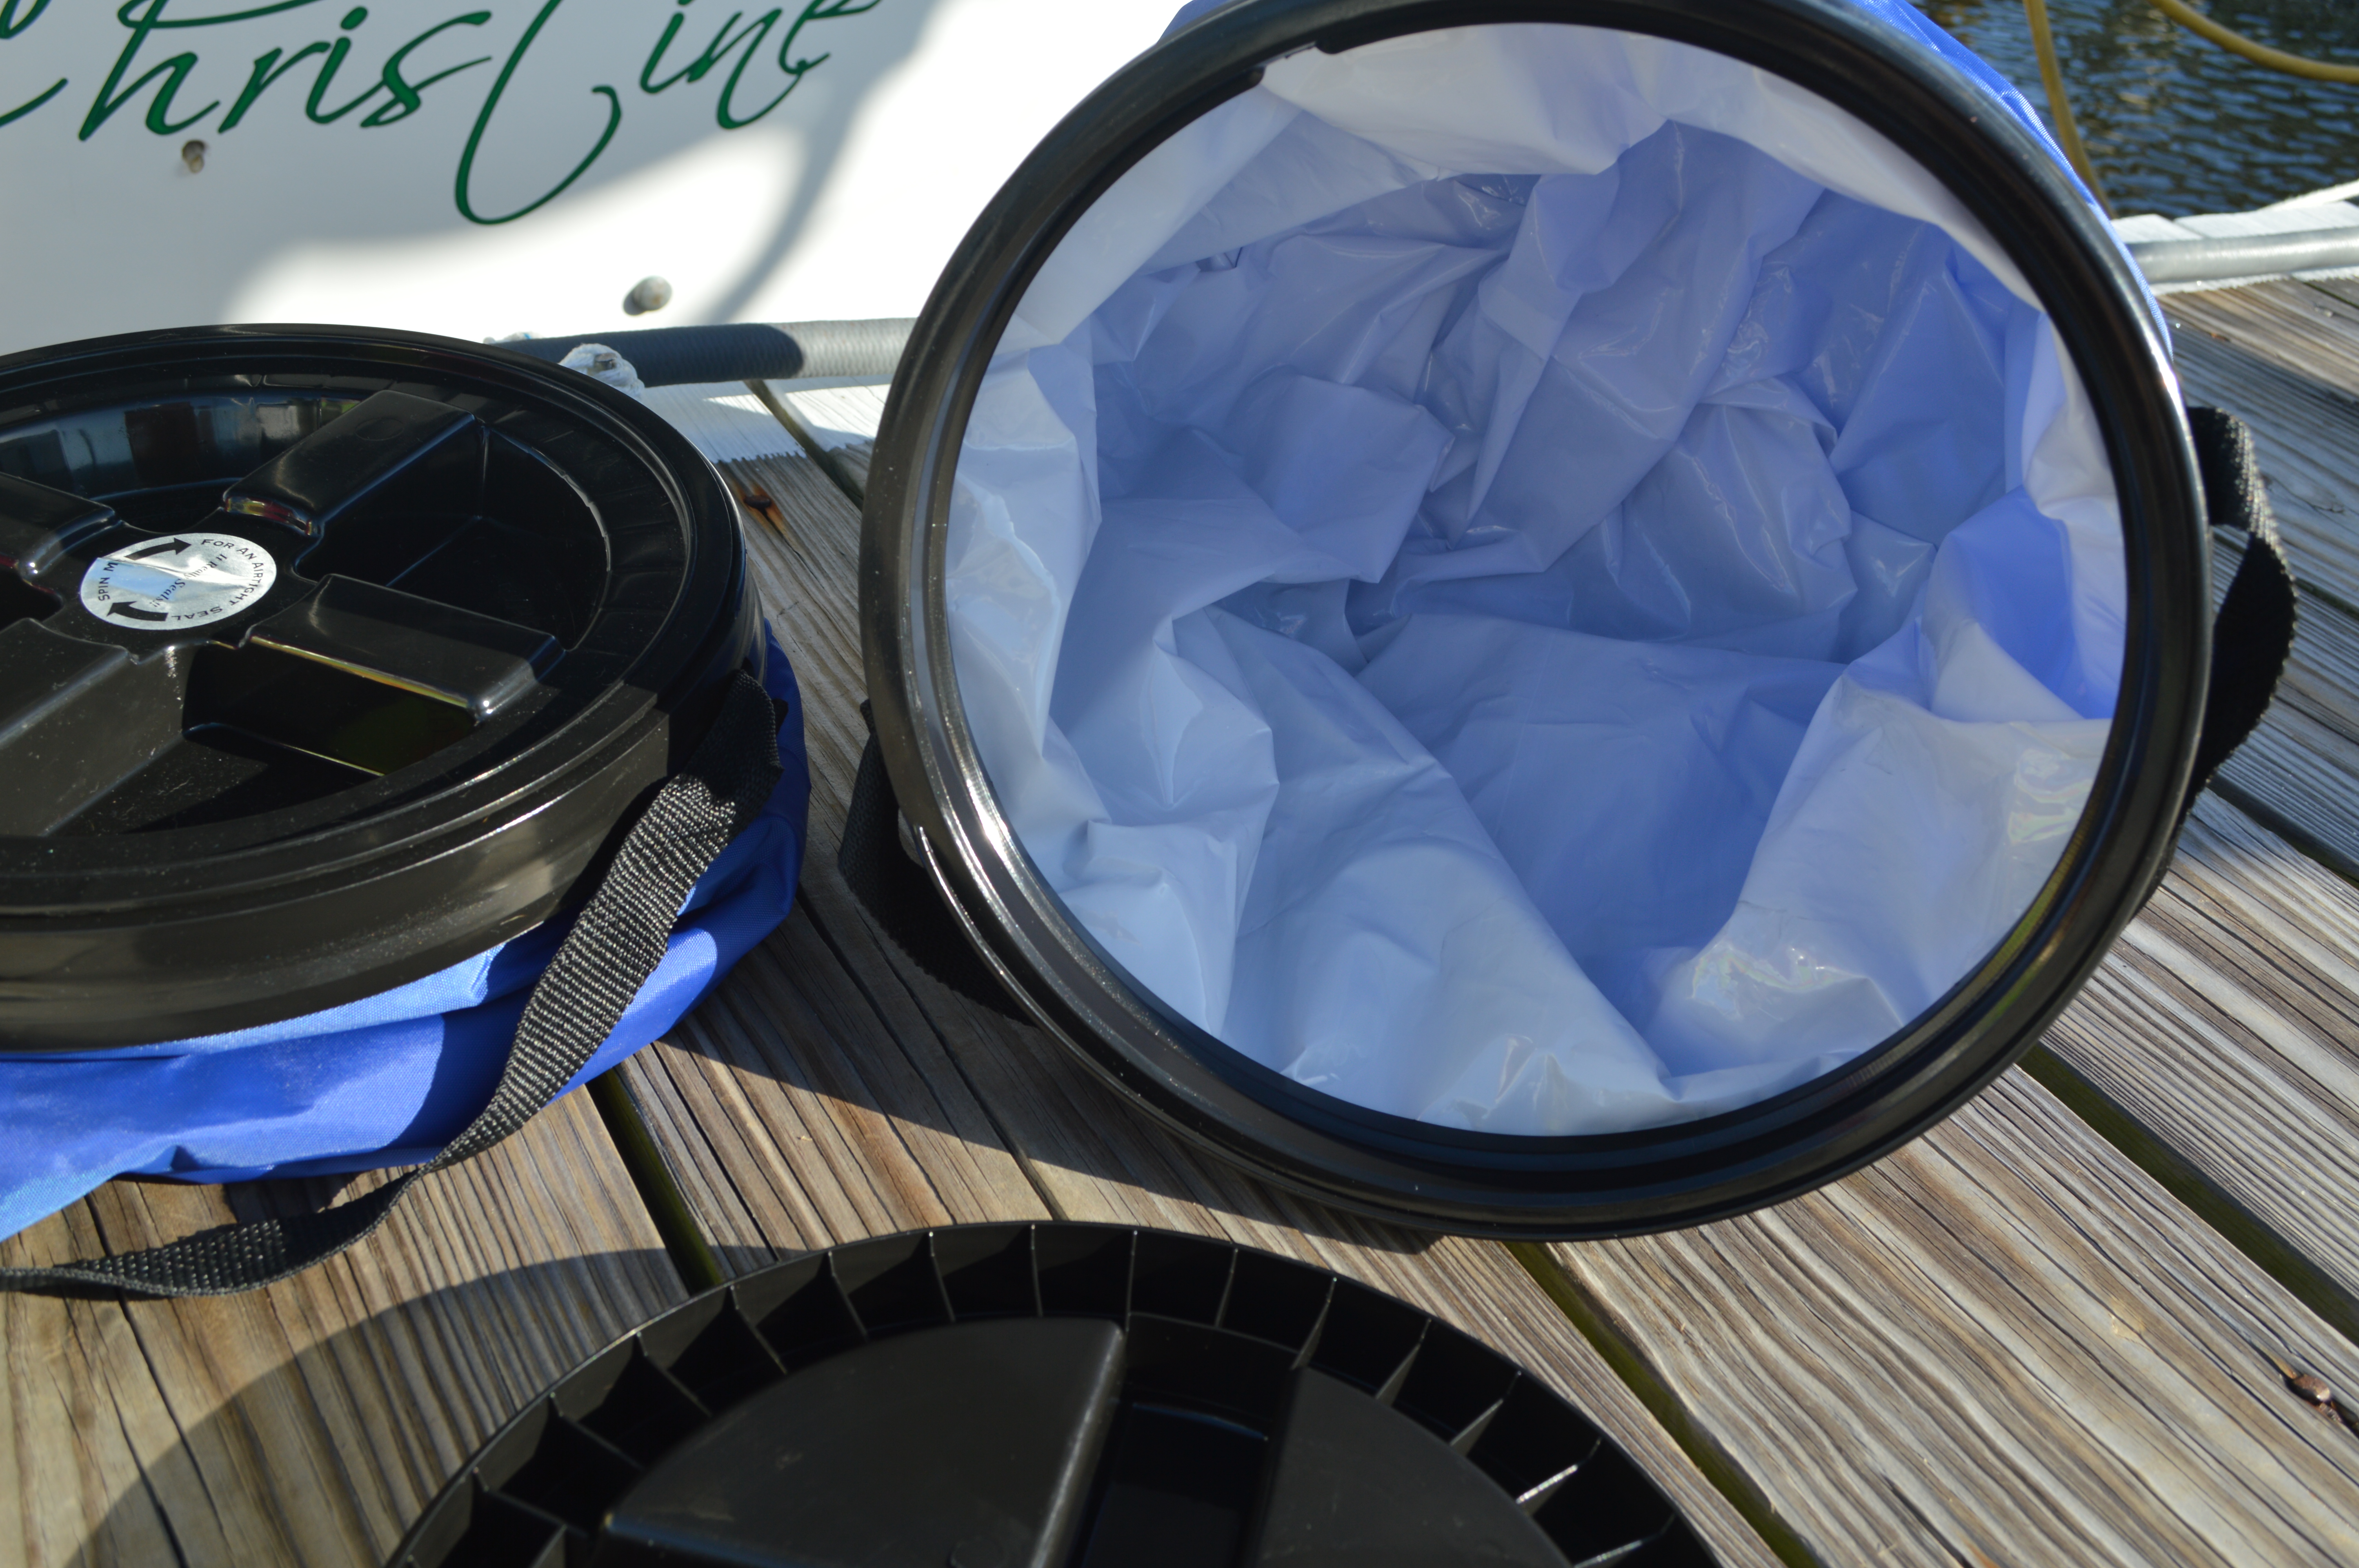
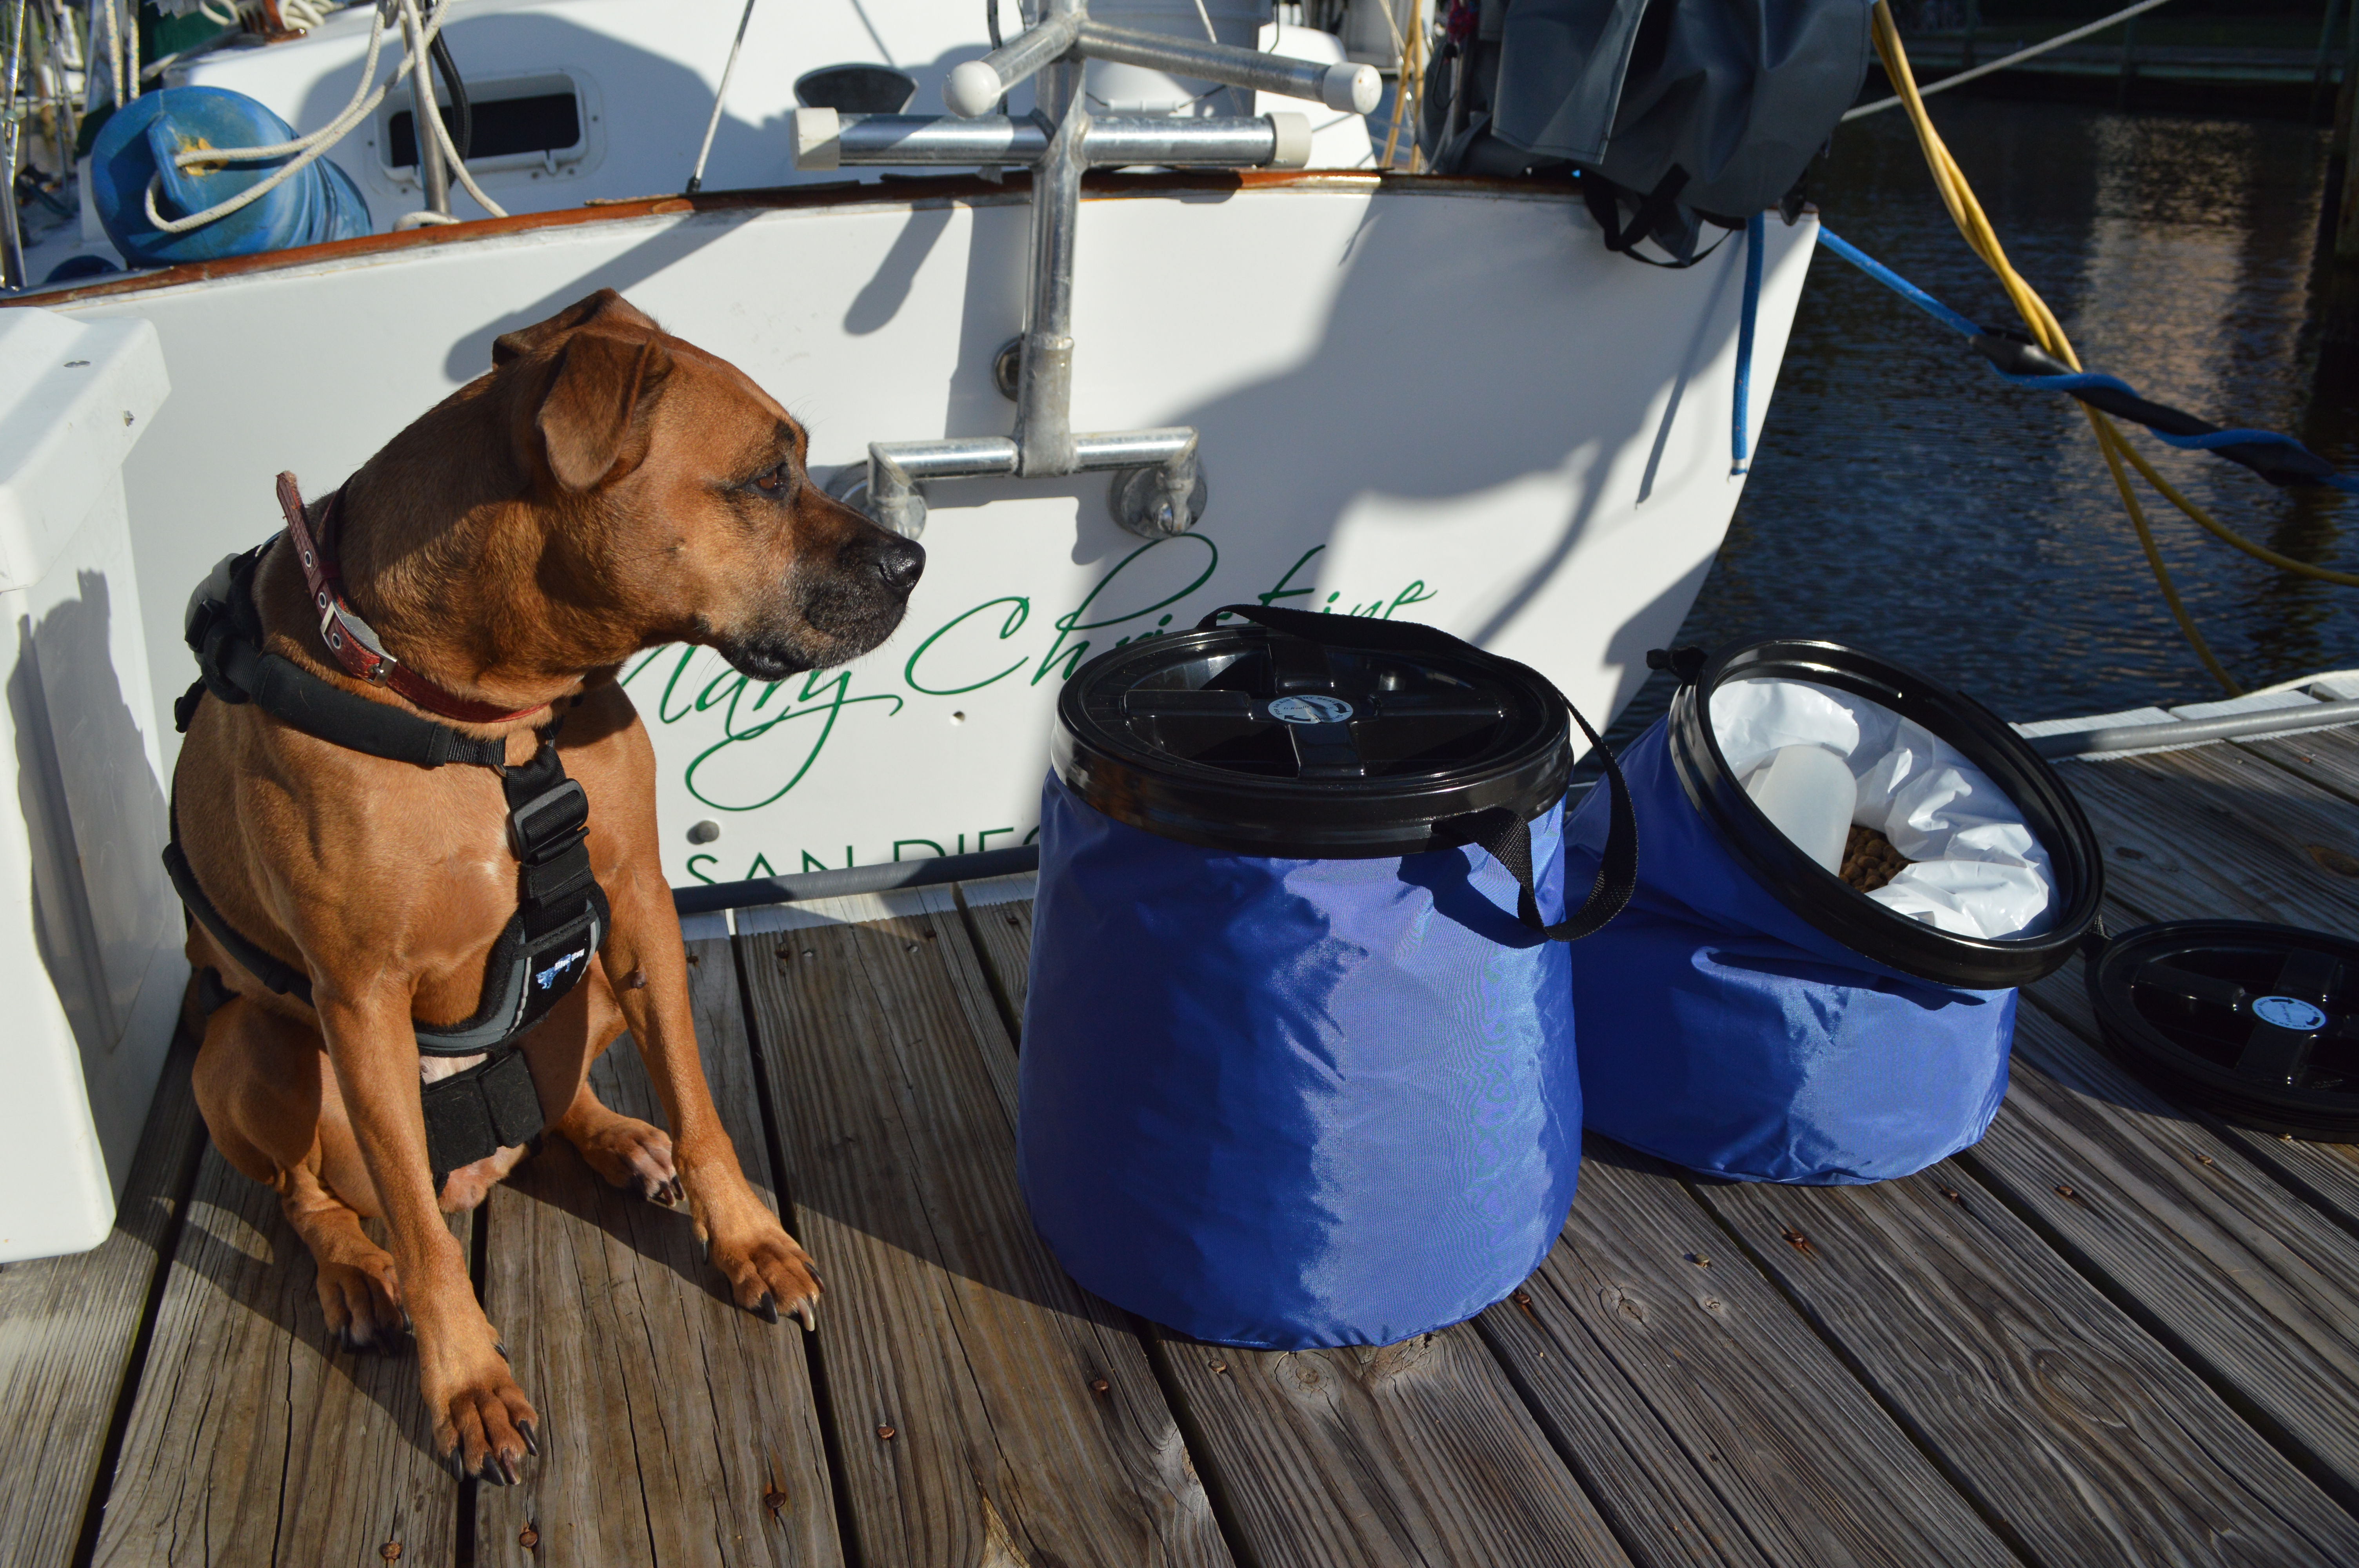
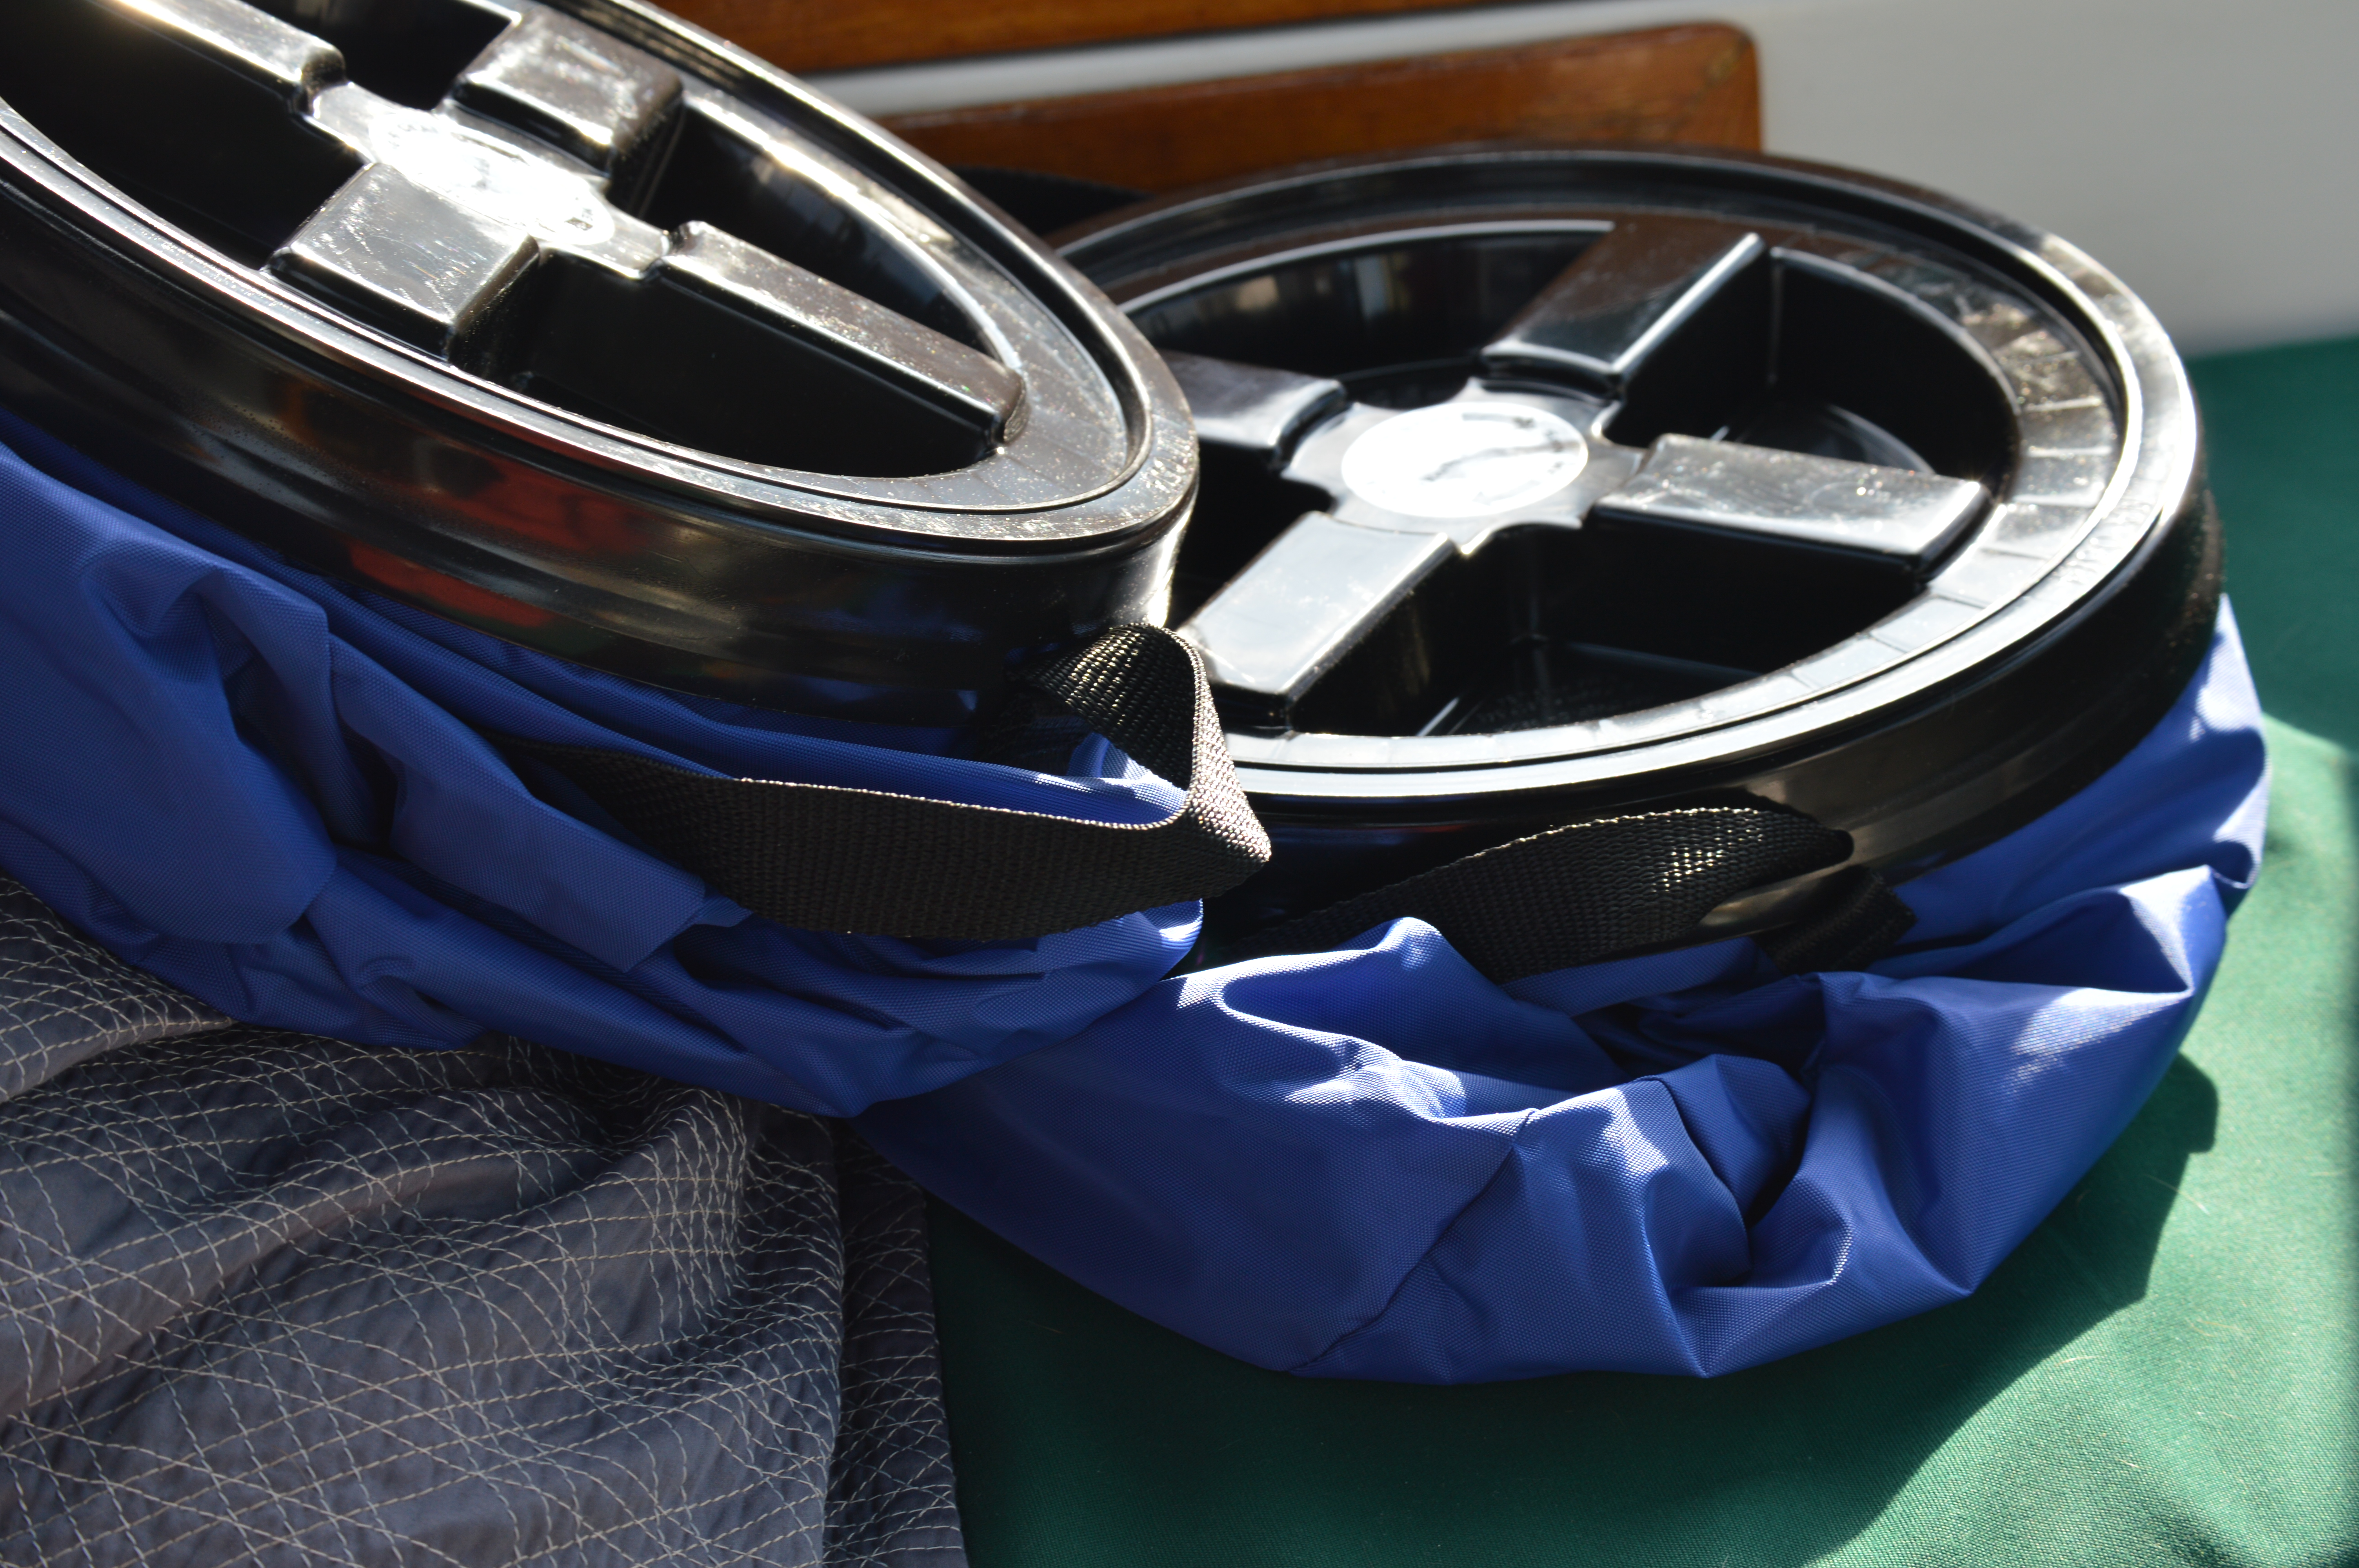
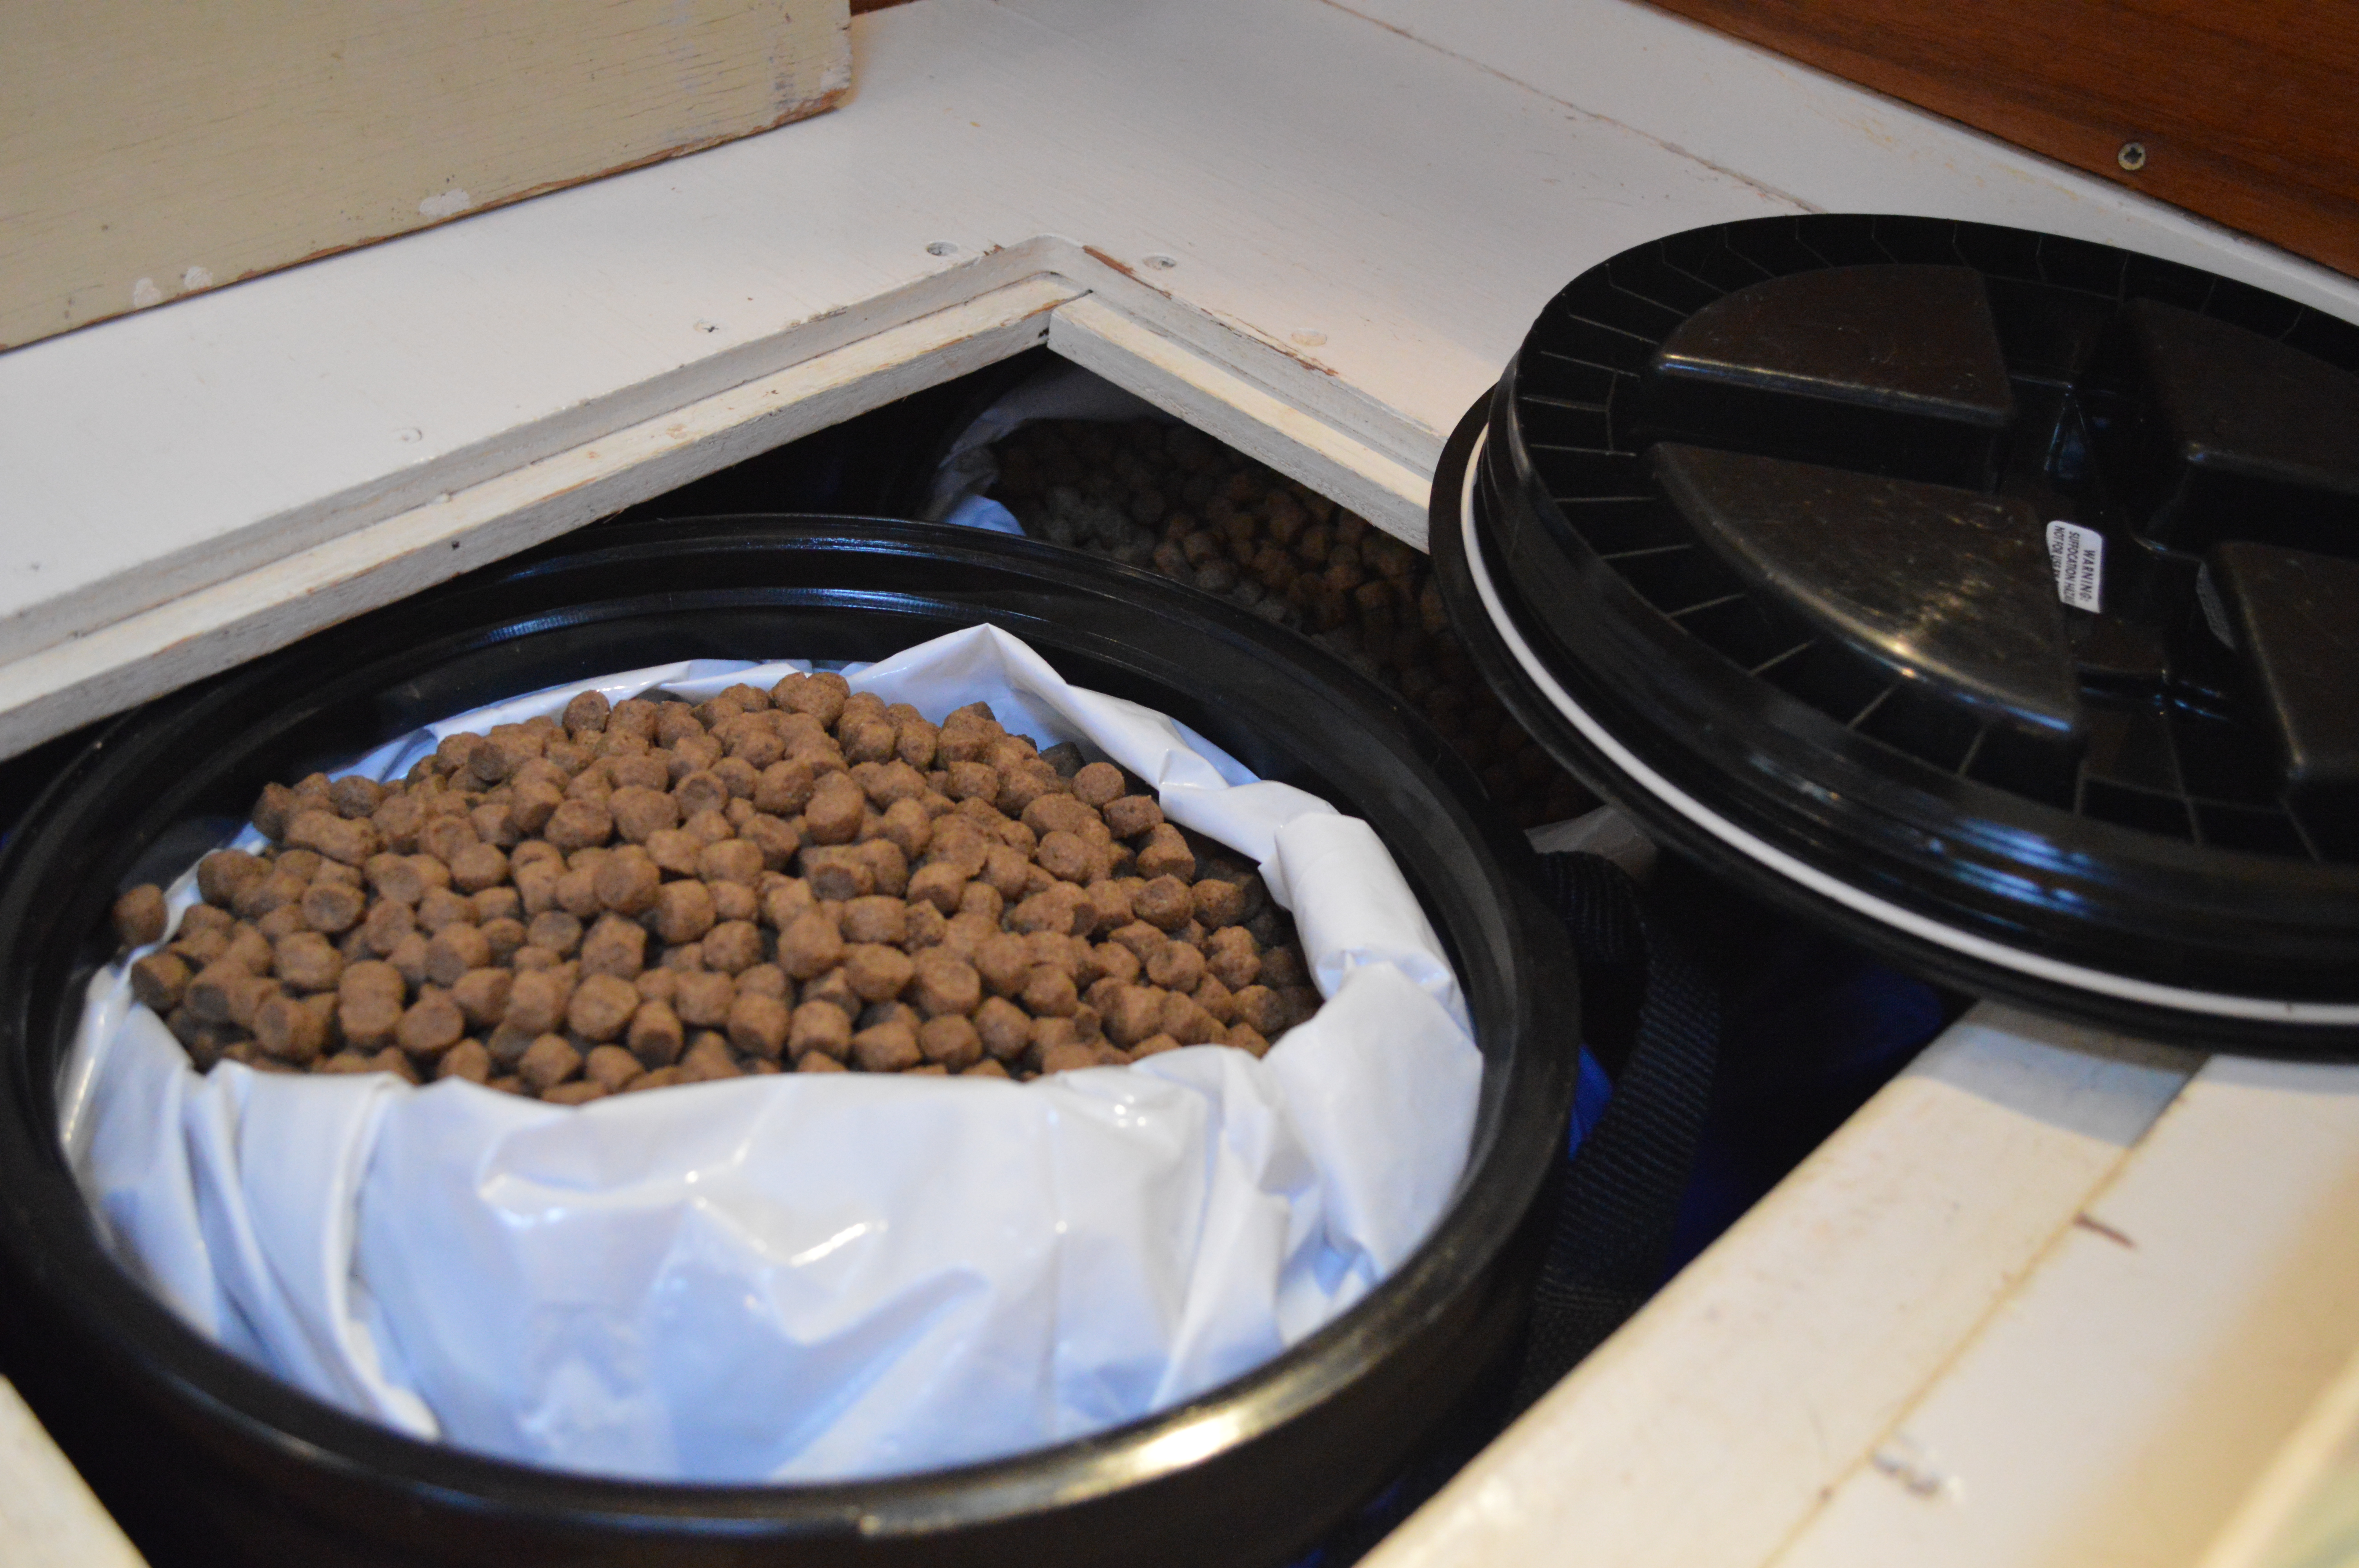
We were so excited when Gamma2 agreed to sponsor our adventures by supplying us with four (4) SoftStore 30 bags and one (1) Vittles Vault Plus 15 rigid container!! The SoftStore bags are exactly what I was envisioning when we searched for a storage solution. They can mold into any area where a rigid container might not fit. These bags are lined with a food-grade plastic and the lids have the patented Gamma Seal design to make them totally air tight.

DSC_0043

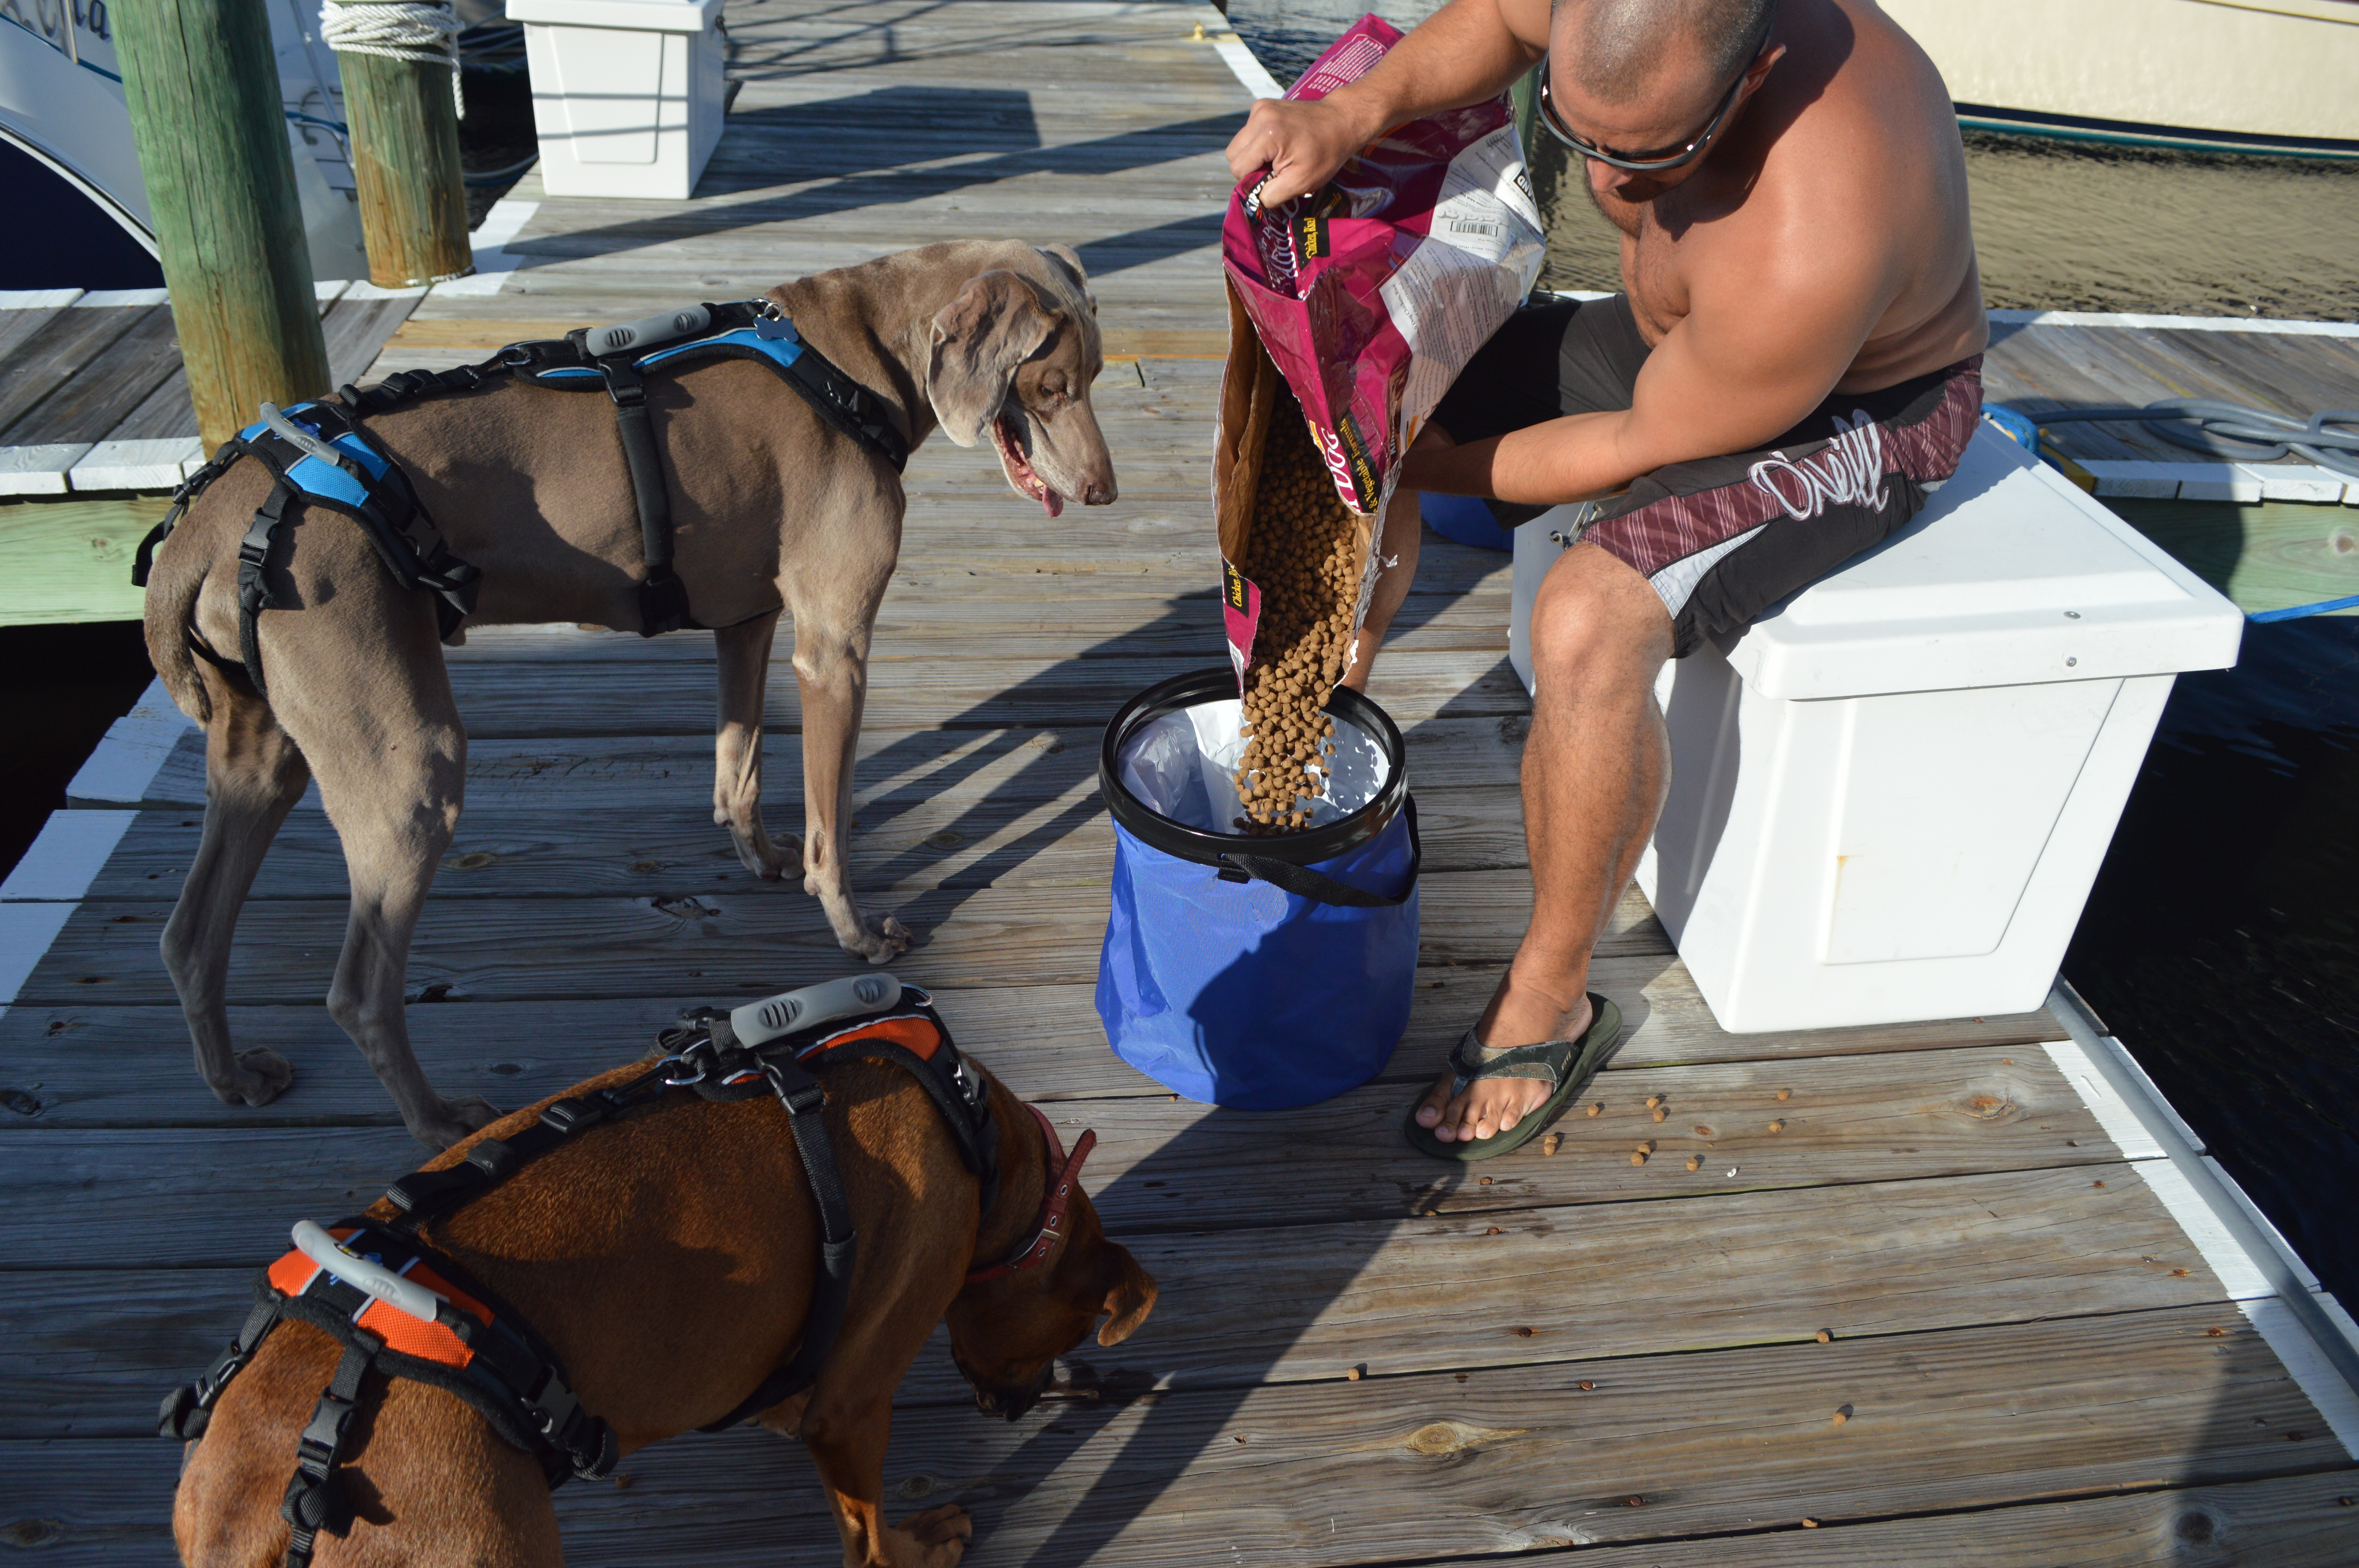
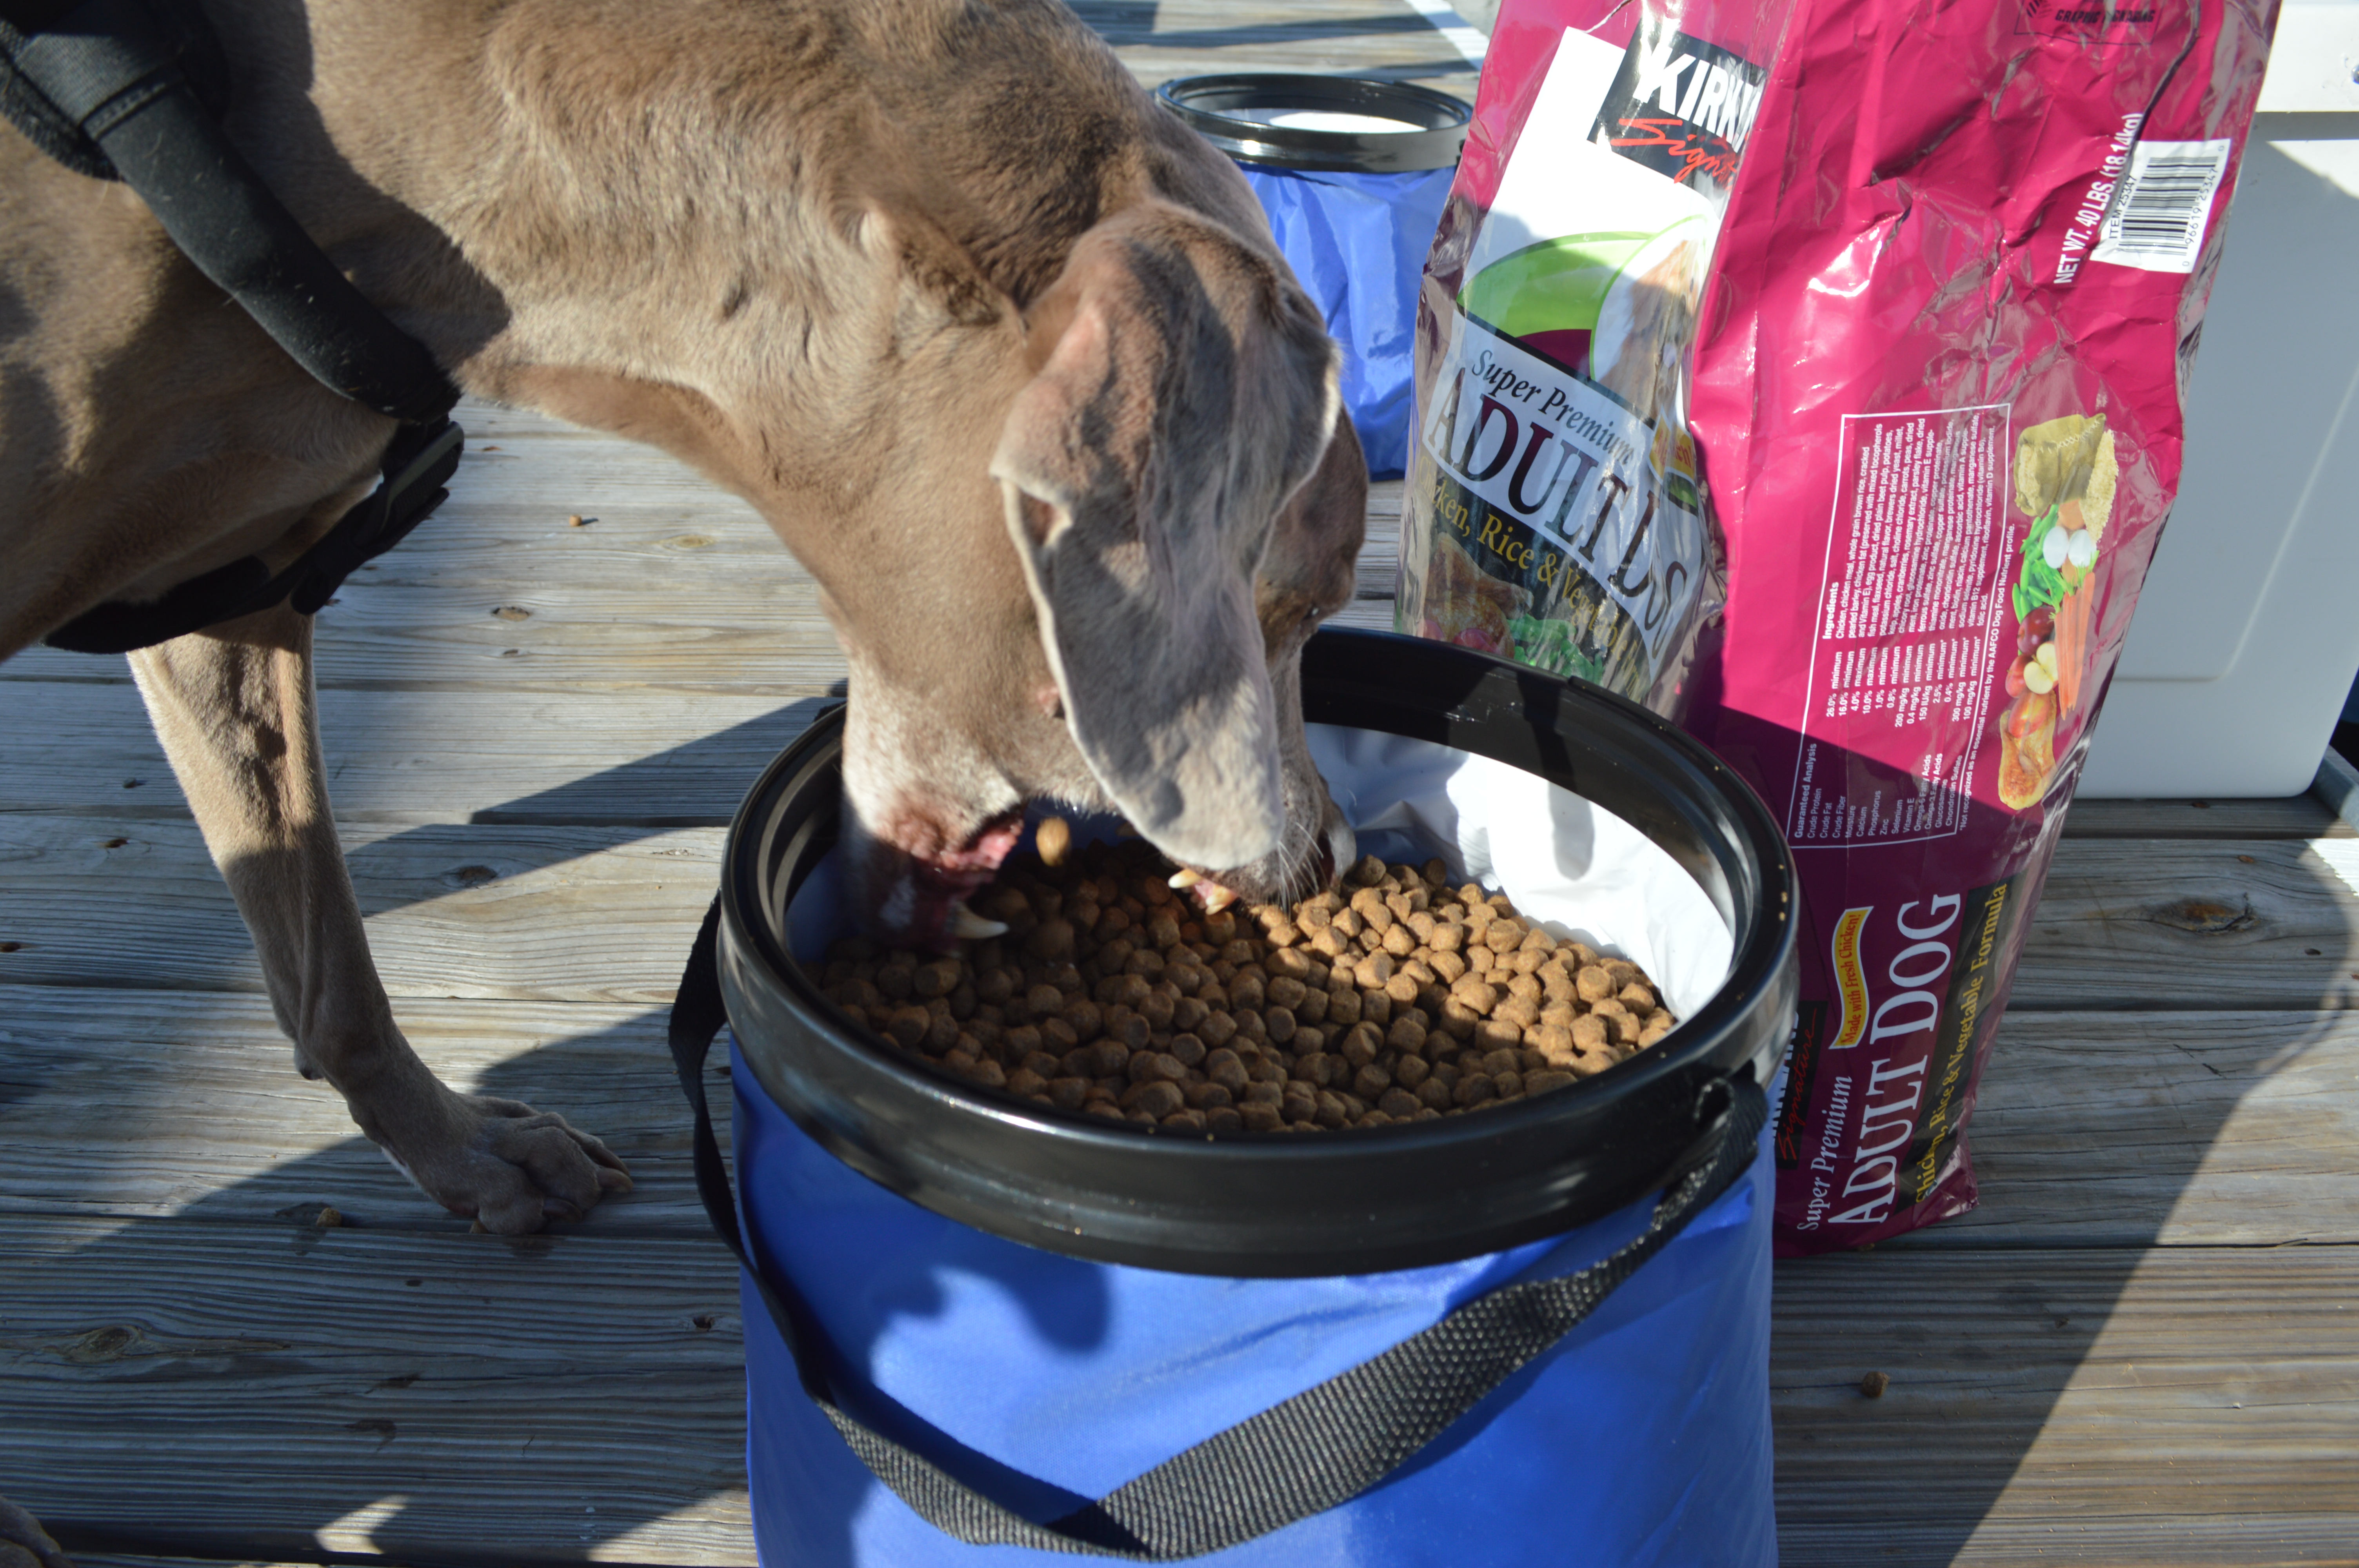
With two large dogs on board we have to store a lot more dog food than we’d like and it takes up quite a bit of room. One of our first challenges once we leave shore will be getting the dogs accustomed to a varying diet. They’re currently on Kirkland Signature brand food from Costco but we know that once we leave we won’t have very many options for selection. Neither of their tummies do well when we switch their food but we’re just going to have to deal with that. Somebody will be on duty at the poop deck for sure! We decided to add in more table scraps and the dogs will be getting a steady fish diet soon. We’ll supplement with dog food and hope that they get used to eating different brands all the time.

For now, we are carrying two 40lb bags worth of dog food and have fit it all into the 4 SoftStores. They hold 30-35 lbs (8.0 Gallons) if stuffed full, but we like to leave a little room on top so the bag is more malleable. That way we can save our precious storage space and the bags fit into all the odd size nooks and crannies of the two cabinets we have chosen for them.

DSC_0046

DSC_0070

DSC_0050

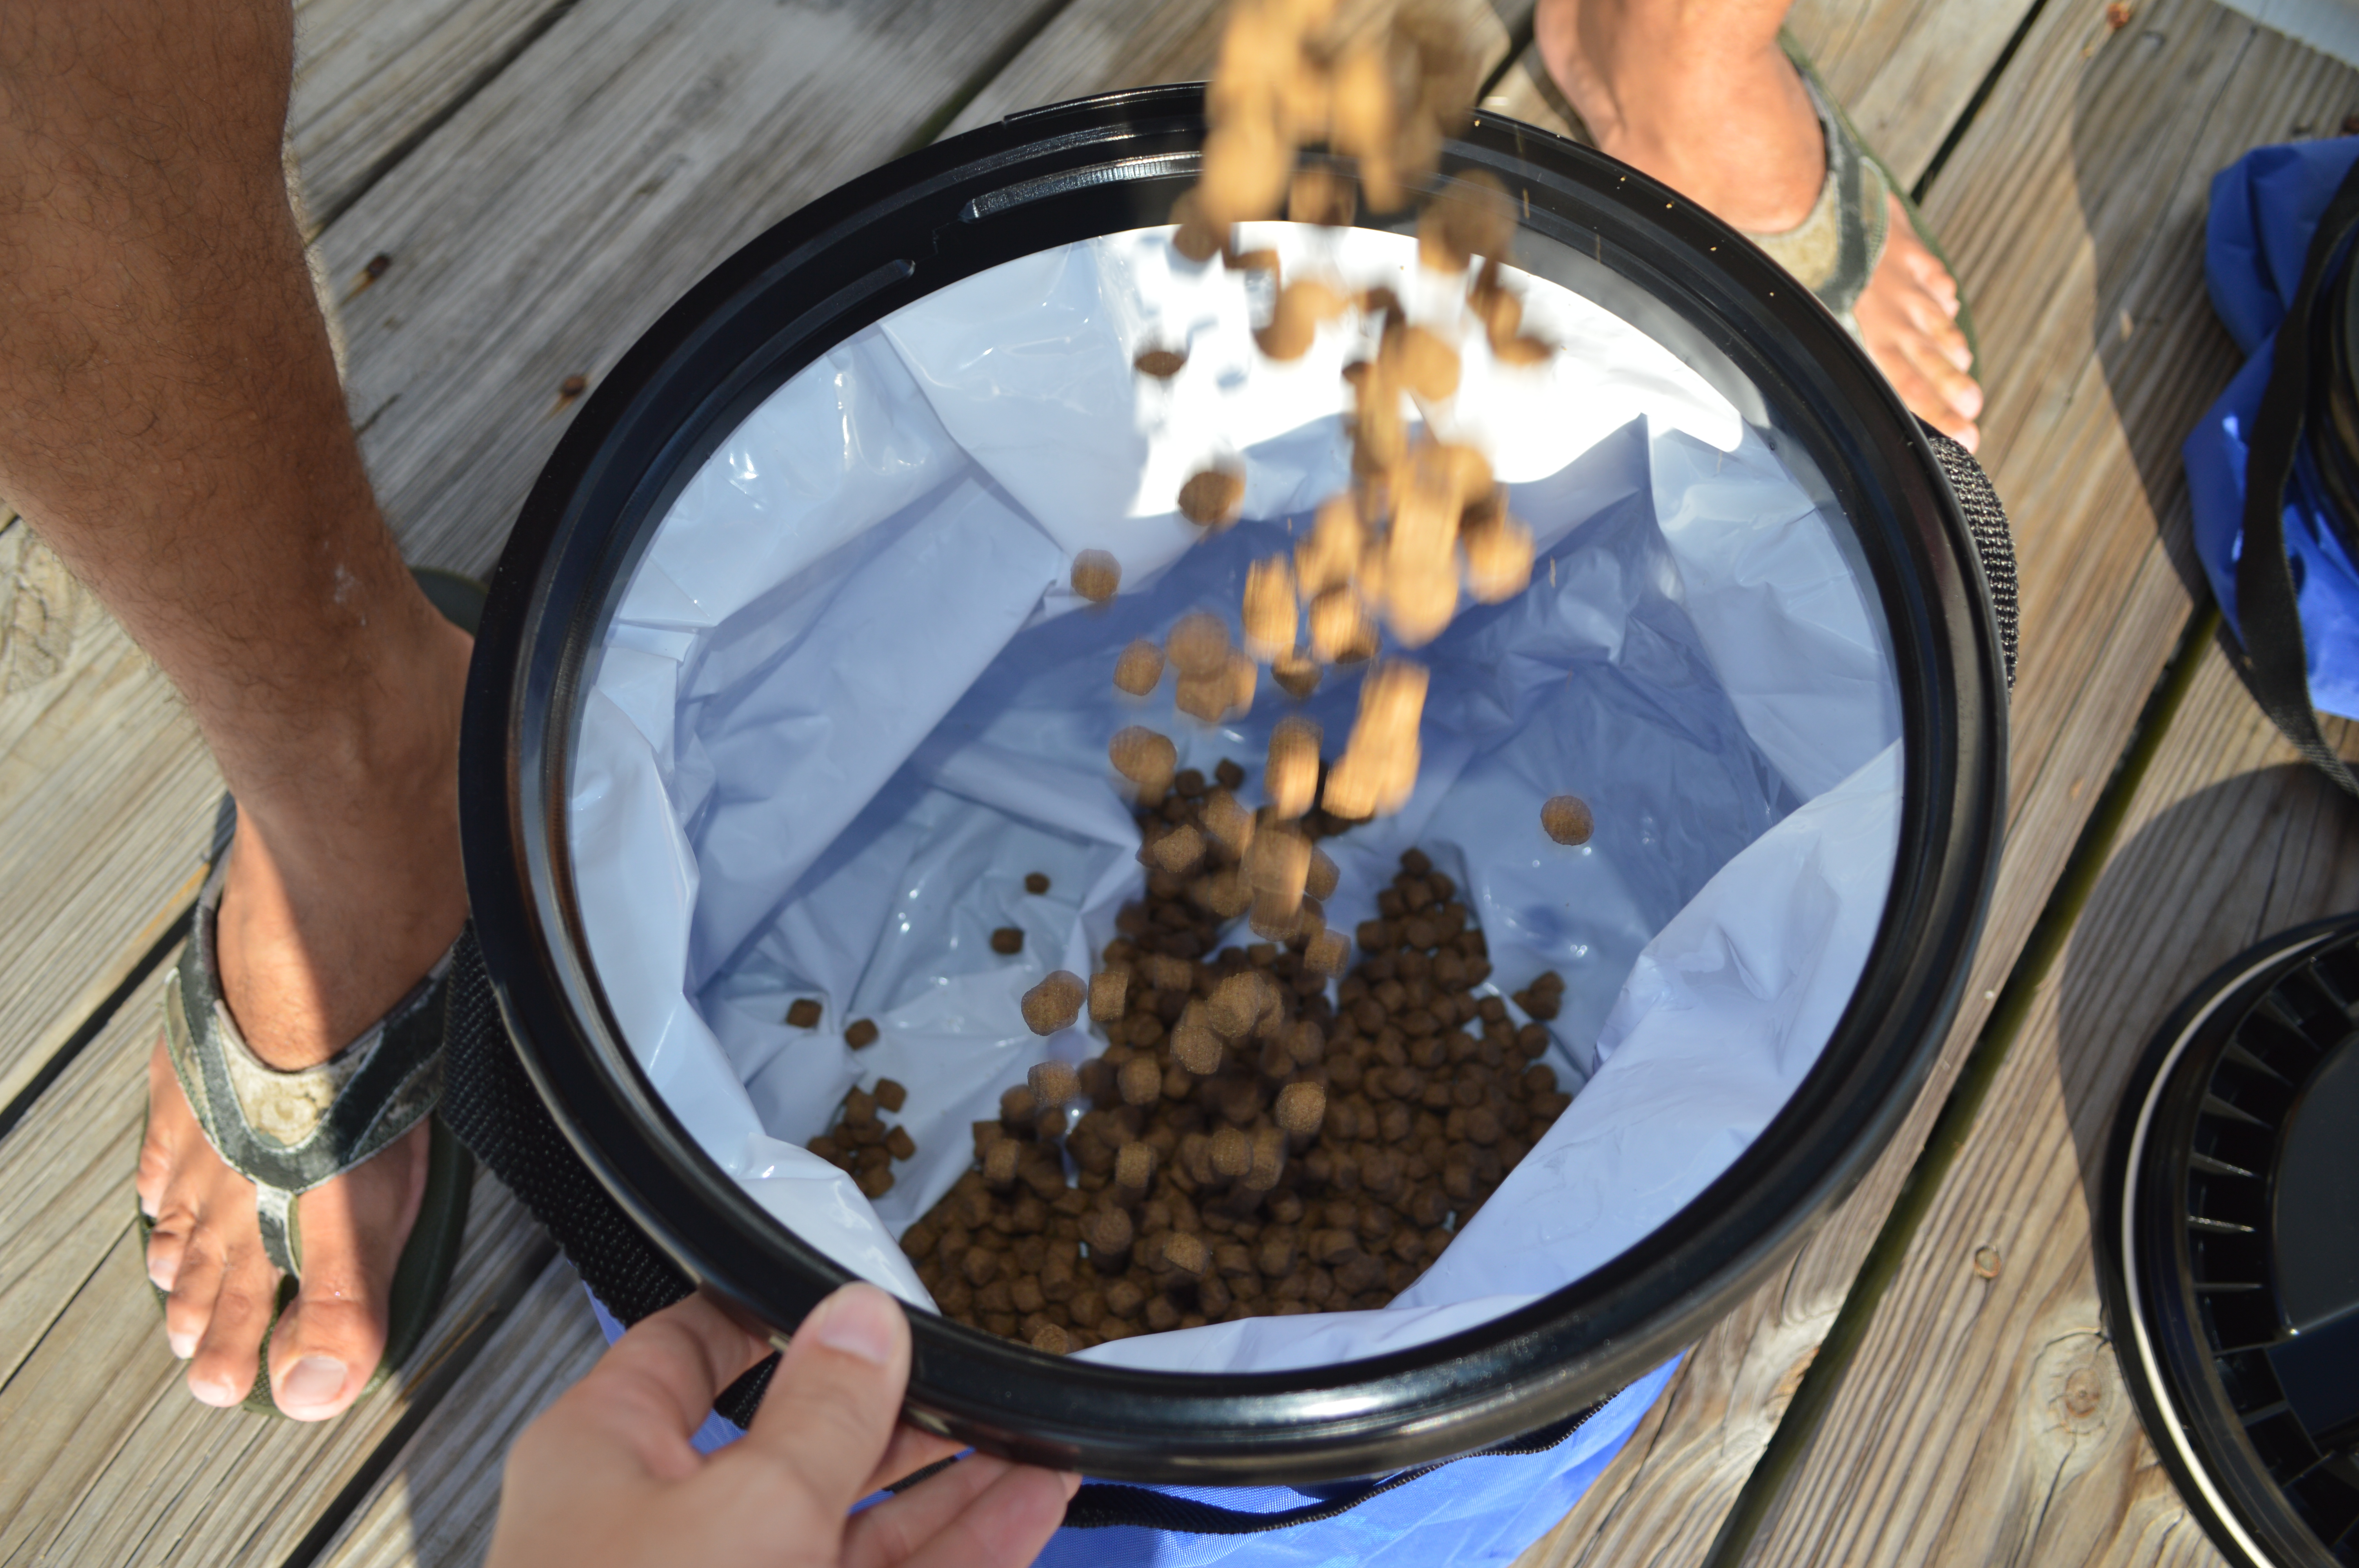
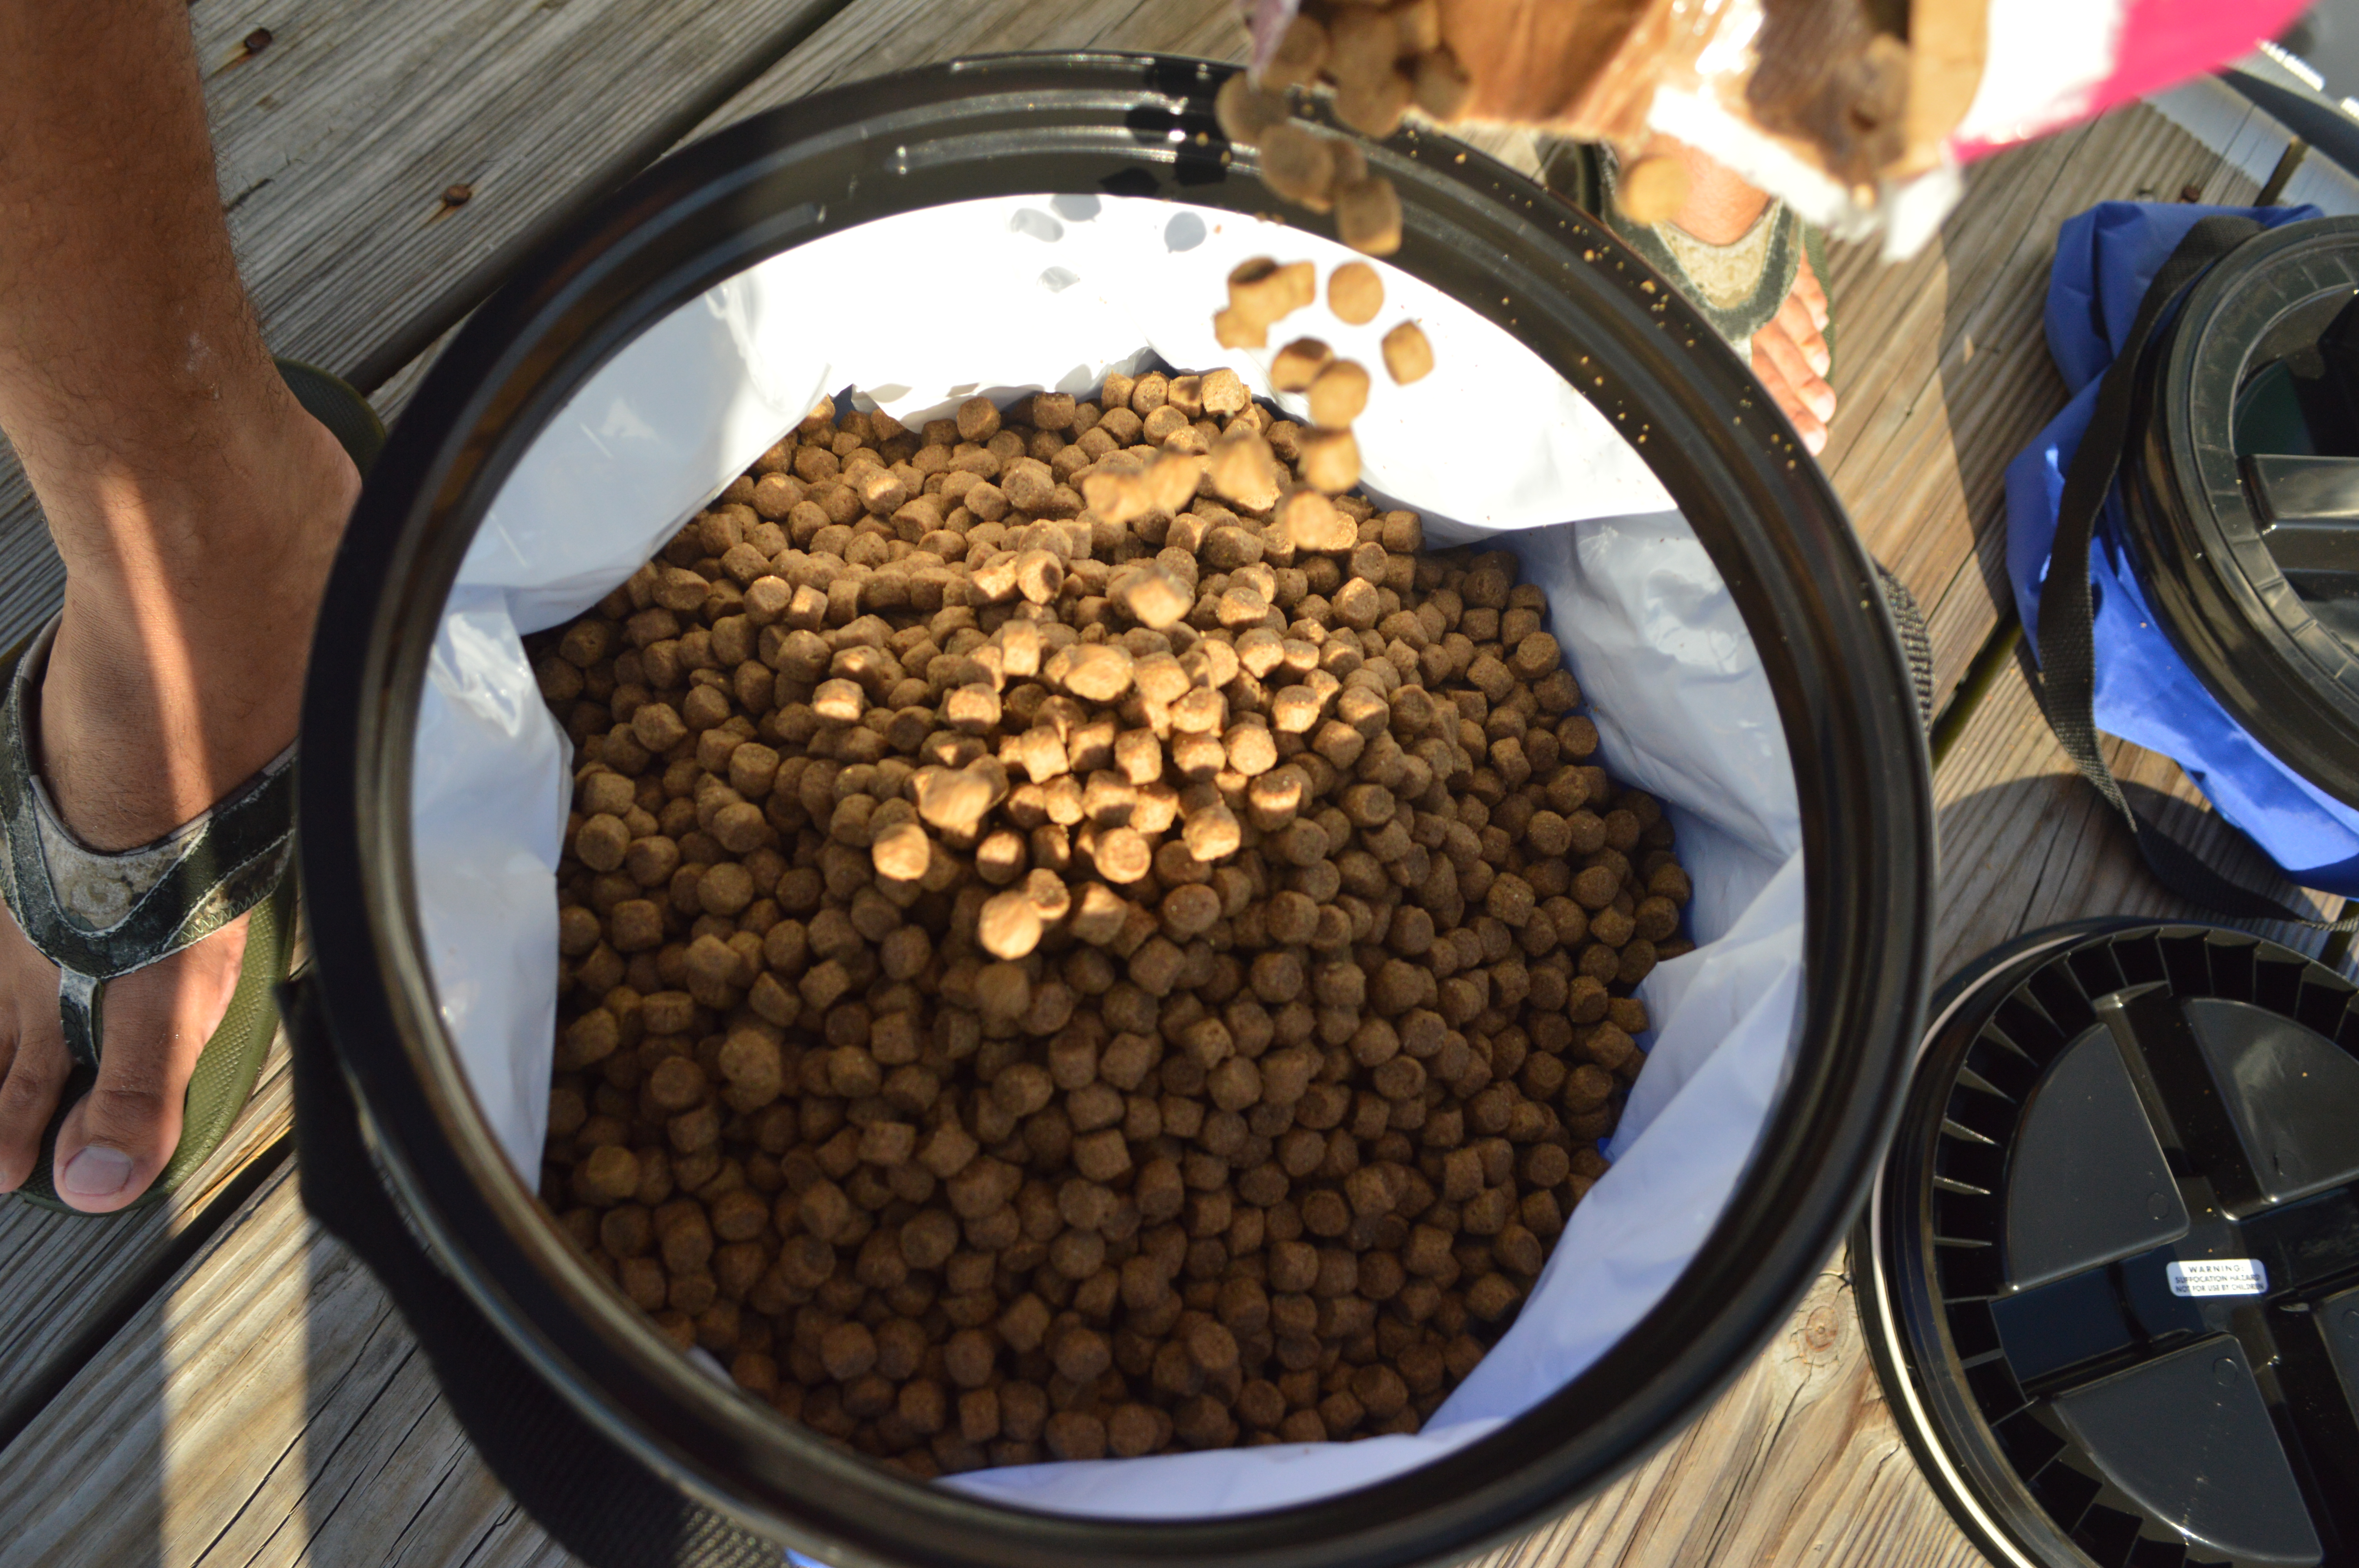
It’s much easier to fill the SoftStore bags with two people, but it wouldn’t be too difficult for just one person.

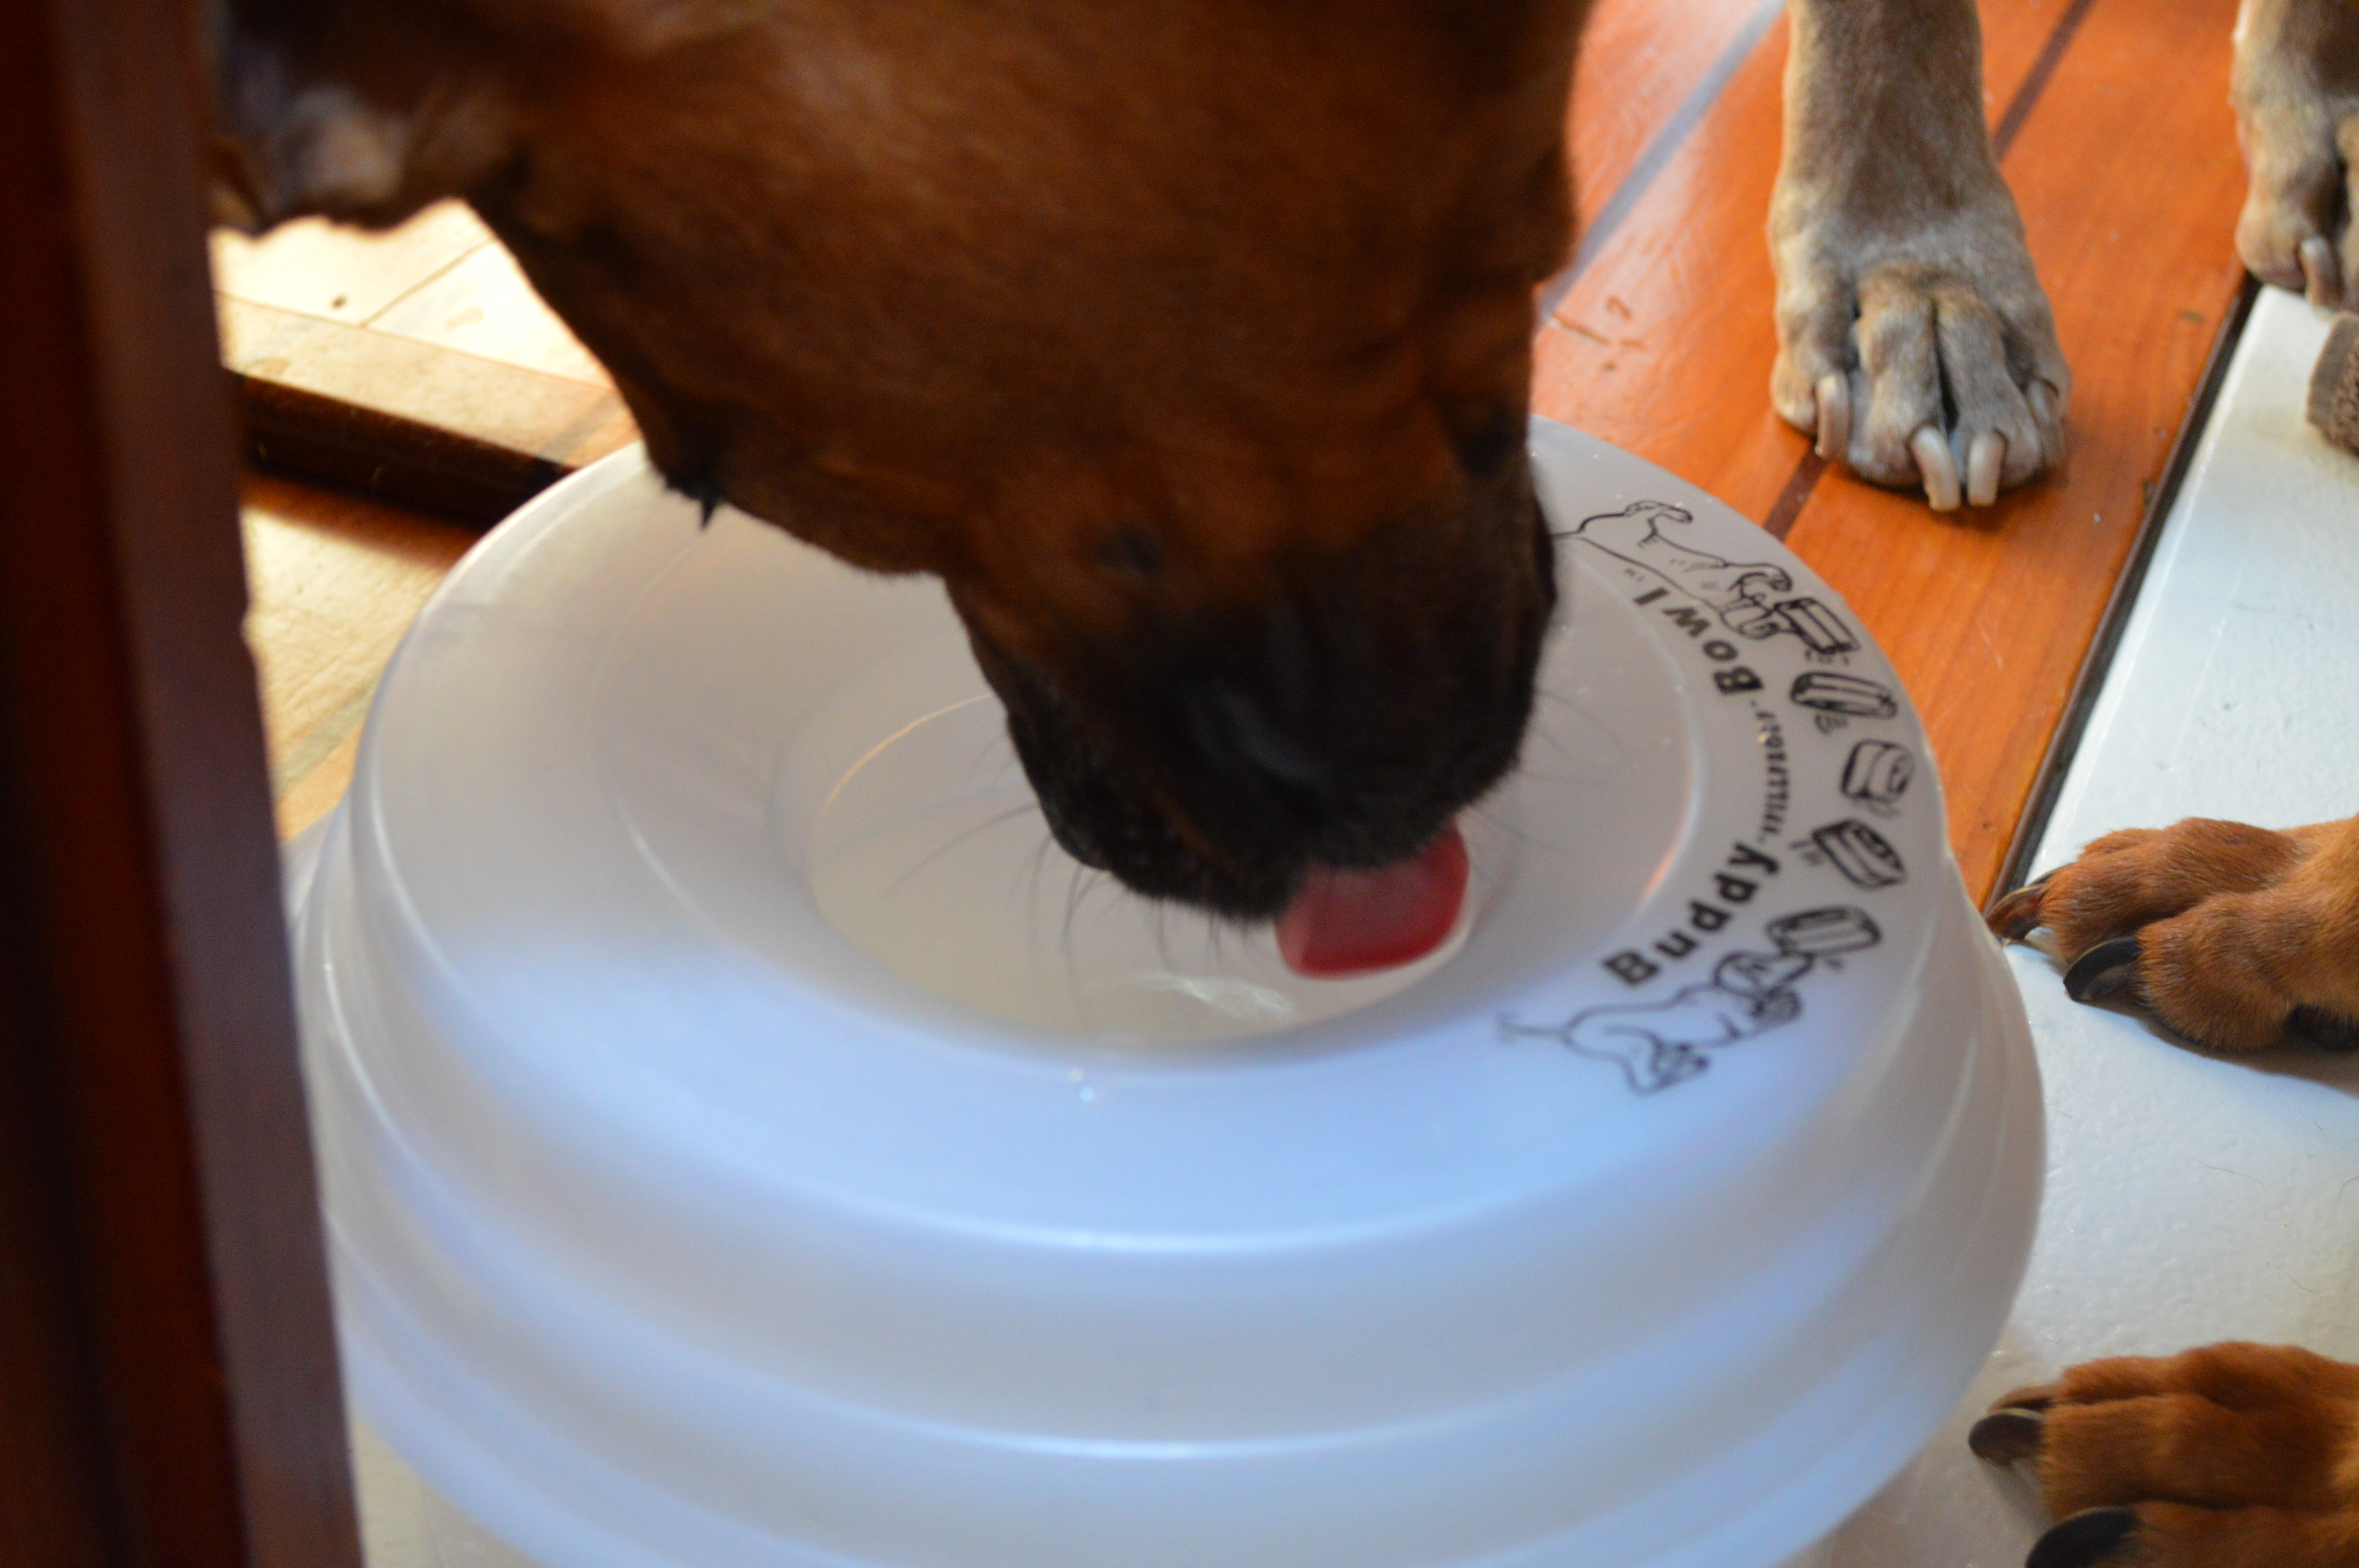
We turned around to position Betsy for a cute picture on the dock and Gunner seized the moment when he knew we weren’t looking!! If we weren’t there, he would have kept eating until he threw up. It’s actually kind of a good thing that we don’t free-feed the dogs, so that way we don’t have to worry about bugs feeding on the dog food at night. We like to clean their bowls out after doing the nightly dishes to help keep them clean.

DSC_0065

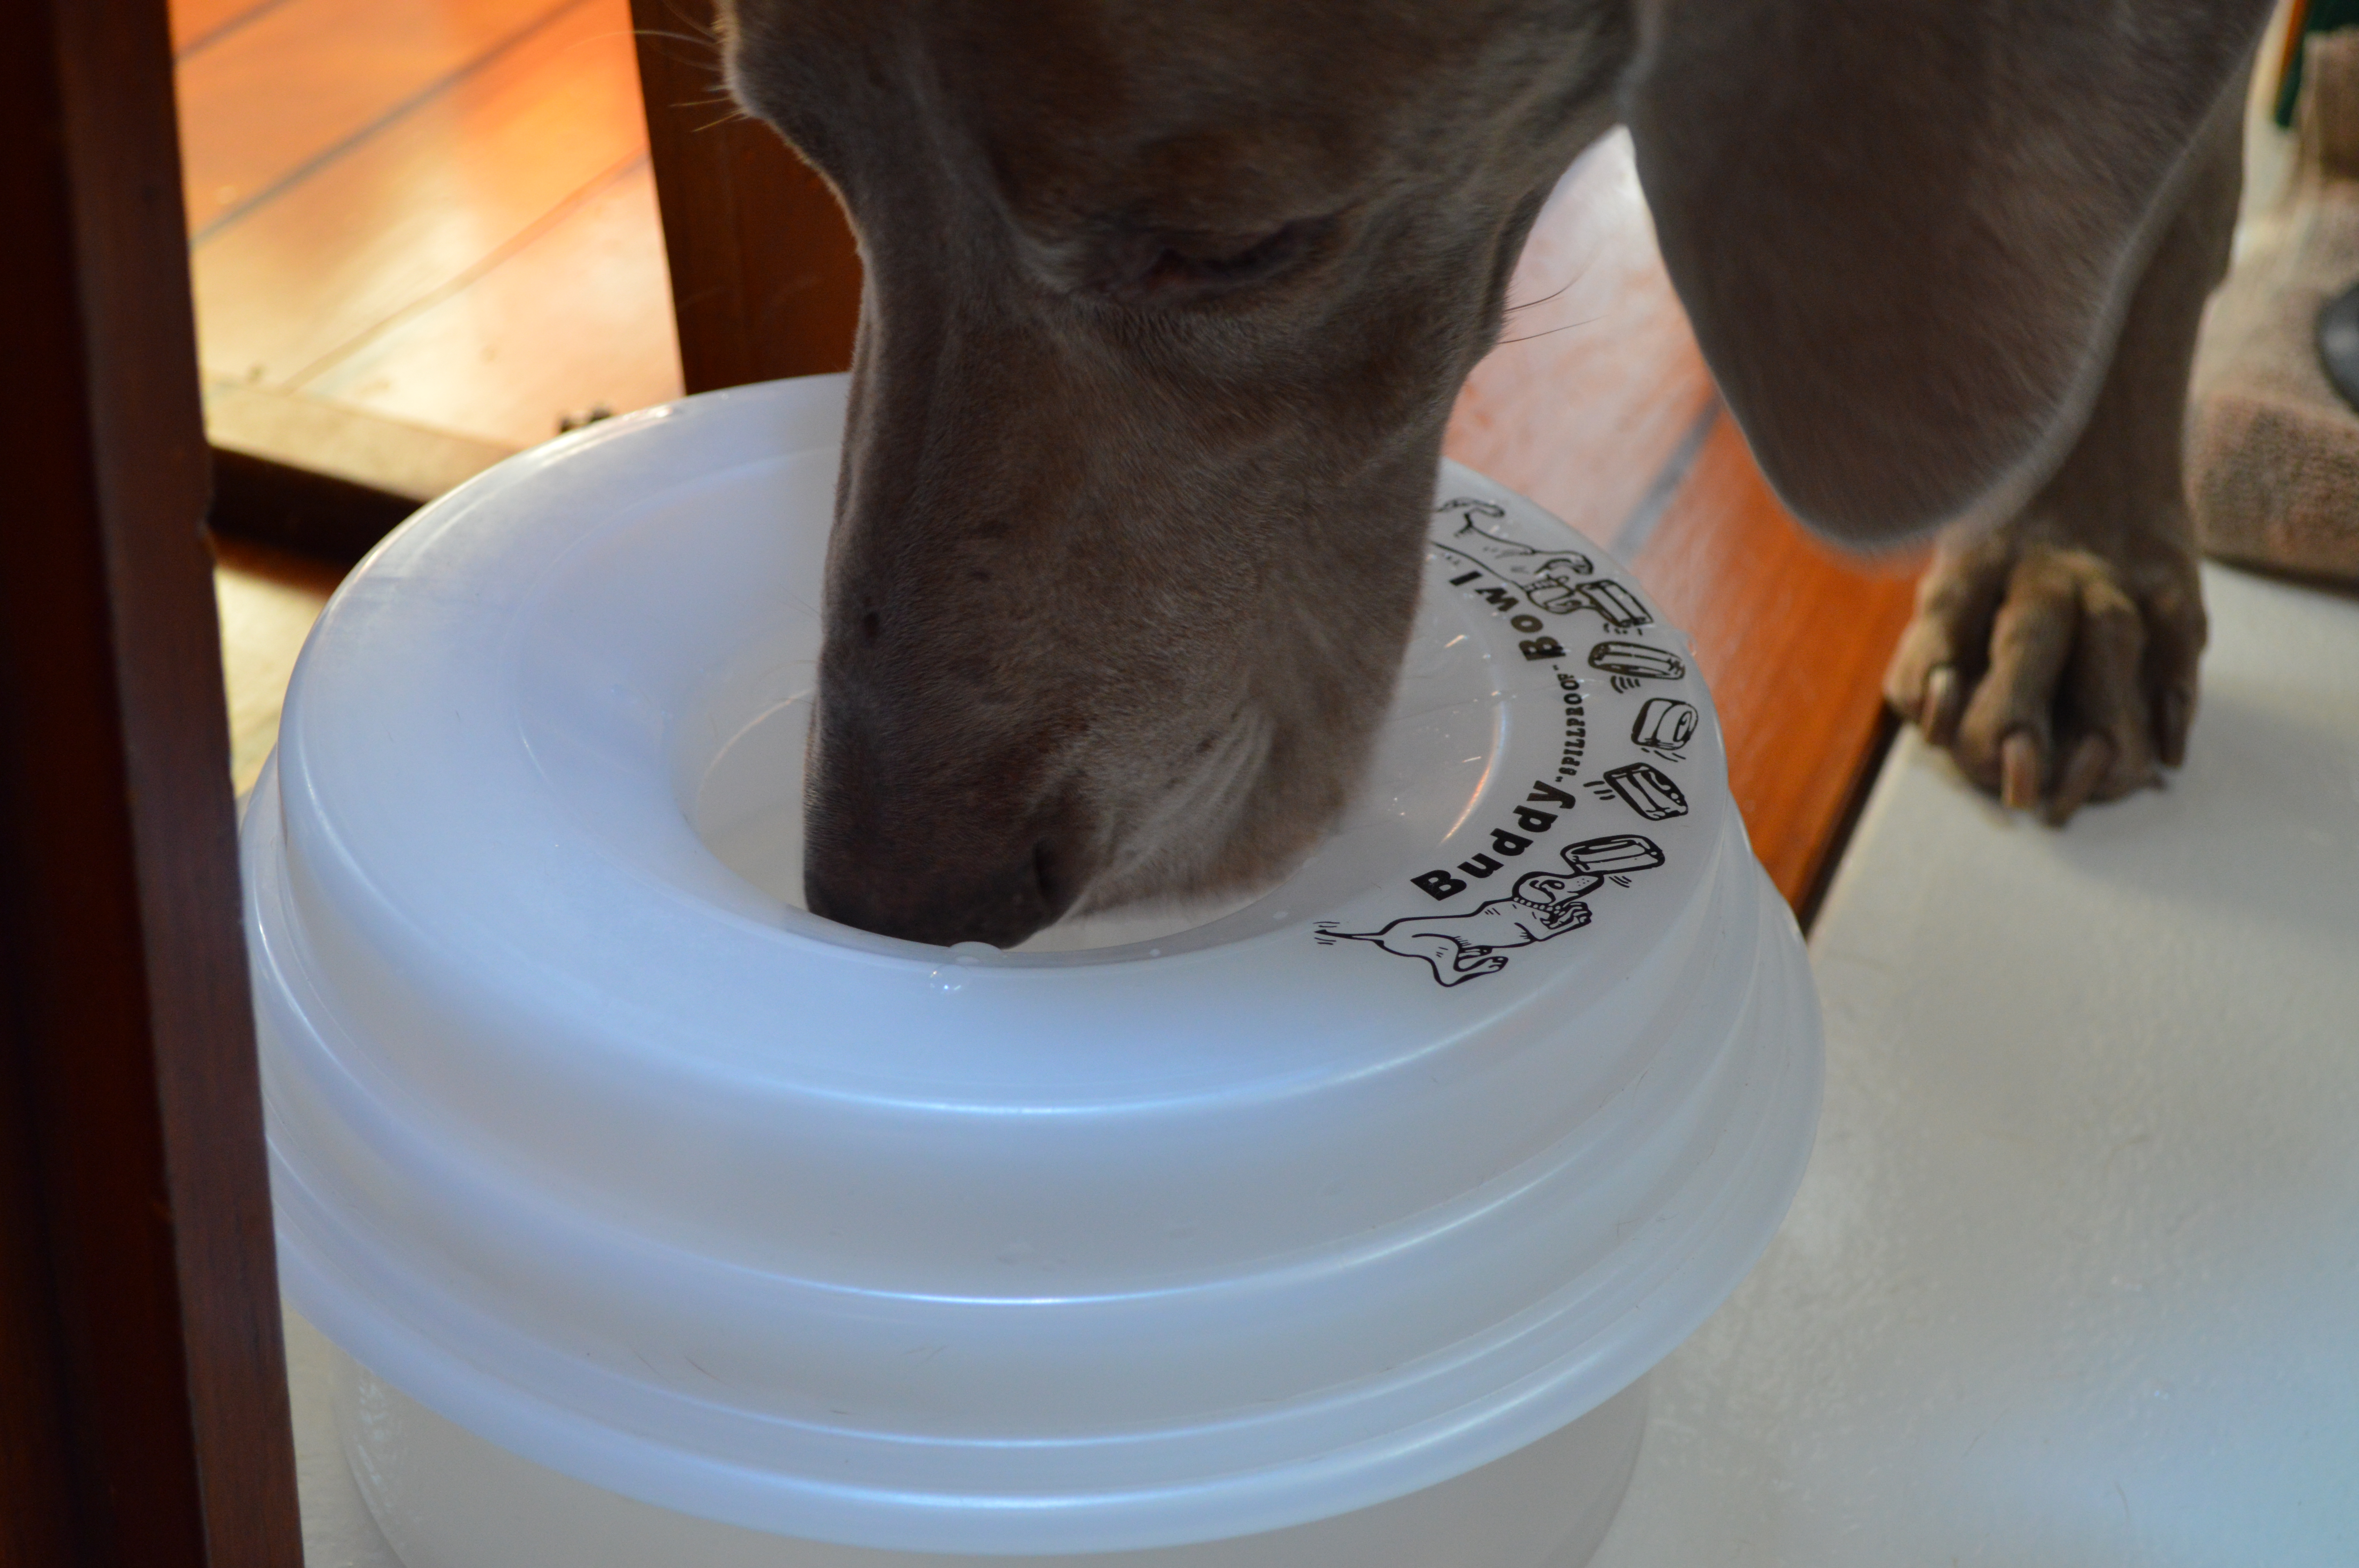
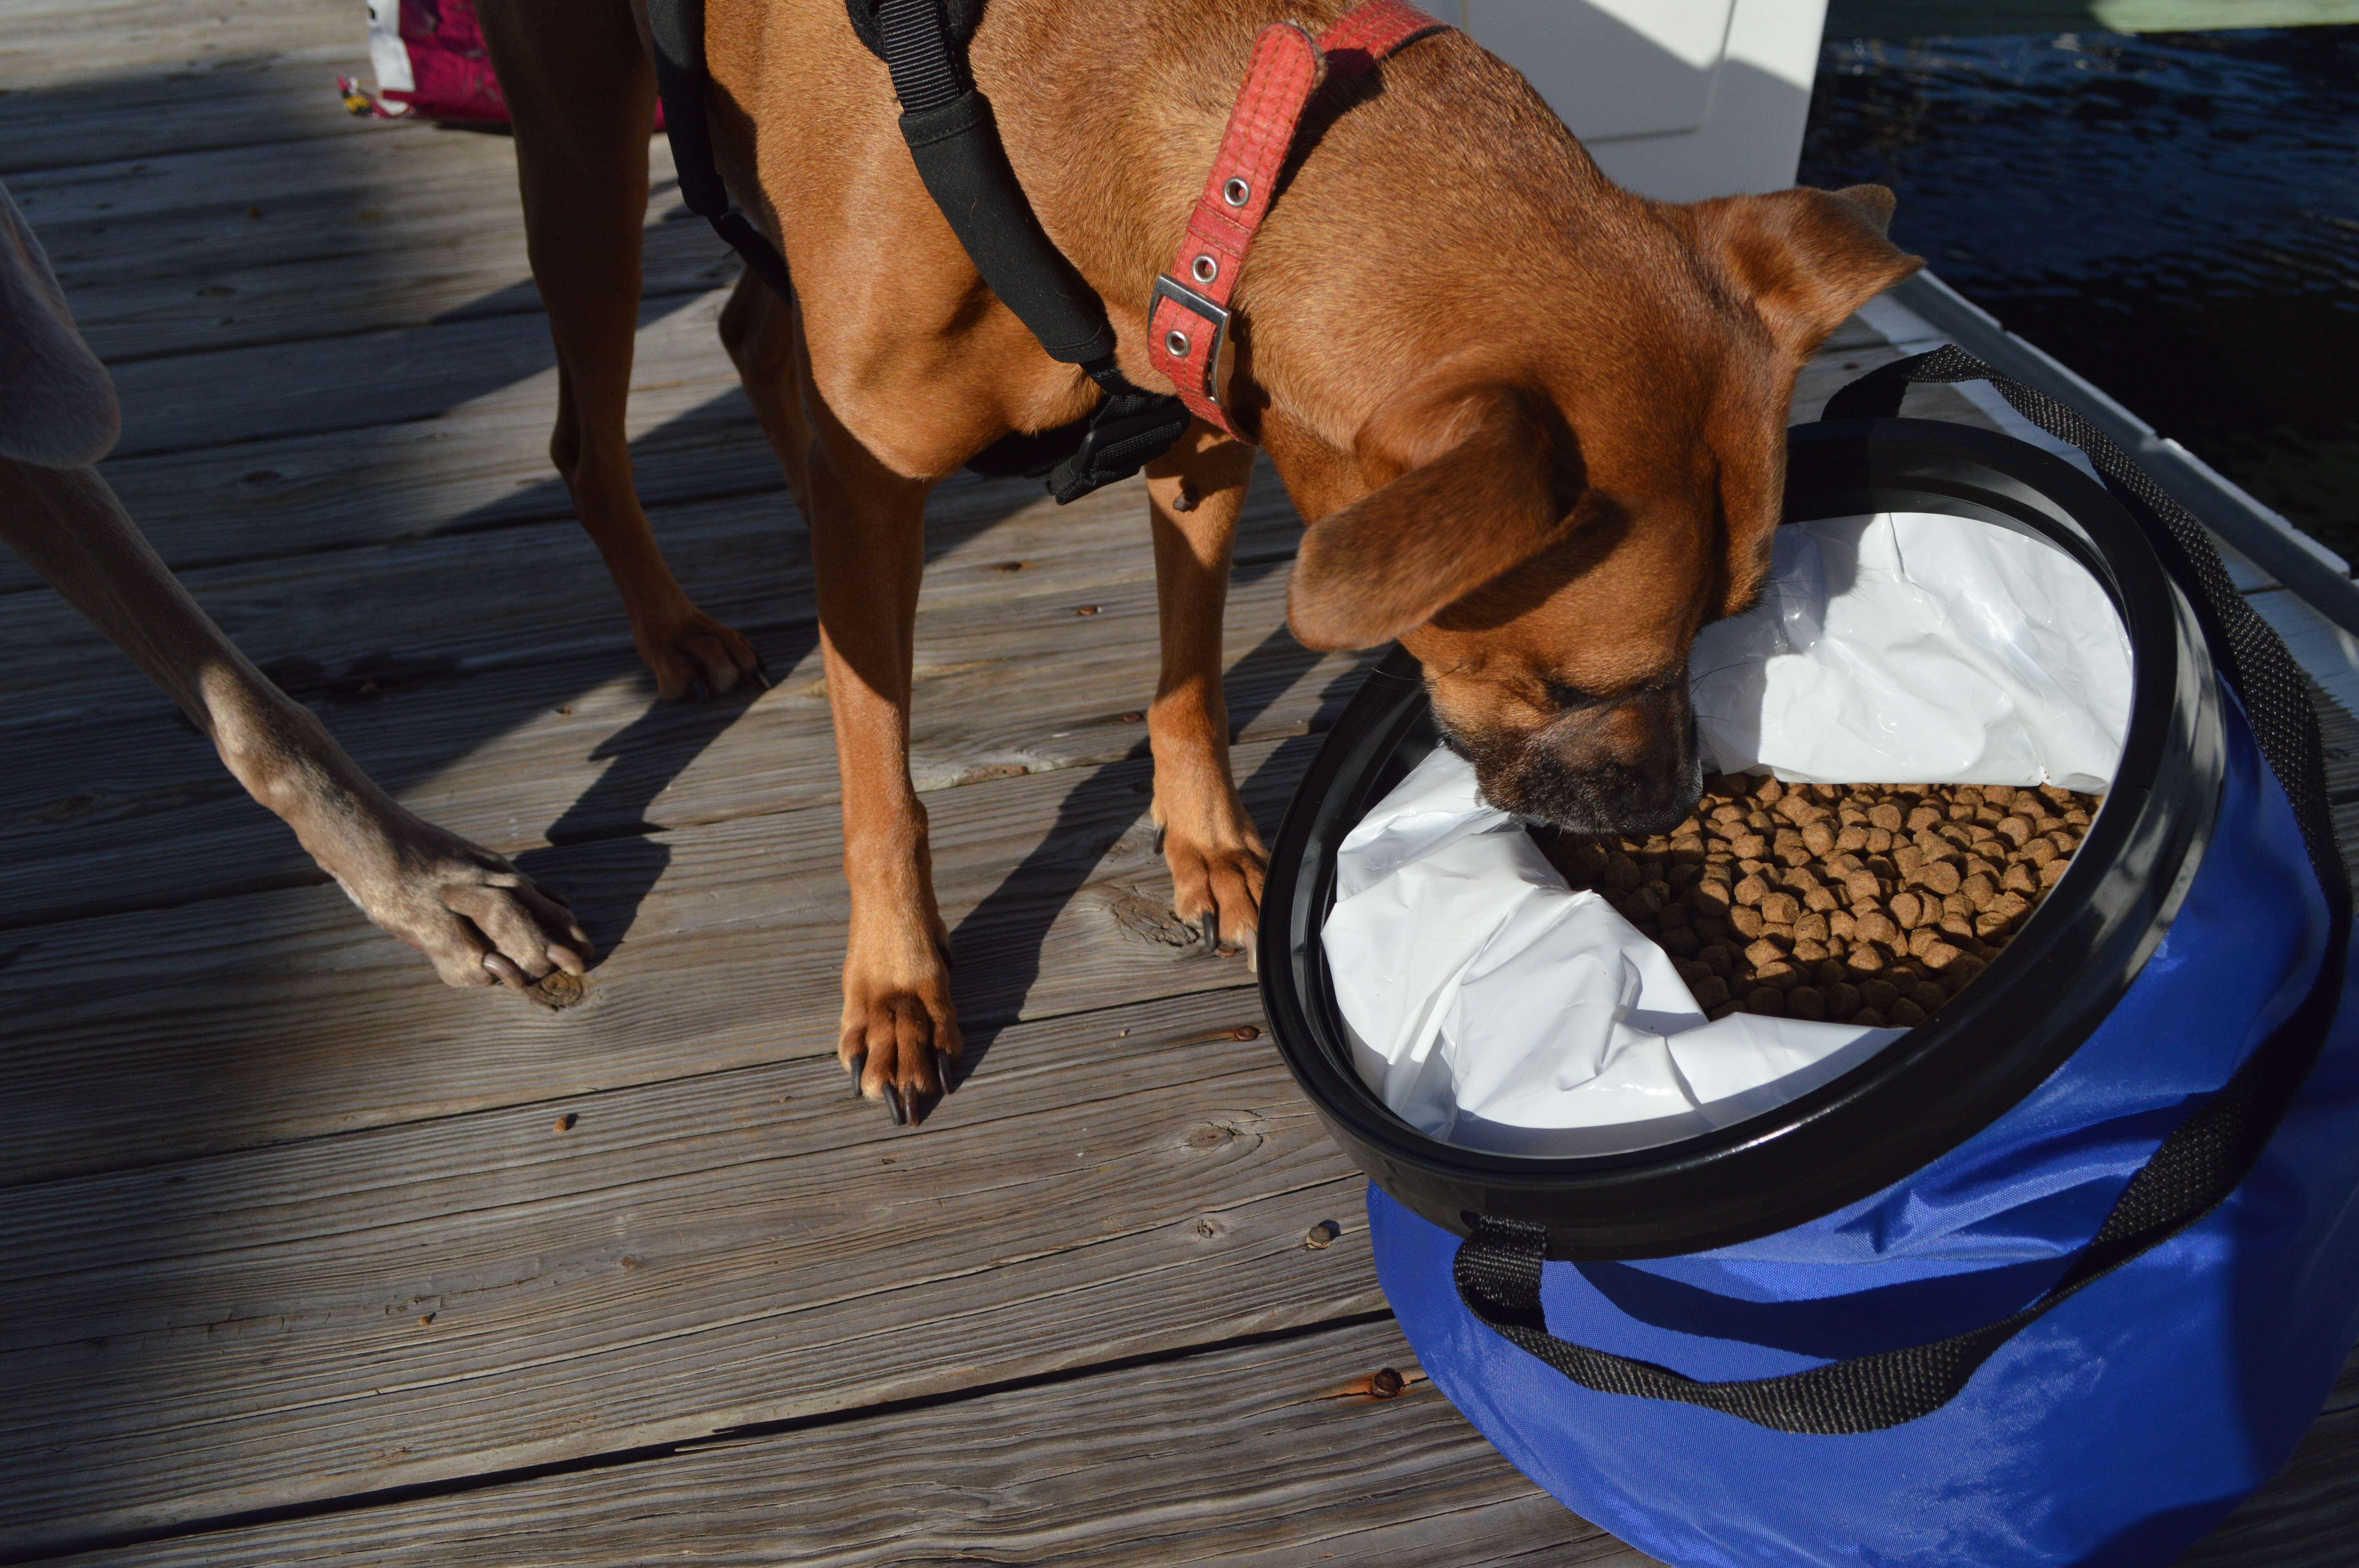
Betsy hesitated at the open bag of food. She knew it looked like trouble :)

DSC_0074

DSC_0082

DSC_0085

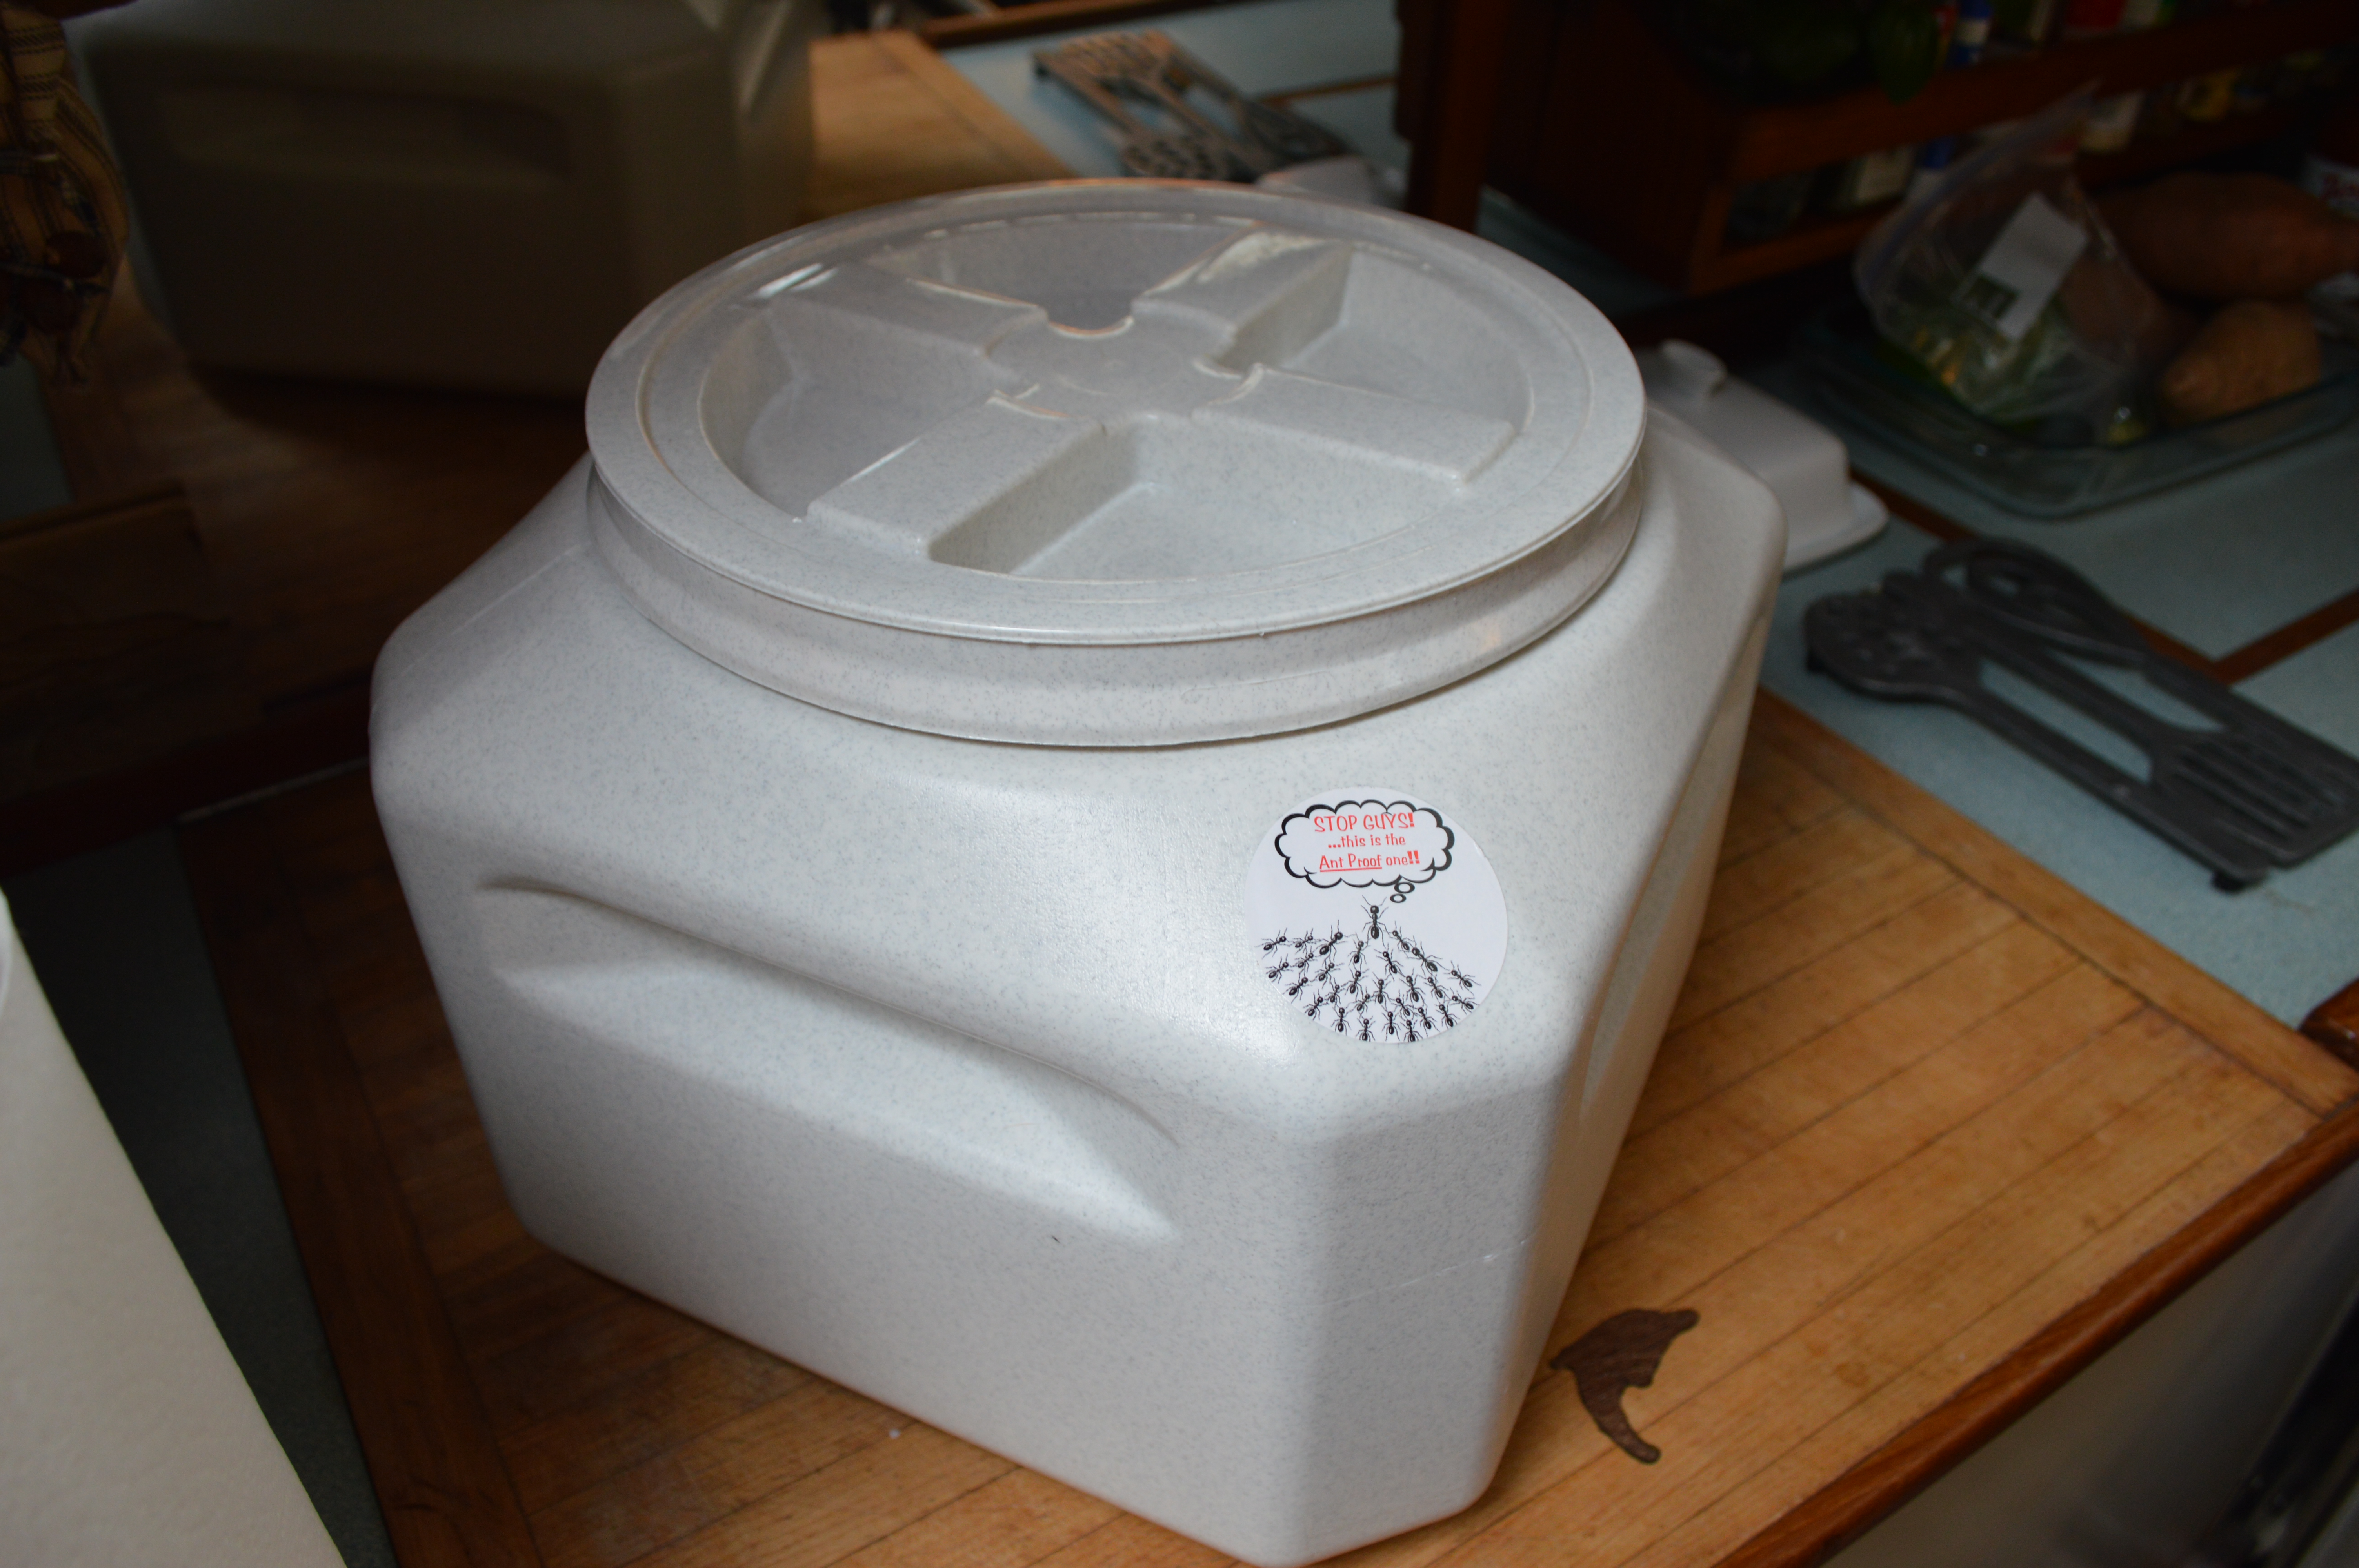
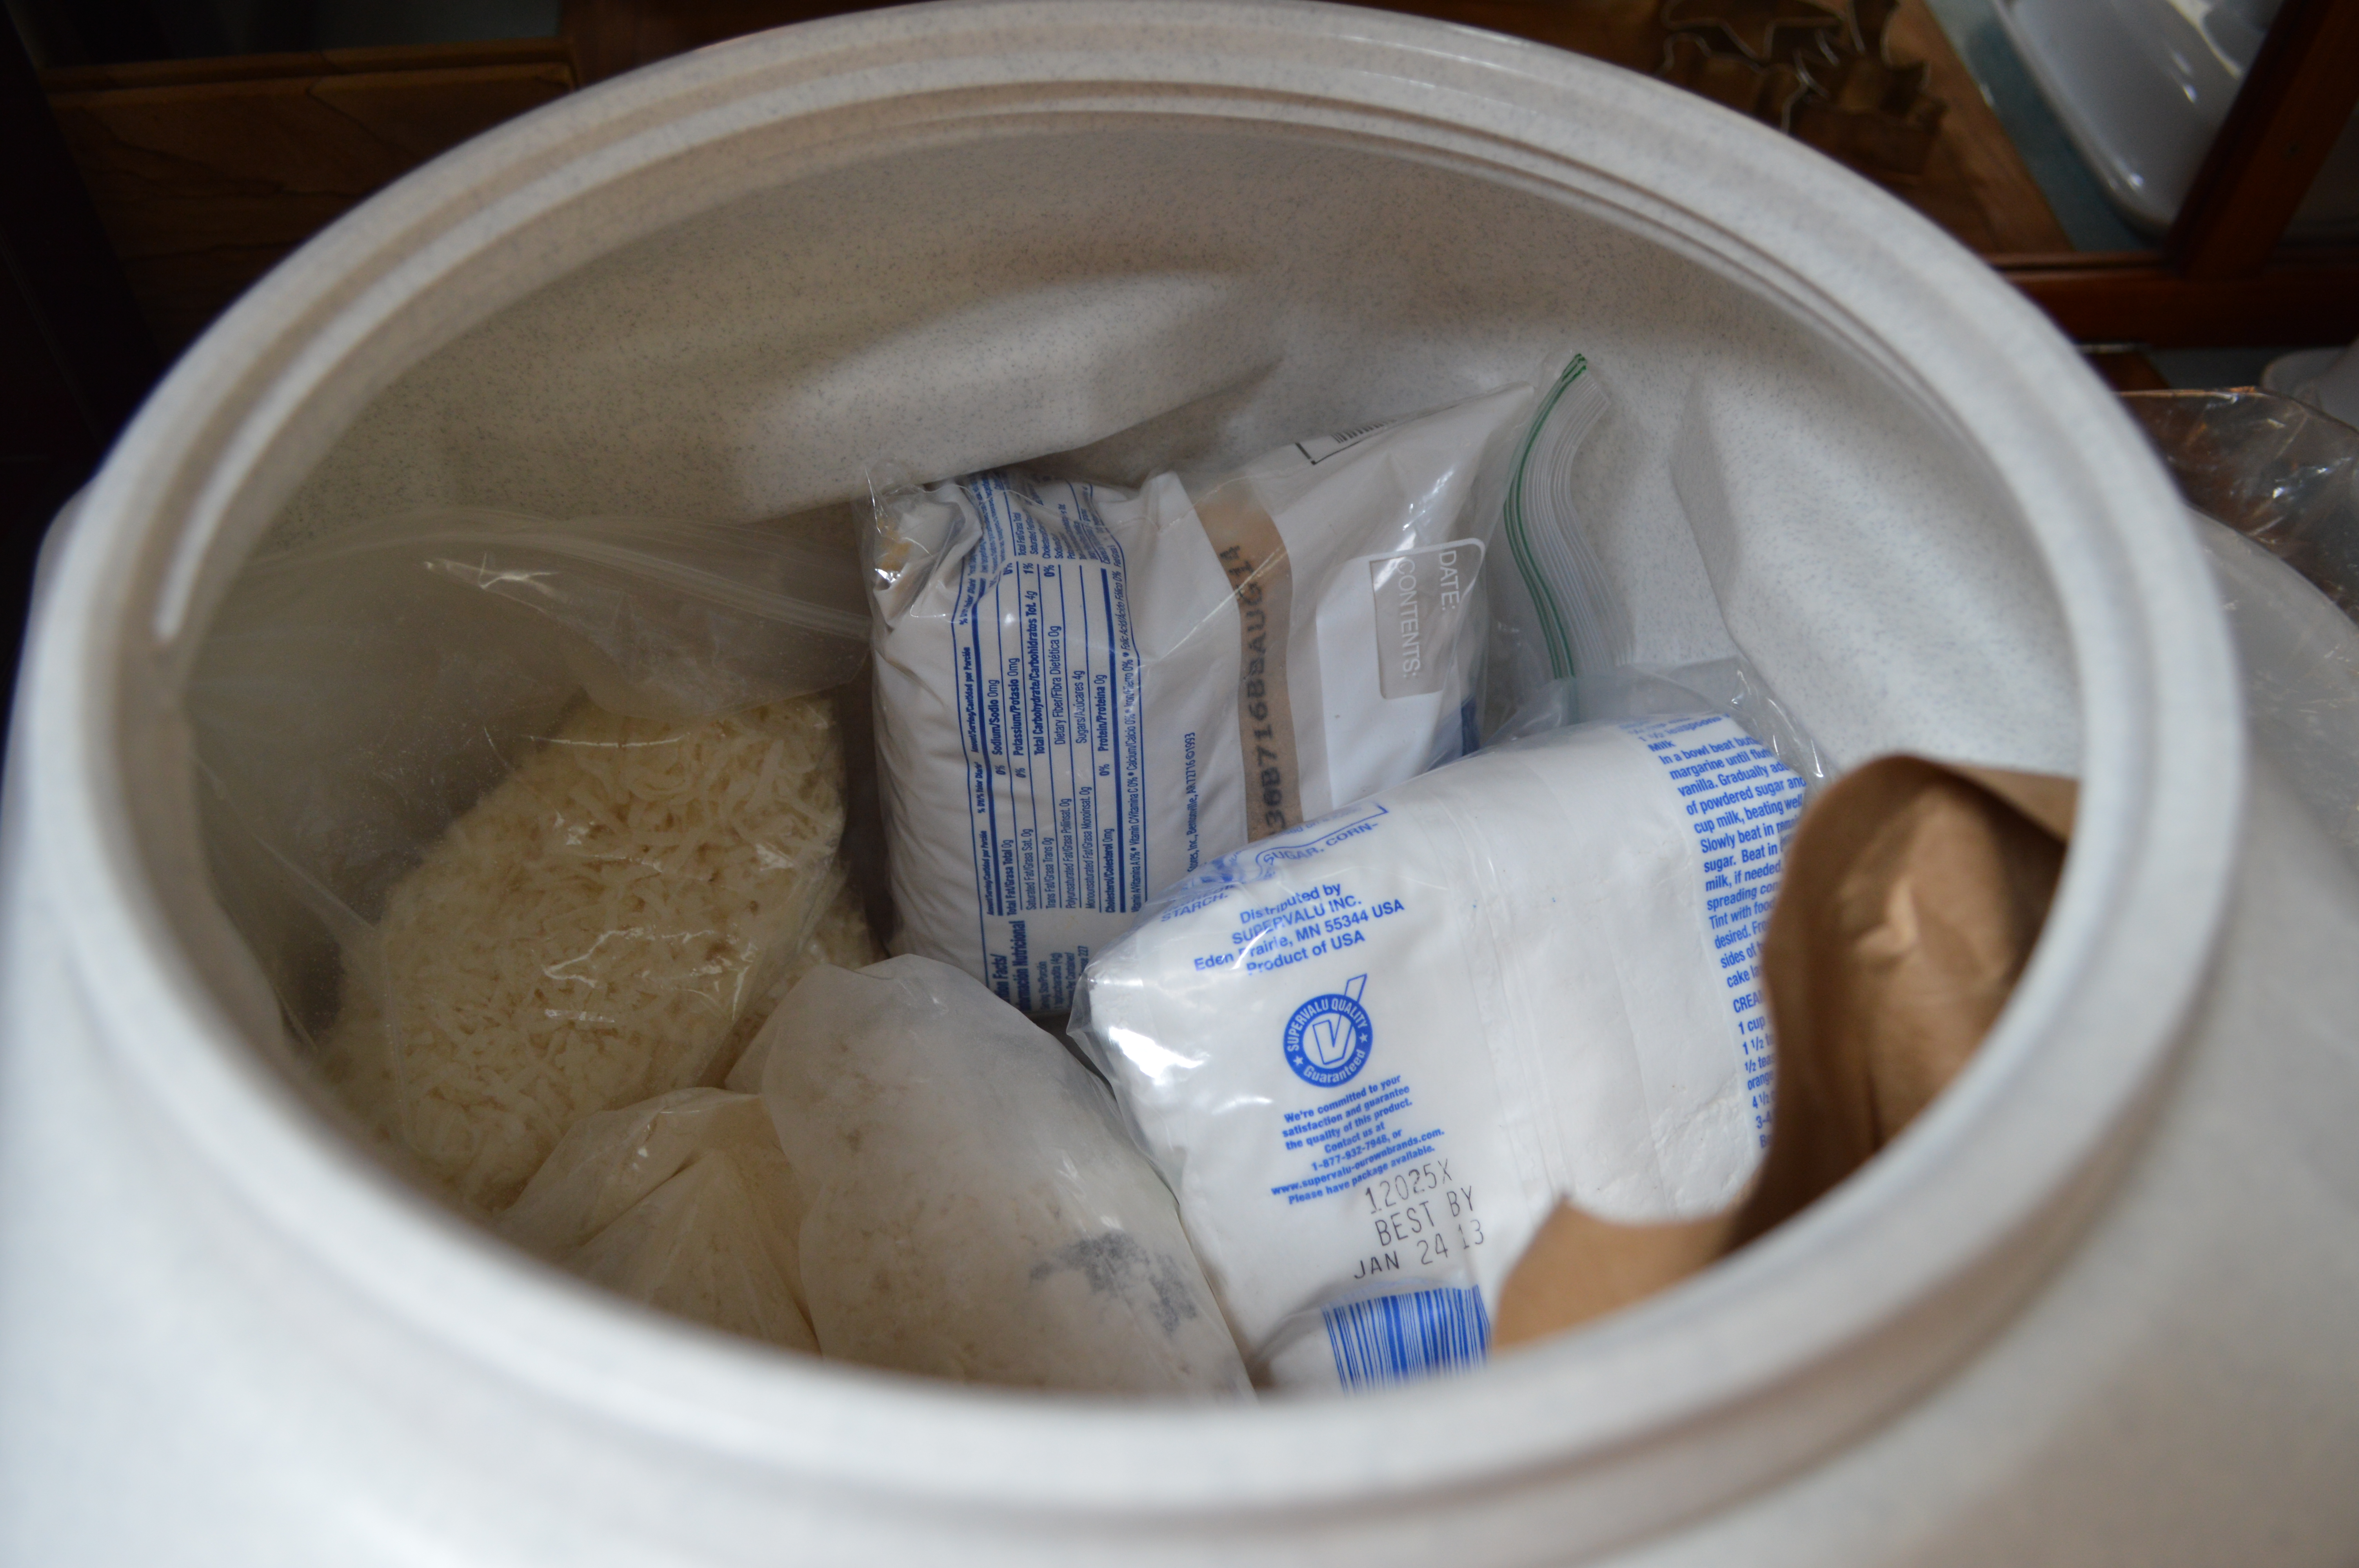
The rigid container that Gamma2 gave us is great for storing any kind of dry goods. You could put pet food in there, rice, grain, emergency supplies, cat litter, TP rolls, trash… anything that you don’t want affected by humidity, water or bugs.

DSC_0368

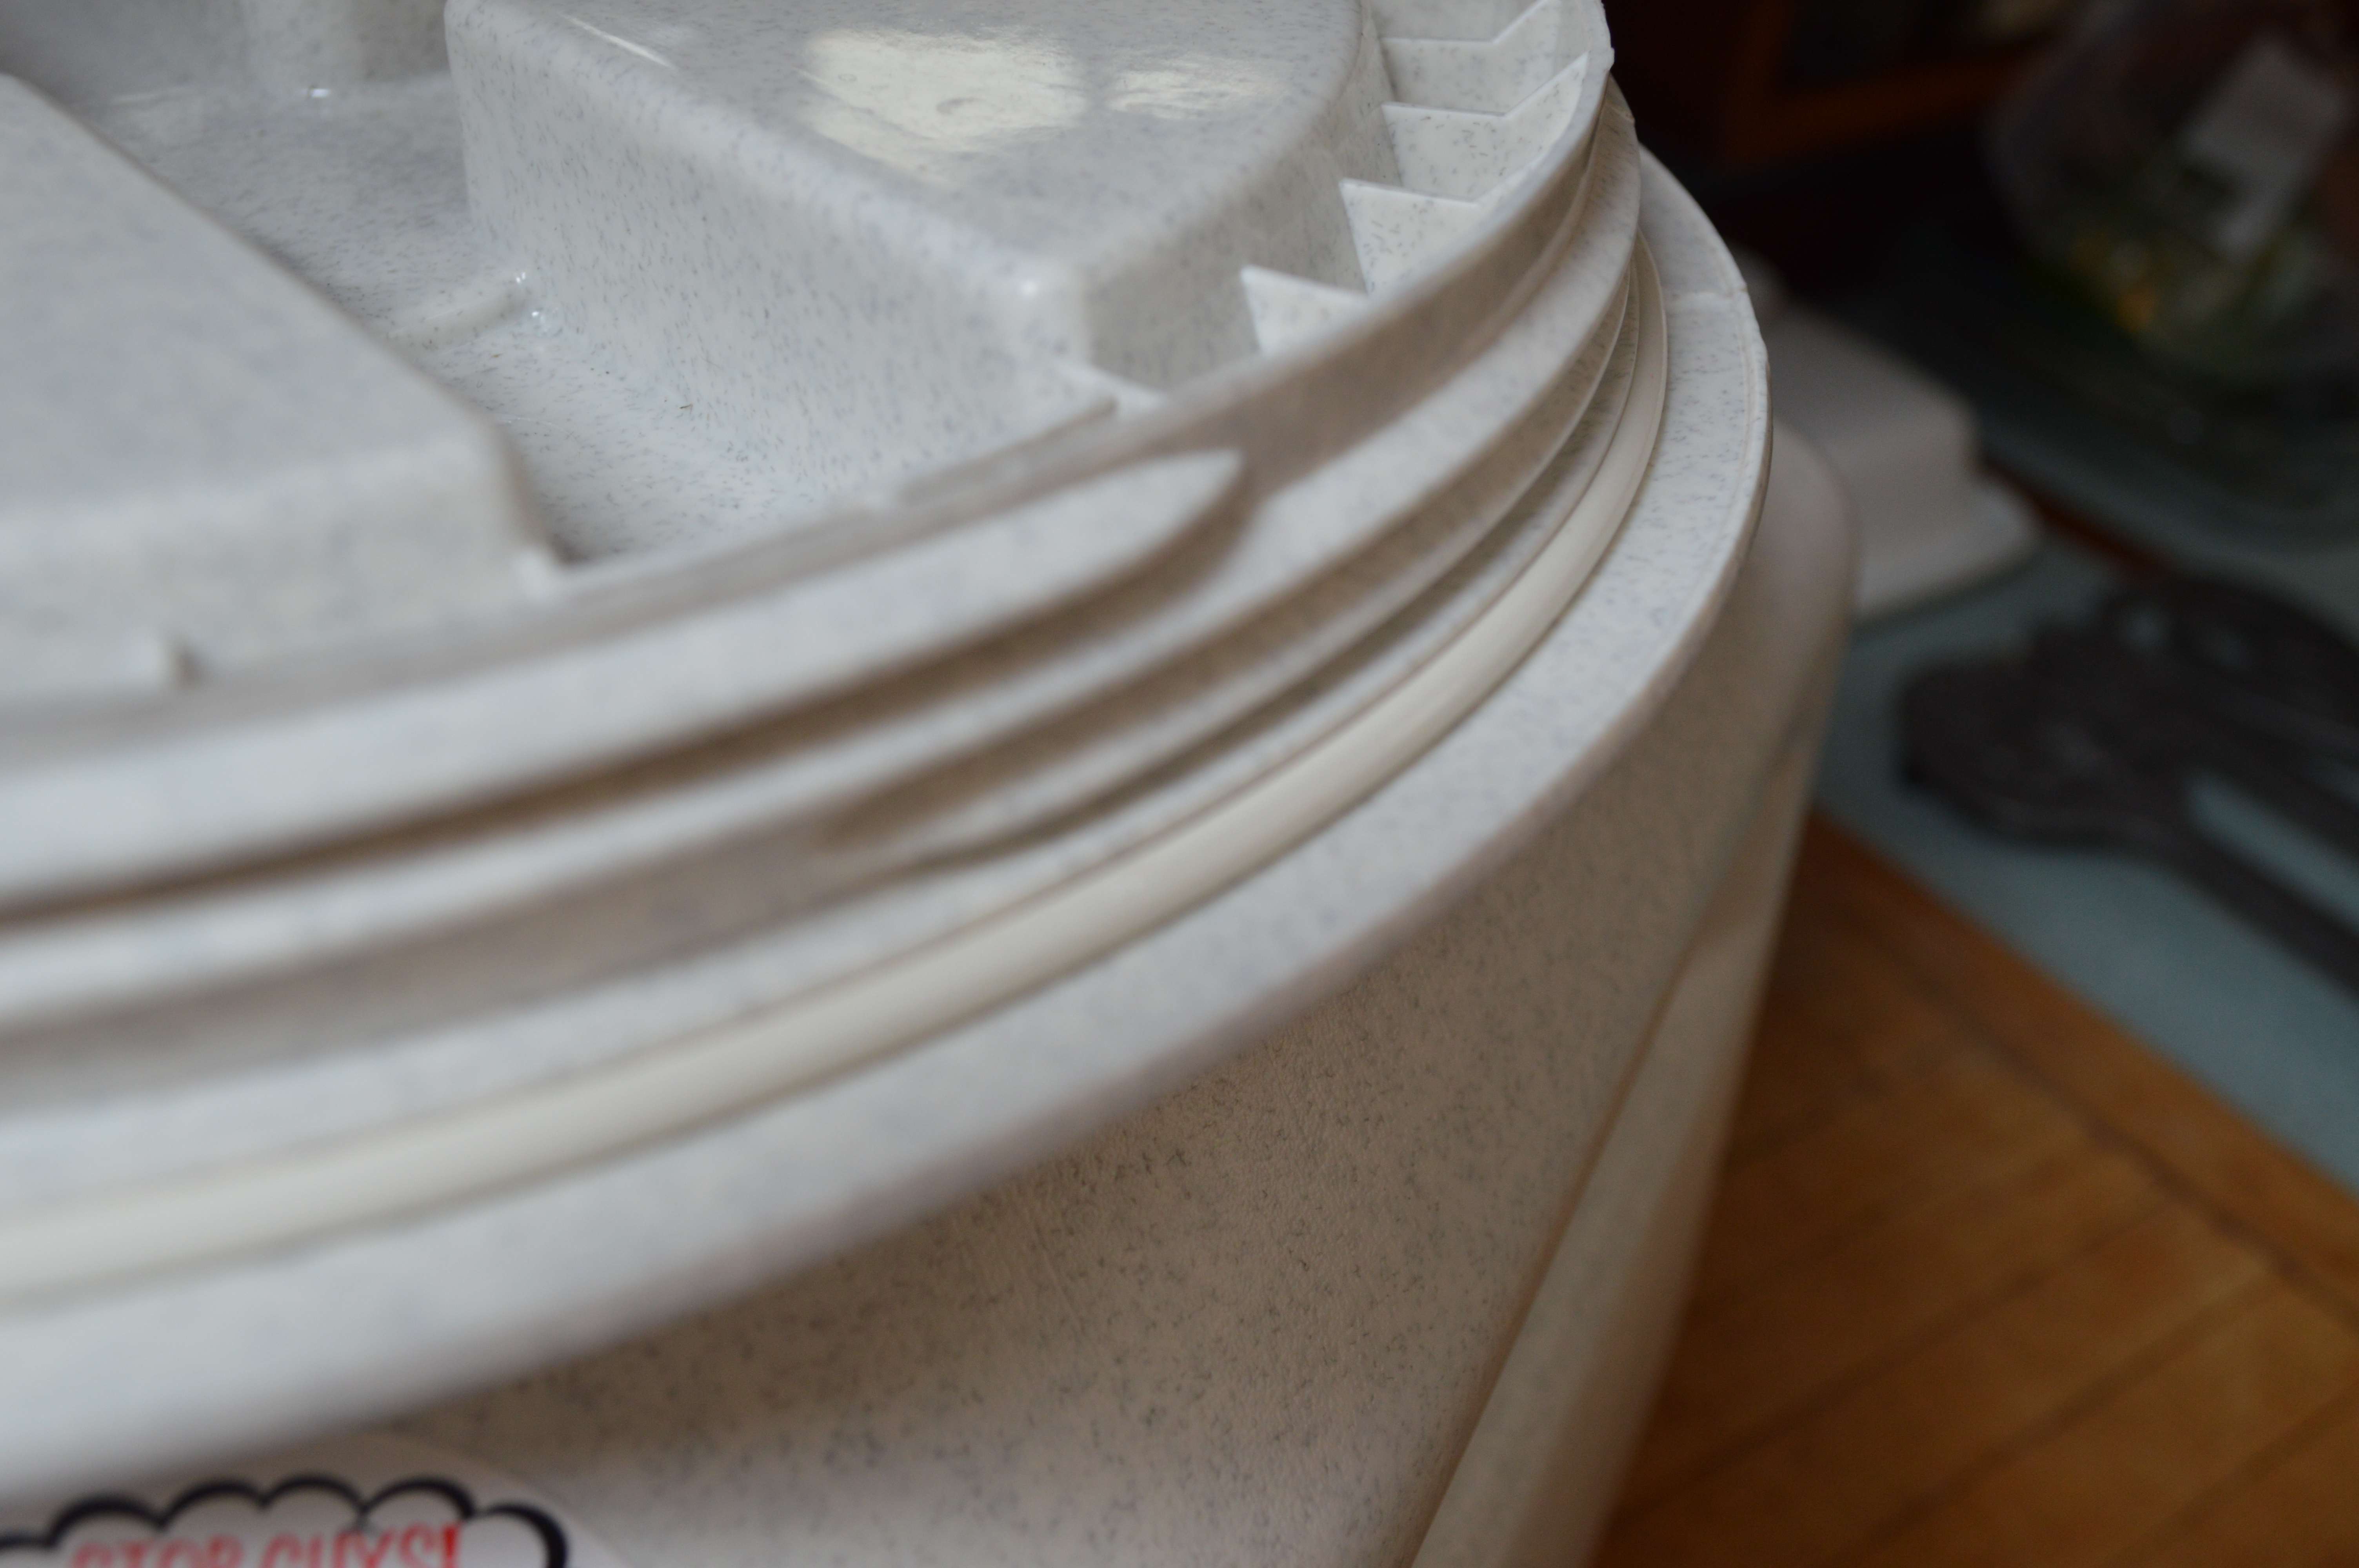
Here’s a close up of what the Gamma Seal lids look like:

DSC_0370

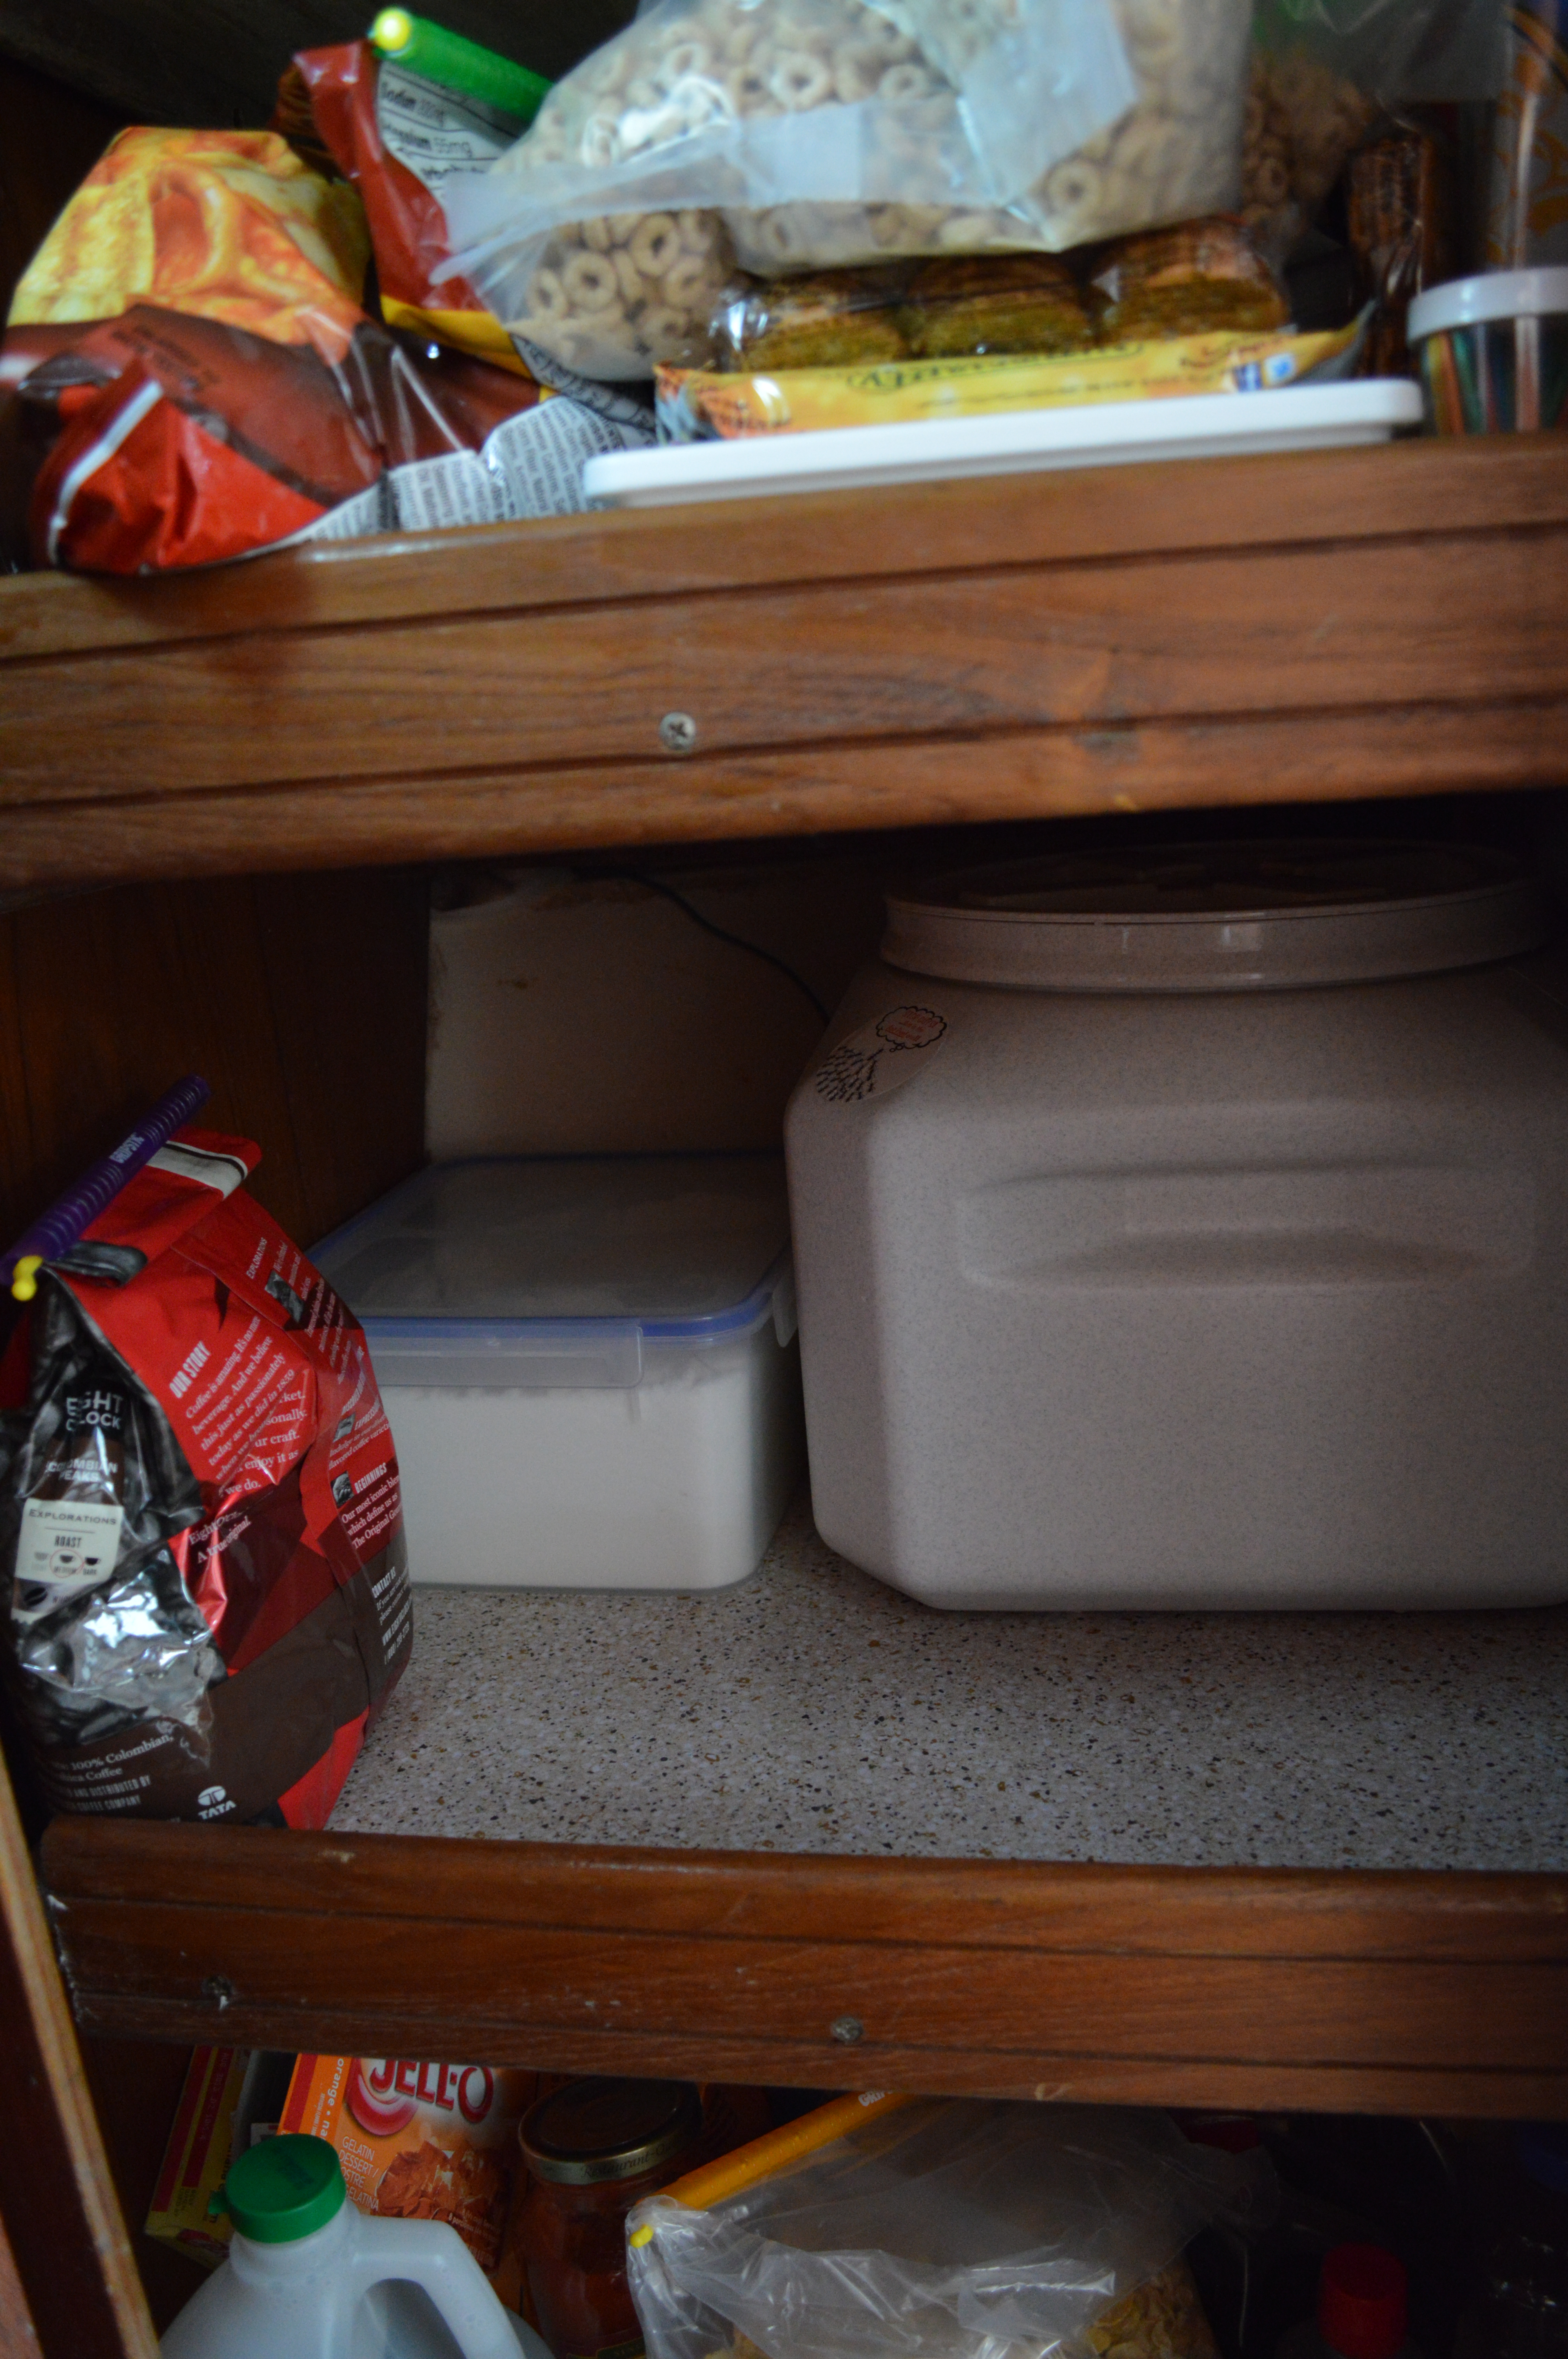
I opted to put all my baking goods in ours. I have our stock of brown sugar, powdered sugar, white sugar, flour, coconut flakes, and pecans in the Vittles Vault, and sealed them in ziplocks just for extra measure to avoid spills when using them.

DSC_0373

We are lucky enough to have a ginormous pantry and the Vittles Vault fits nicely on one of the shelves that I had already designated for baking/breakfast. Coincidence?

DSC_0377

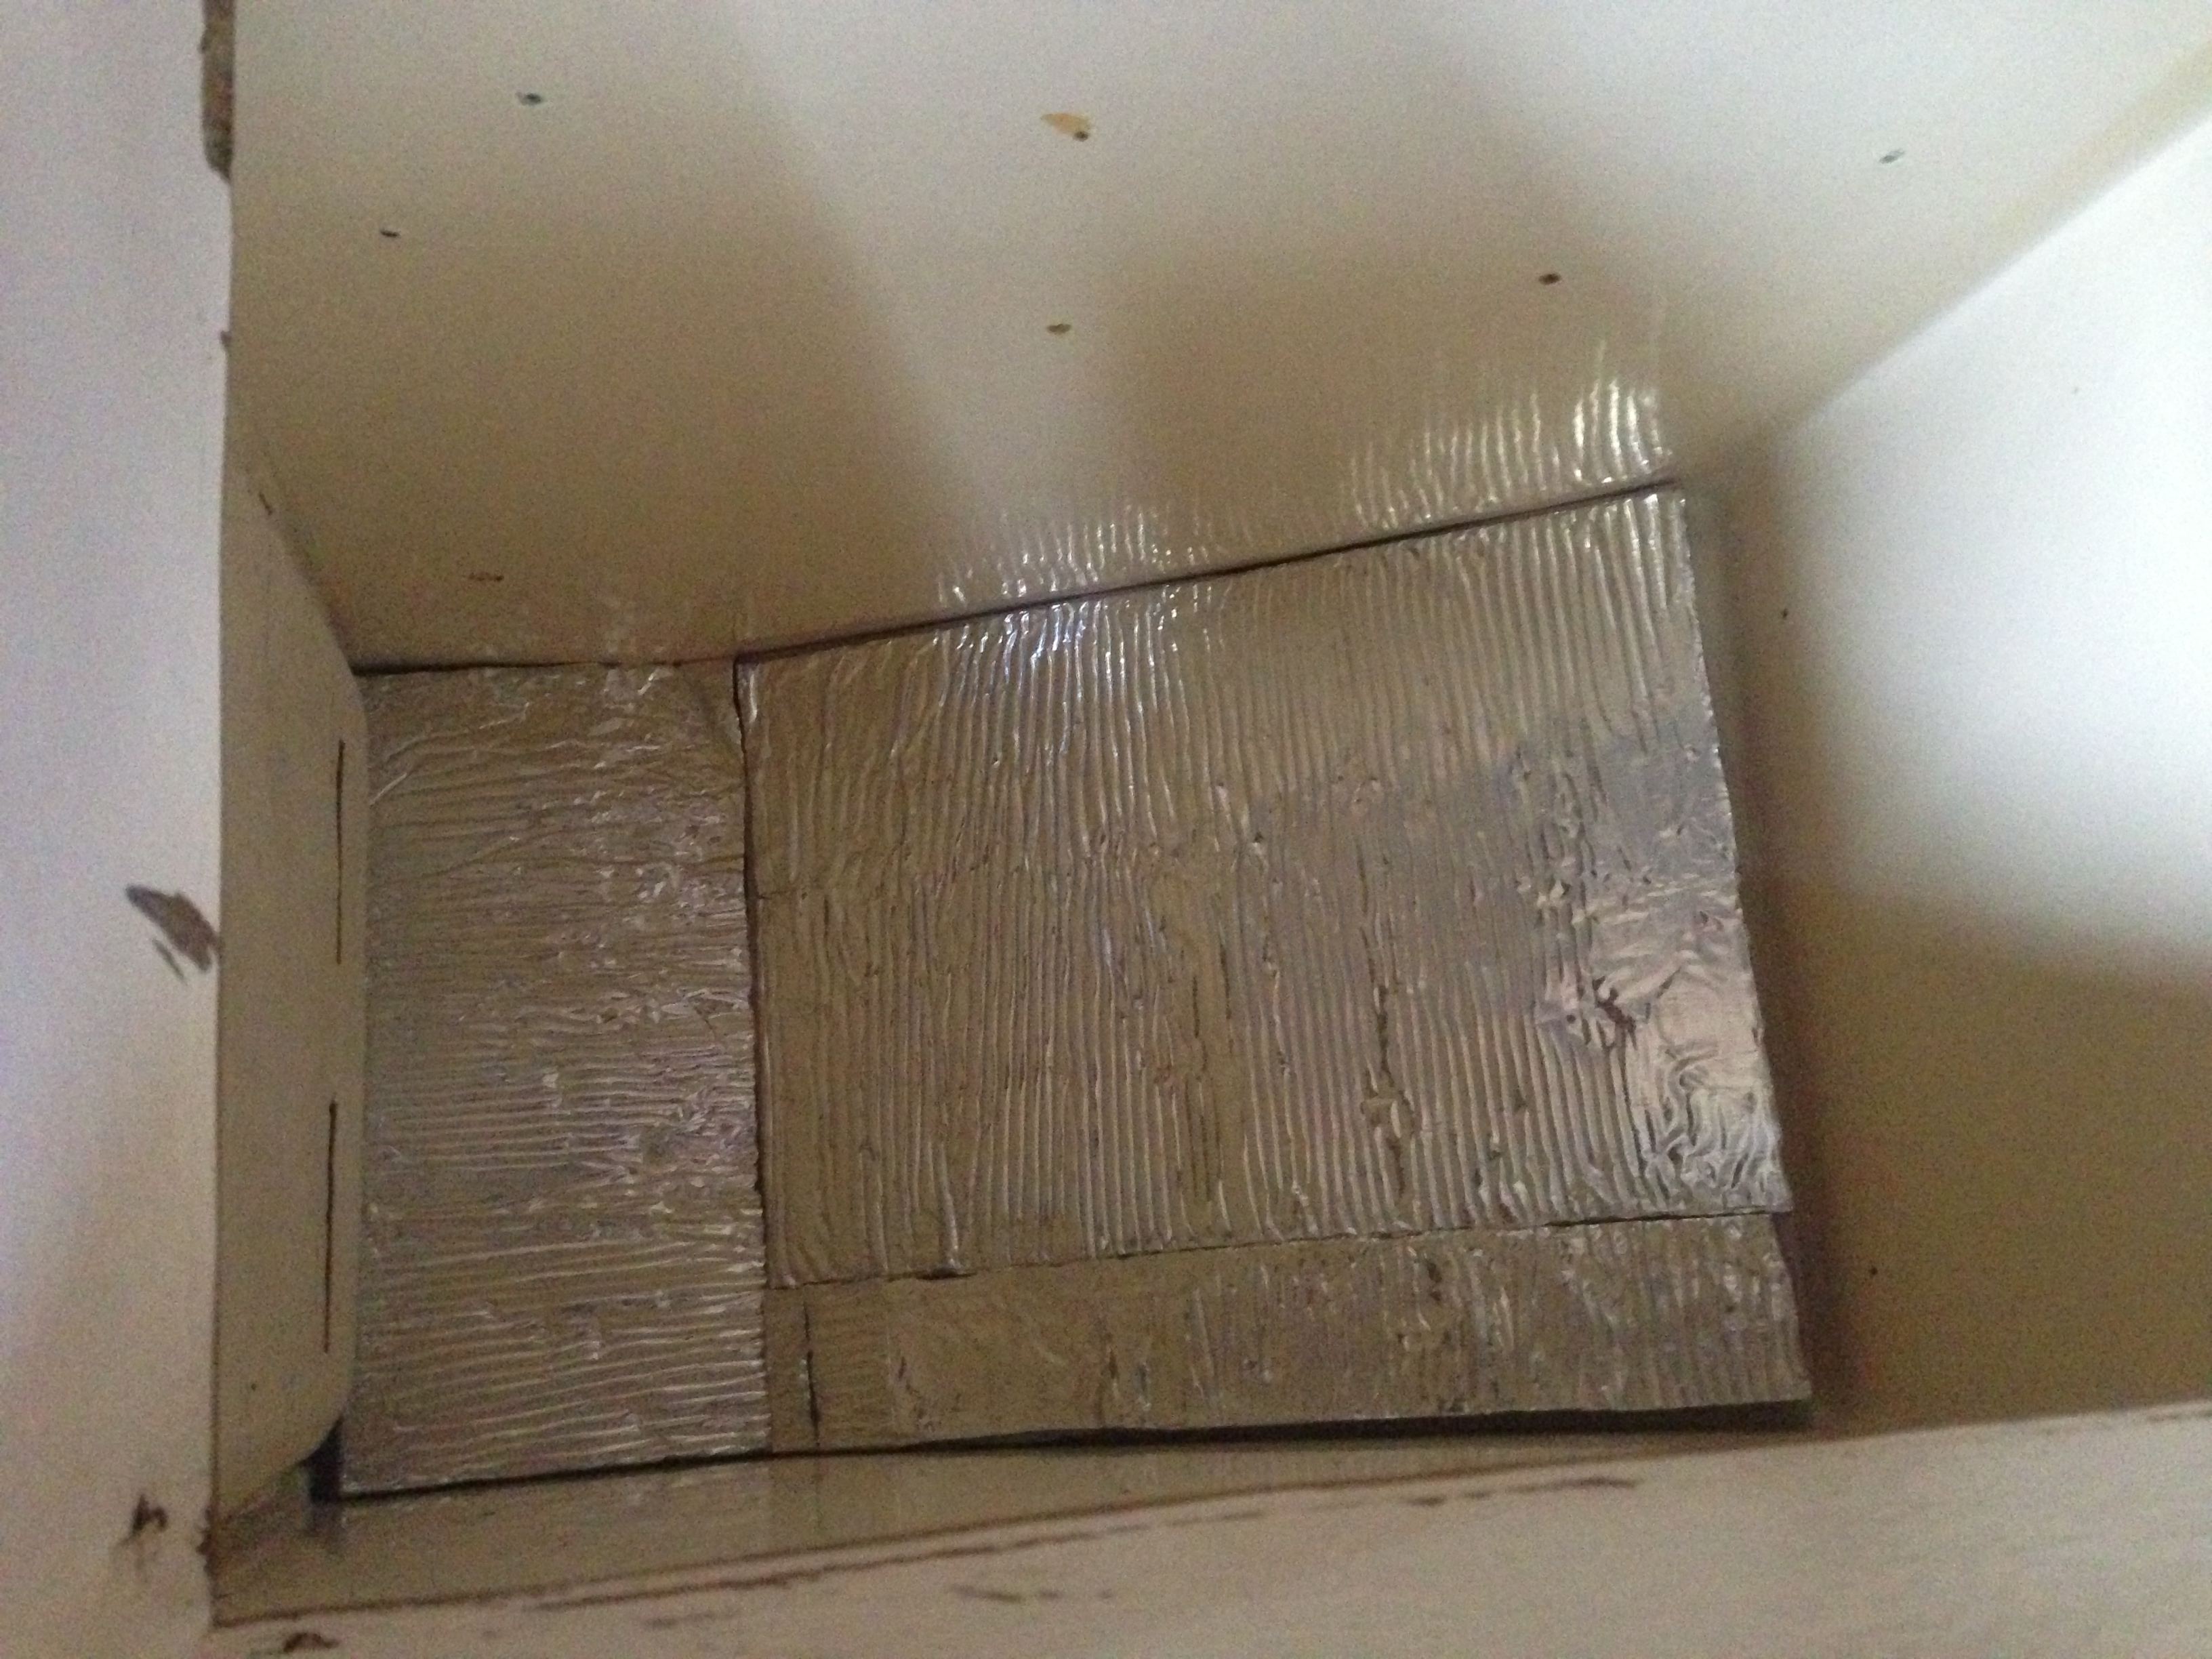
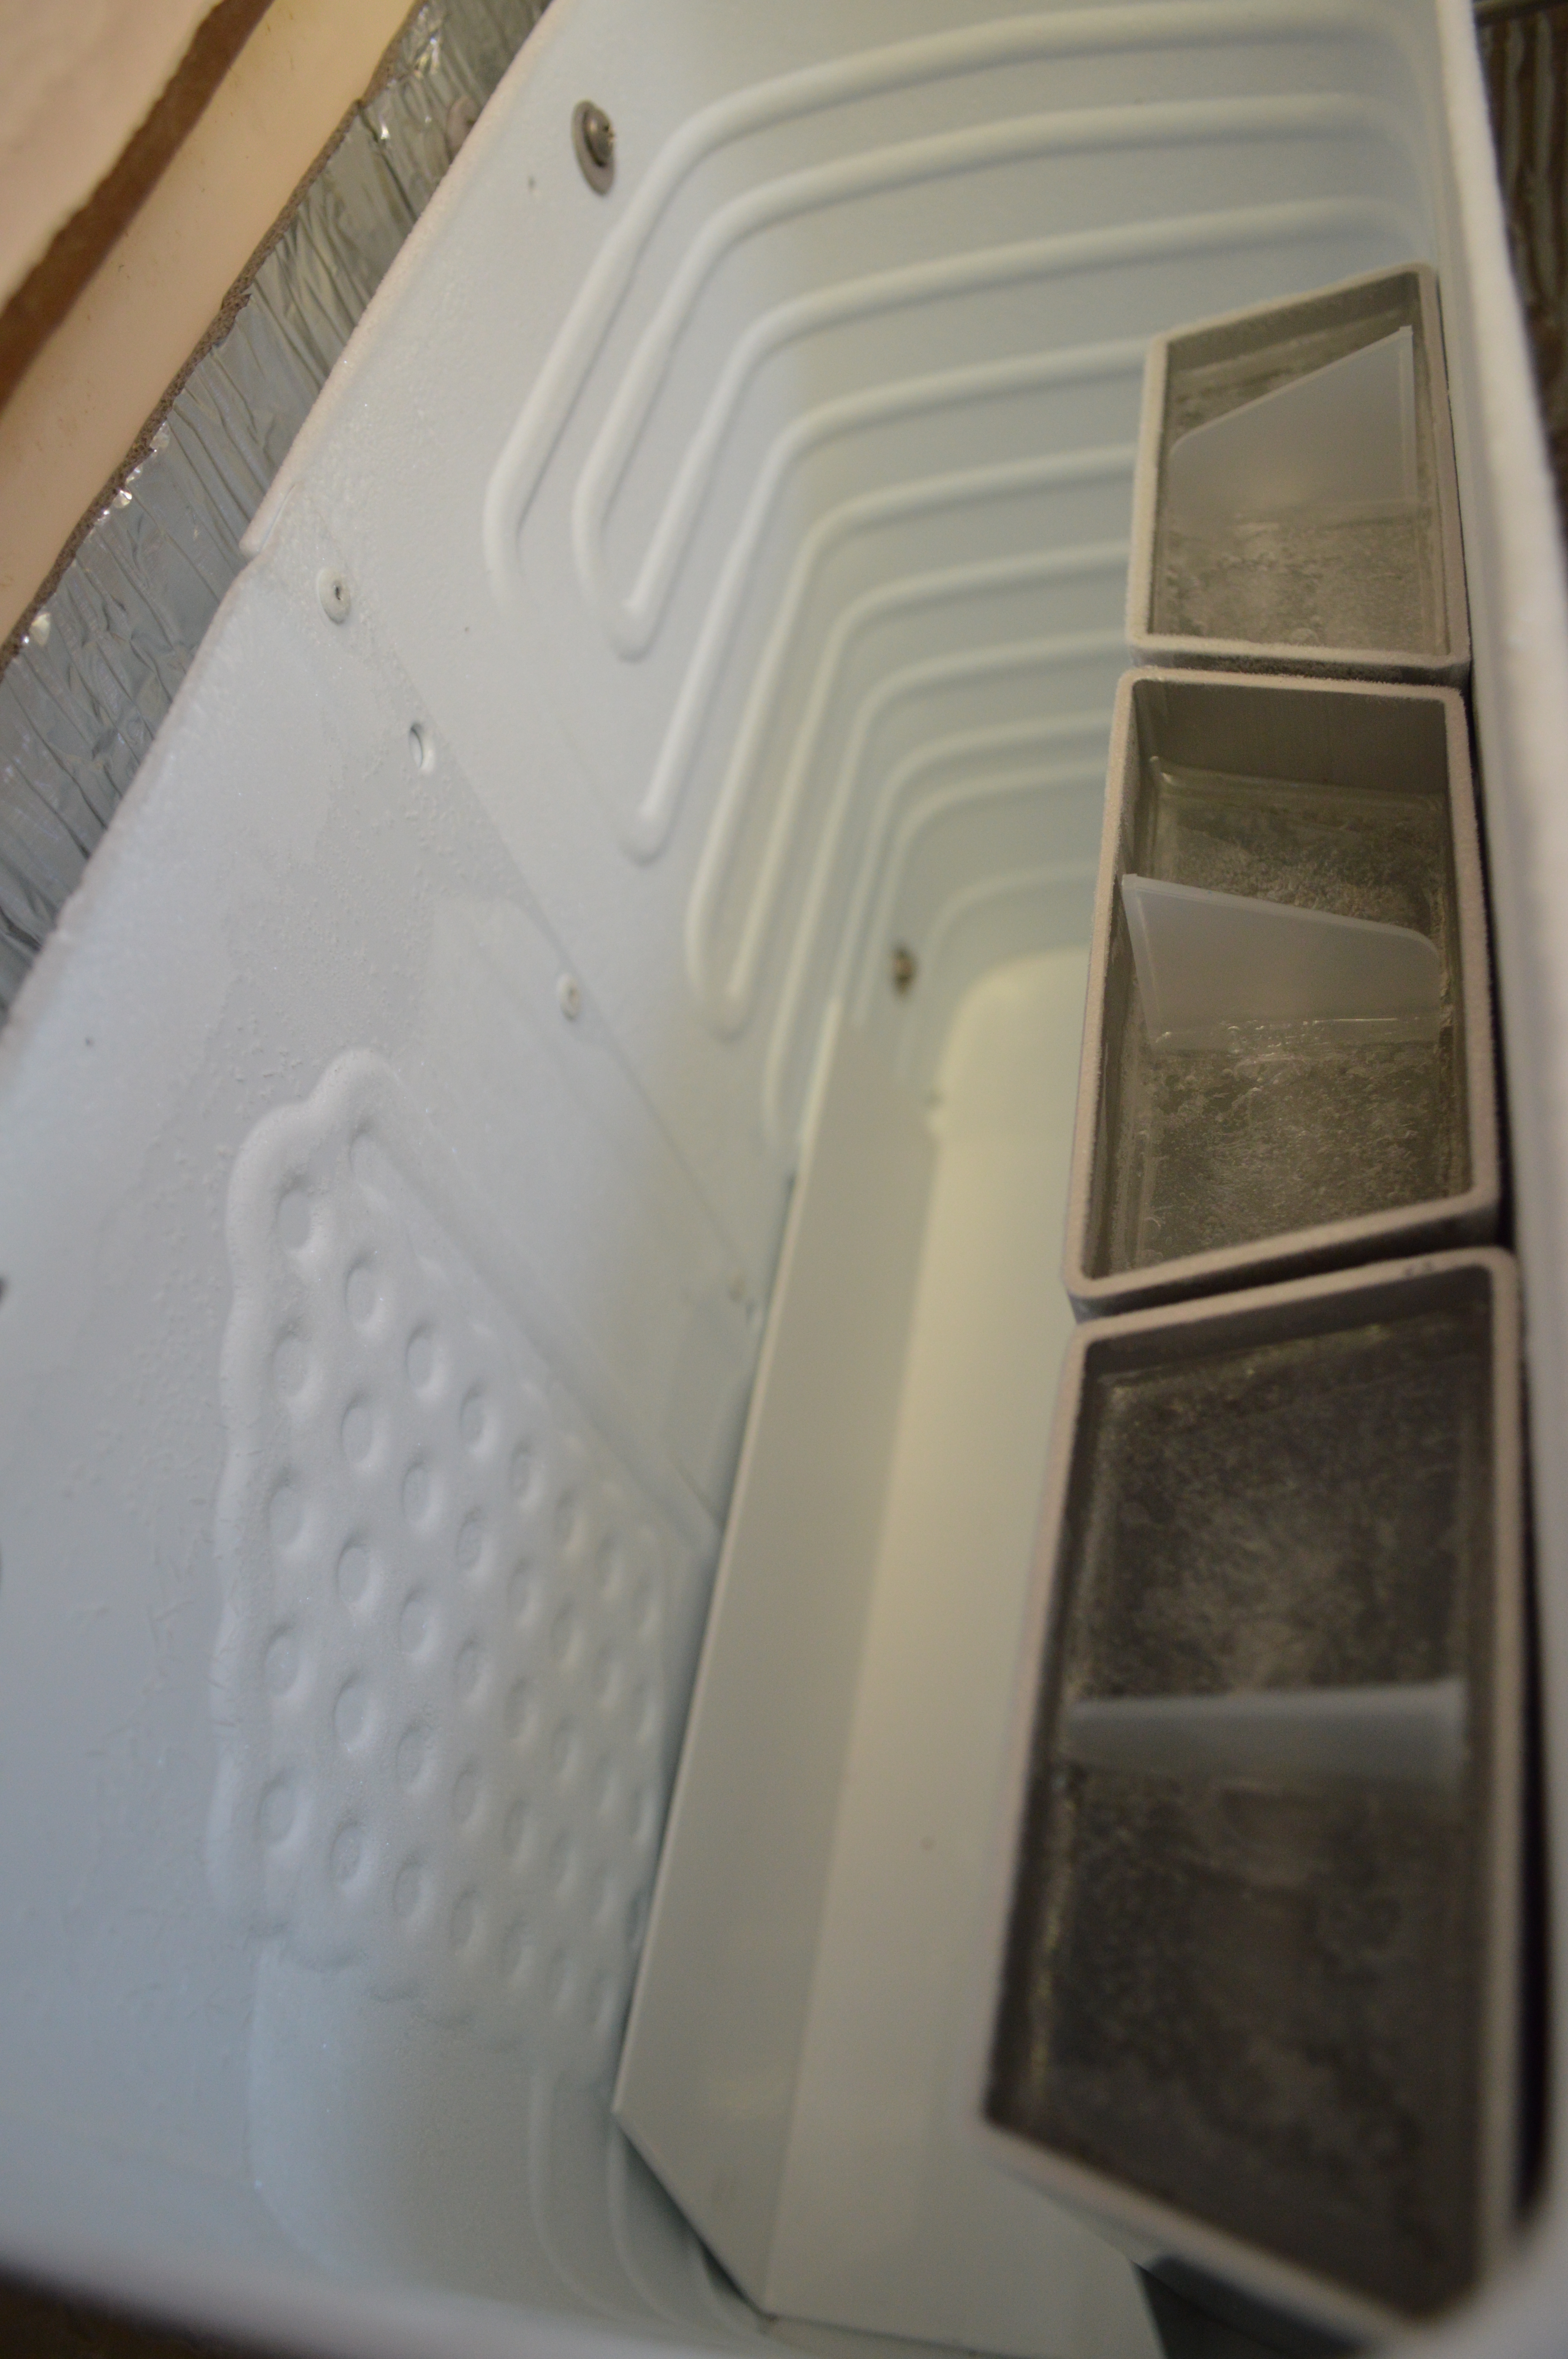
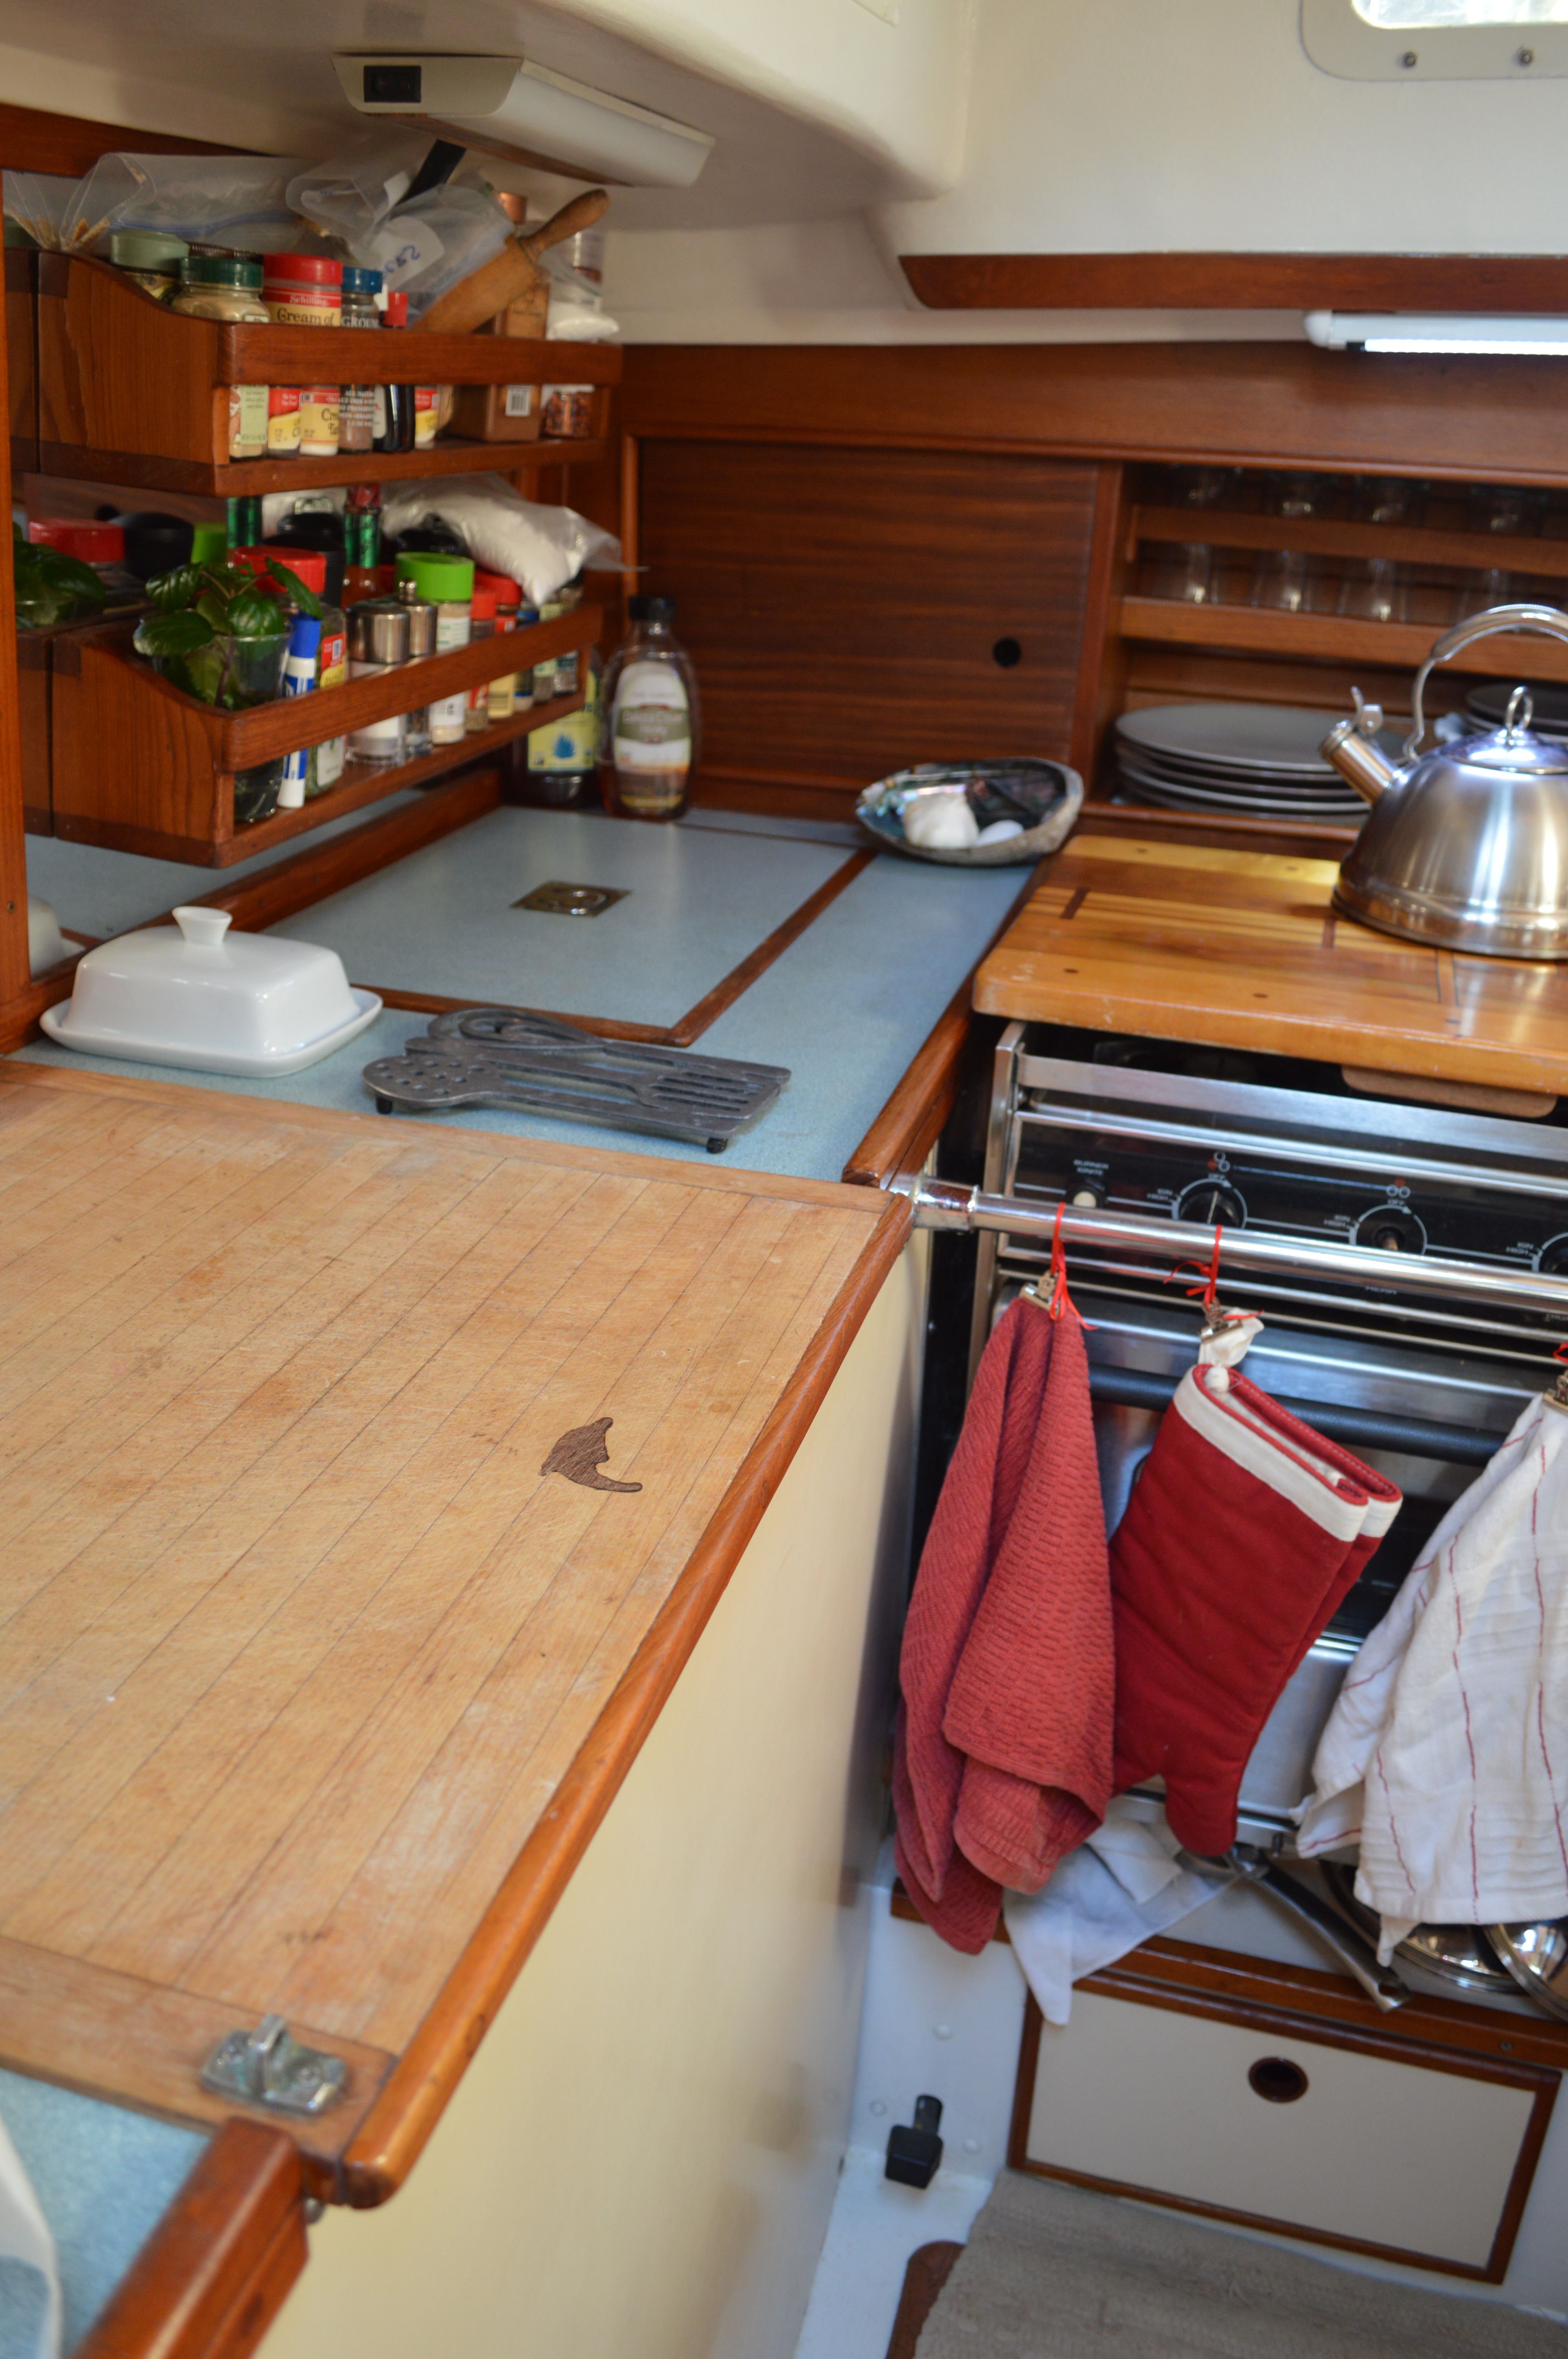
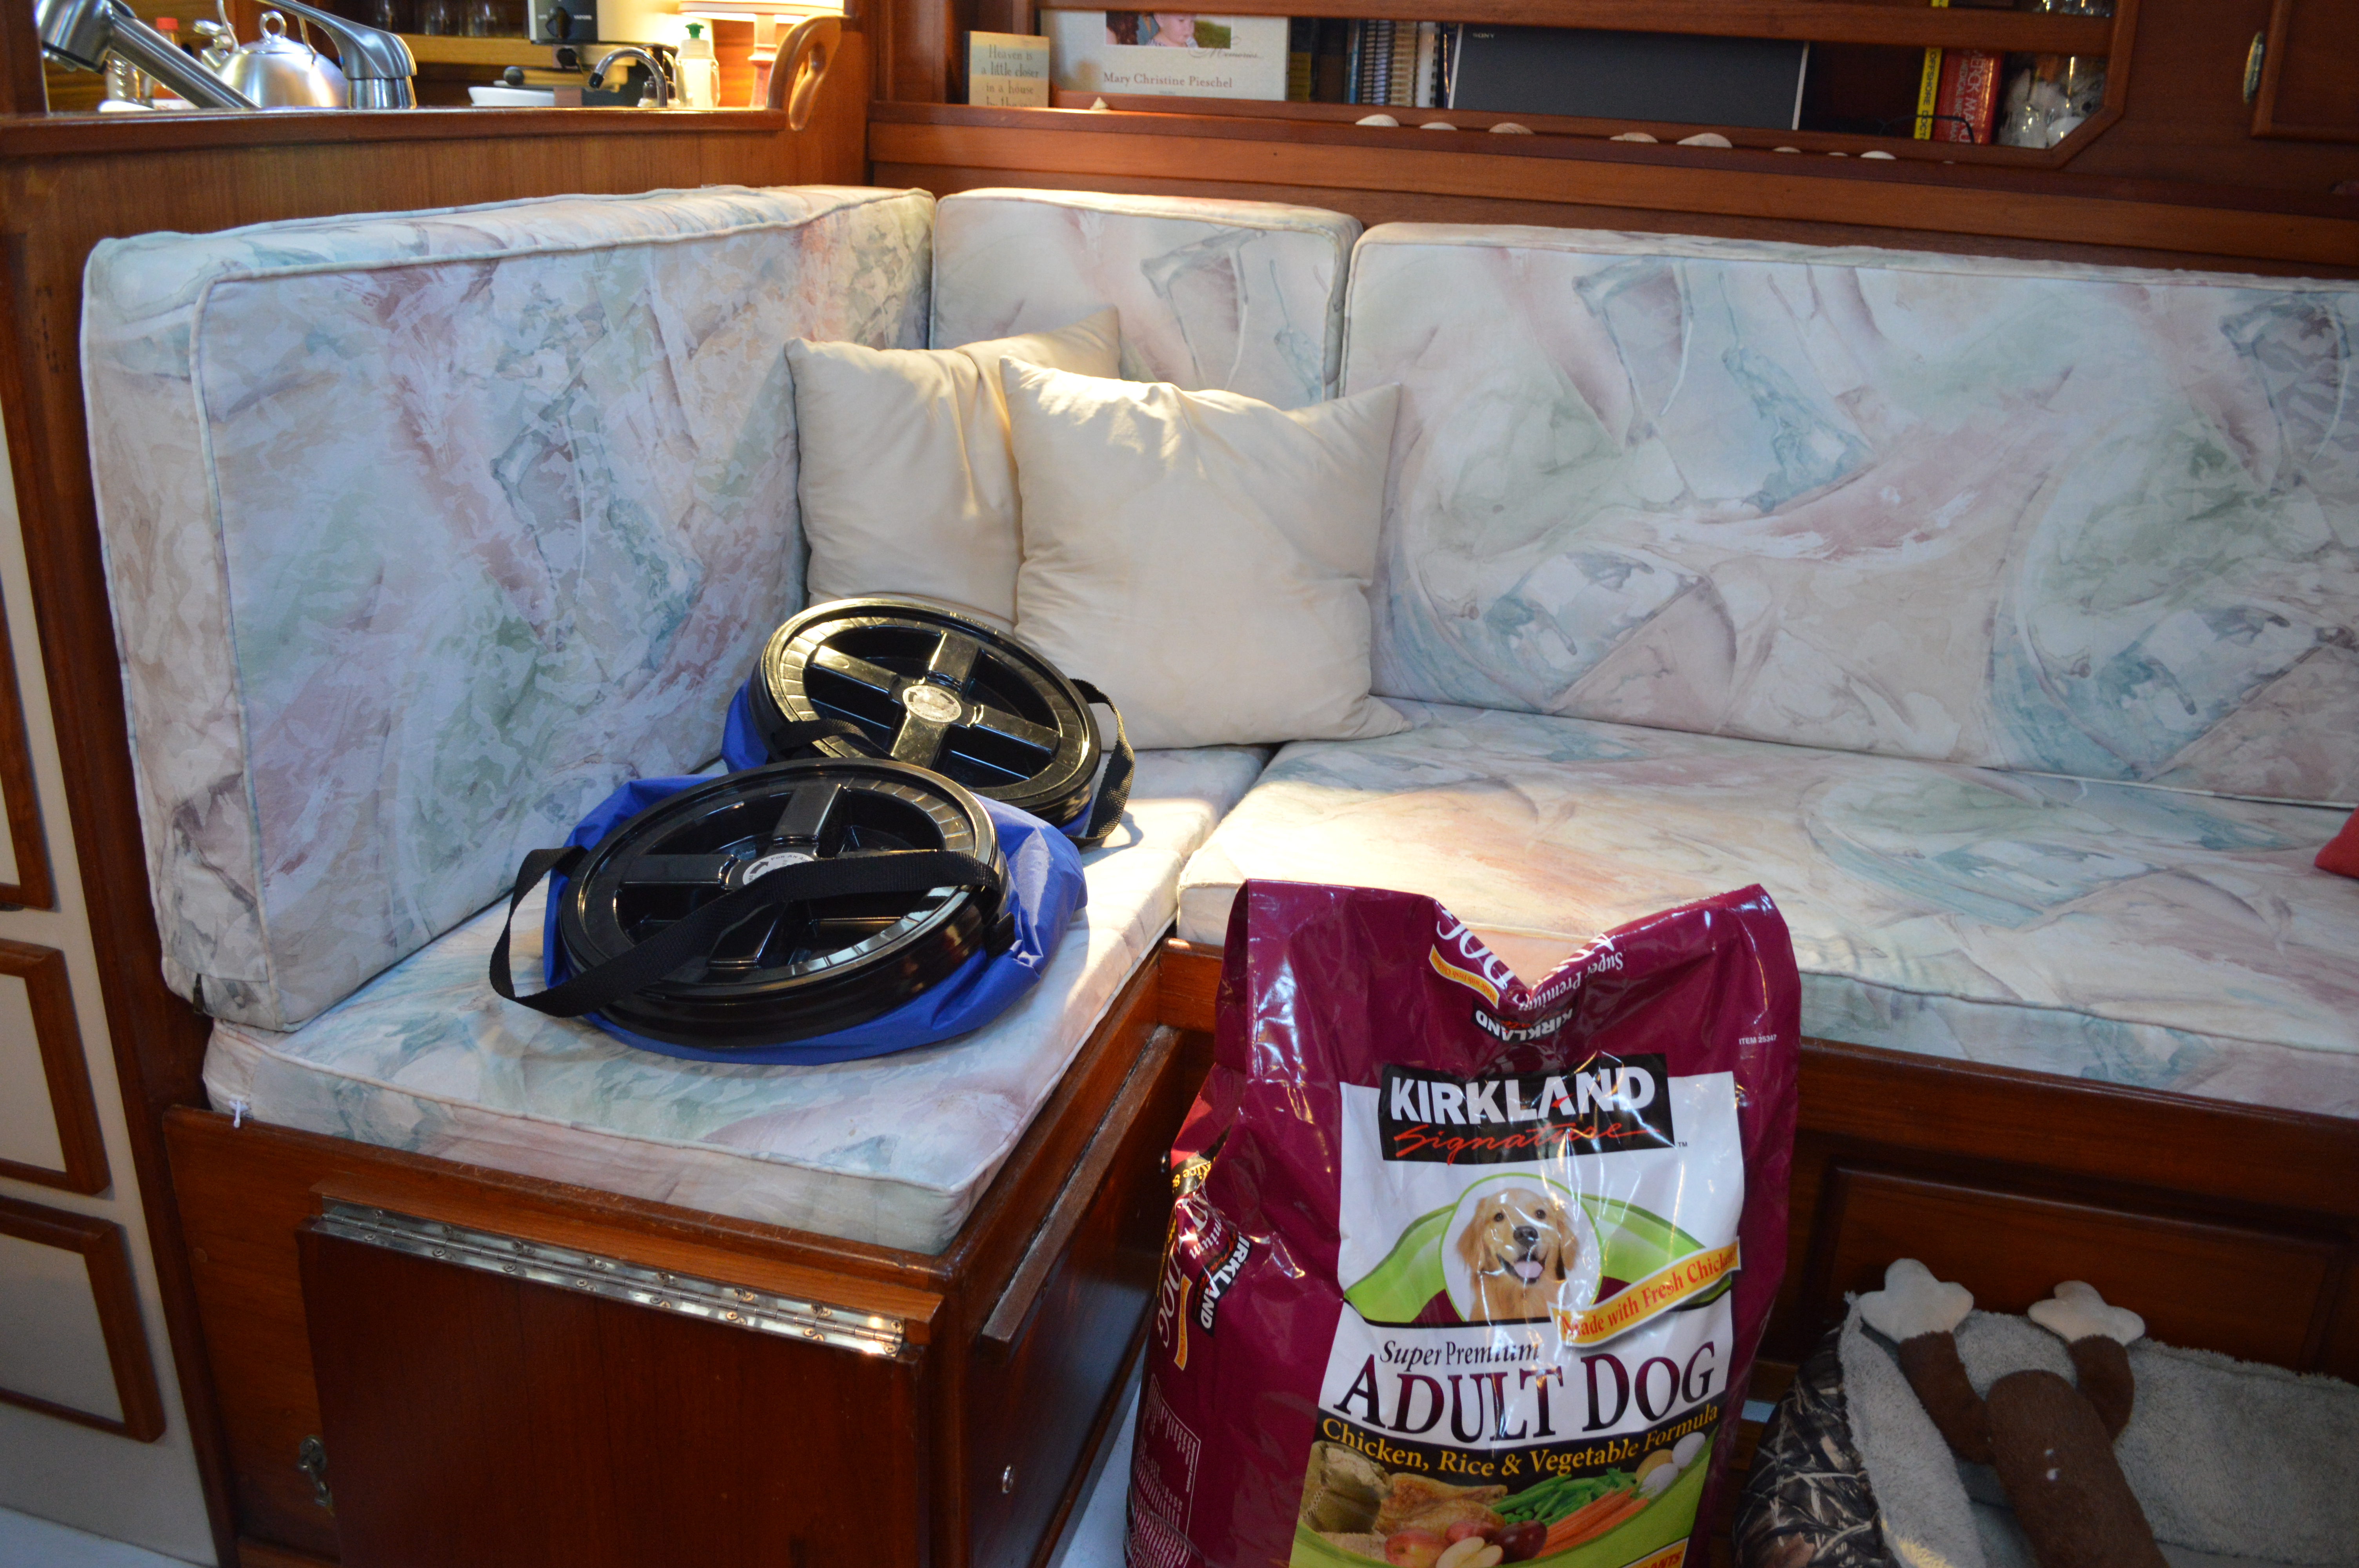
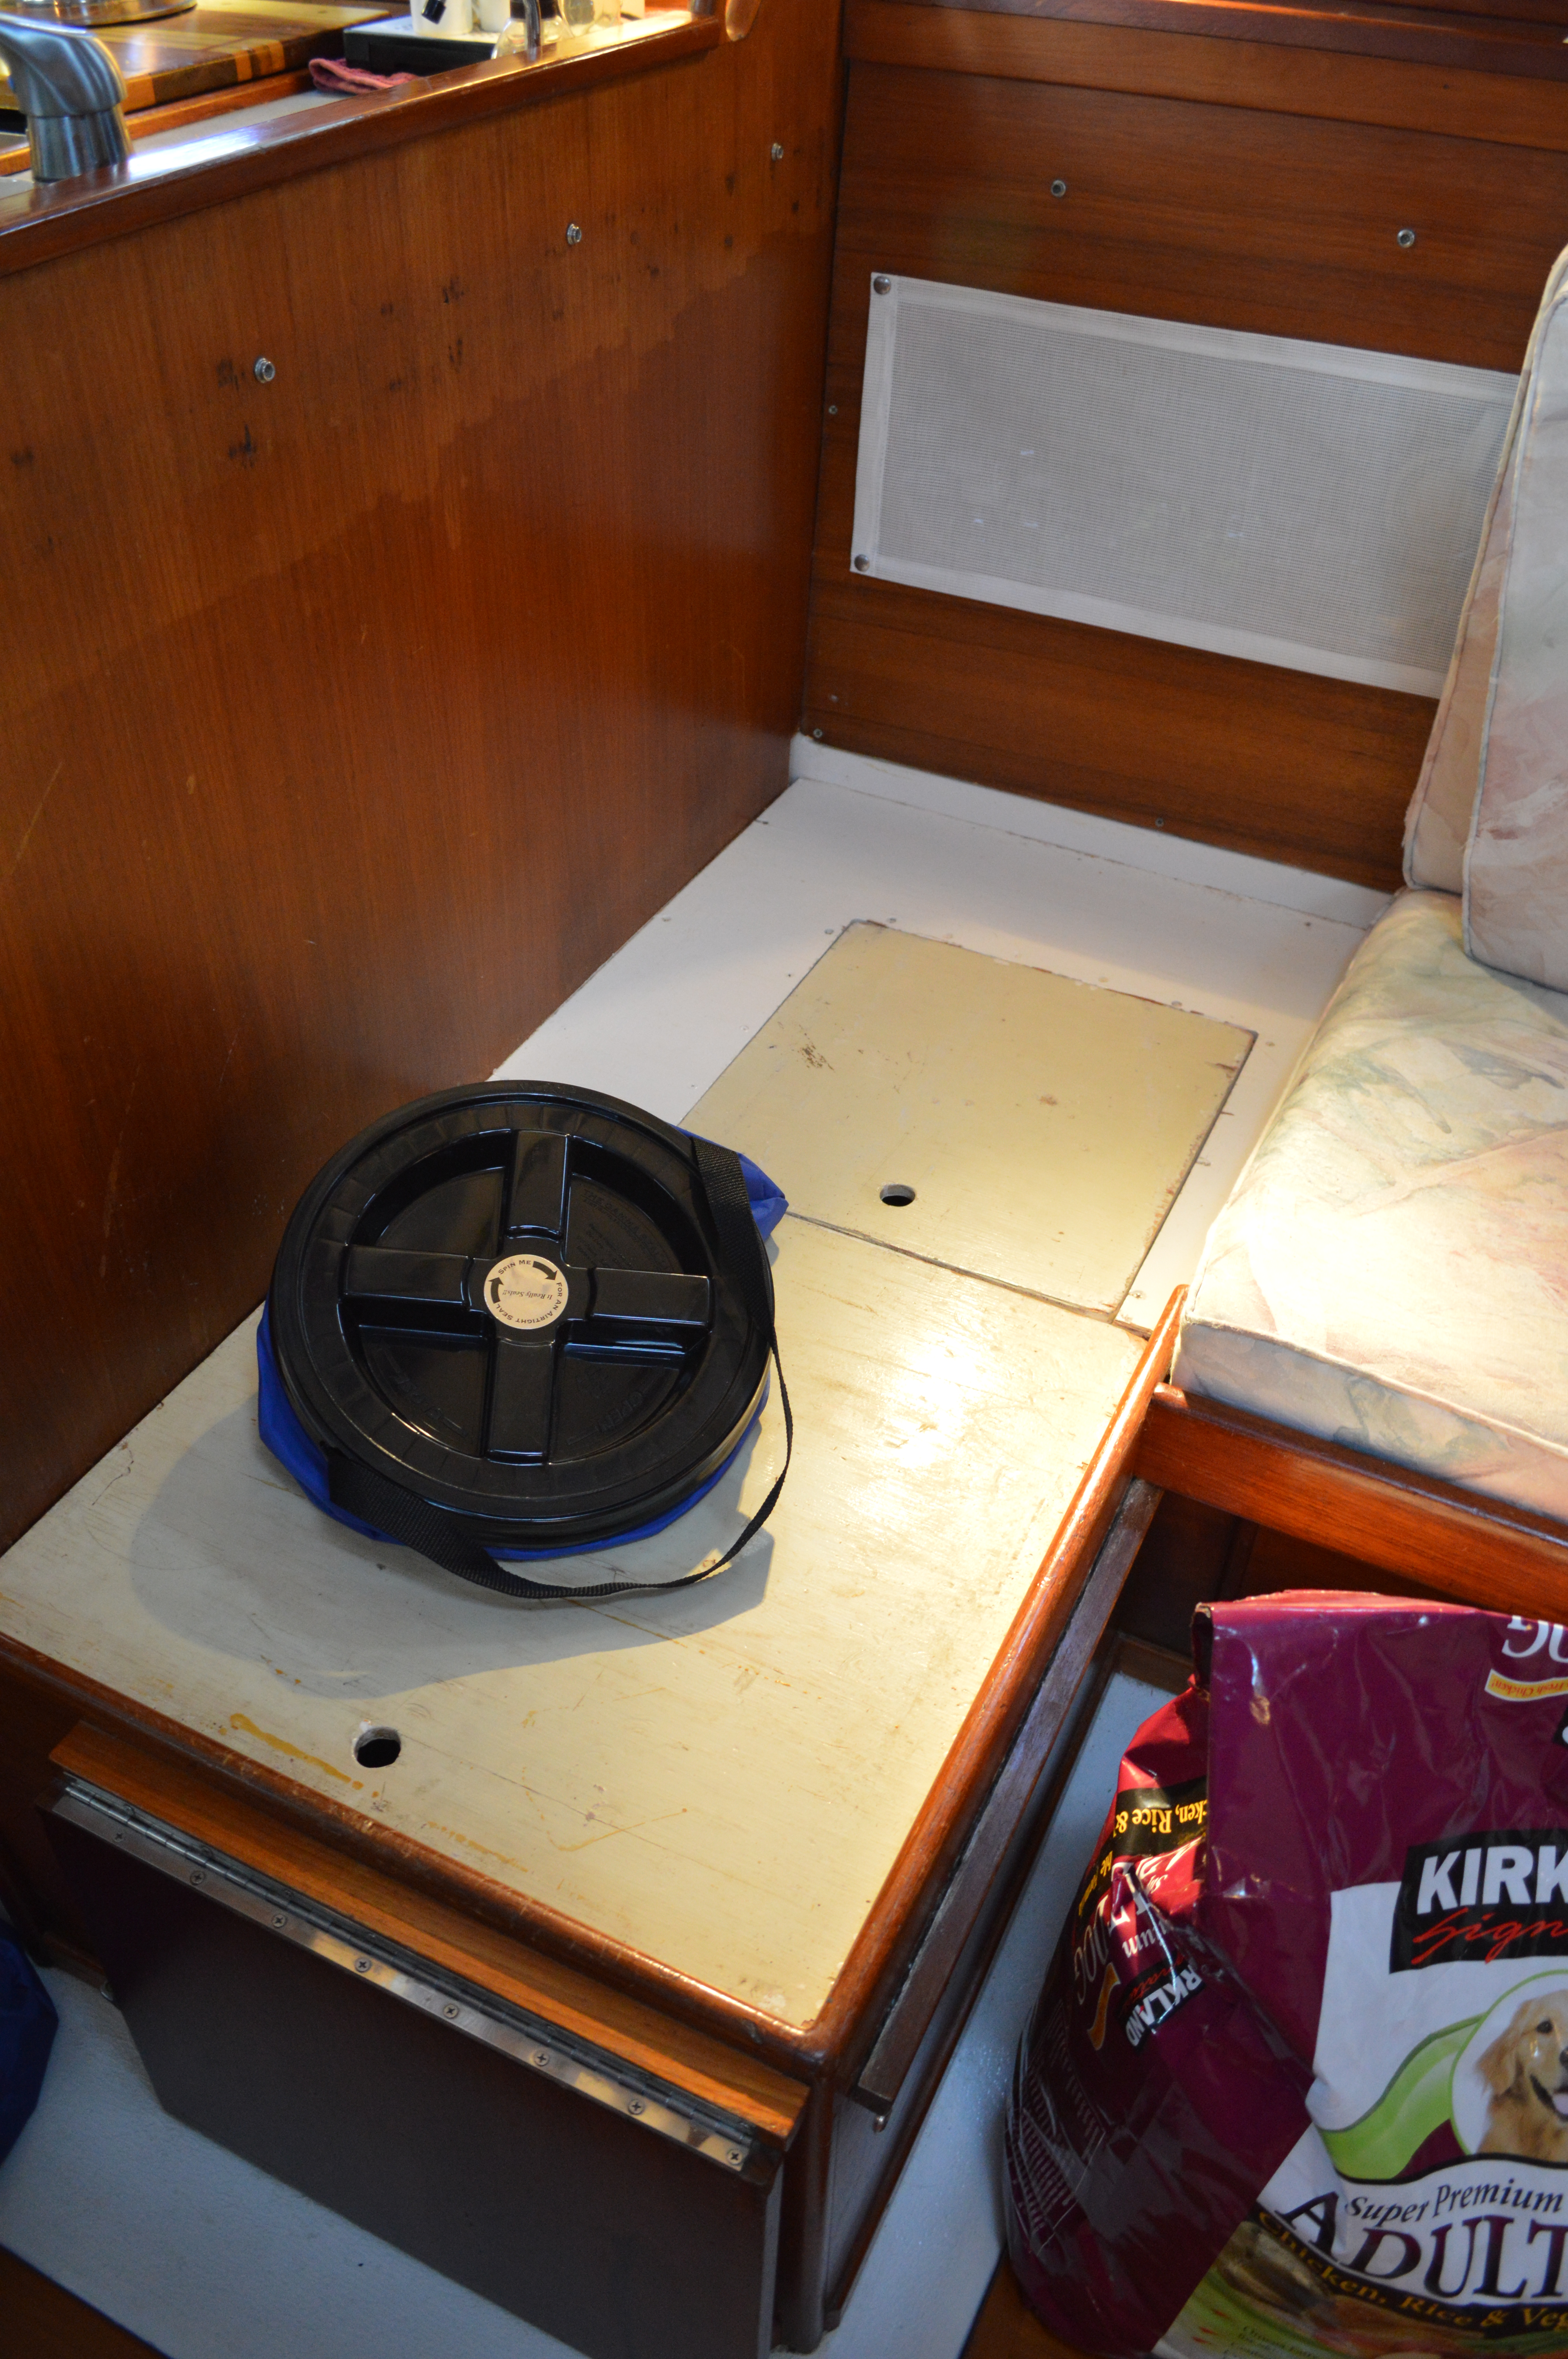
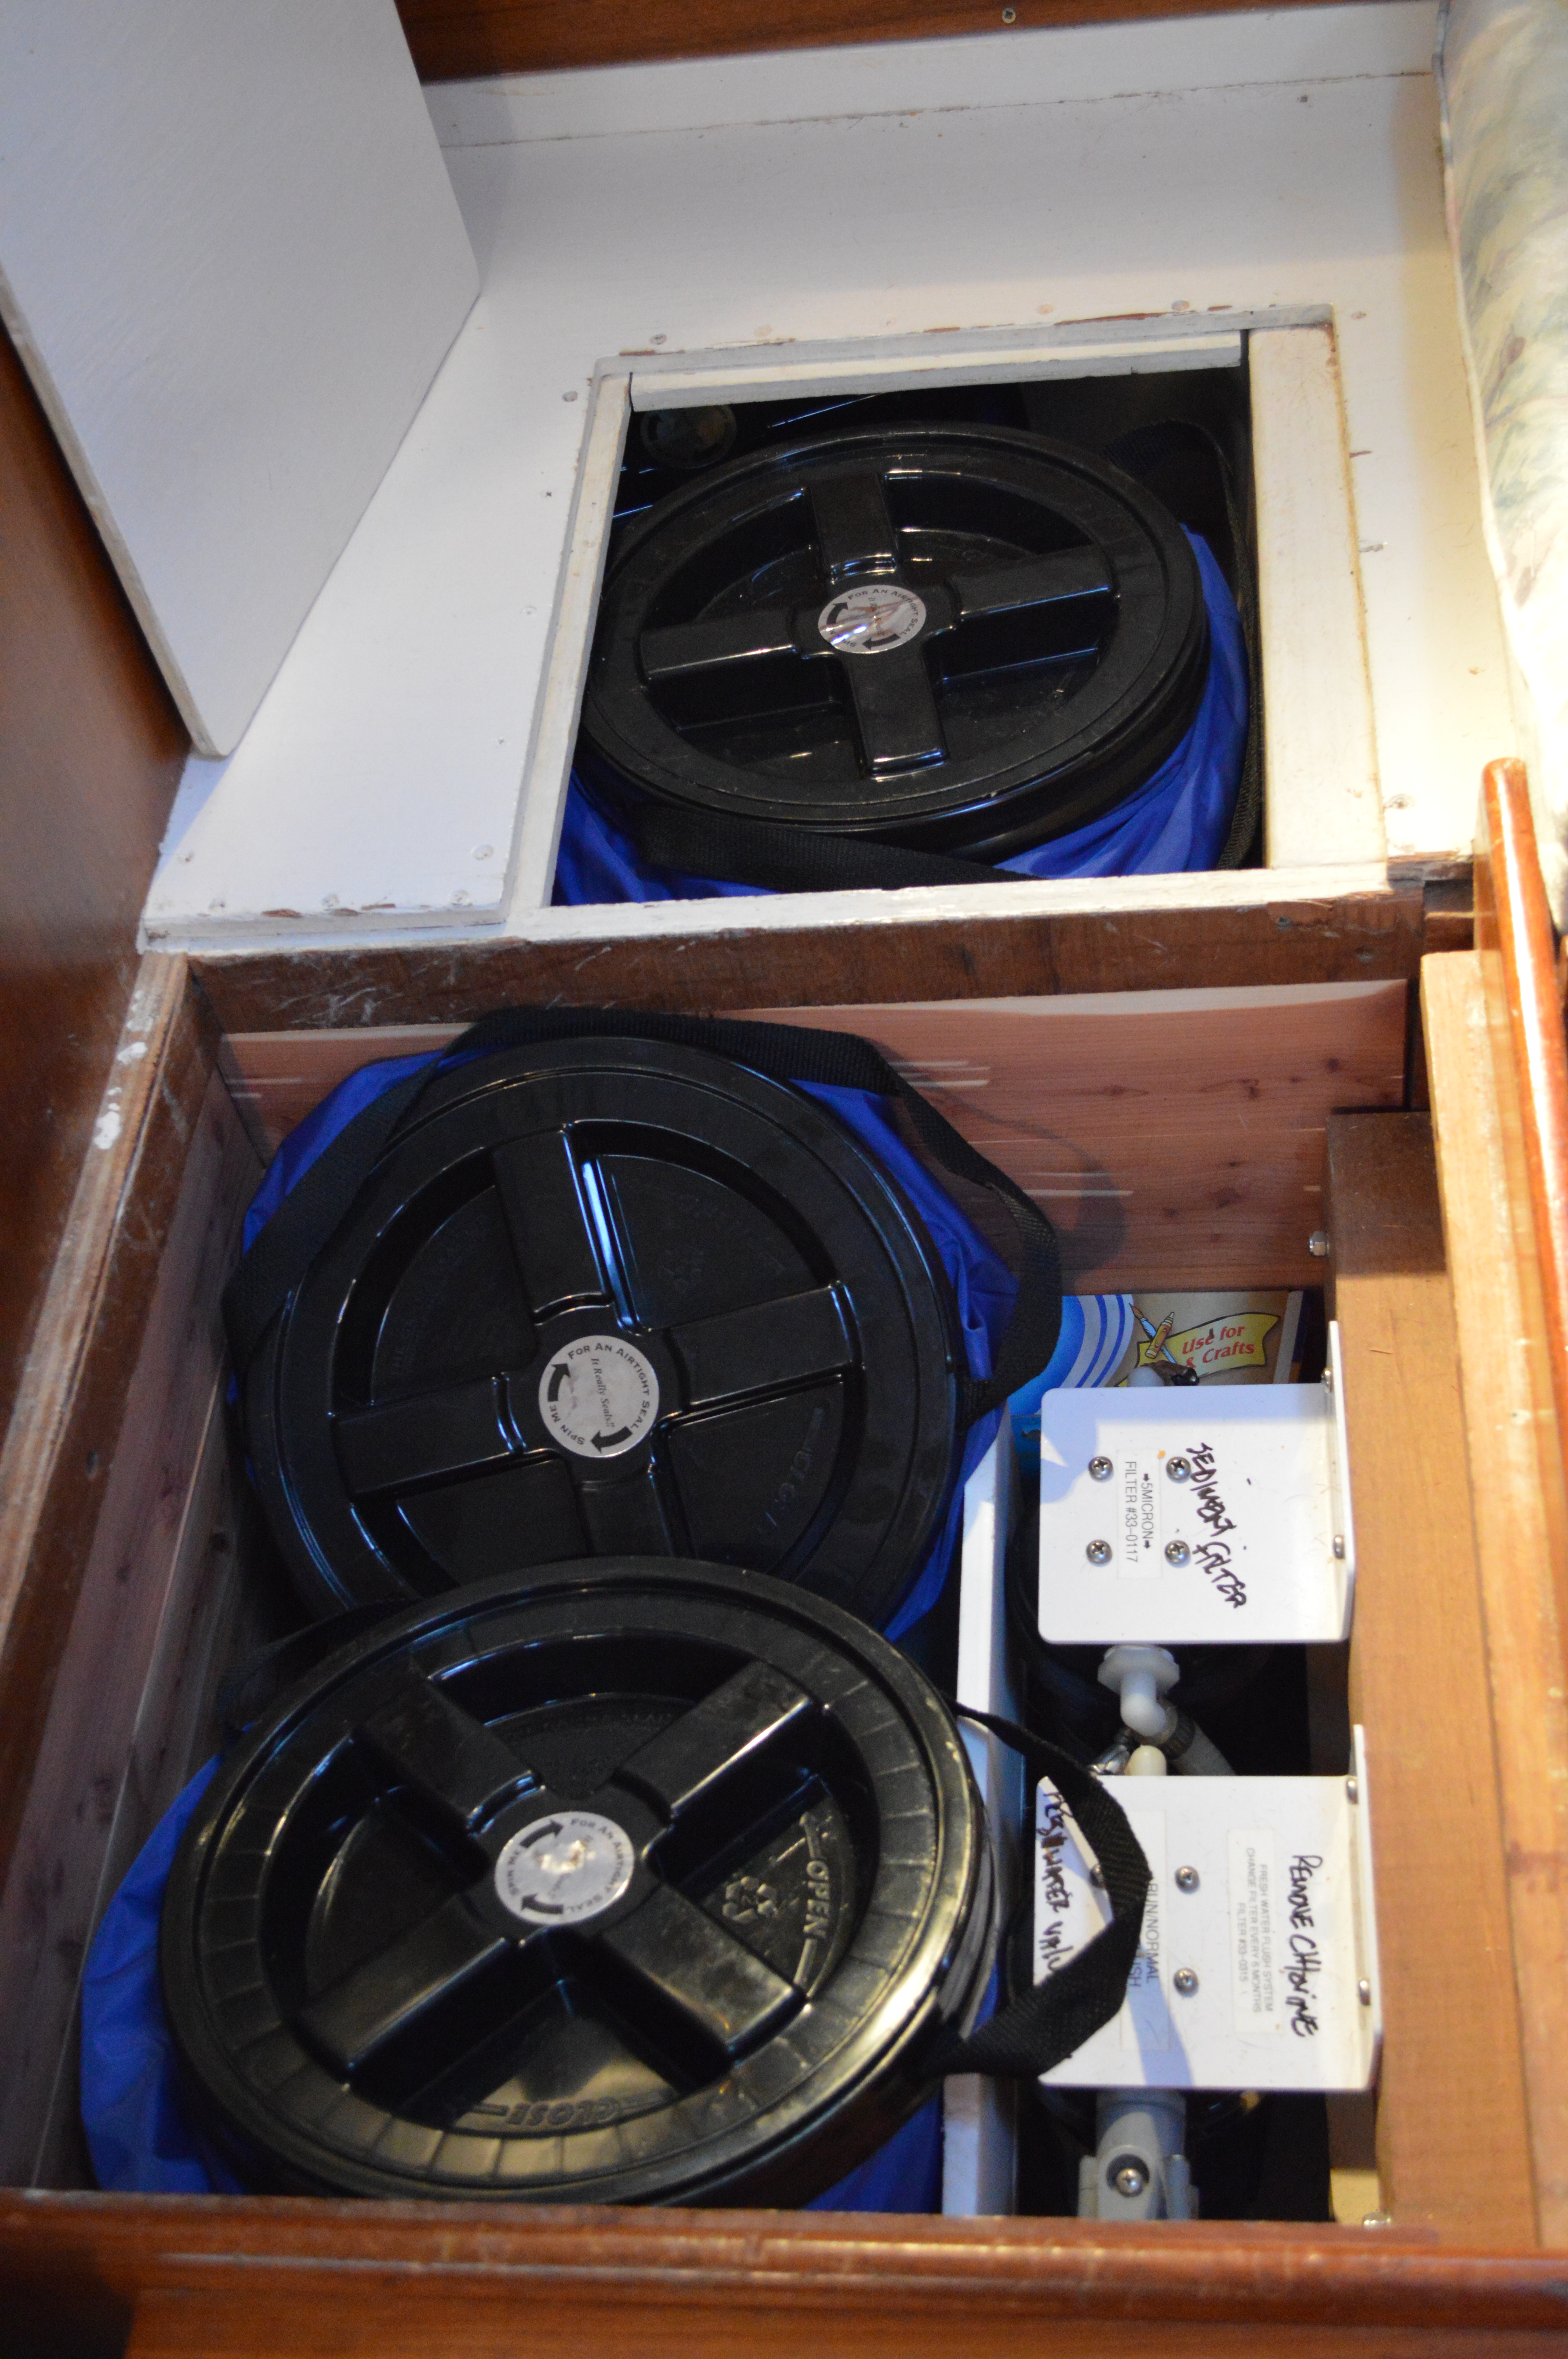
The SoftStore 30’s are going under the settee where we can access them with little trouble twice a day.

DSC_0382

There are two compartments that open up and we can fit two SoftStore bags in each one.

DSC_0383

To fit them way back underneath we needed to leave the lid partially unscrewed to get some air in there. If you press all the air out, it’s harder to adjust the bag. Once we got them in there, we screwed the lids down all the way.

DSC_0387

DSC_0389

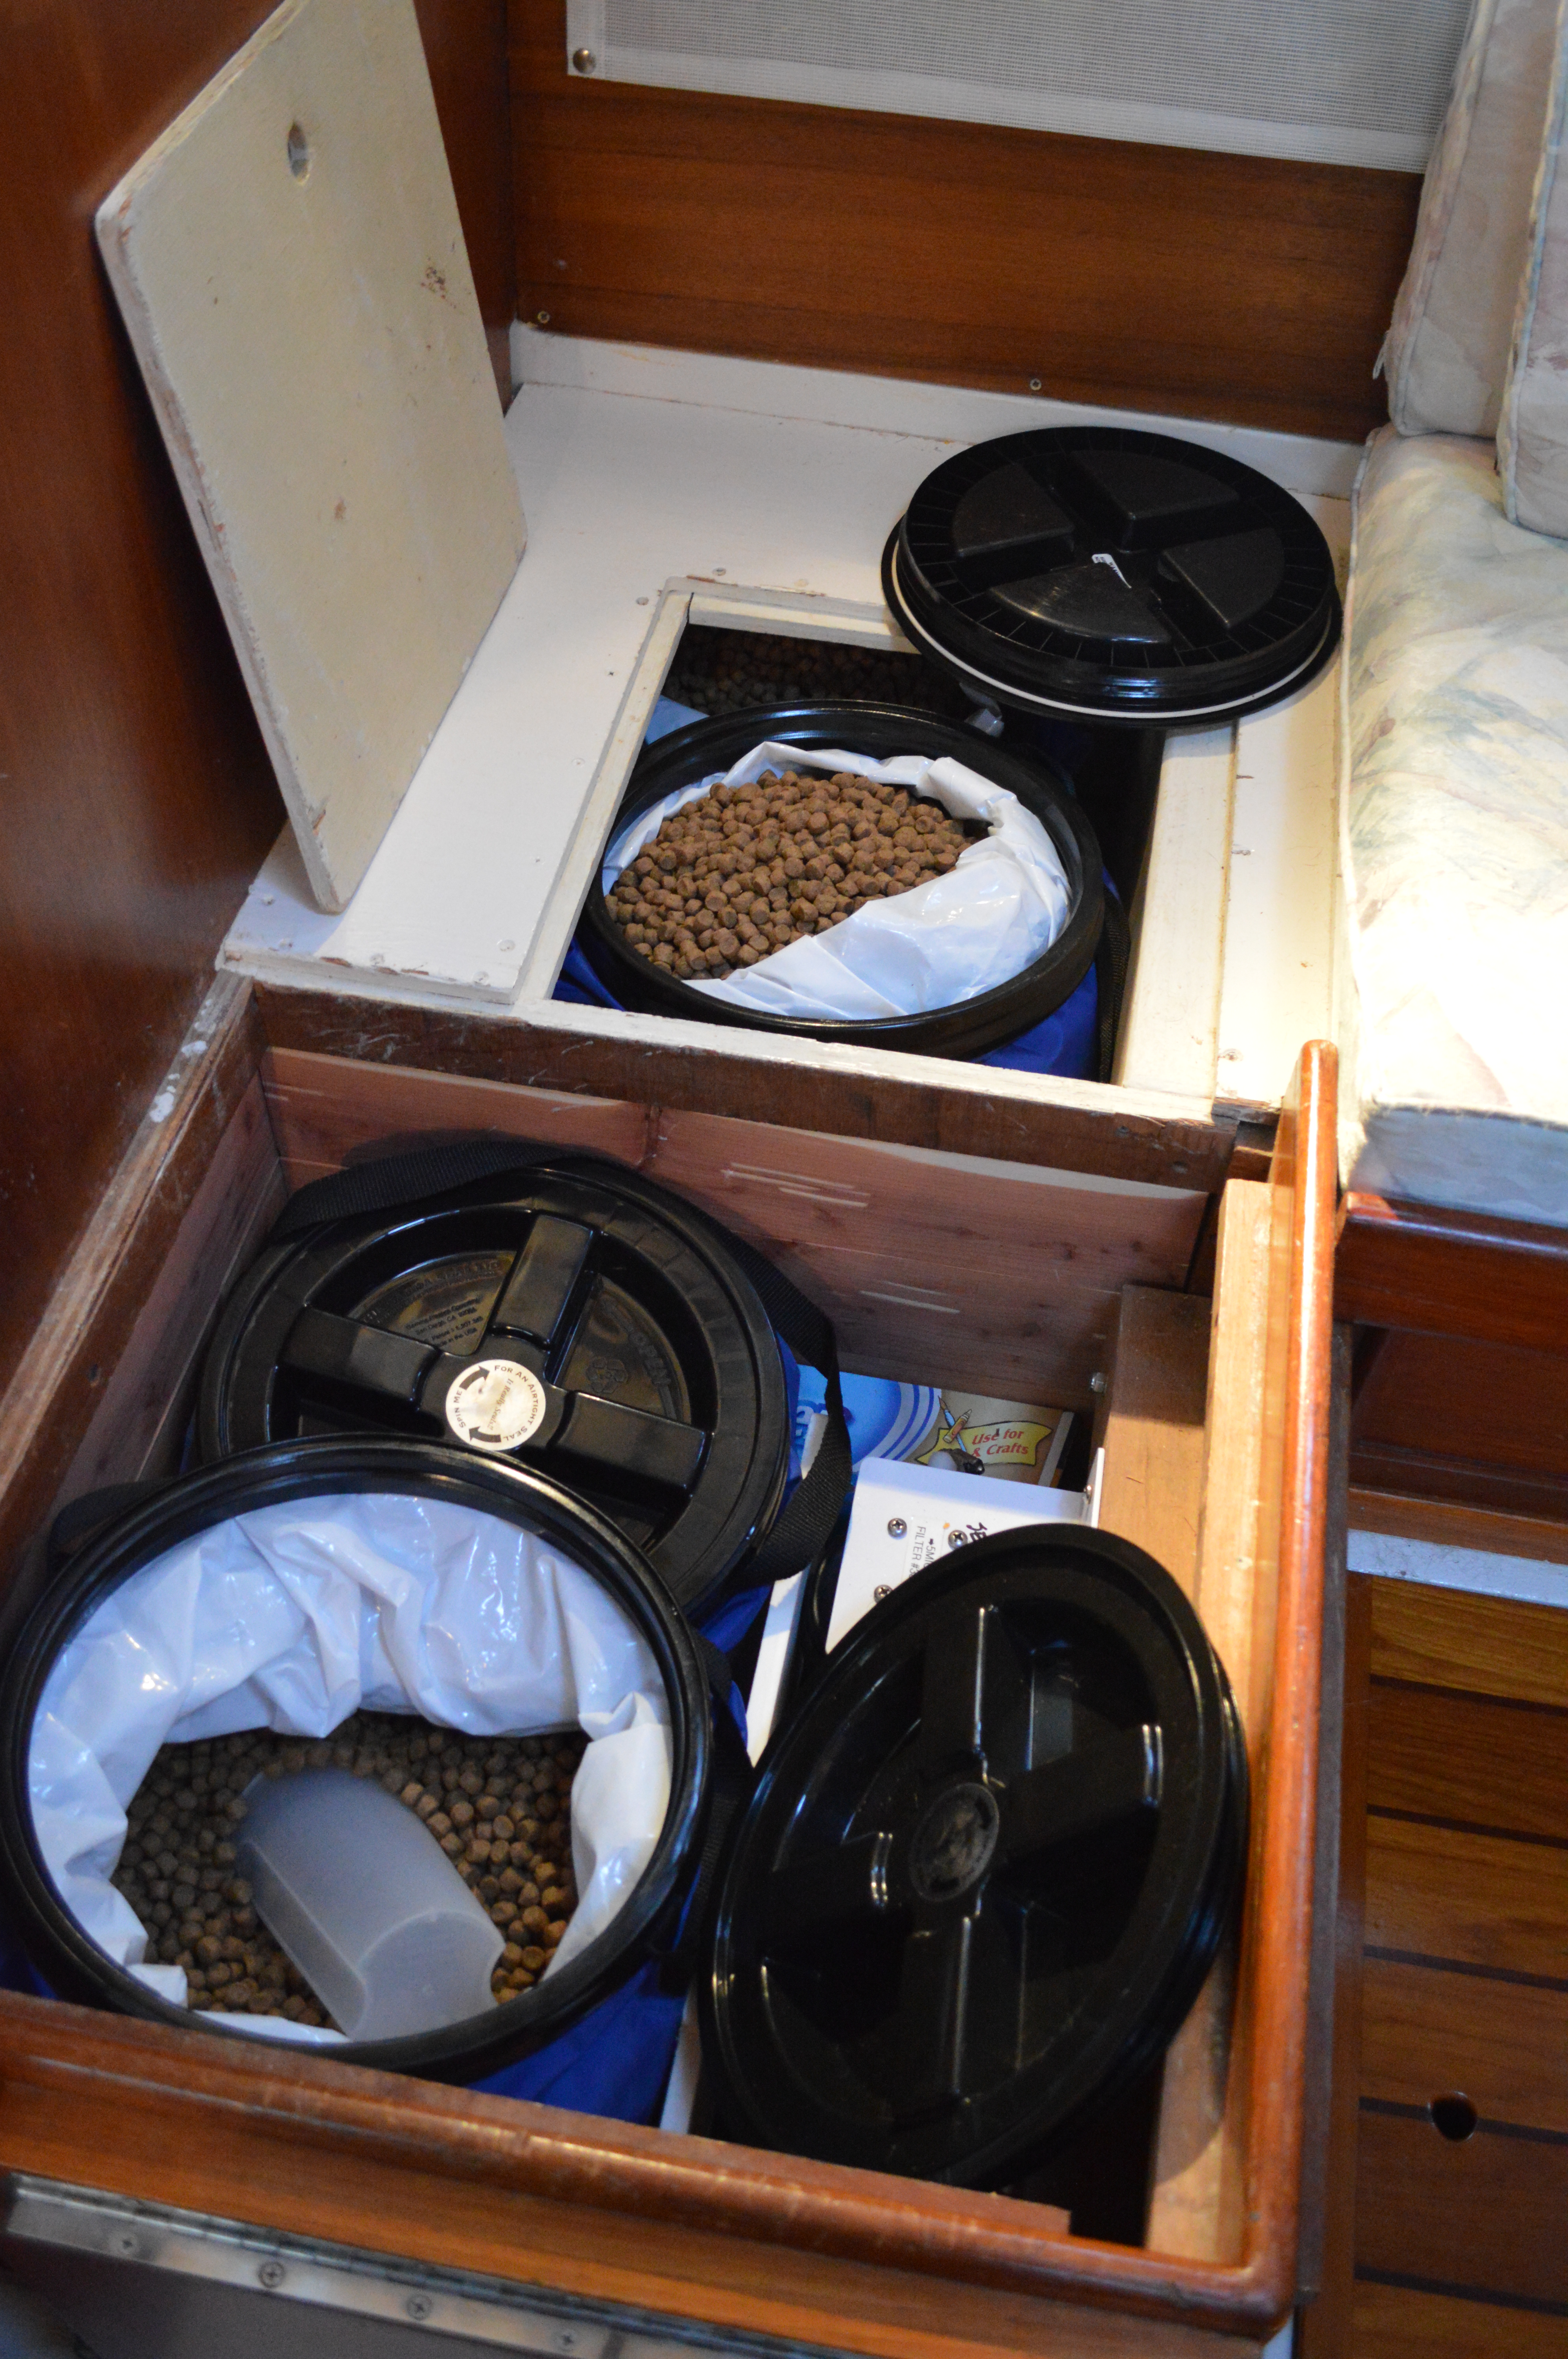
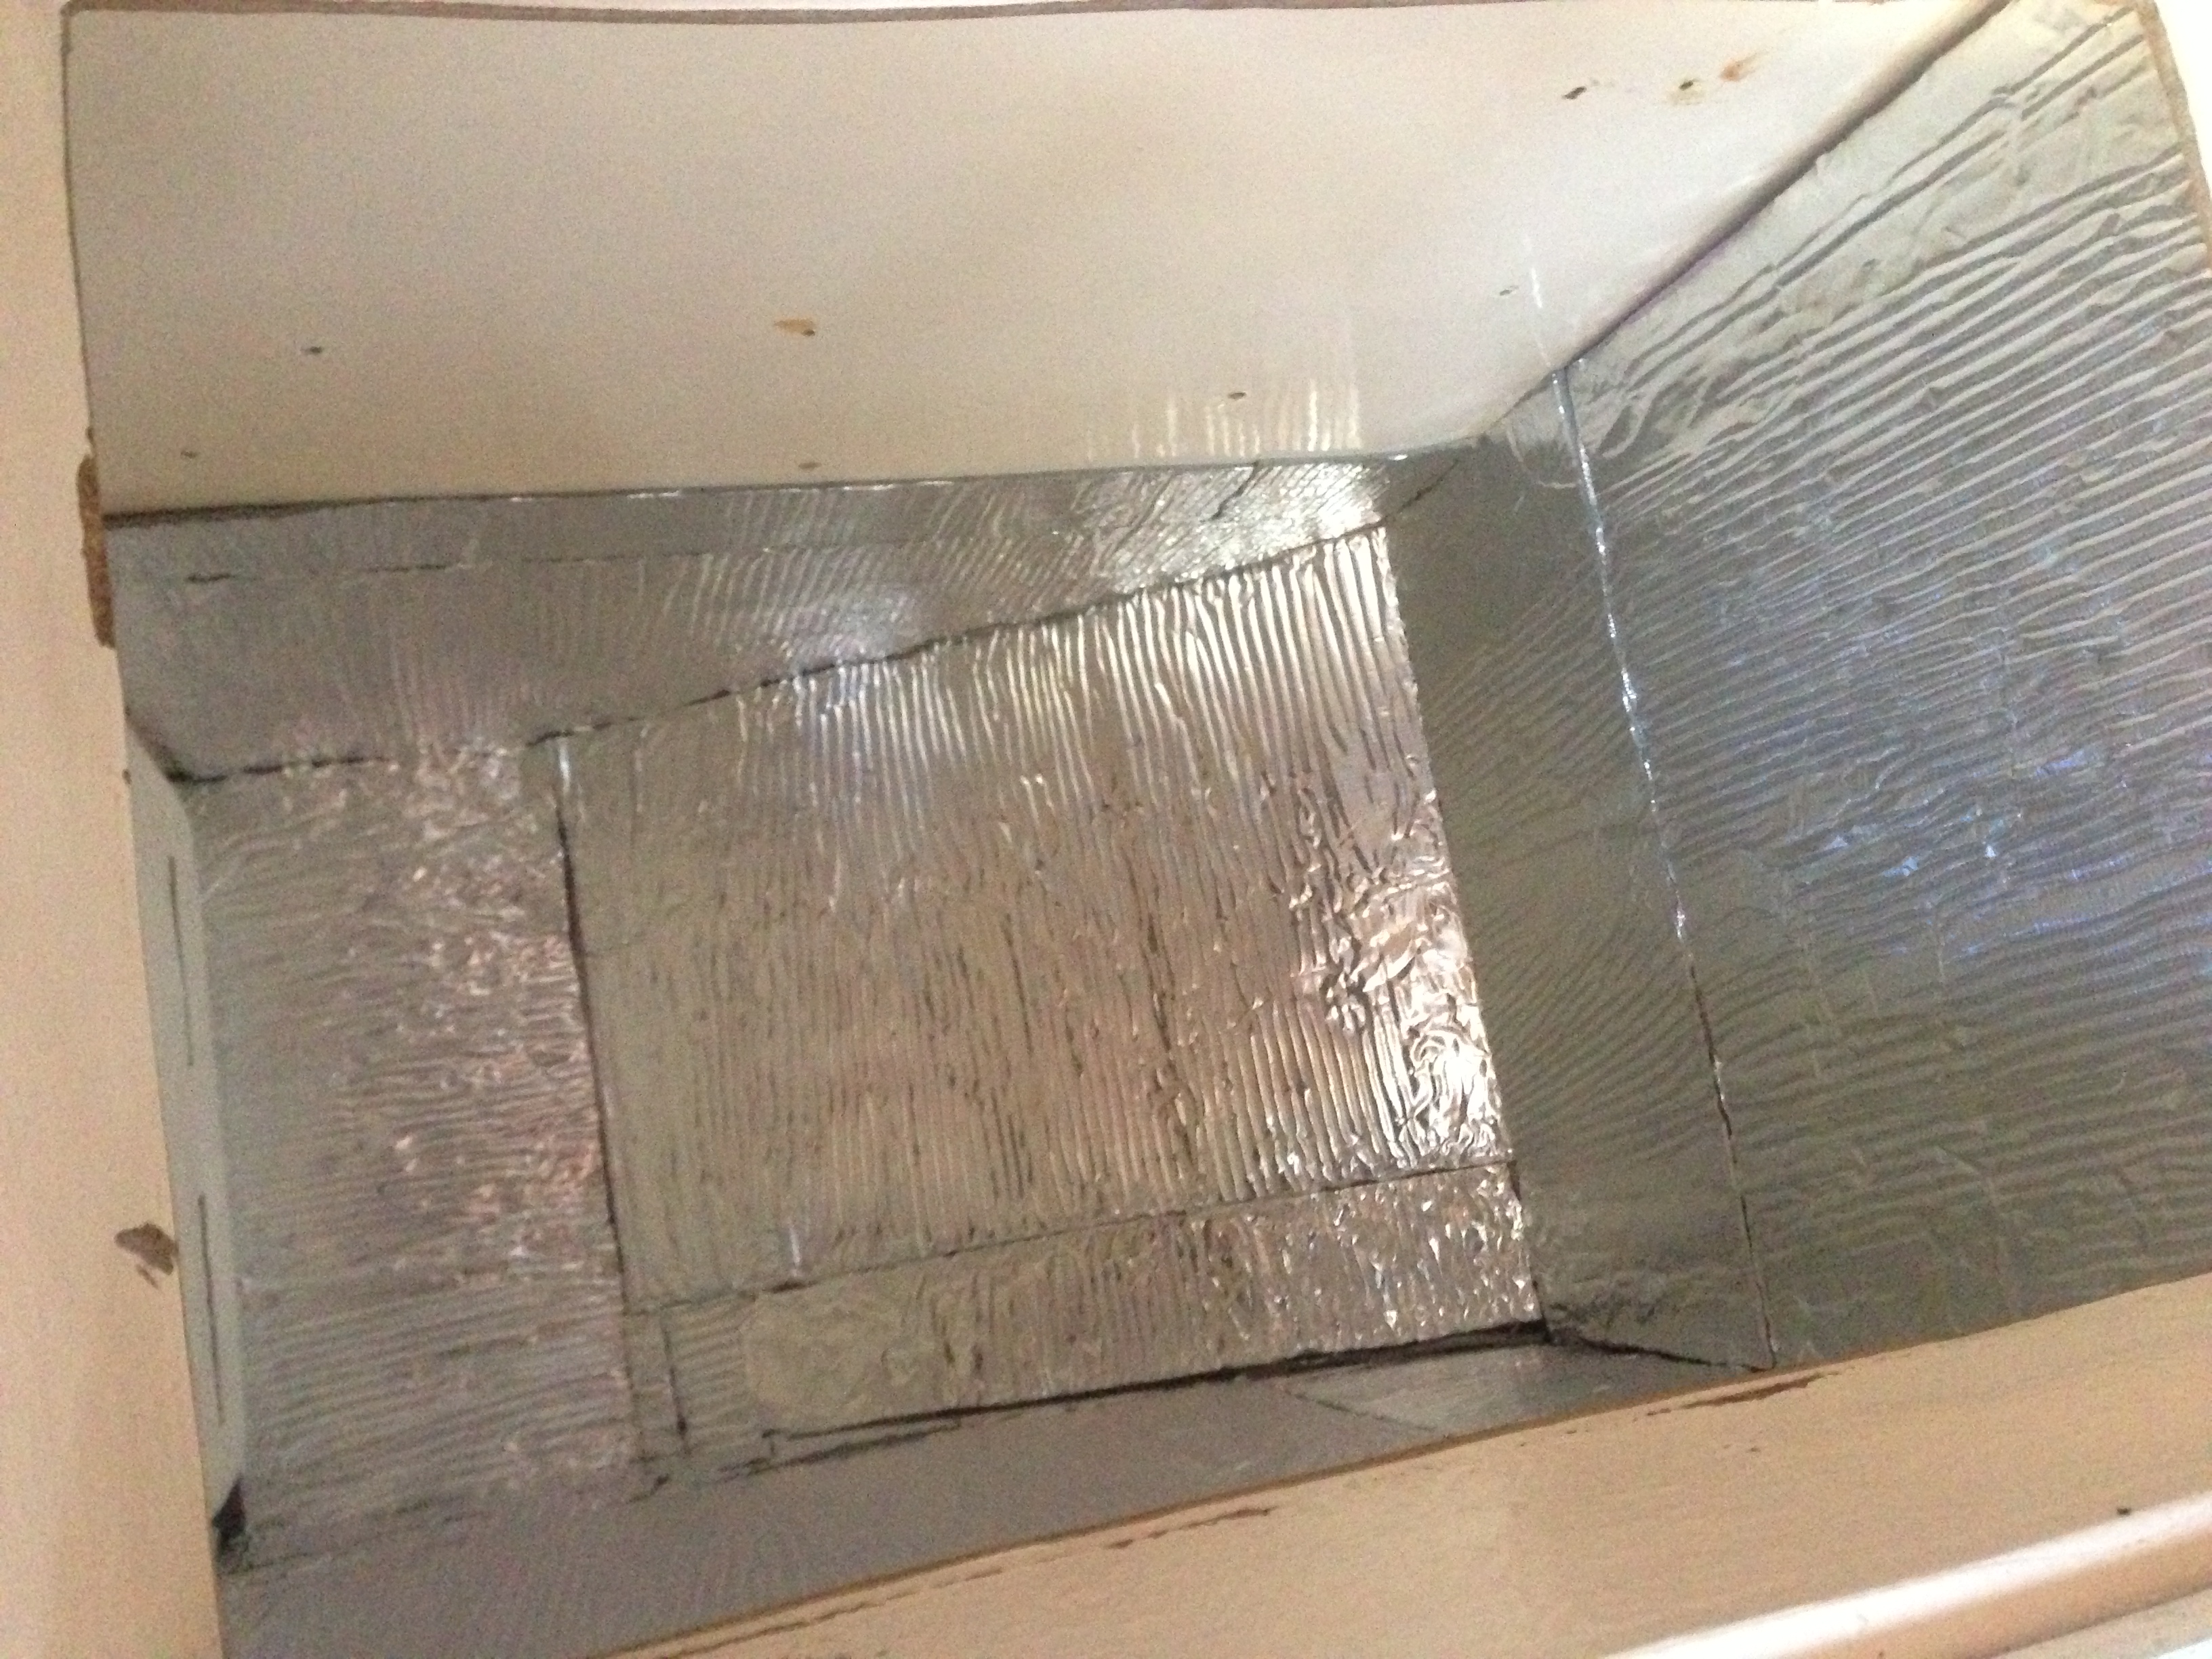
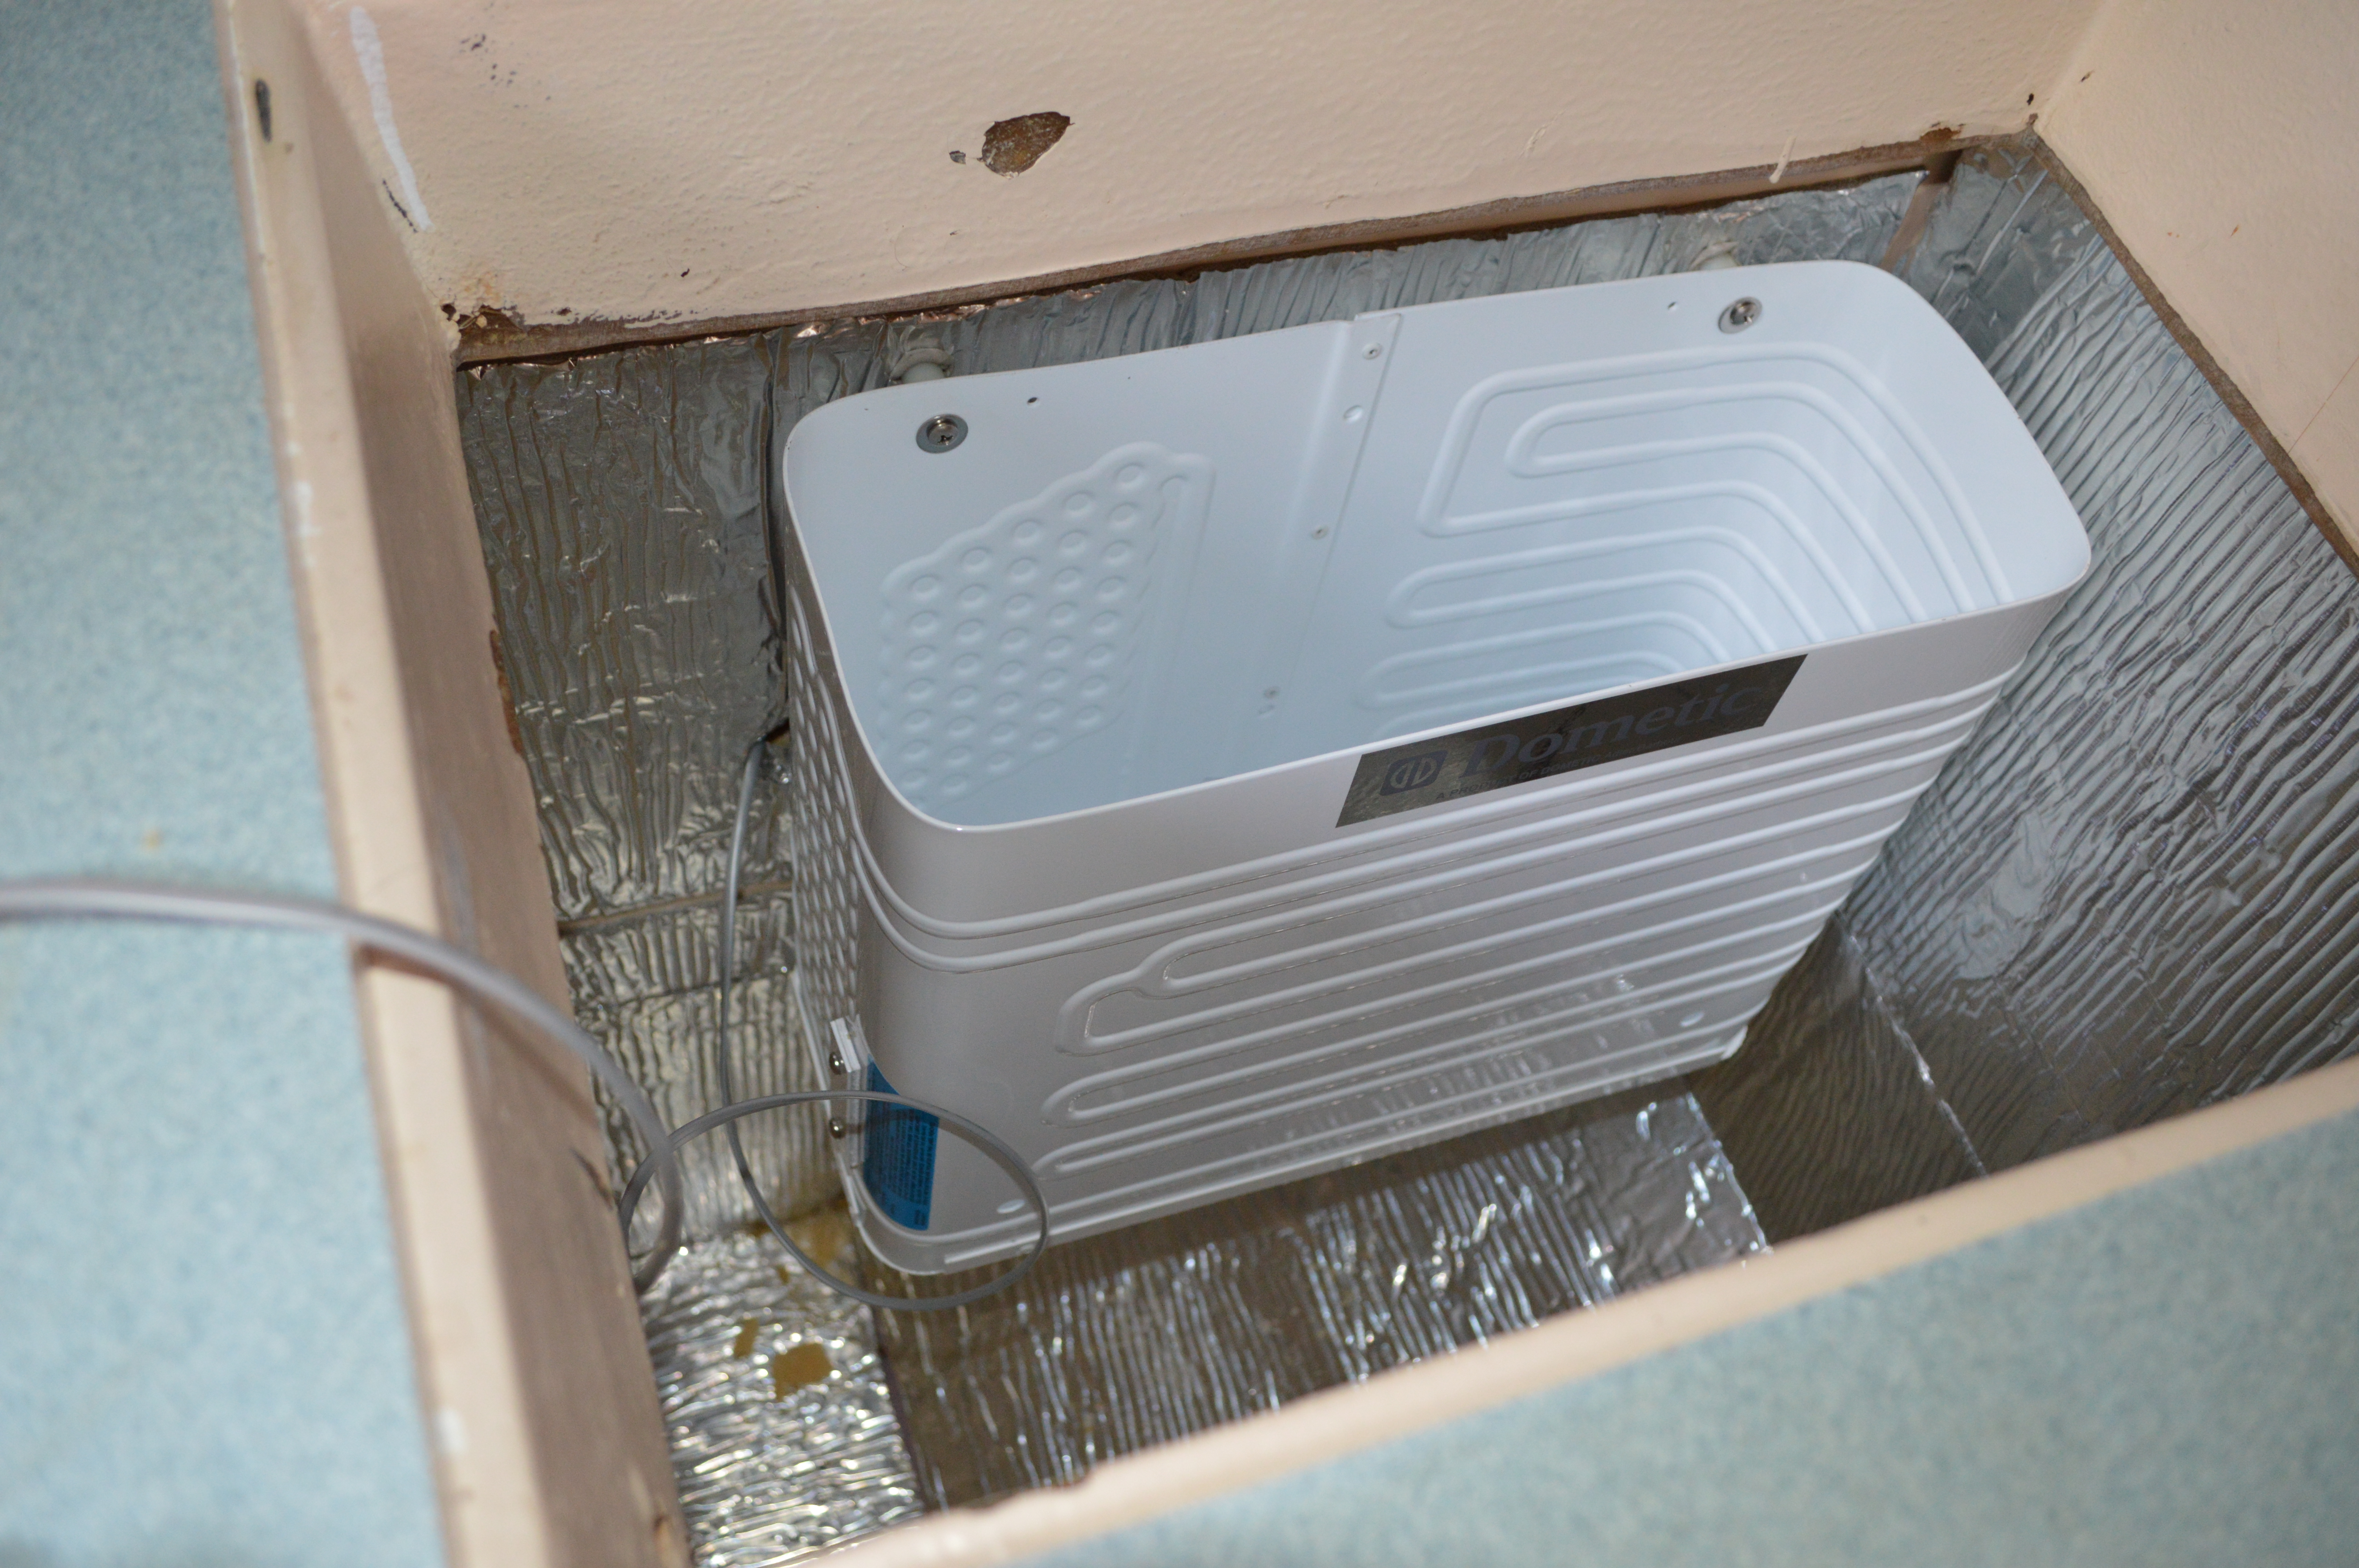
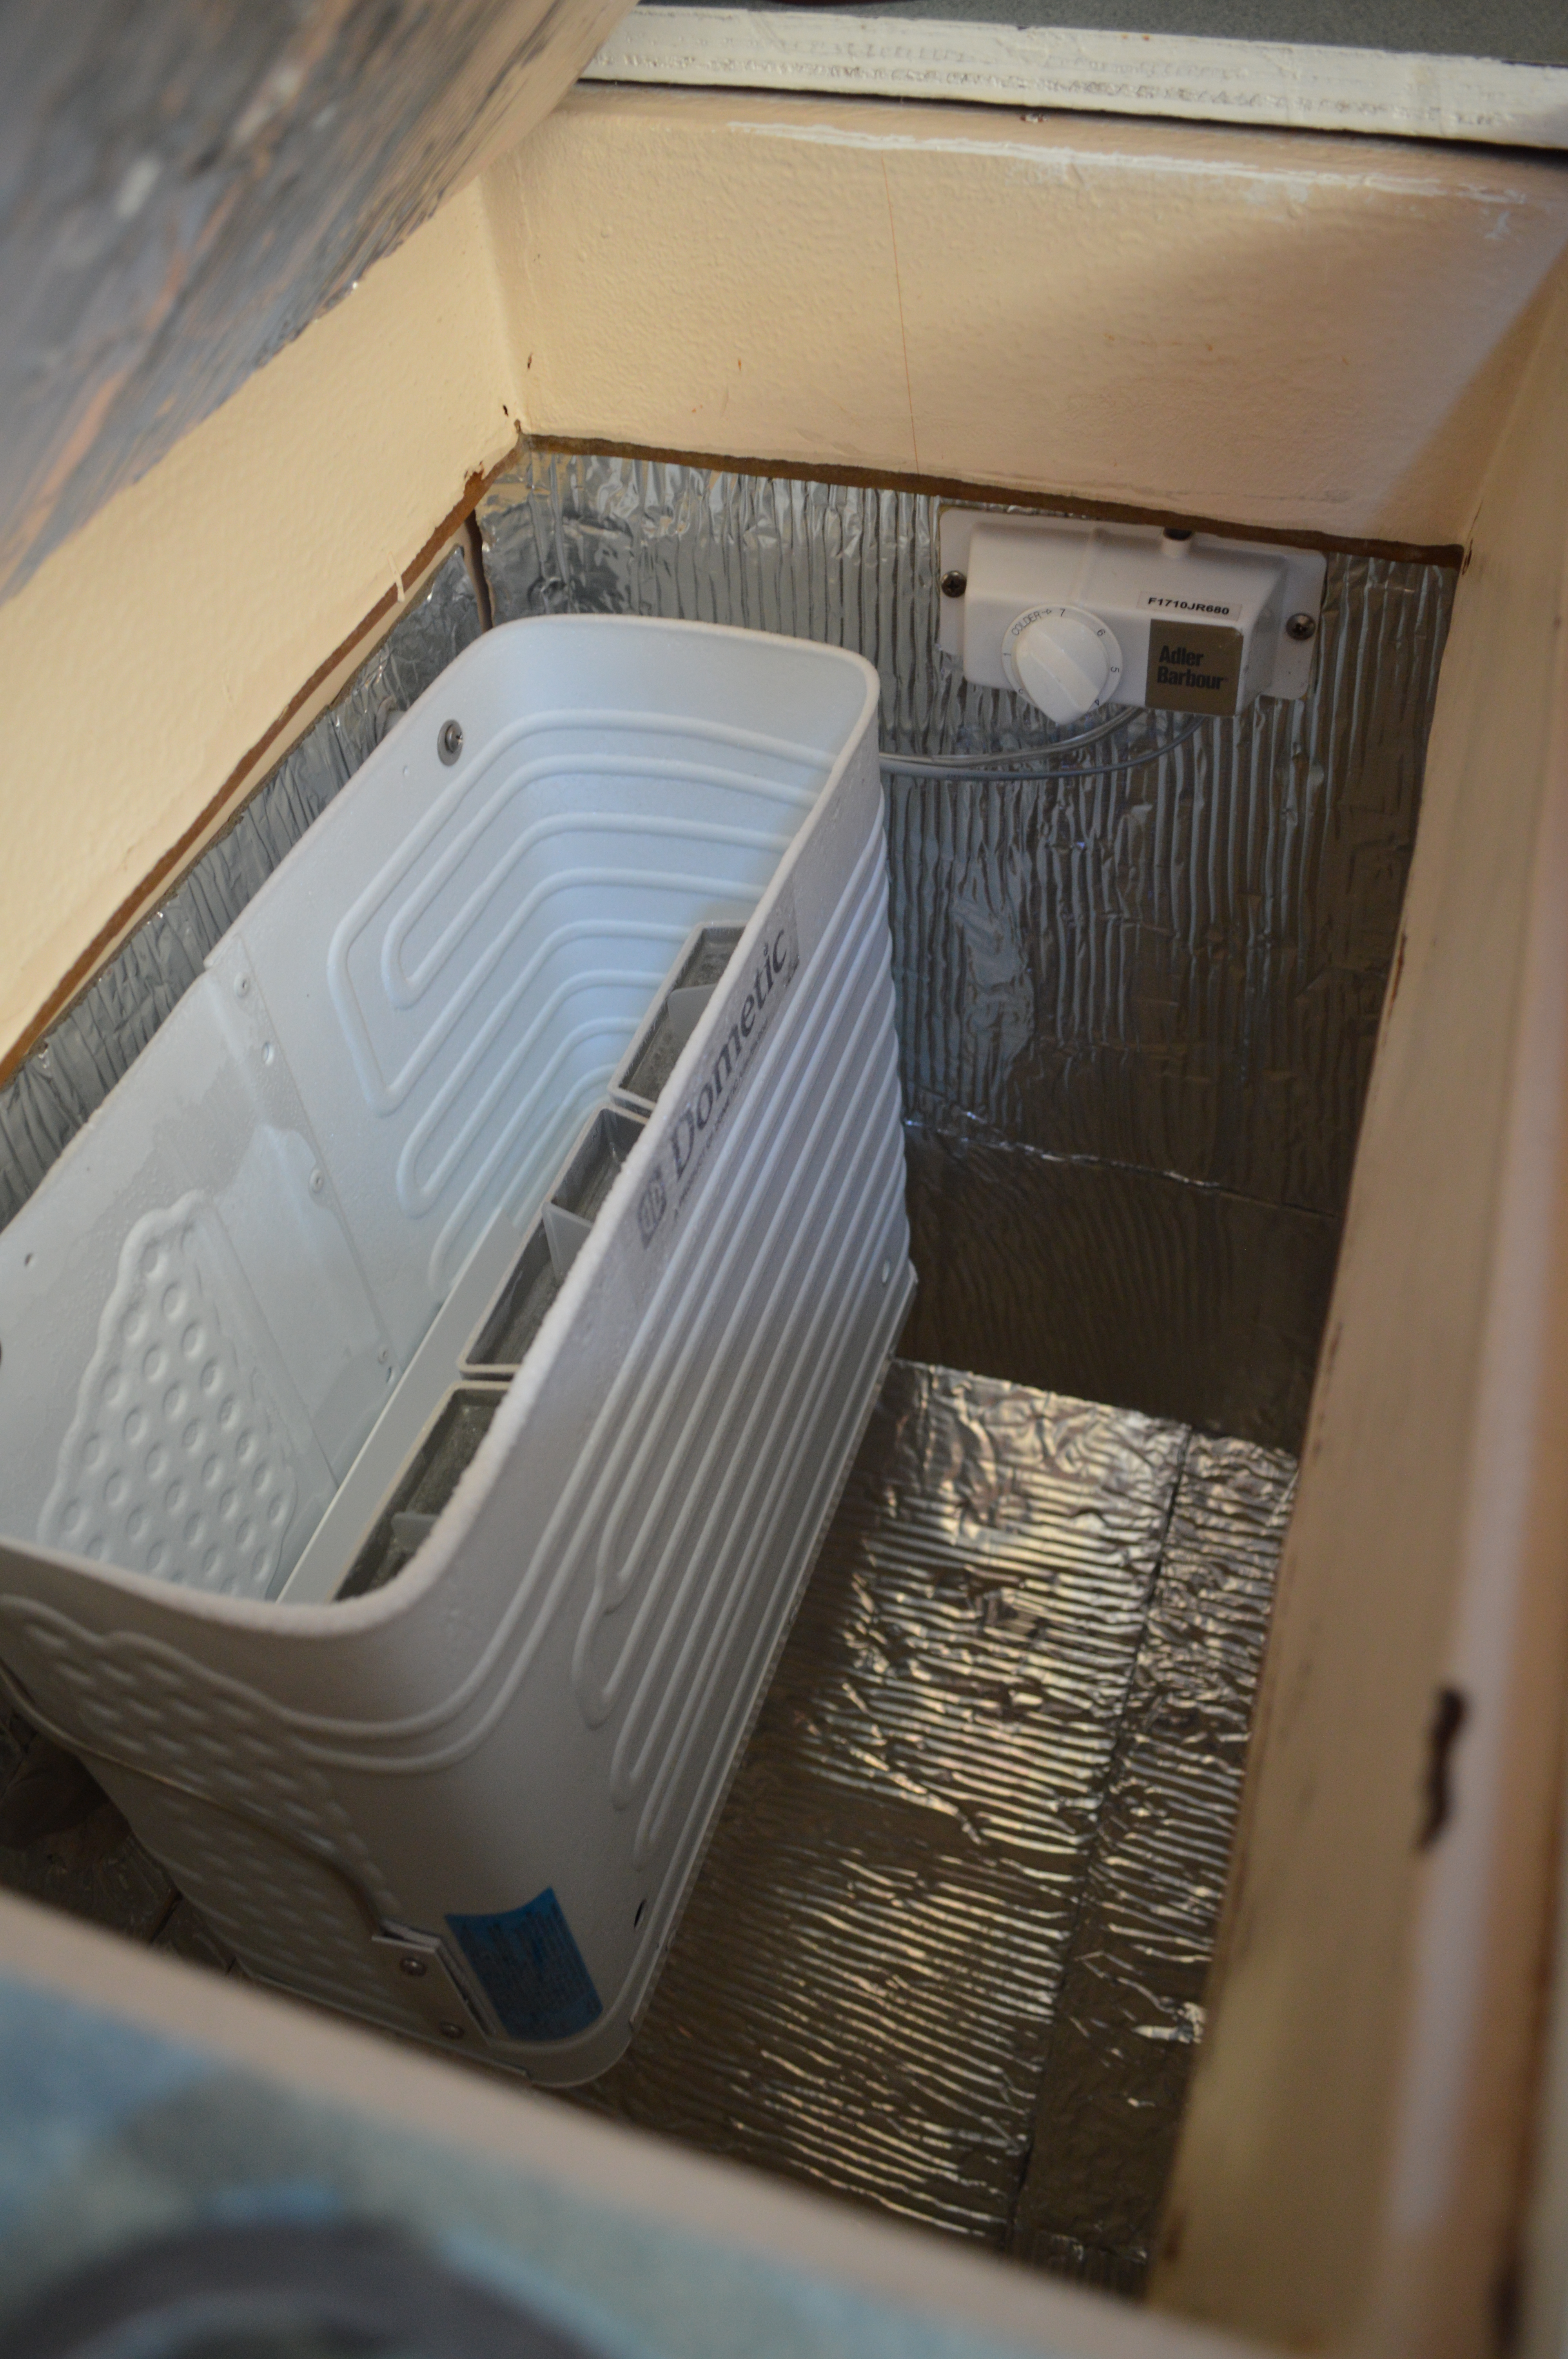
The front-most compartment is where the filters are for our water maker and this is where it was a little more tricky to find containers that will fit while still utilizing the entire area.

DSC_0392

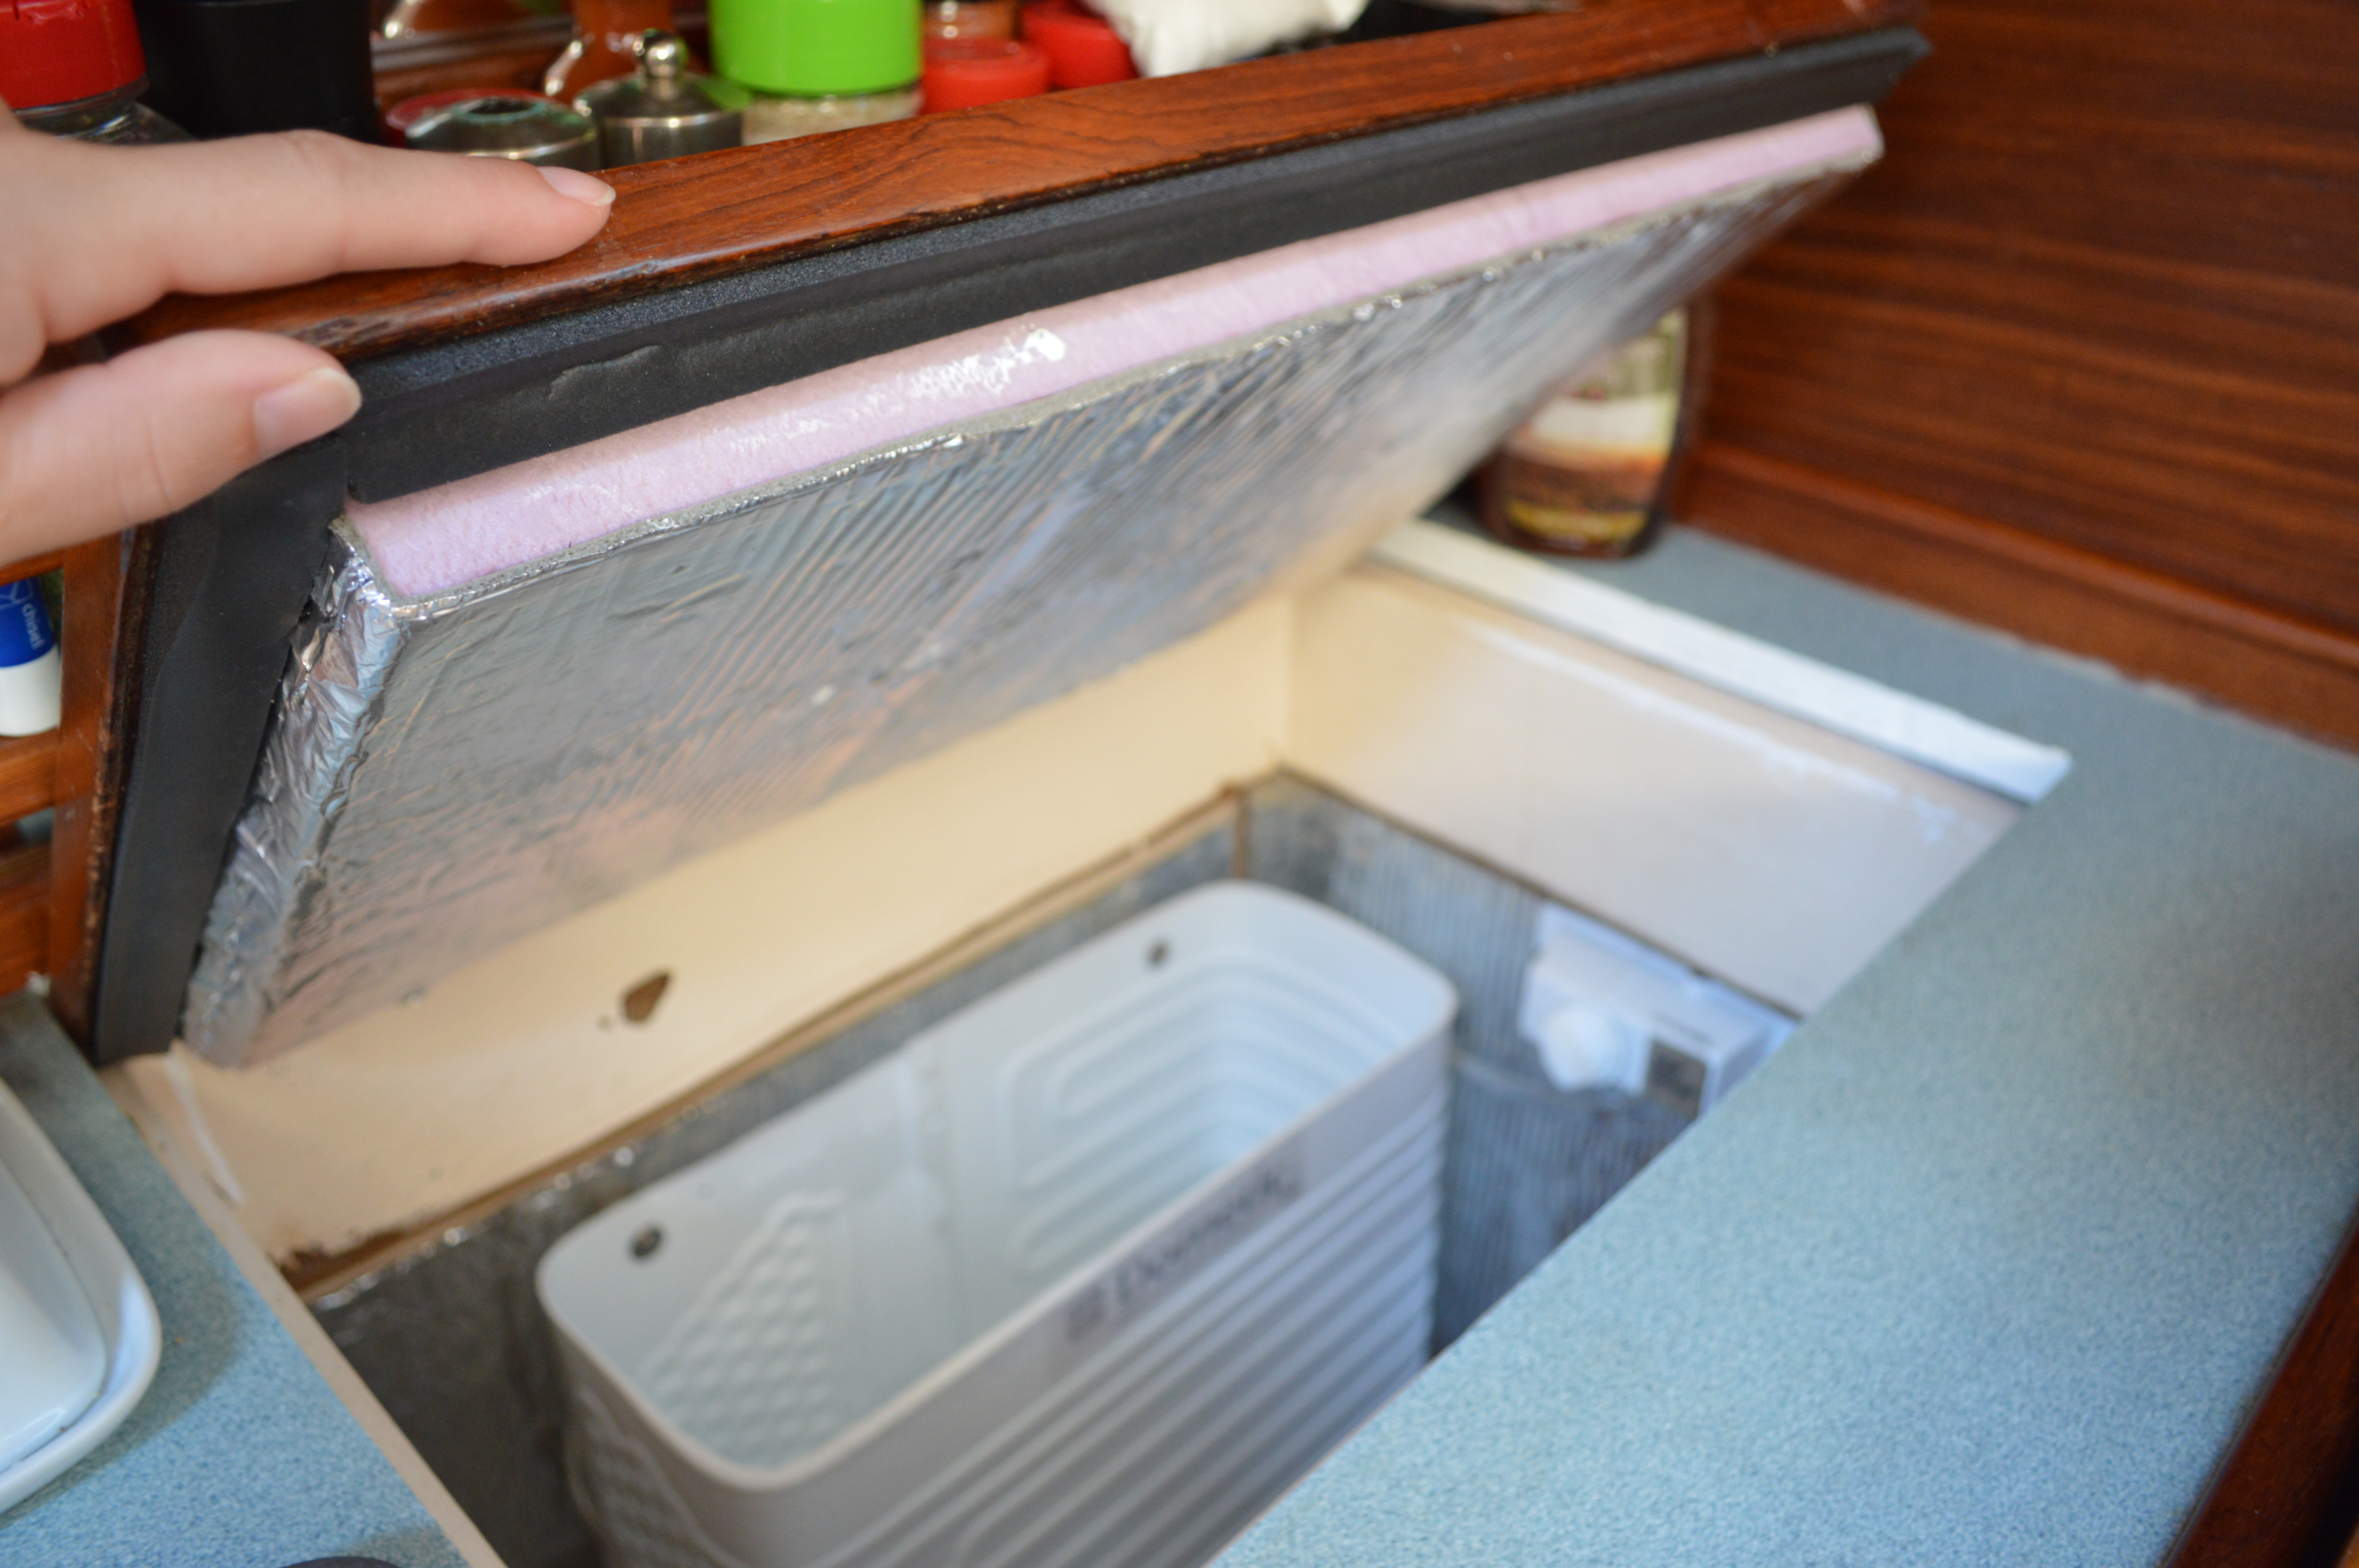
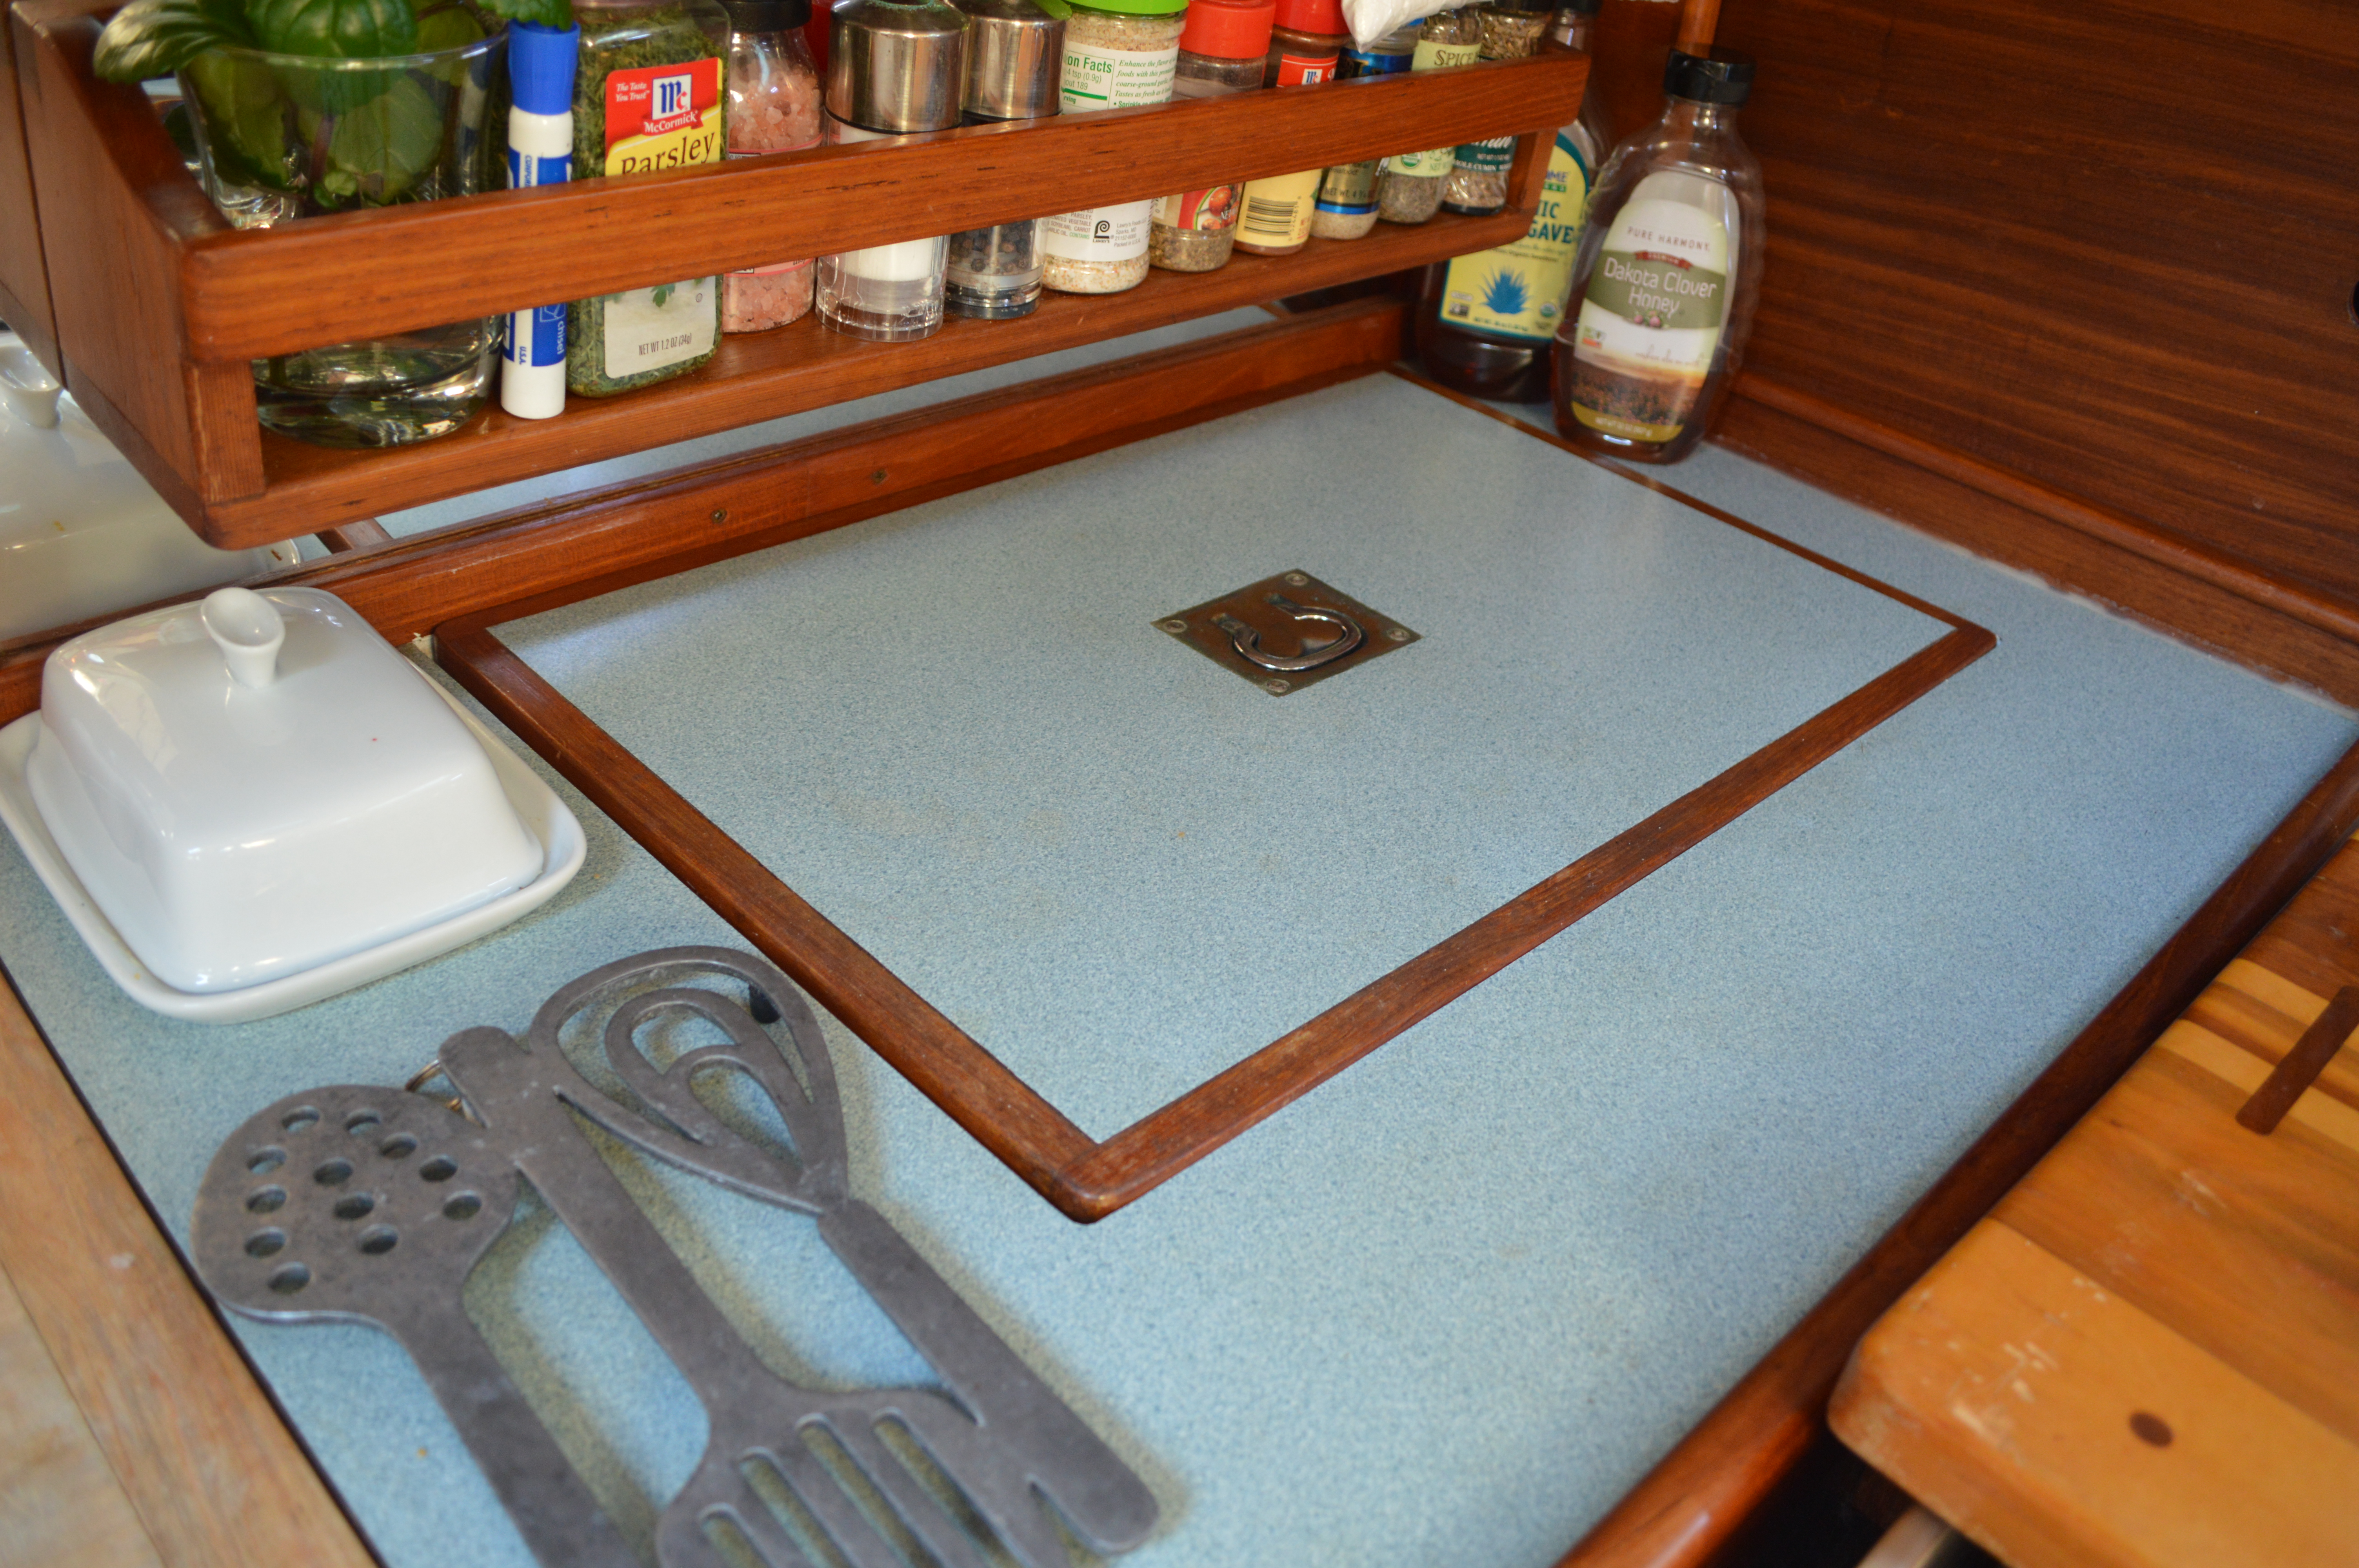
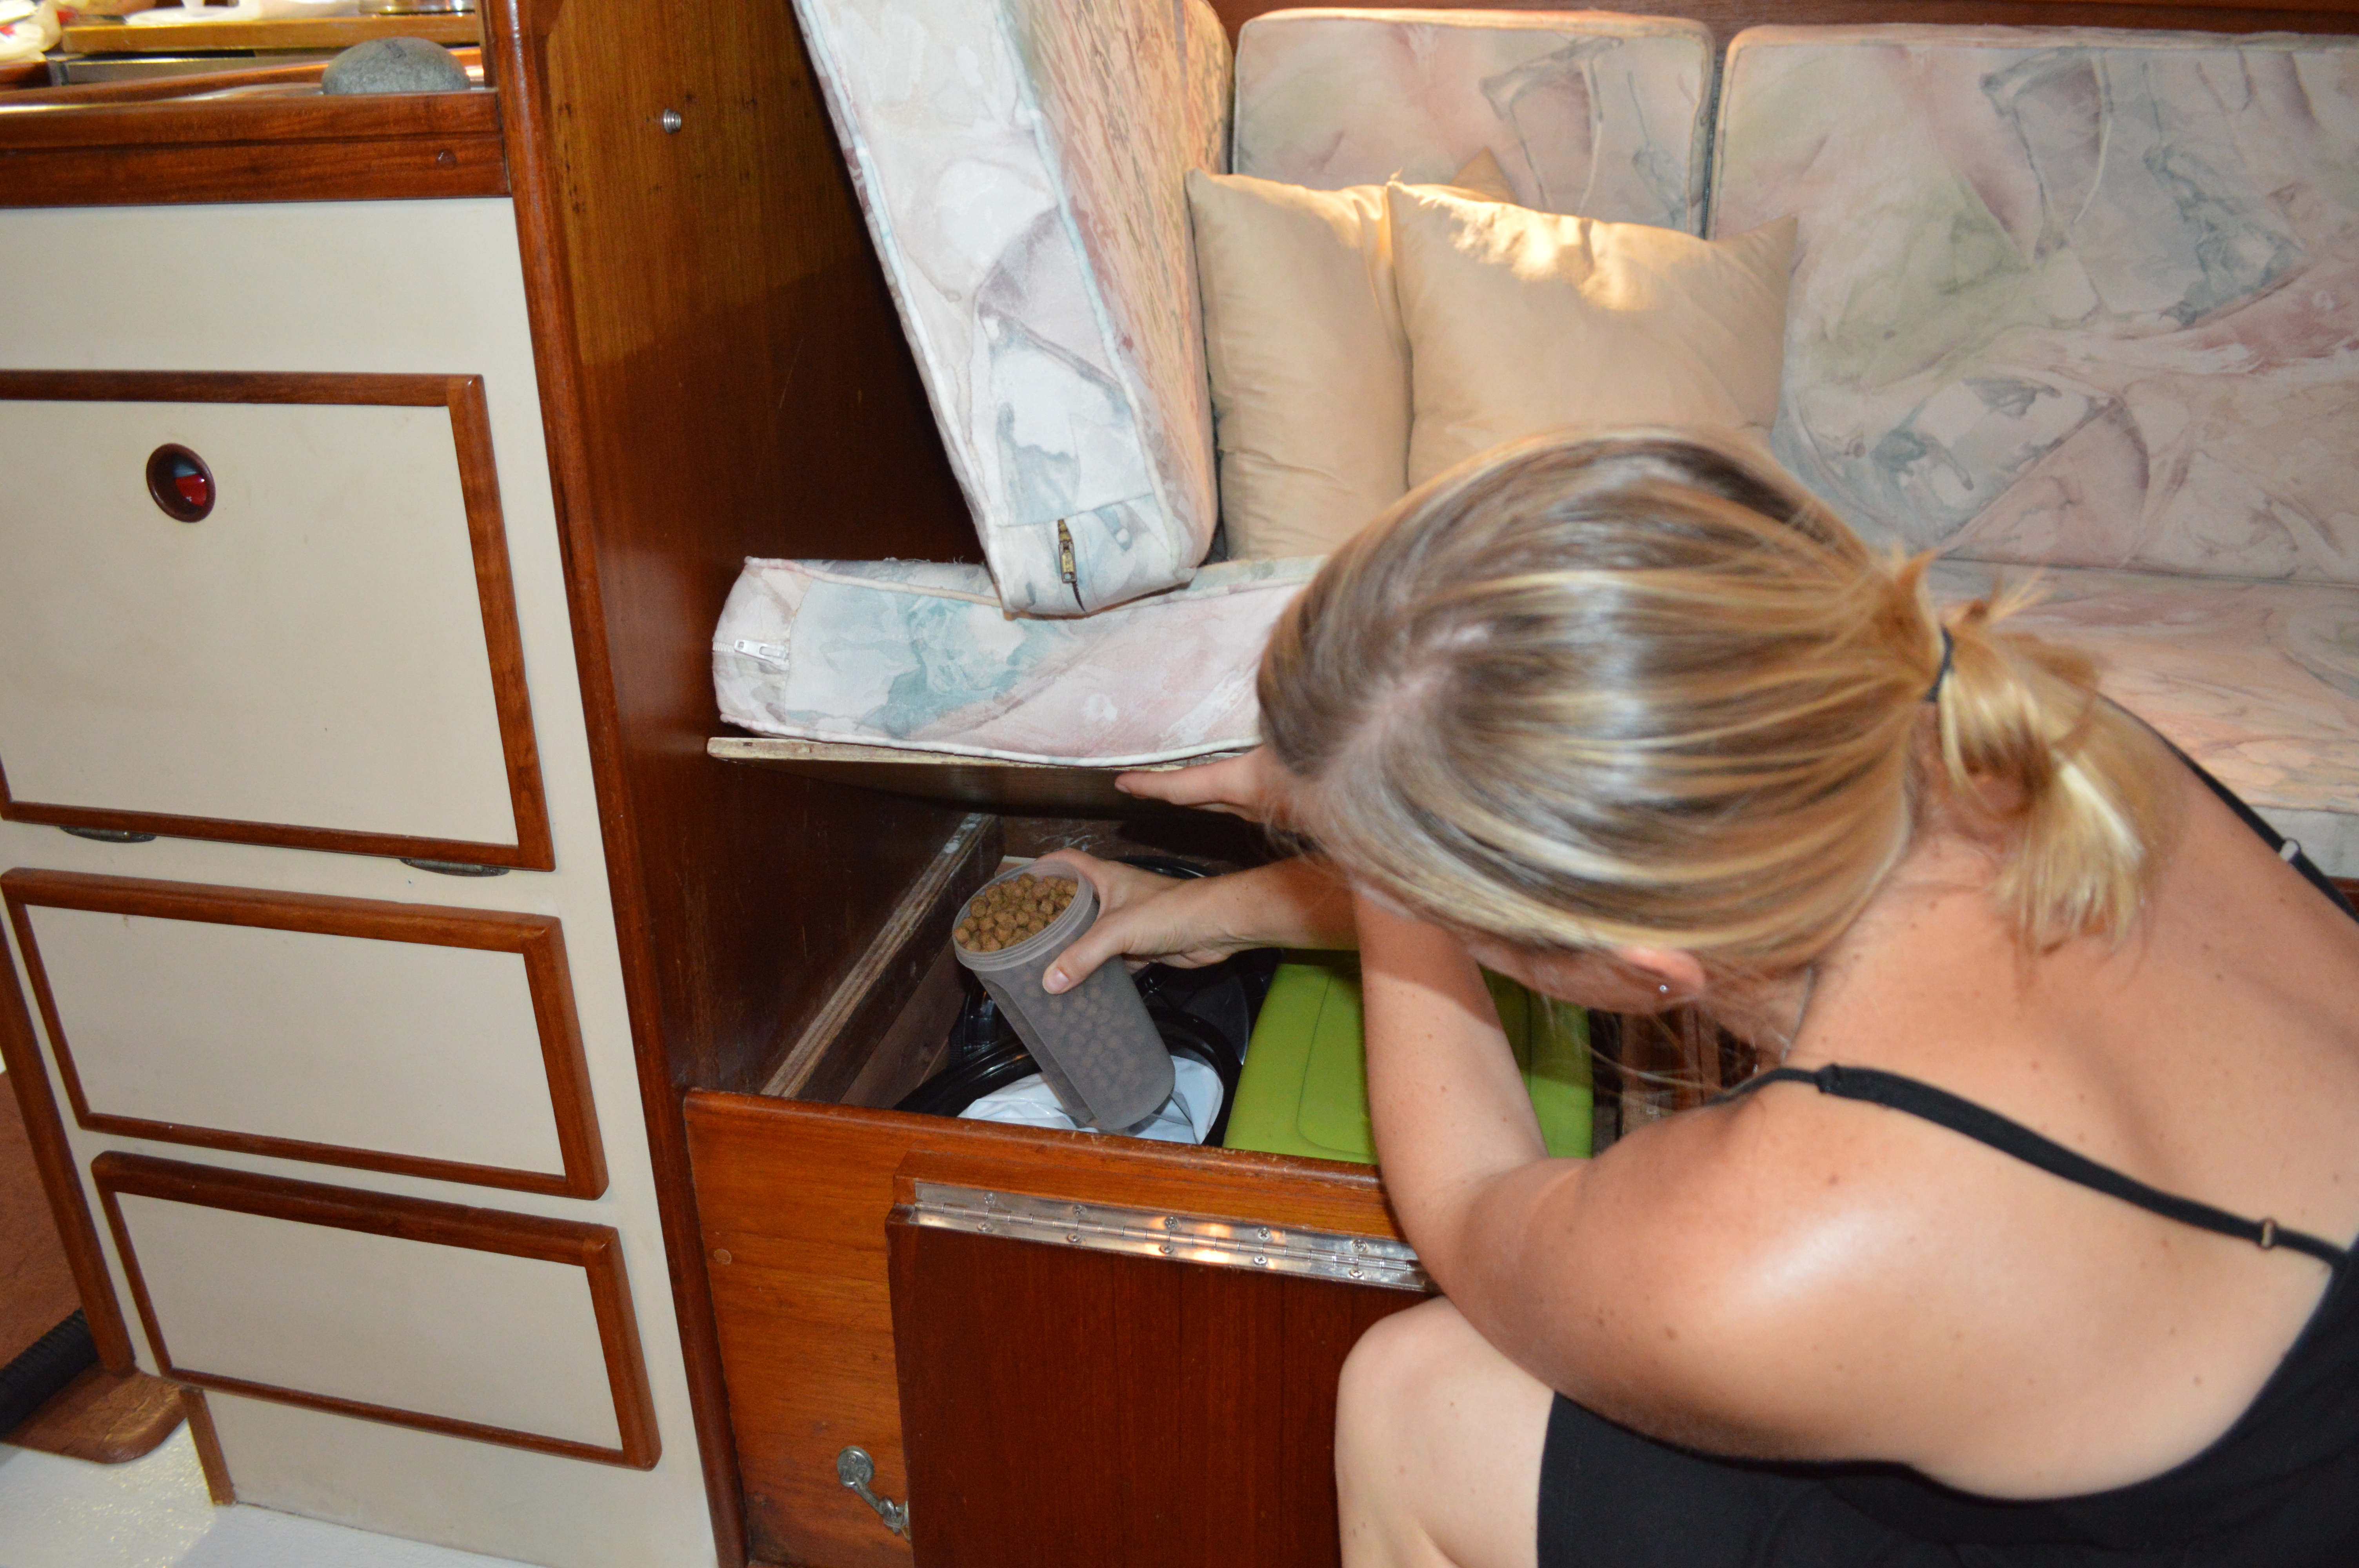
To access the food, we lift up part of the wood board covering the compartment with one hand, unscrew the Gamma Seal lid with the other hand, and then grab a full scoop of food. SOO easy!!! I had been really nervous about how difficult it might to be to store the dog food inside the boat AND be able to access it without a hassle. Turns out its one of the easiest things we do everyday.

DSC_0412

You can find Gamma2 products in local pet stores or online. If you buy through our Amazon Affiliate link (also shown on the right side of the page on our website) we make a small percentage of the sale but you can probably find them cheaper on other websites. We are grateful that Gamma2 sponsored our adventures and we are excited to tell everyone about how cool their products are!! Living on a boat is challenging and having pets aboard requires even more creative solutions. Now that we have them, we simply CANNOT imagine storing our dog food any other way. If we didn’t have our SoftStore bags, we wouldn’t be able to stow away the dog food anywhere else and it would still be sitting in the original bag on the couch next to us every day. Oh, and we’d probably have cockroaches too!!

Thank you Gamma2 for helping us get to Where The Coconuts Grow as we travel in search of surf, sun, sand and serenity!!!


IN CASE YOU WERE WONDERING… We are PROUD to share these awesome products and services with our readers. There are so many different solutions out there for everything we could possibly need, but these are the solutions that work for us.

This post may contain information about a product sponsorship. We gladly accept discounts or samples when a company feels generous enough to support our cause. In return we support the manufacturer or local service by sharing their links and writing about our experience with them. We only seek out sponsorship and affiliate programs from products and services we actually WANT to use and likewise only accept offers for products or services that we WILL use. We are not paid for any reviews we write or feedback we provide. We simply like to spread the word and share great experiences we have had that could also bring joy to others.

**If you’re in the market for any of our favorite products, please consider using one of our Amazon Affiliate product links. Just access Amazon by clicking through from the banner on the right side of our website first and any subsequent products you search for during that same internet session will help us out when you complete your purchase. It’s no additional cost to you and puts a small percentage in our cruising kitty. We appreciate your support!

It’s FREEZING, literally!

Okay, yes the temperature outside is on its way down to 36 degrees before sunrise tomorrow, but that’s not the kind of freezing we’re talking about here.

We are getting really close to leaving Florida and there are still a few minor projects that need to be finished up. One of the MANY boat projects that have been keeping us busy over the last few months was to install another refrigeration unit in the empty space next to the refrigerator we already have. The space was used as a freezer many moons ago but someone took it out. OBVIOUSLY they weren’t catching any 100 pound tuna like we will be soon ;)

Our existing refrigerator is an Adler/Barbour Dometic air-cooled CU-100 ColdMachine. It consists of a large vertical evaporator and an air-cooled condenser unit. The dial can be set from 1 to 7 and we only need to leave it at 3 1/2 in order to keep the inside of the evaporator at freezing temps. This is perfect for keeping the rest of the insulated box a nice cool temp resembling what a normal household refrigerator would be.

We like it so much that we opted to install the same unit in soon-to-be freezer compartment. This way, we can either set the dial for normal refrigeration and freezer space, or we can just crank the dial to freeze the whole thing and use it as one big freezer if when Peter catches all that fish. This isn’t his first luau… the man sure does know how to hook ’em!

Before the new unit could be installed we had to remove the plexiglass shelf and the aluminum rails that were inside the space. It was a puzzle to get those suckers out of there but we finally figured out that they had to be unscrewed and then pivoted out.

IMG_3513

It got cleaned out really well. Peter did this project all by himself, and I kept busy with the camera ;)

Next, he marked up the rigid insulation foam we bought from Home Depot. It came in monster size sheets, or you can buy cute little 2×2 squares of the purple stuff. We got two of the squares. A bread knife worked well enough to slice through the foam.

IMG_3523

IMG_3518

Piece by piece the odd-shaped walls of our freezer compartment started coming to life. It wasn’t too critical to get an exactly flush cut, but he got it close enough.

IMG_3524

We also bought a roll of Self-Stick Foam/Foil Duct Insulation to apply over the rigid foam. We thought the Great Stuff was a great idea, but didn’t end up using it for this project after all.

IMG_3525

The walls of the space were already insulated and fiberglassed in but we wanted to just add a little bit more insurance so we don’t end up with an unnecessary loss of cold air.

IMG_3527

IMG_3539

A chunk of purple stuff was attached to the lid and a layer of the foil wrap was pressed on top too.

IMG_3531

The lid needed a new seal. Again with the Duck brand… I swear it’s just a coincidence. This stuff really stays put though. No sponsorship or affiliation, we just really like it :)

IMG_3533

IMG_3535

IMG_3541

Here comes the ‘cool’ part!! haha

We decided to limit the DIY part of this project to just the insulation. We hired a professional marine refrigeration guy to handle the install of the actual condenser unit and evaporator. So we’ve been told, refrigeration is nothing to mess around with if you don’t know what you’re doing.

The parts cost much less through a distributor: $1200 (compared to $1800 retail)

We paid about $800 in labor so the whole project cost $2000.

This is only $200 more than it would have cost us to do the whole thing ourselves and having it done right is totally worth 200 bucks. It was done way faster than we could have done it, and we know all the wiring and refrigerant is installed safely too.

DSC_0001

The condenser unit was installed in the engine room which was directly behind where the refrigerator and freezer are in the galley.

DSC_0002

This may be the first picture I’ve posted of our engine room but how frickin awesome is this?? There is so much room in here! If you look closely you can see a nice empty spot on the wall on the right where the condenser unit is going to be installed. The refrigerant lines have been run through.

DSC_0009

Back on the other side… the evaporator box was mounted along with all the other components that go inside the freezer.

DSC_0012

DSC_0014

DSC_0092

DSC_0093

DSC_0101

DSC_0103

DSC_0108

My favorite part of this whole deal?? I get THREE, yes THREE new aluminum Adler/Barbour vertical ice-cube trays!! These suckers are something like $80 a piece brand new!! They make awesome monster size ice cubes and last a long time. Every morning we soak one tray upside down inside a 52oz bubba keg filled 3/4 of the way with water. When the ice is melted a little, it will slide right out. We top off the rest with water and it lasts practically all day even in 90 degree weather.

If you’re interested in other options for ice-cubes on a boat, check out my friend Carolyn’s recent post on The Boat Galley. Search her site to see a ton of other amazing tips and ideas for making life so much easier in the galley. If you weren’t as lucky as I was to score these awesome vertical trays, be sure to check out all the other ideas Carolyn has for making ice on a boat.

DSC_0120

DSC_0122

The finished product: a dedicated freezer for all of Peter’s fish… and other provisioning of course :)

DSC_0131

Buddy Bowl – How to keep water available for pets on a boat

DSC_0345

One of the small details that went overlooked when we first moved onto our sailboat was keeping water available for the dogs. It’s never been an issue before. We just put a bowl out and check it a few times a day to make sure the kids have plenty of water. We know they like to drink mostly after eating and after a run, with a little bit throughout the day. No big deal.

When we first moved aboard the food and water routine was no different than it was on land. Fill the bowls and the dogs empty them. It wasn’t until our first sail with the dogs aboard that we realized our original plan wasn’t going to work. I had read a few suggestions online that some people just use an oversized bowl and only fill it up half way or less so that the water doesn’t slosh out all over the place when you’re under way. Guess what spilled the water out when we tried this method? Me! I spilled more water out of that bowl while moving around in the cockpit than the amount of water that was spilled from the boat heeling over.

In researching more helpful tips and tricks for liveaboard dogs I came across the “Buddy Bowl.” That was it! It was perfect!!

DSC_0347

I contacted Great American Spillproof Products and they gladly sponsored our adventures by providing us with two (2) 64 oz TOTALLY SPILLPROOF Buddy Bowls for Gunner and Betsy!! These will be totally essential for every day use while anchored up and especially while we are underway.

We keep one tucked behind the ladder at our forward companionway next to where we feed the dogs inside the boat. Gunner and Betsy know right where it is and they have no trouble at all helping themselves when they feel a little thirsty. Gunner ALWAYS lets Betsy drink first if they are both thirsty after a run :) He’s such a gentleman, just like his daddy.

We keep the second Buddy Bowl on the floor of the cockpit so the dogs will always have water while topside. When we are underway, they frequently like to lap up a little water every hour or so. We’re in southern Florida now and heading to only warmer climates so its super important for us to have water available at all times for our pooches. It’s also important to keep water available for them if they are feeling seasick. Last time we took the boat out we put them down below and Betsy didn’t feel that good. She was happy to know where the water was though.

DSC_0144

The staff at Great American Spillproof Products recommended sending us the 64 oz models instead of their standard 44 oz size based on our weather conditions and the size of our dogs. They hold more water (a HALF GALLON!) so you don’t have to refill them as often! It doesn’t look like the 64oz bowls are available in their online store but I’m sure they can help out if you’re interested in getting one for your furry friend.

It looks like it might be hard for the dogs to actually get to the water but it’s really no trouble at all. Gunner has a long nose but it’s just his tongue that needs to get inside to where the water is. Gunner is also a VERY messy drinker and his food, water and slobber usually get flung at least a foot from his bowl. The Buddy Bowl is even more awesome because it catches all that excess water inside instead of spraying out away from the surface of the water where his tongue hits. Score!!

DSC_0236

We tested them out and sure enough, they are totally spill proof. The Buddy Bowl will even hold the water if you tip it upside down! The bowls are made in the U.S. with non-toxic/BPA-free food grade plastic, and they keep the water cleaner with less surface area for bugs, dust and other dirt to collect in. There are fastening points on the bottom for tying the bowl up for storage or keeping it in one spot. We don’t have to worry about tying it down though since there’s not too many places it could slide to :) They actually stay put very well on their own.

DSC_0197

DSC_0354

DSC_0359

The Buddy Bowl is easy to clean and even dishwasher safe. Even though we don’t have a dishwasher anymore its still a cool feature :)

This really is an awesome product and could be used in the car, on a boat, outside, inside, at the beach, camping, in a crate, anywhere! It’s also especially handy if you have little ones around that like to spill the water bowl and splash around :)

We are proud to promote the products we love by sharing our experiences with others in hopes that it may bring the same joy to you!

If you’re interested in ordering one of these, the online store on the BuddyBowl website is down at the moment. Simply send an email to cree@greatamericanspillproof.com to place an order!

DSC_0364

IN CASE YOU WERE WONDERING… We are PROUD to share these awesome products and services with our readers. There are so many different solutions out there for everything we could possibly need, but these are the solutions that work for us.

This post may contain information about a product sponsorship. We gladly accept discounts or samples when a company feels generous enough to support our cause. In return we support the manufacturer or local service by sharing their links and writing about our experience with them. We only seek out sponsorship and affiliate programs from products and services we actually WANT to use and likewise only accept offers for products or services that we WILL use. We are not paid for any reviews we write or feedback we provide. We simply like to spread the word and share great experiences we have had that could also bring joy to others.

Are expired marine flares still safe??

DSC_0425

Our boat came equipped with a standard orange plastic 12 gauge flare gun, a big-daddy metal 25mm flare gun, a distress signal flag, a bunch of expired flares and an orange container mounted behind the ladder at our forward companionway.

Unfortunately the 12 gauge launcher that the previous owner left for us is not fully operational and qualifies for replacement. There was a large recall on Olin 12 gauge launchers years ago for flare guns that don’t open properly. When you go to load it, you can’t get the flare into the gun. Peter is able to pull it open just enough to get one round in there so we decided to leave that launcher loaded. We’ve heard from quite a few cruisers that it’s good practice to have several flare guns stashed around the boat for quick access in the event that any dangerous characters are approaching your boat and you want to draw attention to yourself. Our safety from pirates is another topic all together, but as it relates to flare guns, we’ll keep this defective one as a backup weapon and distress signal :) We attempted to send the defective launcher in for replacement but the U.S. Post Office won’t let you just put it in an envelope and mail it off. The Post Office, wanted us to declare it as a weapon and it could only be placed in a box and wrapped carefully with a lot of bubble wrap.  They of course had boxes and bubble wrap available for purchase but at a ridiculous price. The line was getting longer and it was more of a hassle than it was worth. Plus, we don’t plan on staying in the U.S. very much longer and who knows how long it would take for them to send us a replacement. Those recall departments don’t exactly put a priority on giving you free products.

DSC_0421

DSC_0423

We ended up buying another 12 gauge launcher at the used marine store along with a few more super cheap expired flares. Even though they’re expired, it’s better to have extras in case we are ever truly in need. If we run out of the ‘current’ flares, then we can at least try the expired ones instead of being bummed out that we don’t have any more flares.

I had a hard time finding a clear and concise official description of what the U.S. Coast Guard requires us to carry for visual distress signals. From what I gather, there are lots of different combinations of flares that will satisfy the U.S. Coast Guard requirements but the easiest and most simple choice for us was carrying a minimum of three (3) day/night handheld red signal flares. We ordered a 4-pack of day/night handheld red signal flares and a 4-pack of 12 gauge aerial signal flares from West Marine on Black Friday and got 10% off :)

DSC_0422

DSC_0428

Now a little bit about the 25mm launcher…

It’s made of aluminum and feels more like a real pistol than the little 12 gauge launchers. There is a removable insert that goes into the barrel which allows you to fire 25mm shells or 12 gauge depending on your situation. If we are far out at sea I would much rather have the 25mm flares shooting up as high as we can get them! Another benefit of having an aluminum flare gun is that it will last much longer than the plastic ones. I’m not sure how many rounds a plastic gun will fire but I can’t imagine its good for very many.

DSC_0408

DSC_0406

It’s even harder to find out what to do with your flares once they have expired. There is not a standardized procedure for properly disposing of or recycling expired flares. Some local law enforcement and fire departments will not take expired flares off your hands. Some will. I’ve also heard of some West Marine stores taking them back. Sometimes a local Coast Guard auxiliary might take them in for training purposes, but again you would need to call your local chapter to verify this. Some organizations that used to take them in, don’t anymore. It all depends.

Some people decide to shoot them off on holidays like New Years Eve and 4th of July to create the least annoyance by local law enforcement and rescue teams when there are typically a lot of fireworks going off all over the place. We’ve been told that some expired flares still work just fine, but Peter and I wondered just how well they work…

Two nights ago on New Years Eve, “Pistol Pete” decided to try out the 25mm launcher instead of going out to buy fireworks. The only three 25mm flares we had in our supply expired in 1986!! We grabbed one of those and one of the expired 12 gauge shells and set out to a safe spot. Flares are definitely not something to mess around with and extreme caution MUST be used. It’s illegal to shoot off flares OVER WATER if it’s not an emergency situation so we went to an empty parking lot instead :) Many people might debate this and we’ve seen plenty disagree, but I read on USCG documents that its only illegal if you are shooting them over water in a non-emergency situation. Of course it’s always best to check with your local law enforcement.

We learned some very important lessons about what happens when you use expired flares. BOTH of the shells we tried DID NOT function properly. We tried the 12 gauge insert first. There was a minor flash at the gun when the shot went off with no aerial signal at all. It was pretty much a dud and had long since expired. The shell expanded when it was fired and got stuck inside the insert:

DSC_0410

DSC_0411

DSC_0413

DSC_0414

The 1986 25mm shell also performed badly. There was a huge explosion right as it exited the gun instead of igniting the flare way up in the air. If this had been on the boat it could have caught our sails on fire or severely burned us. You can see in the picture below that there was a lot of burning phosphorus inches from Peter’s hand and it was very hot. A tiny ember floated down and actually got into his eye!! We were able to flush it with water right away and his vision was not affected but it was still scary and VERY dangerous. We decided that if we are ever in a situation where we need to fire an expired flare, we do our best to wear protective eyewear, gloves and to stand as far away as possible from anything that could catch fire. In an emergency situation it may be difficult to grab protective gear in time but we will definitely keep it close by!

Back to the question… “Are expired marine flares still safe?” We’ll leave that up to you to decide :)

IMG_3662

When your iPhone goes overboard… Waterproof. Mudproof. LIFEPROOF.

So… we live on a boat. And we have iPhones. It was only a matter of time before we got one of them REALLY wet.

A lot of people get protective cases for their phones, tablets, ipads and other electronics to protect them from scratches and from shattering if dropped on the concrete. Earlier in the year, while planning for our epic adventures, our friends Josh and Leah suggested we invest in the LifeProof iPhone cases. They had just purchased two of them before their travels to Costa Rica to keep their iPhones waterproof while playing on the beautiful beaches. I was a little skeptical on how necessary it was to have a waterproof case since they retail for something like $80!! I mean, do you really need to have your phone with you when you’re at the beach? How often are we really in the water?

It had never occurred to me that I could just buy a rugged case and then be able to take pictures and video no matter where we go!! If we had waterproof cases we wouldn’t have to worry about sand getting in the buttons or worry about salt water ruining the screen. Even dropping it on the rocks wouldn’t bust the phone. We decided it would be a pretty important investment if we wanted to be able to have the iPhone camera and GPS apps handy no matter what kind of crazy places we might end up in.

Two LifeProof cases arrived soon after that :) The volume quality is slightly diminished when on a call but the slight sound sacrifice is SO worth it… even though family members might get tired of telling us they can’t understand what we are saying… (sorry Bean!)

LifeProof claims to be water proof, dirt proof, shock proof and snow proof – even to military specs!! Boy did we get a chance to test out how well it keeps out water! Last night Peter was stepping up from the dock onto the boat and as he ducked into the cockpit he heard something hit the deck and plop into the water. His hands went straight to his pocket and, sure enough, his phone was GONE. Just as fast as the phone must have sunk to the bottom of the marina, so did Peter’s stomach. It’s such a sickening feeling when you know something really bad just happened.

It didn’t just fall in the water… it fell in the really icky brown salt water with 6″ visibility. Our slip is at least 11′ deep according to our sonar transducer on the boat and the bottom is a foot thick with mud. Our neighbor Cyndy reminded us that the reason it’s so stinky is probably because there’s more manatee poop on the bottom than there is mud!! There’s a LOT of manatees here and its a frequent occurence to see a big fat turd going out with the tide after floating up from underneath a manatee. We’re not kidding folks, it’s not from the boaters either.

Determined to find a way to save the phone we had to do some quick thinking. What do we do? Grab our two boat hooks, the net and some duct tape of course!! It was 11:00 at night, dark and the clock was ticking to figure out how to find it before it was sucked into the mud. We knew he had the LifeProof case on, but we weren’t totally sure if he closed the latch on the bottom where you plug in the power cord. If it was closed, there was hope for his phone yet! If not, it was toast. Mark is the local diver that cleans the bottoms of most of the boats here in the marina and Peter and I both knew he would say, “It’s GONE man!” Not even Mark would dive for it in this mud.

DSC_0228

I scrambled to grab the camera while Peter started making a couple sweeps with the jury rigged net. I just knew this was going to be our next blog post, hehehe :)

DSC_0231

With just a foot between the boat and the dock there was at least a focused area for Peter to search. It just had to be down there somewhere. He saw where it went in but we weren’t sure if it went straight down, or if it had bounced out a little from the boat underneath the dock.

DSC_0234

We were actually lucky that all that manatee poo and mud was down there or else the net might have just pushed the phone around on a hard bottom surface. The mud allowed Peter to stab the net down a few inches into the mud and then pull it sideways a couple of inches. He would lift the net up and over one inch, then stab it back down to sift through some more. It was so thick that he couldn’t just drag it all the way across the bottom.

DSC_0235

After a few minutes of this he was ready to give up. He was thinking of how much of a pain it was going to be to file an insurance claim with the cell company and get a replacement. He would have to pay a $200 deductible for the replacement, then go through the hassle of reinstating the last backup he did. Who knows how long ago that was :S Of course, all of his photos and personal settings would be gone. Not the end of the world, but for our generation its heart wrenching when something happens to your smartphone!!

I just KNEW he was going to get it eventually. I begged, “Keep looking! Keep looking! Just a little longer…” Peter was doubtful, but took another “stab” at it. As the net came up to the surface it was a little heavier than before.

DSC_0236

Can you believe it???? With NO visibility, we got it!!!!!!! But HOLY CRAP that was some stinky mud that came up with it. It smelled like a port-a-potty! Yuk!!

DSC_0240

Now for the test. He pressed the home button… and it was still on!!!!!!!!!

DSC_0242

I tried to get a shot of just how long our contraption was but it was as long as the whole finger pier of the dock. By this time I was over the photos and just snagged a quick shot on my iPhone but it was still hard to see.

IMG_3585

LifeProof only guarantees their cases for water immersion up to 2 meters for 1 hour. That’s about 6.5 feet. Peter’s phone was at 11 feet for about 20 minutes and it passed the test with flying colors. There was just a TINY bit of water on one edge of the phone when we opened the case but not enough to make any impact at all. The case got a thorough bath and we placed the case and the phone near our AirDryer 1000 dehumidifier for about an hour to make sure they got totally dry.

If our LifeProof cases can withstand the saltwater and mud at 11′ deep then it should do just fine for taking underwater pics of all the sea life when we get to that crystal clear water in the Bahamas ;) I’m feeling a little more confident now in just how “lifeproof” our cases are and can’t wait to test it out again in a more desirable setting :)

IMG_3576

Peter is one lucky guy ;)