Home » BLOG » maintenance

Tag: maintenance

Valentine’s Day at Lover’s Beach, Great Harbour Cay, Bahamas

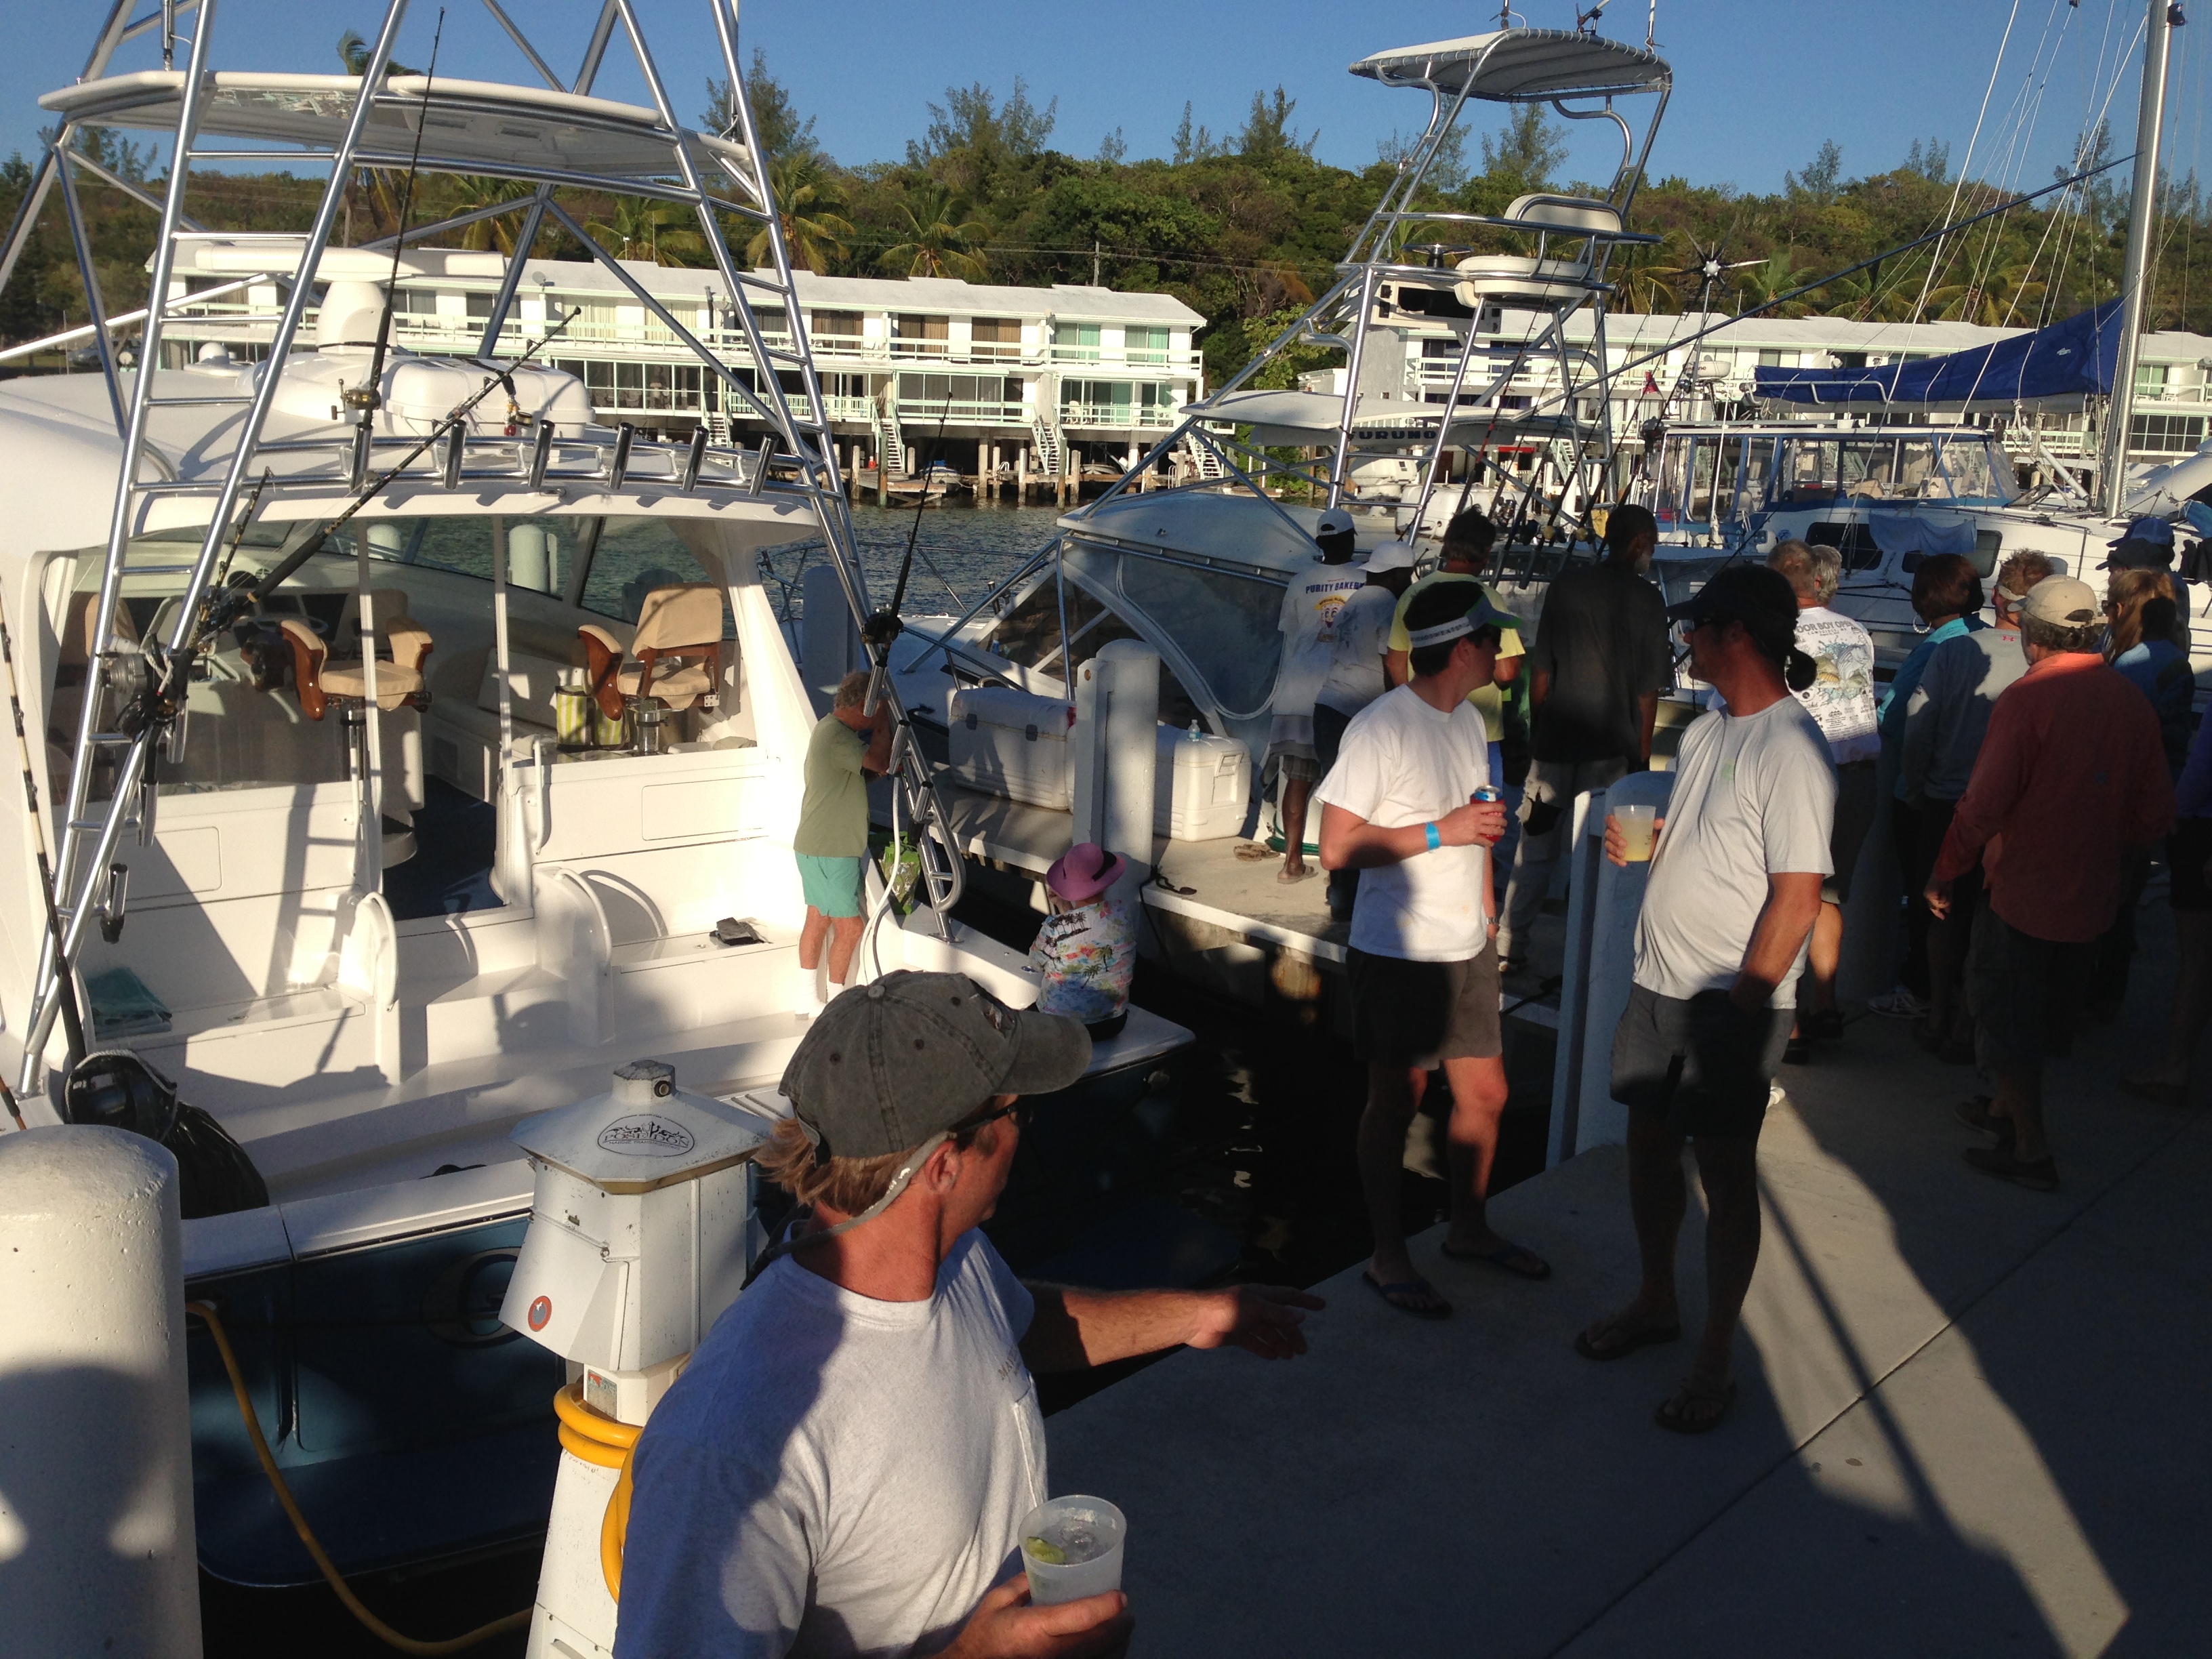
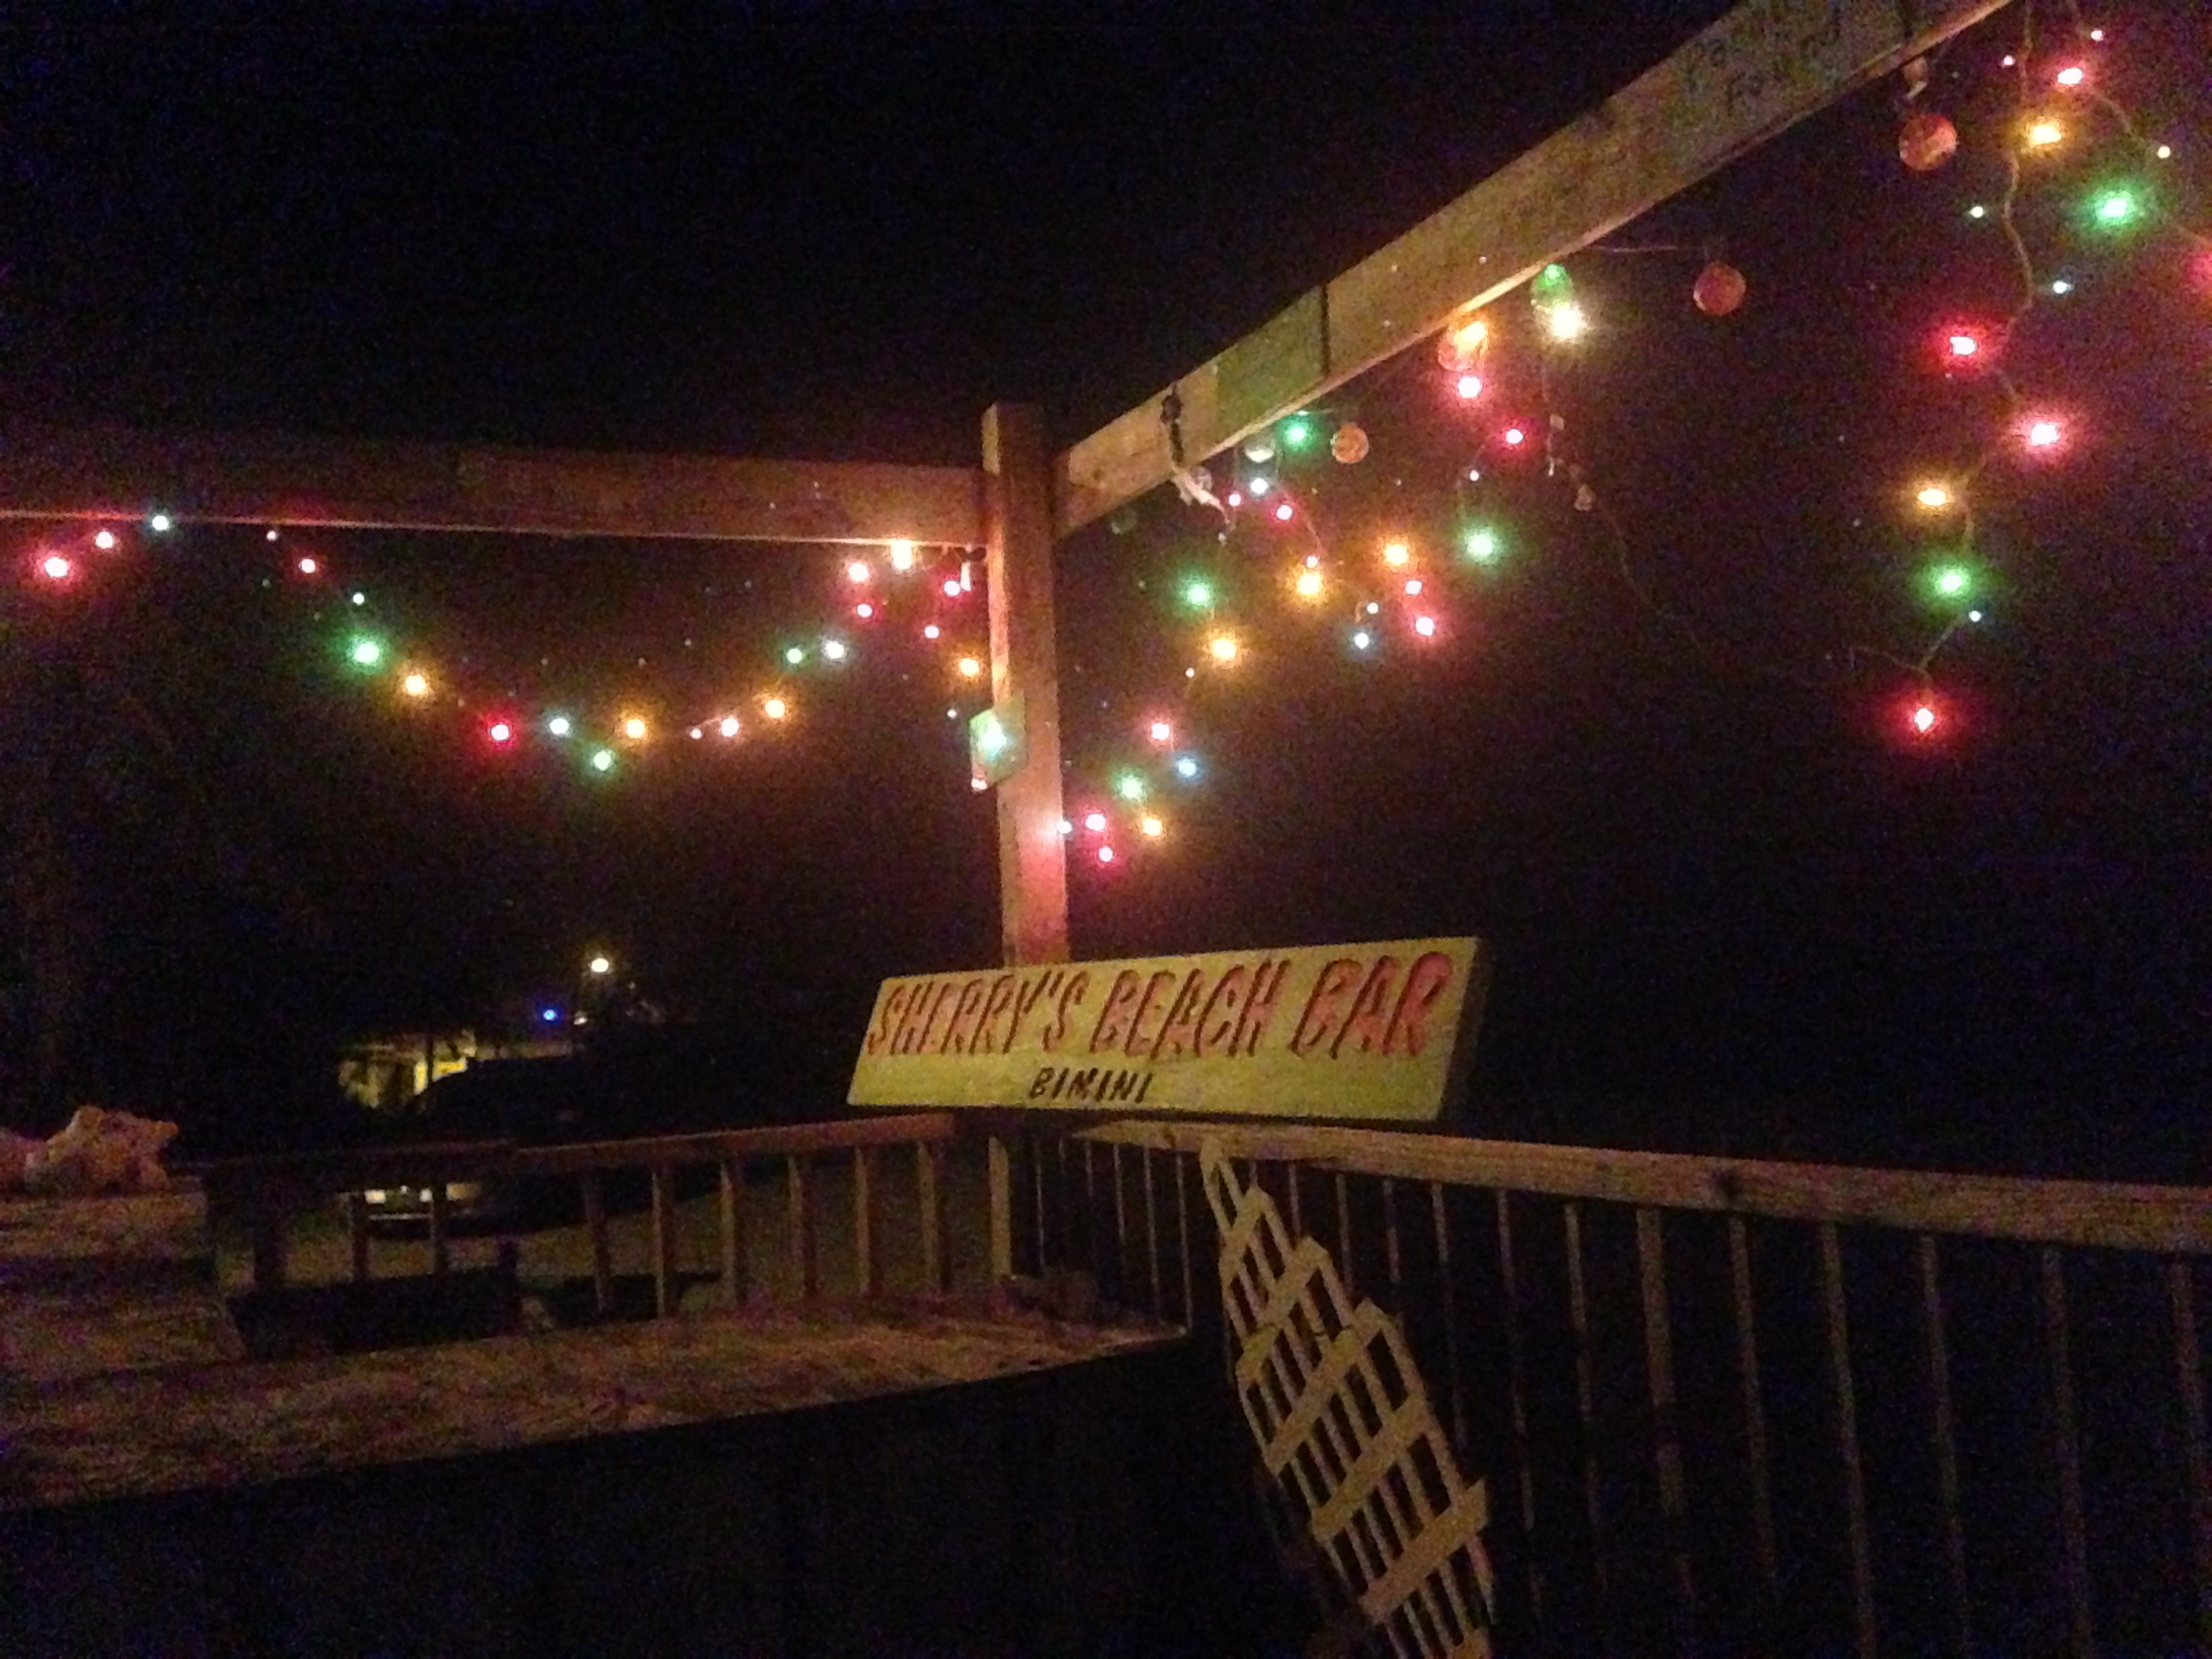
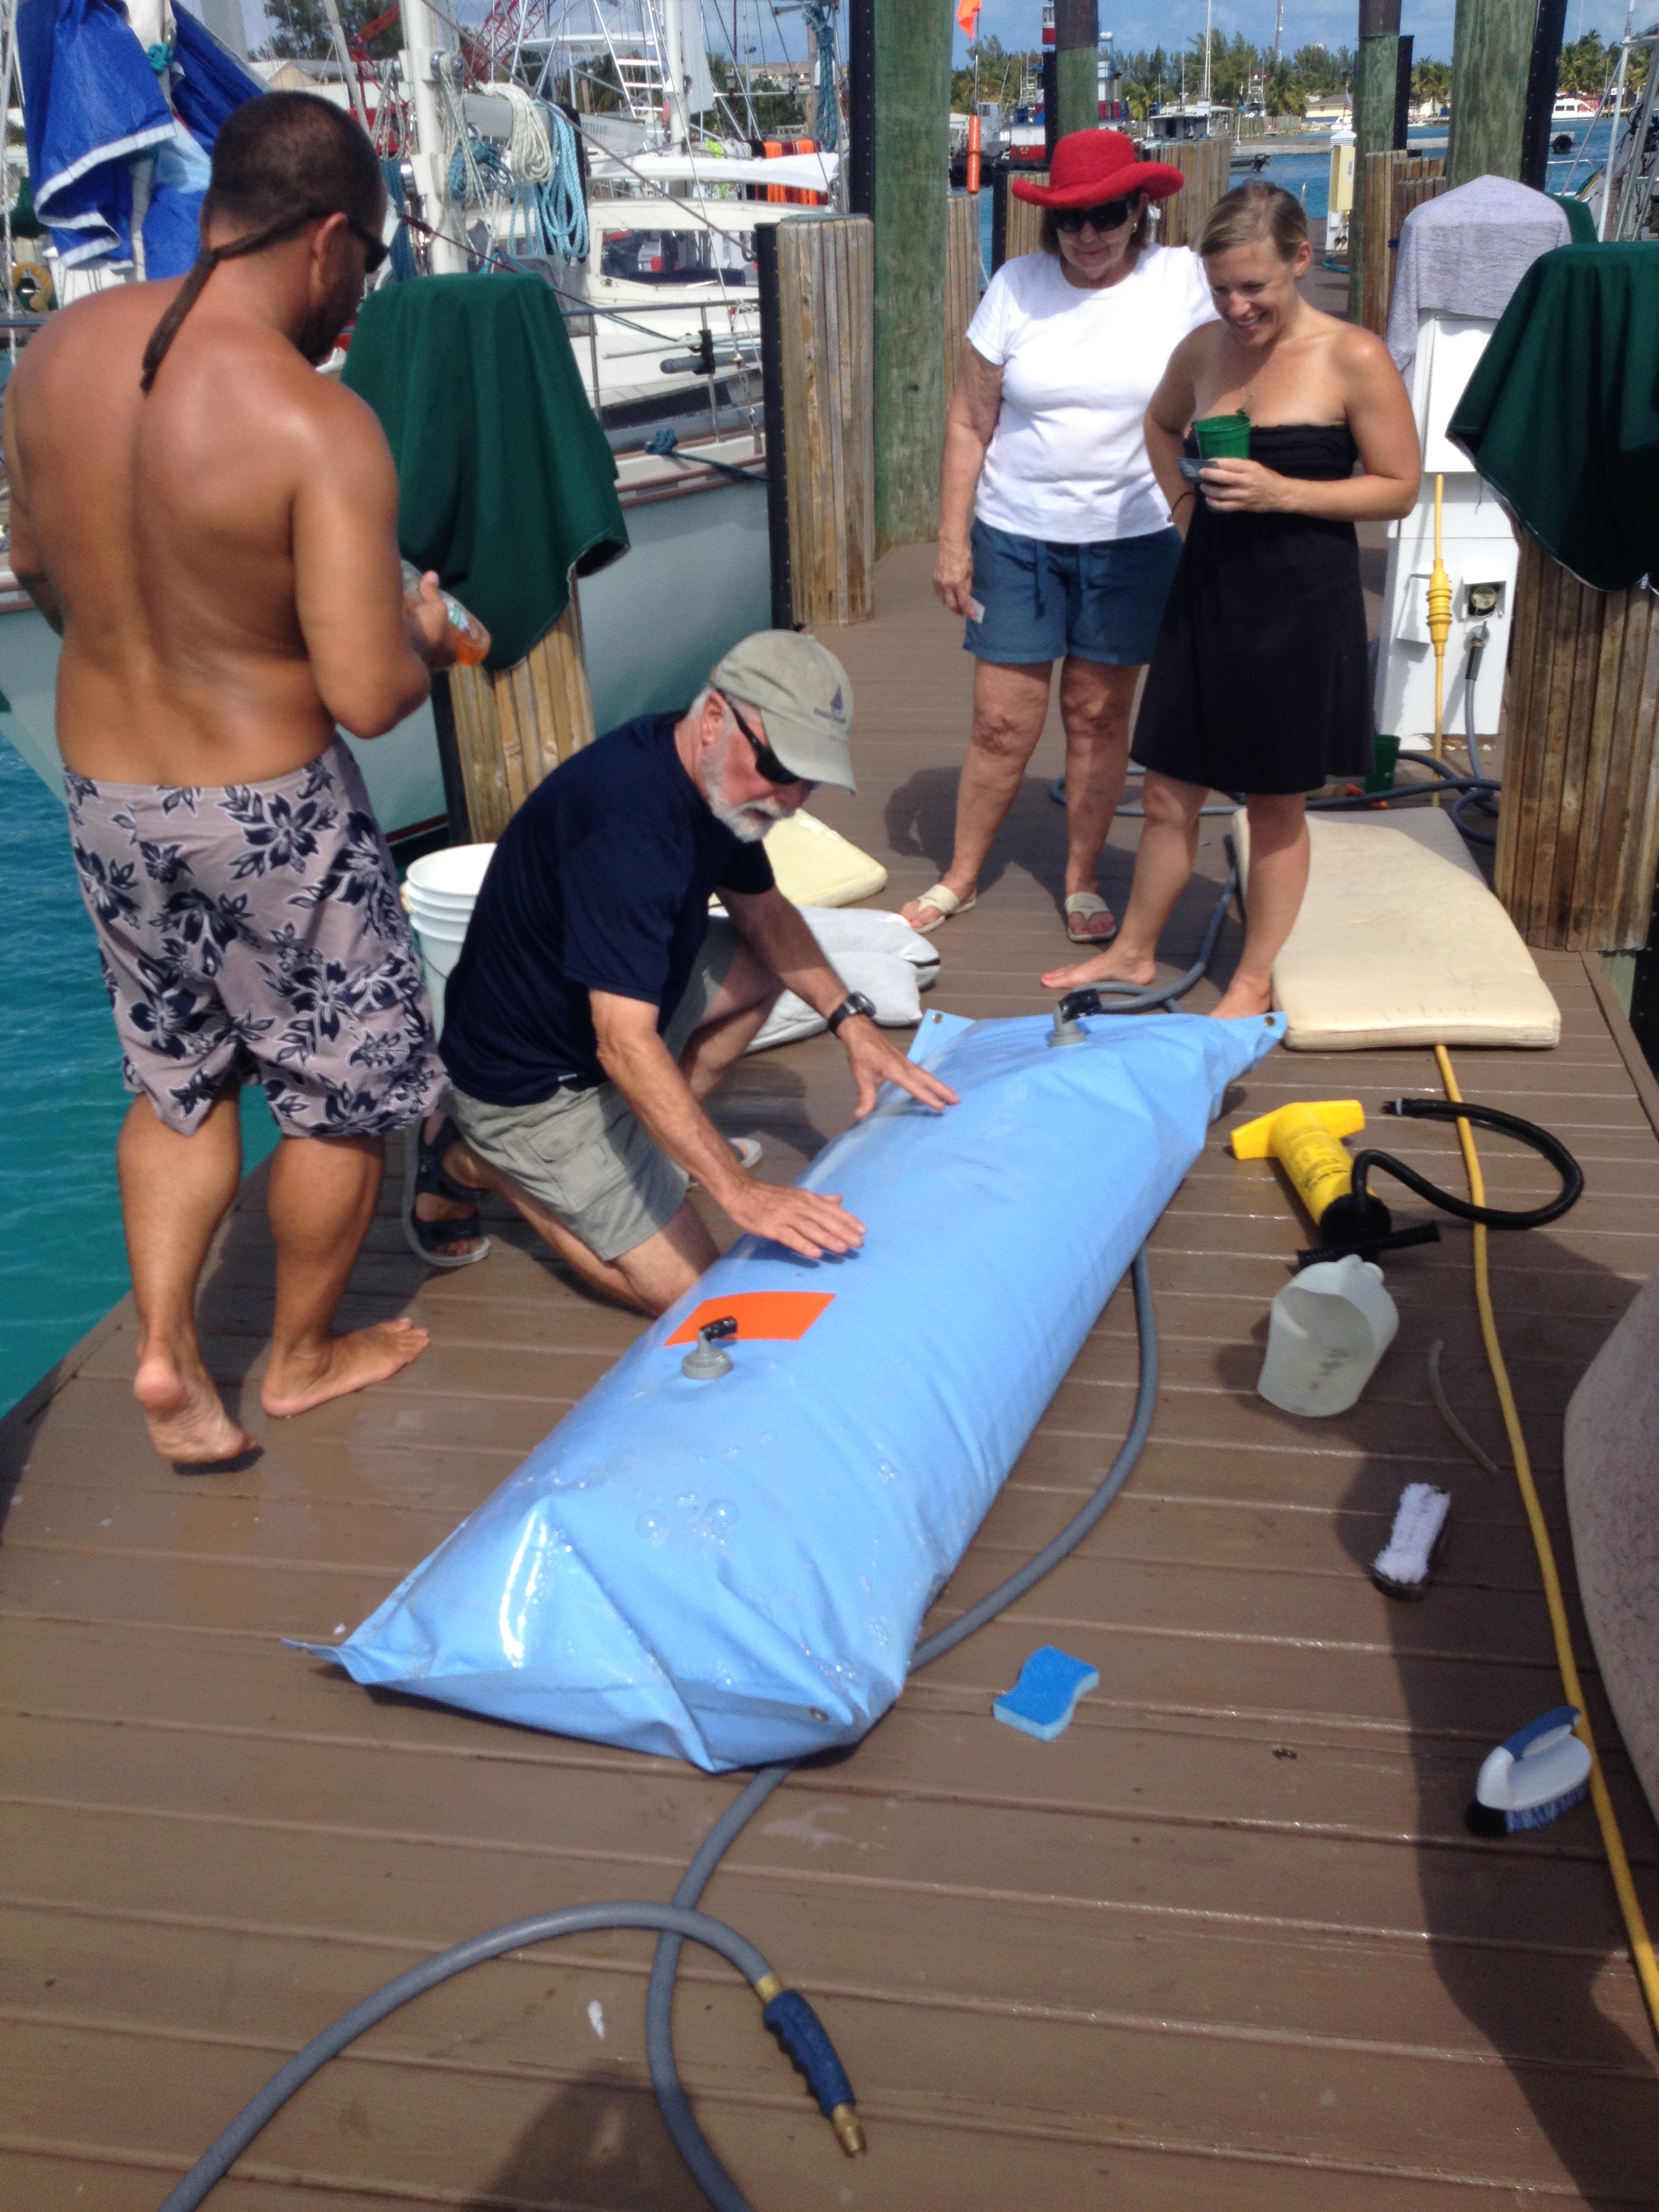
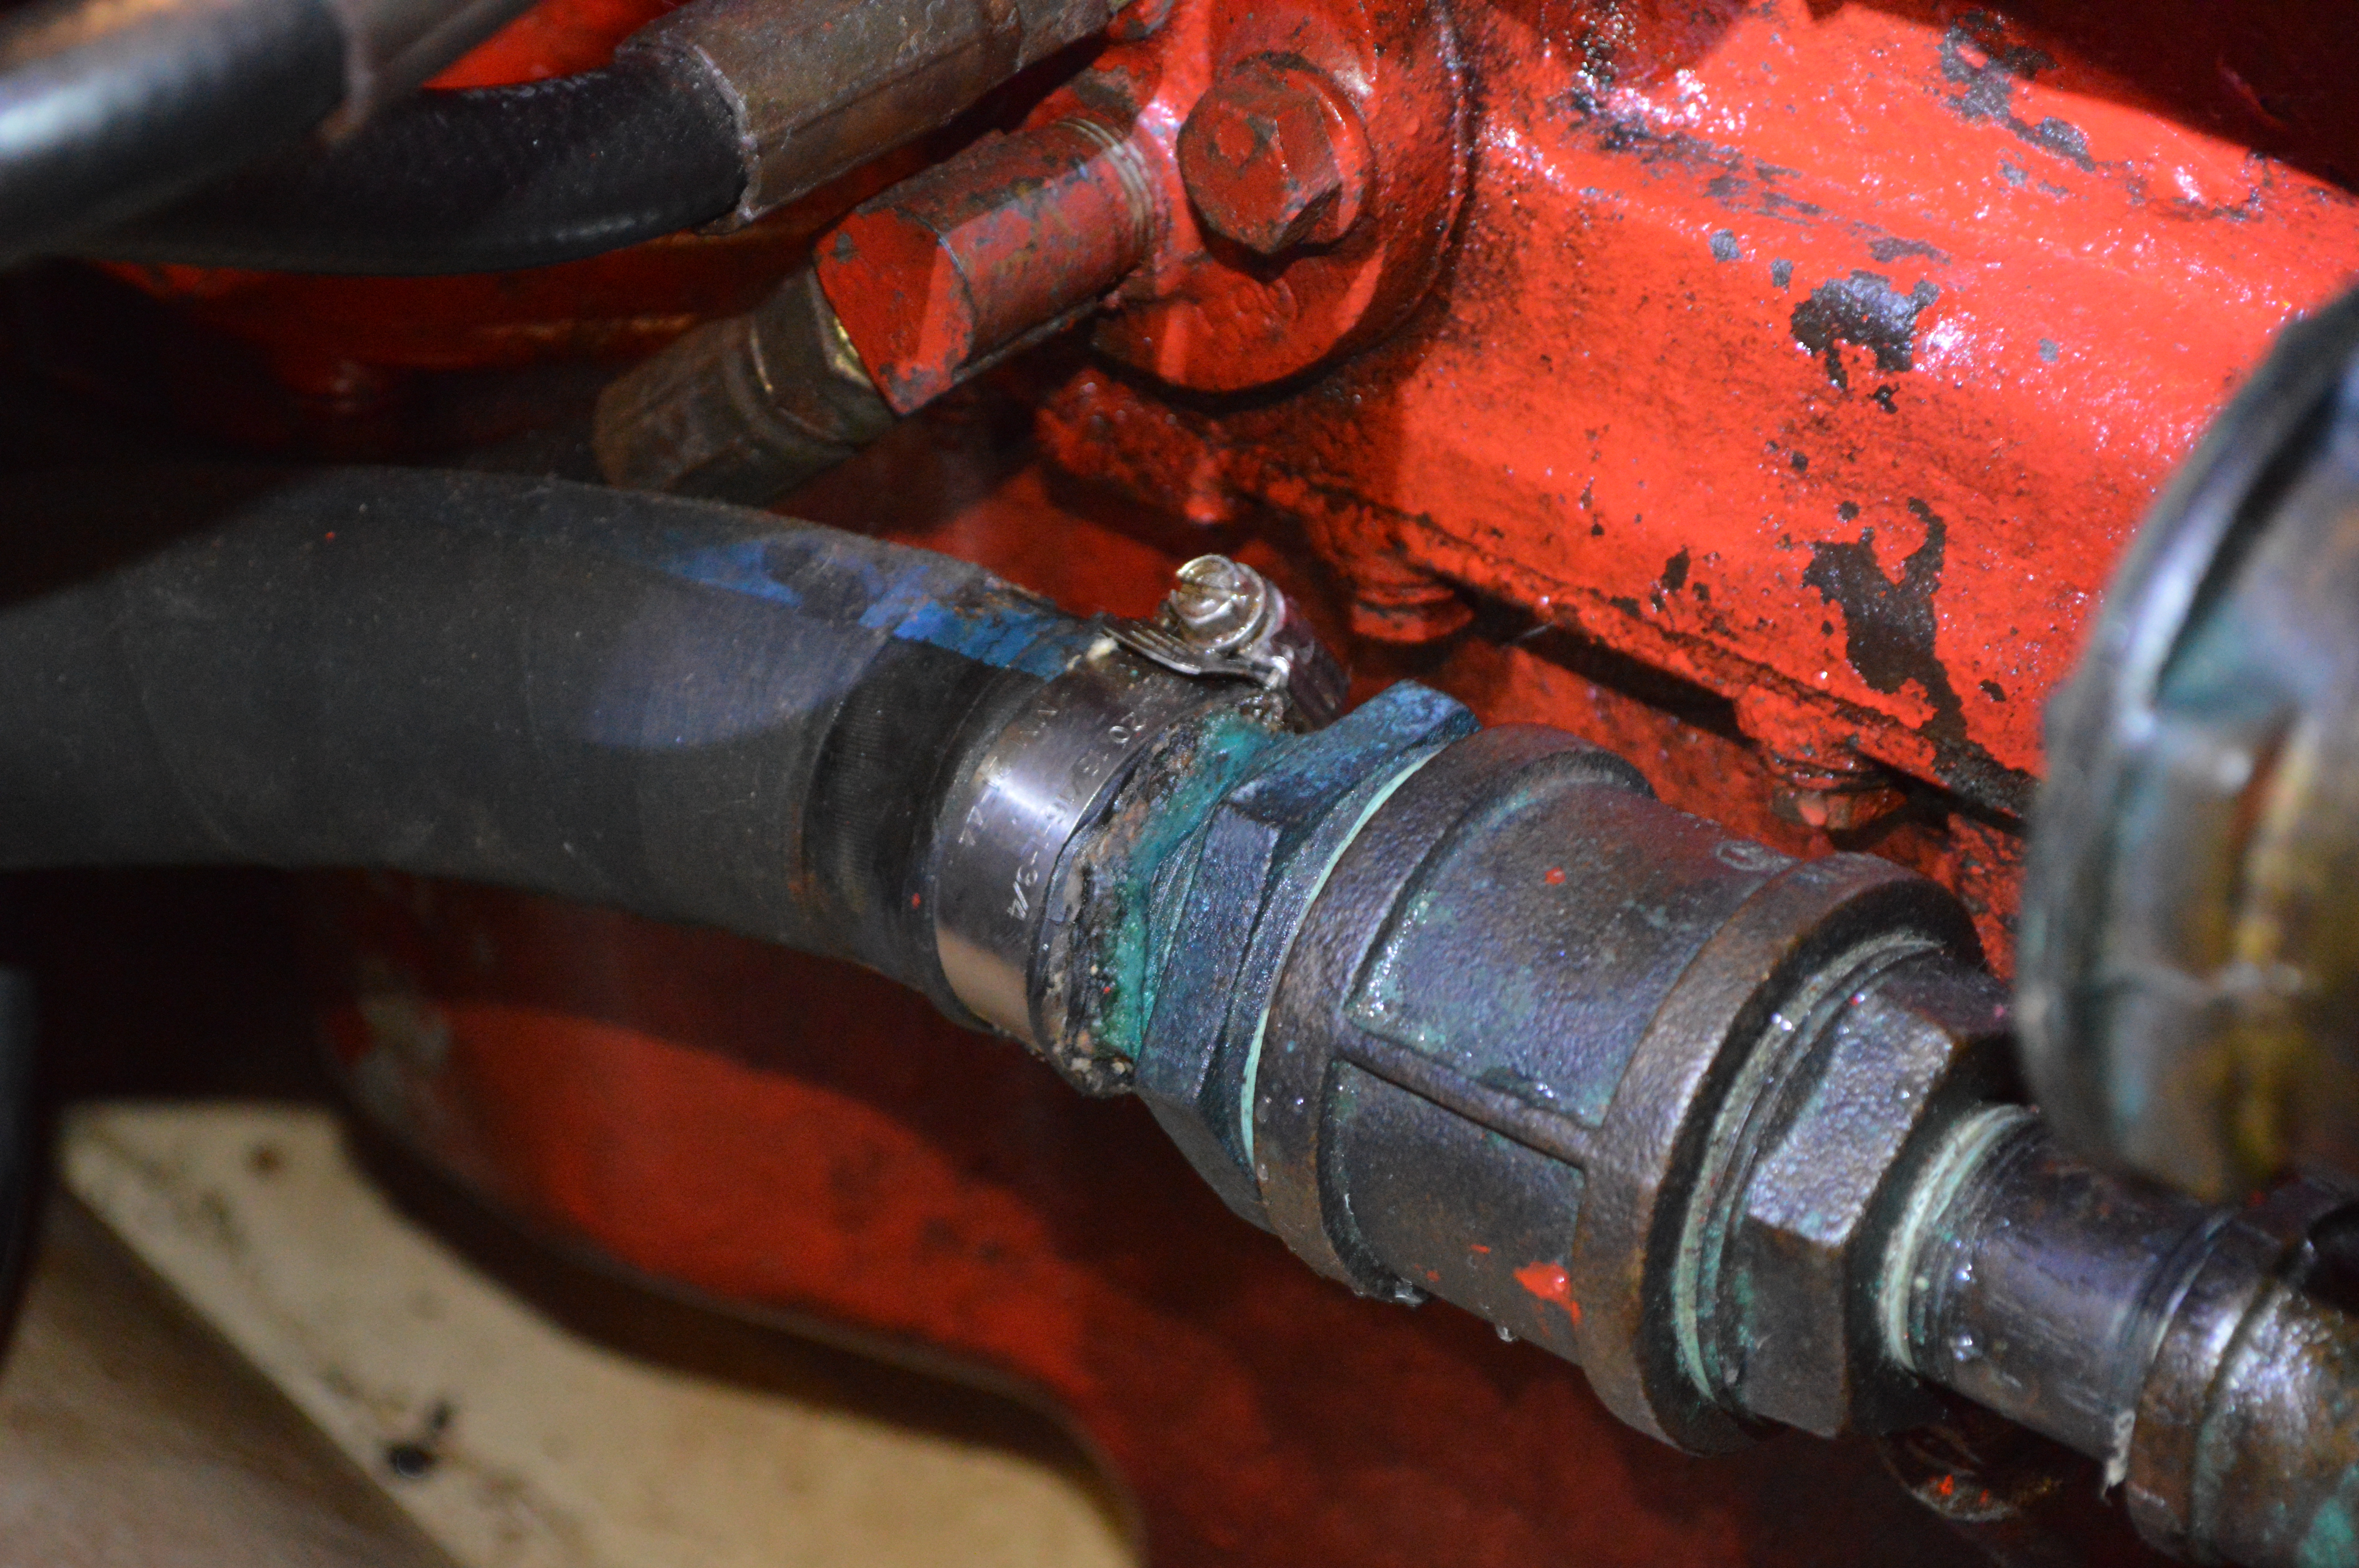
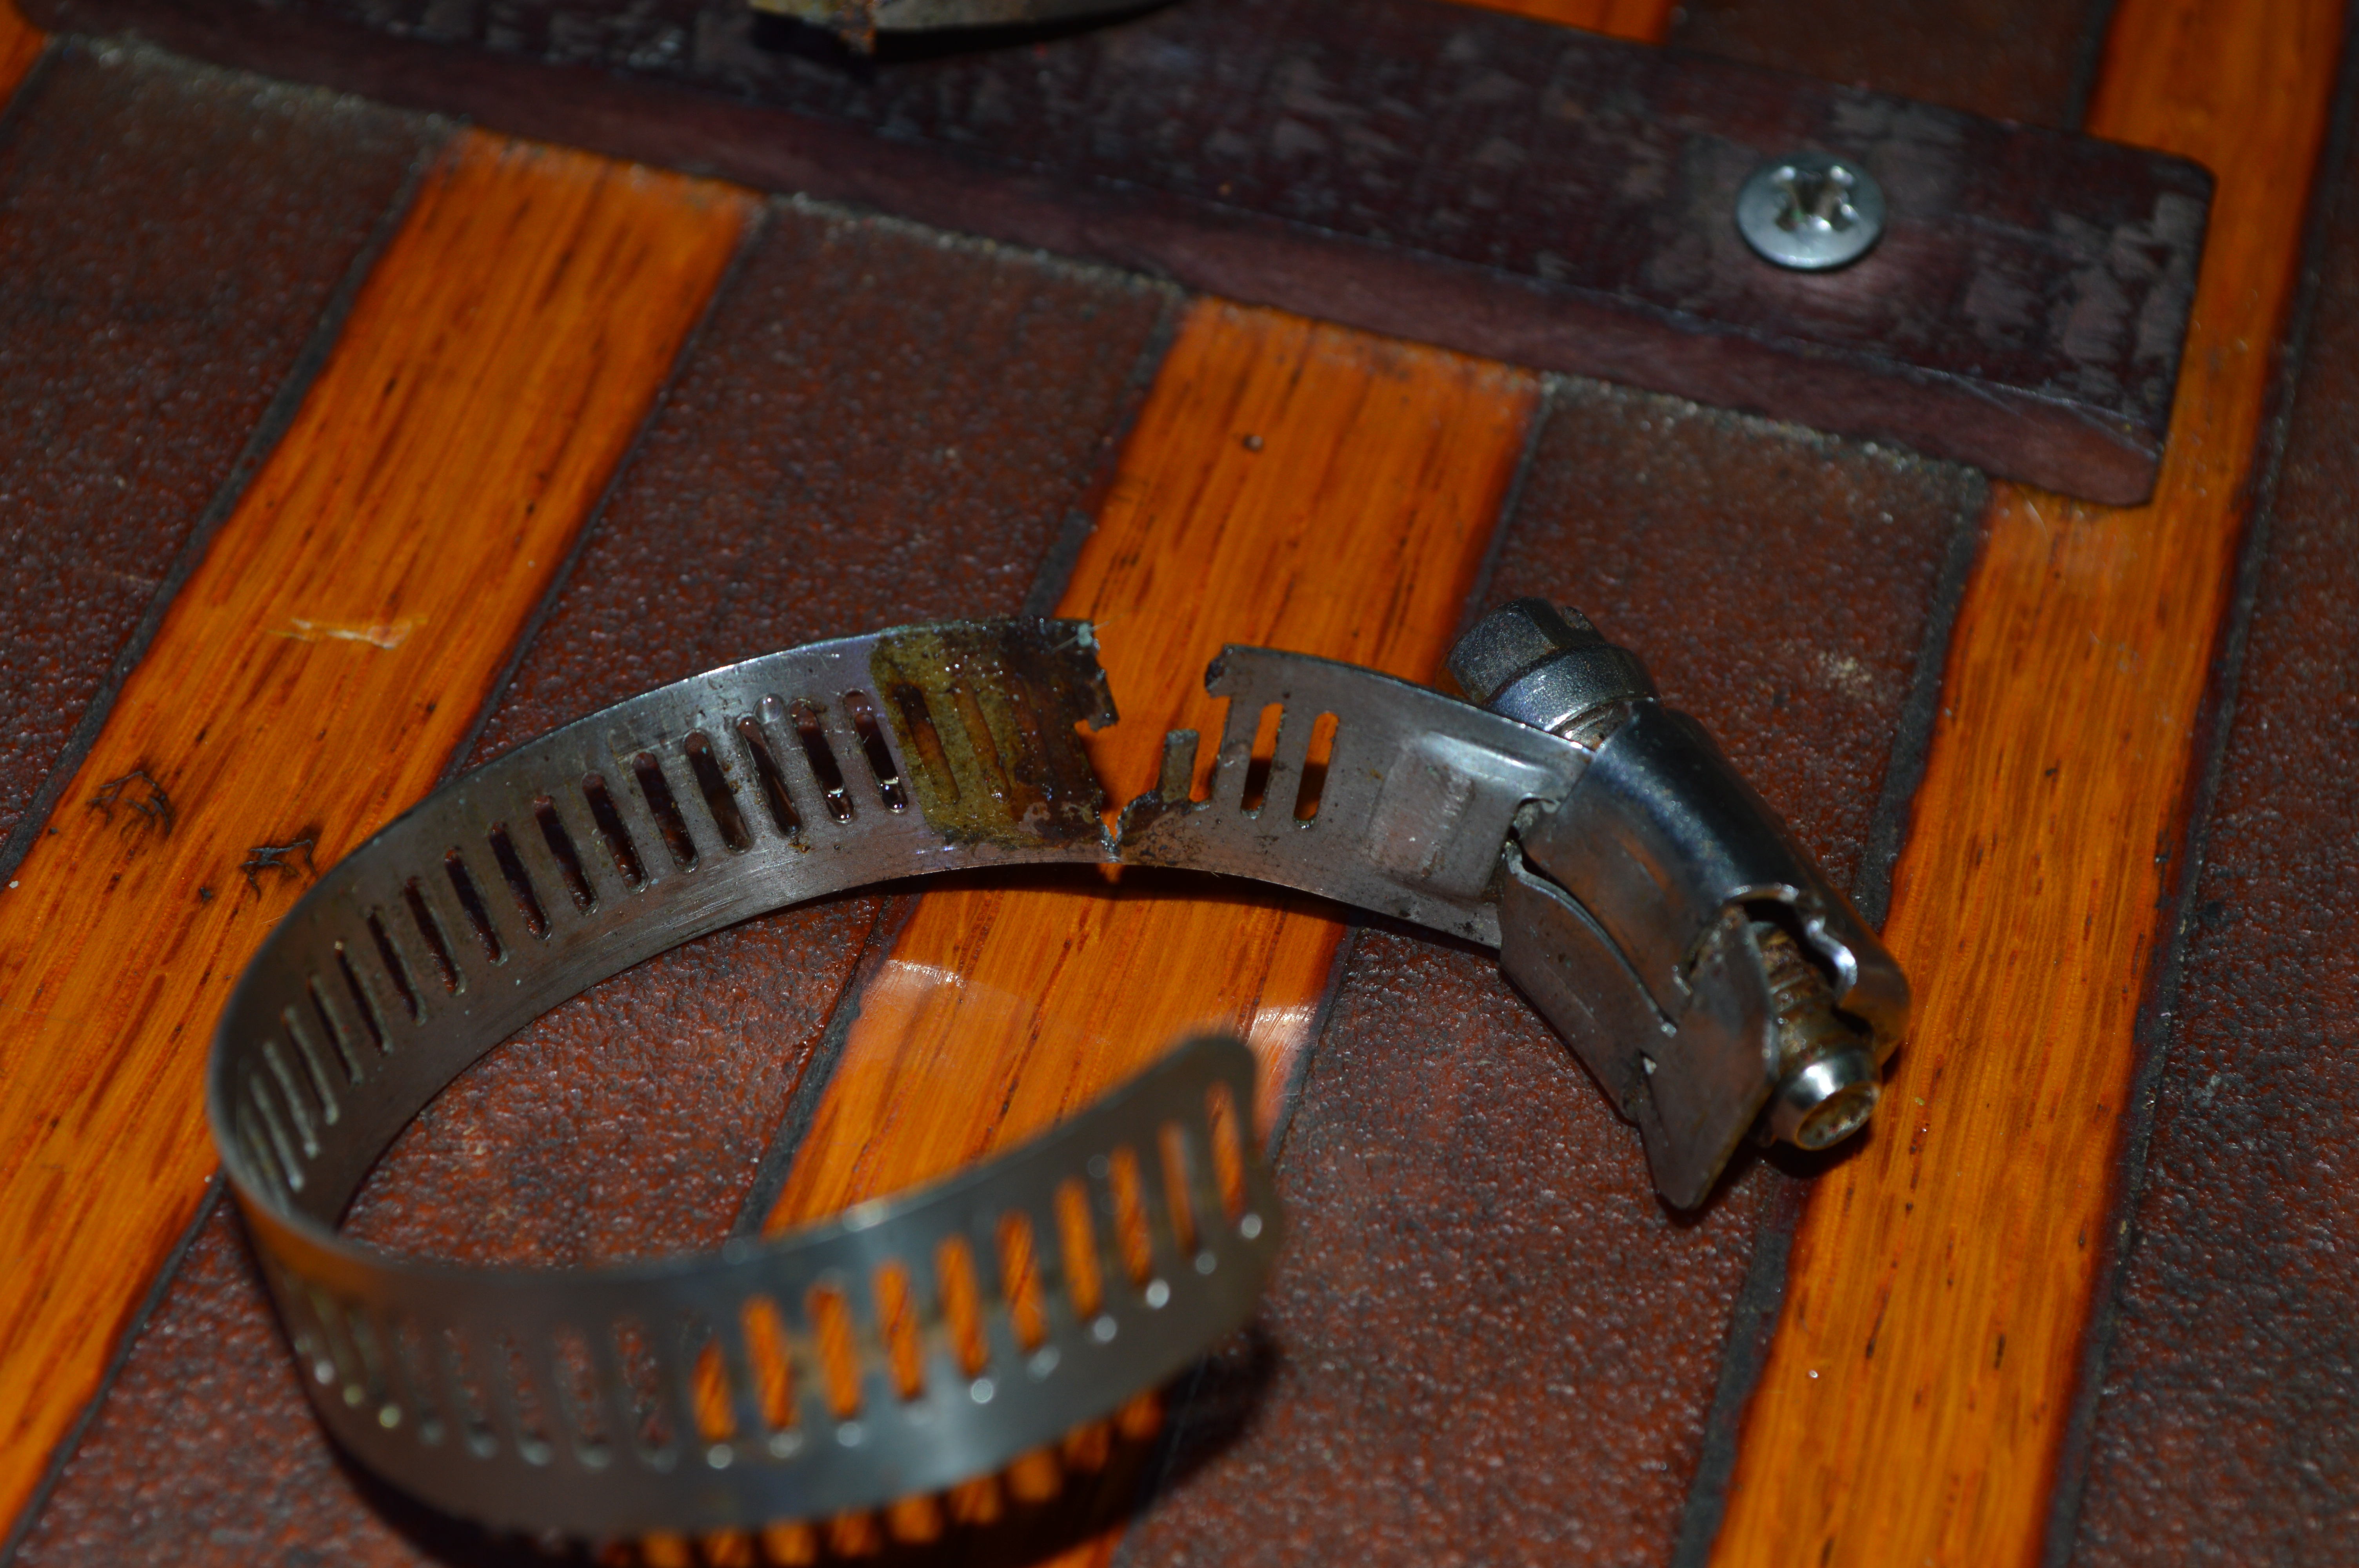
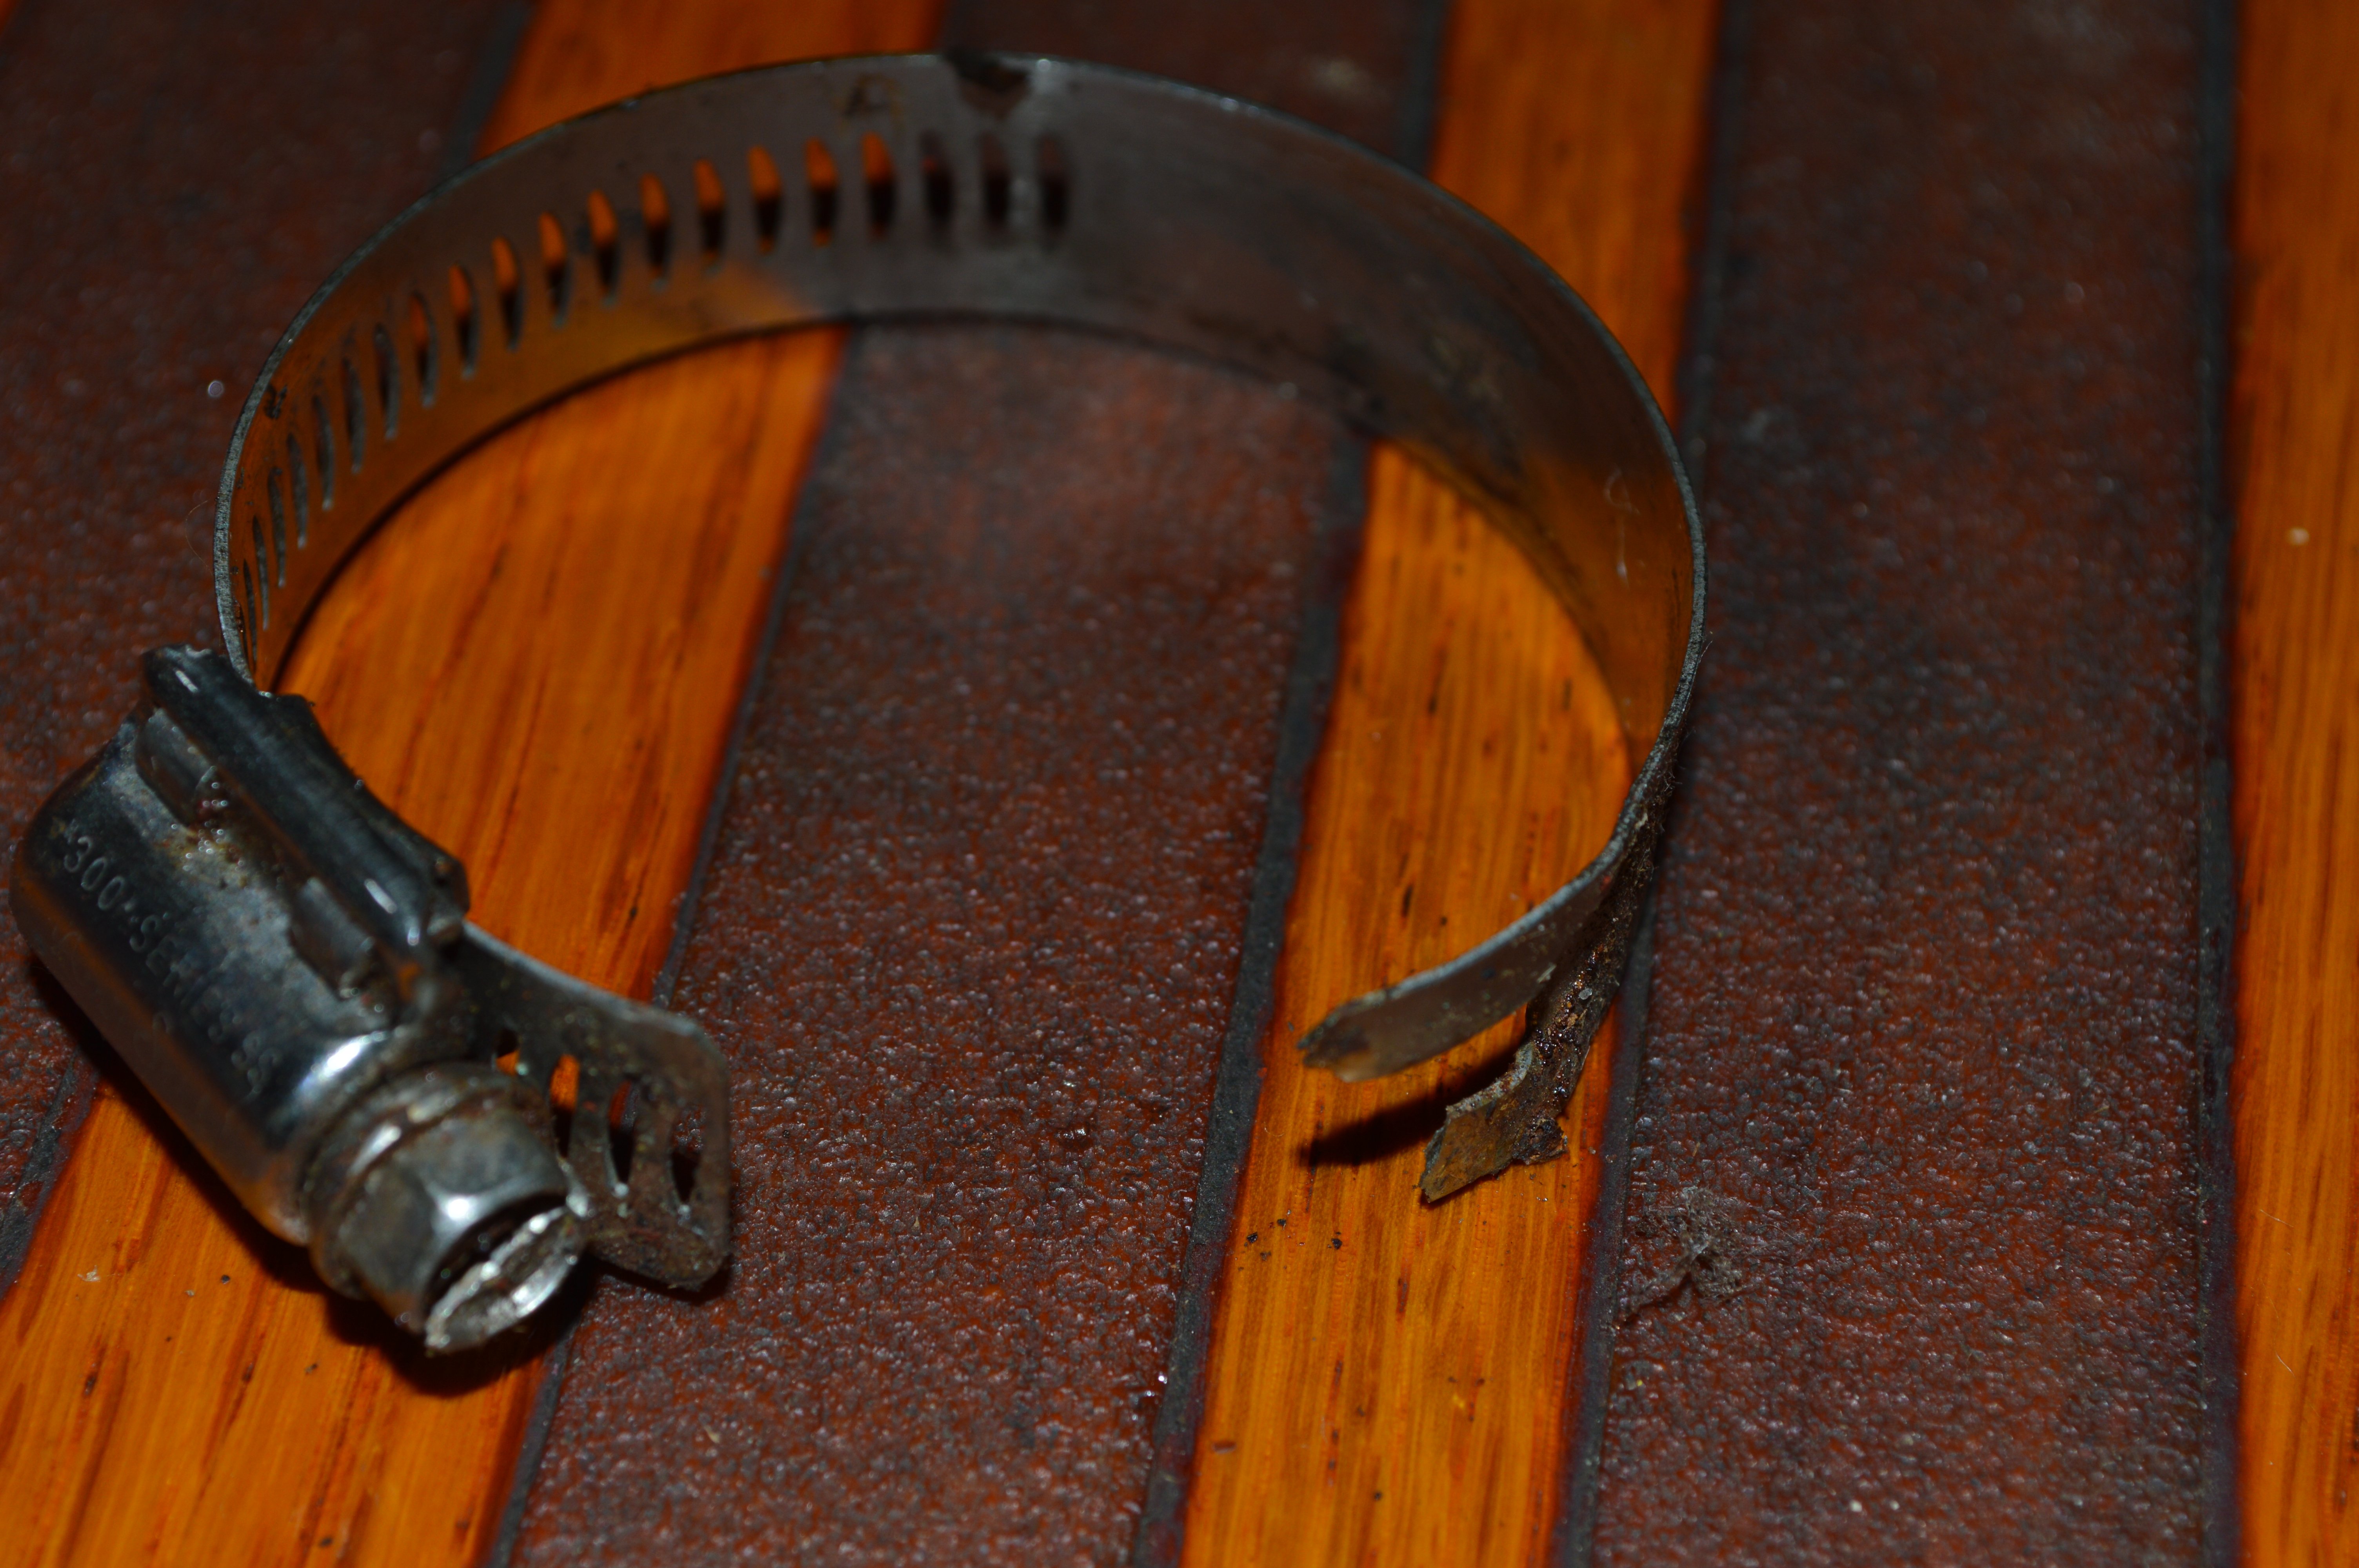
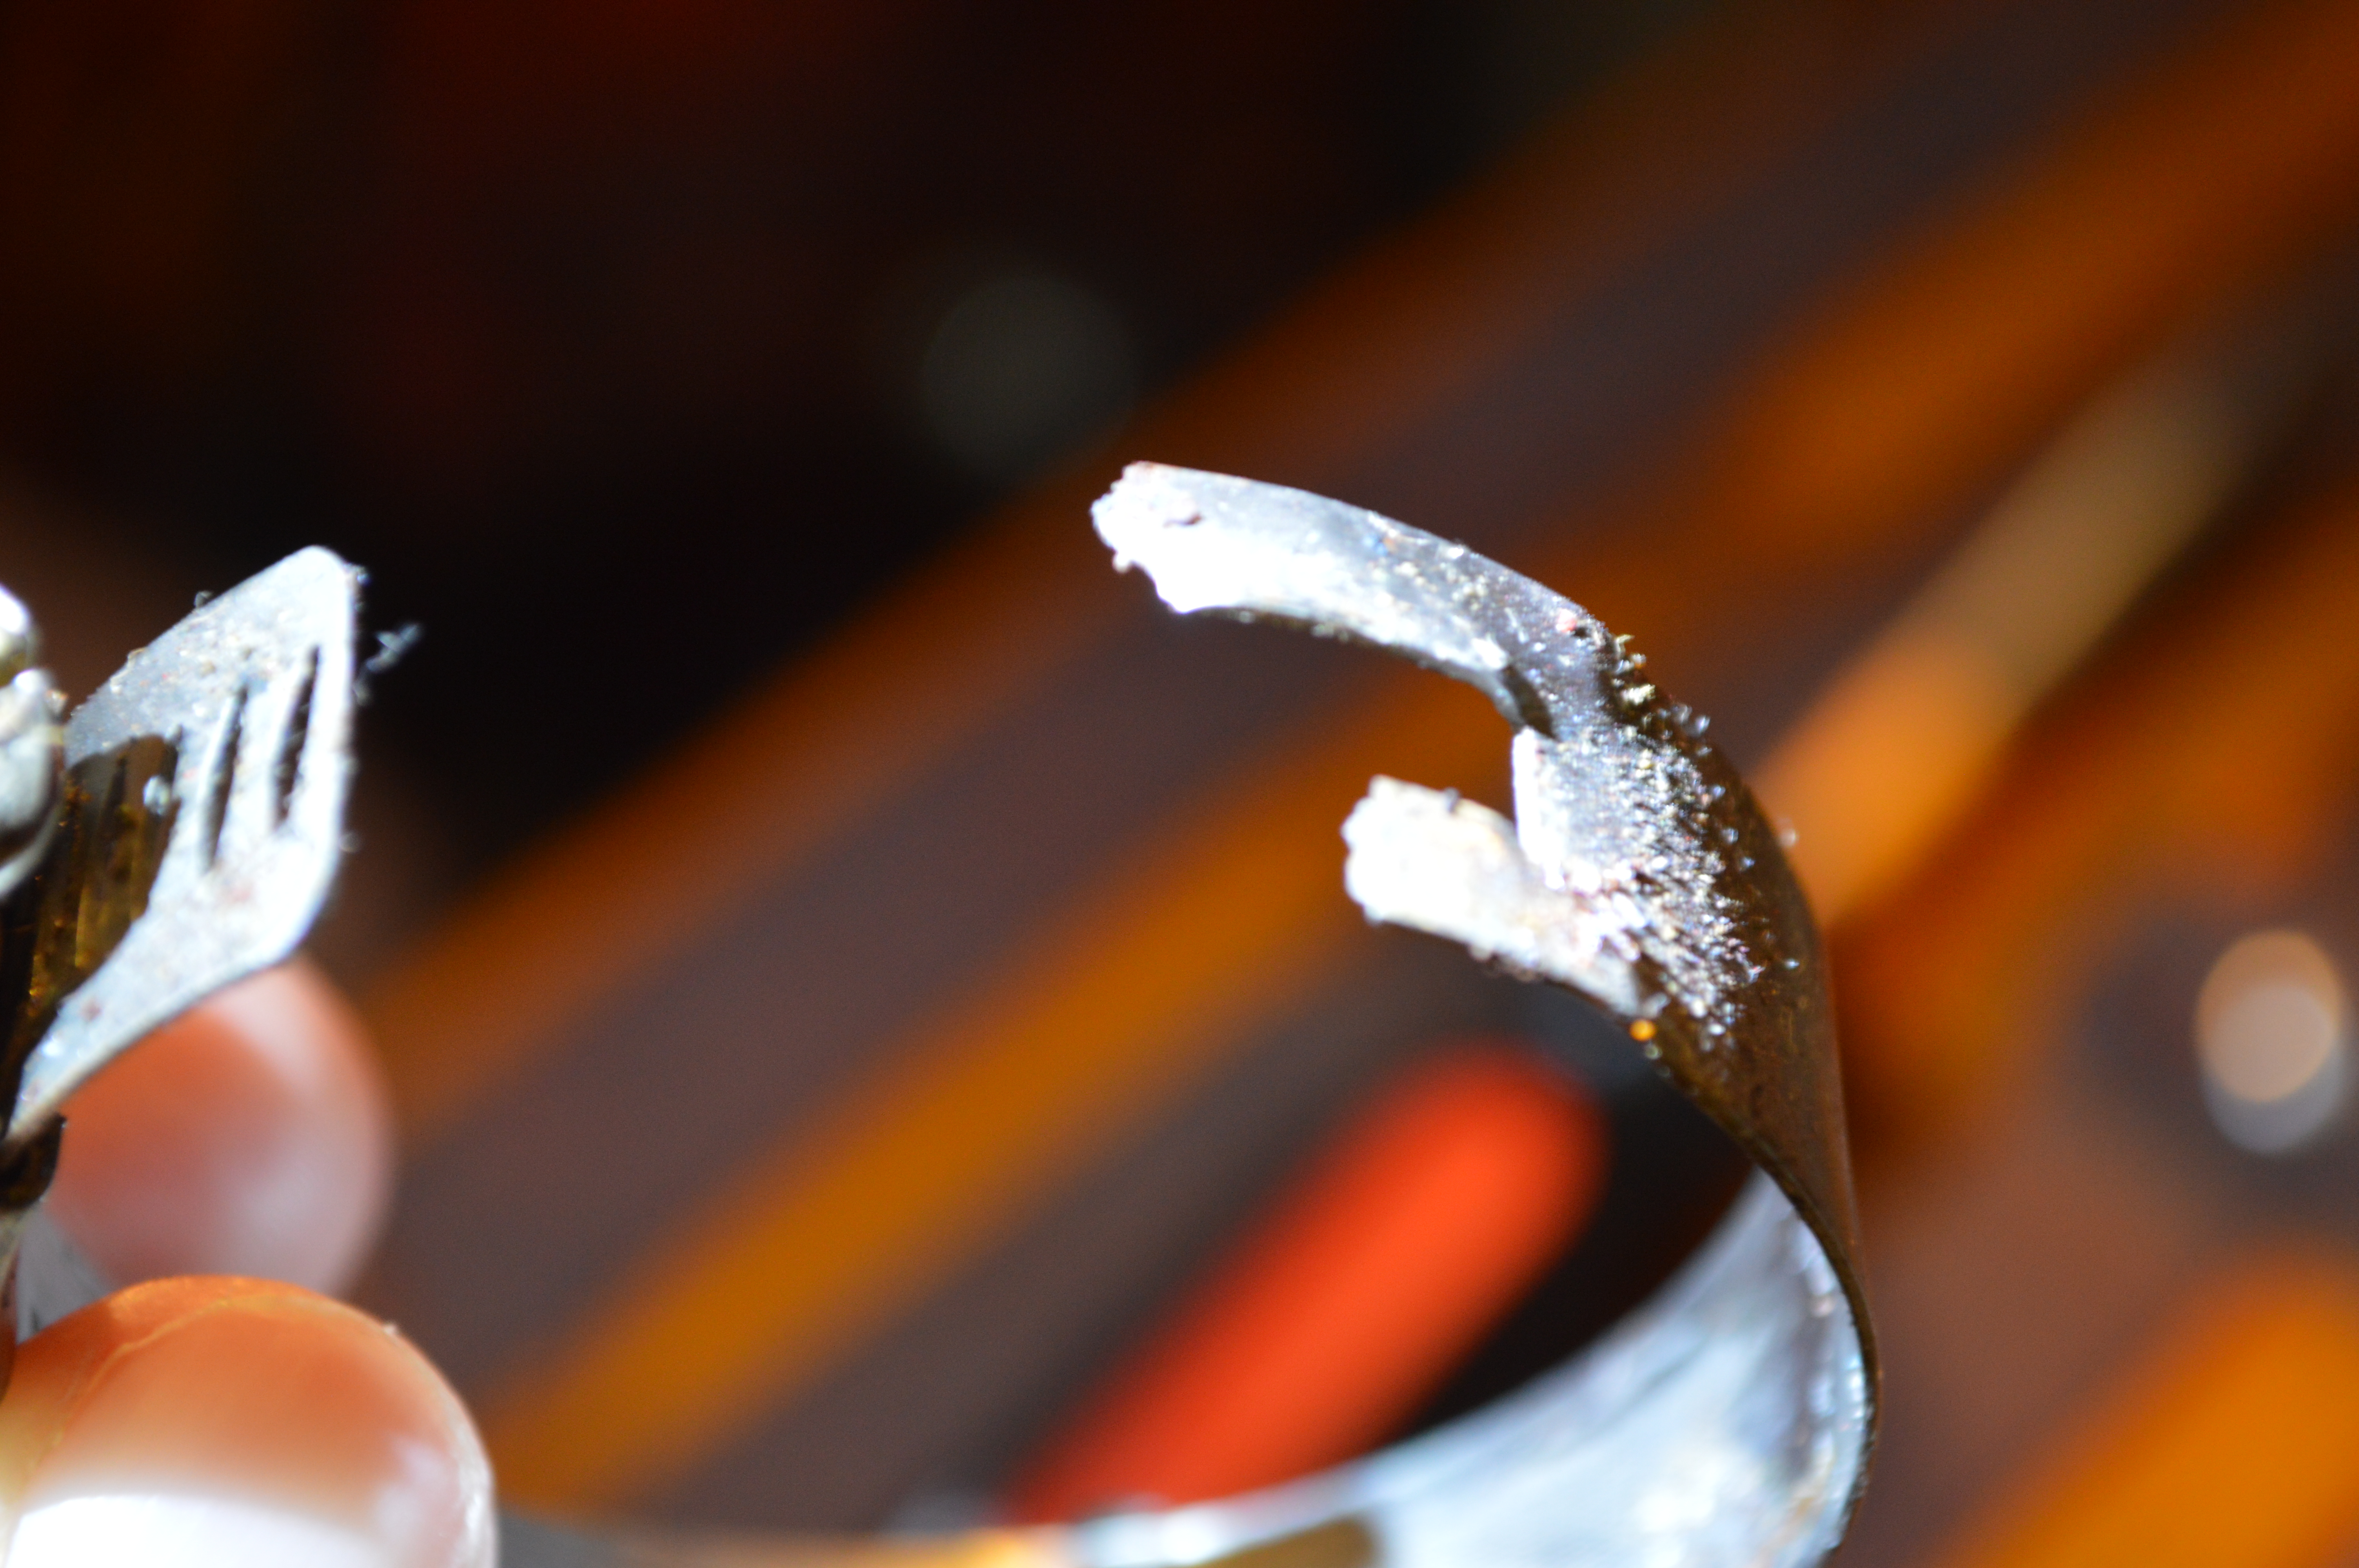
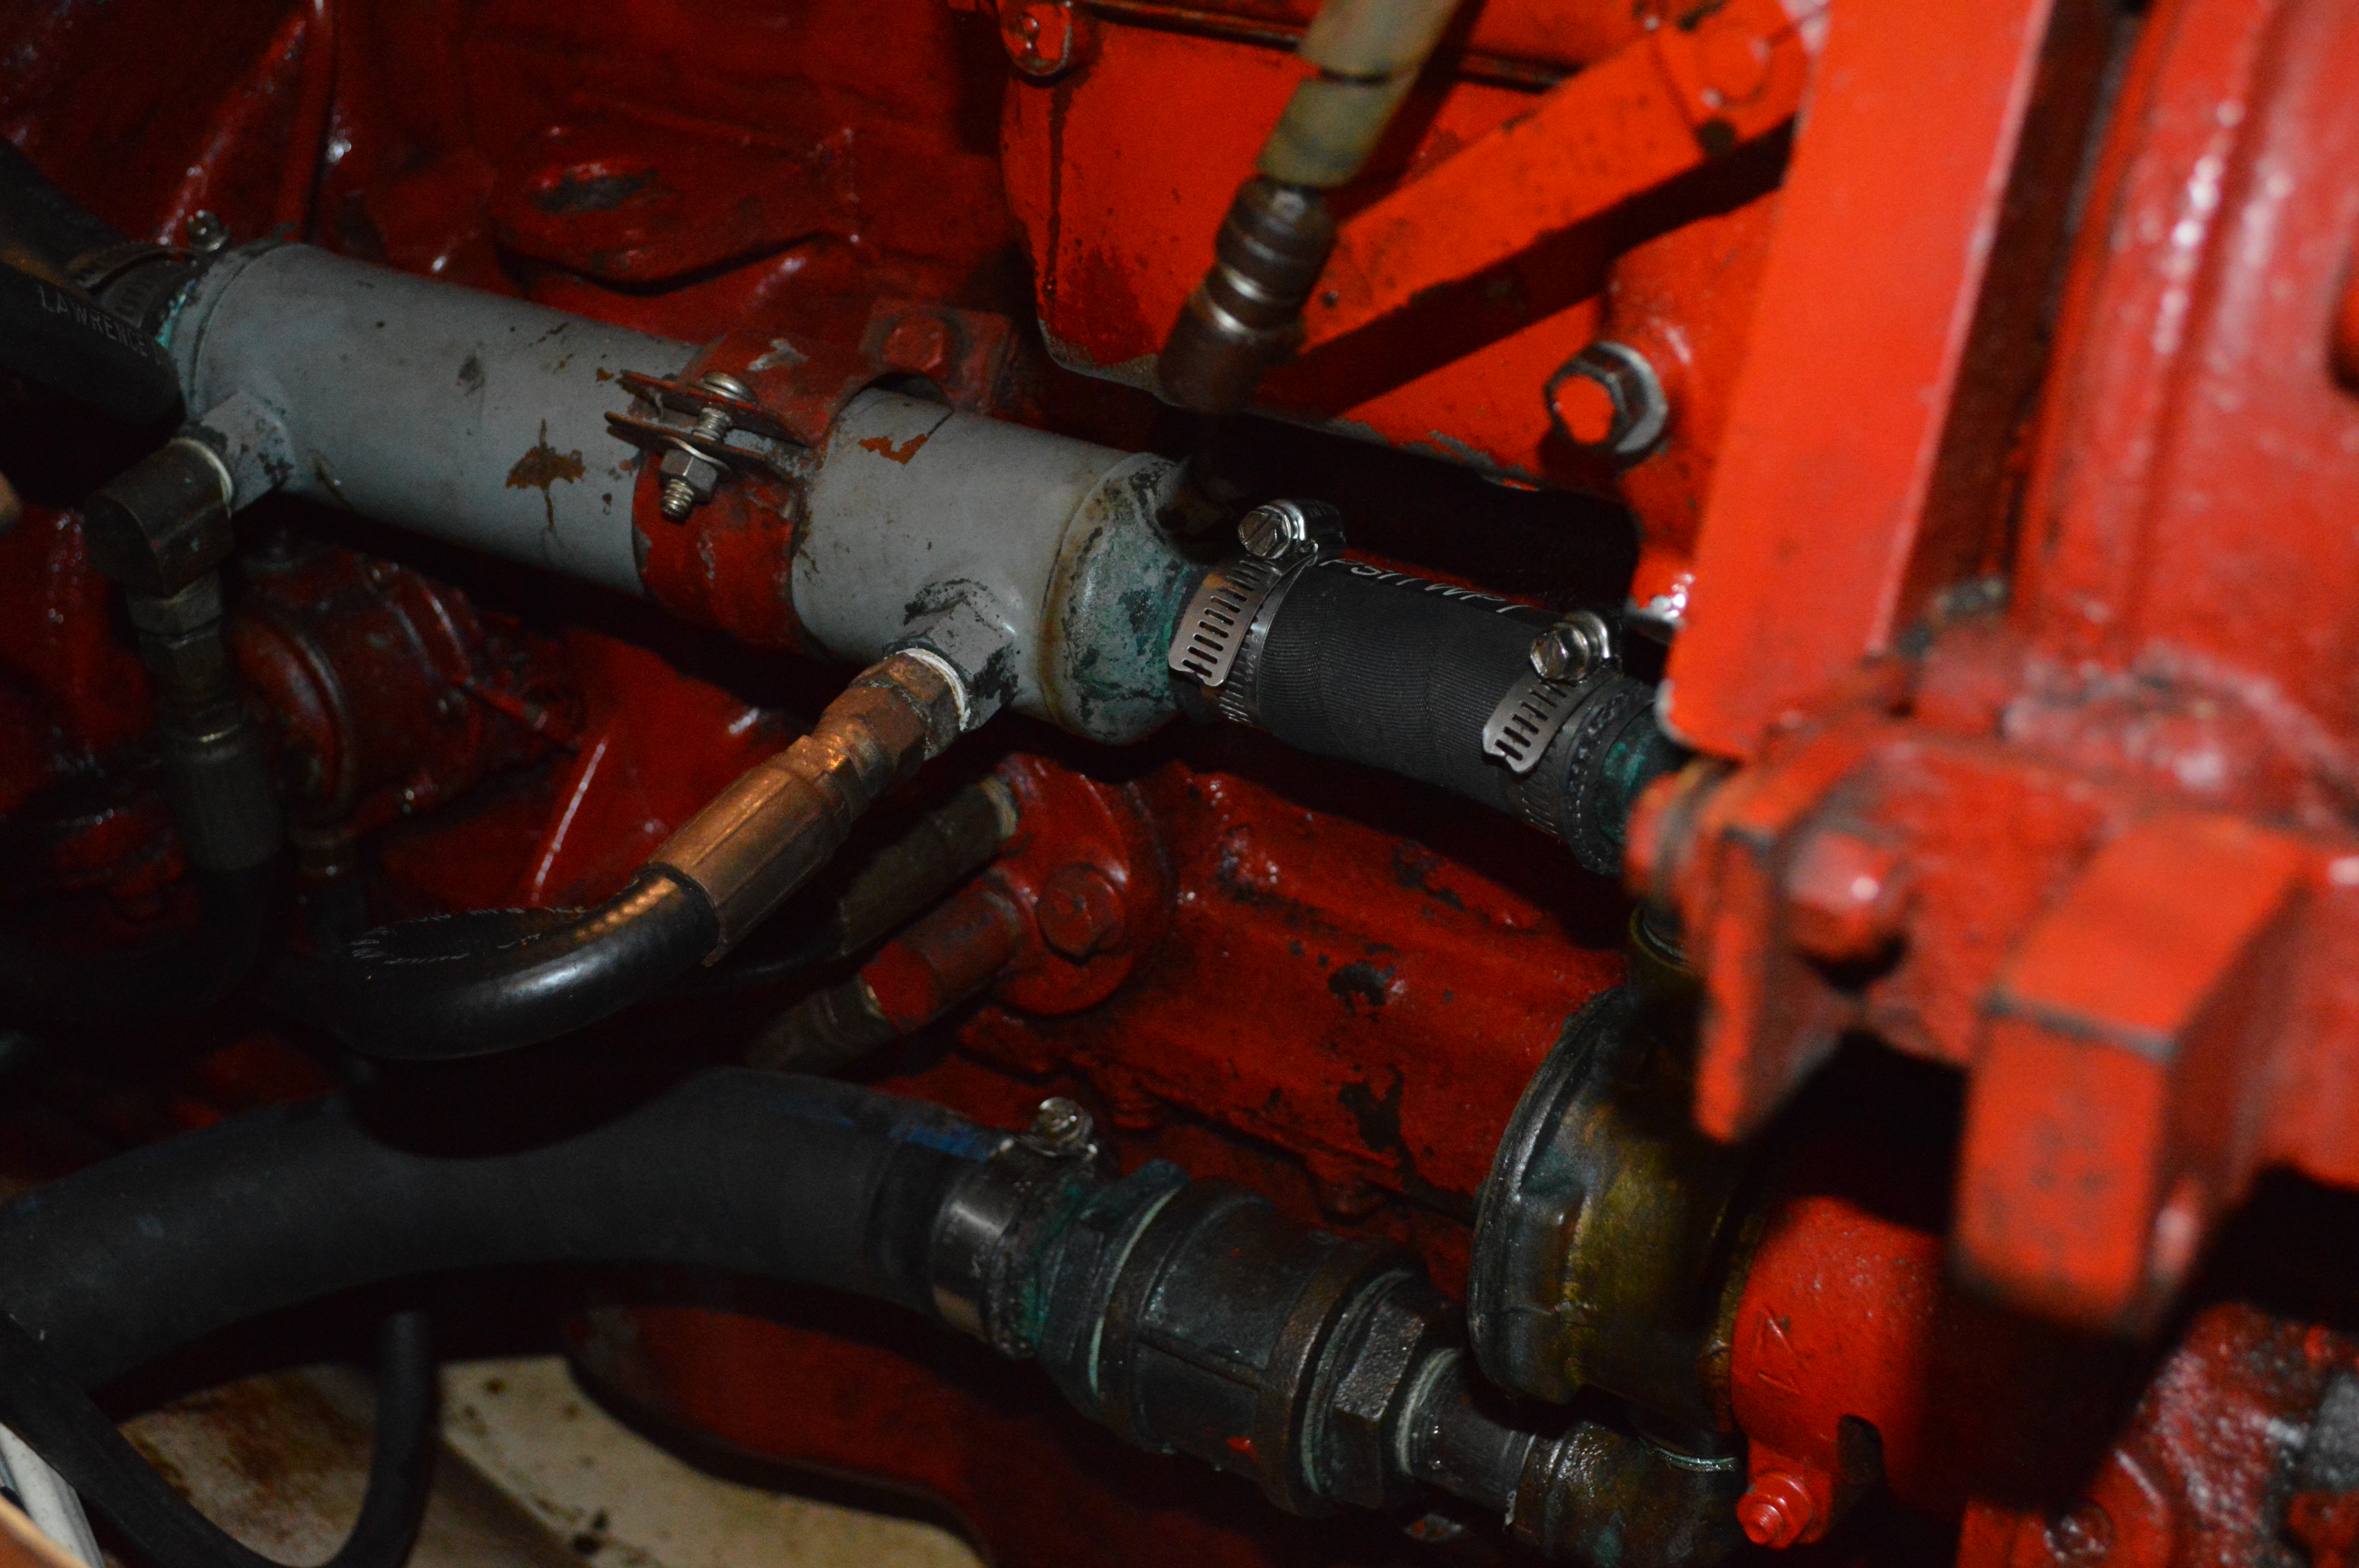
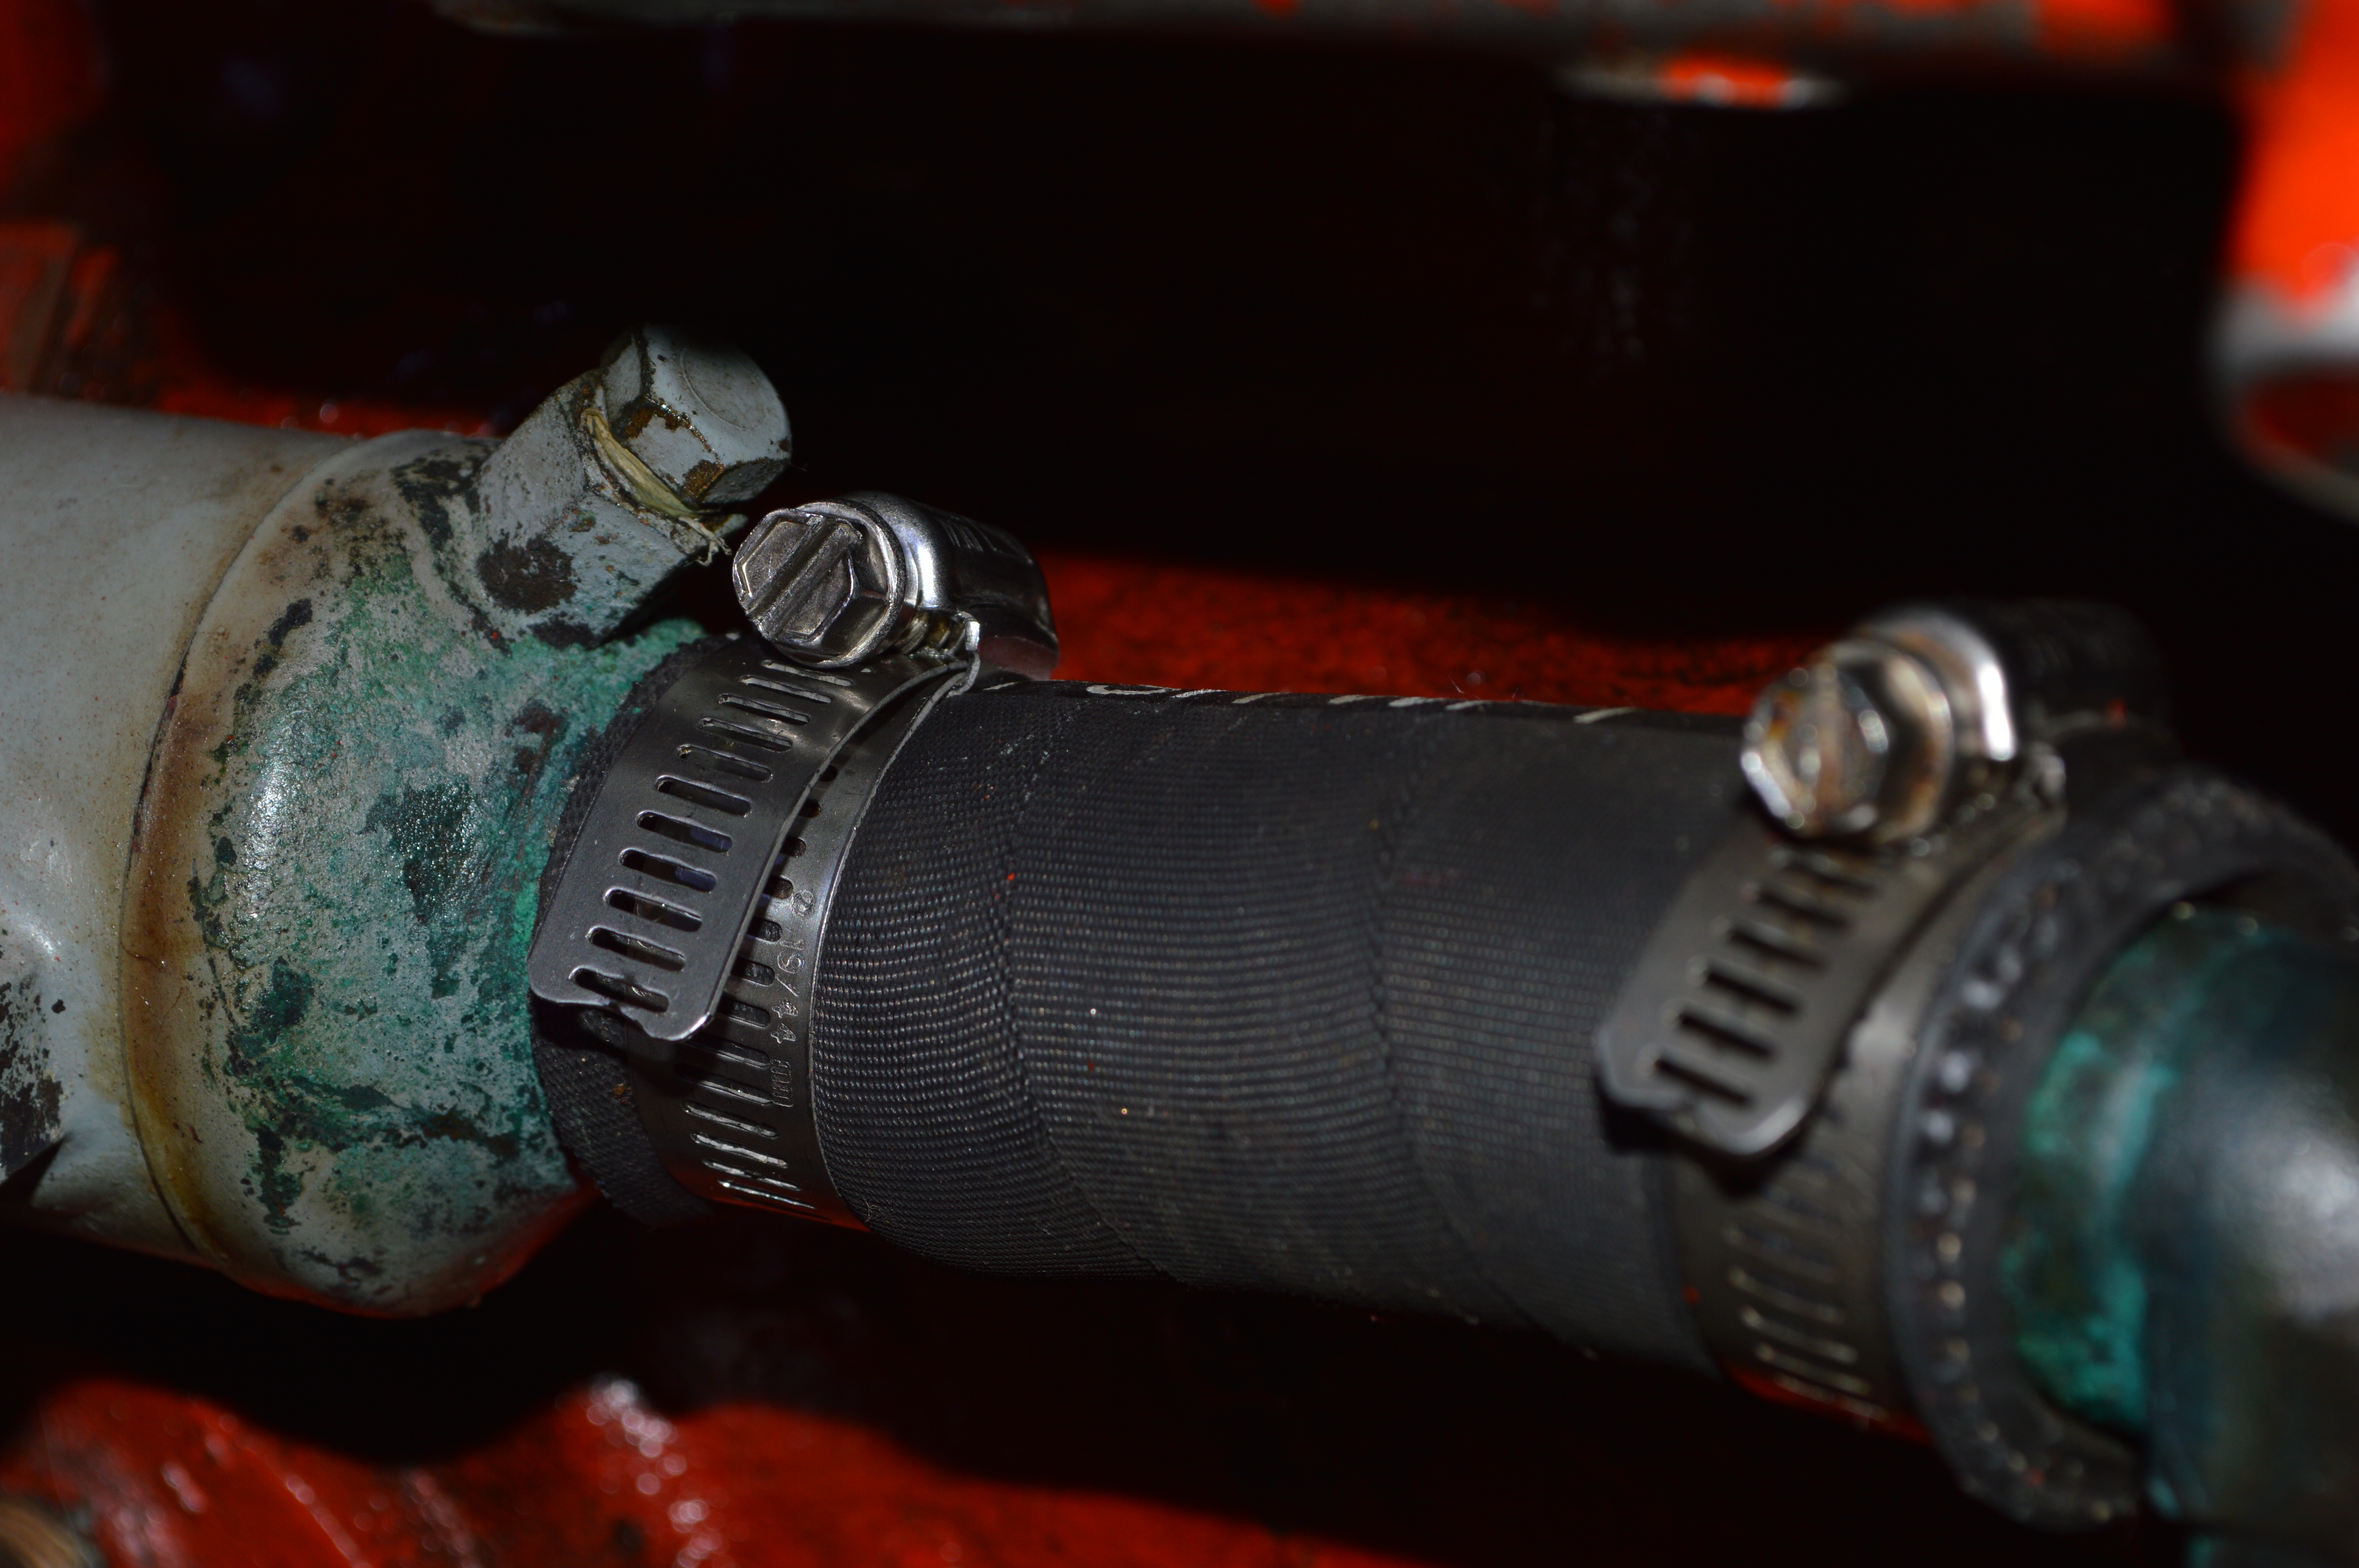
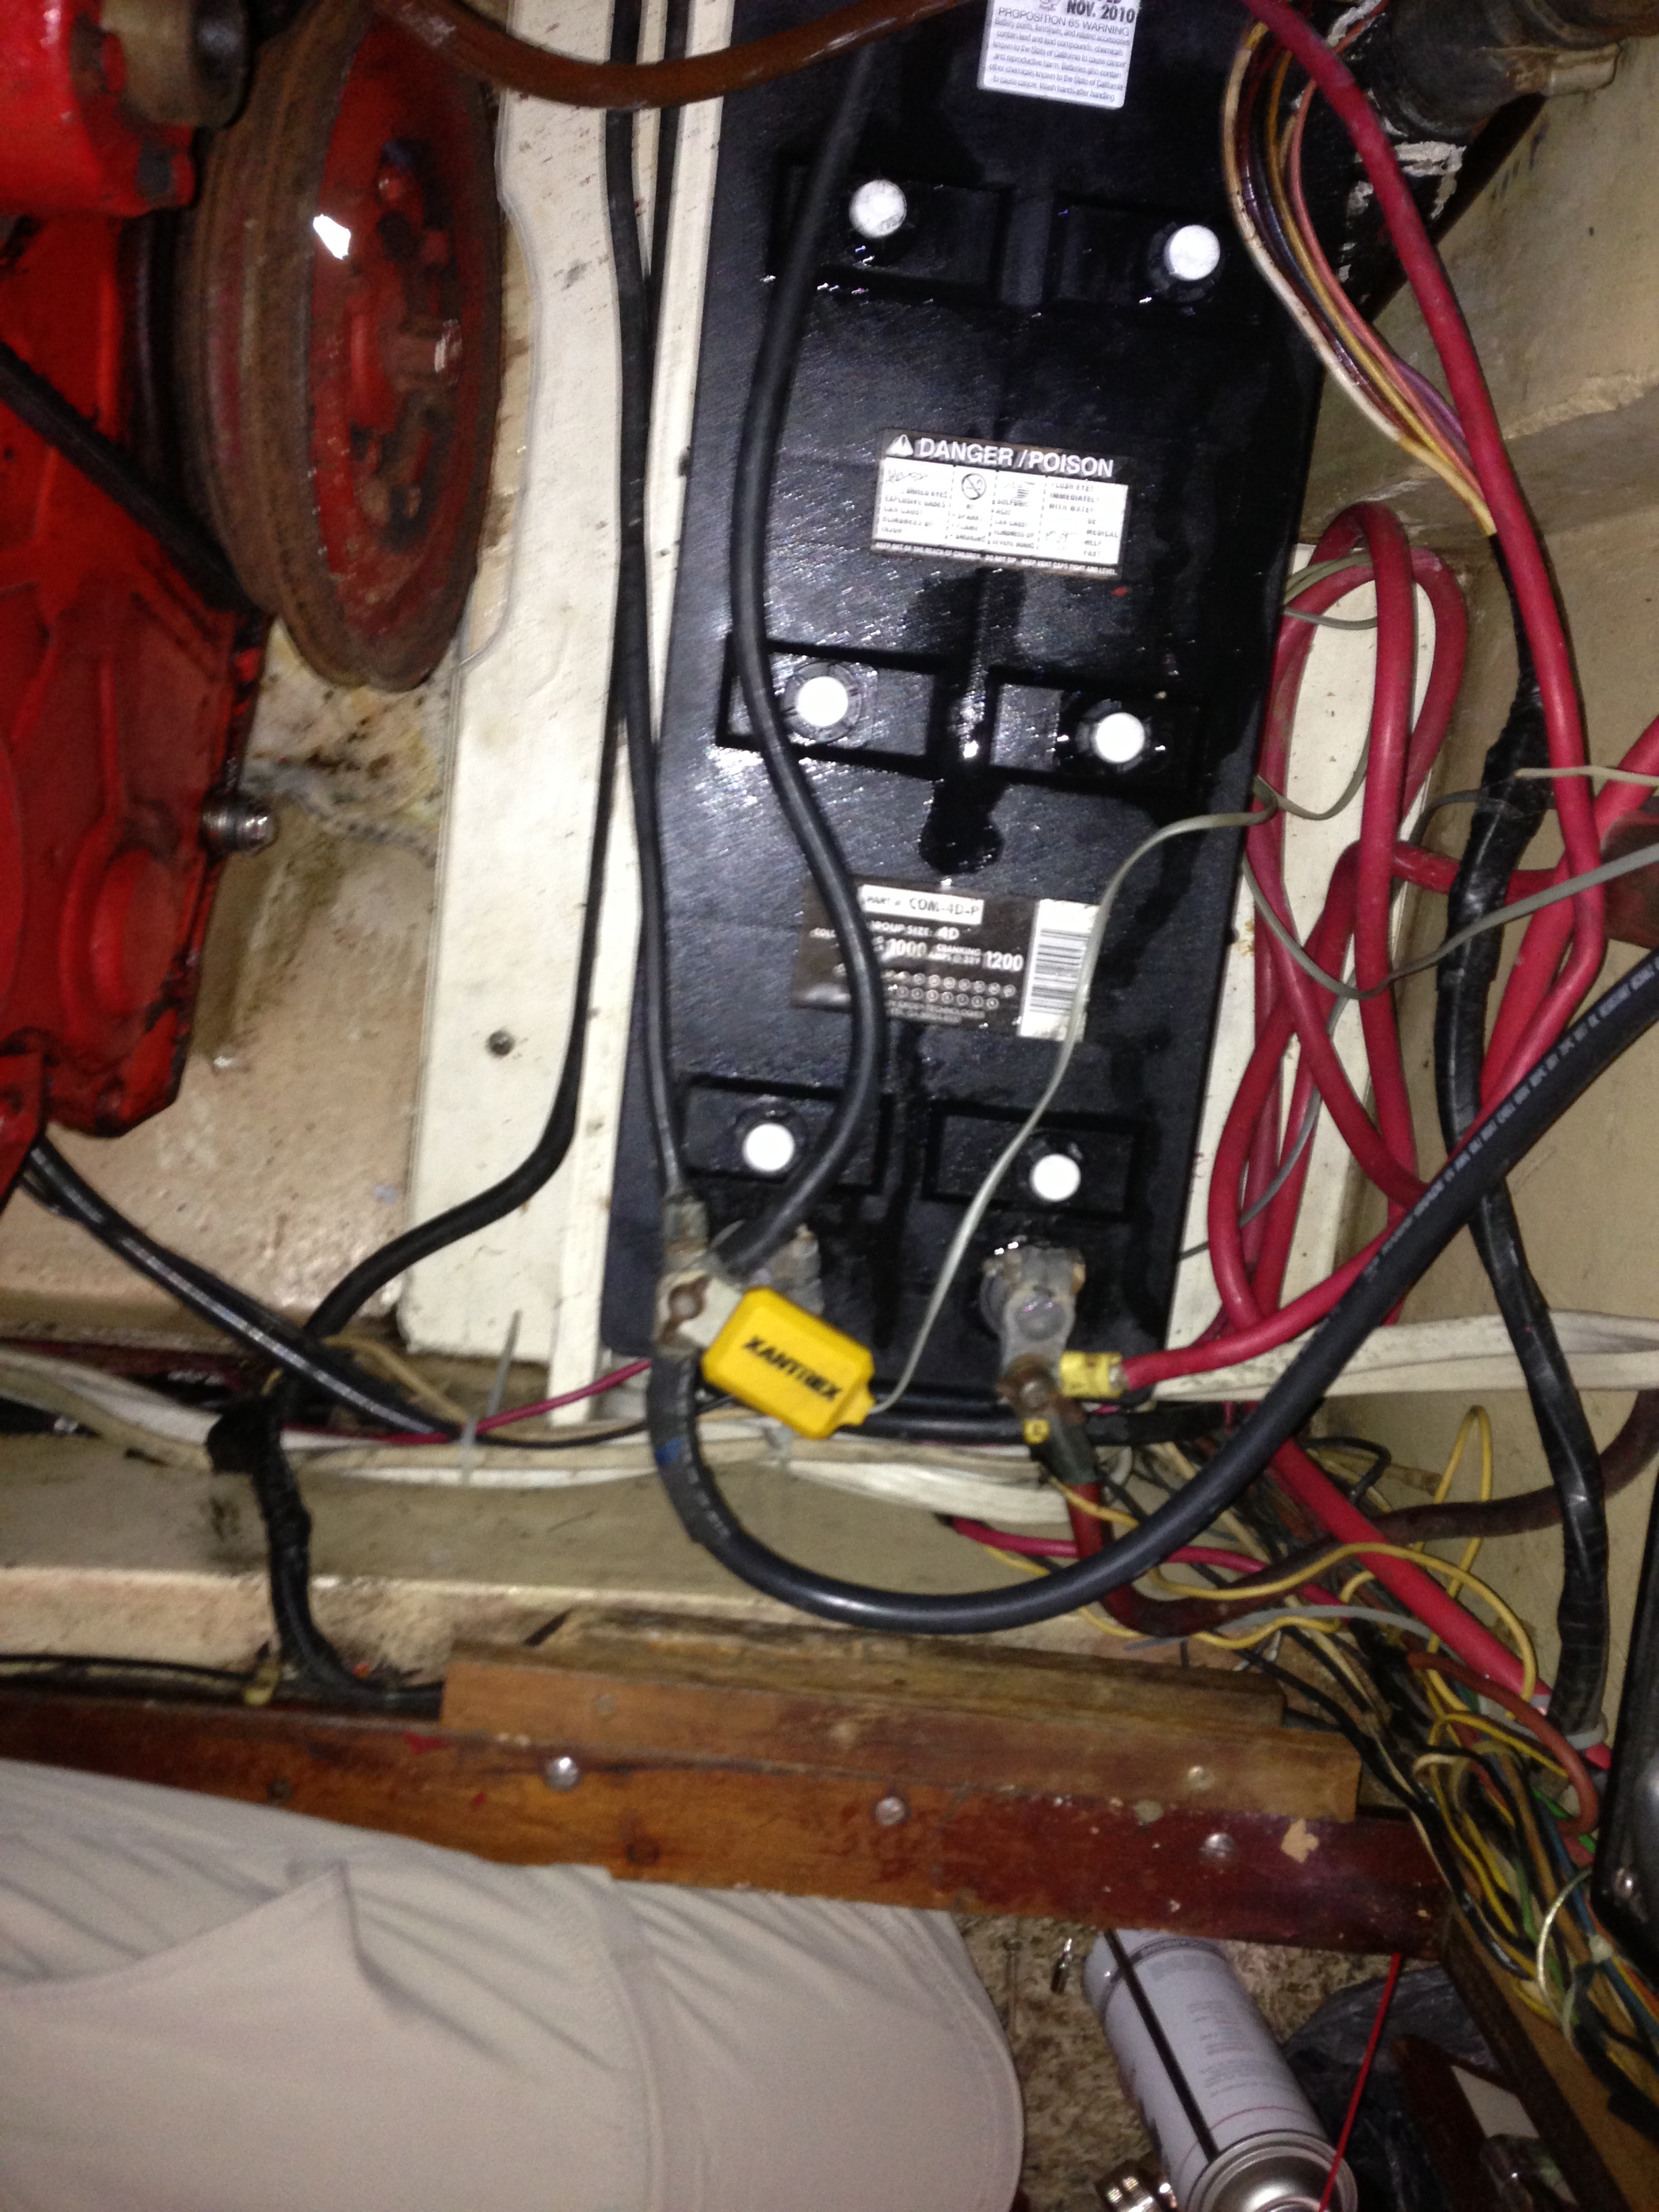
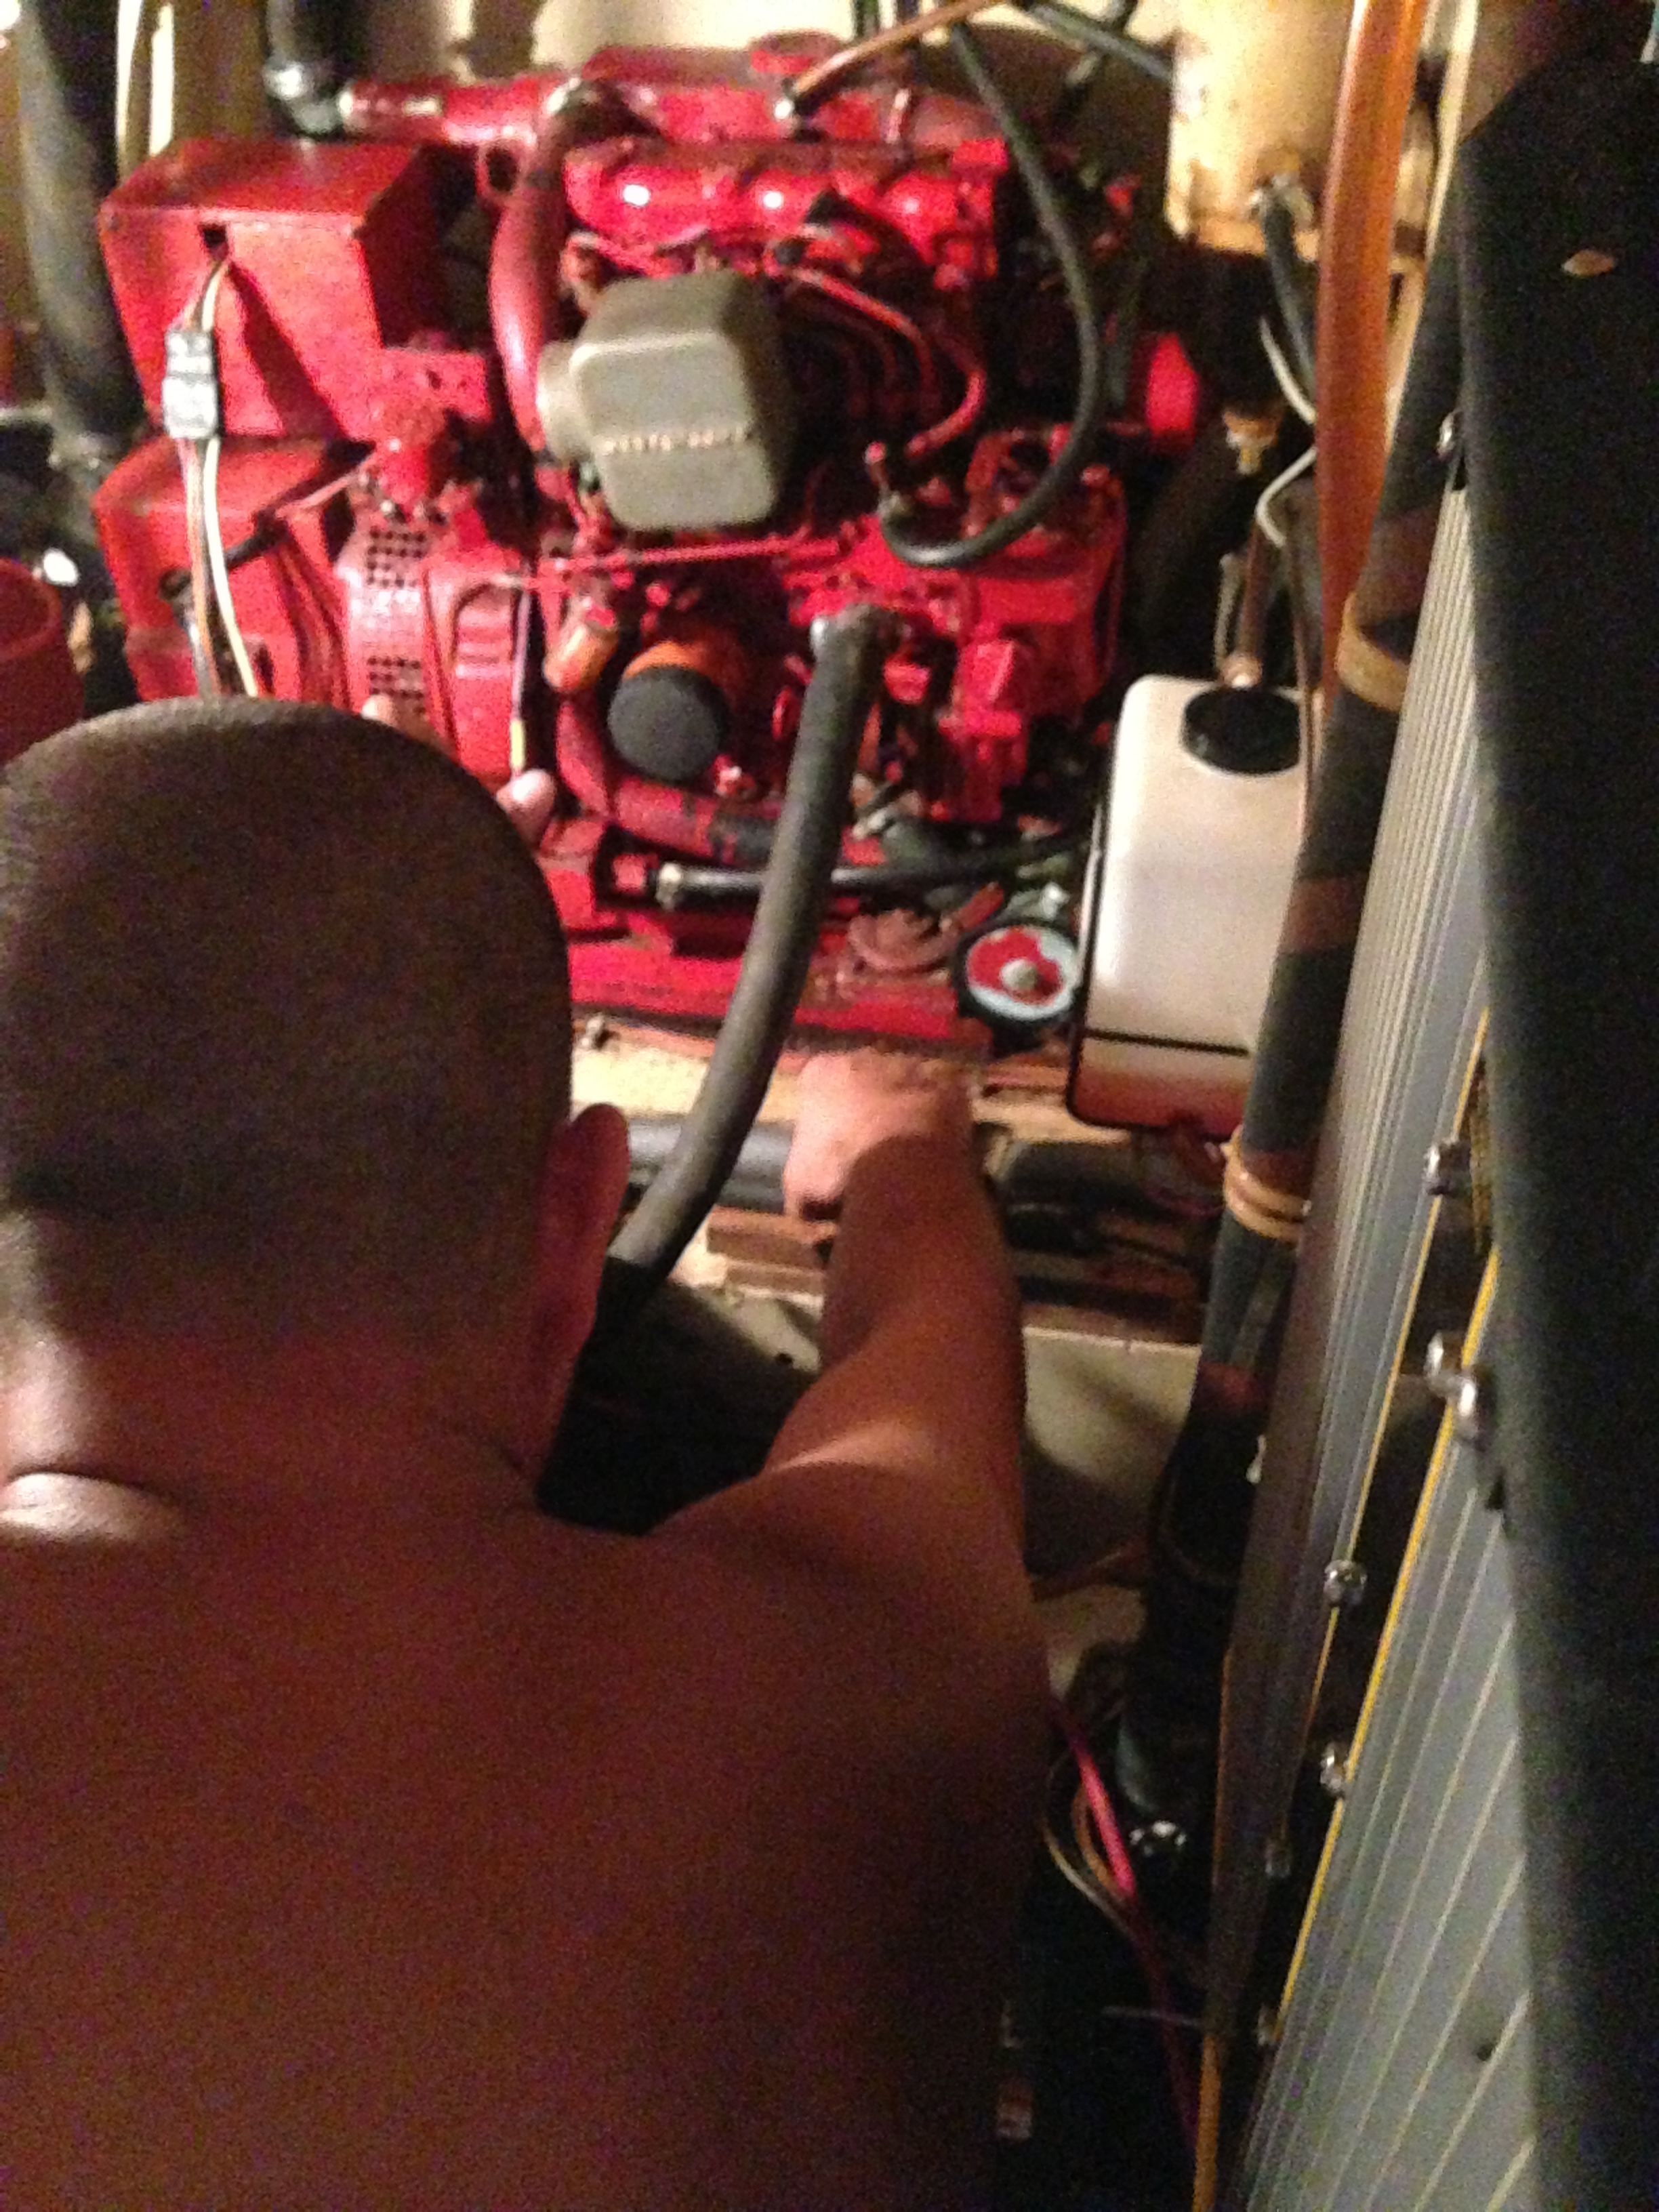
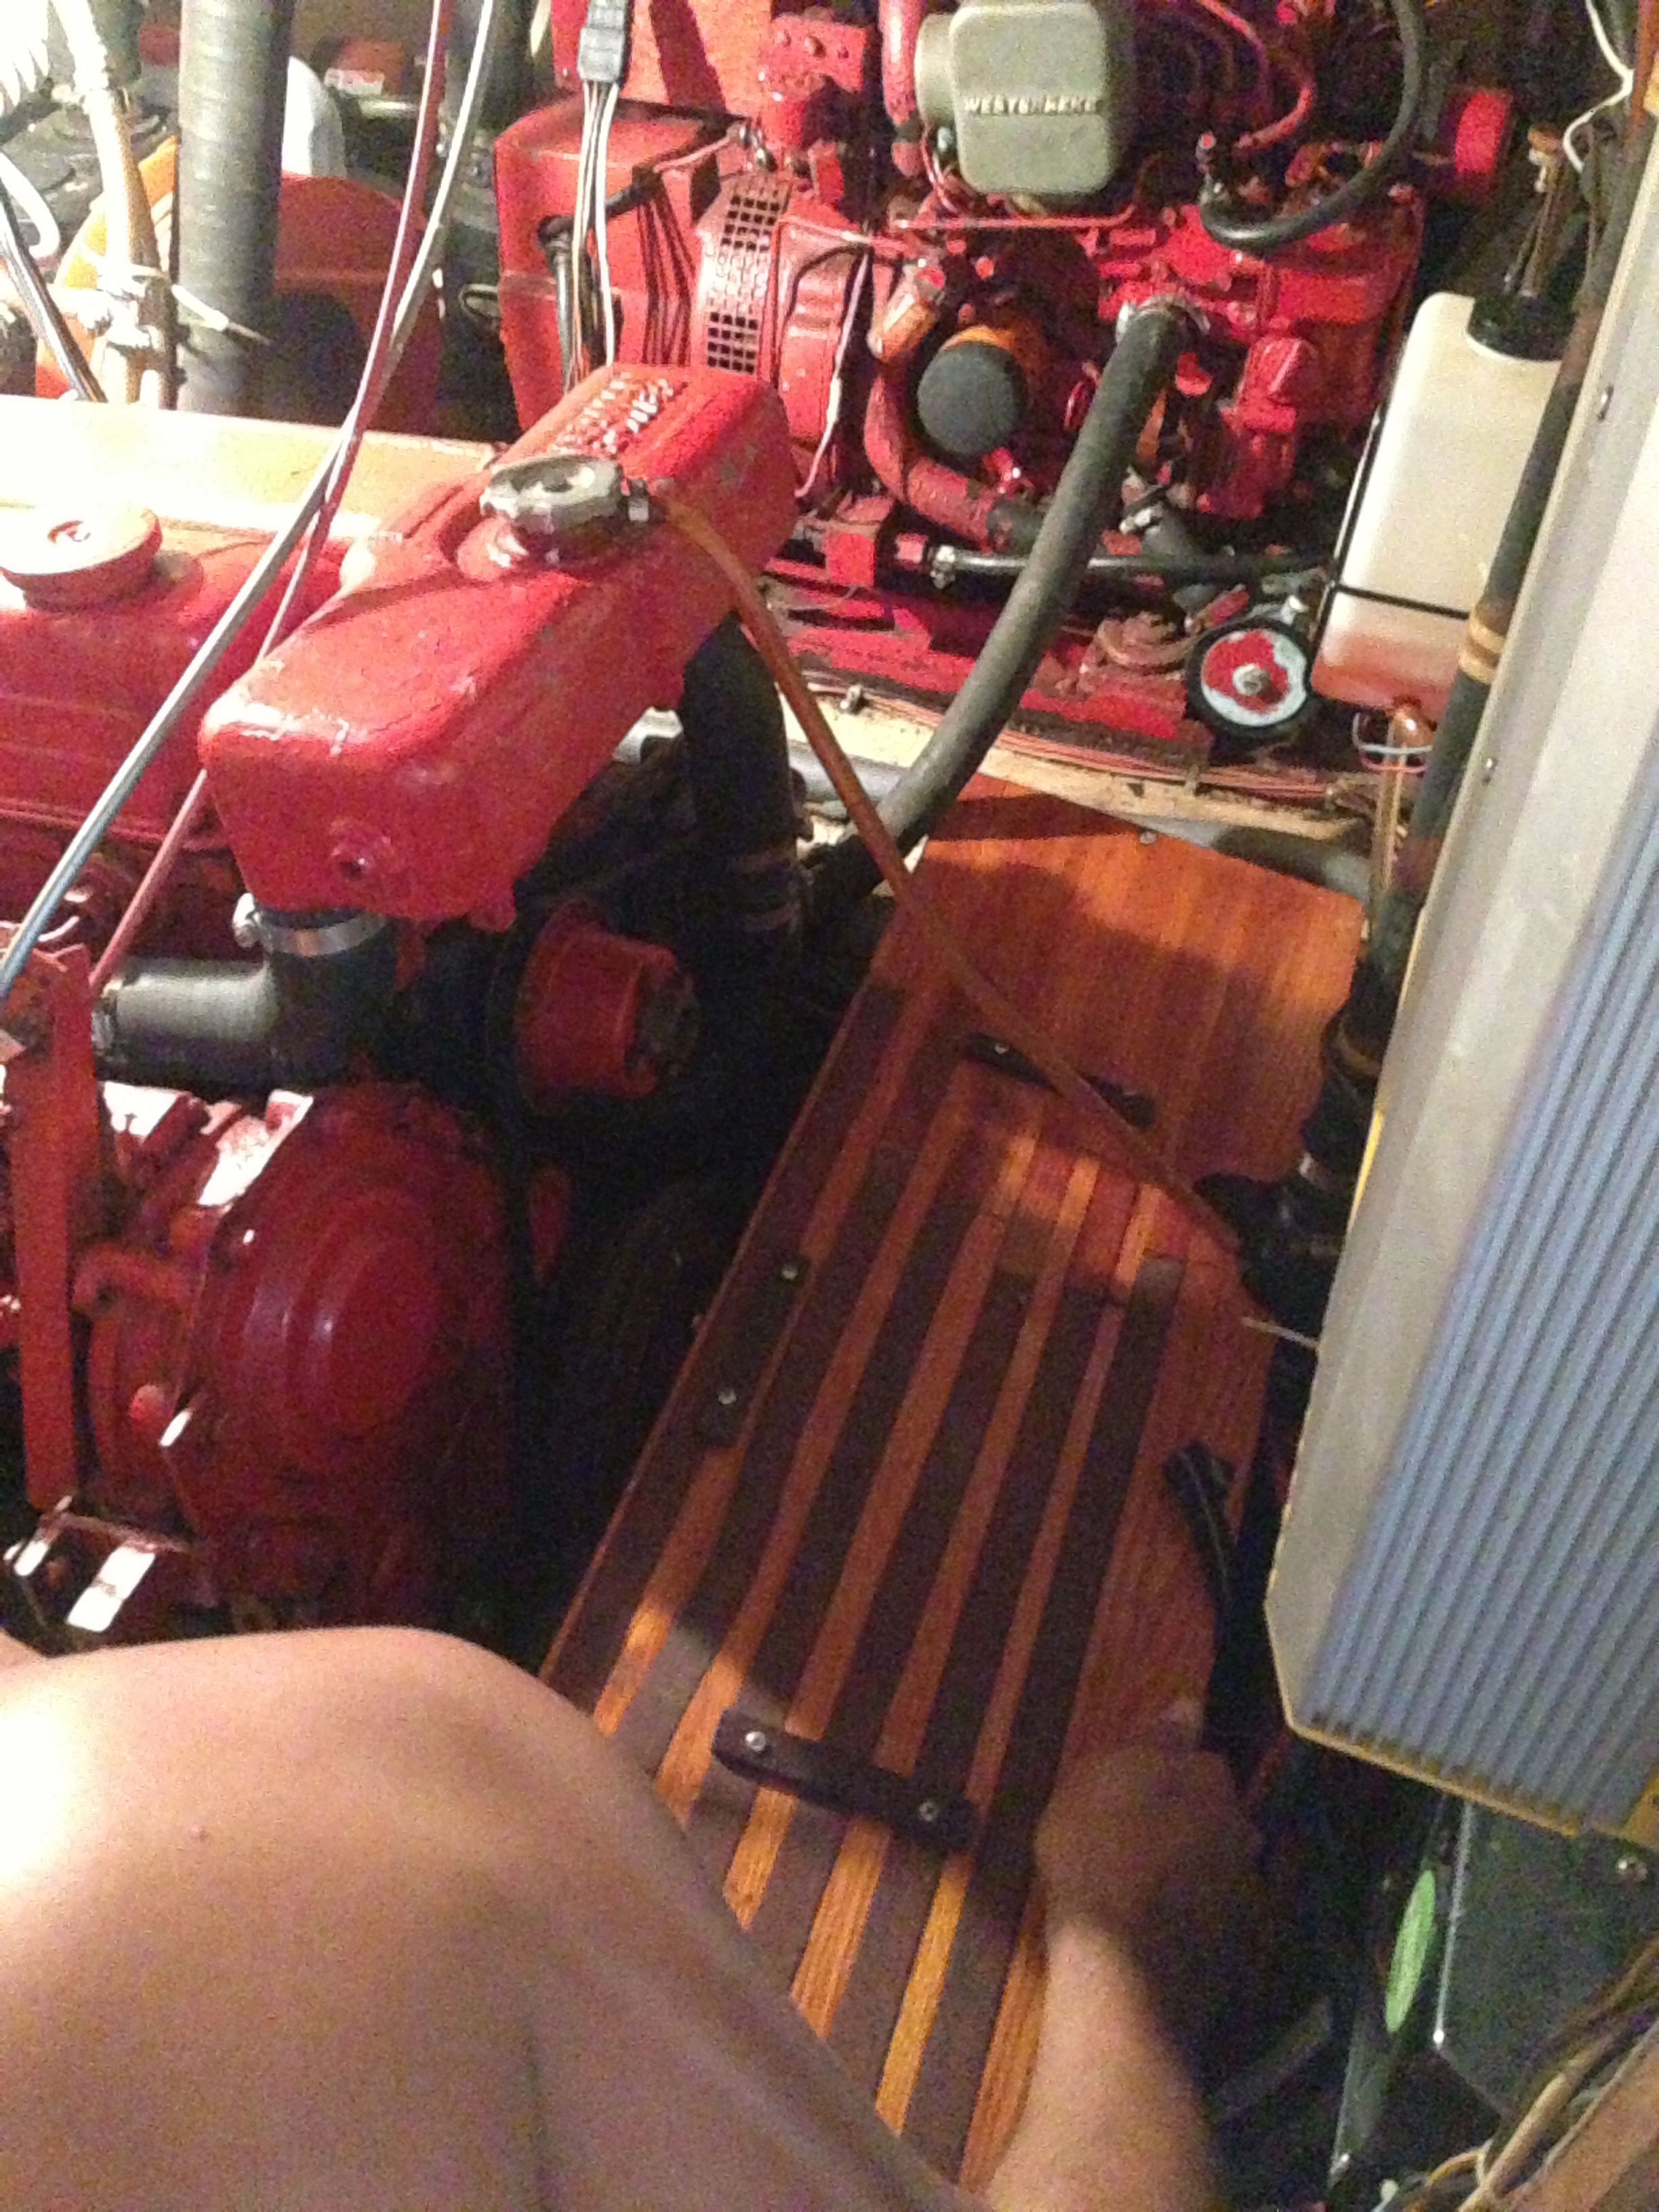
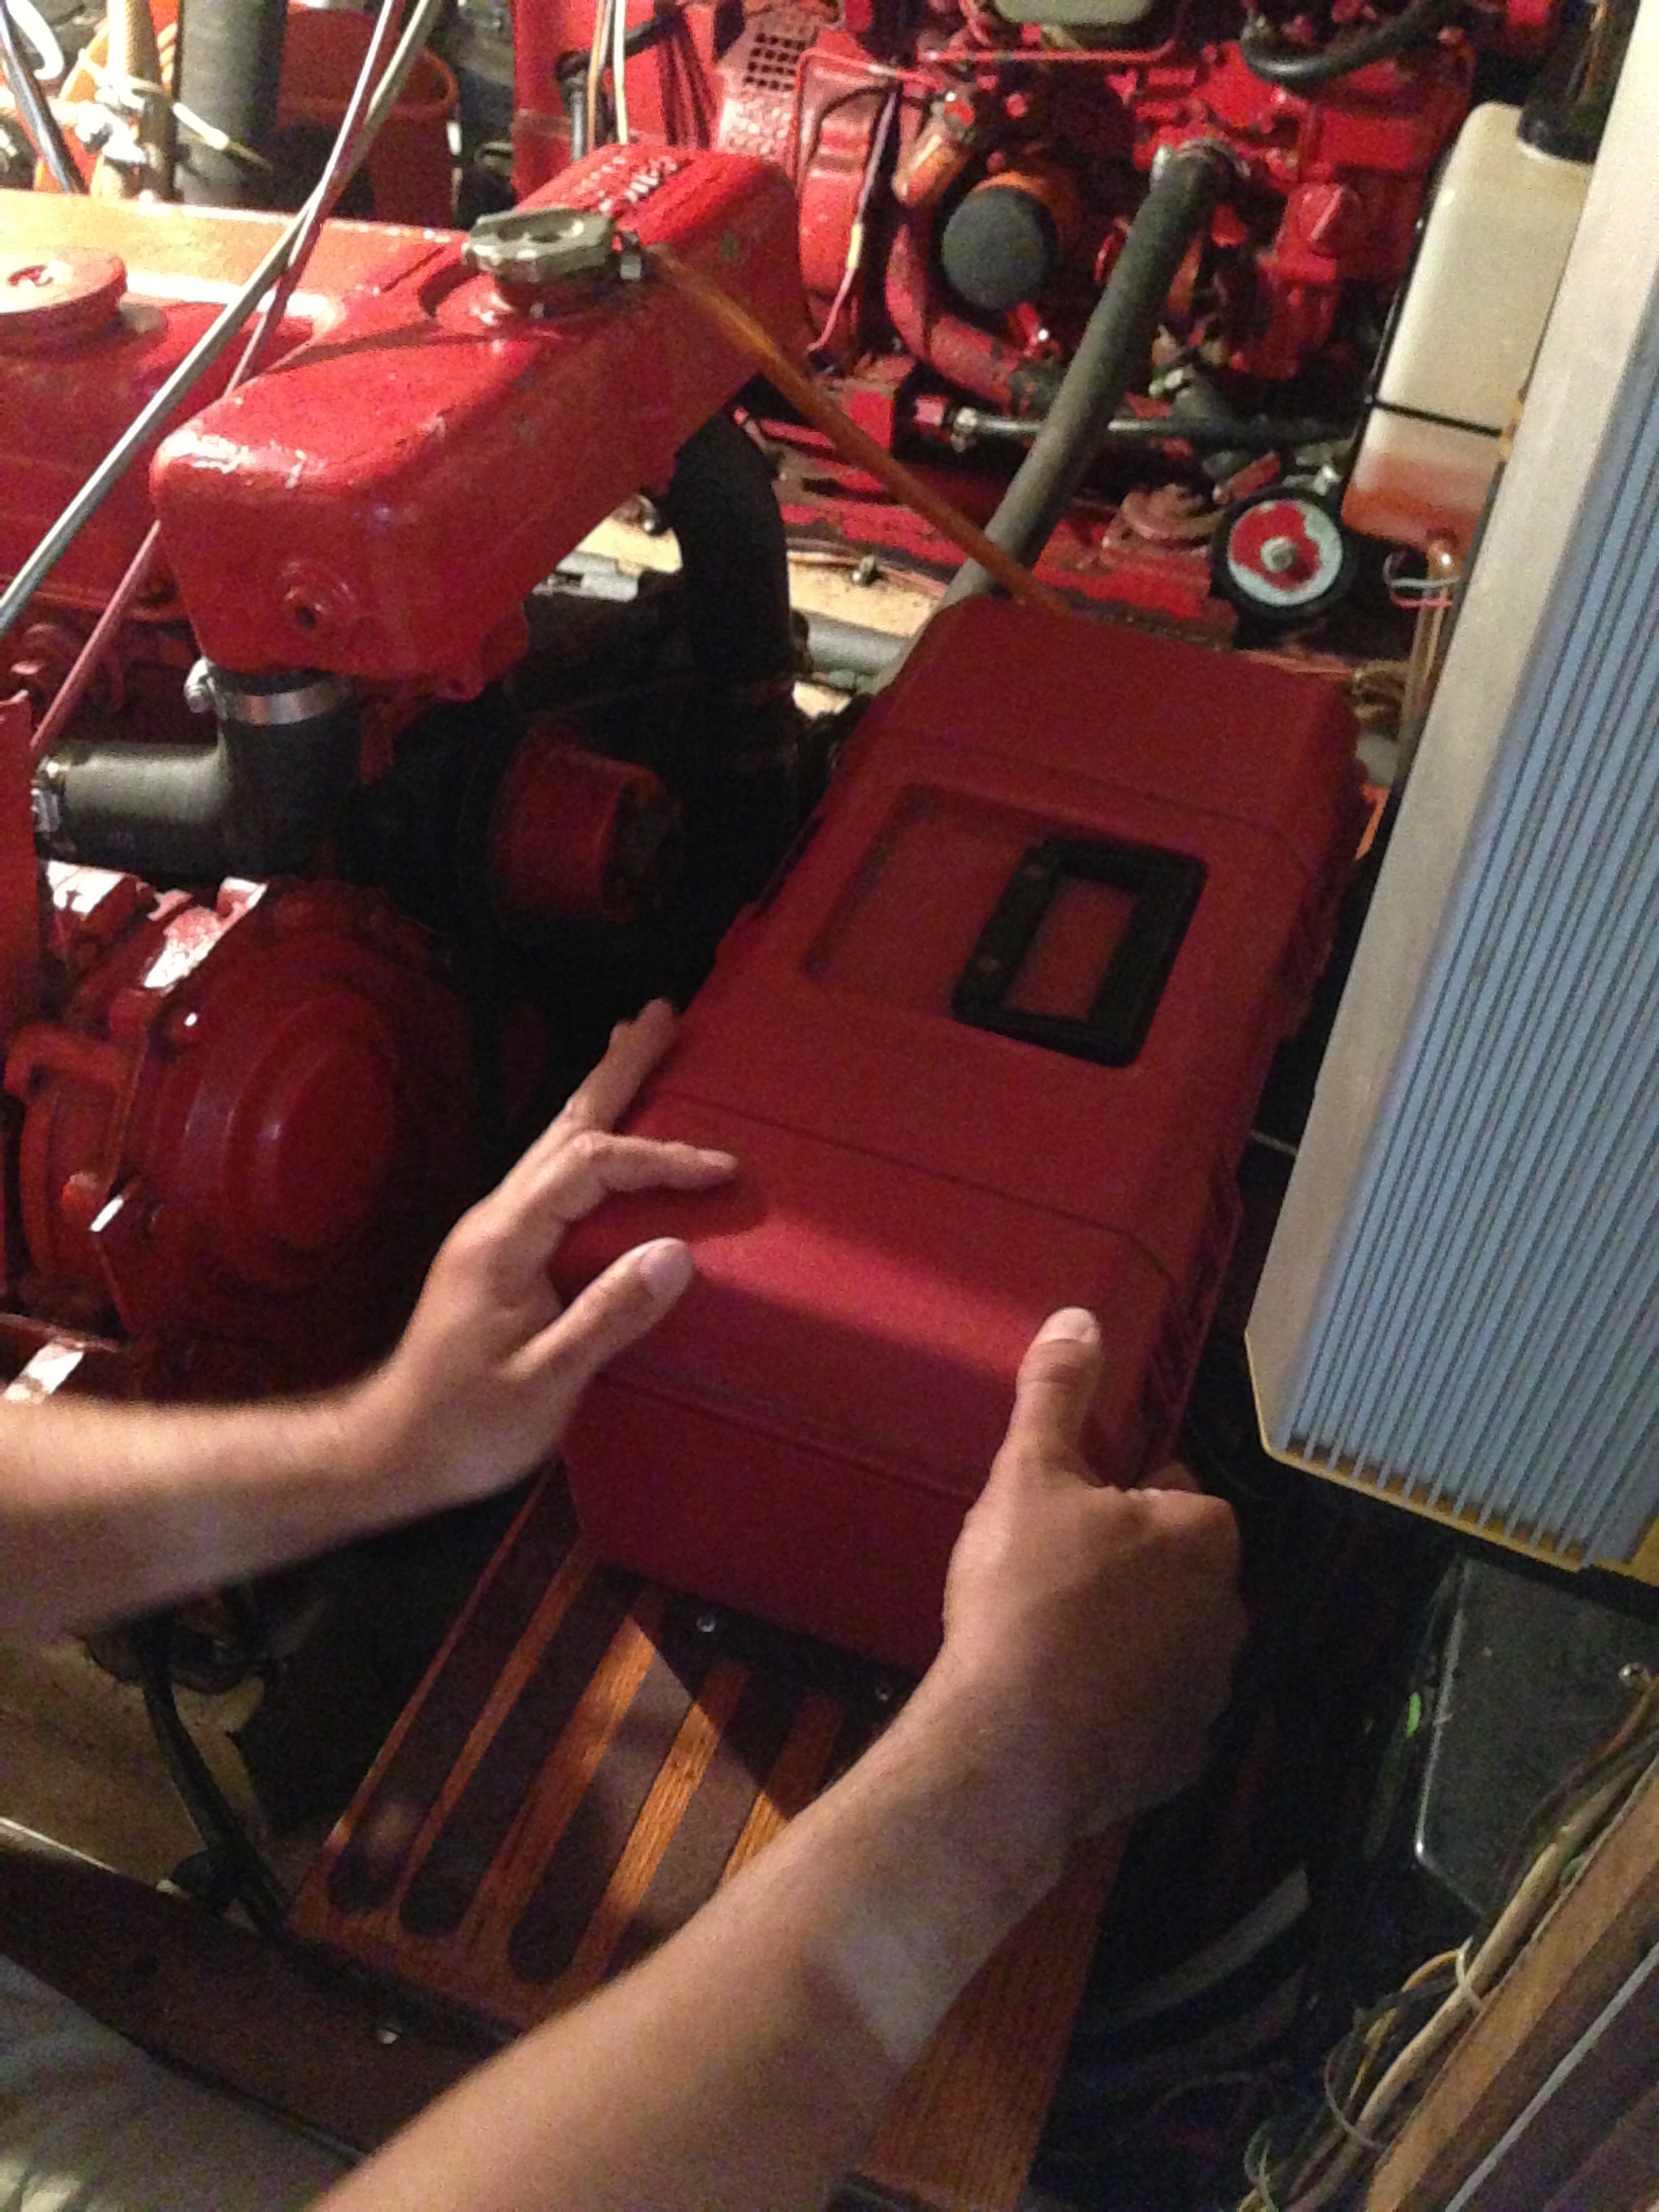
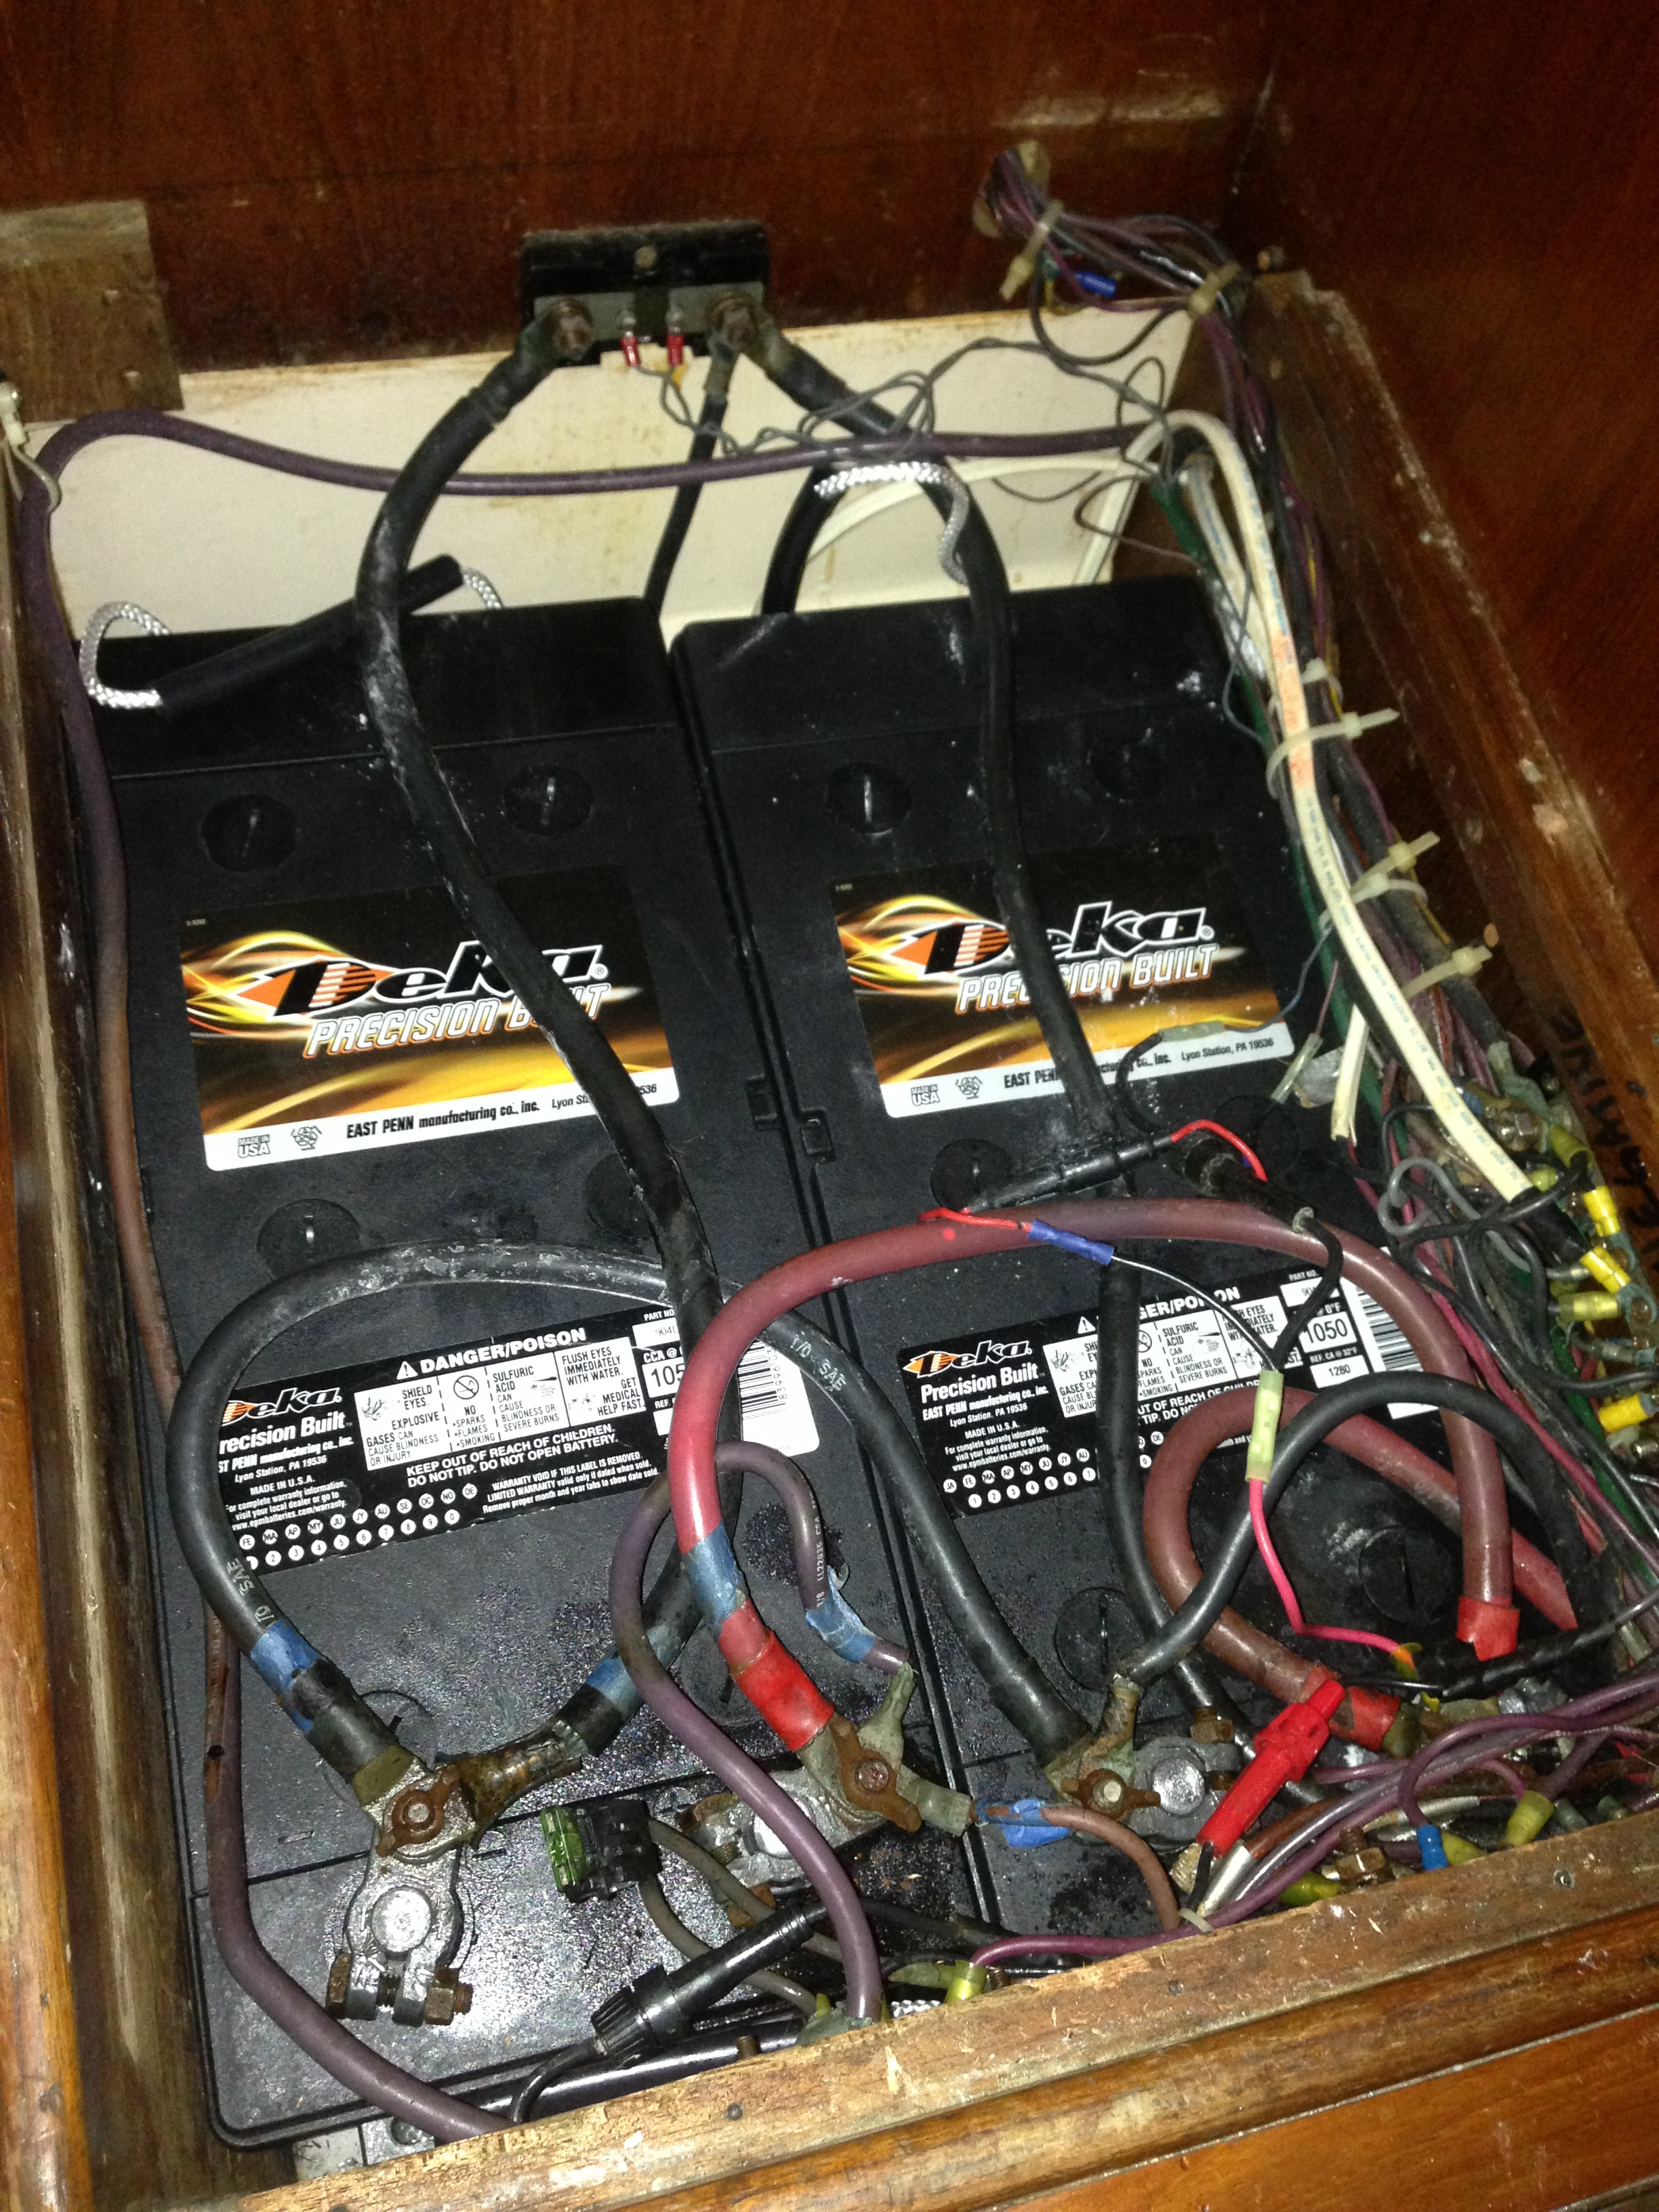
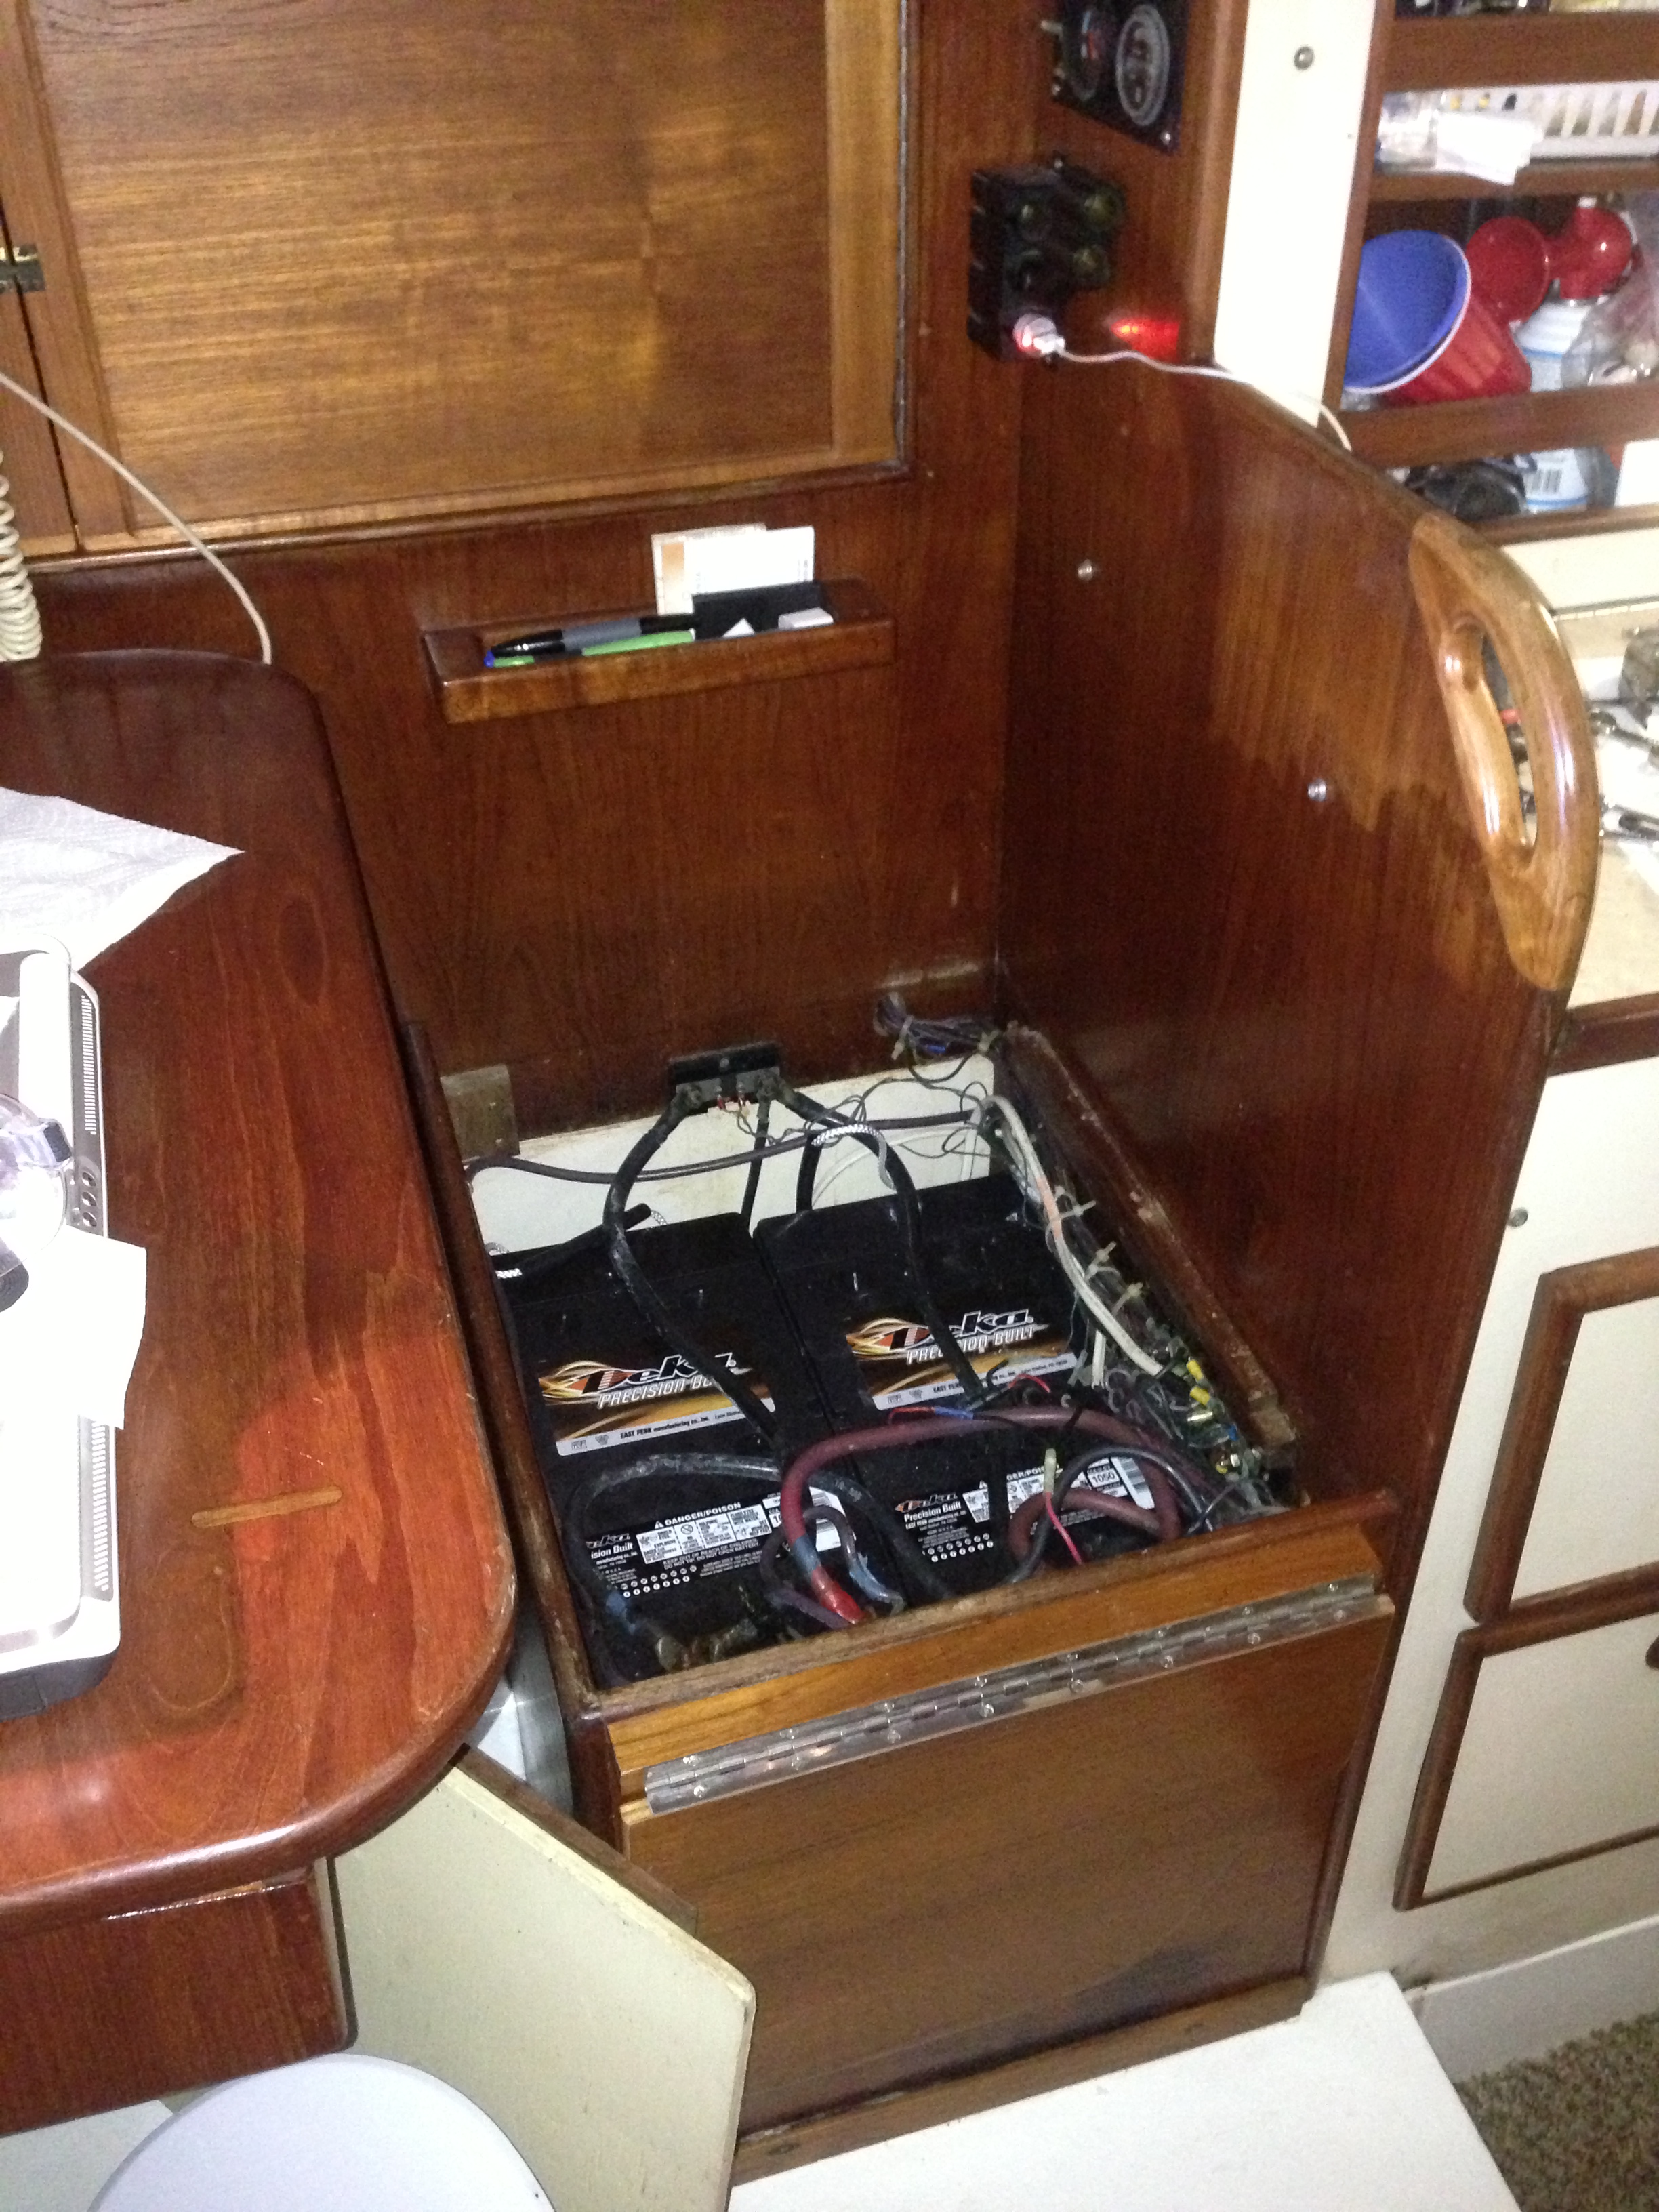
Thursday 2.13.14 we spent a good portion of the day putting the boat back together and cleaning up. We filled our water tanks, did some laundry and Peter fixed the anti-siphon hose on the generator. Turns out the boat right next to us on our dock used to cruise with the previous owners of our boat, Steve and Judy, all the time! Jon and Arline (SV Kasidah) probably know our boat better than we do :) What a small world! Jon helped Peter with the hose and they talked boats for awhile. Josh and Leah made a trip into town to grab some groceries while I stuck around the boat to finish laundry and write a few blog posts while I had wifi. Dinner that night was grilled steaks we bought at Costco before leaving Florida :)

Friday 2.14.14 Valentine’s Day – We left the dogs to watch the boat from inside the cabin and got a ride from a Bahamian man that runs the water company. He didn’t want us to pay him for the ride but we gave him a little anyway. He drove us to the east side of Great Harbour Cay down a dirt road. There were big houses scattered along the way with beautiful patches of countryside in between.

IMG_4785

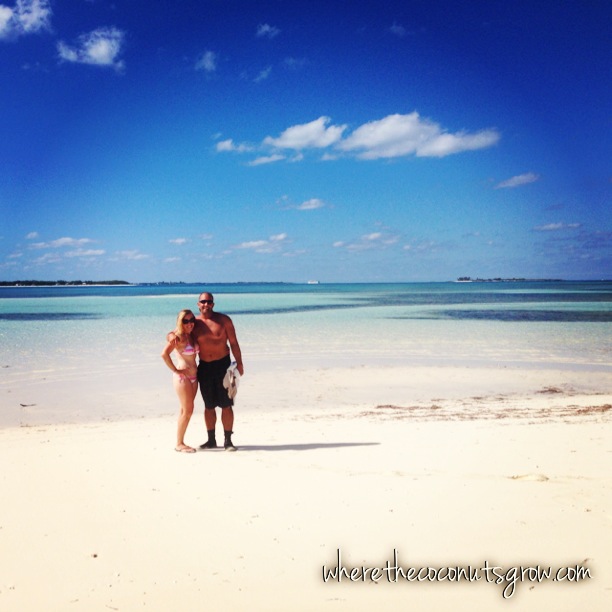
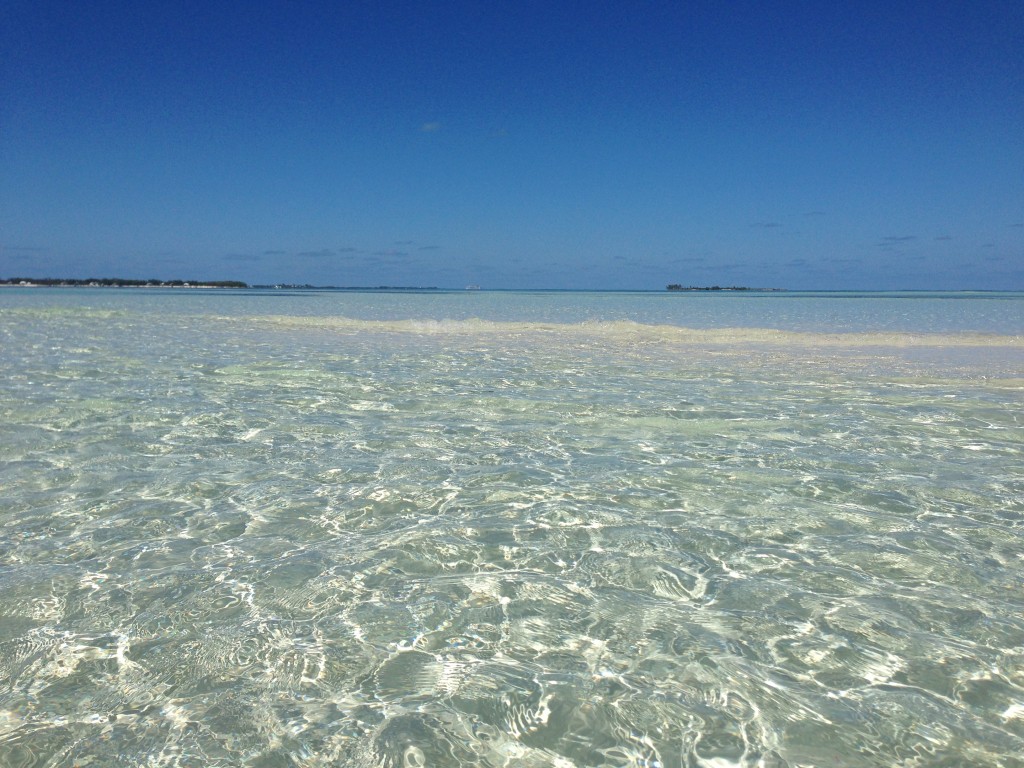
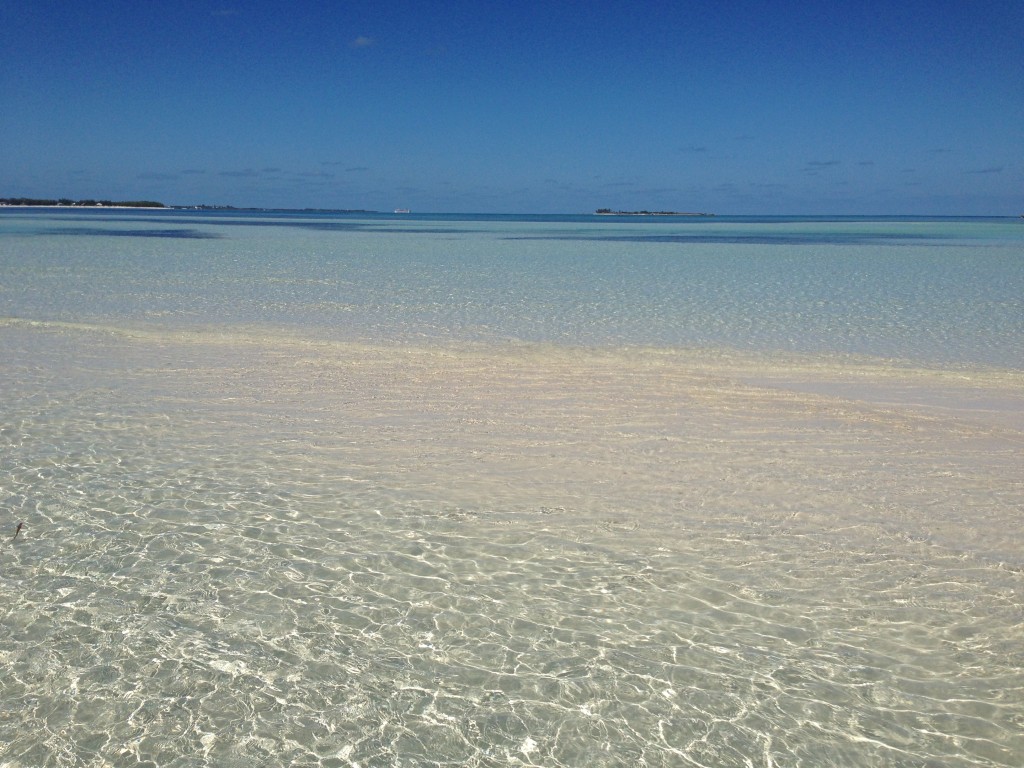
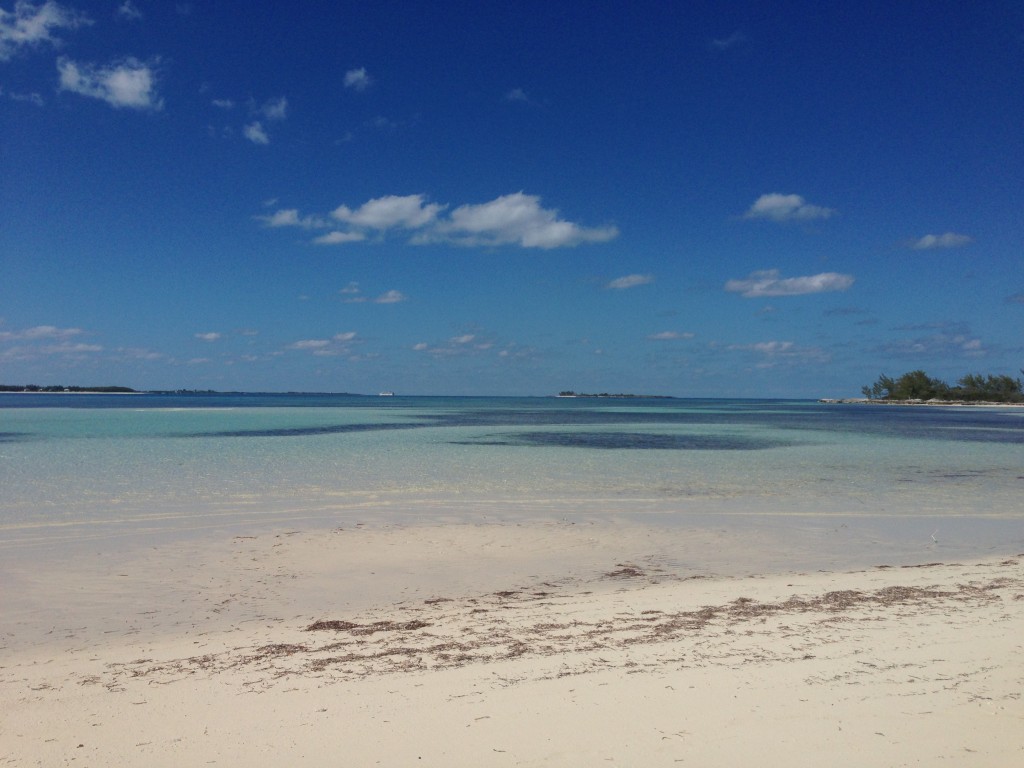
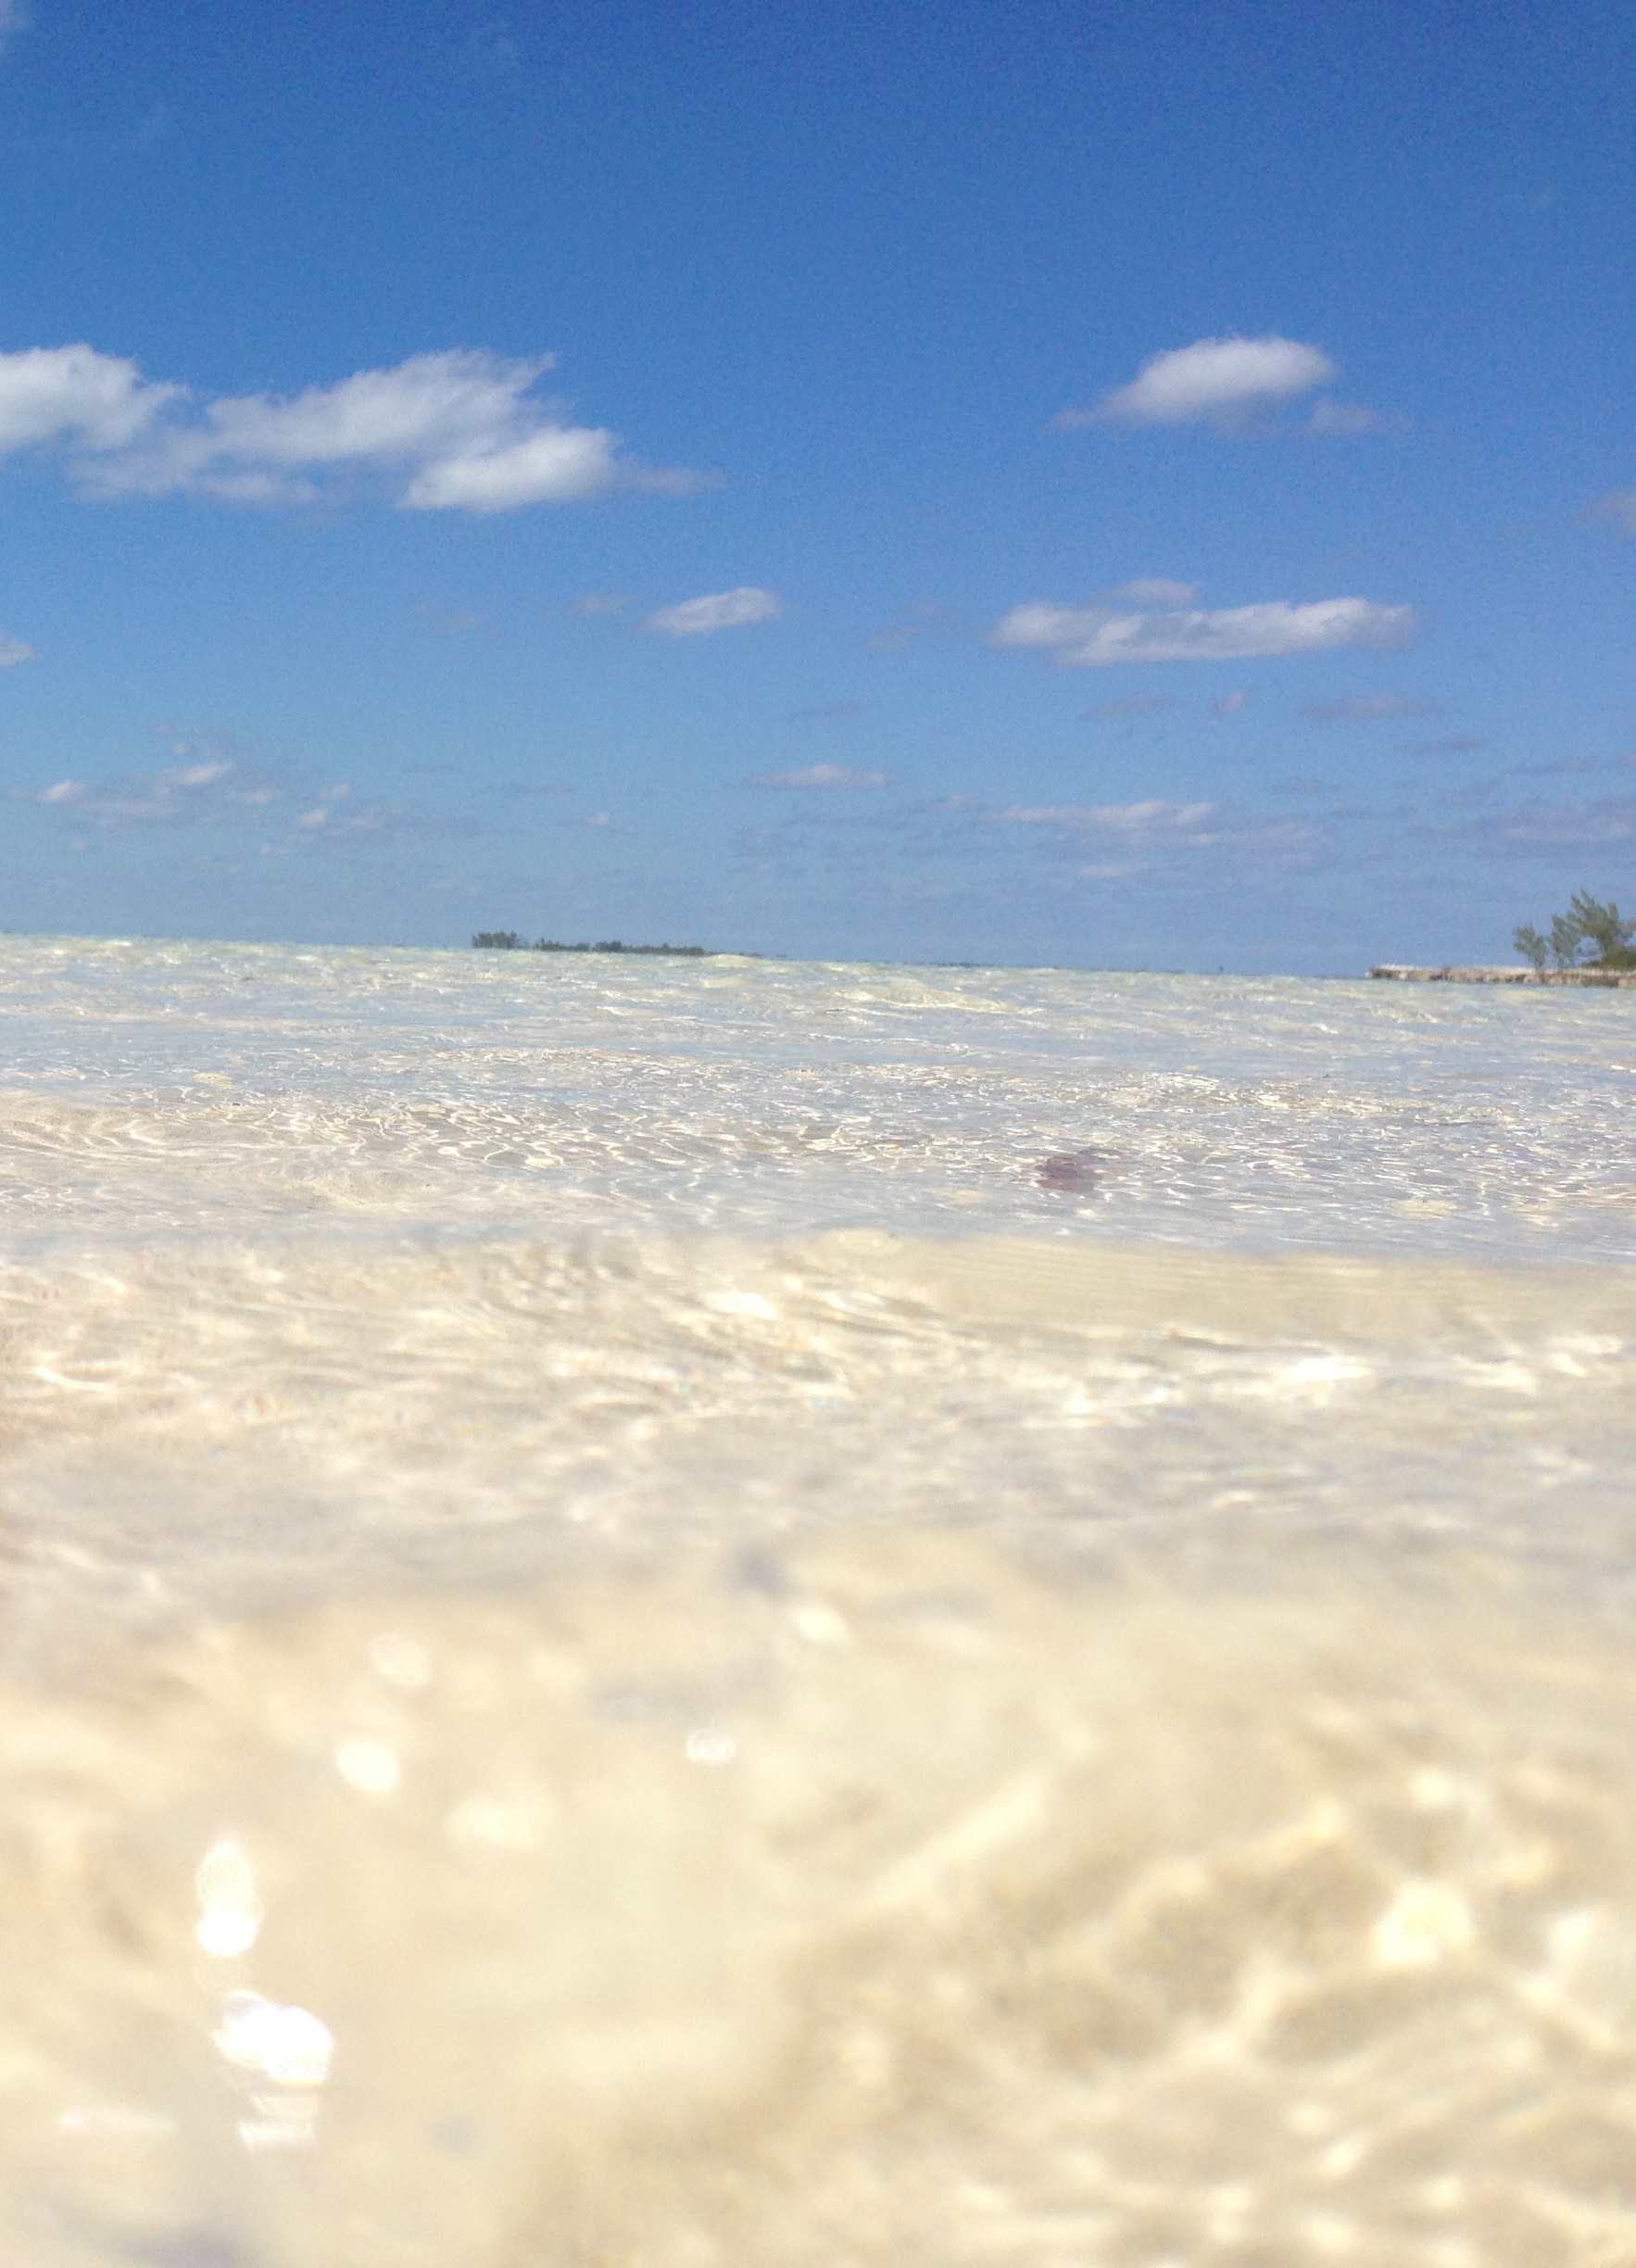
We finally arrived at a clearing in the trees that opened up to a white sand beach. Our new friend offered to come back to pick us up in a few hours so we entered his phone number into the sat phone so we could call him later. The water was the most gorgeous color of clearish turquoise and just barely covered the sand that extended out to a small island about a half mile away.

IMG_4634

IMG_4612

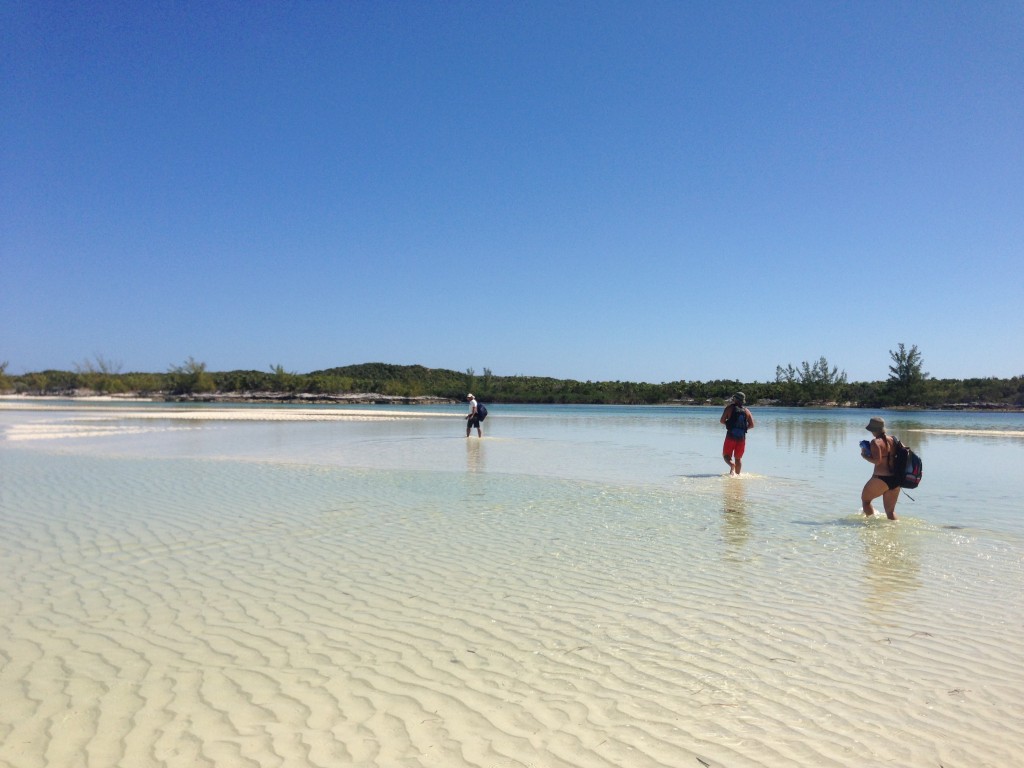
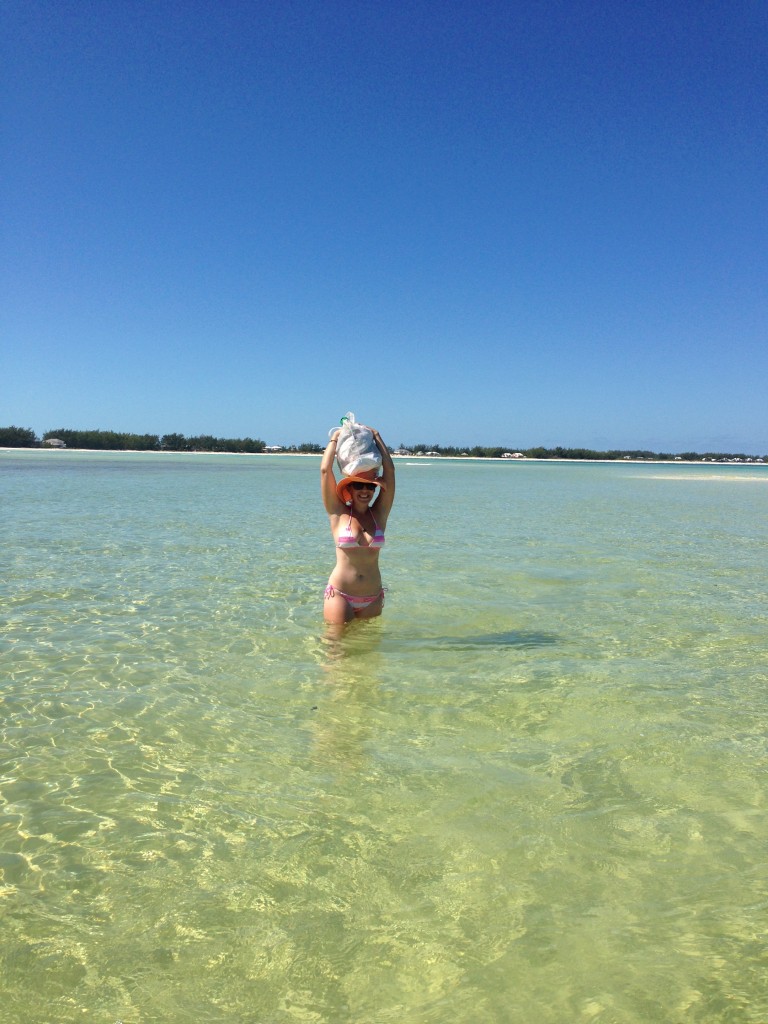
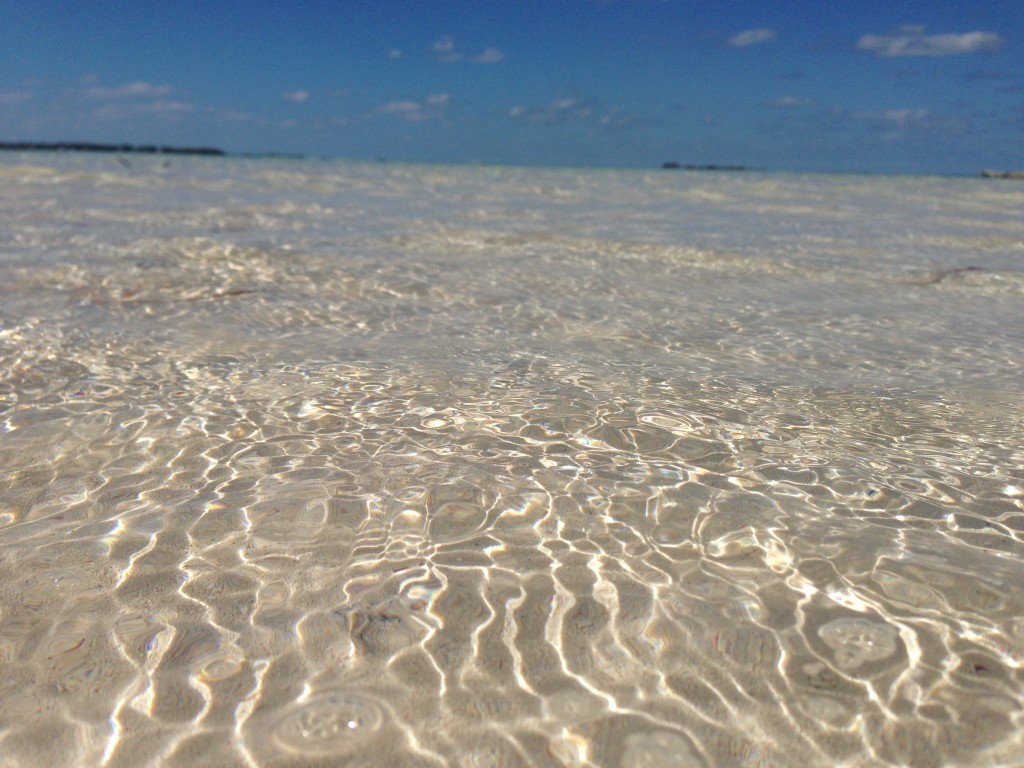
We began trekking across the sand bar towards Lover’s Beach. The current had carved out areas that were deeper than others and as we waded through, the water came up to our bellybuttons. We carried our beach bags, backpacks and dive bags up on top of our heads like they were precious baskets of water being brought back to a village.

IMG_4629

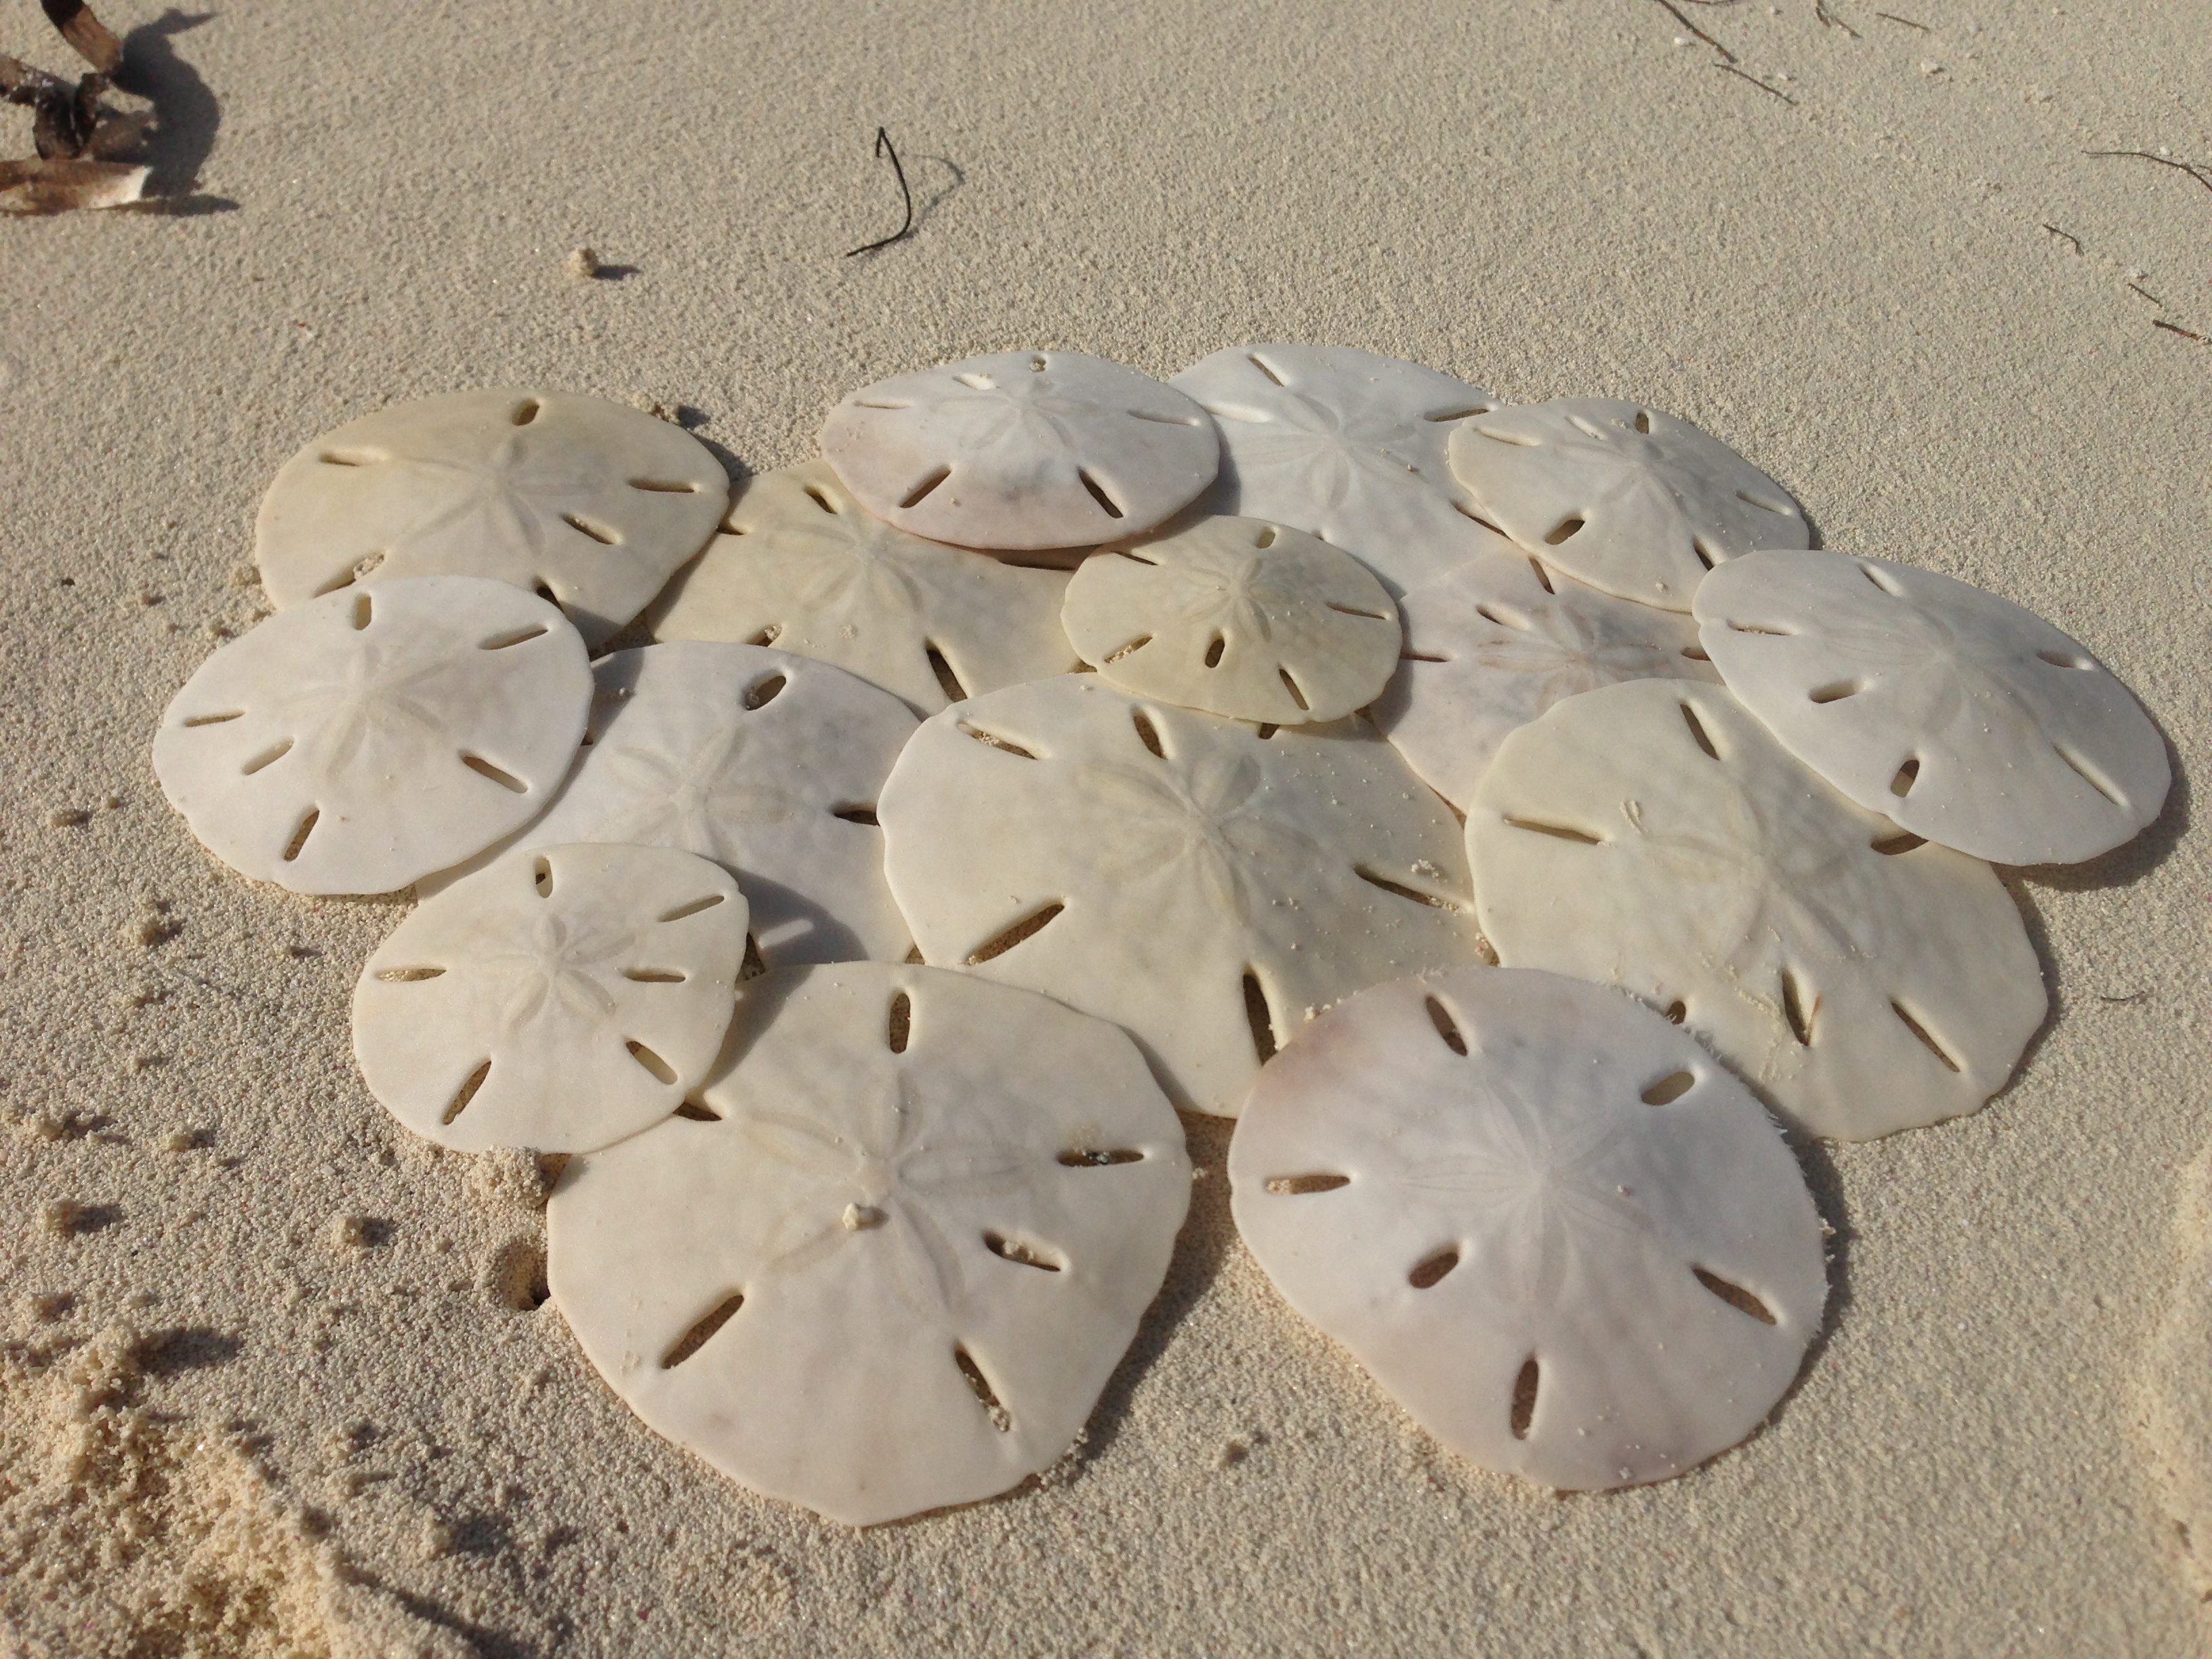
The sand was soft beneath our toes and there was only a tiny bit of sea grass and urchins in the water to carefully step around. On the other side of the sand bar I found my first whole sand dollar!!IMG_4675

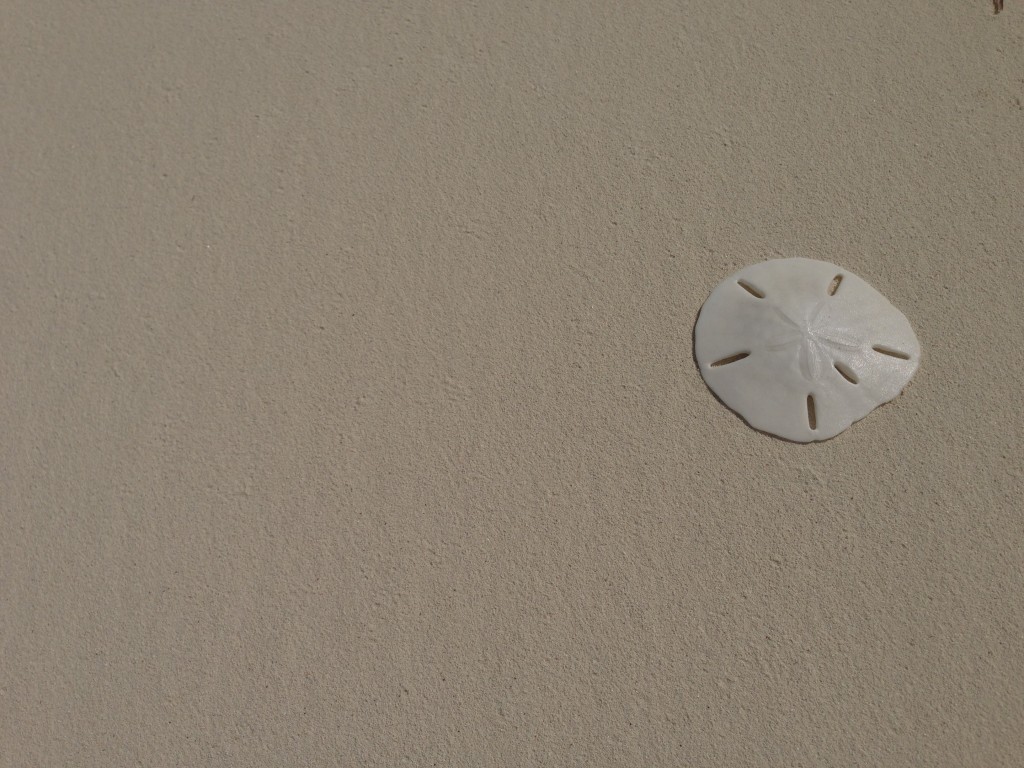
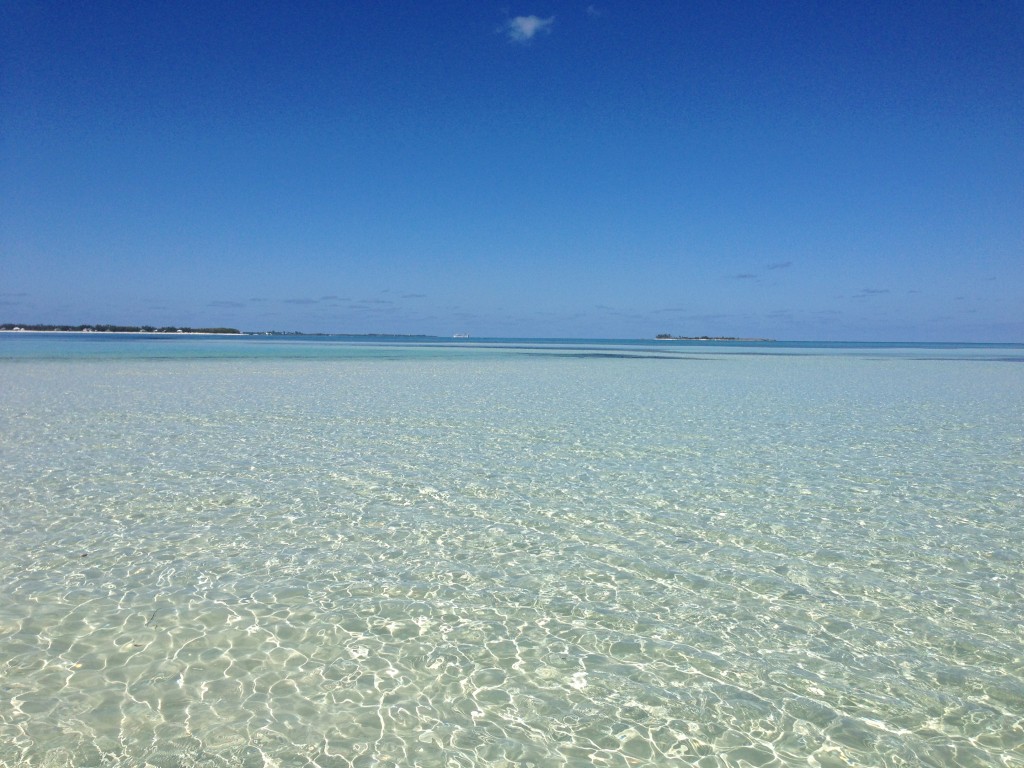
The cove in front of us was what dreams are made of. The many colors of the water here in the Bahamas are so surreal.

IMG_4651

IMG_4655

IMG_4734

IMG_4735

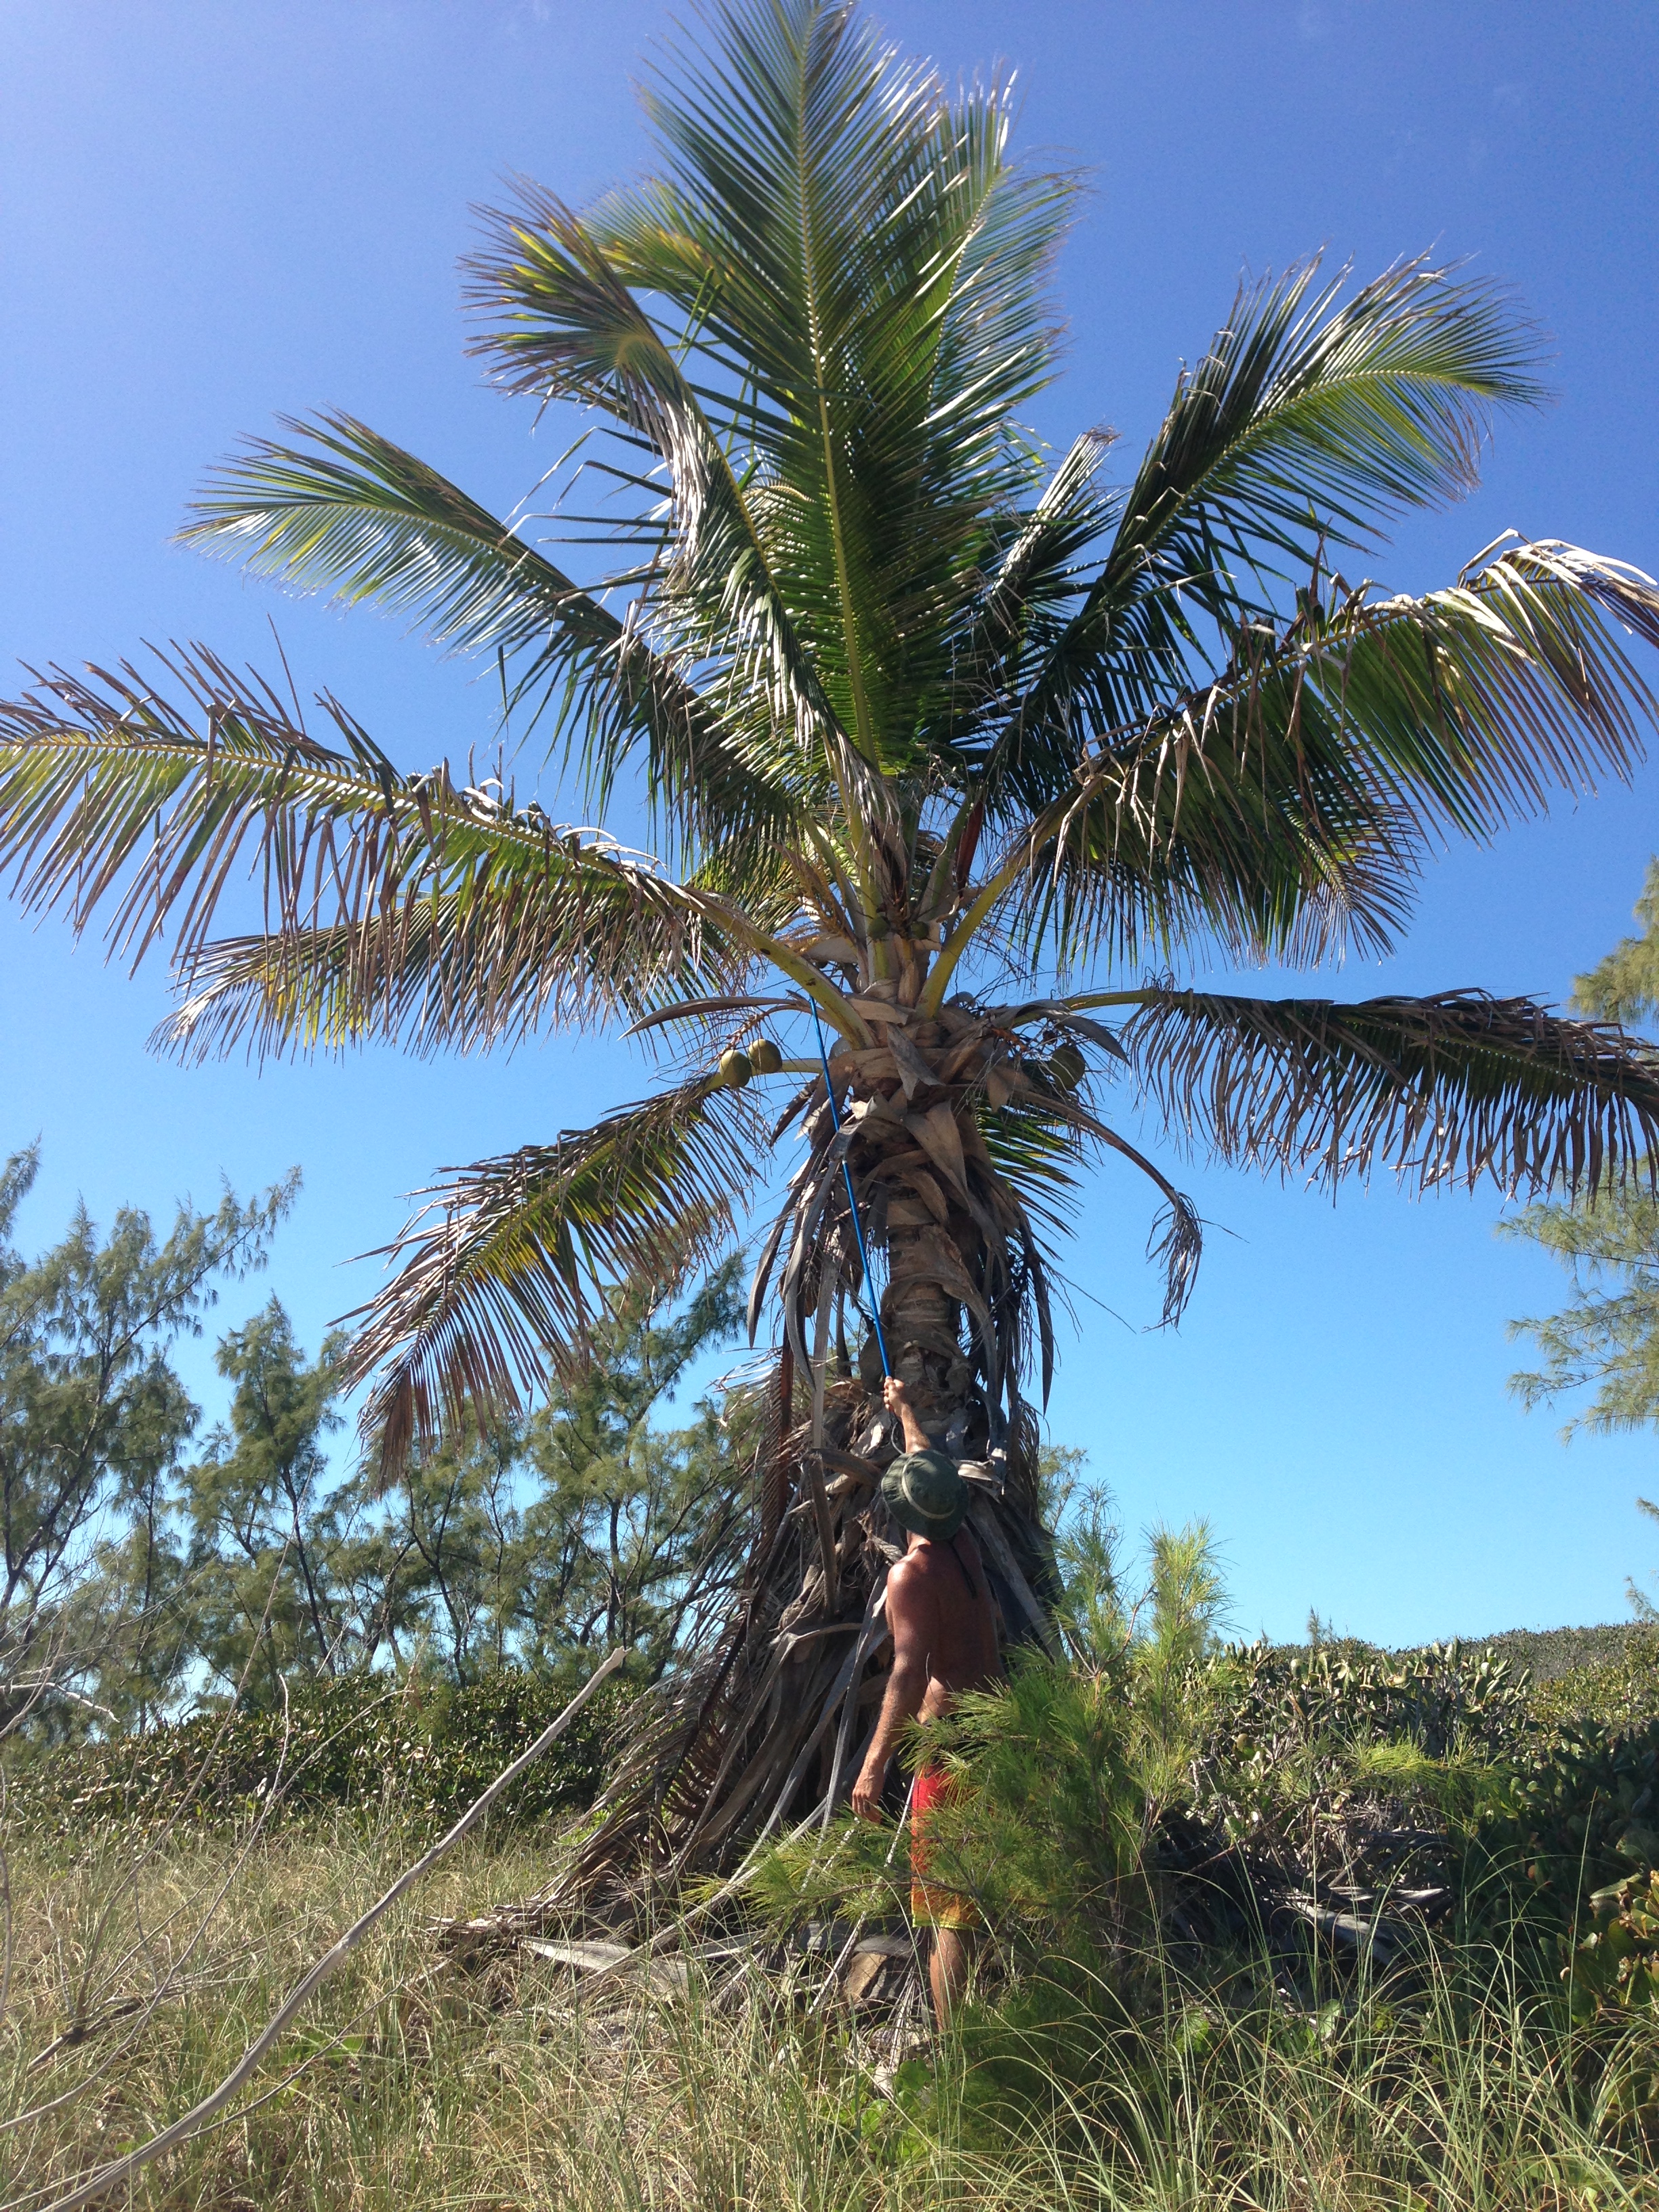
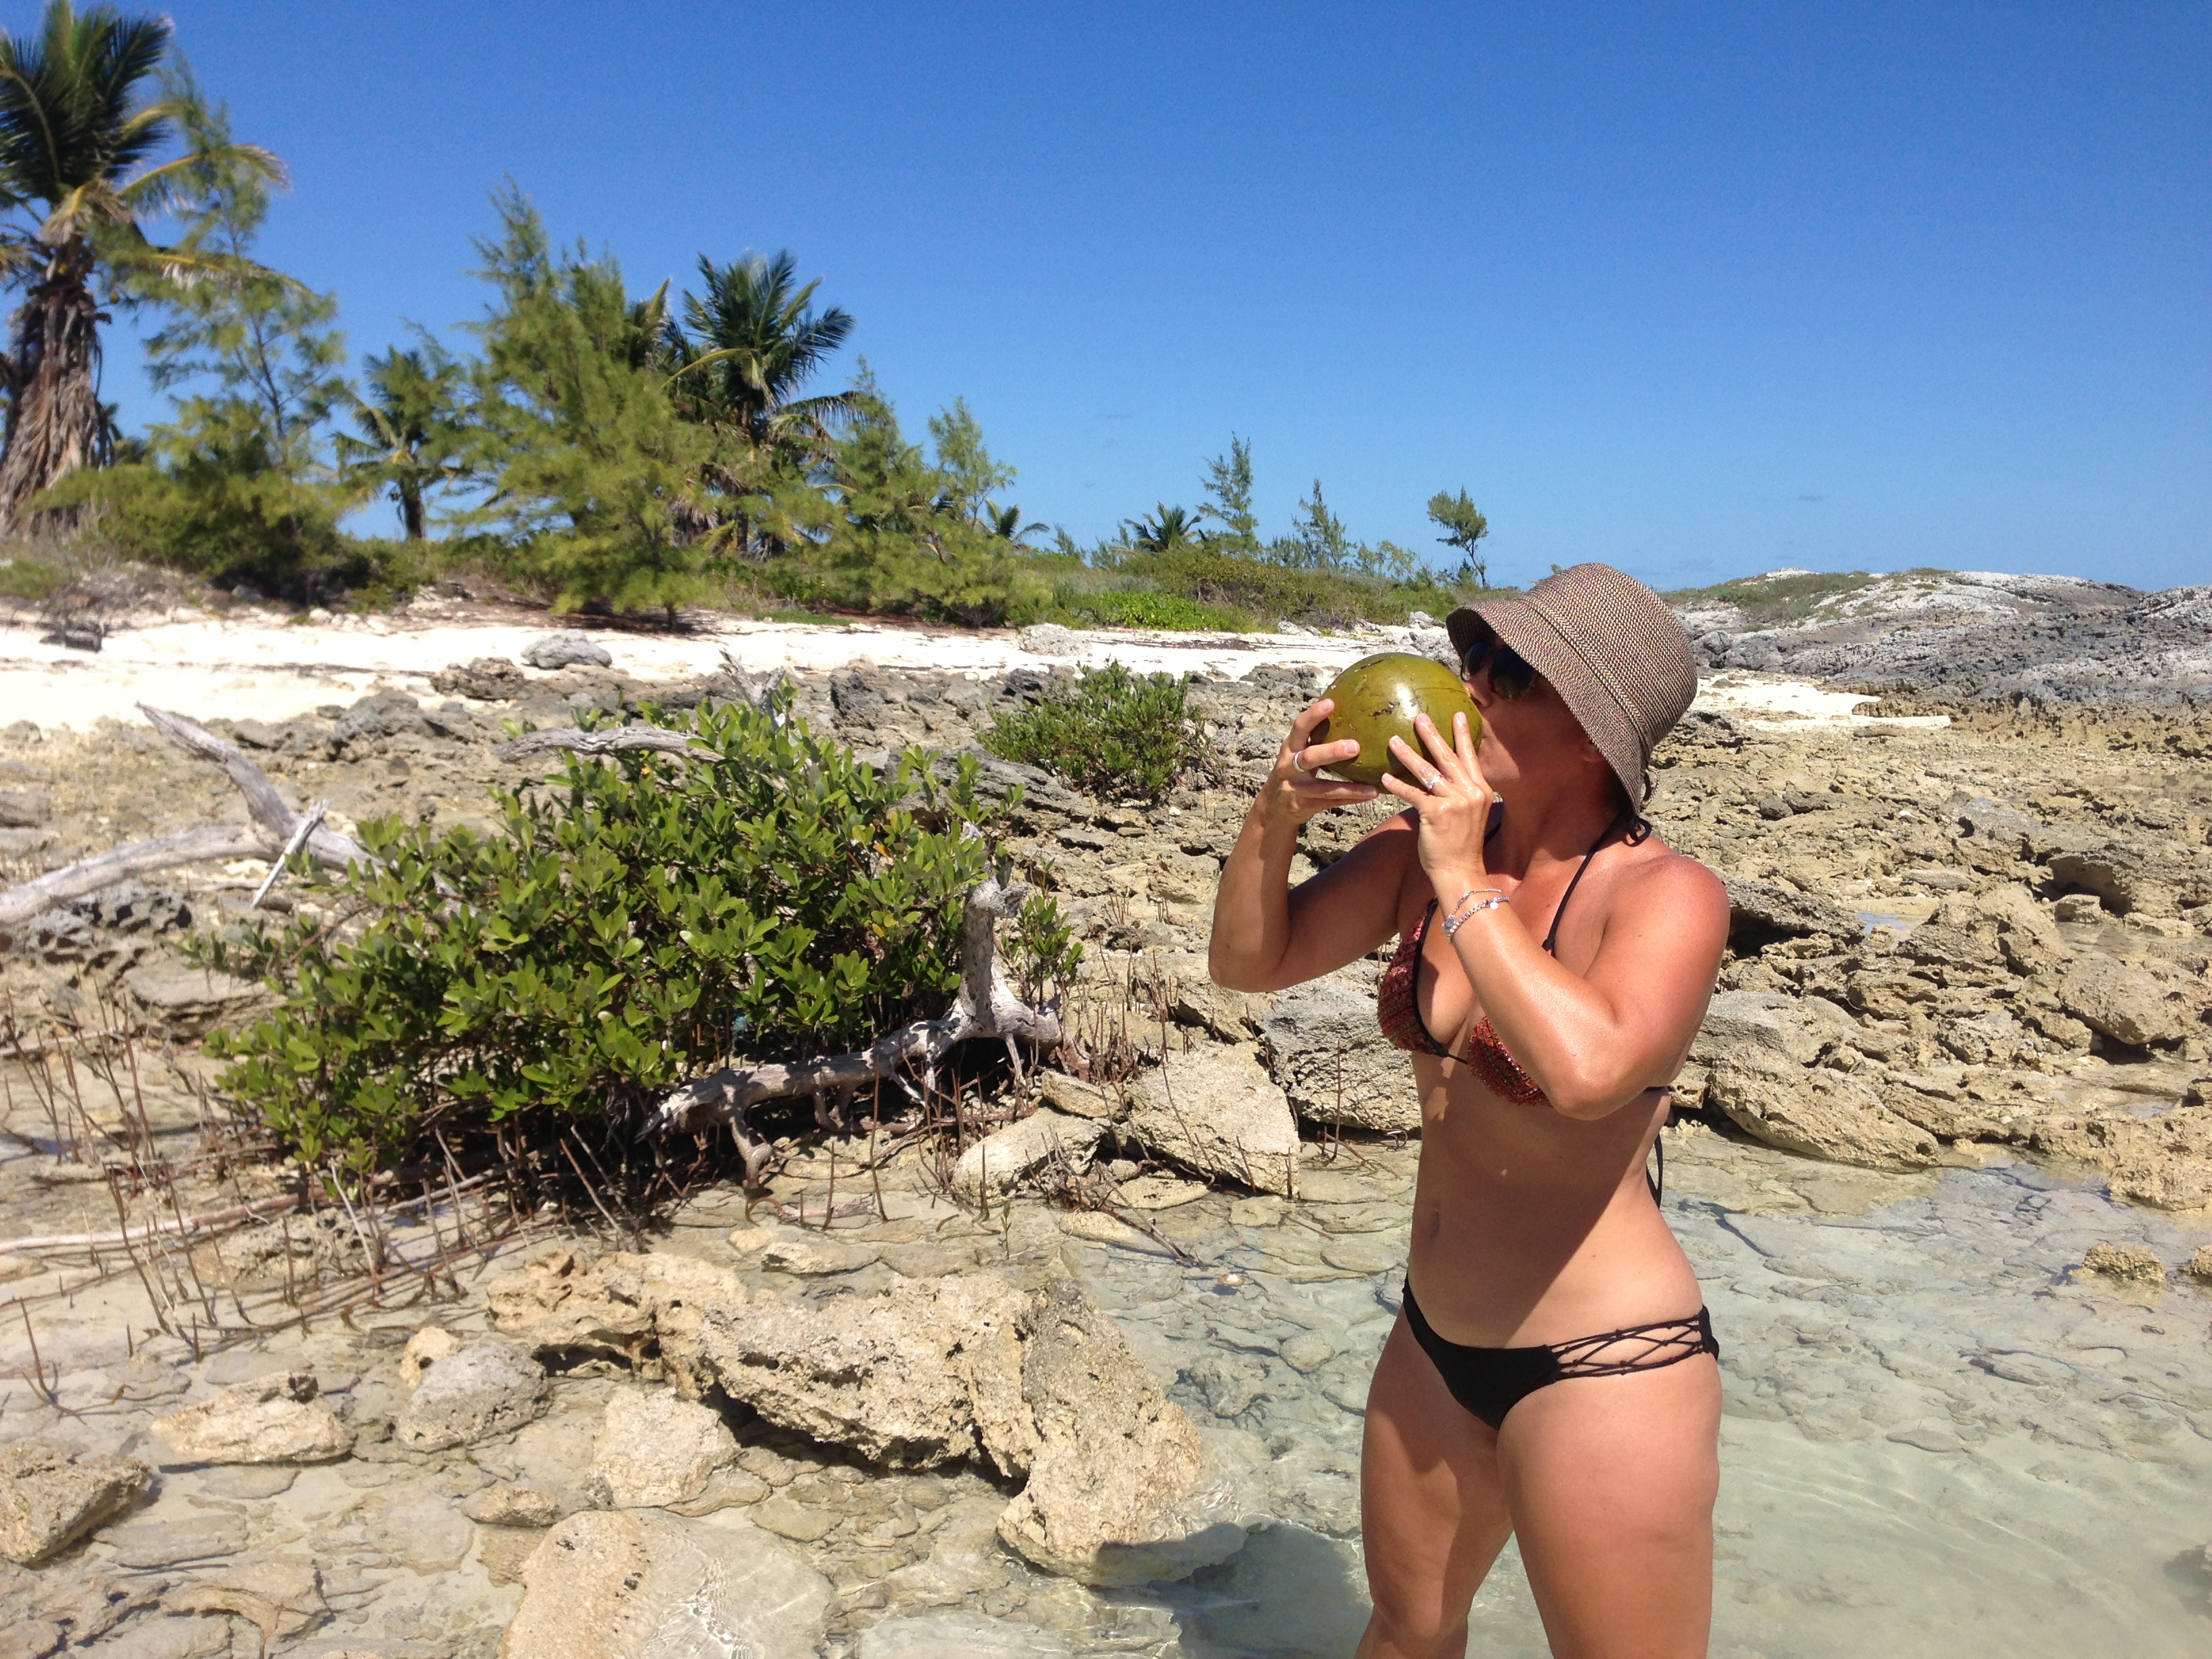
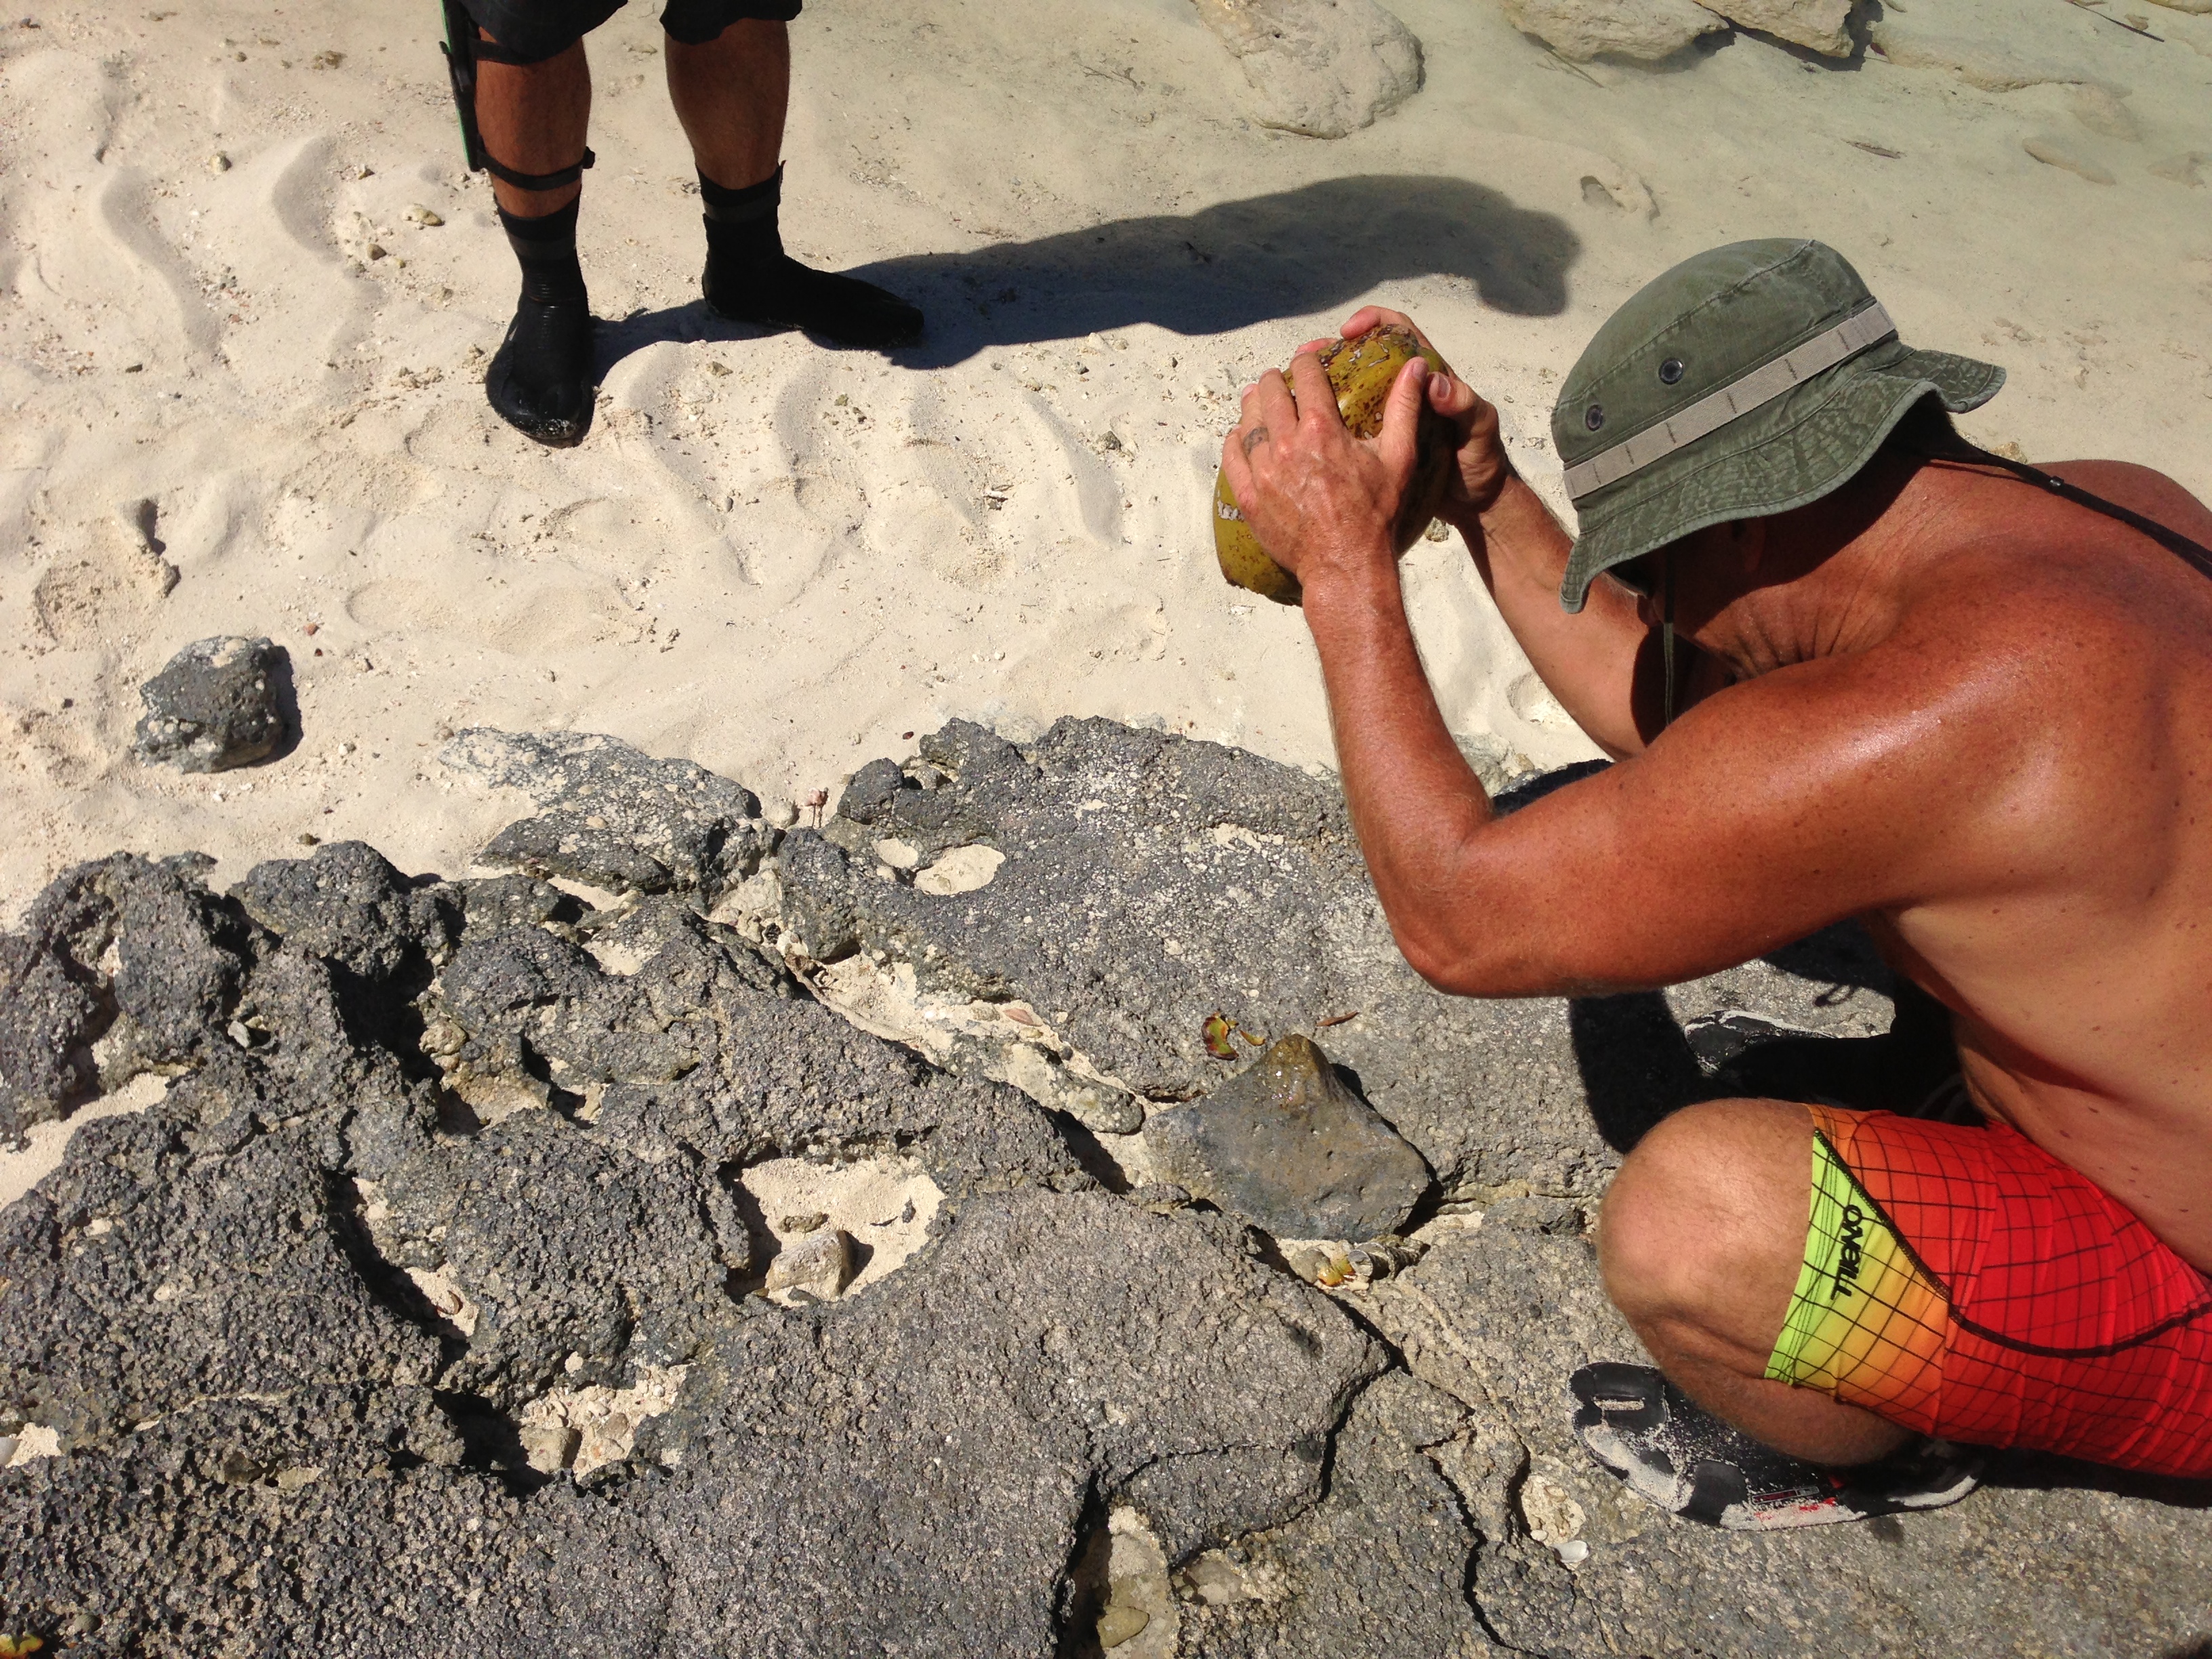
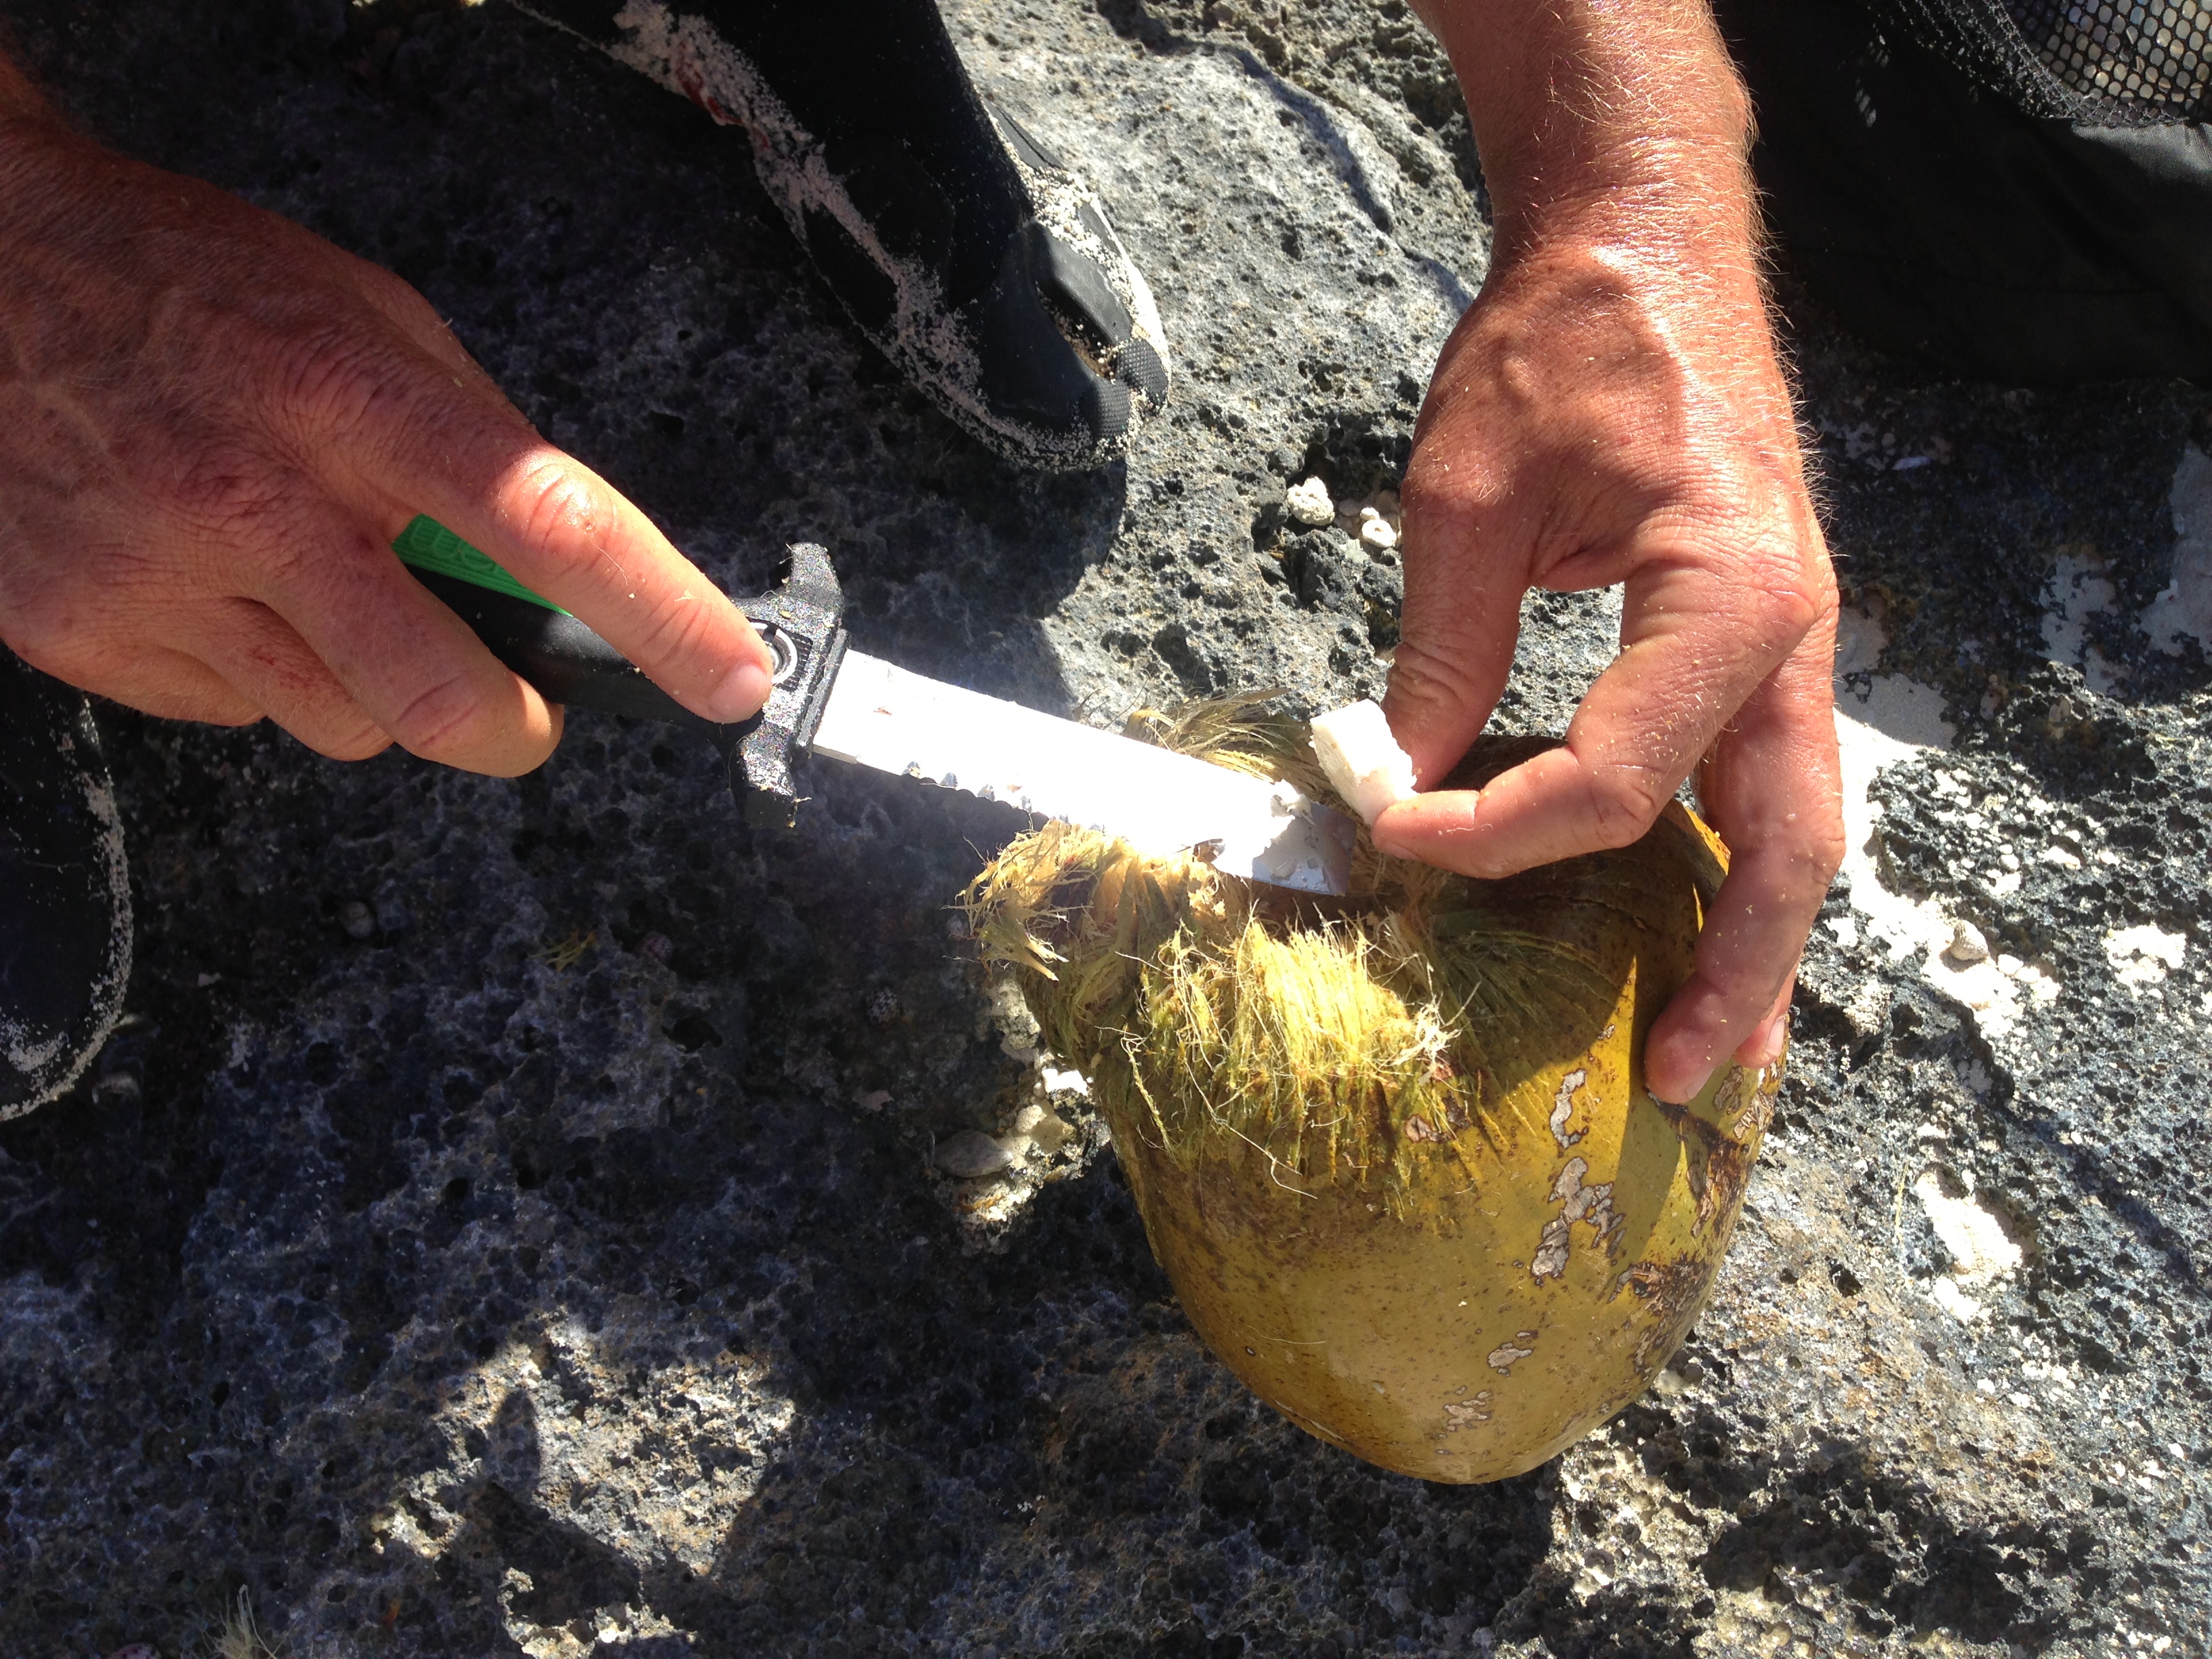
We walked a little further around the point where Peter and Josh could go diving for lobster. It was very rocky and sharp on that side of the island where the waves had eroded away the lava rock. As we set down our bags Josh saw a bunch of coconuts growing behind us. He took one of the Hawaiian slings to knock down a couple coconuts. We really are WHERE THE COCONUTS GROW! Leah had no trouble busting one open on a lava rock. The water inside was like a taste of heaven. It was so refreshing on a hot day and definitely helped rehydrate us all. Livin’ the dream :)

IMG_4690

IMG_4700

IMG_4713

IMG_4724

The guys went out diving and Leah and I put our masks on and checked out the shallows on the inside of the cove. Eventually Josh came back to bring Leah and I out to where the guys were diving. Leah had on her Nikes and I had my fins. We put on our masks and snorkels and started exploring the underwater world in front of us. We saw pretty bright blue reef fish and colorful coral up and down the valleys of white sand. We wished we had brought our underwater camera! Unfortunately there were no lobster here or anything else to spear but we had a blast snorkeling around anyway.

After awhile a while sand beach appeared on the shoreline as a signal it was time to come in. I was the only one without shoes or booties so I carefully climbed over the lava rock barefoot. Just call me Jody Lundin! (one of our favorite TV shows back on land is Dual Survival with Cody Lundin. Everywhere he goes, he is barefoot. He treks through the most dangerous places to survive like the Amazon, Sahara and Alaska wilderness)

IMG_4743

Back where our dive began, we brought out peanut butter and jelly sandwiches and some fresh tangerines that Jon and Arline gave us. After lunch we trekked back across the sand bar. Along the way we found dozens of sand dollars in a path back to shore, almost like a yellow brick road.

IMG_4757

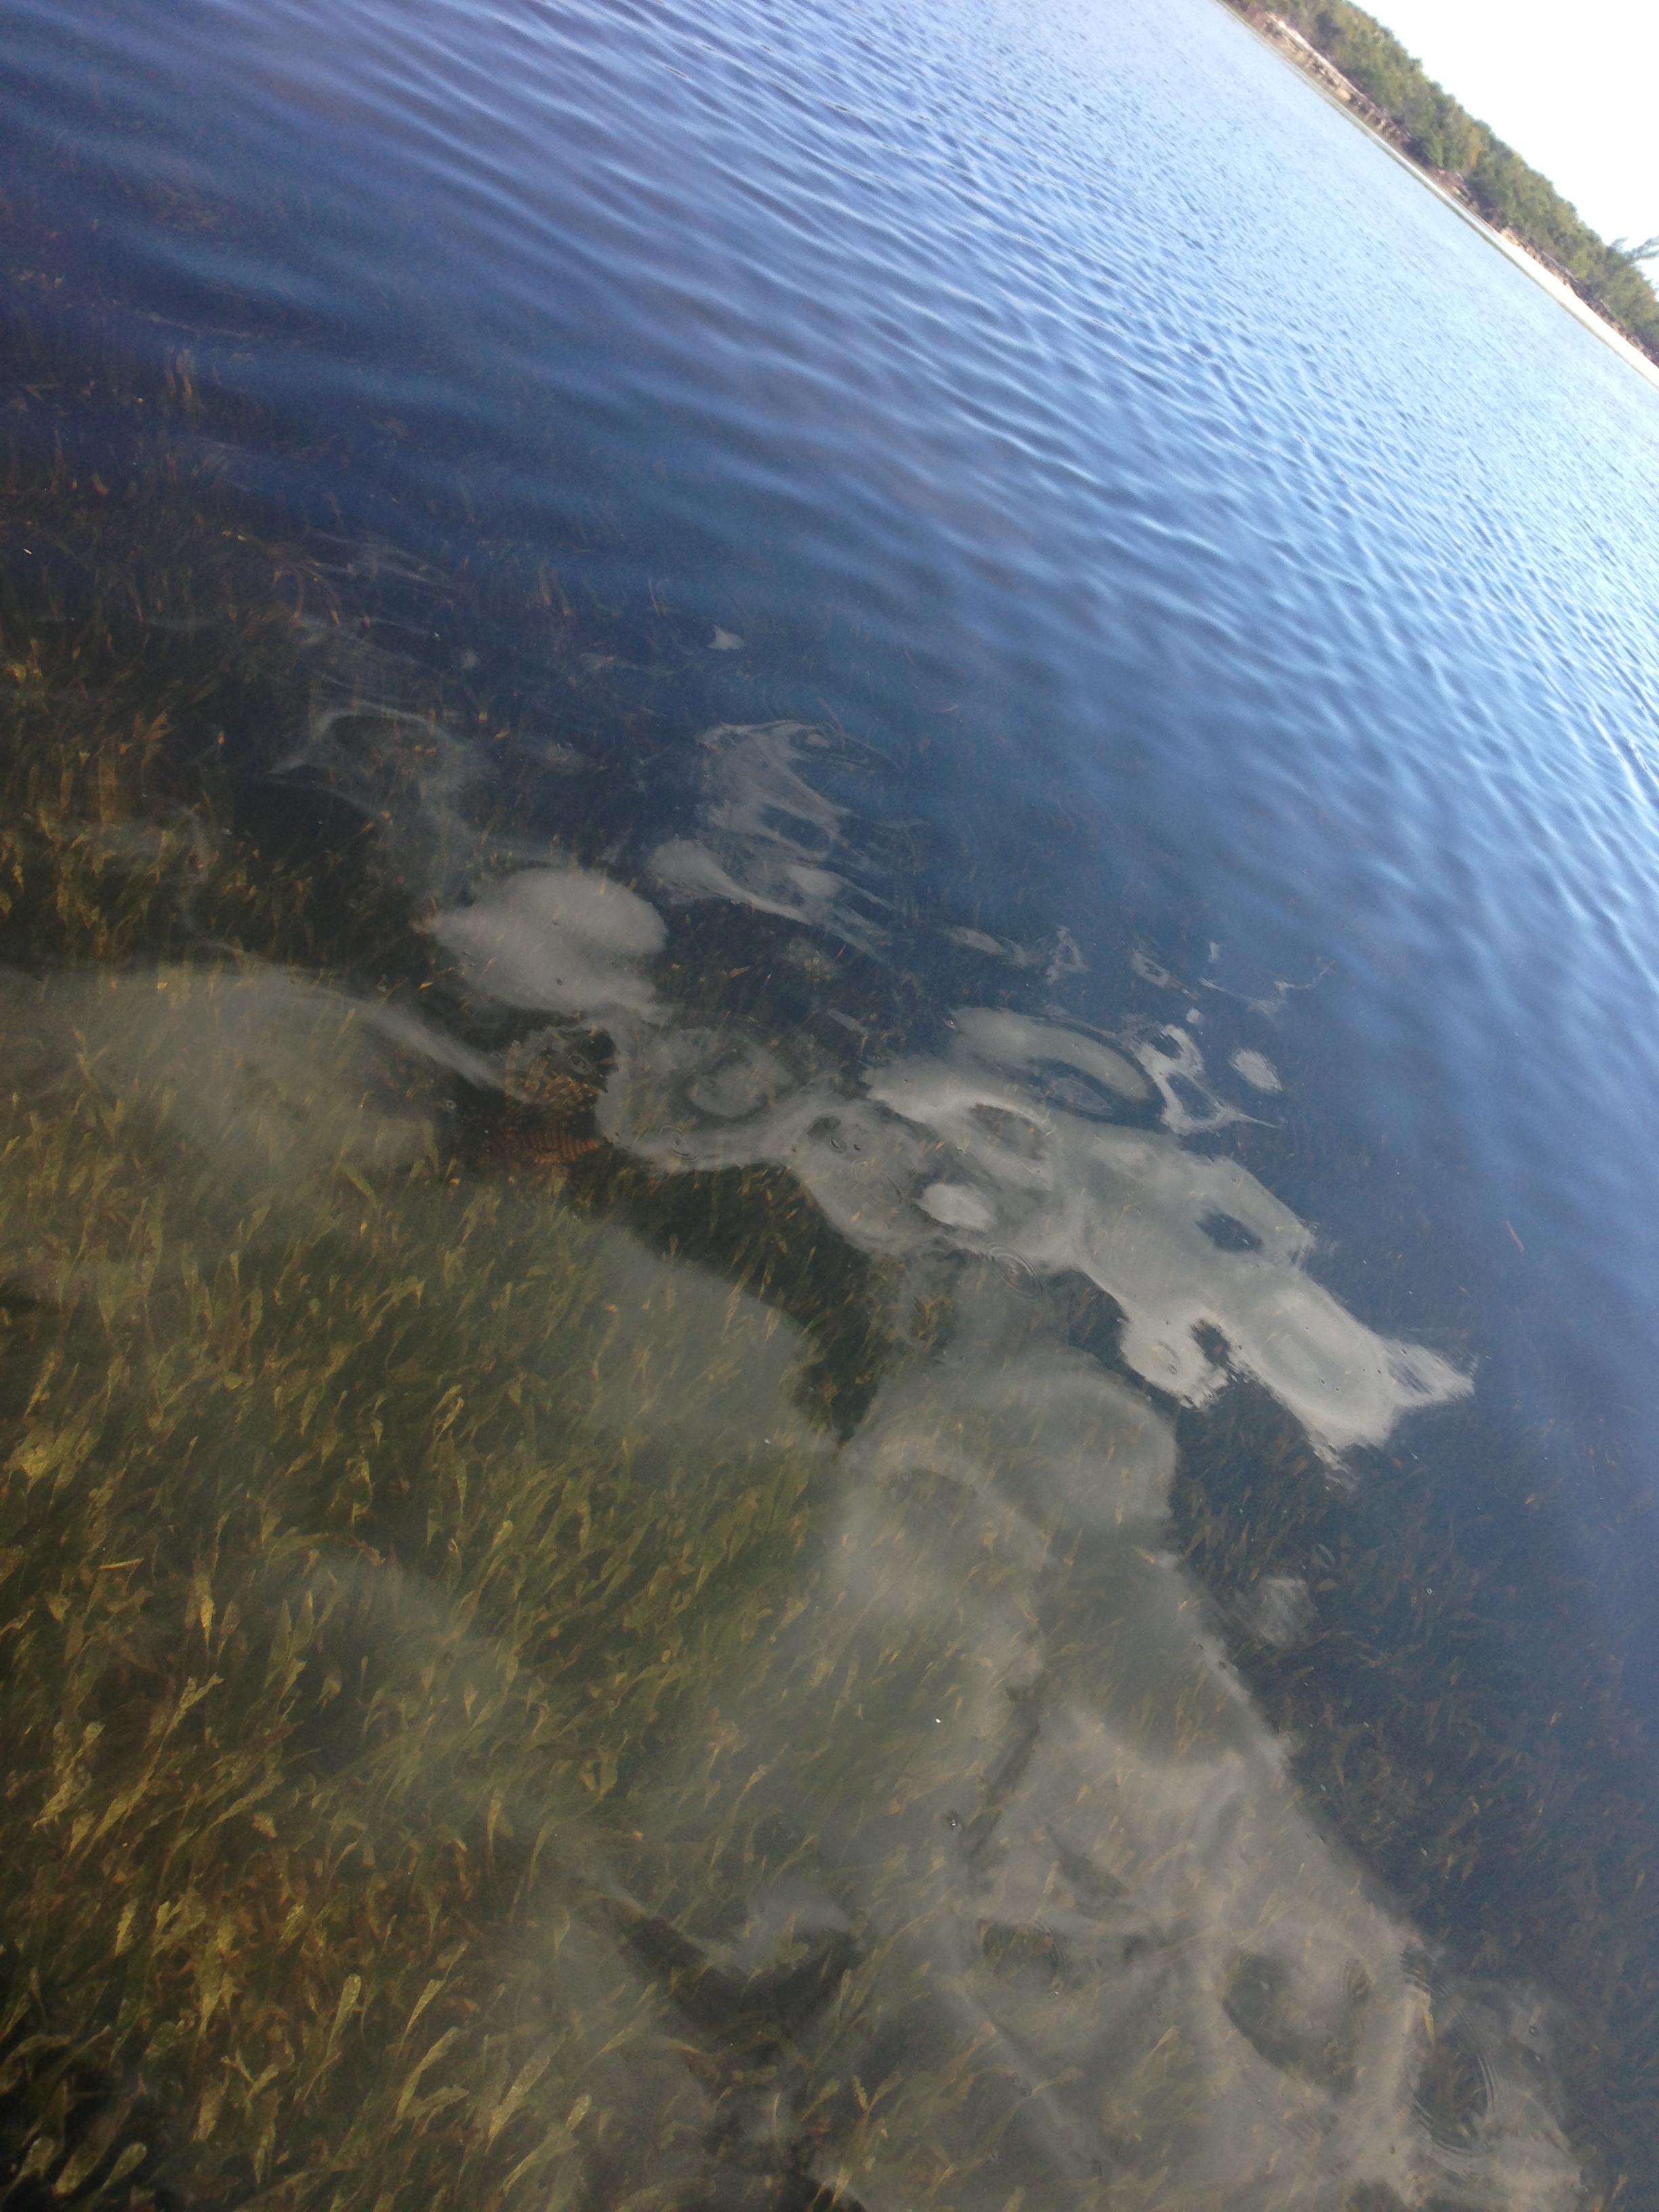
While we waited for our Bahamian friend to pick us up, Peter and I walked up the riverbank a little bit and saw a lionfish in the seagrass. Those suckers really are everywhere now. Crazy how fast they have become an invasive species. They carry a wicked toxin and have killed off much of the existing reef life.


Can you see the lionfish?

IMG_4773

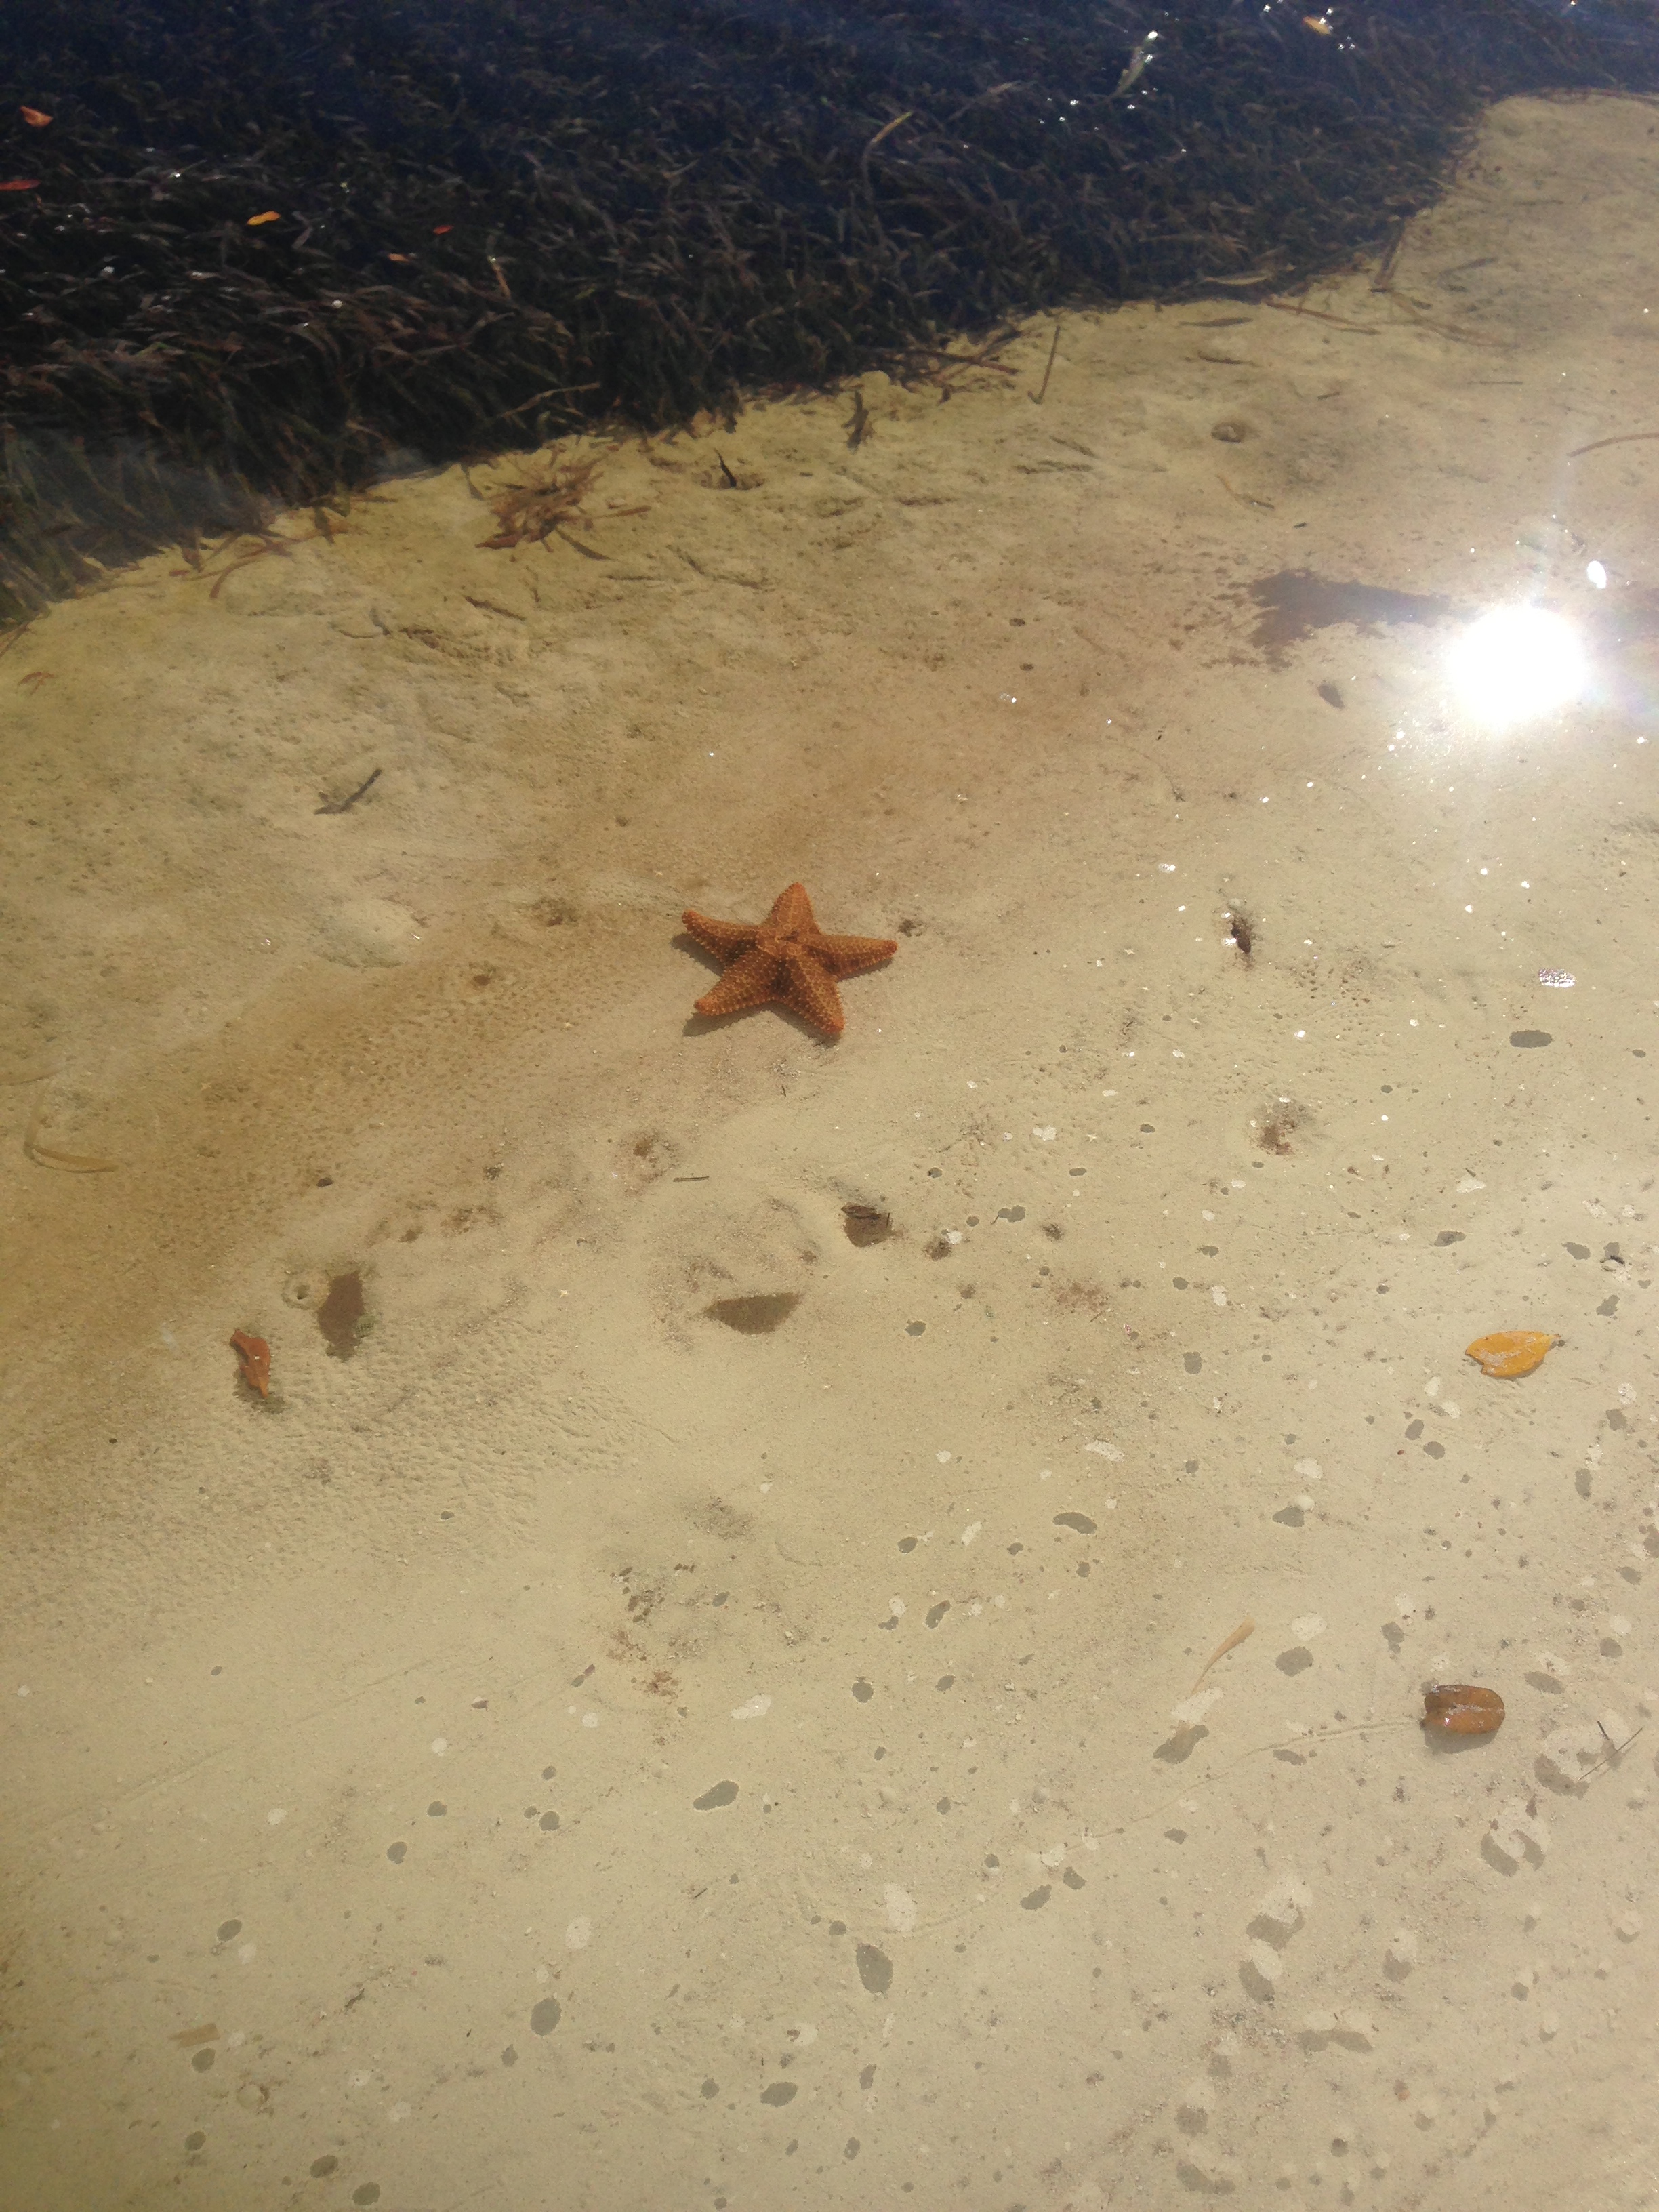
We also saw a starfish close by. First one of the trip!

IMG_4784

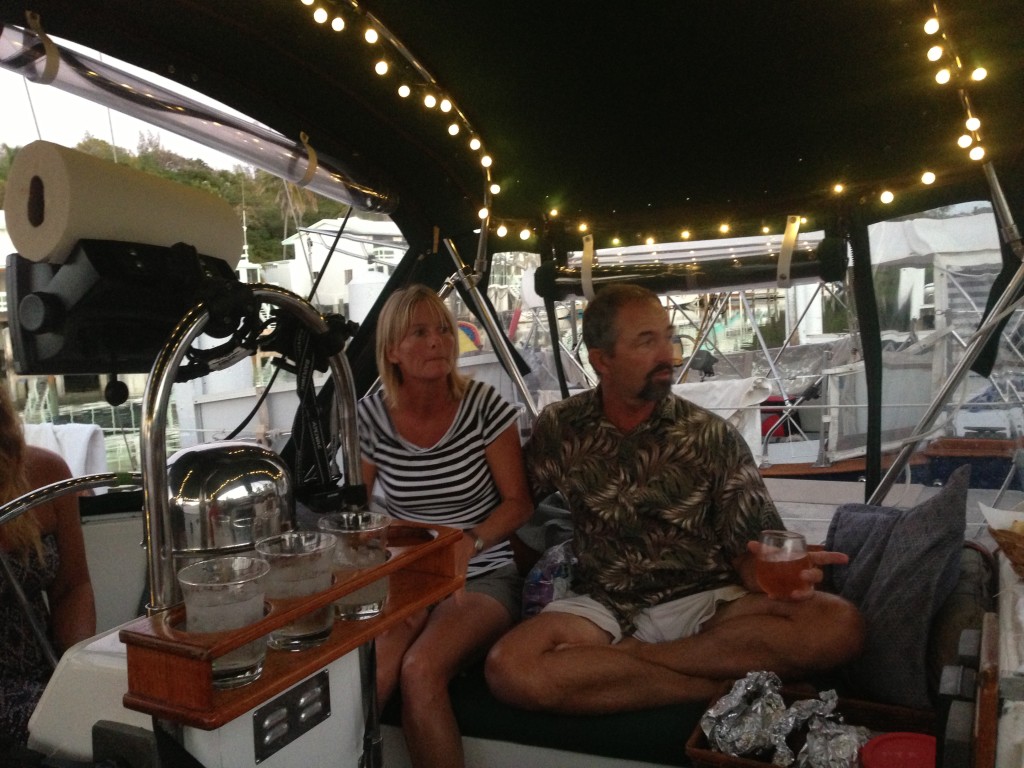
When we got back to the boat we had to break the news to Jon and Arline that we didn’t have any lobster to contribute to the BBQ we had planned for that night. Jon was making his conch fritters. Luckily, the guys from the fishing tournament gave us a huge filet of King Mackerel. Peter served it up sashimi style. Holy crap that was good!!! Nothing like fresh sushi straight out of the ocean. We all crashed hard that night after a long day.

IMG_4794

IMG_4798

IMG_4788


Houston, We have a problem: NO STEERING

IMG_4376

Saturday afternoon, 2.8.14, we began to stow everything away to head back to Brown’s Marina. The water tanks needed to be topped off and we needed to fix the leaking bladder tank. The anchor went up without any trouble and we began to navigate away from the adjacent sand bar. Suddenly, it was very apparent to everyone that we had NO STEERING!! The current was strong, but there’s no way it could be strong enough to counteract our steering all together. The rudder position moved back and forth clear as day in the autopilot gauge but the rudder itself was just not moving.

In a panic to stay off the sand bar that was almost underneath us we let out the Genoa to the port side to catch enough wind to turn the bow in the direction we were trying to turn. With the help of our trusty prop walk to starboard in reverse (she only goes to the right in reverse no matter which way you steer) combined with full sail to port, we got back to our original location and quickly dropped the anchor again.

Peter dove off the back to see if the rudder moved at all as the wheel turned and to see if maybe it was hung up on something. Negative on both. There were no obstructions and it was no longer connected to the steering mechanisms.

Immediately, Peter told me to go get the emergency tiller arm. The previous owner, Steve, had it strapped inside the corner of the forward hanging locker with old, crusty and almost disintegrated bungee cords because they had been untouched for so long. This is one of those things that you haul around with you ‘just incase’. It’s a massive two-part aluminum pipe that could double as a weapon if we were feeling barbaric.

I scrambled to lift it up through the companionway into the cockpit and bring it out to Peter where he needed to insert it through the hole in the aft deck. It runs diagonally down into the aft cabin. The mattress had to be pulled off to access a removable board covering the hydraulic steering arm that connects to the rudder. We had the emergency tiller all ready to attach and then… BINGO! That was it! One of two bolts holding the top of the arm in place was completely busted off. With it just hanging there, the hydraulic steering system was unable to grip and turn the rudder. We were lucky it was only a bolt and nothing worse. The second bolt had bent a bit from the force of keeping it all together but it kept holding. There had been a grounding wire attached to the bolt intended to diffuse the electrolysis in the water and had completely disintegrated the bolt from the inside out. Guess it should have been placed somewhere else :(

IMG_4382

IMG_4386

IMG_4389

IMG_4390

IMG_4396

We made it back to Brown’s Marina two hours later. Josh steered us all the way with the emergency tiller arm while Peter navigated from the helm. By the time we arrived, it was already dark and the current was whipping through the channel as usual. It was past closing time so no one at the marina answered our call on the VHF radio. We tucked in on the outside of the dock behind a catamaran in the only space that was visibly available to us at the time and hoped someone would come out to help grab a line. It took two tries but the Mary Christine was finally tied back up at the dock safe and sound for the night.

We were all exhausted so we tied up the dogs in the cockpit to guard our home and walked up the road to Sherry’s for some dinner. It was a decent local meal but way overpriced. The bill was $100 for four people for some fish and lobster plates. After our minor disaster, it was worth not having to make dinner. Plus we got to relax in a super cute little beachfront patio.

IMG_4399

Back at the boat everyone at the dock was wondering what had happened. With the help of new cruiser friends John (S/V New Moon) and Alex (S/V Nikimat), Peter was able to put a new temporary bolt in, reconnect the hydraulic steering arm, and they even temporarily fixed a leak at the stuffing box packing nut. Before they made the fix Peter borrowed John’s 4lb hammer and used a screwdriver to pry off the emergency tiller arm. It had to be done that night or Peter and I wouldn’t have anywhere to sleep.

We spent that Saturday night 2.8.14 and Sunday night 2.9.14 at the marina. Betsy had been confused and shamefully peed on one of the cockpit cushions while we were underway coming back from North Rock. Poor thing. It was just too hectic when we lost our steering. Sunday we cleaned the boat and did a tiny bit of laundry. The cockpit cushions and covers got washed on the dock and the guys did a soap test on the water tank bladder to see if they could find a leak. That night we grilled some steak and lobster with our neighbor Alex. It was a nice relaxing evening before casting off the docklines  again in the morning…

IMG_4410

Leak Prevention

Part of the routine maintenance we like to keep up on is making sure the gaskets around our ports are lubricated. The rubber seal can dry out and crack if they aren’t maintained. If there isn’t a good seal, water can leak in when it rains or when we wash down the boat.

Step 1: Scoop out a chunk of Vaseline

IMG_3415

Step 2: Smear all that gooeyooey-ness around the seals until they have a nice coating.

IMG_3422

IMG_3412

Step 3: Clean up any excess vaseline around the ports

Step 4: Wipe off your hands! Yuk! (I suppose I could have used a rag, but I wanted to make sure it was covered evenly)

Step 5: Celebrate when it rains and water isn’t leaking all over your bed anymore!!

IMG_3671

(On a side note, one of the known issues with Whitby’s is the angle of the two aft ports above the bed. They are angled so that water collects in the corners and has no way to drain out. We either have to wait for the sun to try it out, or wipe it out. It’s not a big deal.)

Today’s surprise: Busted hose clamps

DSC_0368

Every day we learn something new about this boat. We’re just about ready to sail to the Bahamas and we’re doing a final inspection of all equipment to see if there are any other spare parts we need to order before shoving off the dock.

During a random glance at the engine, Peter noticed one of the hose clamps was corroded and split. It was amazing there was any tension left to hold it on still. Luckily this was in a location that had been double clamped so it wasn’t a code-red emergency yet. Nonetheless, this is not something you want to find on your main engine.

DSC_0375

After a little futher investigation, Peter spotted busted clamp #2. Crap! How many more of these are there throughout the entire boat?

DSC_0376

DSC_0380

Here’s a pic of where both busted clamps occured:

DSC_0372

The upper hose had a single clamp on each end and we replaced one of those. The lower hose had the double clamp and we replaced the broken one there too.

DSC_0369

No damage was done and a small catastrophe was averted. WIN! We continued through the boat double checking all the major hose clamps, screws and visible bolts. We didn’t find anything else today that needed to be replaced but we’ll definitely be reinspecting these kinds of things during our monthly safety checks.

Juice It Up!

IMG_3285Our batteries were about three years old and started to get noticeably HOT. Two of the 4D batteries reside underneath the nav station seat and my toosh was getting too toasty!! The third is in the engine room. When we first arrived at the boat in September the water level inside the battery cells was very low. About 16oz of distilled water per cell were needed to bring them up to the proper level, but even after that they were still bubbling over, seeping out of the vents on the top of the batteries. While it’s not straight battery acid that’s coming out, it’s still very corrosive and dangerous. You can see the spillage in the picture above (disregard the terrible quality!)

This was a high priority boat project and we couldn’t put it off any longer.  We would have liked to put in 8D batteries to yield more amperage for a longer duration but the housing just wasn’t big enough and it’s not critical enough to rebuild the existing box or expand elsewhere. Our research discouraged us from the higher priced AGM batteries or gel batteries. The increased life just wasn’t enough justification for the higher price, and we’ve also heard from many salty dogs that they don’t always have a longer life either. We don’t mind the additional maintenance of refilling the distilled water every couple of months, especially if it means saving a few hundred dollars on these bad boys.  We went with some Deka Lead Acid batteries for $220 each. Plus, we were able to get them from the yard right here at our Marina.  The guys even said they would come pick up the old batteries at our slip. What a deal! IMG_3291The first step was to shut off all the power. No big deal, it’s just in the high 80’s outside and muggy as all hell. No power means no air conditioning…

Peter put on his safety glasses and gloves, then used a little T-9 to loosen up the terminals and the first one was ready to come out. A whopping 80lbs of battery and seeping lead acid had to be lifted out of that hole without dripping anywhere. Peter and I got it onto a black trash bag, but there was NO WAY I could help him lift it up the vertical 5′ ladder and through our companionway into the cockpit or over the lifelines onto the dock. Our super nice neighbor Karl donated some sweat equity and came to the rescue. IMG_3296It’s not a real boat project unless you get sidetracked and start a new one before finishing the first one, right?? Don’t forget, we still have NO POWER and NO A/C since we are only 1/3 done with the batteries. In order for the wood platform to screw back in properly over the top of the new battery, we got the chance to use our handy-dandy vice that was left by the previous owner on the back side of our engine room door. There was a small piece of wood that was beginning to split so we used some liquid nails and a screw to fix’er back up. IMG_3299

IMG_3305

IMG_3308

IMG_3318The clock ticks on and we finally get the board back in place. My red toolbox fits perfectly where the previous owner had his toolbox. He laid non-skid strips down with screwed on wood blocking to hold the toolbox in place while underway. There’s also a strap that goes over the top for double measure. The snap that holds the strap also busted off but that’s a little less critical so we’ll add that one to the “list” for another day. On to finishing the batteries…

The last two sit more than snuggly inside the nav station seat and there is a grip of wires in the way making it extra difficult to remove the old leaking batteries. We are running out of daylight. It’s not getting any cooler and we are both sweating all over the place. I am able to lift the first one out of the box with Peter, but not the second one. Karl comes back over to help us out again. Two men are stronger than one! Now we just have to get them hooked back up properly and quickly. The headlamp came out long ago. Good thing we have little batteries to help us shine light on the big ones!!

Before lifting the new batteries in, we need to clean out the box with baking soda and water to neutralize all the spillage. We’re not sure how long it had been like this, but there was an awful lot of corrosion and that’s never a good thing on a boat. Luckily the structural integrity of the box wasn’t affected and we won’t need to rebuild anything… yet. Now totally dark, and still sweating, we tried to air out the fumes from the neutralization as best we could. We were determined to get this finished in one night so I mustered up all the strength and gumby-like leverage I had to help Peter drop them into place one at a time. After all the wires were put back together the right way and the terminals got a fresh coating of T-9, it was time to see if we had juice. Whew!! Everything seemed to be okay.IMG_3324

IMG_3325We were both so tired and on the verge of dehydration that when we plugged the shore power back in to get some air conditioning, we plugged them in the opposite locations. The fault warning was going off and it took us a few minutes to realize it had nothing to do with the connections for the new batteries, but that it could be the shore power cables. Peter went out to switch them and the beeping stopped. Finally! Light and cool air!!! The poor puppies had been waiting so patiently for dinner and potty time. We got the pups outside first, then back for their dinner and then we were finally able to head to the showers to get cleaned up.

The work wasn’t done yet… we still had to neutralize the acid that had leaked out and down onto the carpet. We sprinkled some more baking soda and let it do its work. There was more reaction than we were expecting, but its all cleaned up now. We’ll be tossing that piece of carpet for sure and replacing it very soon. Another thing to add to the list!

All in all, our first major boat project took longer than we anticipated but it was successful in the end. Next time we replace the batteries, it will hopefully take us half the time and we will be sure to start the process on a cool day and early in the morning :)