Home » BLOG » outfitting

Category: outfitting

Getting the boat and crew ready to sail away

Buddy Bowl – How to keep water available for pets on a boat

DSC_0345

One of the small details that went overlooked when we first moved onto our sailboat was keeping water available for the dogs. It’s never been an issue before. We just put a bowl out and check it a few times a day to make sure the kids have plenty of water. We know they like to drink mostly after eating and after a run, with a little bit throughout the day. No big deal.

When we first moved aboard the food and water routine was no different than it was on land. Fill the bowls and the dogs empty them. It wasn’t until our first sail with the dogs aboard that we realized our original plan wasn’t going to work. I had read a few suggestions online that some people just use an oversized bowl and only fill it up half way or less so that the water doesn’t slosh out all over the place when you’re under way. Guess what spilled the water out when we tried this method? Me! I spilled more water out of that bowl while moving around in the cockpit than the amount of water that was spilled from the boat heeling over.

In researching more helpful tips and tricks for liveaboard dogs I came across the “Buddy Bowl.” That was it! It was perfect!!

DSC_0347

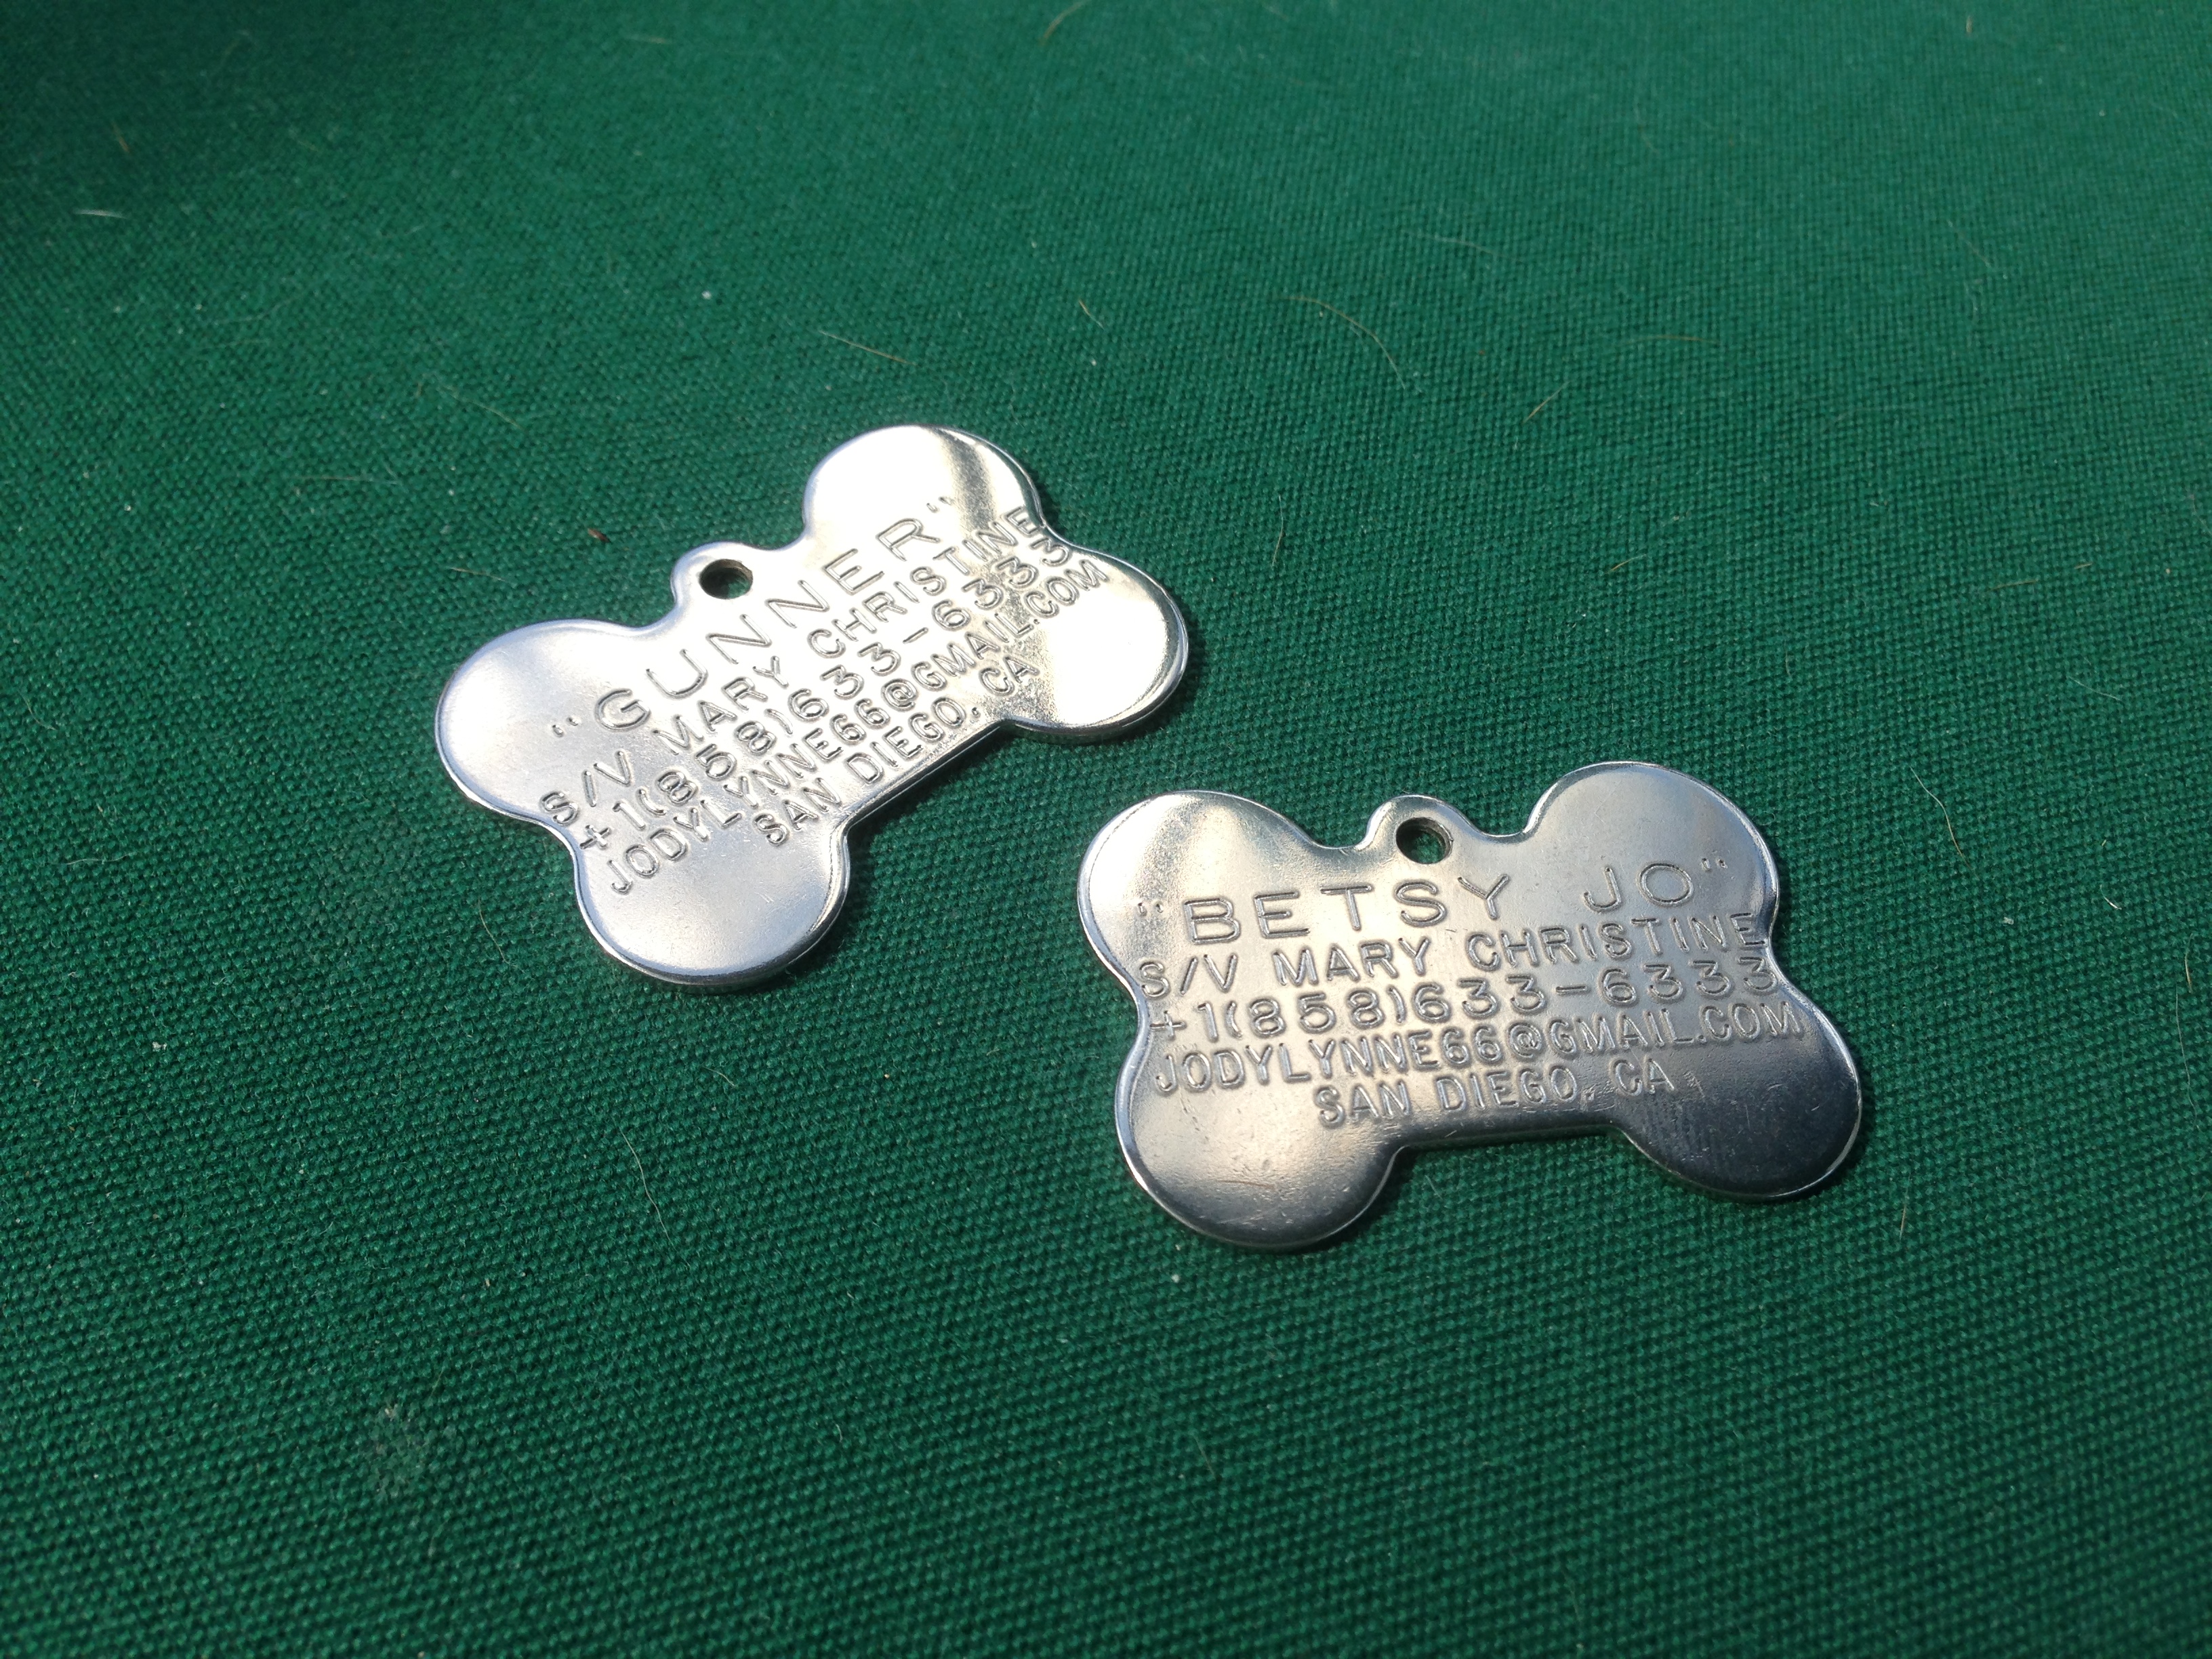
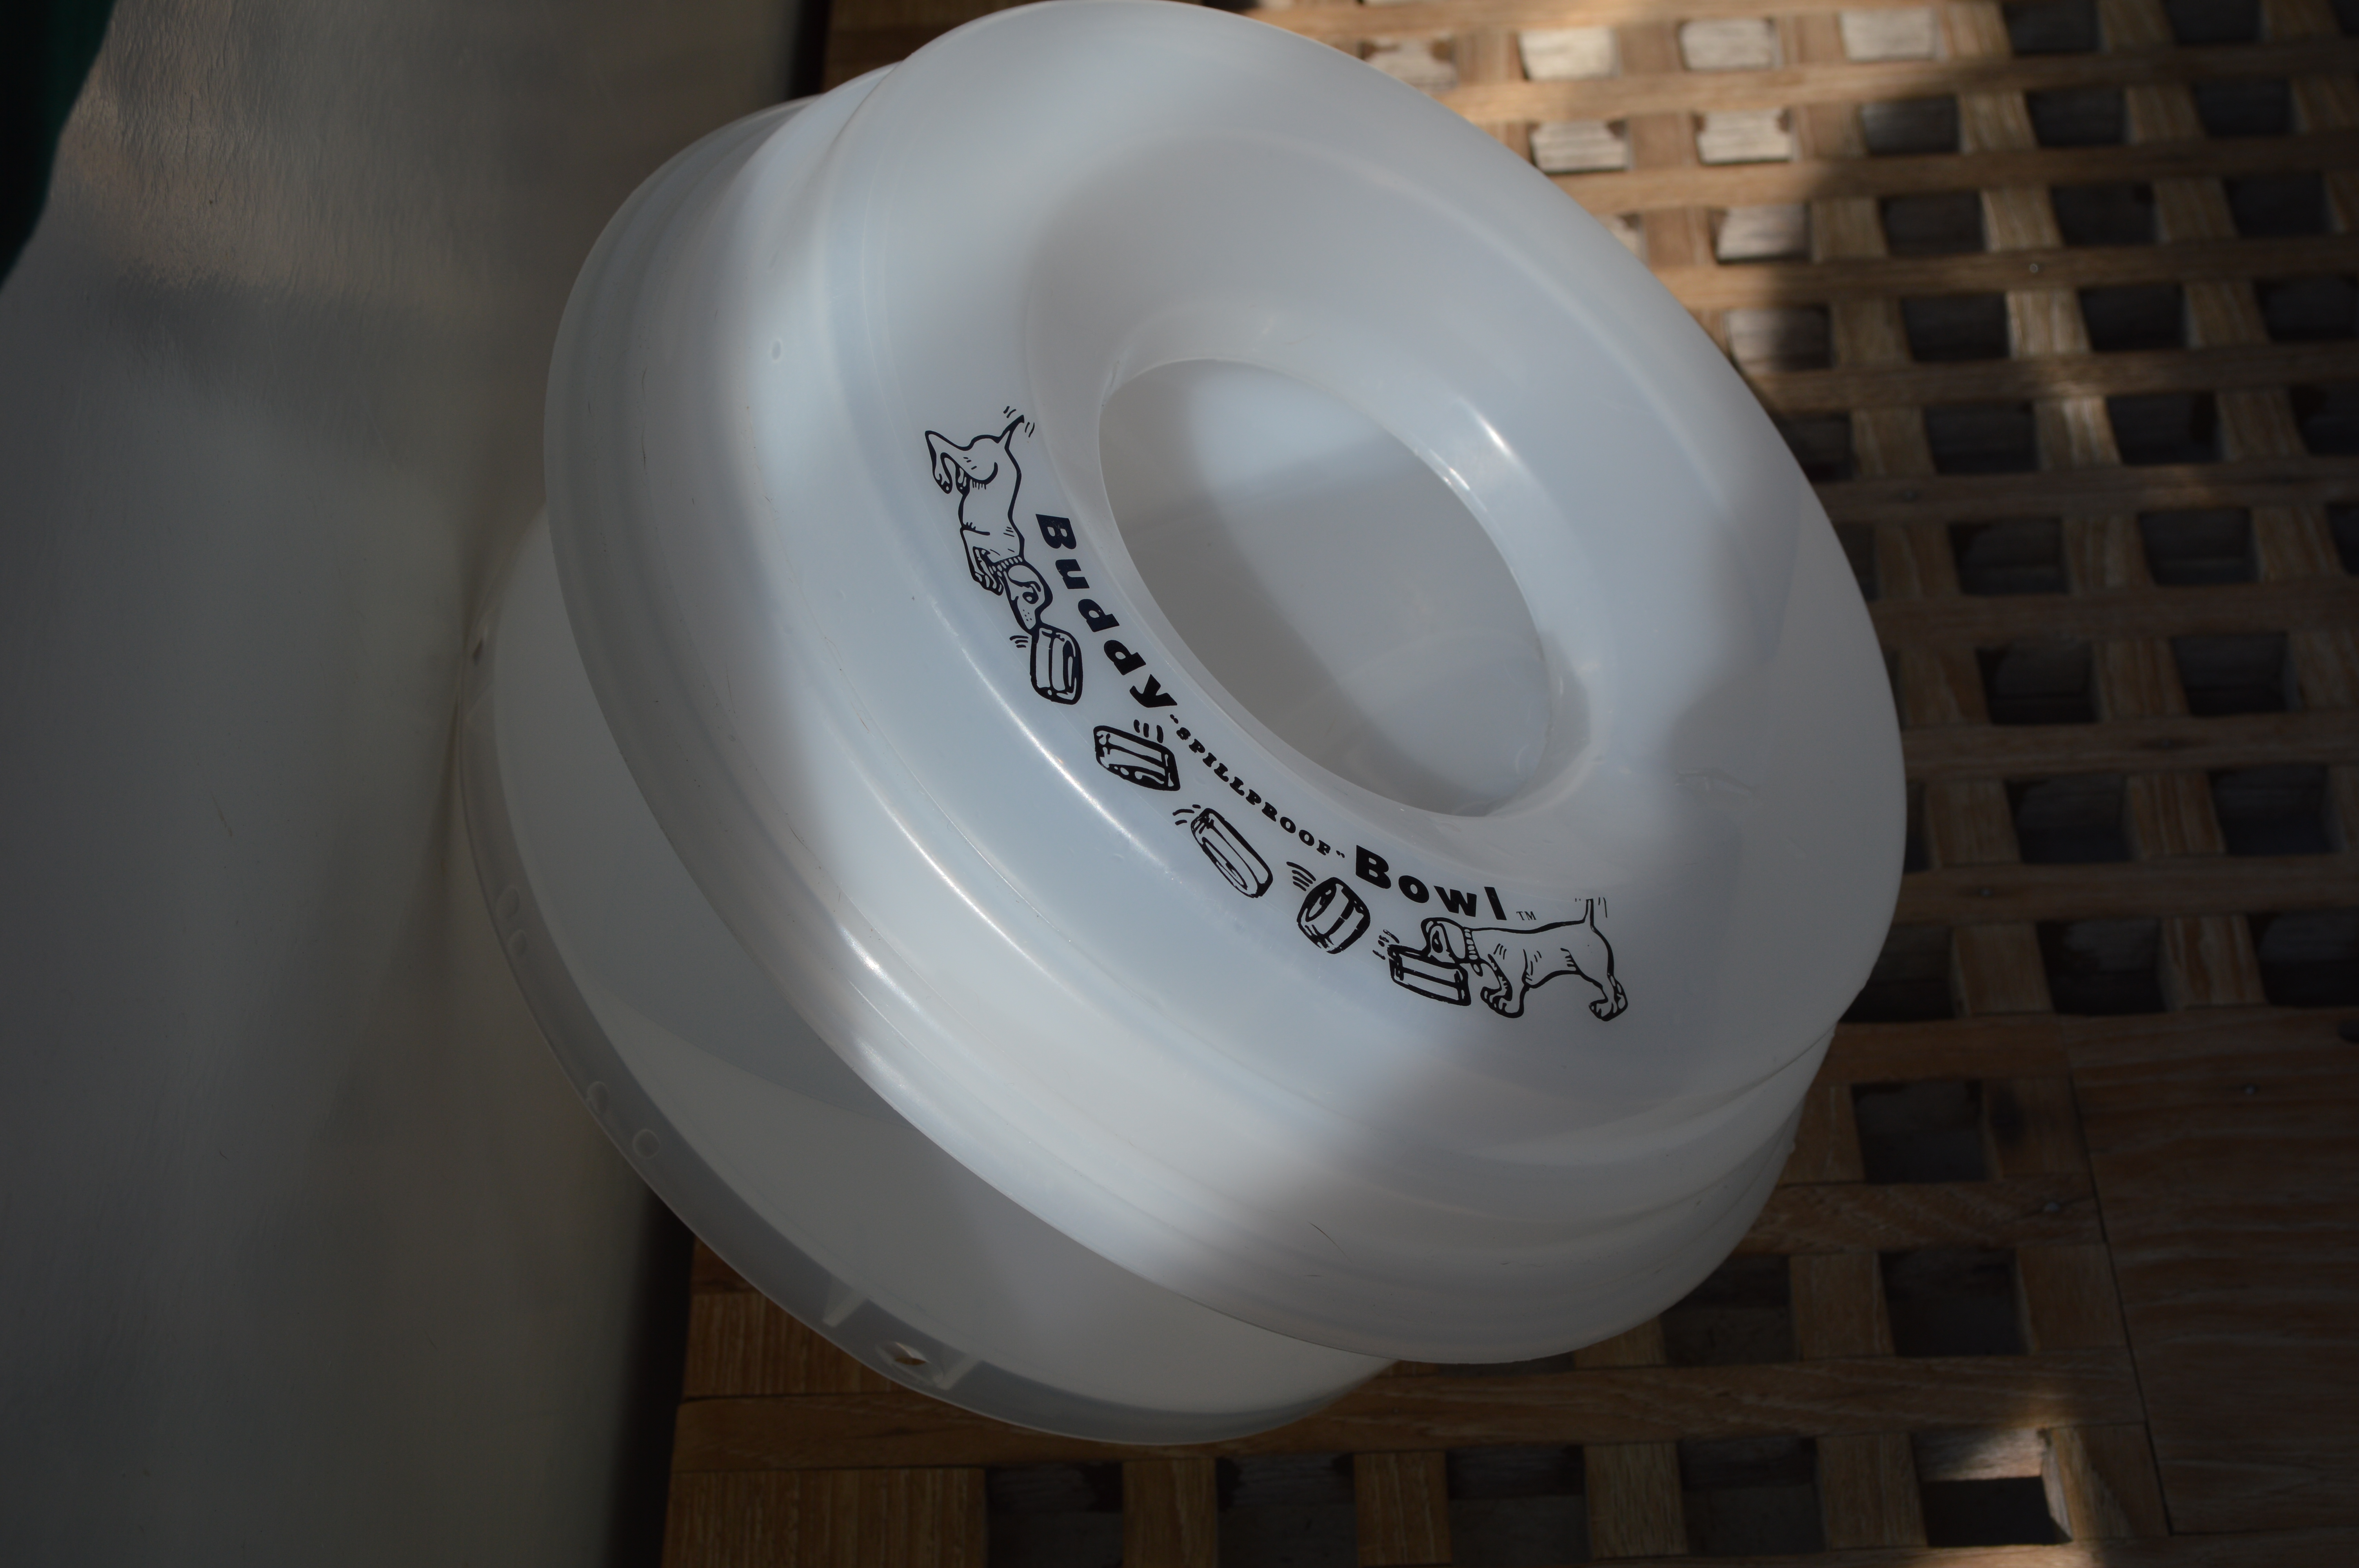
I contacted Great American Spillproof Products and they gladly sponsored our adventures by providing us with two (2) 64 oz TOTALLY SPILLPROOF Buddy Bowls for Gunner and Betsy!! These will be totally essential for every day use while anchored up and especially while we are underway.

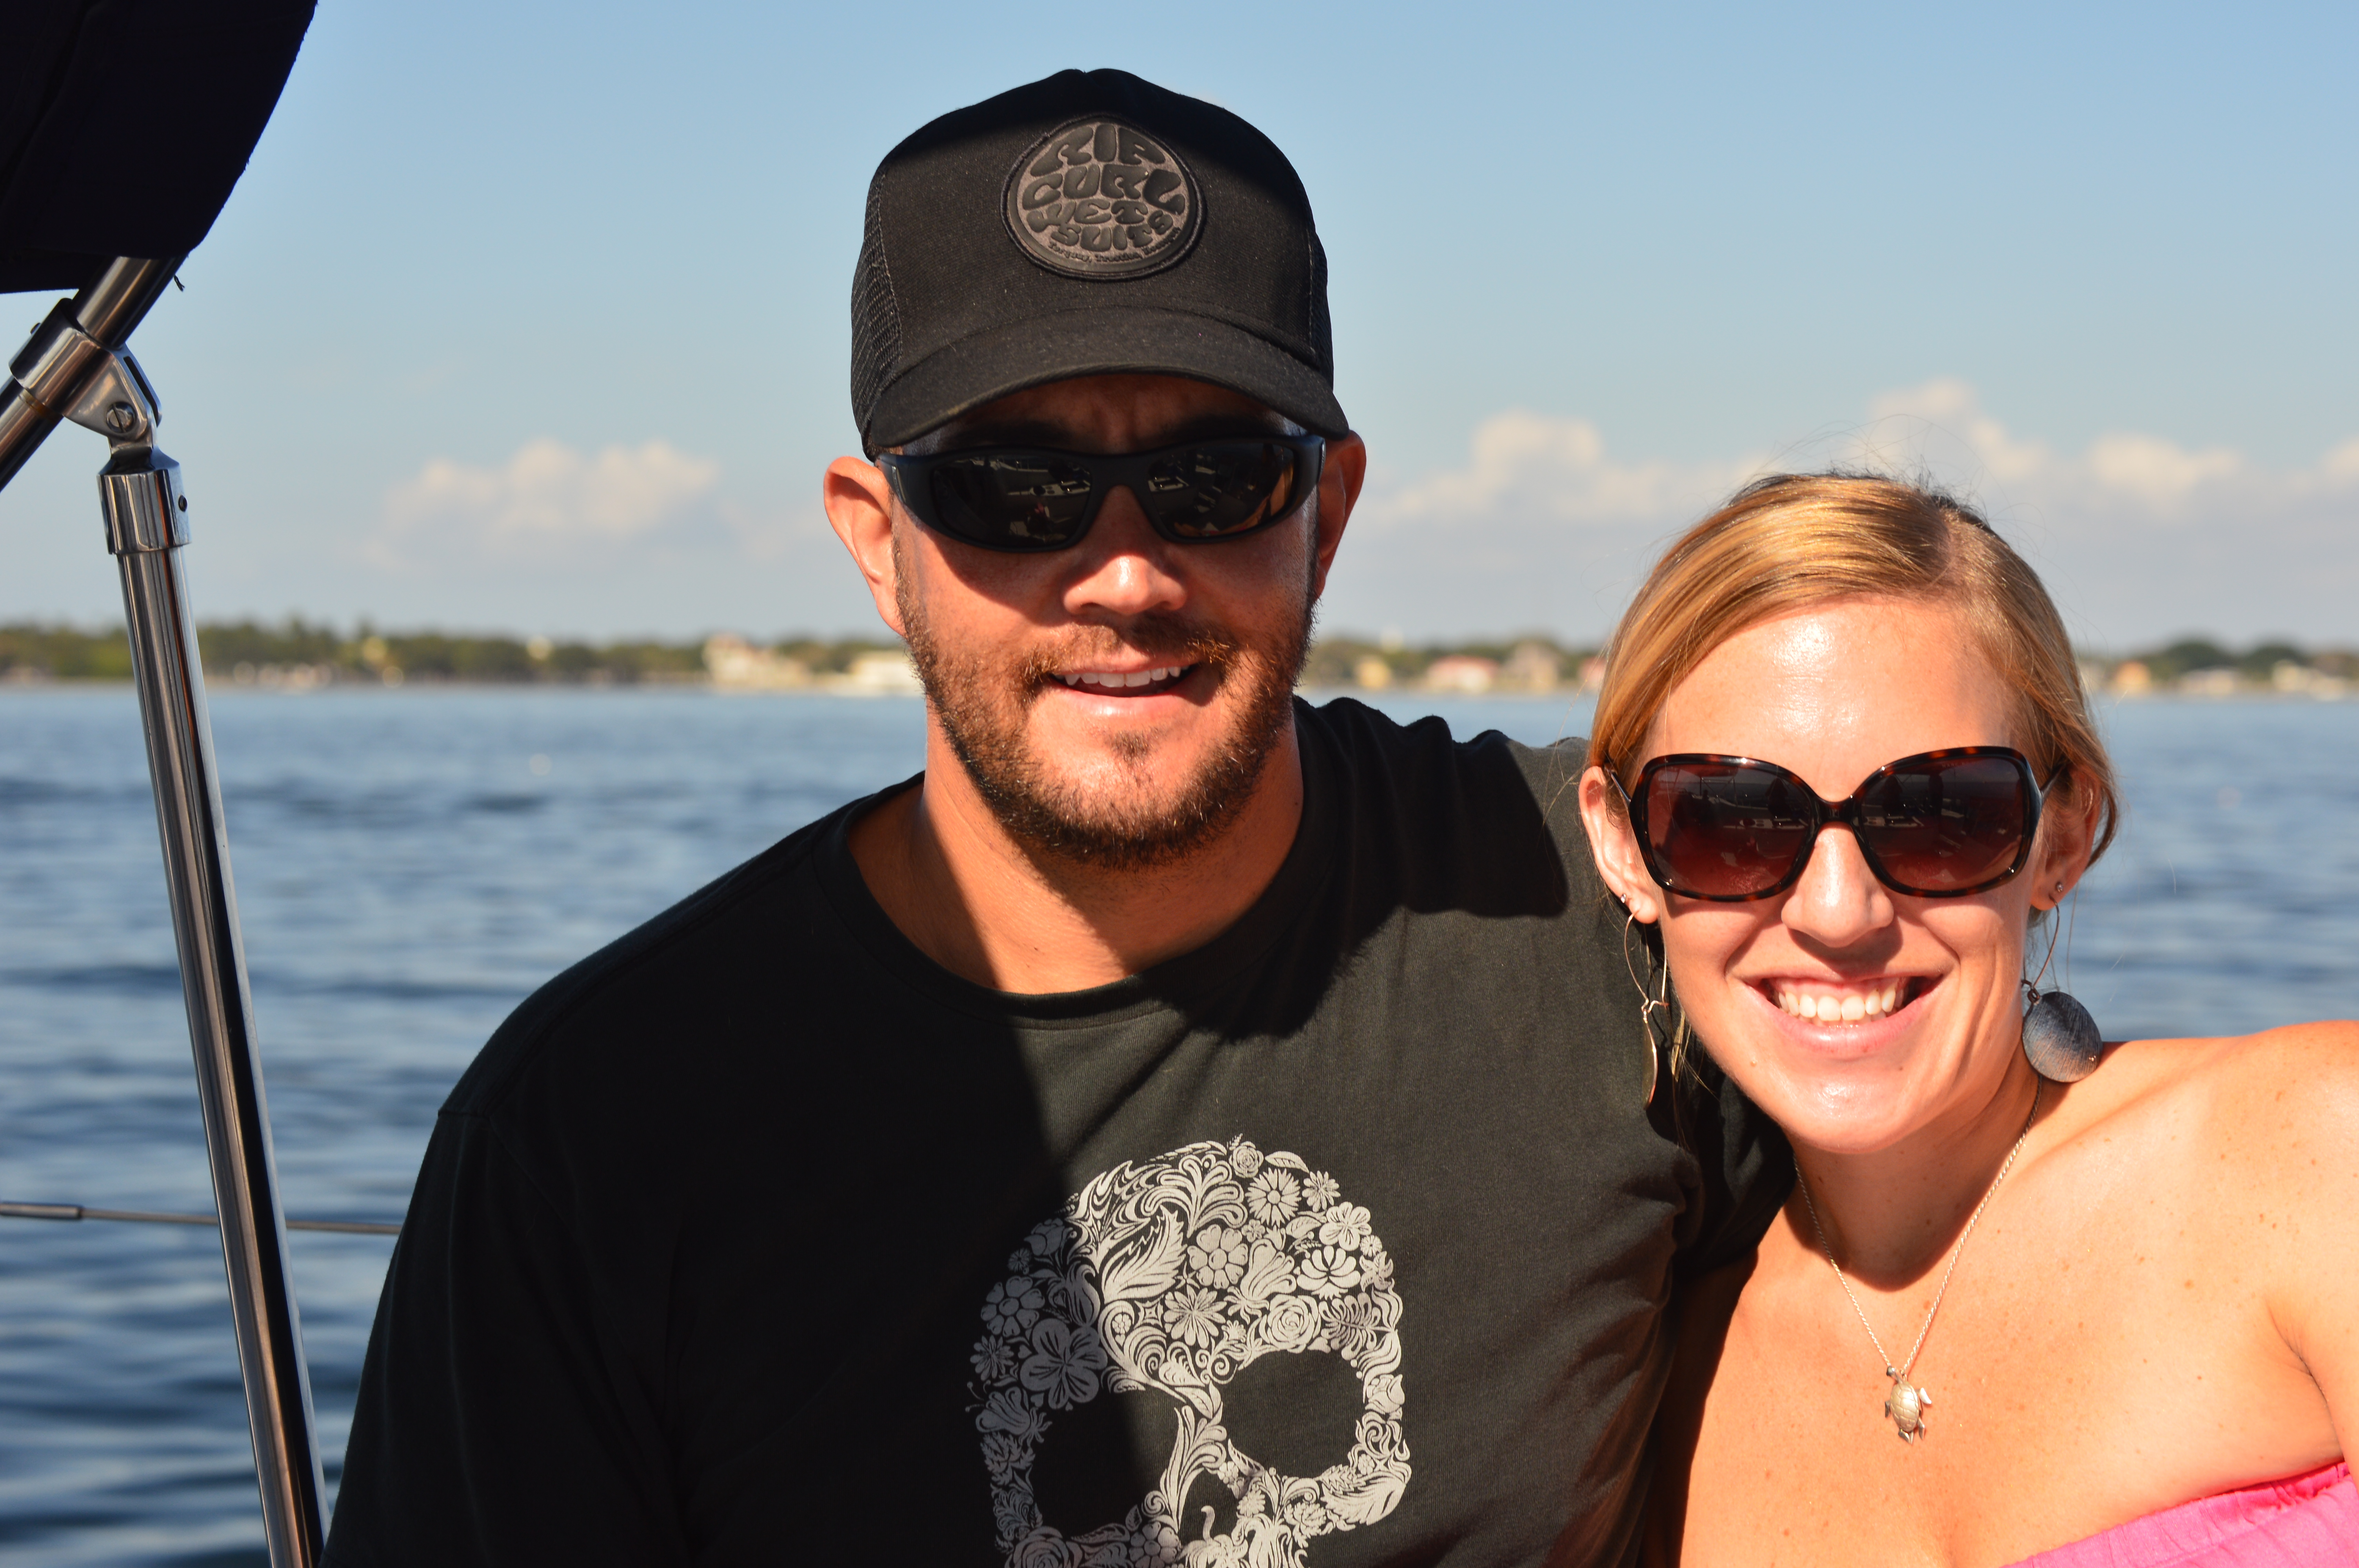
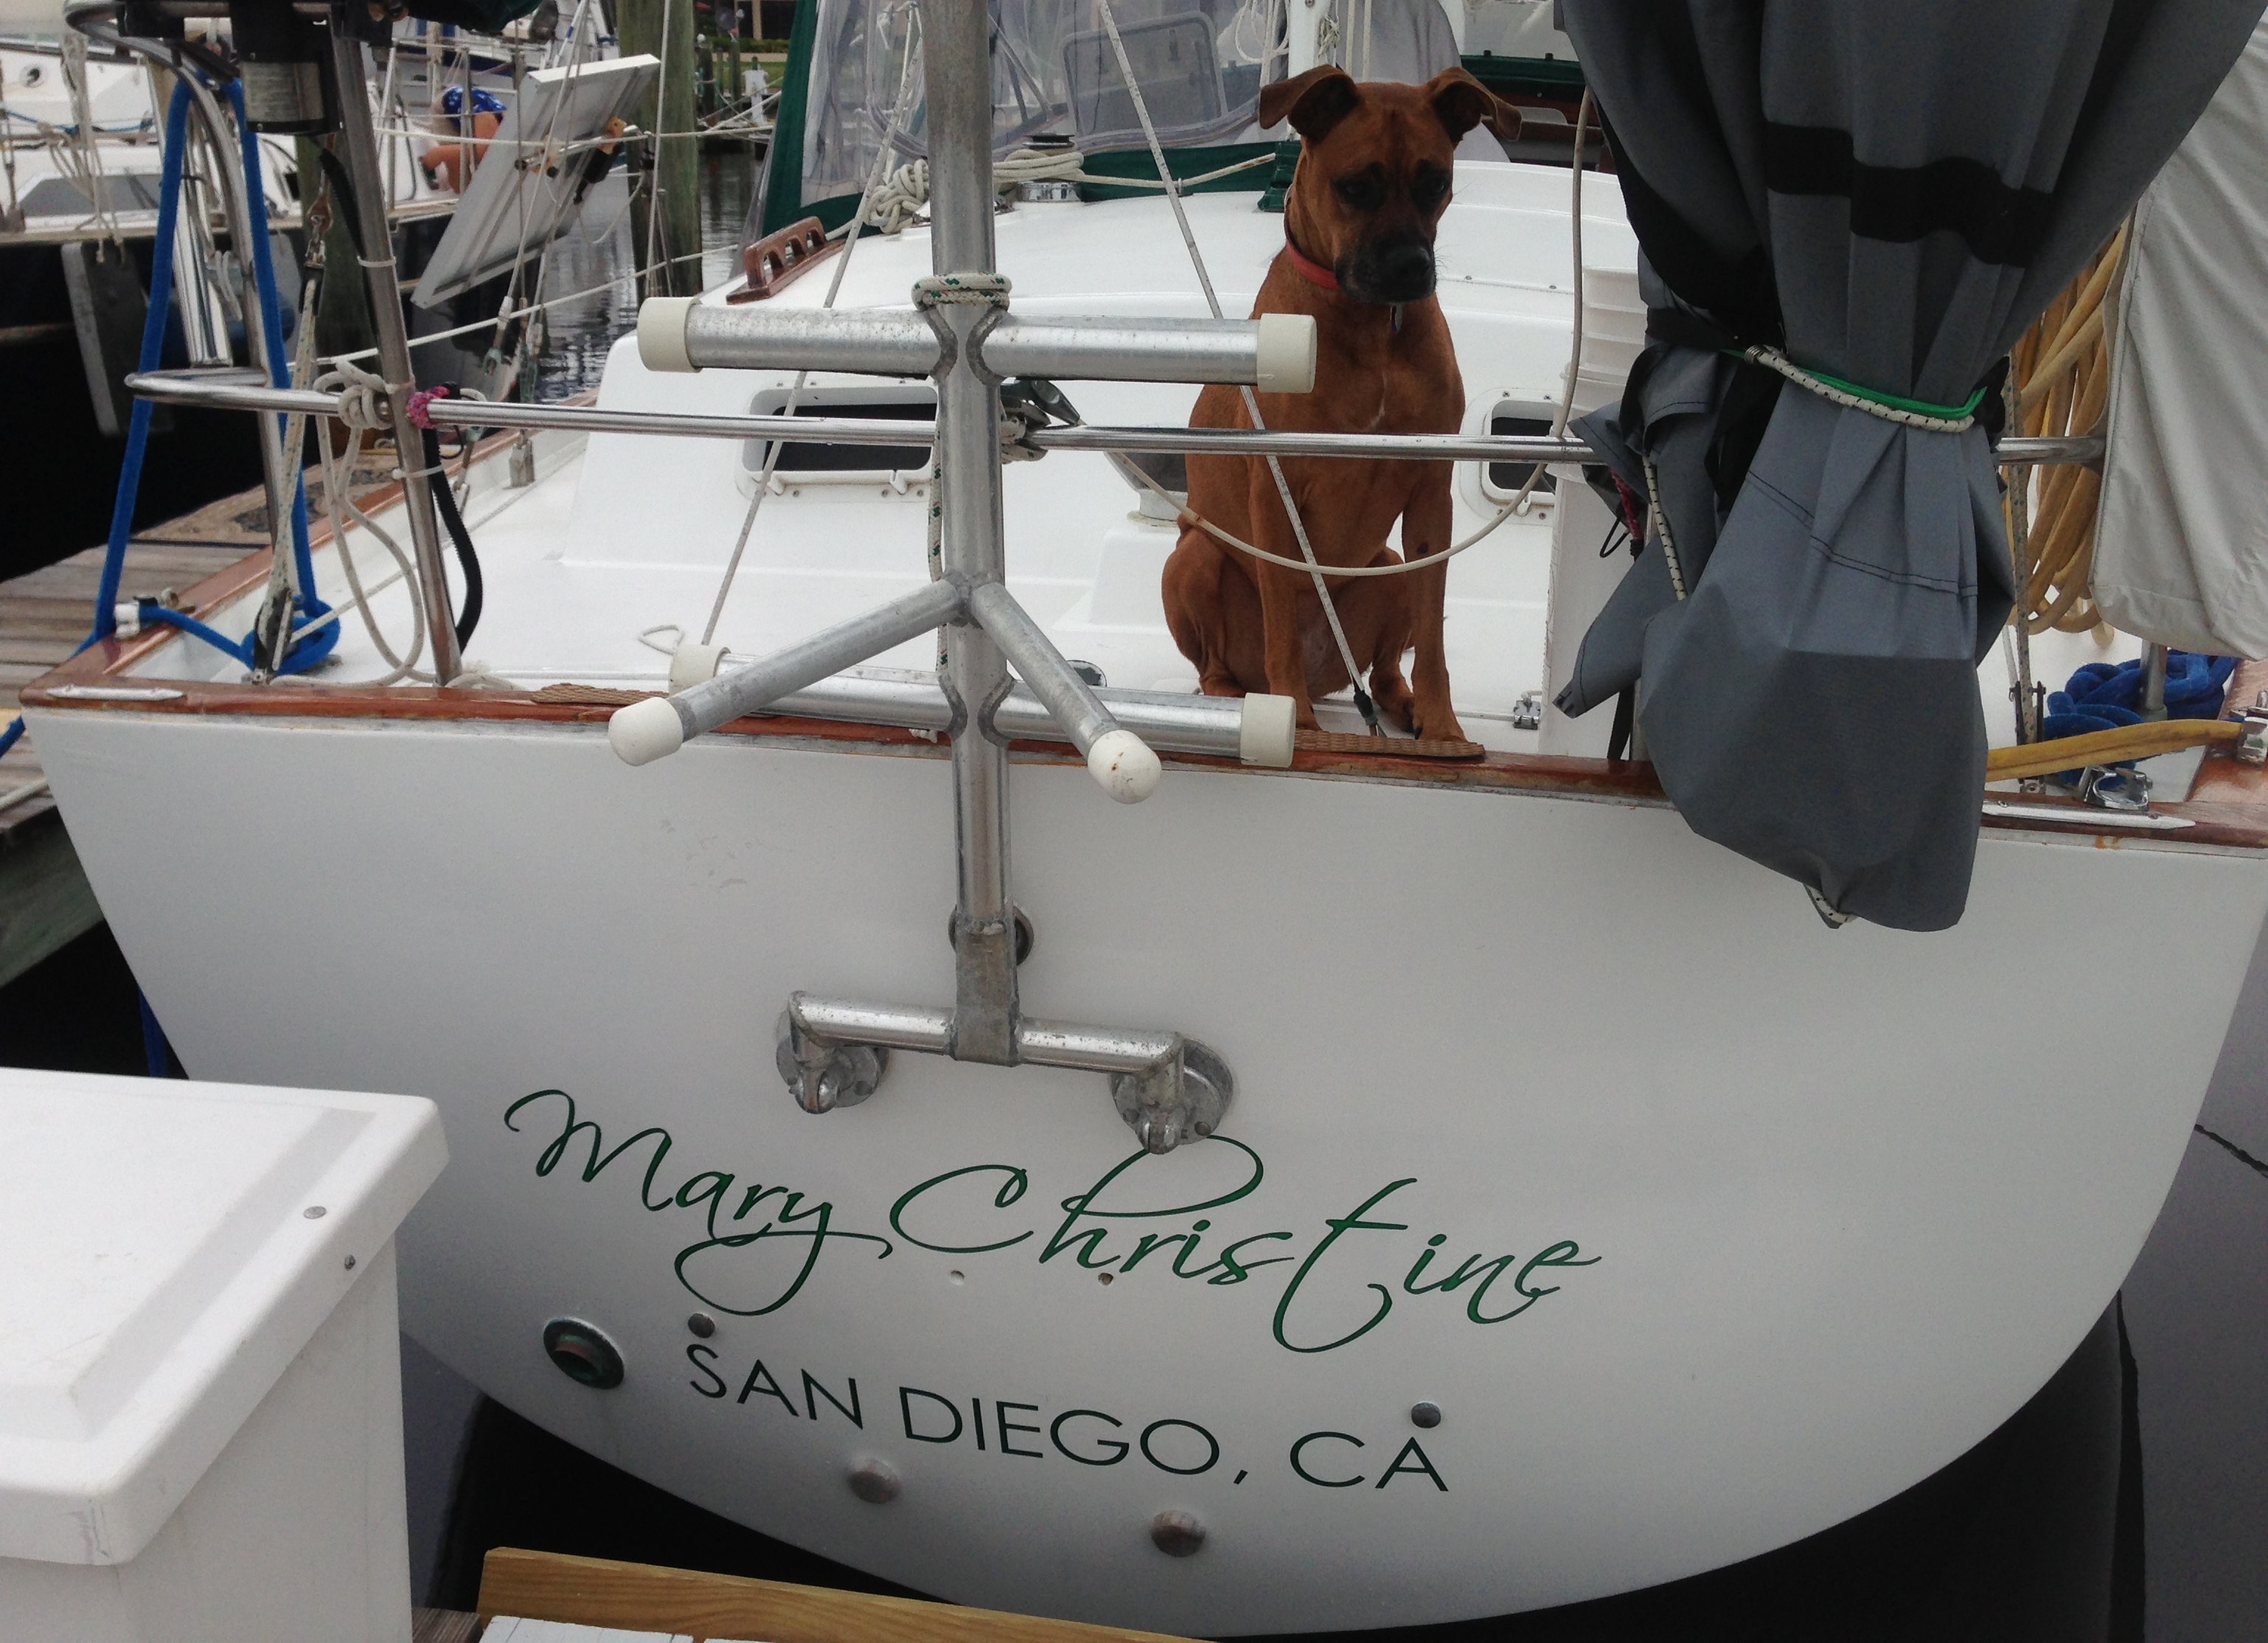
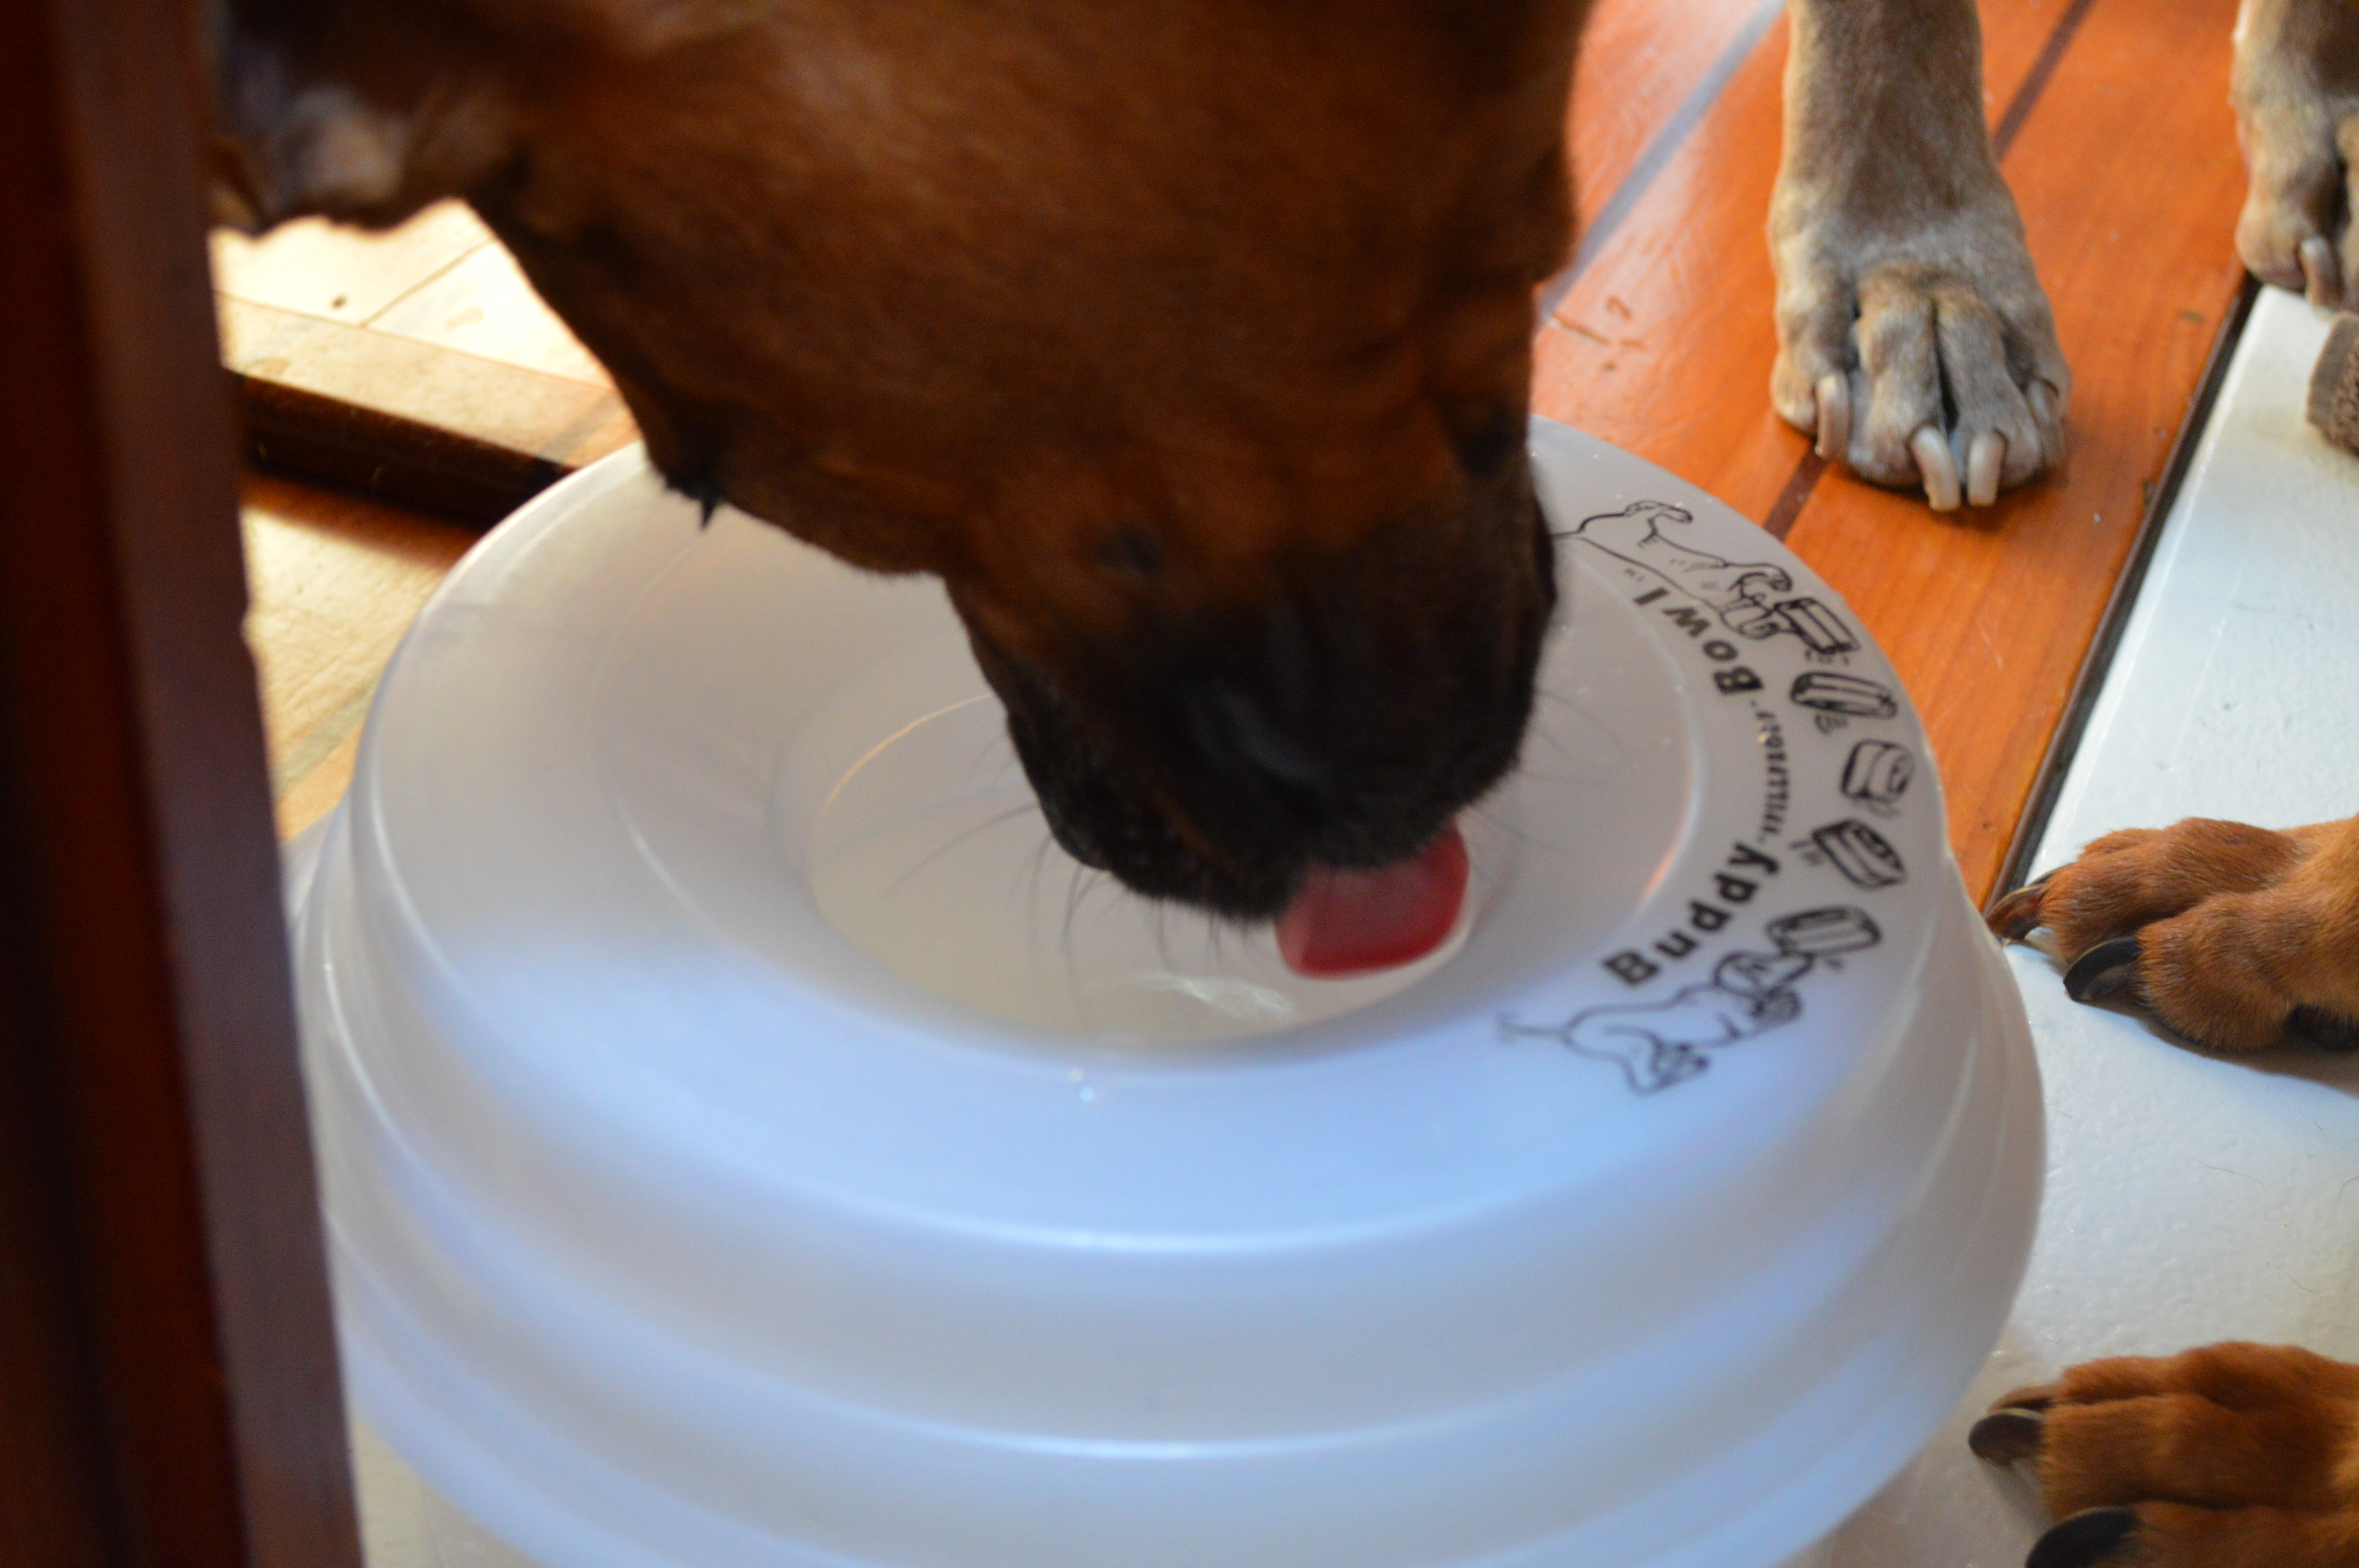
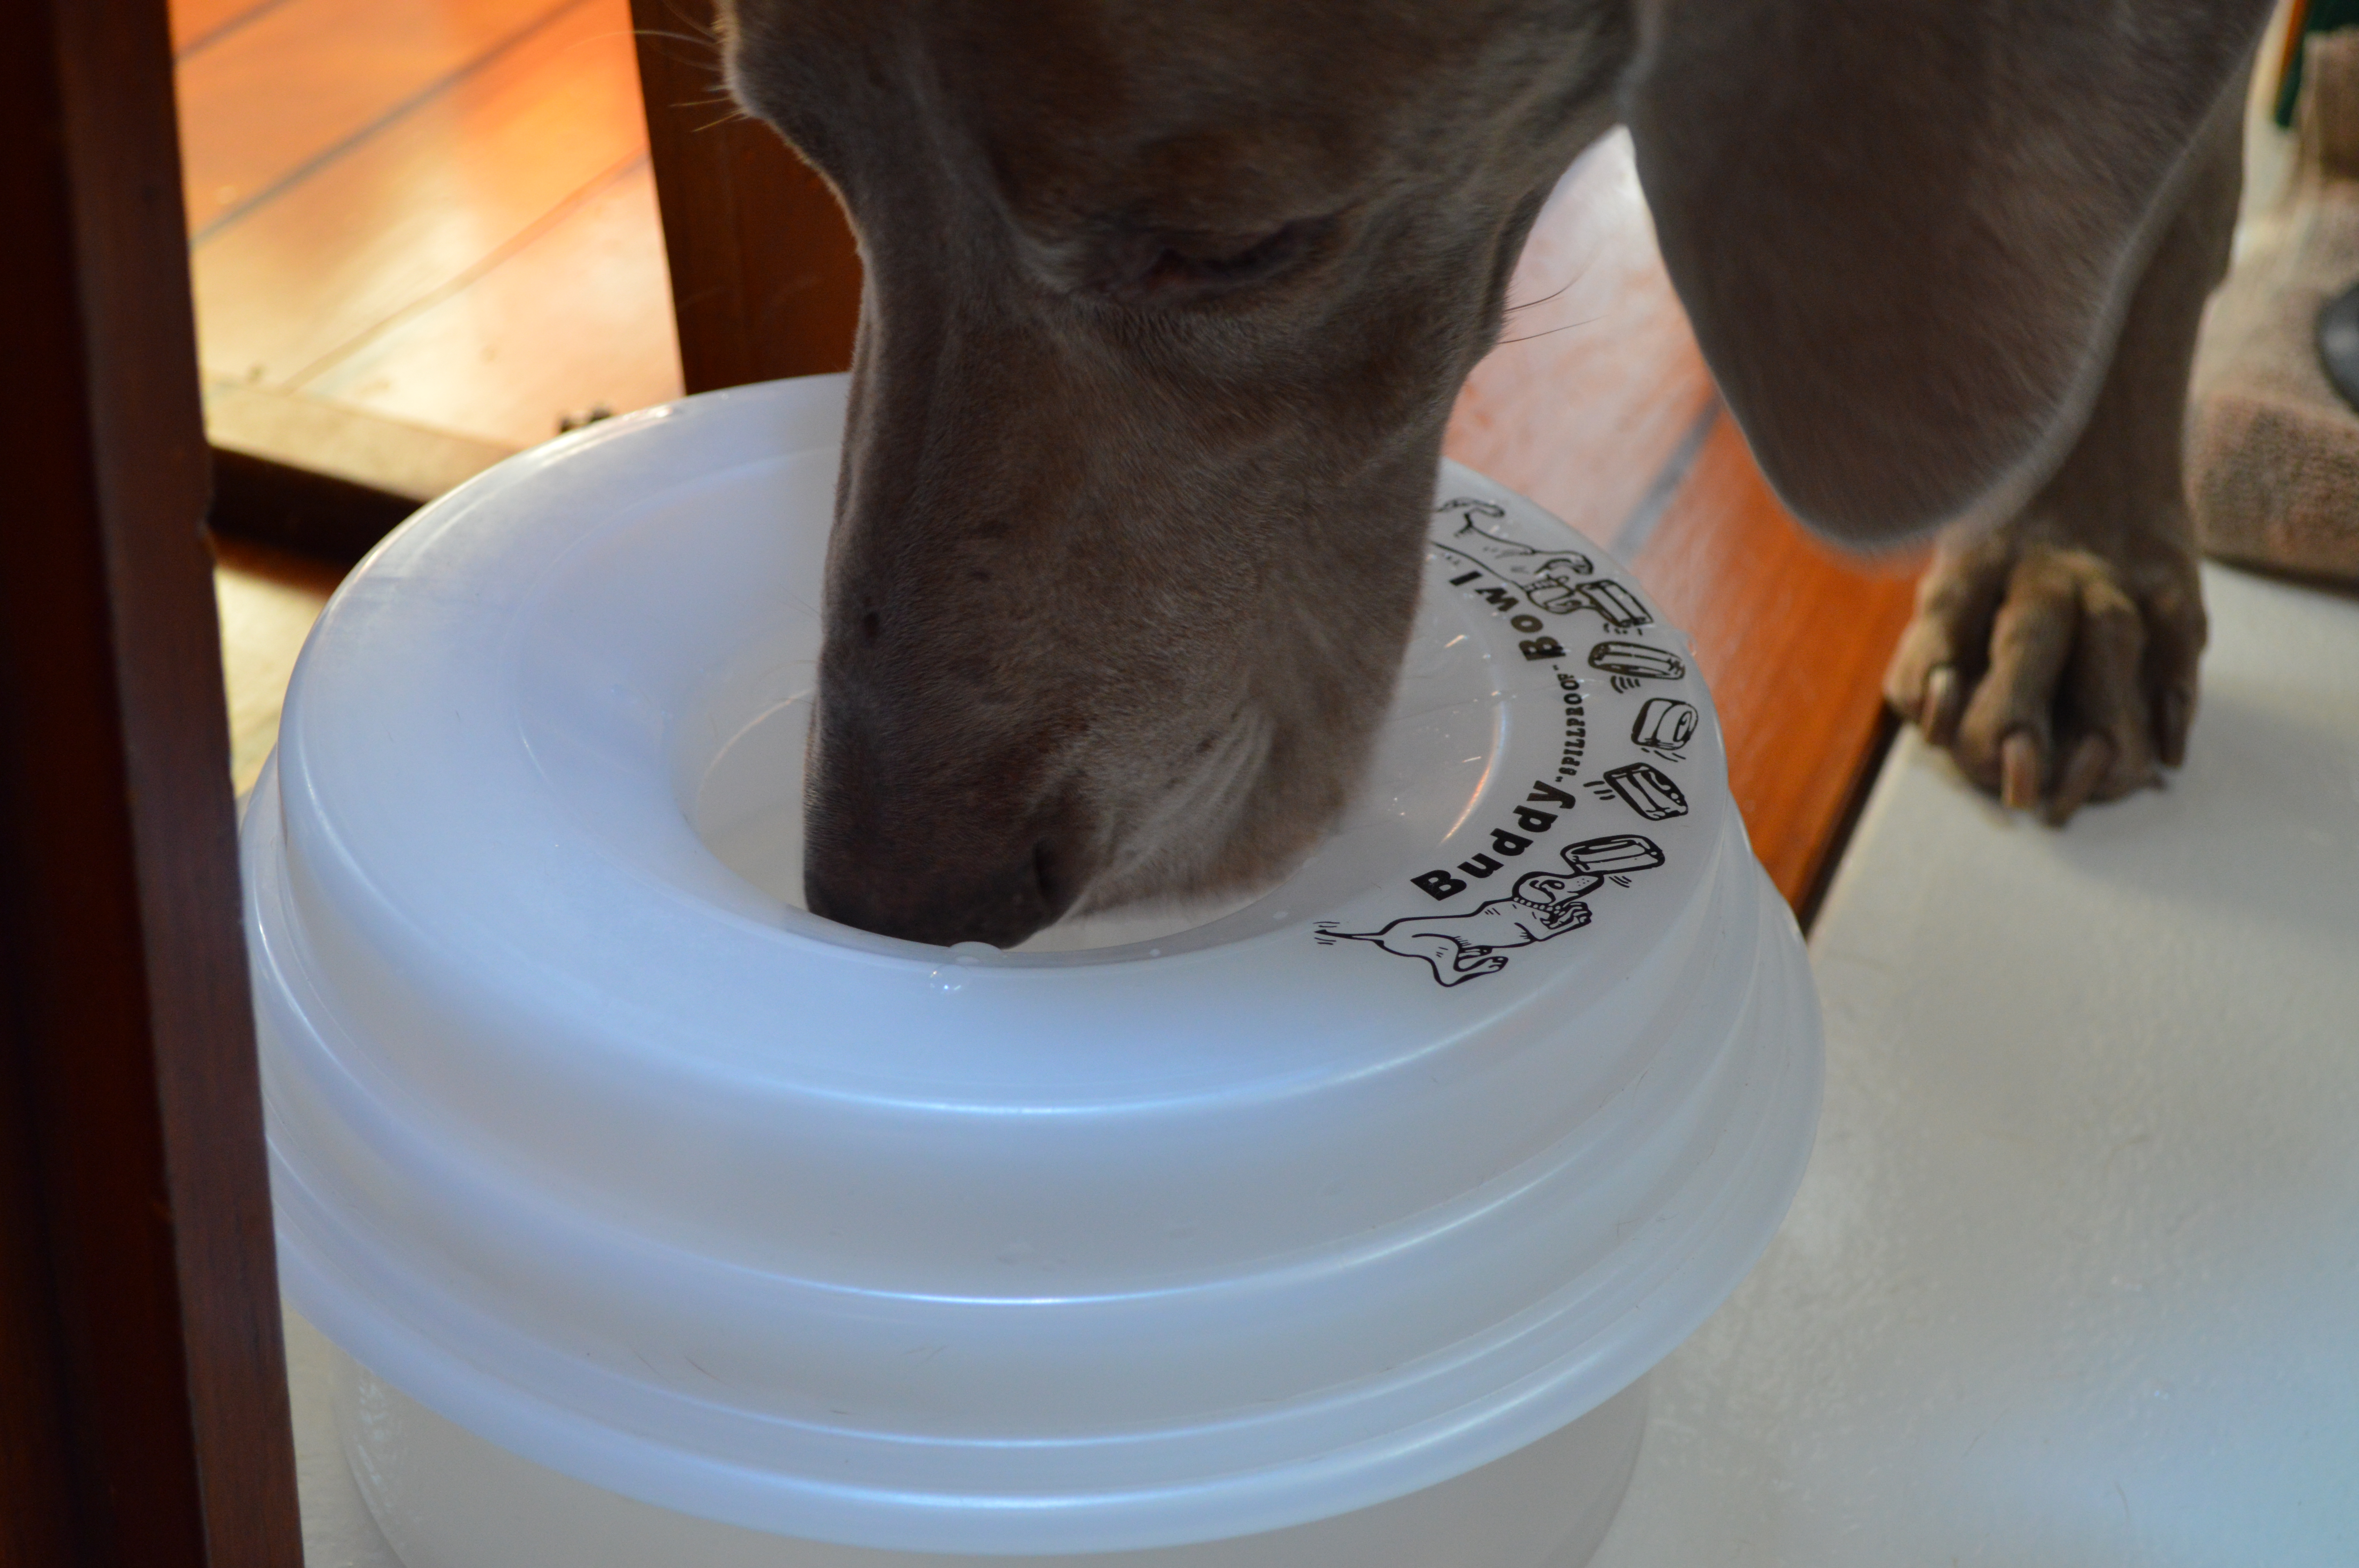
We keep one tucked behind the ladder at our forward companionway next to where we feed the dogs inside the boat. Gunner and Betsy know right where it is and they have no trouble at all helping themselves when they feel a little thirsty. Gunner ALWAYS lets Betsy drink first if they are both thirsty after a run :) He’s such a gentleman, just like his daddy.

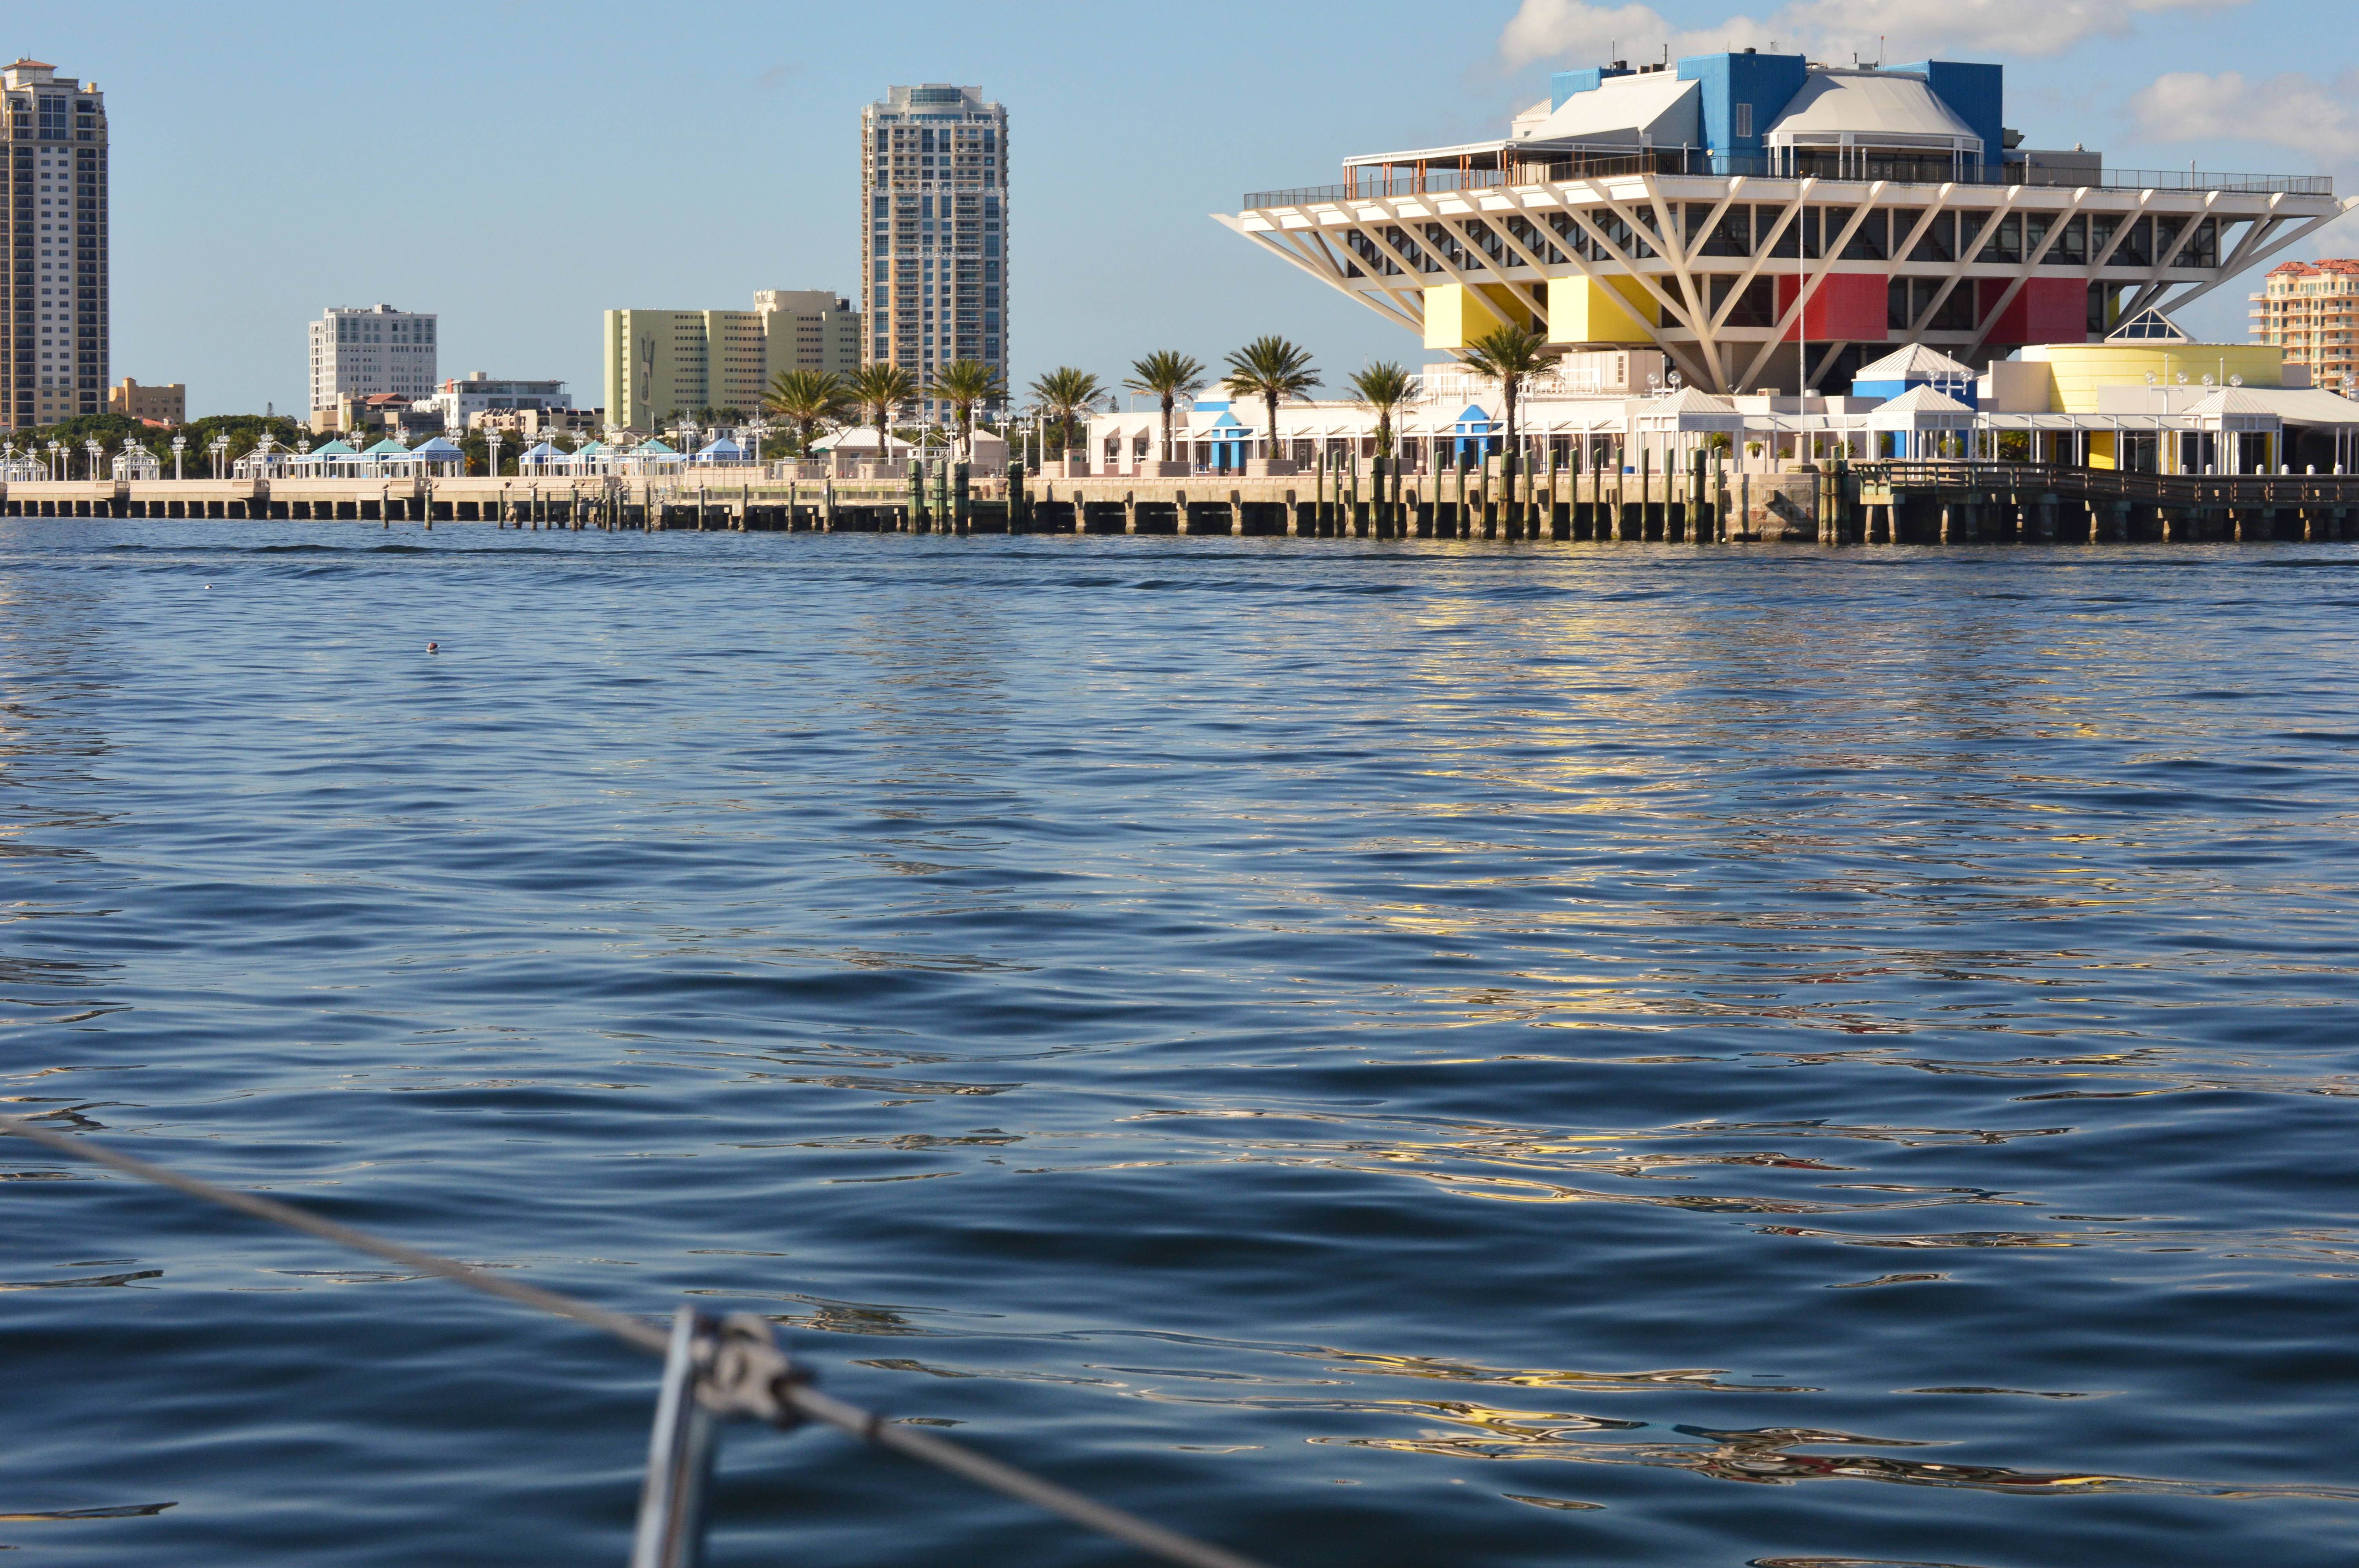
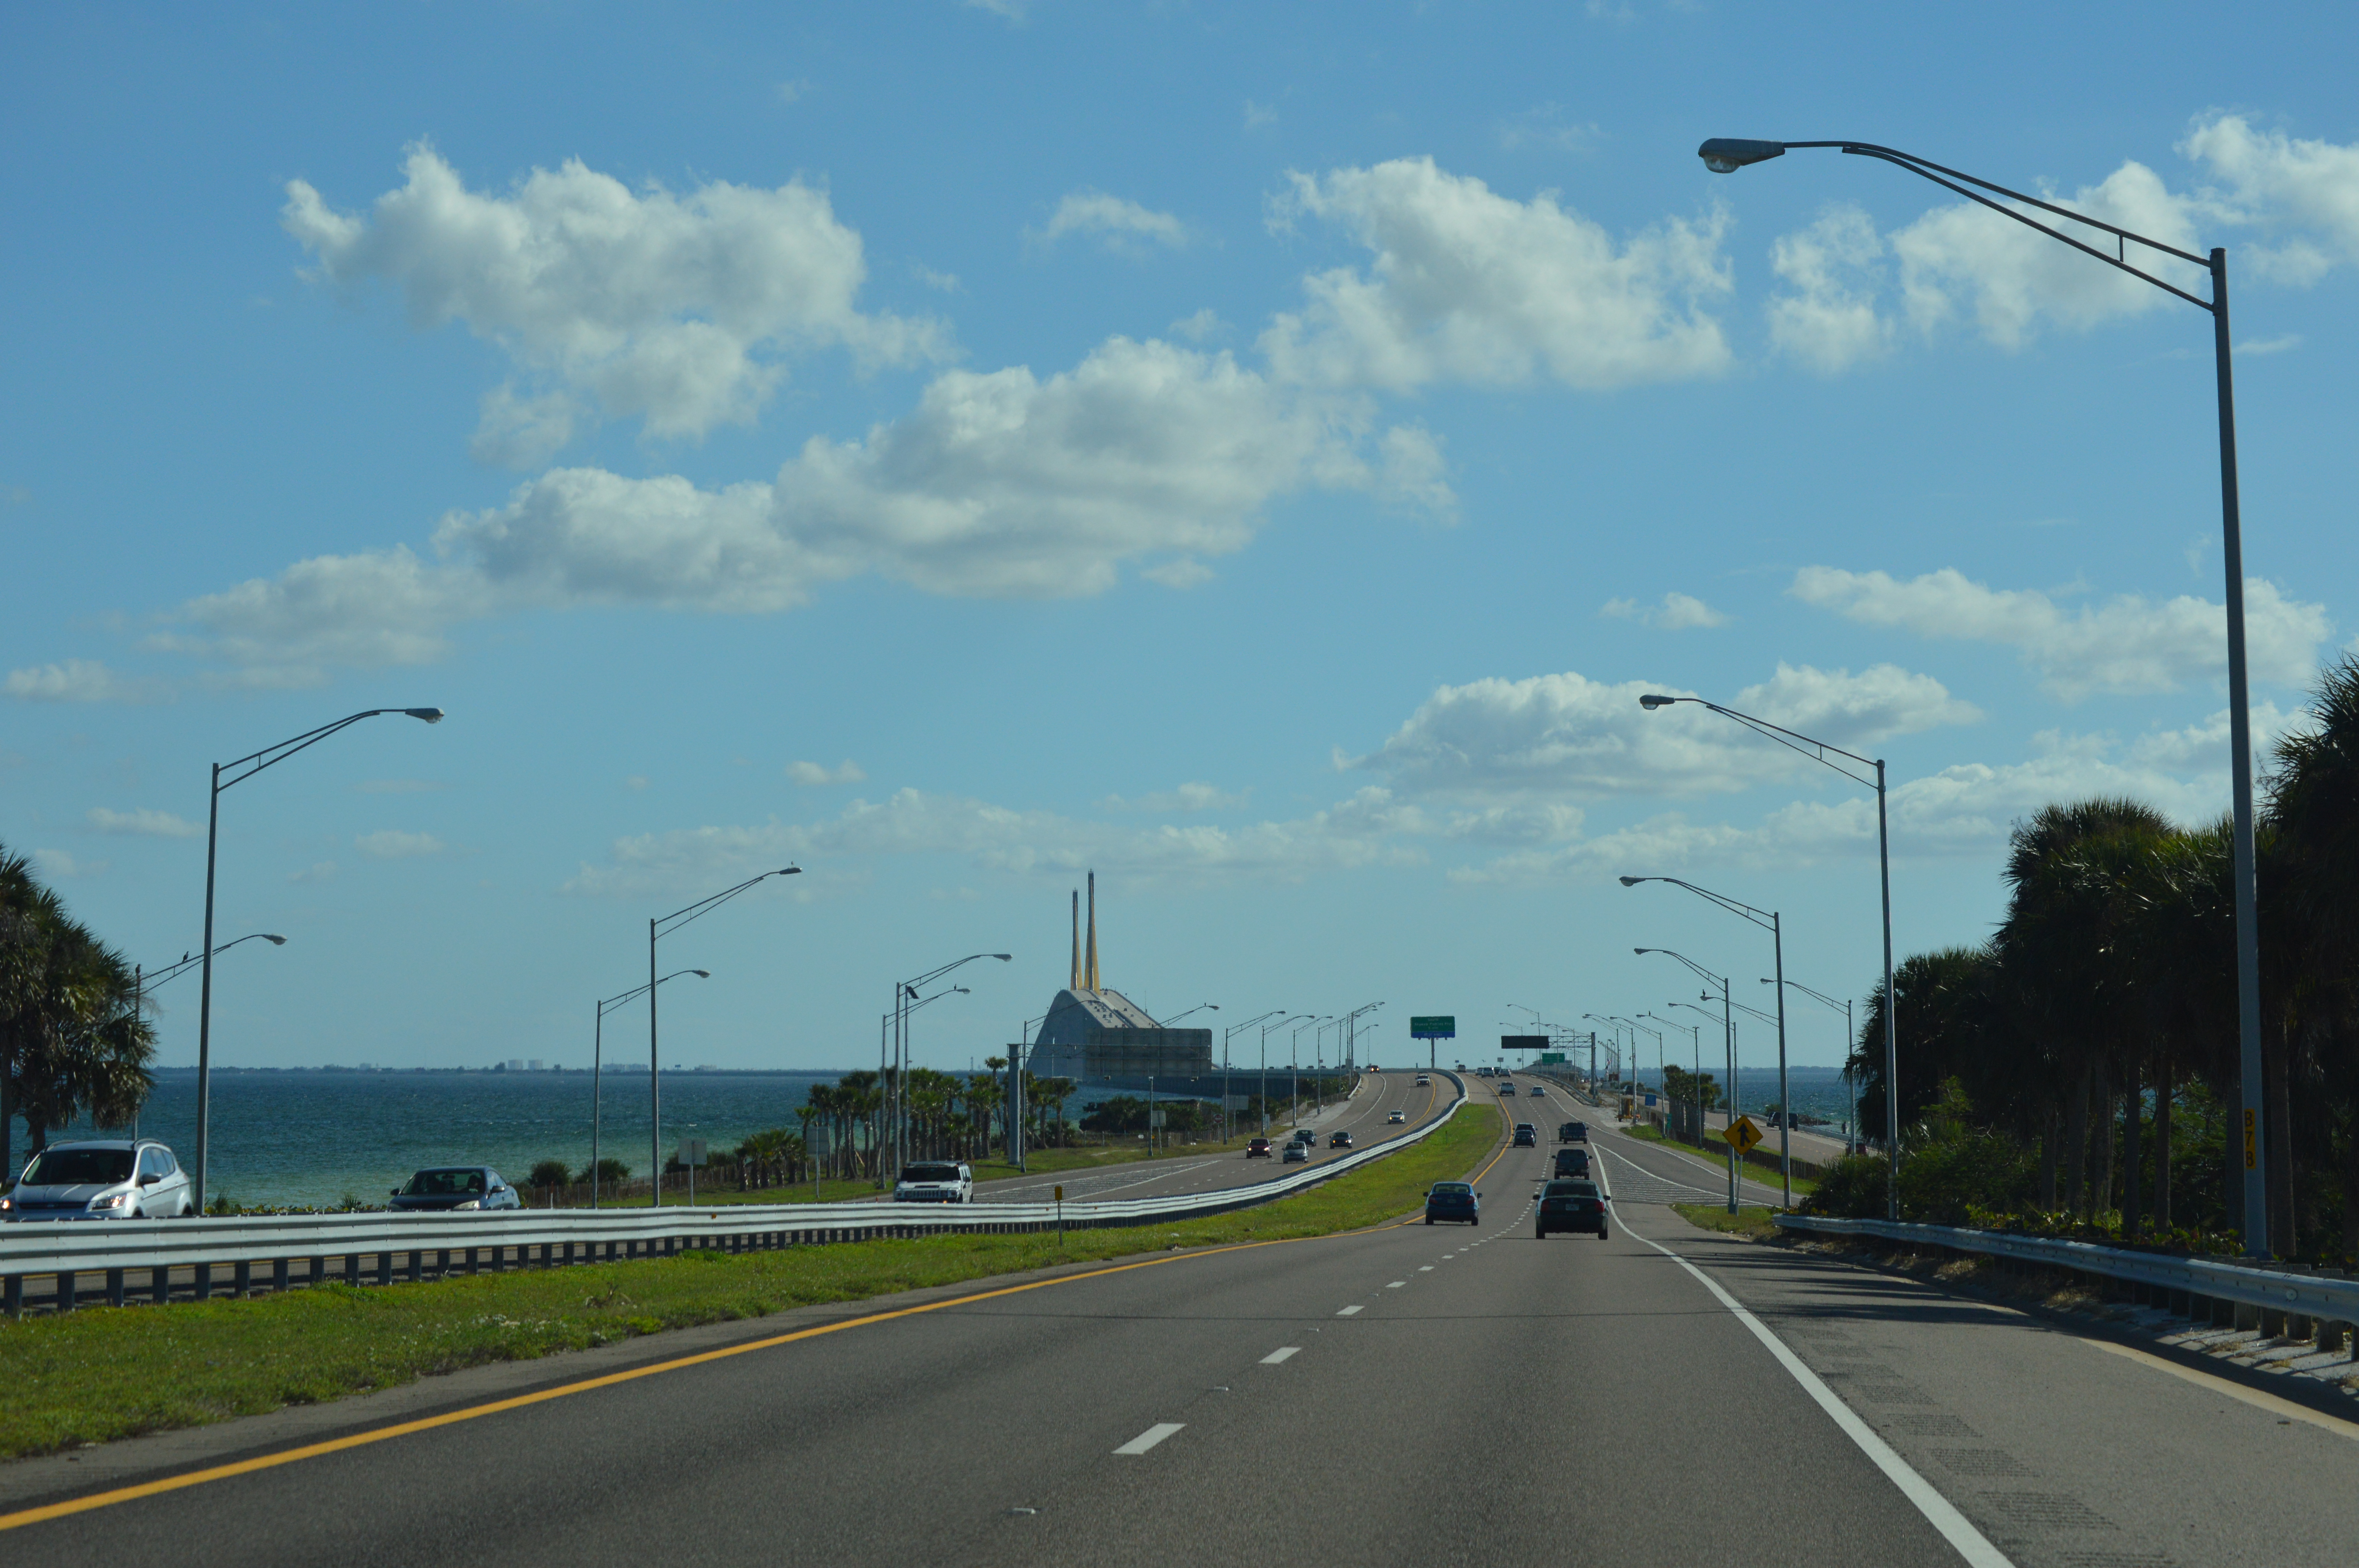
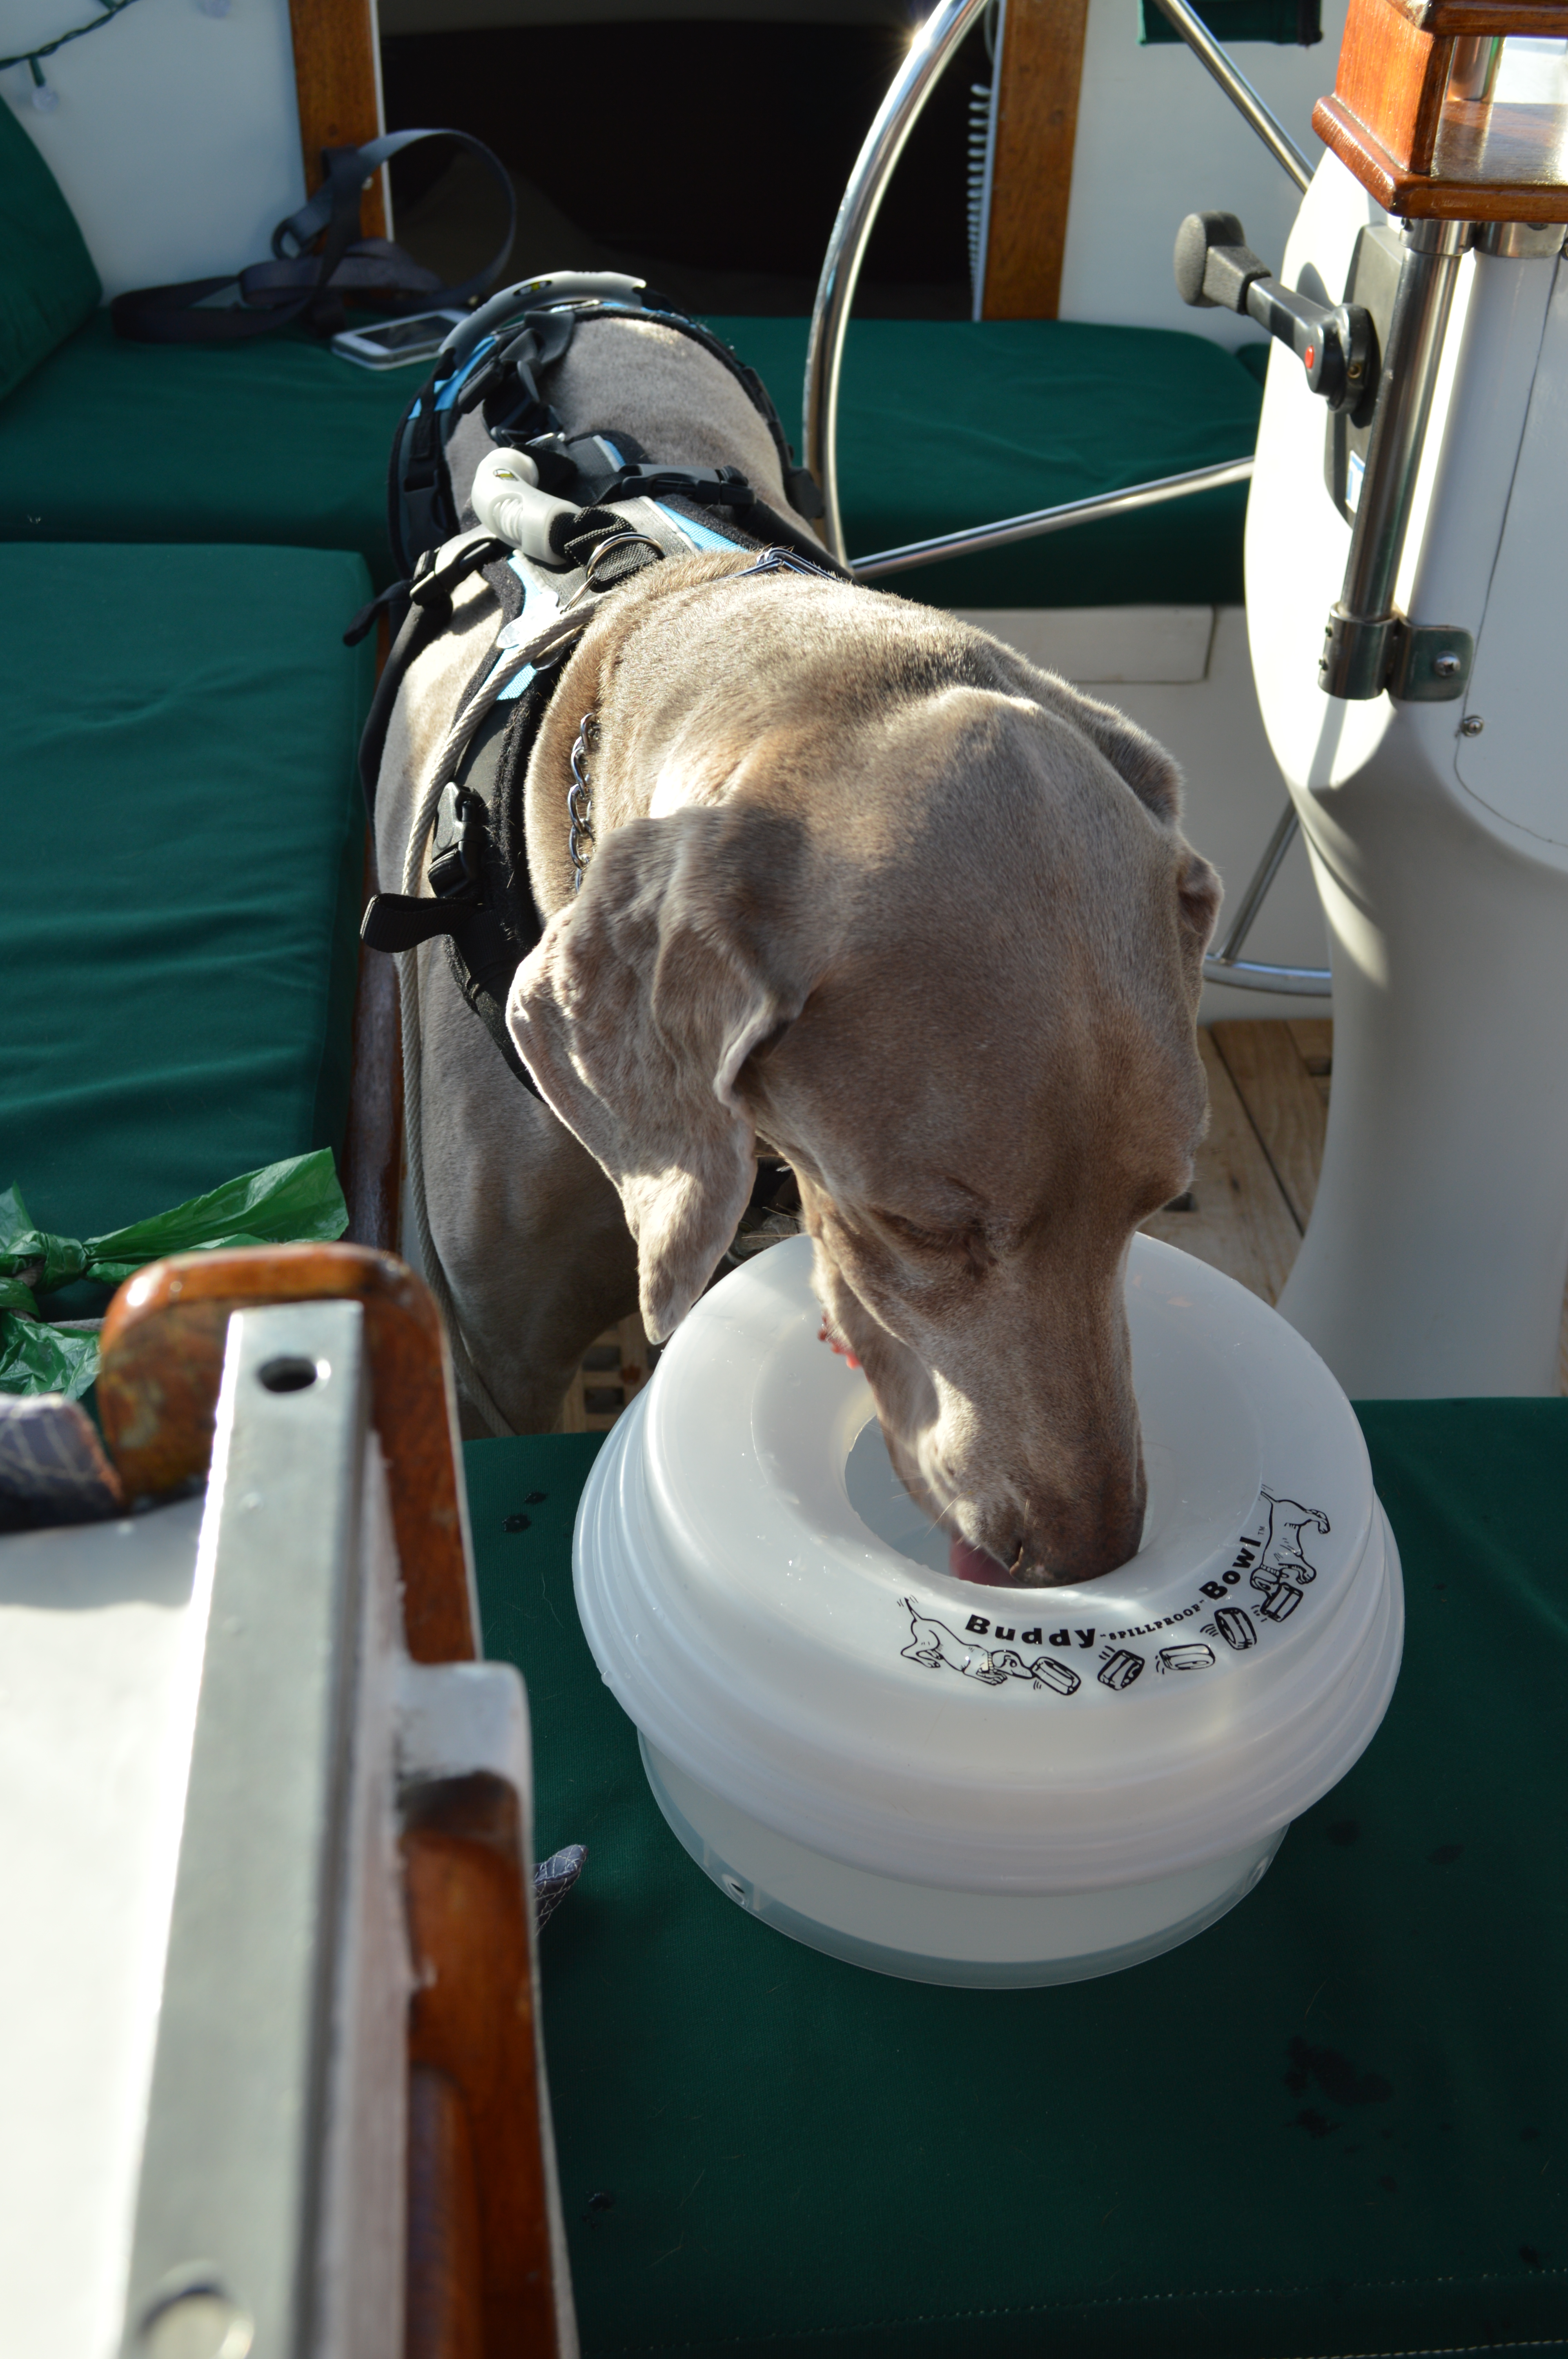
We keep the second Buddy Bowl on the floor of the cockpit so the dogs will always have water while topside. When we are underway, they frequently like to lap up a little water every hour or so. We’re in southern Florida now and heading to only warmer climates so its super important for us to have water available at all times for our pooches. It’s also important to keep water available for them if they are feeling seasick. Last time we took the boat out we put them down below and Betsy didn’t feel that good. She was happy to know where the water was though.

DSC_0144

The staff at Great American Spillproof Products recommended sending us the 64 oz models instead of their standard 44 oz size based on our weather conditions and the size of our dogs. They hold more water (a HALF GALLON!) so you don’t have to refill them as often! It doesn’t look like the 64oz bowls are available in their online store but I’m sure they can help out if you’re interested in getting one for your furry friend.

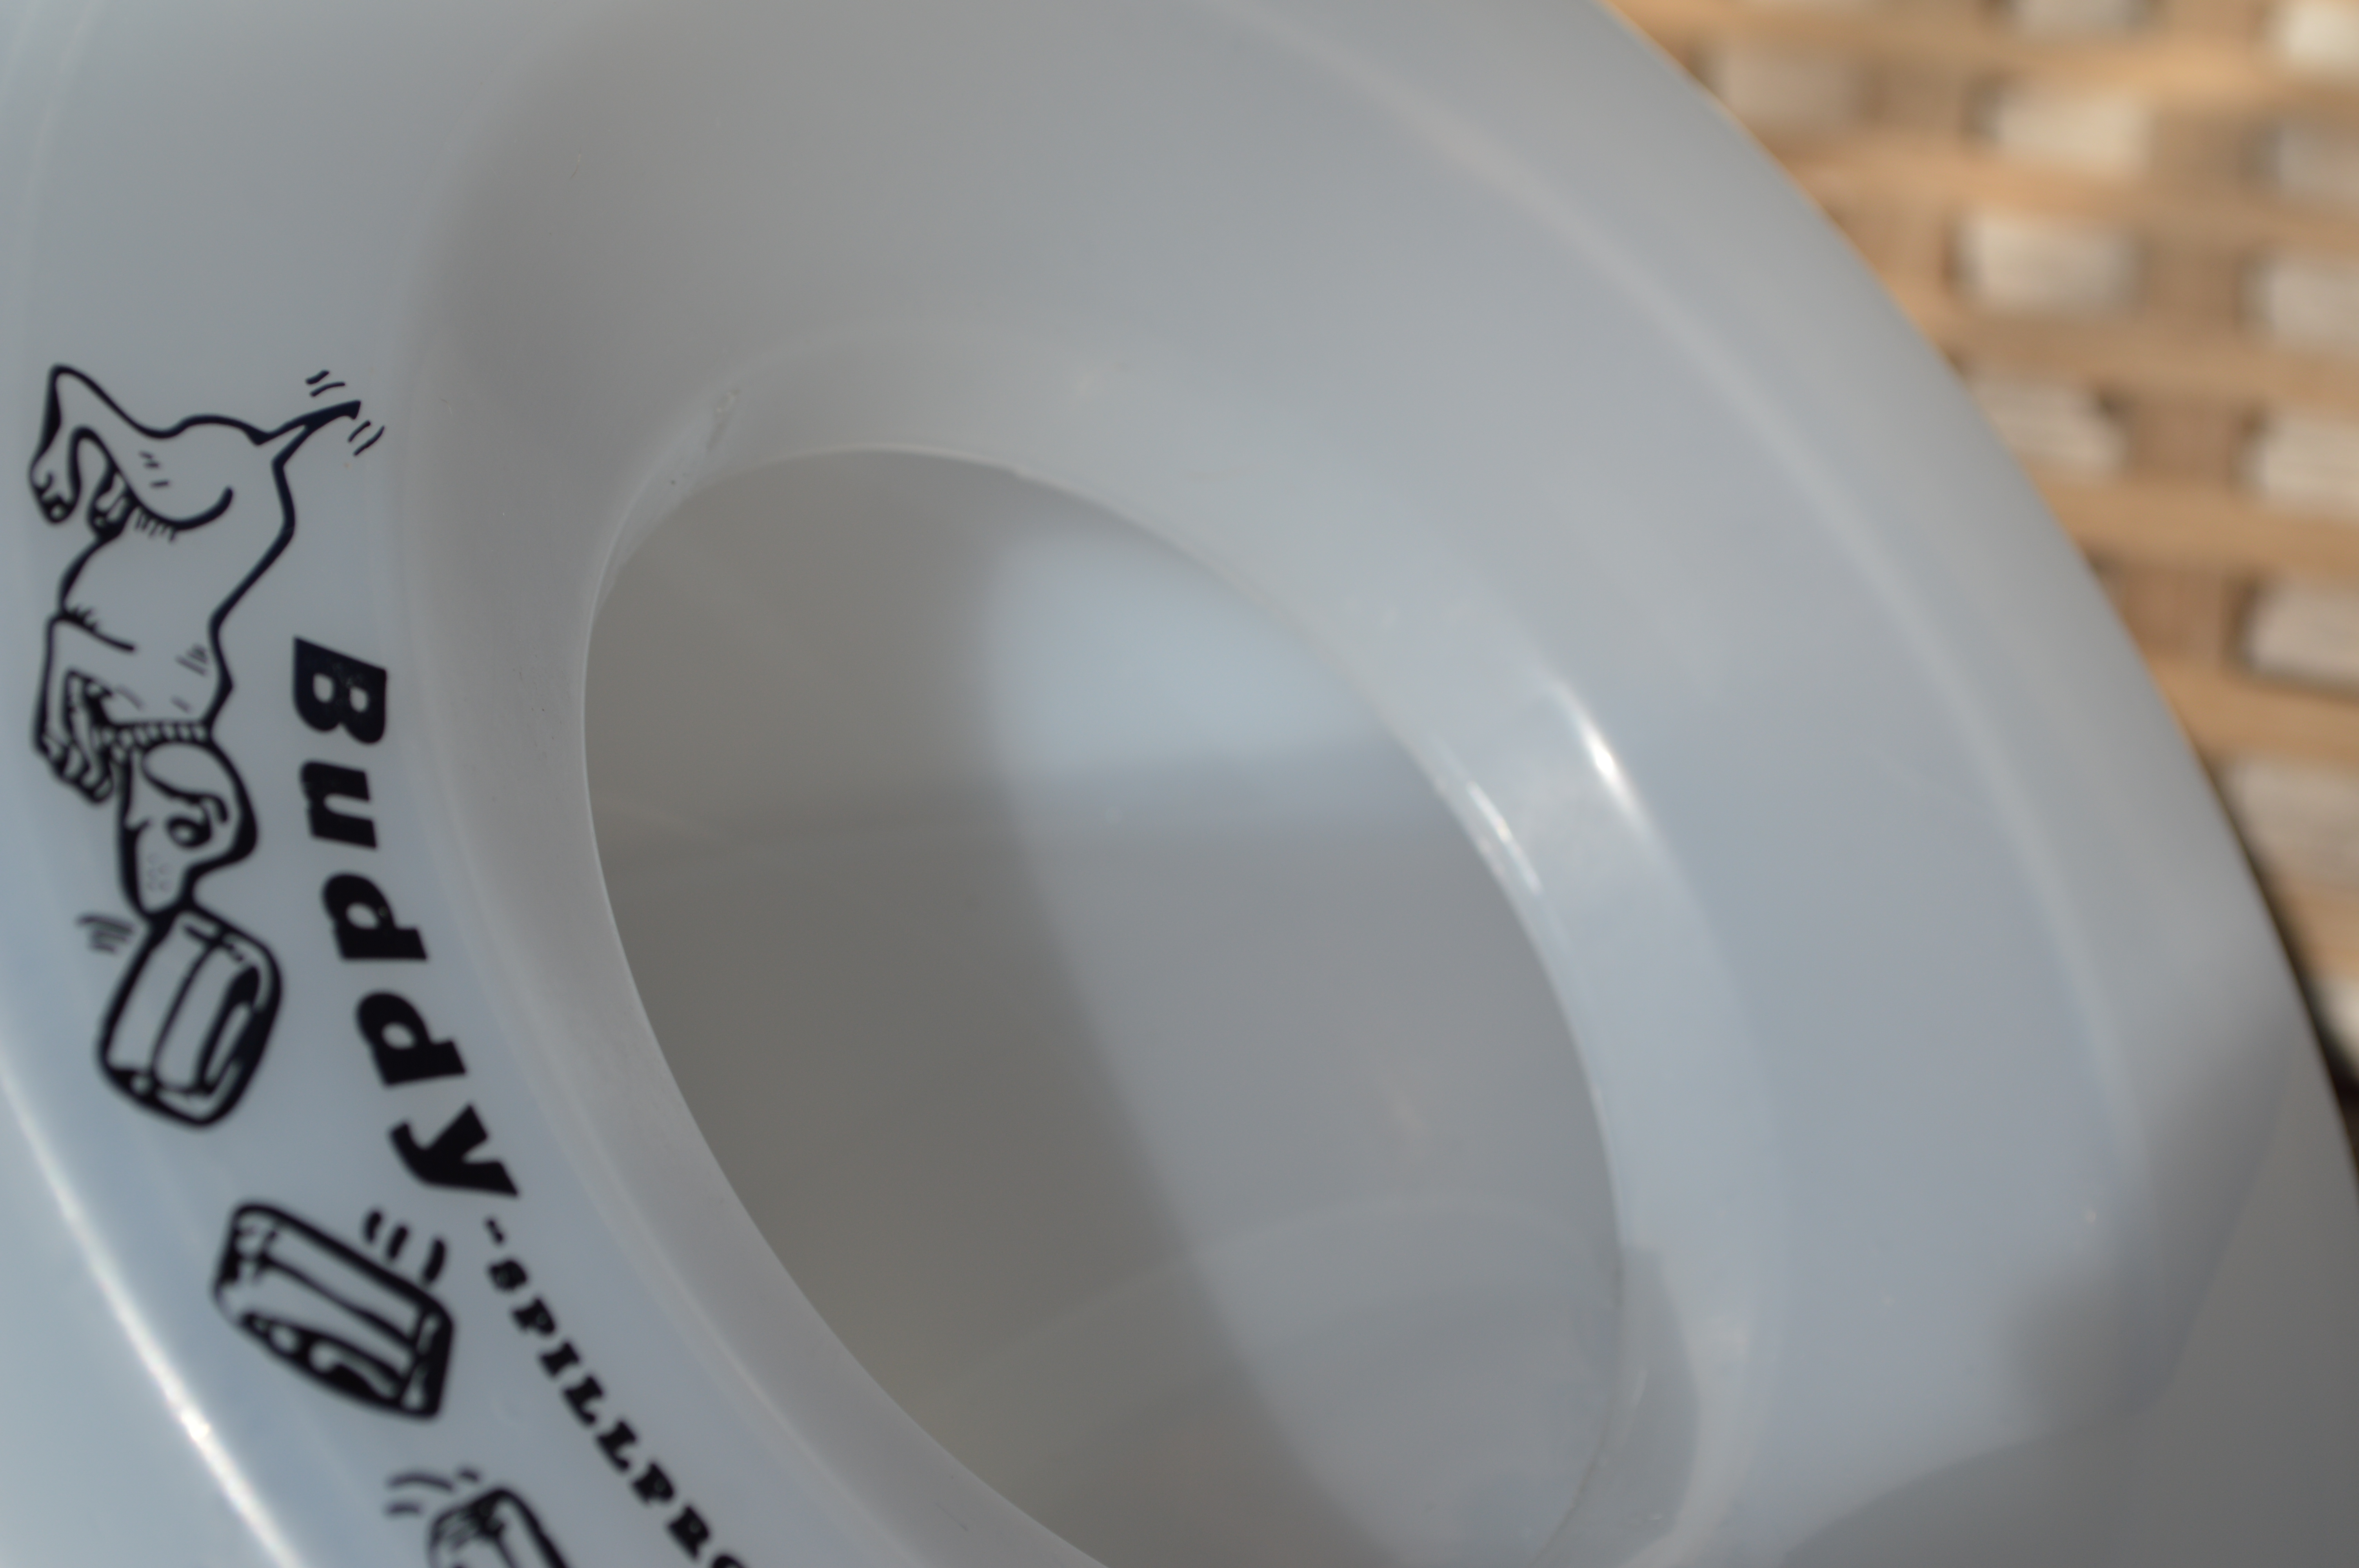
It looks like it might be hard for the dogs to actually get to the water but it’s really no trouble at all. Gunner has a long nose but it’s just his tongue that needs to get inside to where the water is. Gunner is also a VERY messy drinker and his food, water and slobber usually get flung at least a foot from his bowl. The Buddy Bowl is even more awesome because it catches all that excess water inside instead of spraying out away from the surface of the water where his tongue hits. Score!!

DSC_0236

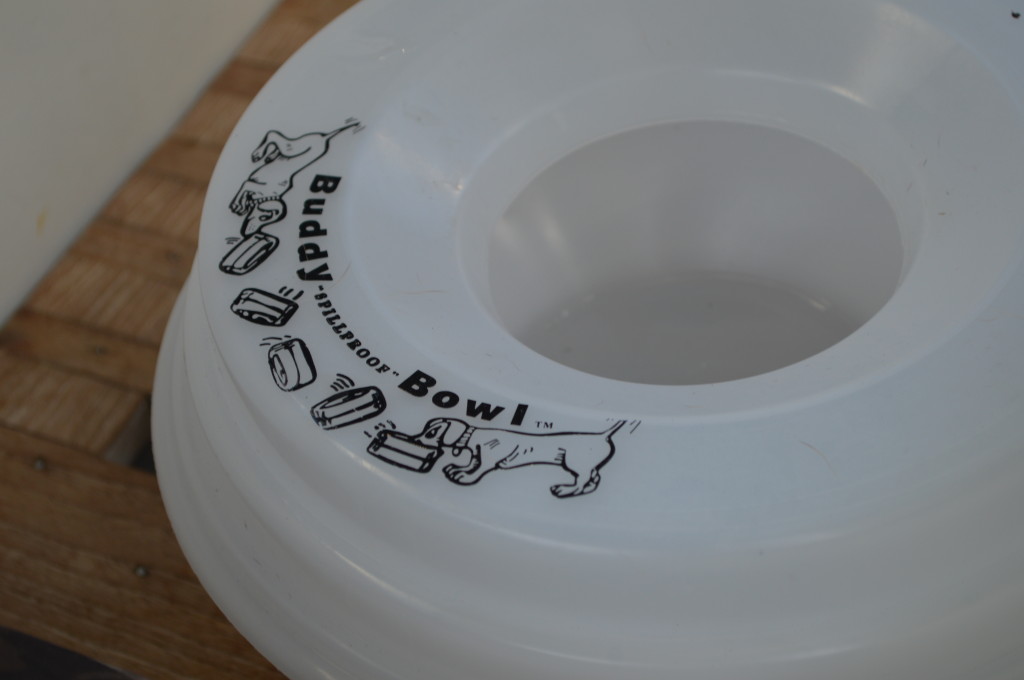
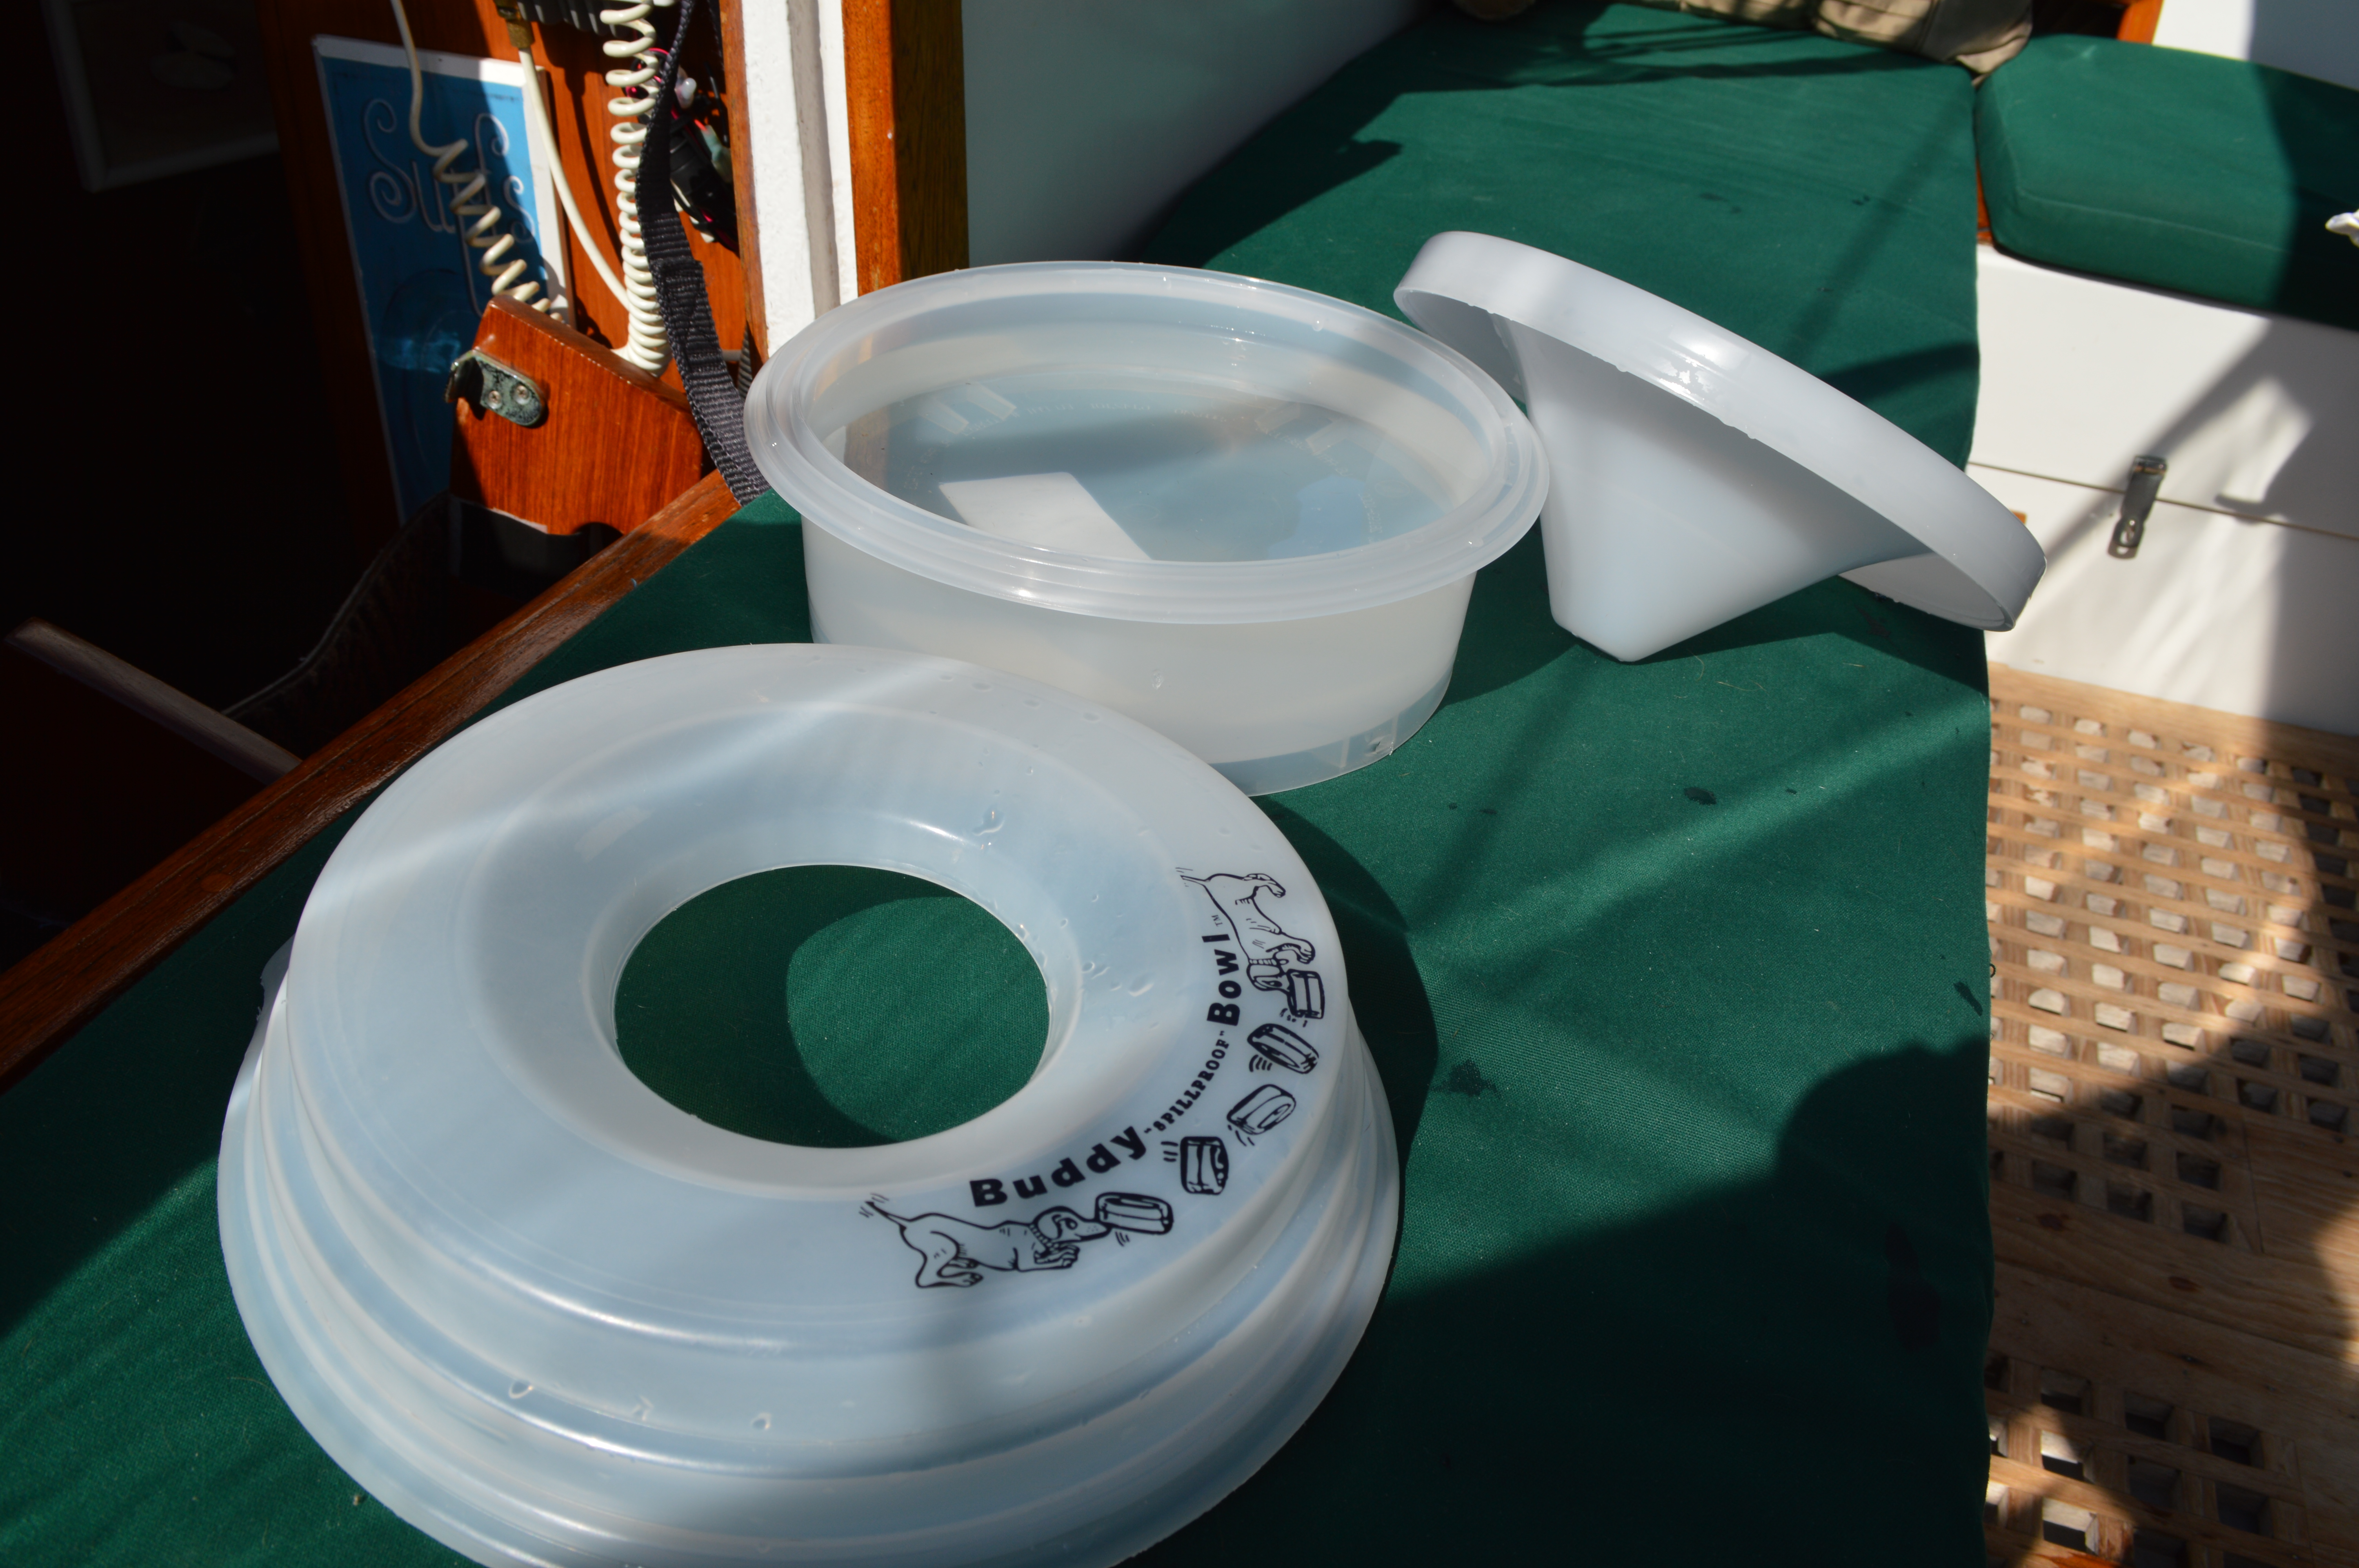
We tested them out and sure enough, they are totally spill proof. The Buddy Bowl will even hold the water if you tip it upside down! The bowls are made in the U.S. with non-toxic/BPA-free food grade plastic, and they keep the water cleaner with less surface area for bugs, dust and other dirt to collect in. There are fastening points on the bottom for tying the bowl up for storage or keeping it in one spot. We don’t have to worry about tying it down though since there’s not too many places it could slide to :) They actually stay put very well on their own.

DSC_0197

DSC_0354

DSC_0359

The Buddy Bowl is easy to clean and even dishwasher safe. Even though we don’t have a dishwasher anymore its still a cool feature :)

This really is an awesome product and could be used in the car, on a boat, outside, inside, at the beach, camping, in a crate, anywhere! It’s also especially handy if you have little ones around that like to spill the water bowl and splash around :)

We are proud to promote the products we love by sharing our experiences with others in hopes that it may bring the same joy to you!

If you’re interested in ordering one of these, the online store on the BuddyBowl website is down at the moment. Simply send an email to cree@greatamericanspillproof.com to place an order!

DSC_0364

IN CASE YOU WERE WONDERING… We are PROUD to share these awesome products and services with our readers. There are so many different solutions out there for everything we could possibly need, but these are the solutions that work for us.

This post may contain information about a product sponsorship. We gladly accept discounts or samples when a company feels generous enough to support our cause. In return we support the manufacturer or local service by sharing their links and writing about our experience with them. We only seek out sponsorship and affiliate programs from products and services we actually WANT to use and likewise only accept offers for products or services that we WILL use. We are not paid for any reviews we write or feedback we provide. We simply like to spread the word and share great experiences we have had that could also bring joy to others.

Are expired marine flares still safe??

DSC_0425

Our boat came equipped with a standard orange plastic 12 gauge flare gun, a big-daddy metal 25mm flare gun, a distress signal flag, a bunch of expired flares and an orange container mounted behind the ladder at our forward companionway.

Unfortunately the 12 gauge launcher that the previous owner left for us is not fully operational and qualifies for replacement. There was a large recall on Olin 12 gauge launchers years ago for flare guns that don’t open properly. When you go to load it, you can’t get the flare into the gun. Peter is able to pull it open just enough to get one round in there so we decided to leave that launcher loaded. We’ve heard from quite a few cruisers that it’s good practice to have several flare guns stashed around the boat for quick access in the event that any dangerous characters are approaching your boat and you want to draw attention to yourself. Our safety from pirates is another topic all together, but as it relates to flare guns, we’ll keep this defective one as a backup weapon and distress signal :) We attempted to send the defective launcher in for replacement but the U.S. Post Office won’t let you just put it in an envelope and mail it off. The Post Office, wanted us to declare it as a weapon and it could only be placed in a box and wrapped carefully with a lot of bubble wrap.  They of course had boxes and bubble wrap available for purchase but at a ridiculous price. The line was getting longer and it was more of a hassle than it was worth. Plus, we don’t plan on staying in the U.S. very much longer and who knows how long it would take for them to send us a replacement. Those recall departments don’t exactly put a priority on giving you free products.

DSC_0421

DSC_0423

We ended up buying another 12 gauge launcher at the used marine store along with a few more super cheap expired flares. Even though they’re expired, it’s better to have extras in case we are ever truly in need. If we run out of the ‘current’ flares, then we can at least try the expired ones instead of being bummed out that we don’t have any more flares.

I had a hard time finding a clear and concise official description of what the U.S. Coast Guard requires us to carry for visual distress signals. From what I gather, there are lots of different combinations of flares that will satisfy the U.S. Coast Guard requirements but the easiest and most simple choice for us was carrying a minimum of three (3) day/night handheld red signal flares. We ordered a 4-pack of day/night handheld red signal flares and a 4-pack of 12 gauge aerial signal flares from West Marine on Black Friday and got 10% off :)

DSC_0422

DSC_0428

Now a little bit about the 25mm launcher…

It’s made of aluminum and feels more like a real pistol than the little 12 gauge launchers. There is a removable insert that goes into the barrel which allows you to fire 25mm shells or 12 gauge depending on your situation. If we are far out at sea I would much rather have the 25mm flares shooting up as high as we can get them! Another benefit of having an aluminum flare gun is that it will last much longer than the plastic ones. I’m not sure how many rounds a plastic gun will fire but I can’t imagine its good for very many.

DSC_0408

DSC_0406

It’s even harder to find out what to do with your flares once they have expired. There is not a standardized procedure for properly disposing of or recycling expired flares. Some local law enforcement and fire departments will not take expired flares off your hands. Some will. I’ve also heard of some West Marine stores taking them back. Sometimes a local Coast Guard auxiliary might take them in for training purposes, but again you would need to call your local chapter to verify this. Some organizations that used to take them in, don’t anymore. It all depends.

Some people decide to shoot them off on holidays like New Years Eve and 4th of July to create the least annoyance by local law enforcement and rescue teams when there are typically a lot of fireworks going off all over the place. We’ve been told that some expired flares still work just fine, but Peter and I wondered just how well they work…

Two nights ago on New Years Eve, “Pistol Pete” decided to try out the 25mm launcher instead of going out to buy fireworks. The only three 25mm flares we had in our supply expired in 1986!! We grabbed one of those and one of the expired 12 gauge shells and set out to a safe spot. Flares are definitely not something to mess around with and extreme caution MUST be used. It’s illegal to shoot off flares OVER WATER if it’s not an emergency situation so we went to an empty parking lot instead :) Many people might debate this and we’ve seen plenty disagree, but I read on USCG documents that its only illegal if you are shooting them over water in a non-emergency situation. Of course it’s always best to check with your local law enforcement.

We learned some very important lessons about what happens when you use expired flares. BOTH of the shells we tried DID NOT function properly. We tried the 12 gauge insert first. There was a minor flash at the gun when the shot went off with no aerial signal at all. It was pretty much a dud and had long since expired. The shell expanded when it was fired and got stuck inside the insert:

DSC_0410

DSC_0411

DSC_0413

DSC_0414

The 1986 25mm shell also performed badly. There was a huge explosion right as it exited the gun instead of igniting the flare way up in the air. If this had been on the boat it could have caught our sails on fire or severely burned us. You can see in the picture below that there was a lot of burning phosphorus inches from Peter’s hand and it was very hot. A tiny ember floated down and actually got into his eye!! We were able to flush it with water right away and his vision was not affected but it was still scary and VERY dangerous. We decided that if we are ever in a situation where we need to fire an expired flare, we do our best to wear protective eyewear, gloves and to stand as far away as possible from anything that could catch fire. In an emergency situation it may be difficult to grab protective gear in time but we will definitely keep it close by!

Back to the question… “Are expired marine flares still safe?” We’ll leave that up to you to decide :)

IMG_3662

Shopping for new jewelry??

IMG_3382

That’s right. Some shiny new jewelry for Betsy and Gunner!!

Okay, well they’re really just ID tags but Betsy SURE was excited to have a new pretty jewel for her pretty collar :)

I’m not sure if Gunner ever had a tag with his name on it. (Bad mommy!!) He had licensing tags and he used to have a tag for his chip number, but those have all been lost long ago. He actually doesn’t even have a collar anymore. He was getting all clean and handsome while his daddy was brushing him on the dock a few weeks ago and they decided to take his collar off to get a good brushing on his neck. When he was all done Peter put the choke back on him to get him back on the boat. We use a prong collar for attaching his leash since he still has a problem with lunging out at anything that moves. It doesn’t hurt him, but helps us have a small amount of control if he decides to yank the leash out of our hands. Some time between then and later that evening we noticed his waterproof collar was nowhere to be found. No doubt, it ended up in the water and settled down in the murky sand beneath our boat never to be seen again.

Back home we could have gone into the local pet store and printed up a super quick and easy ID tag for the pups, but now that we live on a boat everything is a bit more complicated.  Every purchase we make, everything we bring on the boat has to be thought out in advance to make sure it meets certain criteria:

  1. Material: How long will it survive in the salt, the hot Caribbean sun, and the humidity
  2. Function: How many purposes will it serve? Its ideal if everything we own has at least 3 purposes (this saves on cost and space)
  3. Size: How big is it? Do we have a place to securely stow it while under way?
  4. Cost: Can we get it cheaper somewhere else without too much hassle? Are there discounts in bulk?

We knew we had to have ALL STAINLESS STEEL for our pet ID tags, and not just a crappy kind, but we had to make sure it was marine grade stainless steel to hold up to the salt water that we’ll be (literally) swimming in daily.

Function here is obvious. If our adventurous pups get separated from us for whatever crazy reason, we want them to have some sort of ID on them to increase the chances of being returned to us. This is a MUST HAVE before we leave the dock.

Size? Well, no brainer, they are teeny tiny and stay on the dogs at all times.

Cost? This one is kind of tricky. We could have gone for a cheapo kind for less than $3 a piece. Marine grade stainless steel is going to cost a bit more of course.

A common problem for companies that make pet ID tags is that most of them don’t let you use that many characters per line. This was a challenge for us because our boat name is 15 characters without spaces or ‘/’ marks. Betsy has her chip tag and she also used to wear a very pretty heart ID tag but we decided we needed some critical information on their new tag that Betsy’s old one didn’t have. We wanted to make sure to put our boat name on the tags so that if they were to get away from us while cruising, whoever found them would know they belong to S/V (sailing vessel) Mary Christine. We also wanted to use a Google Voice phone number that we would have access to via wifi. If something happened to one of the dogs I’m sure we would do everything we could to get within reach of wifi in hopes that someone is trying to contact us. We also wanted an email address on the tags since it’s a pretty universal method of communication no matter what country we are in. Although some places we visit may not have internet, most of them will and this is really our best shot at being reached while cruising. We put our hailing port on there as well so if someone sees our boat, maybe they will only remember the San Diego part instead of the Mary Christine part. The more info the better. Both dogs are chipped and we’ll update that info too but we’re not sure that the places we’ll be visiting will have the scanning capabilities for the chips.

After a lot of reasearch we decided to order from Boomerang Pet Tags. Free shipping, no tax, international orders welcome, discount bulk pricing… but most important feature was the non-magnetic stainless steel they use with engraved lettering instead of stamped. We got two of the bone shaped SS tags for a little less than $10 each and they are totally worth it. They are made of the right material and they got all of our lettering on there!


A trip to St.Petersburg

DSC_0011

We are back safe and sound after a weekend trip 2 hours north to Saint Petersburg for the boat show. It was a last-minute decision to make the journey north, but we’re glad we went. The puppies got to go with us, of course, and they got to lounge around the hotel while Peter and I were at the boat show both Saturday and Sunday. This show was much smaller than the Fort Lauderdale Boat Show and we got out of St. Pete with significantly less damage. There were just a few items we wanted to check out – solar panels, lazy jacks, anchors, and spear guns. We’re already pretty set as far as equipment and upgrades but its worth checking out the deals at a boat show if you get a chance. There were also some great seminars and special events going on that we were excited to see.

Sailing Florida Charters had an awesome program going on that Peter and I didn’t want to miss! They were offering FREE 45 minute sailing cruises with paid boat show admission. All we had to do was show up, get on the boat and enjoy a nice little jaunt out on a Catalina 445. We’d choose to get out on the water any chance we get. While we can always take our own boat out anytime we want (weather permitting) its nice to be able to hop on someone else’s boat for a relaxing cruise. There wasn’t much wind and we only motorsailed but it was still fun to play with the sails on a 2010 Catalina! Our view of the boat show was much better from the water :)

DSC_0013

DSC_0014

DSC_0015

DSC_0016

We didn’t take too many photos this weekend, we were too busy looking for things we had to have! We did end up purchasing some additional 100 watt solar panels and controllers to supplement the two 80 watt panels we have on the boat now. A post about those will follow as soon as they are shipped to us :) They are really good quality and the efficiency is probably double the ones that came with the boat. Hopefully we will have more than enough juice to power the new radar and freezer we are installing ;)

There were a ton of great seminars at the show too. We really wanted to see Chris Parker in action talking about the weather. We ended up getting one of his books and talked with him about the customized forecasting service he provides. There was a lot of great info he went over but we’re going to need to read his book a few more times to really get a handle on it. Weather is no joke and we need to make sure we can read the weather and how to watch for weather windows before making a passage. Peter is practically an expert already but I have a lot to learn!!

Another seminar we went to was Bob Bitchin’s “How to keep a starboard attitude while cruising.” Wow, this guy is a trip!! He really knows what it means to be Livin the Dream. And, his wife’s name is pretty “bitchin” too – Jody with a Y!! A little bio on him from the boat show program: Since the early 60’s, adventure has been a way of life for Bob Bitchin. He worked as a traveling companion and bodyguard for famous motorcycle daredevil, Evil Knievel. Then in the early 70’s he started sailing and for over thirty years he lived aboard sailboats and cruised most of the Pacific and Central America.  In 1996 he created Latitudes & Attitudes Magazine. Currently Bob and his wife Jody are creating a new title, Cruising Outpost, which will launch this winter.  www.cruisingoutpost.com . Bob has written seven books: Letters from the Lost Soul, The Sailing Life, Brotherhood of Outlaws, BIKER, Emerald Bay, King Harbor, and Starboard Attitude which was released in June of 2011. – See more at: http://www.showmanagement.com/st_petersburg-boat-show/event/seminars/418#sthash.VMZwJGA5.dpuf

Last but most certainly not least, we got to meet Kim and Jereme from S/V LAHO (lahowind.com)!! We chatted with them for a while about our boats and cruising plans. We definitely have a lot in common. They will be setting sail around the same time, from almost the same starting point, with about the same experience, going in the same direction, without time restrictions, and even with the same furry four-legged kind of crew!! We hope to meet Oliver soon and hopefully Betsy and Gunner will have a new cruising buddy :)

The drive back home to our cozy boat was beautiful as well. Its always fun to see new places and experience a bit more of Florida before heading to the Bahamas.

DSC_0022

DSC_0026

A New Name

IMG_3159Rumor has it that it’s bad luck to change a boat name. This didn’t faze us though. Peter and I knew we wanted the name of our boat to mean something special to us. We didn’t want to call her a name that someone else had given her because then it would always feel like she wasn’t ours. Also, she isn’t just a boat to us, she is our HOME filled with love and joy. Her name needed to represent something safe, something protective, and above all something dear to our hearts.

Ever wonder why ships are always referred to as a SHE?

Naval History and Heritage Command says “It has always been customary to personify certain inanimate objects and attribute to them characteristics peculiar to living creatures. Thus, things without life are often spoken of as having a sex. Some objects are regarded as masculine. The sun, winter, and death are often personified in this way. Others are regarded as feminine, especially those things that are dear to us. The earth as mother Earth is regarded as the common maternal parent of all life. In languages that use gender for common nouns, boats, ships, and other vehicles almost invariably use a feminine form. Likewise, early seafarers spoke of their ships in the feminine gender for the close dependence they had on their ships for life and sustenance.”

There’s a lot of old sayings and poems out there about why a ship is called a She. I can’t seem to find the original sources, but this is my favorite:

“We always call a ship a ‘she’ and not without a reason. For she displays a well-shaped knee regardless of the season. She scorns the man whose heart is faint and doesn’t show him pity. And like a girl she needs the paint to keep her looking pretty. For love she’ll brace the ocean vast, be she a gig or cruiser. But if you fail to tie her fast you’re almost sure to lose her. On ships and dames we pin our hopes, we fondle them and dandle them. And every man must know his ropes or else he cannot handle them. Be firm with her and she’ll behave when skies are dark above you. And let her take a water wave – praise her, and she’ll love you. That’s why a ship must have a mate; she needs a good provider. A good strong arm to keep her straight, to comfort her and guide her. For such she’ll brace the roughest gales and angry seas that crowd her And in a brand new suit of sails no dame looks any prouder. The ship is like a dame in that she’s feminine and swanky; You’ll find the one that’s broad and fat is never mean and cranky. Yes ships are ladylike indeed, for take them all together the ones that show a lot of speed can’t stand the roughest weather.” – Anonymous

Without question, we named our boat “Mary Christine” in honor of Peter’s mother, Mary Christine Pieschel. She passed away in 2012 after a long battle with breast cancer. We know she will watch over us and keep us safe as we begin this amazing journey. Although she won’t be here in person, she will be with us in spirit each and every day. IMG_8715After we decided on the new name, we had to follow certain steps to get everything changed over properly. We made sure to put the new name on all of the closing documents when making the purchase, and of course listed Mary Christine as the new vessel name when filing the transfer of Certificate of Documentation with the National Vessel Documentation Center (US Coast Guard).

We had heard there were ways to avoid the bad luck associated with changing the name so with a little research we found some “good” superstitions to protect us.  We aren’t overly superstitious people but when it comes to a legend like this one, it’s better safe than sorry!! There were quite a few different versions out there on how to appease the sea and wind gods and purge the old name from the Ledger of the Deep but we decided on the Denaming and Renaming ceremonies described on caribbean-pirates.com. Click ‘here’ for the thorough instructions we followed. Just for good measure, we did all three of the denaming options listed.

This began with taking off EVERY item on the boat that had the old name written on it. I will say this… the previous owners did a STELLAR job of making sure they had everything labeled. I found “Hey Jude” written inside book covers, on the edges of all the charts they left us, on the cover of all the manuals, on the life jackets, and even on the propane tanks! Good thing we have already needed to refill the propane tanks and taken them out of the wet locker in the aft deck, or we wouldn’t have seen that the old name was written several times all over both tanks and underneath where they were bolted down. Permanent marker would suffice to make the existing permanent marker lettering illegible, but we tore off everything else we could physically remove.

The last piece that had to be removed was the vinyl lettering on the transom. Lucky for us, it was just vinyl and not painted on. I waited for high tide and brought my wireless Jambox out to the stern. Tunes definitely eased the monotony of this job. Its been a long time since I’ve laid out in the sun on a dock but this was the perfect opportunity for me to catch some rays so I changed into my bikini and grabbed a towel, a cold pop, my tunes, some sunscreen and a hat. I tried using a scraper but my nails did a better job. The outside of the lettering was more difficult since it was a single layer of vinyl. The center was thicker and peeled off much easier, especially on the larger letters. About a 1/3 of the way into it, I beckoned for help in fear of taking all day. With Peter’s help I was able to take some pictures and got every last bit peeled off.IMG_2819

IMG_2890She looked so naked!!! The UV damage wasn’t bad at all since there was a relatively new paint job on the hull. We cleaned the transom up with a little soap and water, and some rubbing alcohol in a few spots that still had adhesive stuck on. The next step was to continue with the Denaming ceremony to purge the old hame from the Ledger of the Deep and to send the ashes of the old name out with the tide.

24 hours later we proceeded with the Renaming ceremony and poured champagne overboard to the gods of the wind and gods of the sea as described in the link above. We were finally ready to apply the new lettering and give the Mary Christine a beautiful new look. I had researched the best way to apply new lettering on boats and decided that vinyl would suit us just fine. We could have opted for painting the name on like many people do when you have a vintage boat. This would have cost us at least a few hundred dollars though and doesn’t always last as long. Knowing we don’t plan on returning to the U.S. very soon we opted to go with vinyl which would be easier to replace if it ever got damaged. There are SO MANY places, both local and online to buy vinyl lettering and all seem to have different advice for the application. Some warn of dry applications being too hard for amateurs like us and instead tried to sell us on the wet application method which you can slide around before squeegying out the liquid to set the placement. More important for us was to find the “right” look. Most of the online sites didn’t have much for font or color options and we were getting discouraged. I spent several nights up late on the computer. 

Finally I stumbled upon DoItYourselfLettering.com and I can’t even describe how awesome this site is!!! They do a lot more than just boat lettering, there are vinyl lettering options for lots of different applications. The online interface for creating your design is top-notch and by far better than all the other sites I looked at. Even if you don’t need any lettering done I recommend checking out their site just to play around with the design tools incase you can think of somewhere fun to put the letters later :) Just like the website says, Brad is the owner and he personally answered my call when I had a question about my order. Just by caller ID he knew who I was, what I ordered and all my shipping info. They guarantee their product so if you have any trouble installing it yourself they will send you a replacement for FREE!! It really was pretty easy to install though, just a little patience to make sure its level and centered, and you end up with a DIY project that looks very professional. The customer service was outstanding and the pricing is unbeatable, even with adding a border color, selecting “ready to install” and upgrading to a Premium 3M Cast Vinyl material for an additional $15. The total for both the name and the hailing port was less than $80. If you are putting the lettering on a boat, we highly recommend using the premium material since it will hold up much better in the sun and salt. We selected Scriptina for the font on the name and Century Gothic for the hailing port. If you have any questions about ordering lettering for your boat or other toys please contact us!! I love to spread the word and support great services and products when I find them so others can share the same great experience that I have had. IMG_2893

IMG_3143

IMG_3150

She is really starting to look as beautiful as we could have dreamed!! It’s all coming together now :)