Home » BLOG » Archives for October 2015

Month: October 2015

DIY Salon Cushions

SAILRITE cushions-30

Have you been staring at the cushions in your home with a procrastinating desire to have them reupholstered? Well, I’m here to give you a little hope and a little inspiration to kickstart your very own DIY cushion sewing project!

You may remember the recent post I did about how to make easy and very cheap DIY throw pillows. It was my first real sewing project since 8th grade Home-Ec, believe it or not! I was more than intimidated but I overcame my fears quickly and I couldn’t be happier with the way they turned out.

That project was what I needed to start on redoing my salon cushions inside our tiny floating home.

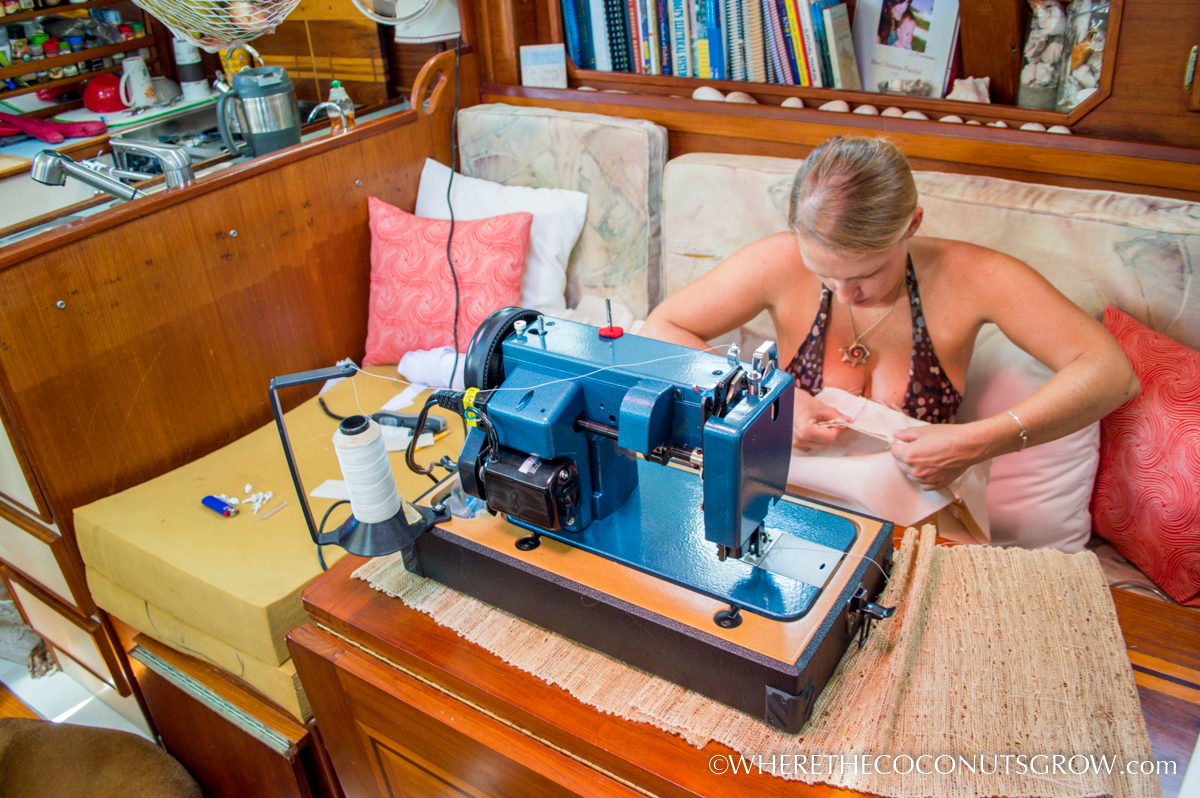
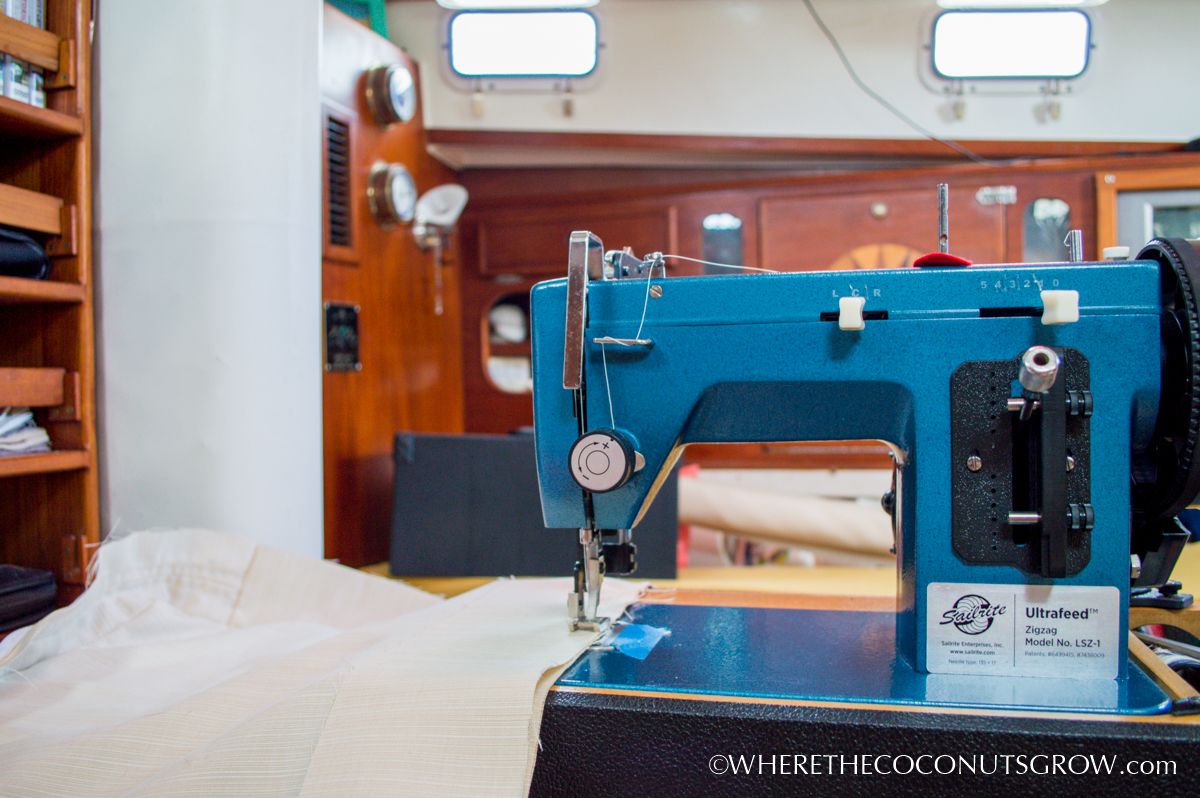
Let me just say that this project only became a reality thanks to the free how-to videos that Sailrite has on their website. I sat down and watched several of the videos on cushions over and over again before I finally felt confident enough to know how to even begin. I really had no idea what I was doing but these videos walked me through each and every step of the way. I used my new Ultrafeed LSZ-1 Sewing Machine and it was very helpful to see them use this same machine in the videos. The machine works like a dream and can handle straight stich or zig-zag through many layers of Sunbrella or sail material. The primary purpose I chose that machine was to be able to do my own sail repairs, because they will no doubt need repairing eventually. The cool thing is that I can practice using the machine on projects like this which help give my home a makeover but also help me to be more proficient using the machine before my sails are damaged and I really need to know how to use it.

THE FABRIC:

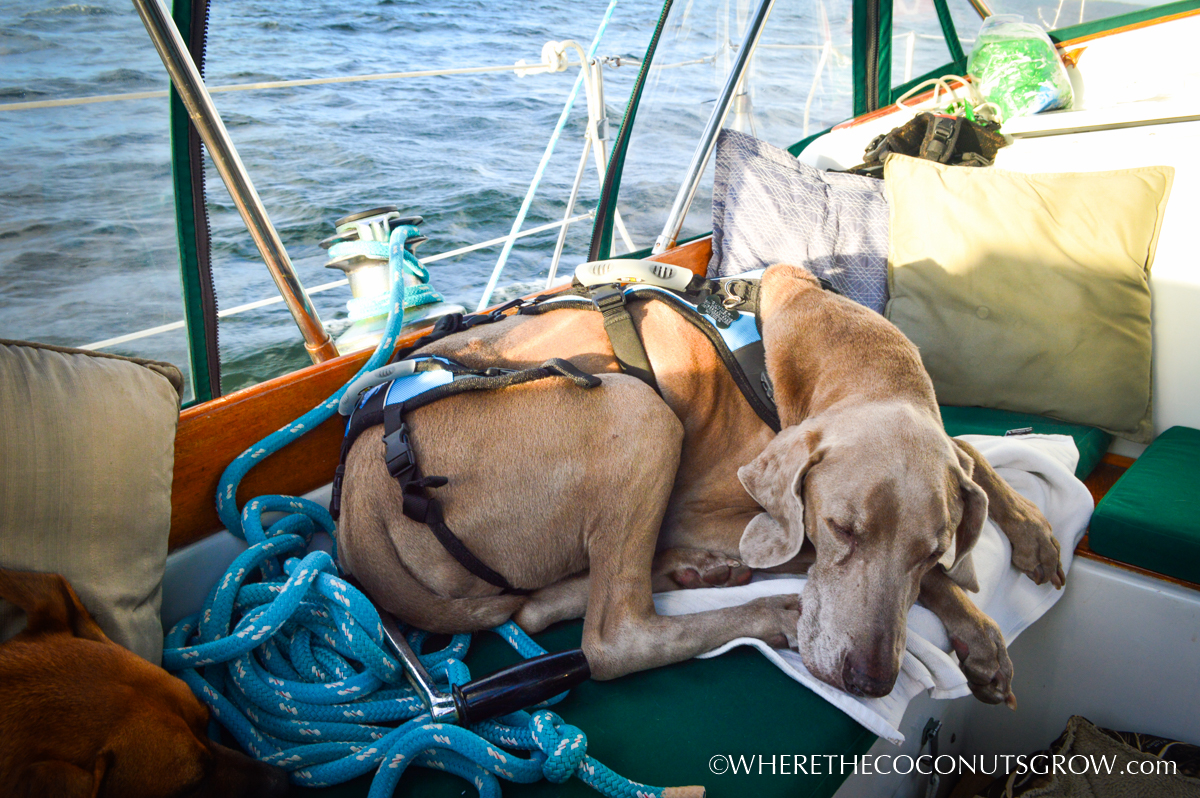
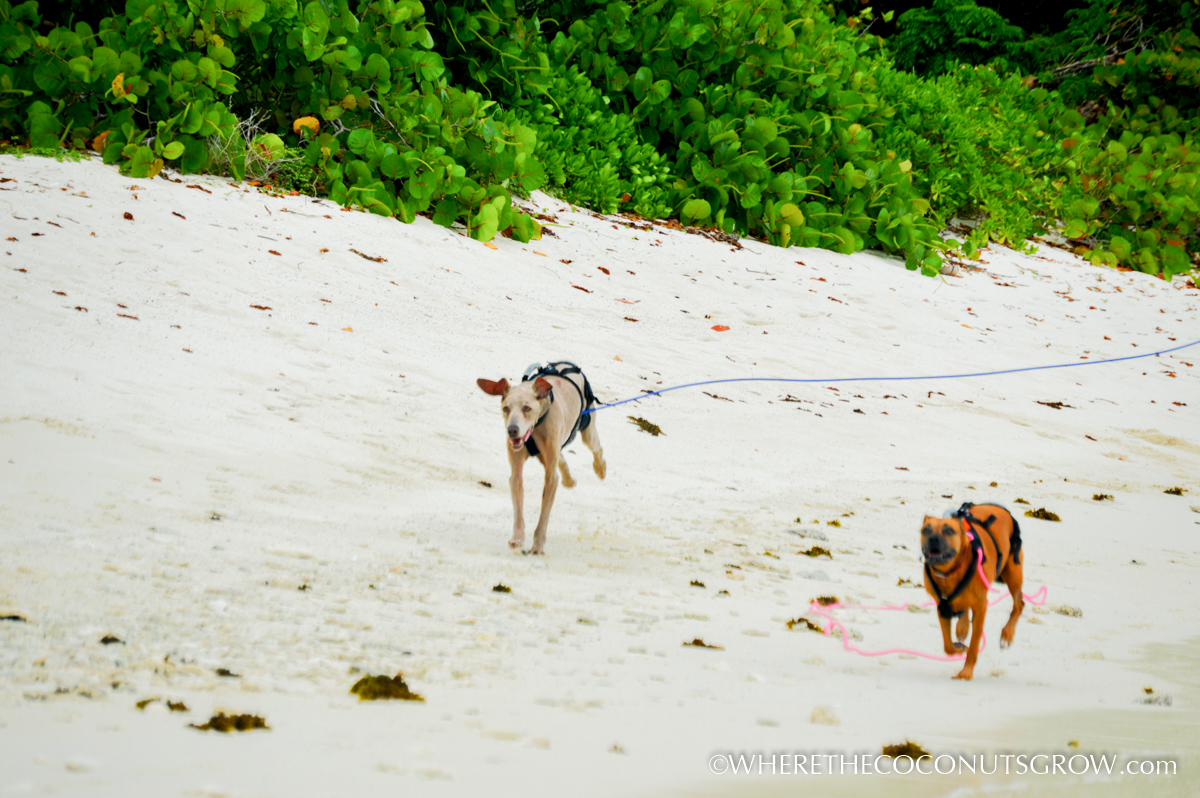
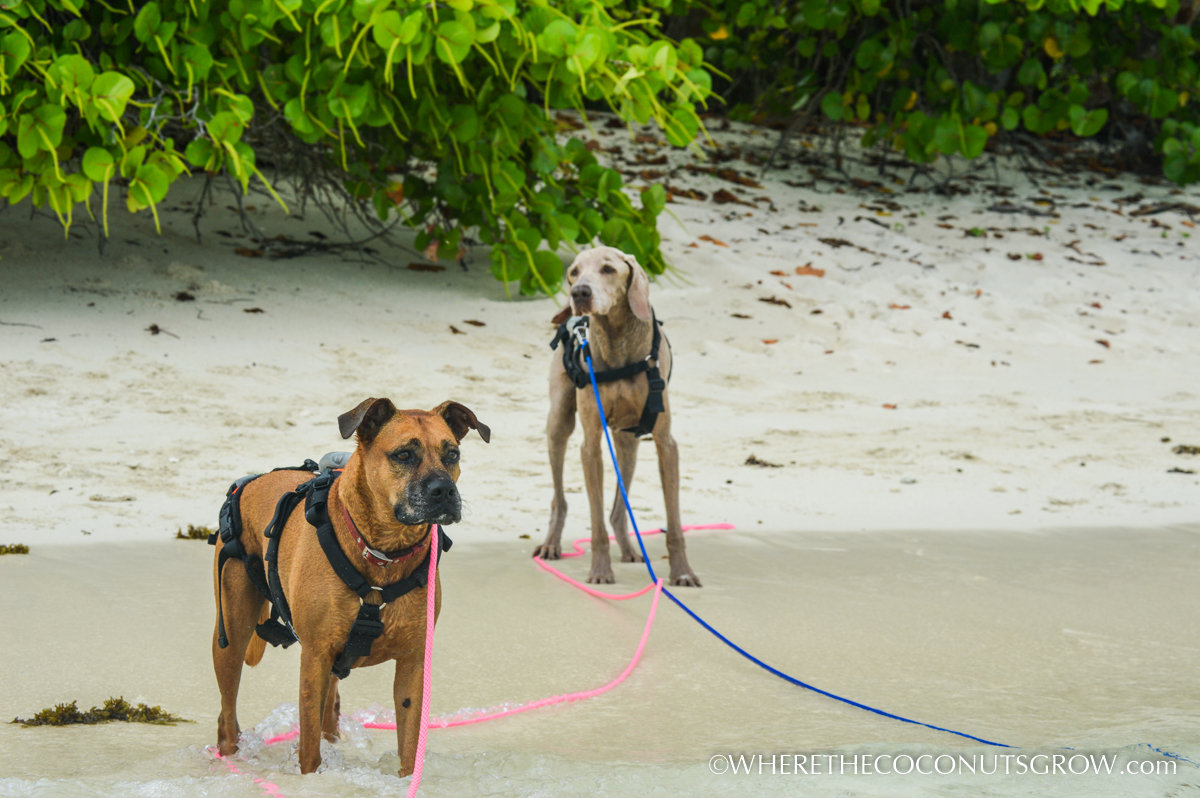
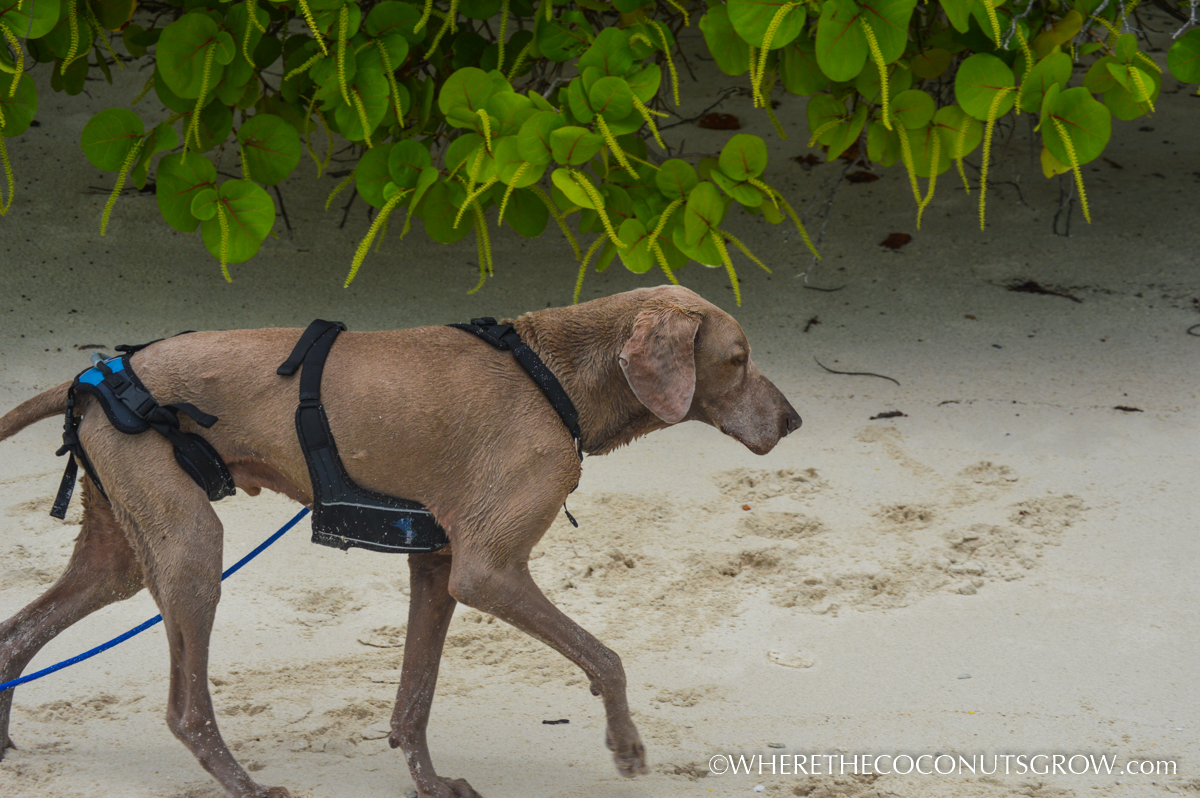
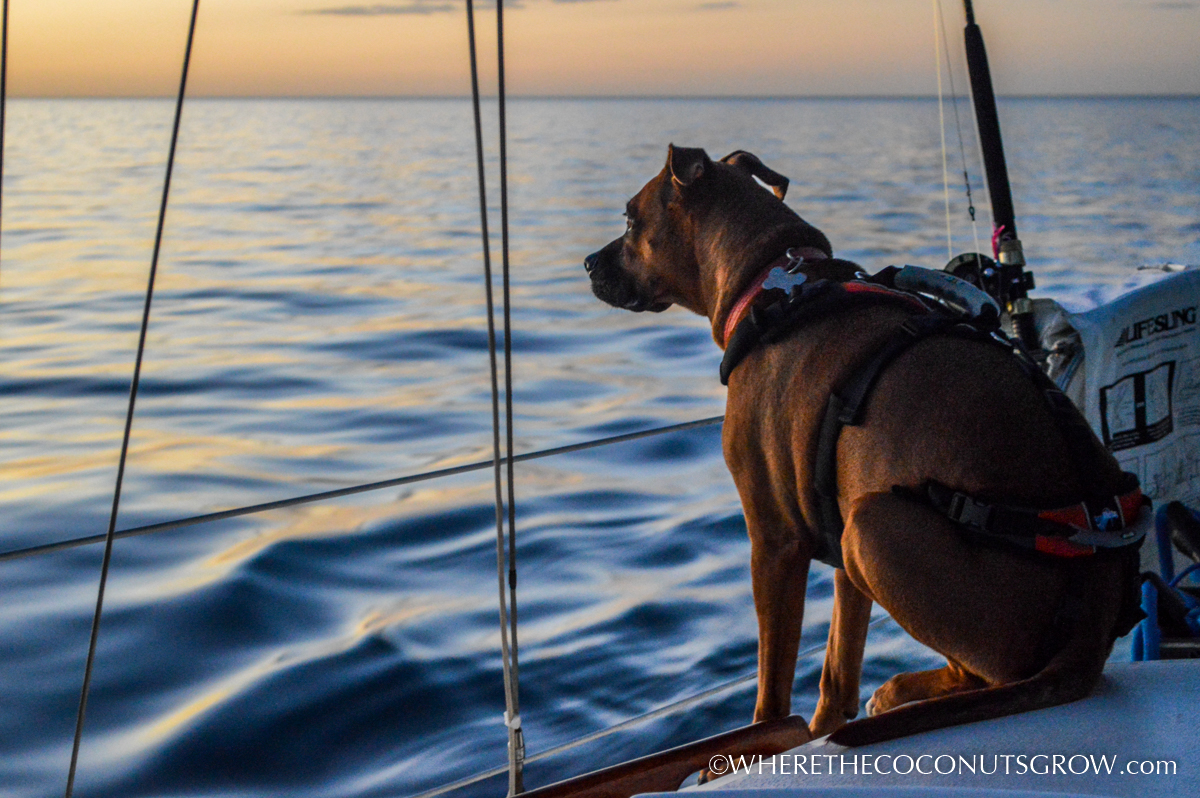
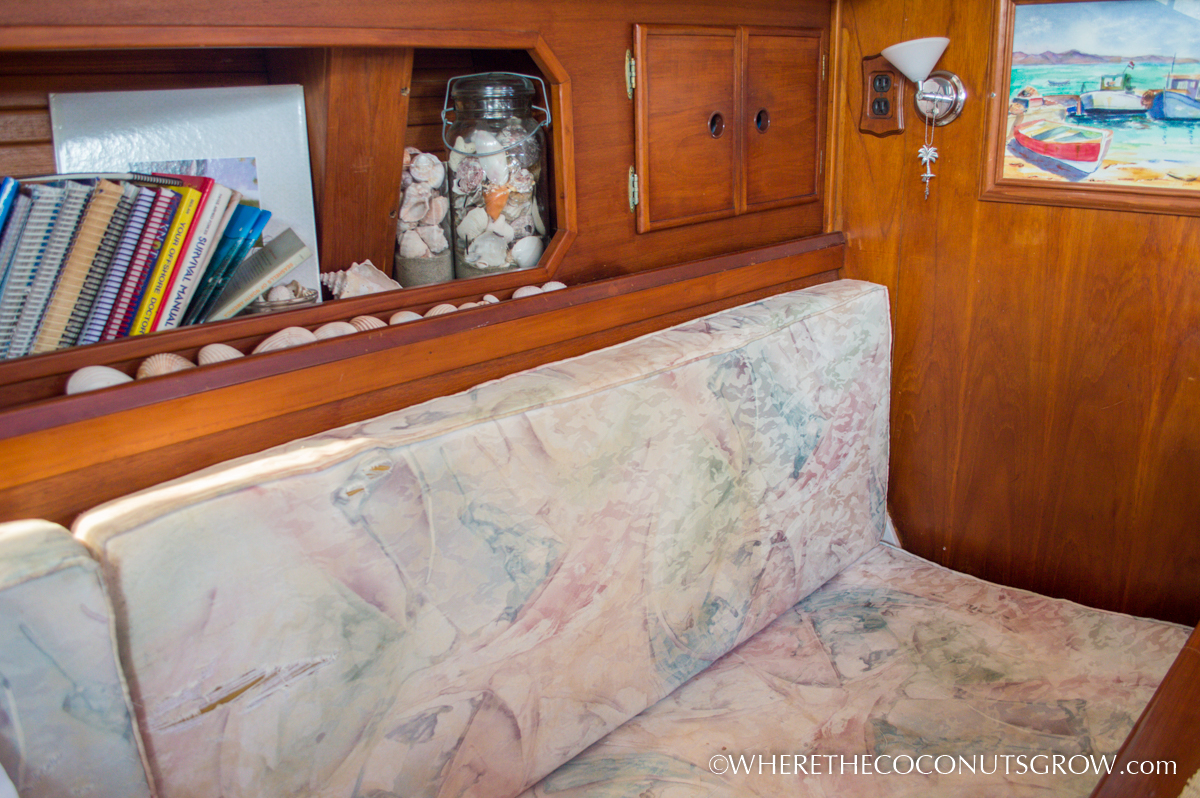
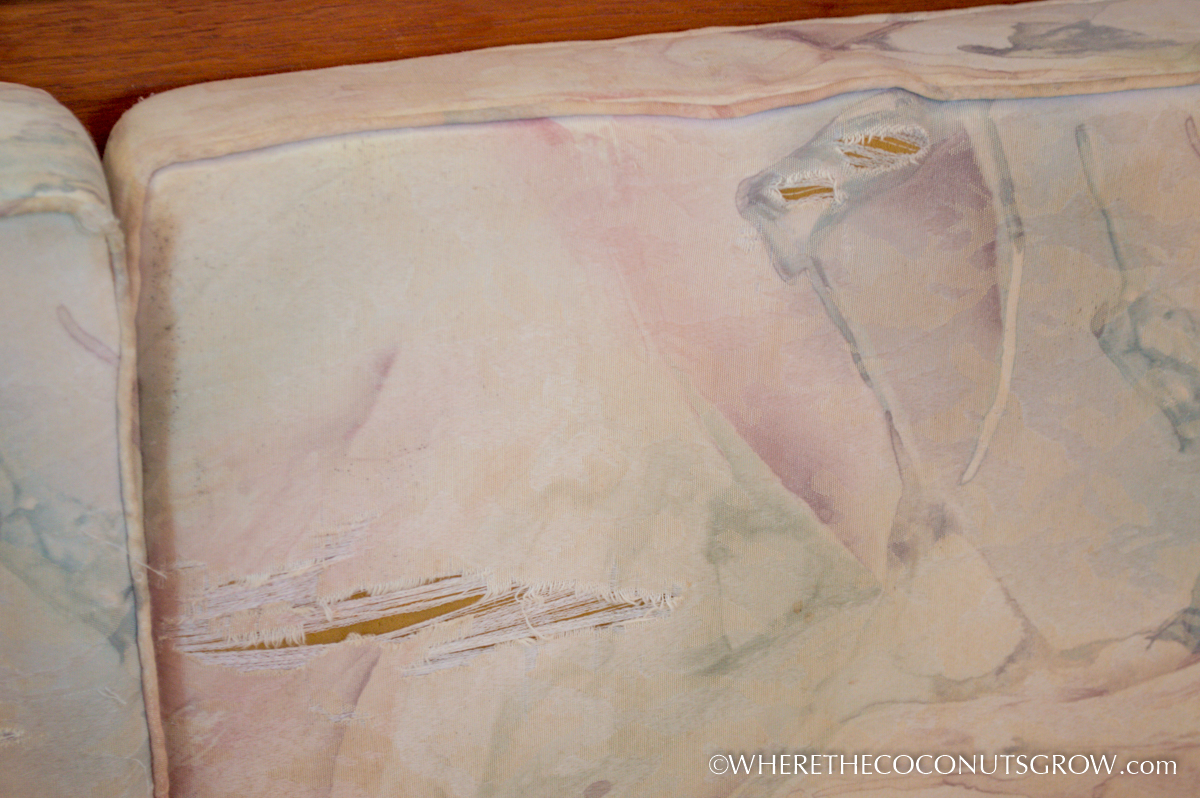
The fabric I was replacing was regular upholstery fabric, a typical fabric used for cushions. It took us less than two years to destroy them, however, living in a marine environment with two large dogs. Gunner, the Weimaraner, loves to dig himself a perfect little place to lay down and we have caught him many times clawing at the fabric when we weren’t looking. It’s nothing new. He’s done it for all 14 years of his life and he’s real sneaky about it. Nonetheless, the old fabric was ruined. I wasn’t crazy about the pattern anyway and I had always intended on changing it out but it took me two long years to finally muster up the confidence to attempt a project like this.

I knew I wanted to use Sunbrella outdoor fabric. It’s extremely durable and will last much longer than regular indoor fabric. It’s more expensive but the trade off was worth it to me. I had first caught a glimpse of Sunbrella’s Dupione line of fabric on my friend and master seamstress, Linda’s, boat. I fell in love immediately and knew I had to have it too. At $24 a yard I had to really love it!!

Here’s the craziest part… I wanted the lightest color they made. Am I freaking crazy?! Maybe a little.

I know, I know… light fabric with dogs, or kids, is a bad idea. “It will never stay clean,” they all say. Way to rain on my parade! But I wanted the Sunbrella Dupione in Pearl, and that’s what I decided on. It was going to match my new color scheme perfectly! The texture is both soft and luxurious, yet extremely durable and water resistant. I’ll just wash the cushion covers when they need to be washed :) The best part is that Sunbrella fabric is amazing at repelling liquid and preventing stains. After time the water repellency will eventually be reduced but for now it’s hard to even get the fabric to absorb enough water to be washed at all.

Fast forward to project completion… Gunner has already puked on the new cushions and it came right off with just a few paper towels and baby wipes! For little stains, baby wipes work great to bring them right up. For big messes, I made sure to install zippers to easily remove them for washing. I don’t let the dogs lay on the cushions as much as I used to, but a vacuum or lint roller takes care of the dog hair easily.

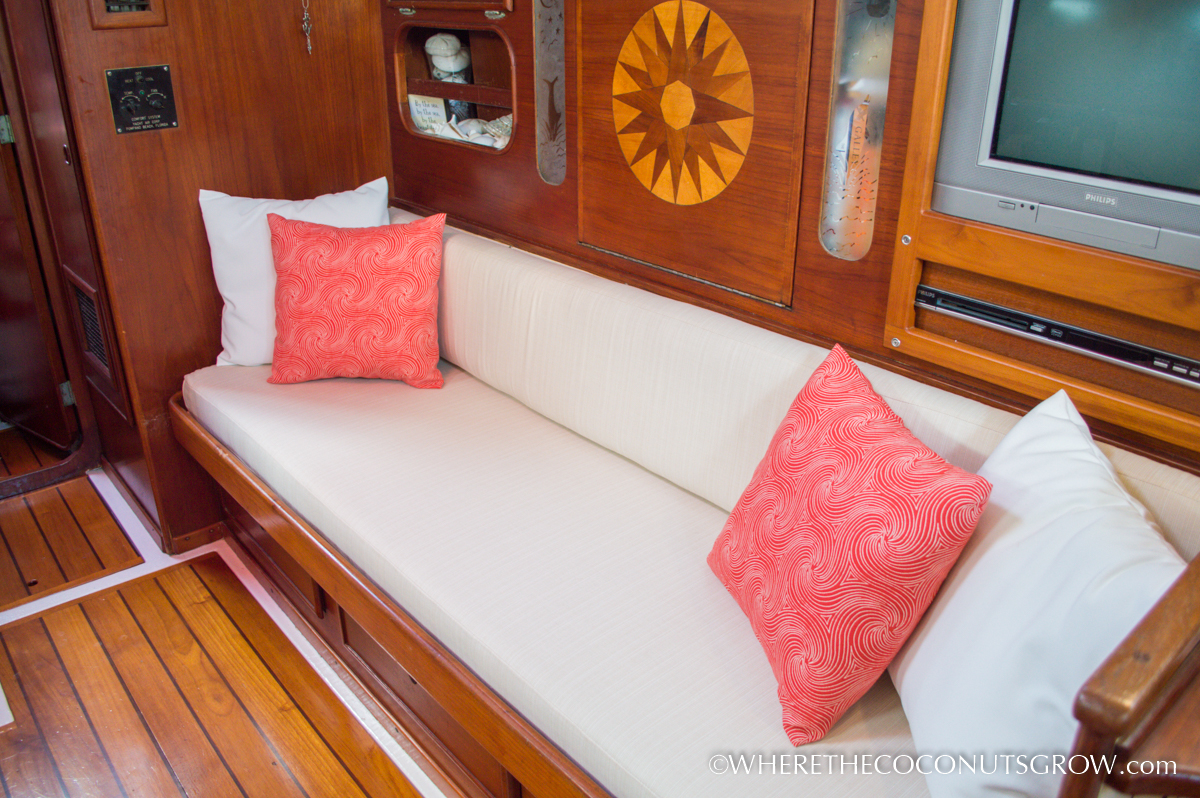
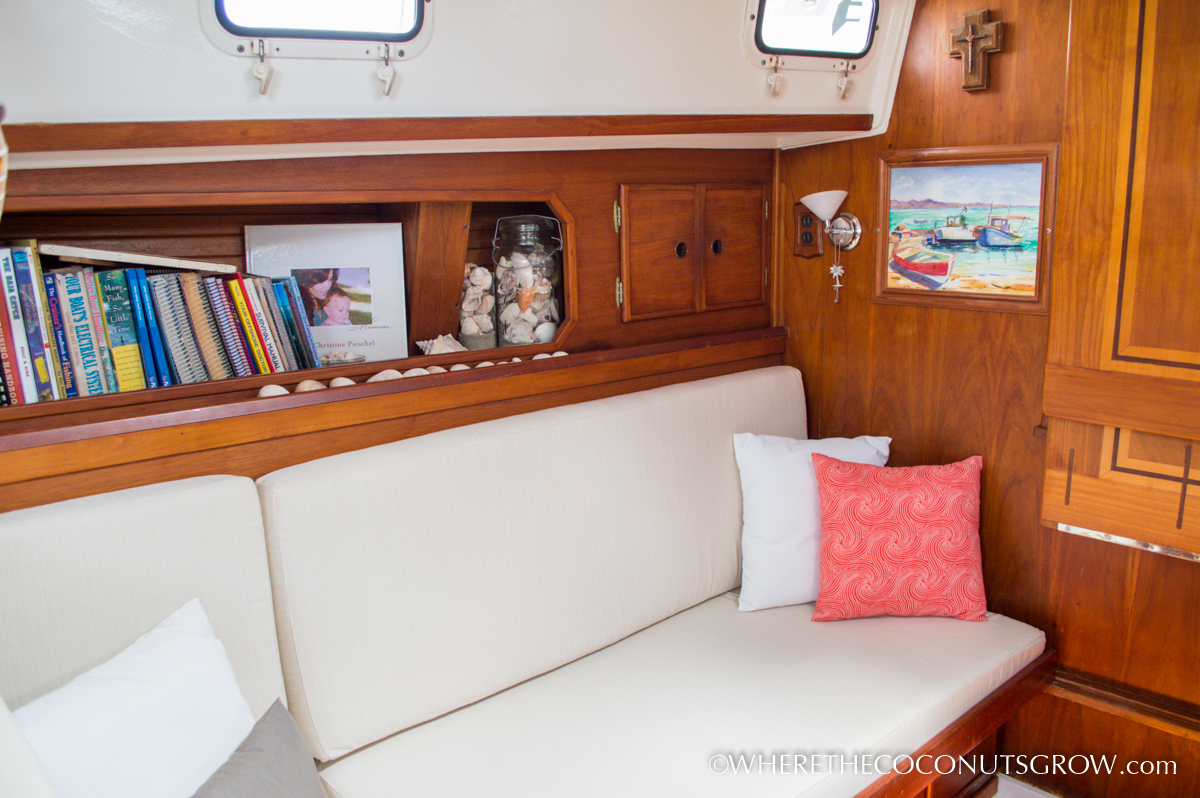
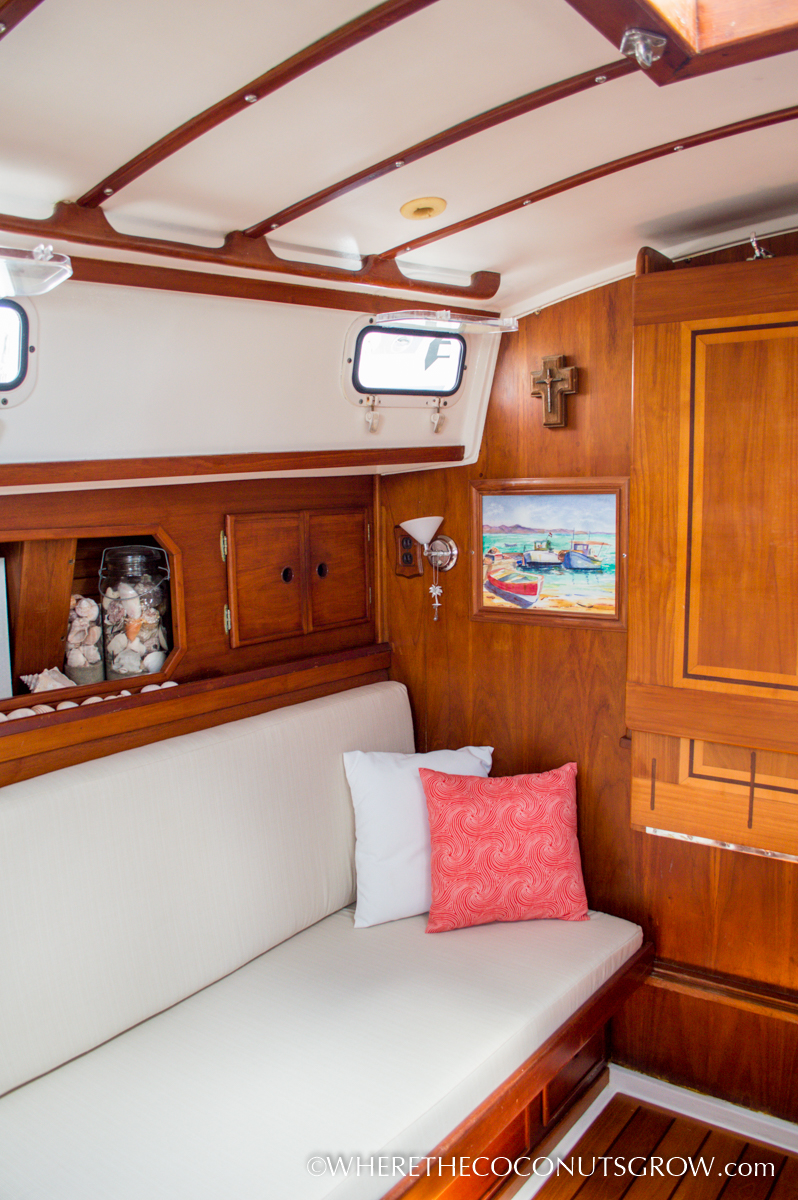
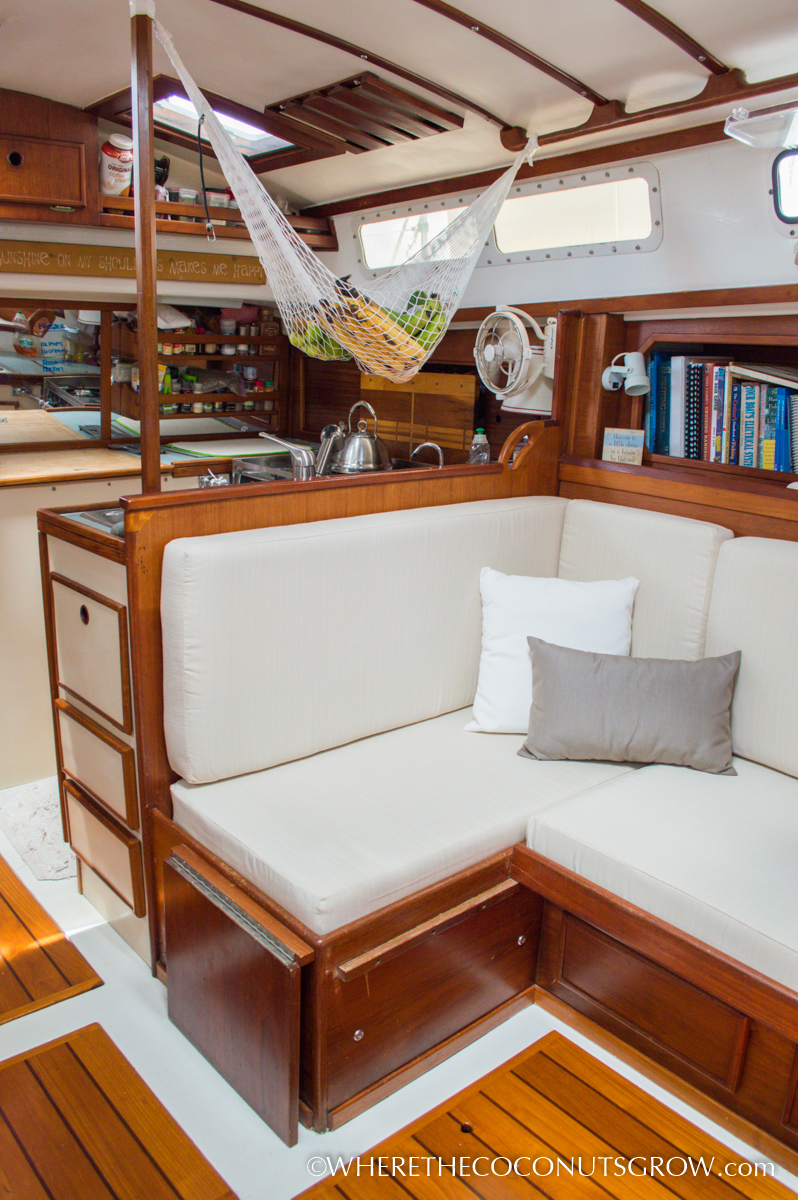
I don’t regret my color choice for one second. You’ll see in the photos below how light and bright it makes the whole room and that was really important to me. I’ve seen so many dark boats. Dark interiors just make it feel so much like a boat, not cozy at all. I like to feel cozy. This is my home. I absolutely LOVE my home :)

PATTERNING:

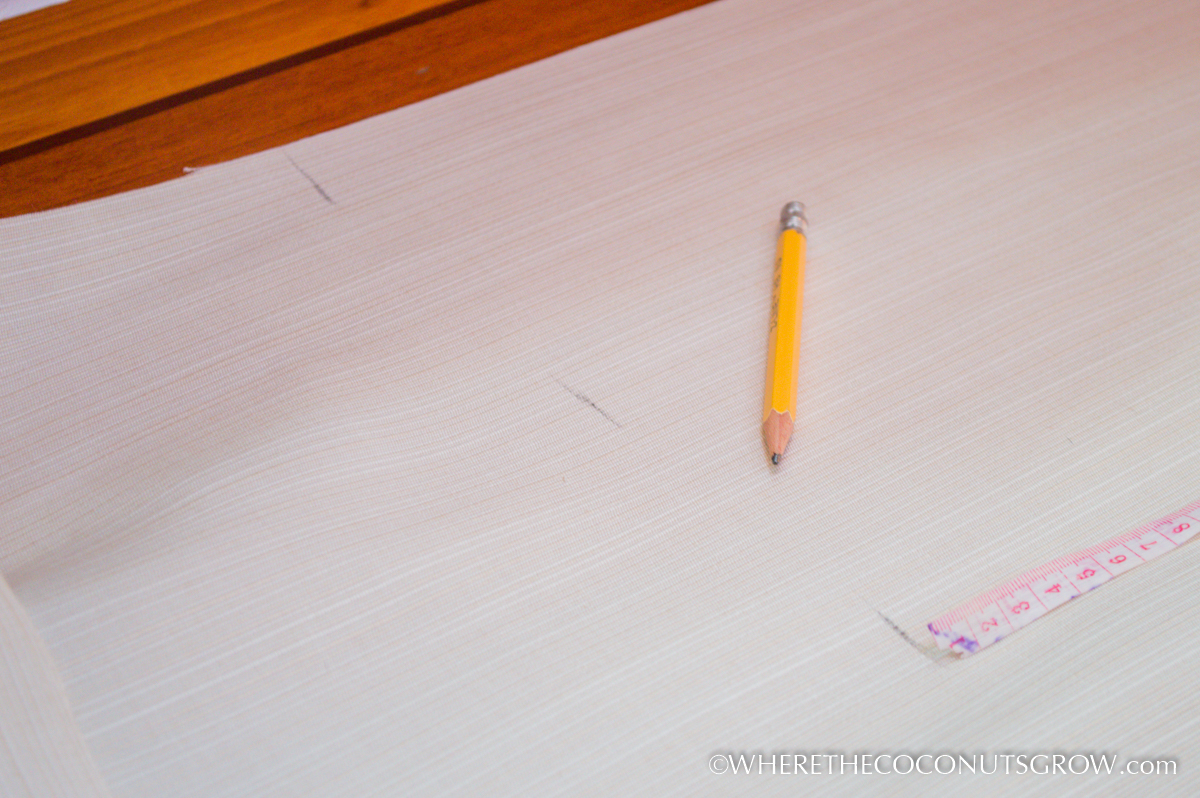
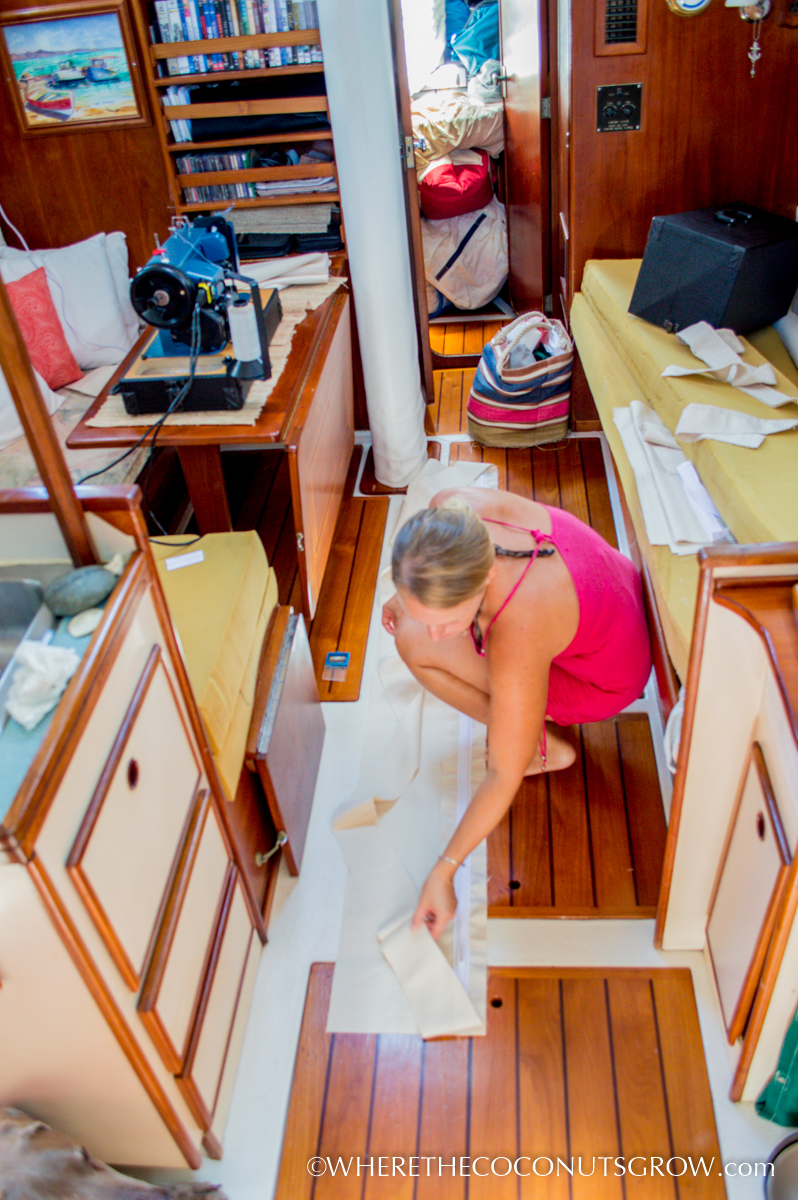
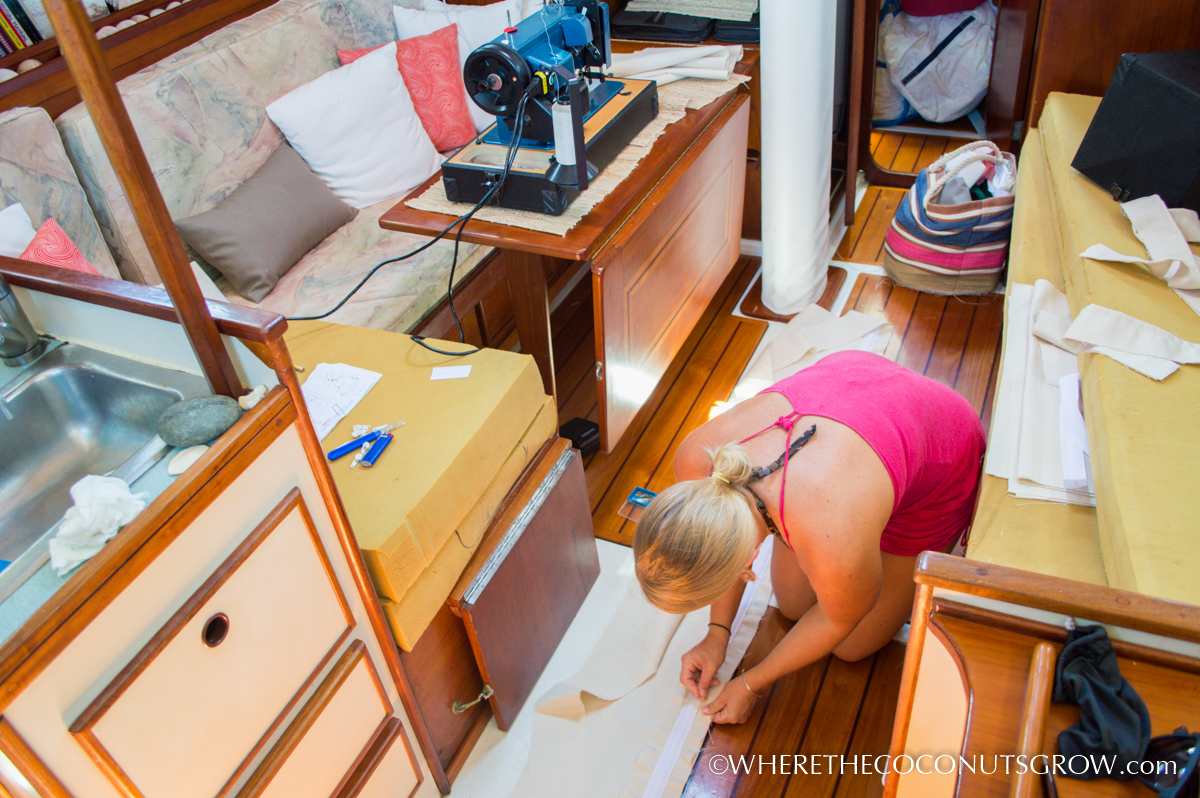
I had done all the measurements awhile back and ordered enough fabric for the salon cushions and all of my new throw pillows. I used the super helpful Fabric Calculator from Sailrite’s website to estimate how much I would need and I ended up with plenty to spare. Making a pattern from the existing foam was a bit tricky to do inside my 42′ sailboat. I traced when I could, measured, marked with pencil, turned the fabric in different directions and carefully cut each piece to an exact fit.

SAILRITE cushions-2 SAILRITE cushions-3 SAILRITE cushions-4

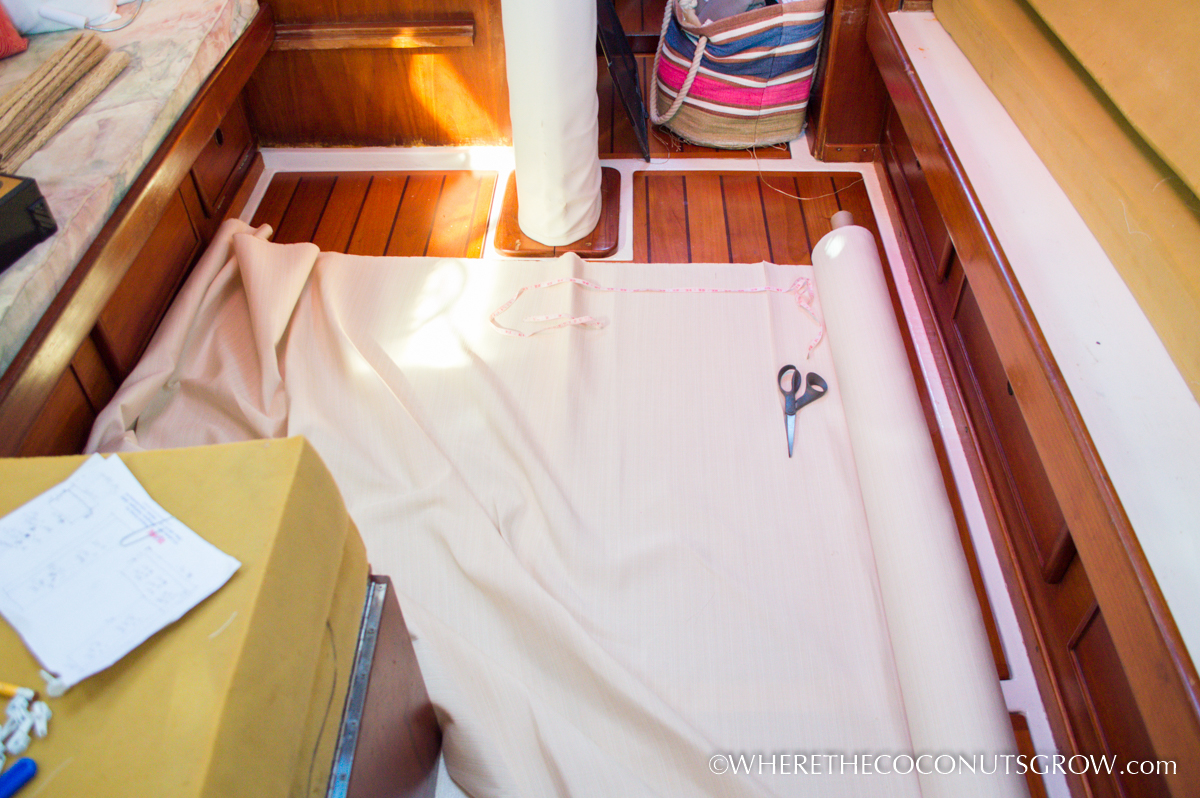
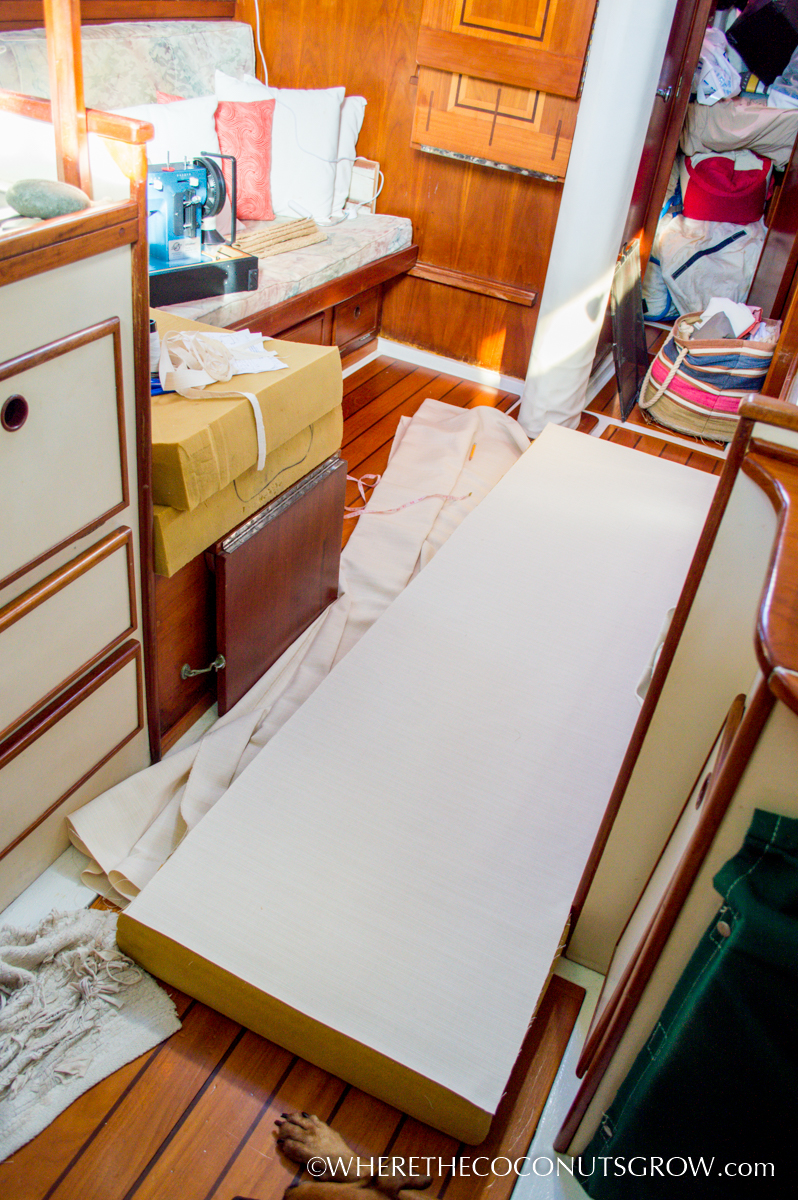
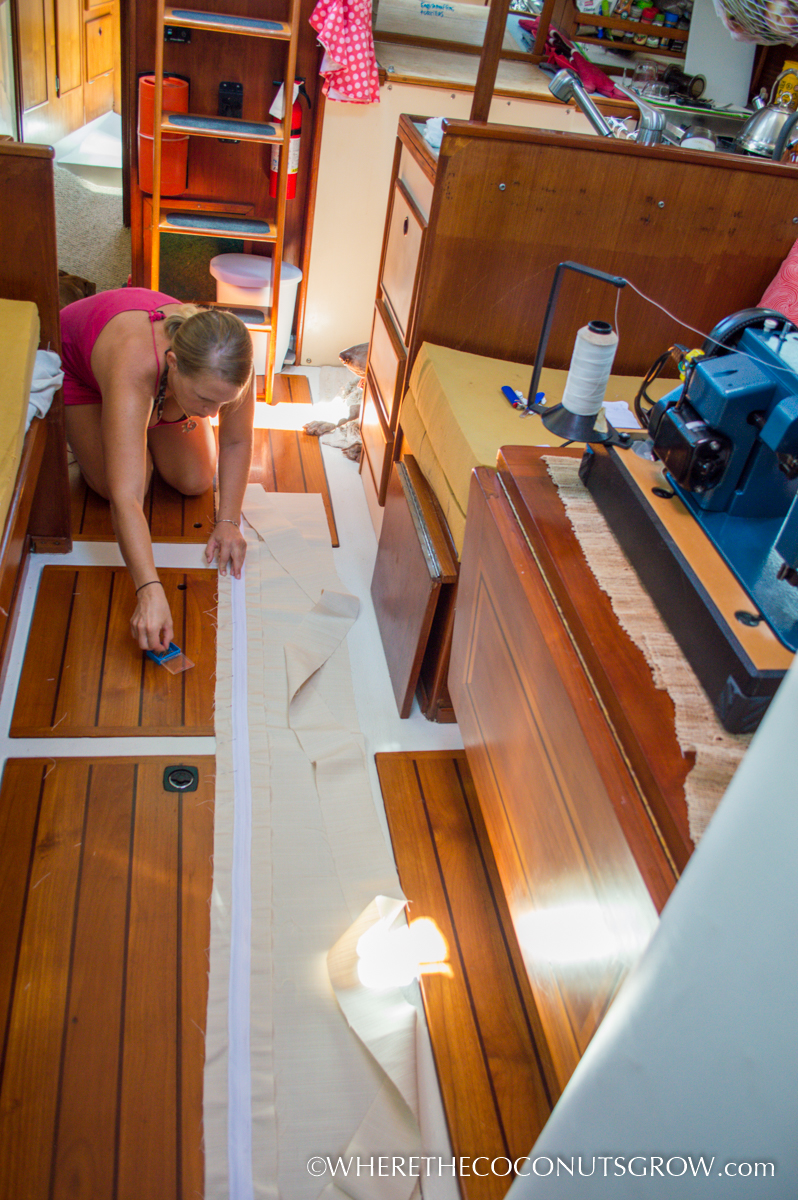
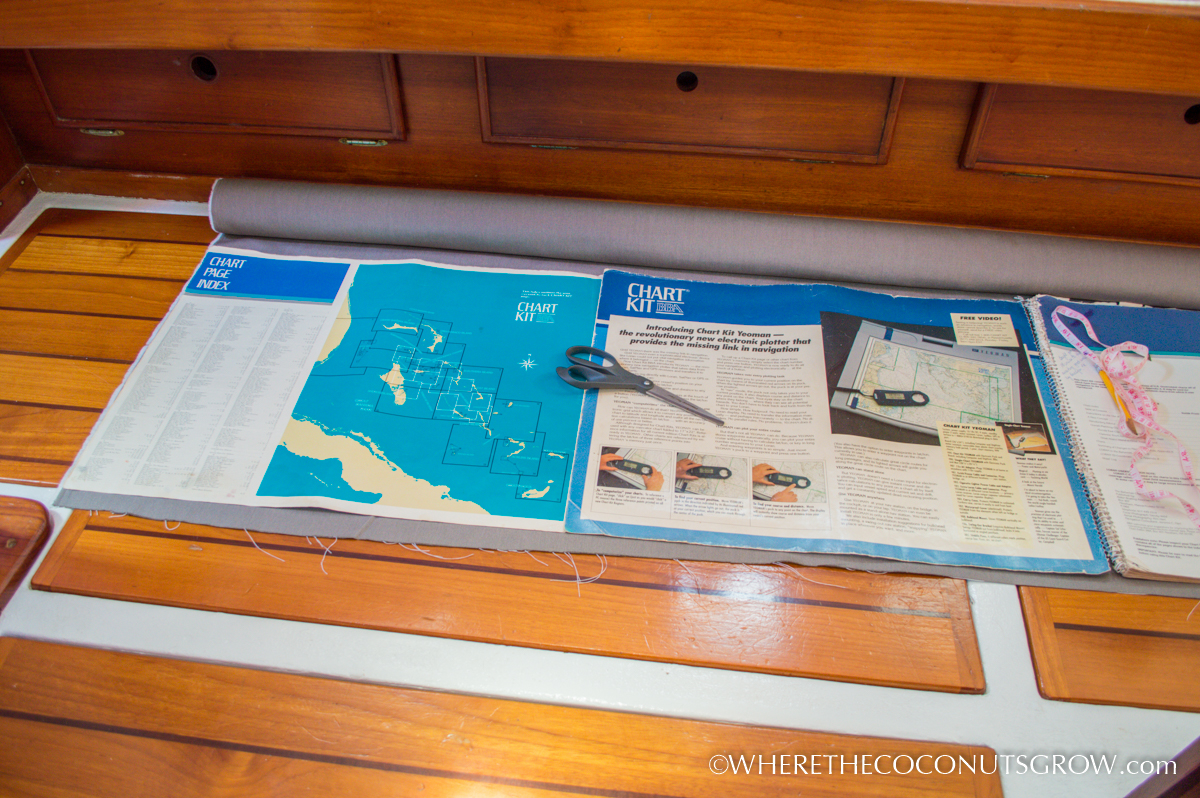
This is as much space as I had to work with while trying to get my exact measurements, tracing around the foam:

SAILRITE cushions-5

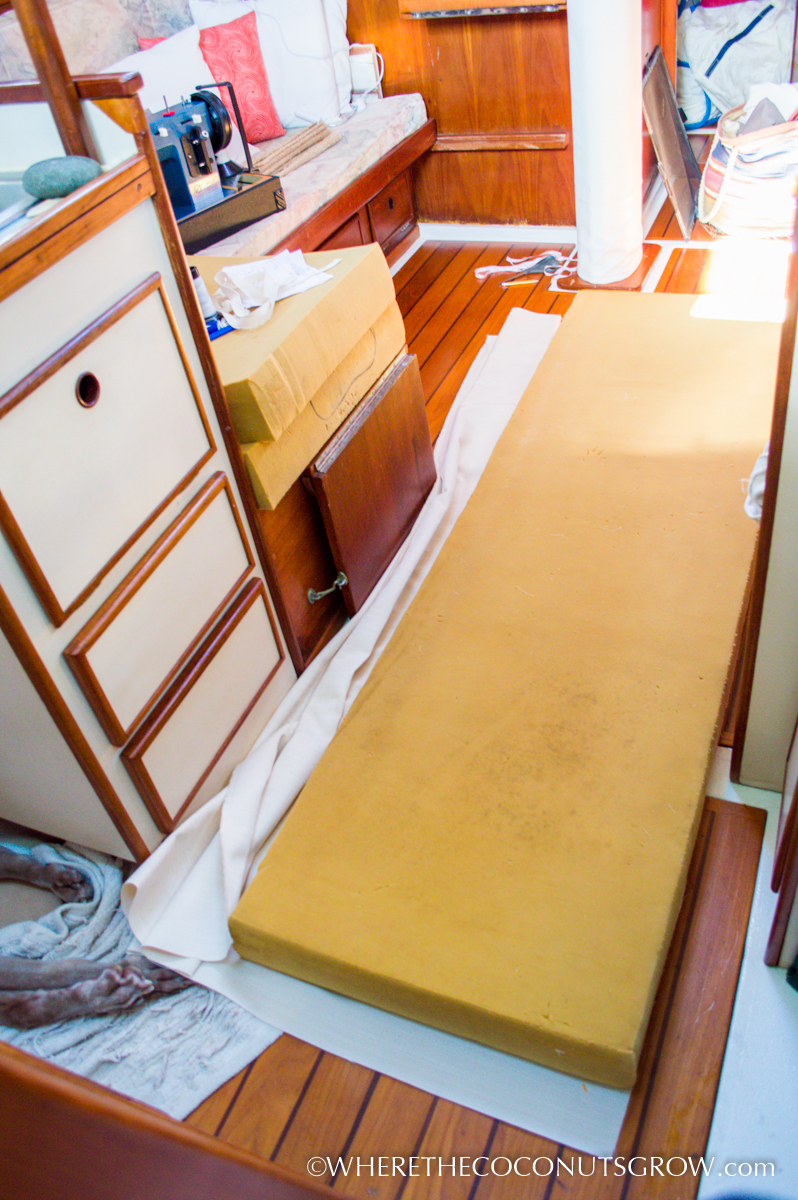
I laid each fabric plate on top of the foam after I cut it to make sure it was close enough.

SAILRITE cushions-6

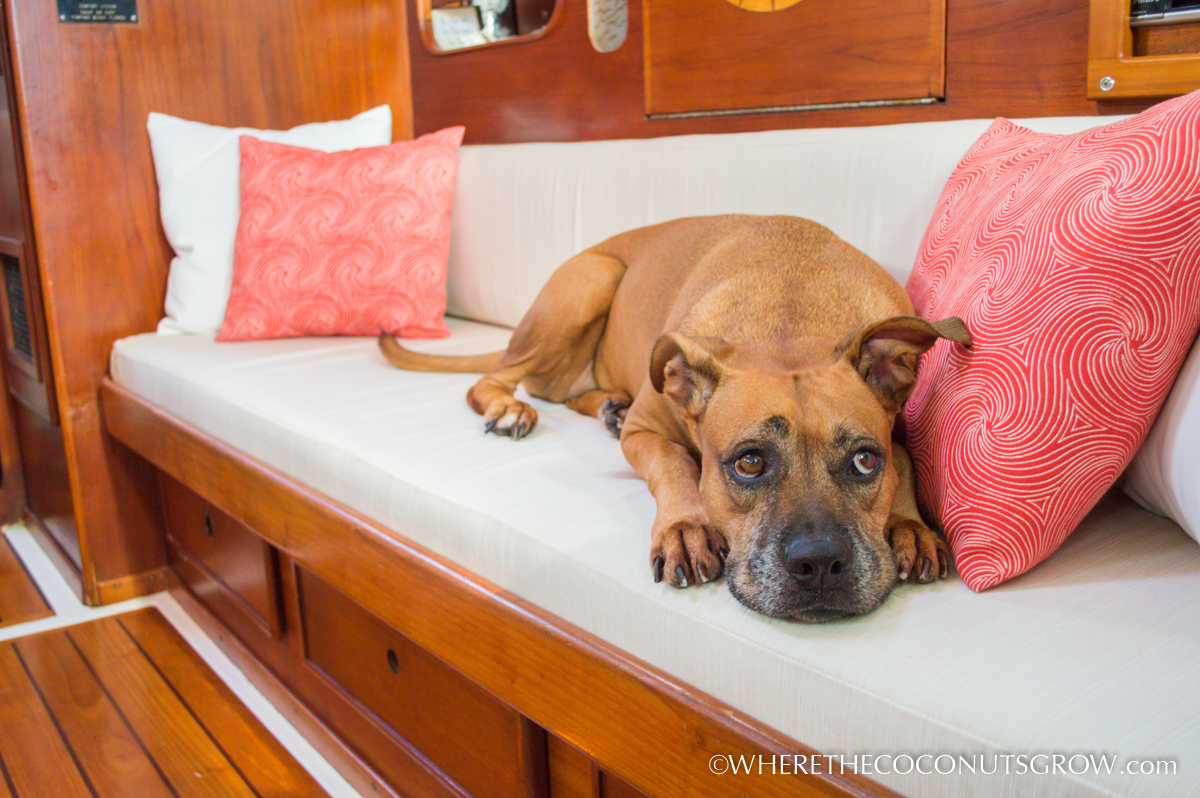
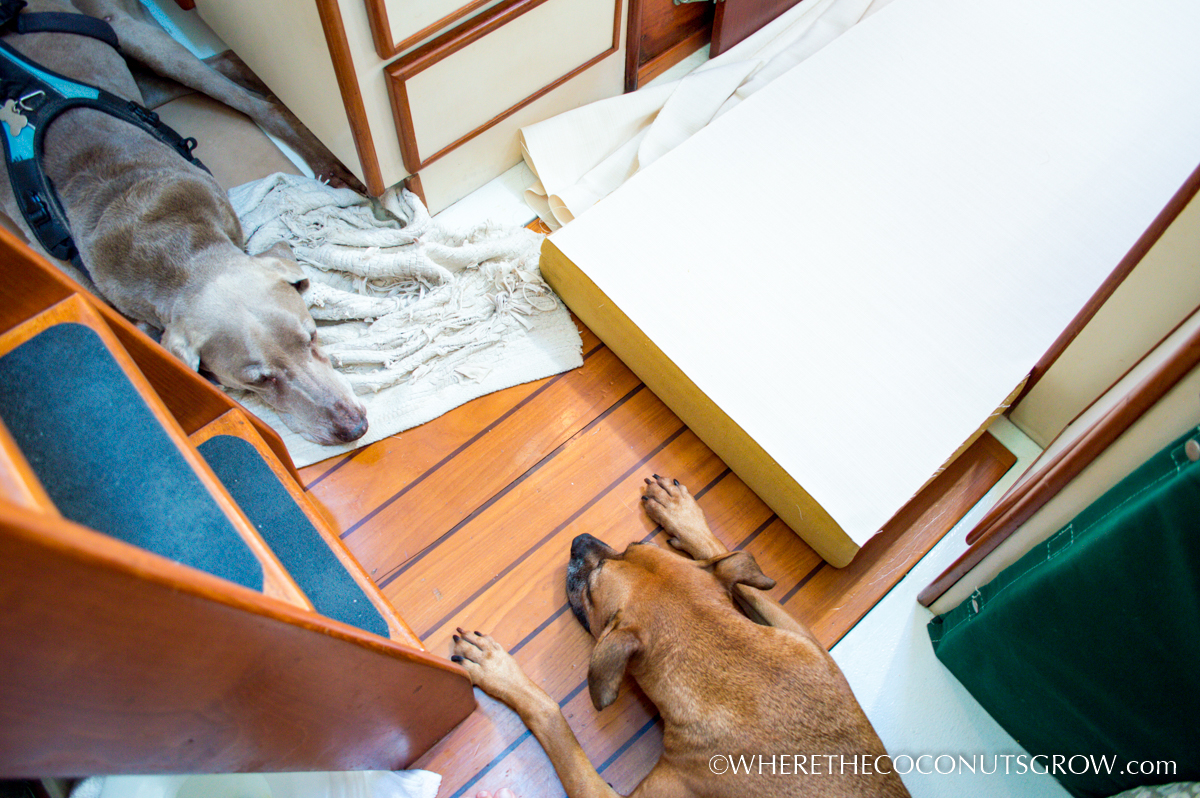
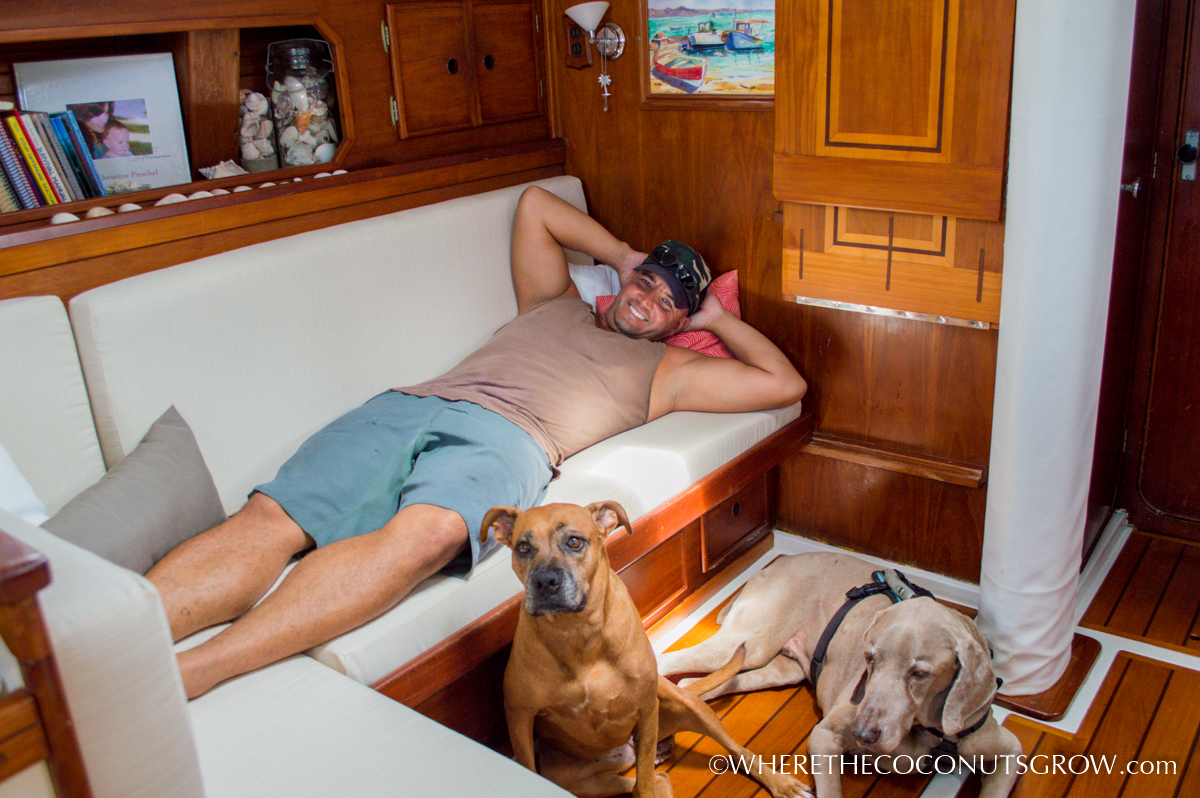
Gunner and Betsy LOVE to lay close by when I am working on projects on the floor.
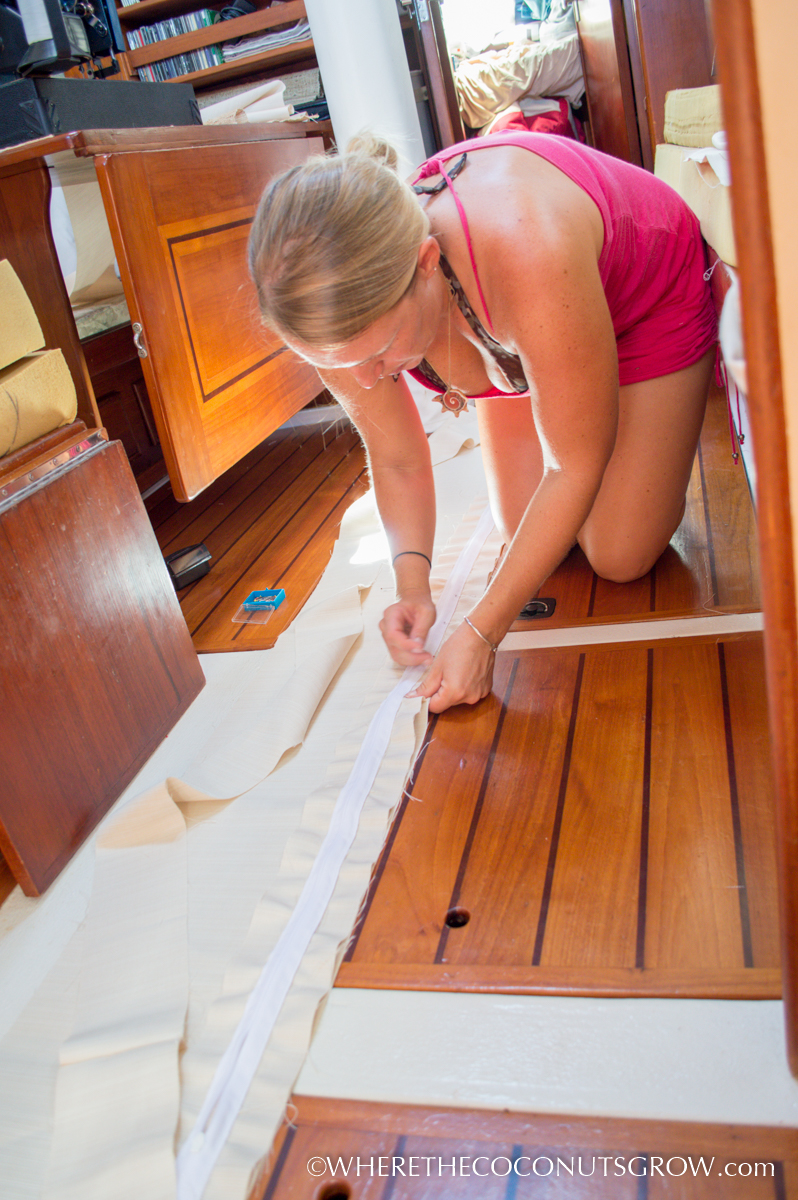
SAILRITE cushions-7

ADDING PINS:

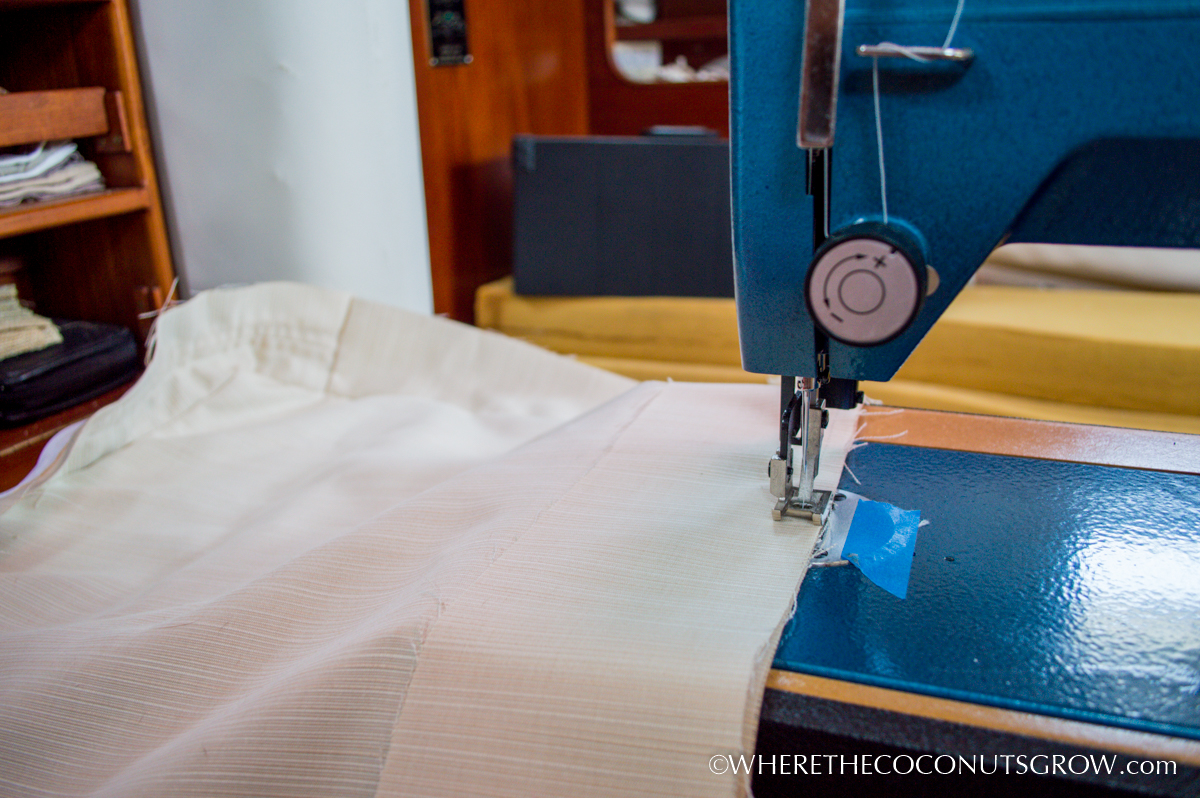
With such long zipper plaques, I found it helpful to pin the zipper plaque to the top plate starting in the center to make sure it was stretched evenly. Zippers always tend to pucker while being sewn so it’s important to pull it taught while working with it.

SAILRITE cushions-8 SAILRITE cushions-9 SAILRITE cushions-10 SAILRITE cushions-11

ASSEMBLING AND SEWING:

SAILRITE cushions-13 SAILRITE cushions-14

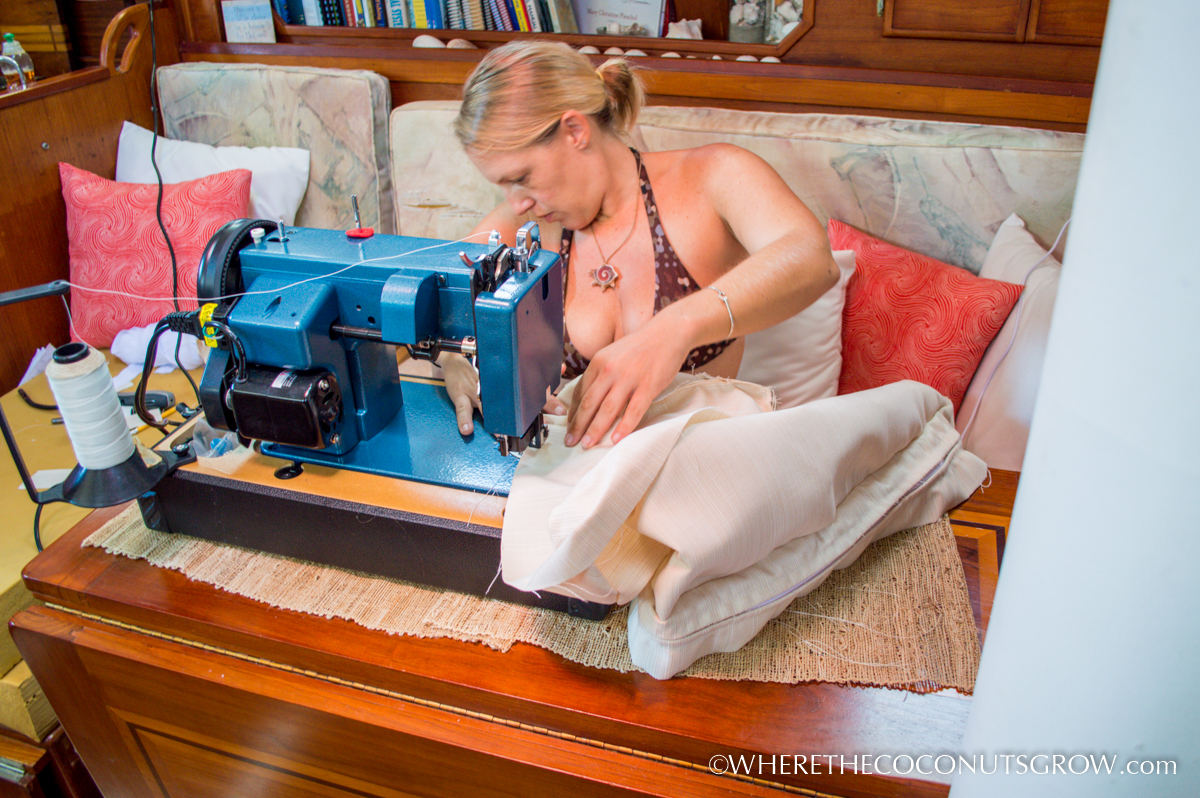
I did about two cushions per day, taking my time to make sure I didn’t screw up too bad. It’s important to note that I’m the only one that notices the mistakes I did make. Half way through I realized it’s not worth stressing over making it perfect and in the end they turned out far better than I could have ever hoped for.

SAILRITE cushions-15 SAILRITE cushions-16 SAILRITE cushions-17

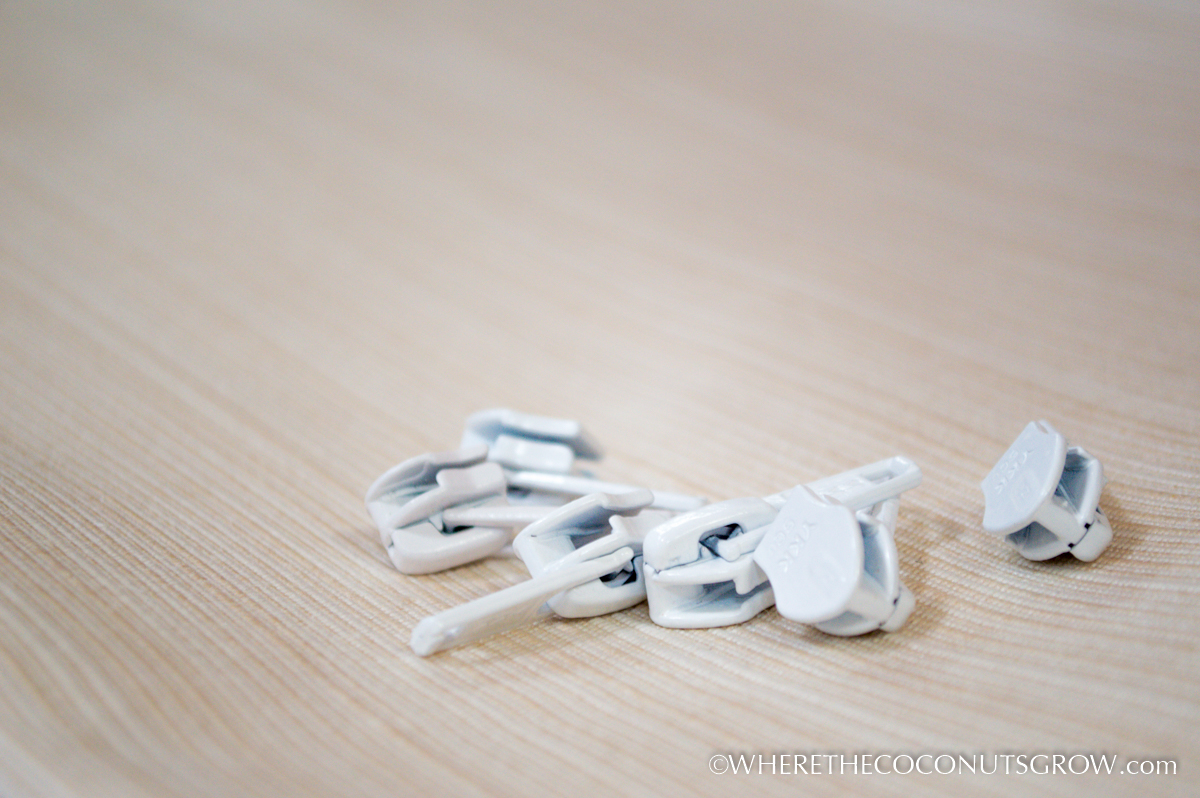
I used #5 coil, non-locking, white zippers. I only forgot to install the zipper pull before stitching the zipper plaque shut one time, but luckily I caught it right away and broke out the seam ripper to fix my mistake.

SAILRITE cushions-18

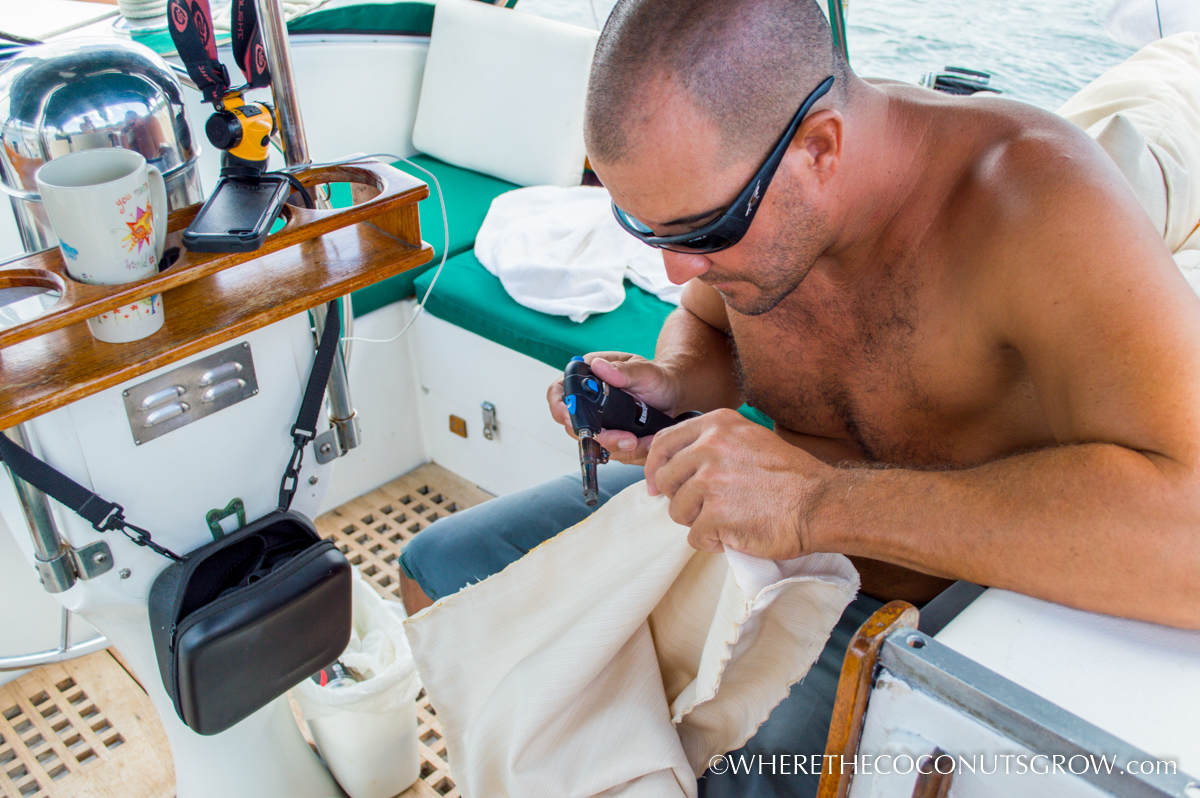
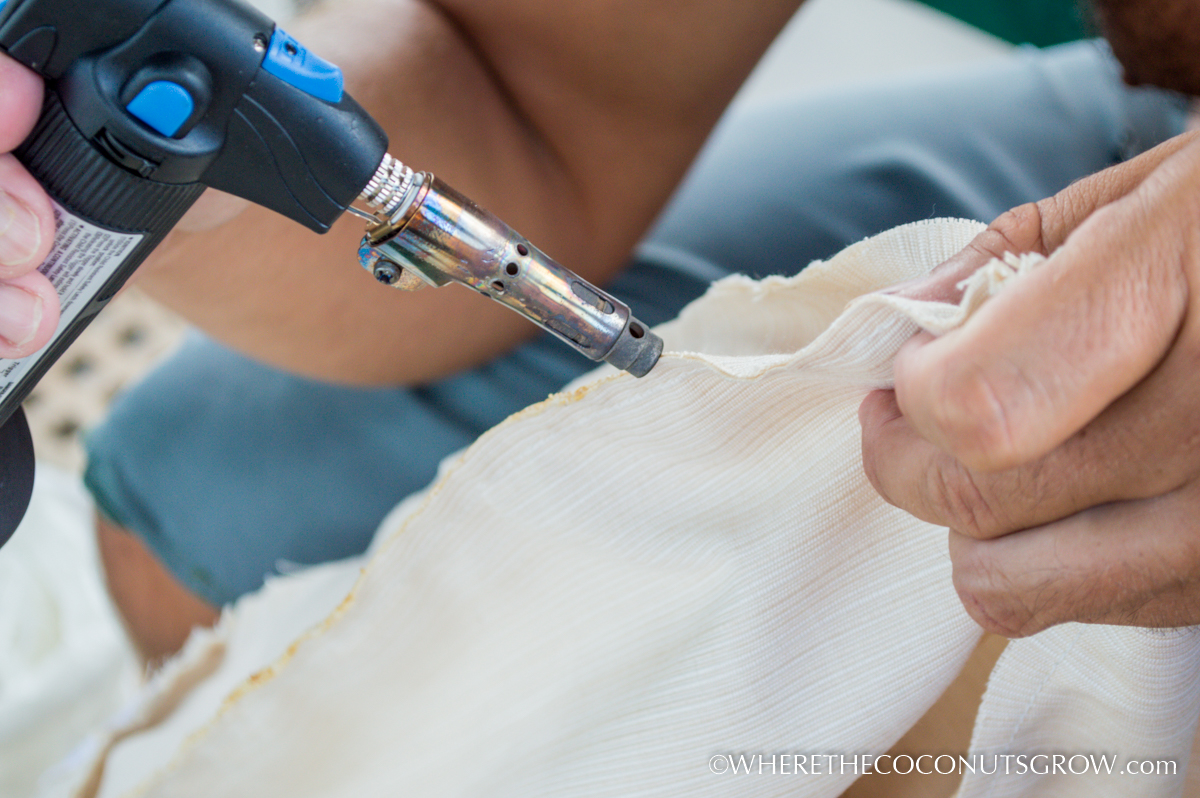
In the absence of a hot knife, Peter helped me burn all the edges with a torch to prevent fraying.

SAILRITE cushions-19 SAILRITE cushions-20

The first two cushions were the hardest, then I got into a groove. It got easier and easier as I kept going. A few days later, they were all done!!

The BEFORE pictures:
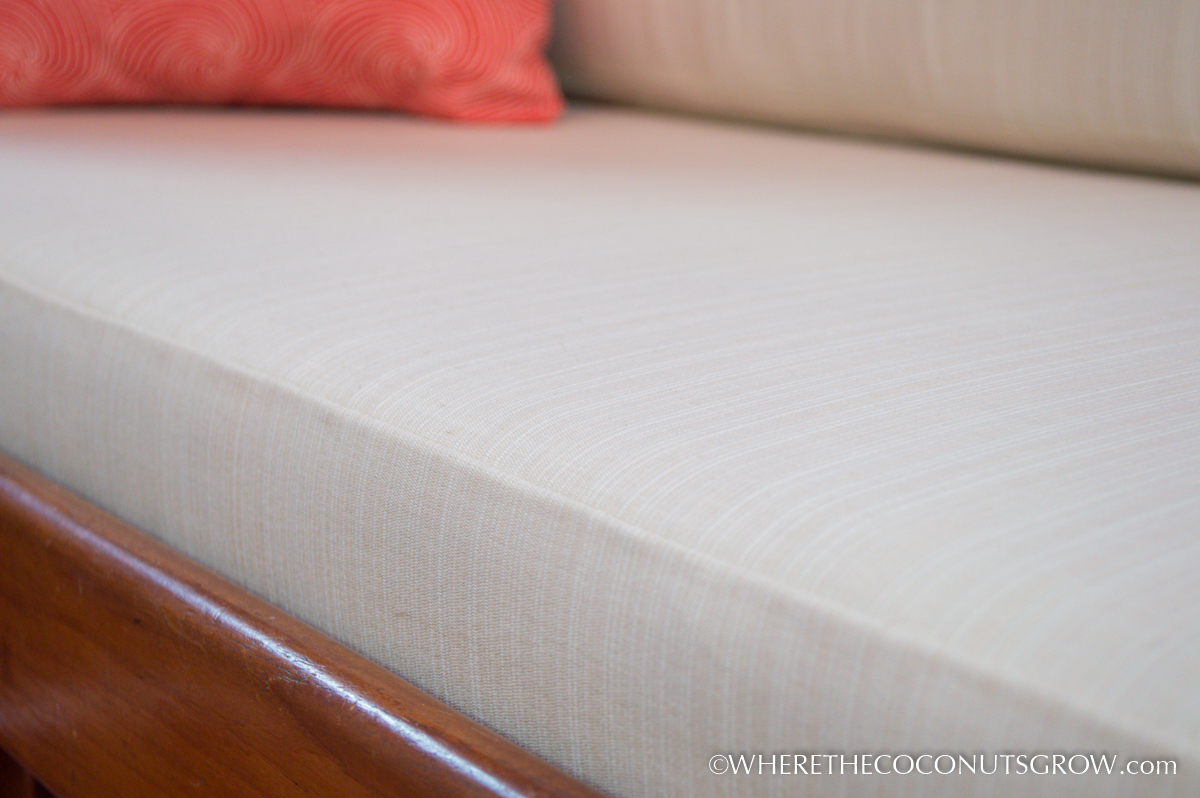
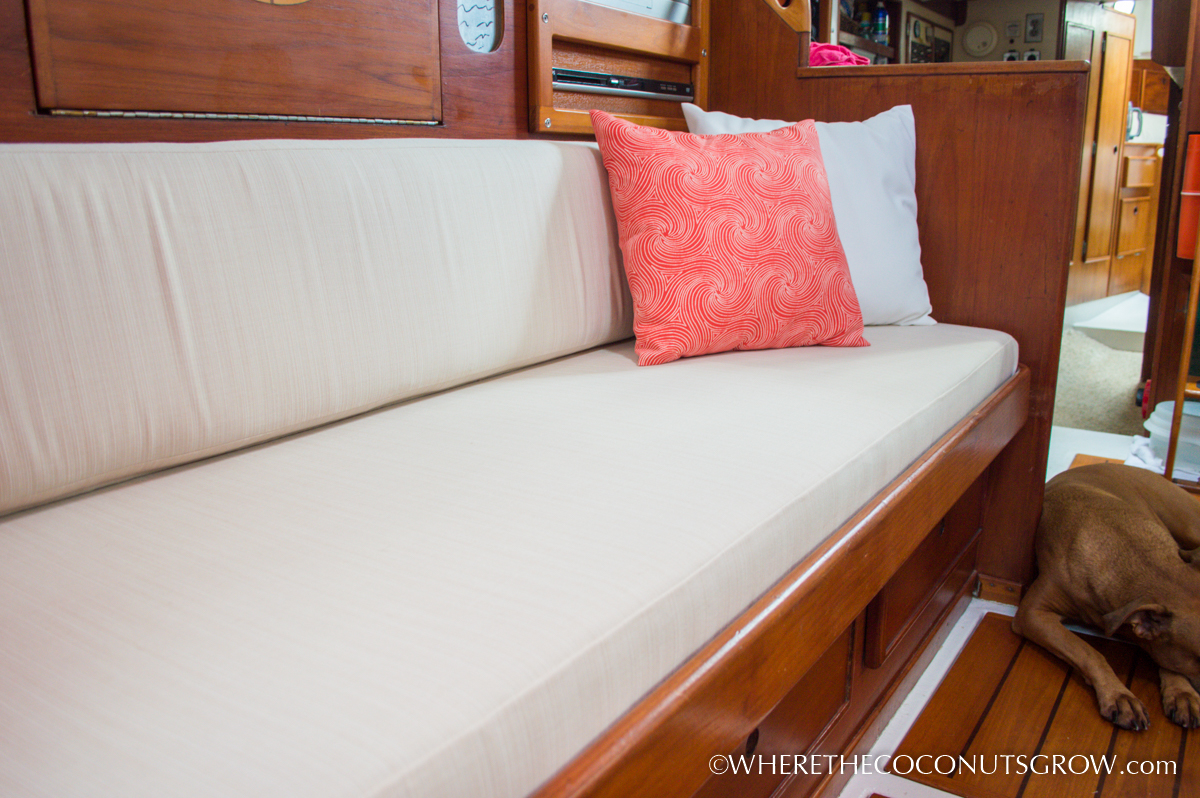
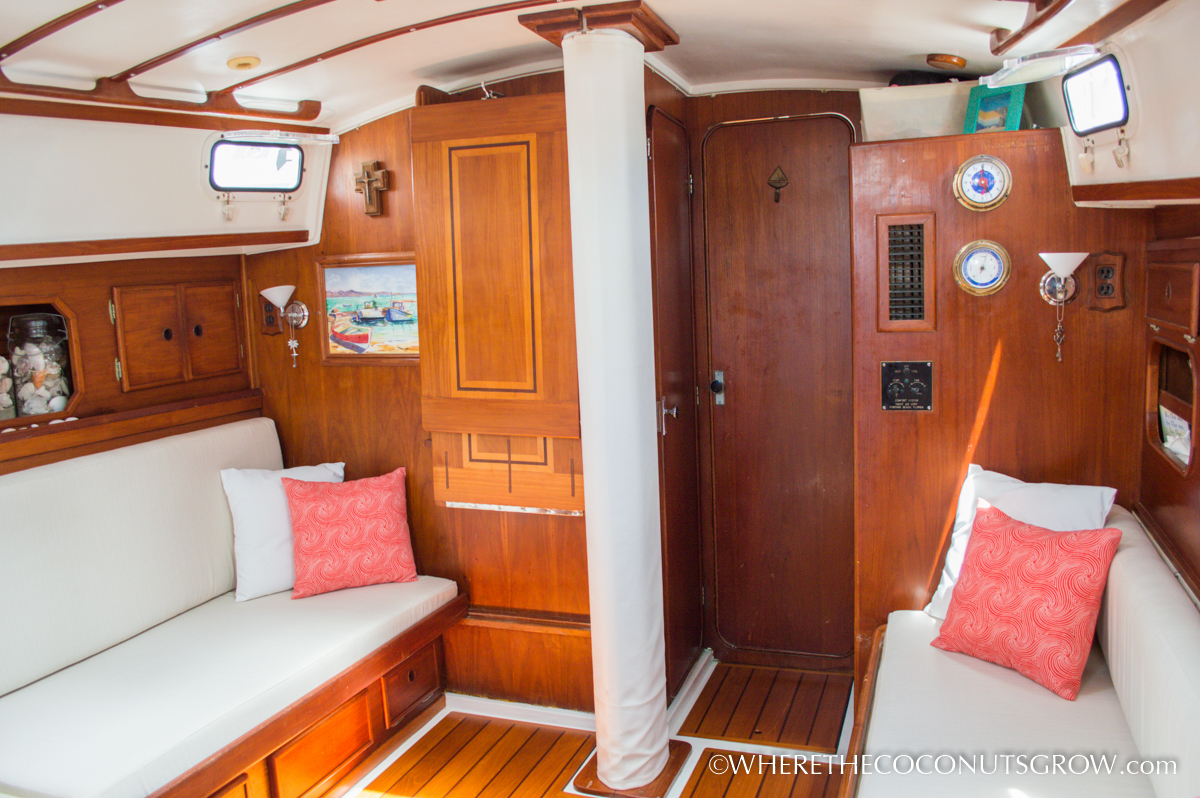
SAILRITE cushions-22 SAILRITE cushions-23

And AFTER!

SAILRITE cushions-24

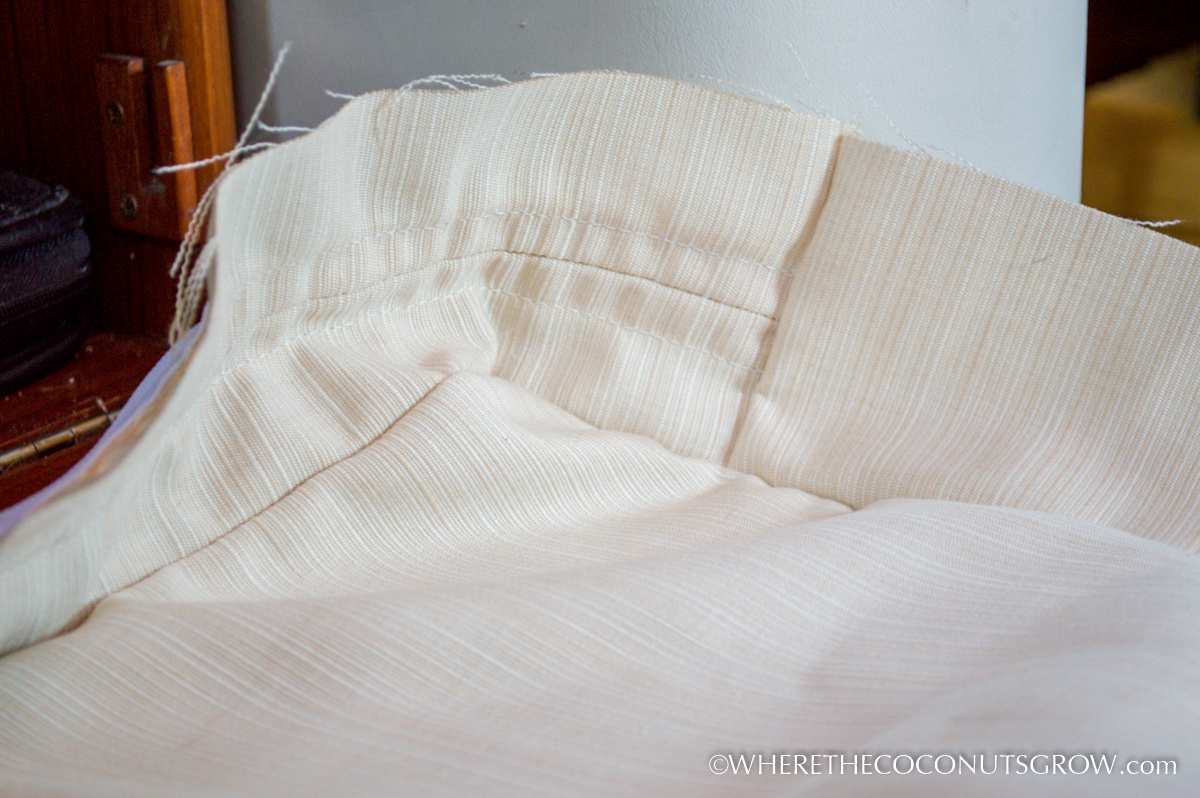
I chose to pattern an exact fit for both the top and bottom plates, as well as the boxing. Some of the Sailrite videos recommend adding a seam allowance but I wanted a nice and tight fit. I’m SO glad I chose to use zero seam allowance. This is the effect it has:

SAILRITE cushions-25

There is some unwanted puckering on the longest cushions but that’s because I was working with old foam that did not have a consistent thickness or width. It was worn unevenly in many places making it impossible to account for each dip and curve in the dimensions of my patterning. I was a little bummed at first, but now I hardly notice it anymore. Buying all new foam would have solved that but the added cost was way out of my budget.

SAILRITE cushions-27

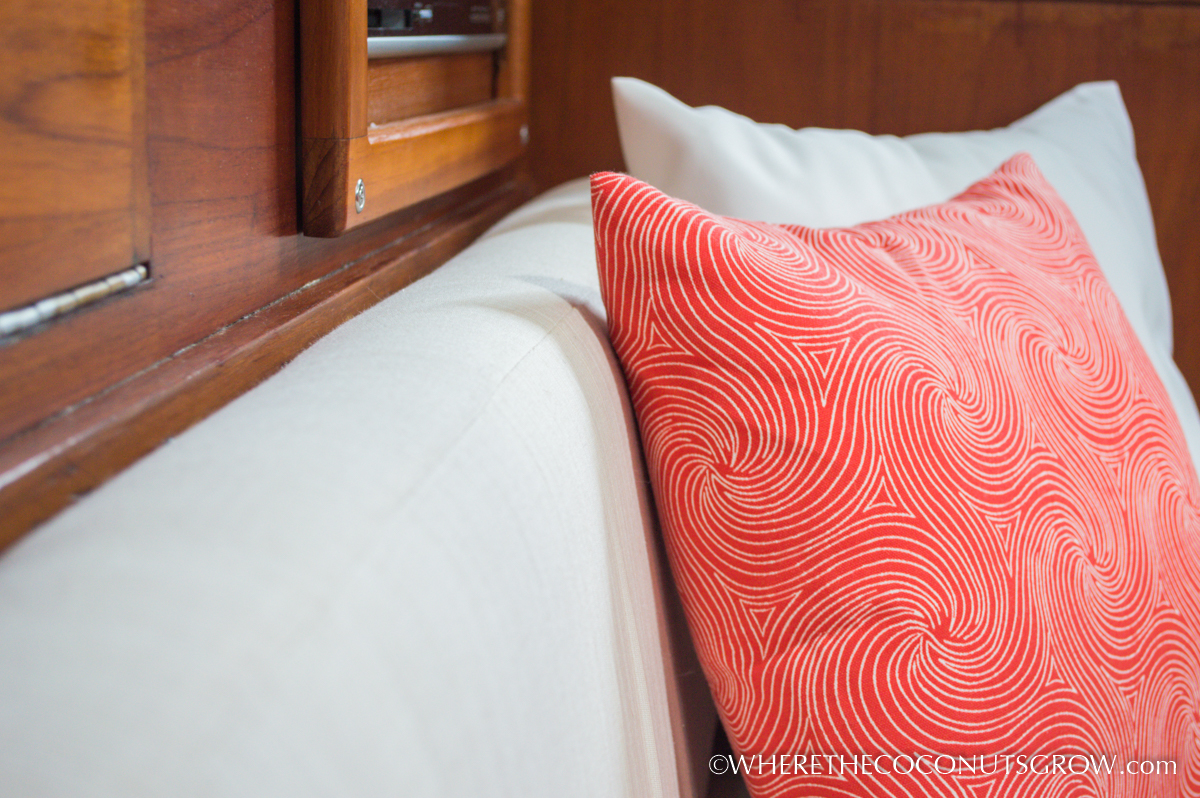
Every time I look at my finished work, I start smiling. I LOVE how it all turned out and I love my color choices. It brightens up the room so much. I am especially happy I chose the Dupione fabric. It feels absolutely divine to the touch. With each wash it gets softer and softer.

SAILRITE cushions-28SAILRITE cushions-32 SAILRITE cushions-33 SAILRITE cushions-35 SAILRITE cushions-36

Somebody couldn’t wait to test out the new cushions and pillows!

SAILRITE cushions-47

Looking back, I wish I hadn’t waited so long to tackle this project. The Sailrite videos made it SO easy, even for someone like me with very little knowledge of or experience with sewing. My LSZ-1 machine made it really easy to sew through the thick corners with a durable V-92 UV rated thread. These cushions should last a very long time :)

As I stumbled my way through this project, I came up with a few Lessons Learned that I wish someone had told me about before I started:

1. Always round up when estimating fabric and zippers. Measure twice, cut once!

2. A seam ripper is a magic tool and only costs $2. Make sure you have one.

3. A hot knife will save you a LOT of time and butane.

4. Buy extra bobbins. You can never have too many. Threading them before you start sewing will save you a LOT of time.

5. Number your cushions in a sketch on paper when you start planning out your fabric. Write it down as you measure and be sure to stick to your notes.

6. You can save fabric by cutting all the boxing last, if you take good enough notes of what pieces go together. Mark your fabric so you don’t get confused later.

7. Make sure to have lots of extra thread on hand. It’s amazing how much gets wasted every time you pull the fabric away from the machine.

8. Understand what seam allowances will do for each material you are working with. I am glad I chose to use zero seam allowance for this project.

9. Use pins or basting tape to make sure everything lines up as you sew, otherwise you could end up with really ugly corners!

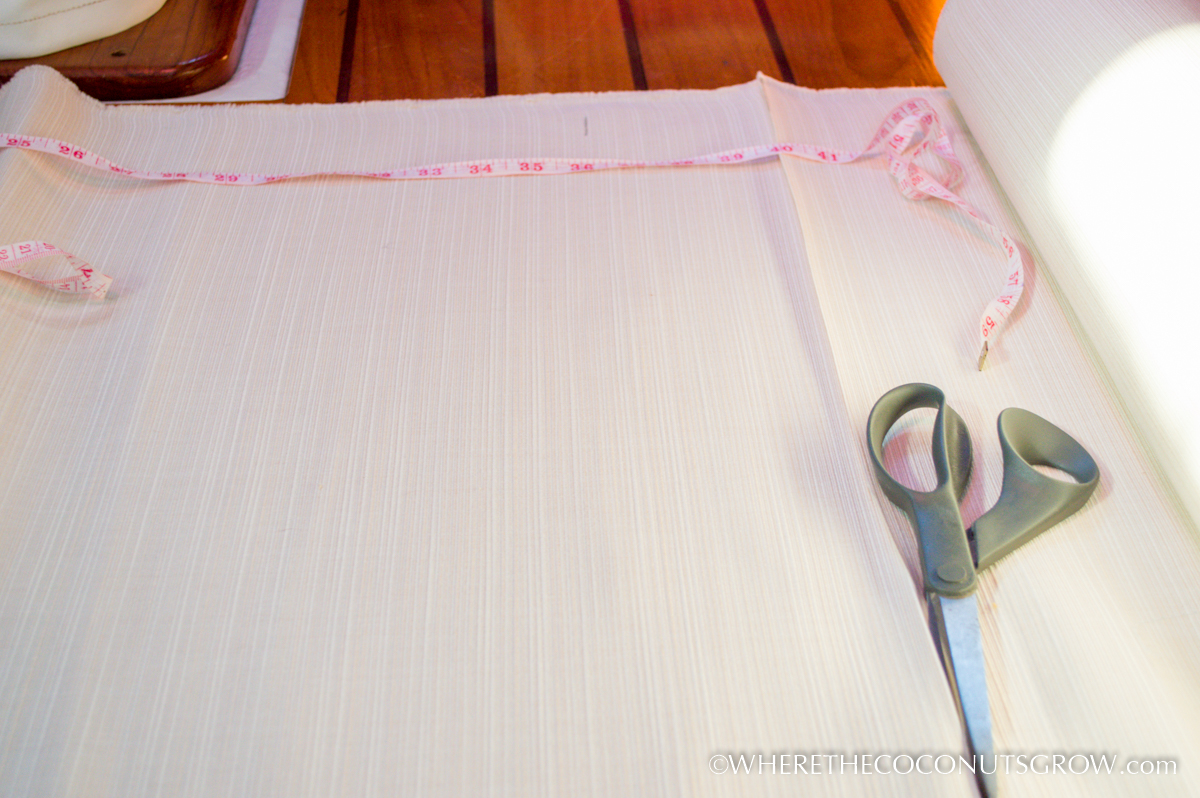
10. Get a good pair of scissors. If they have never been used on paper, they will be sharp enough for fabric. Keep them separate from your every day scissors.

11. Zipper plaques will shrink up as you sew, so be sure to stretch your edges and check your length often as you feed it through the machine.

12. Get a good marking pencil. I used a regular pencil but a special fabric pencil would have been nice.

13. Use a soft measuring tape when measuring fabric.

14. If you don’t have a straight edge to cut your fabric, get creative! I used chart books to make a straight line while patterning. Later, I just traced the pieces but sometimes you do need a long straight edge.

SAILRITE pillows-15

So, just in case you were procrastinating to start your own sewing projects, check out Sailrite and let them help you as much as they have helped me! They are a one-stop-shop with just about anything you need for the sewing project of your dreams. Their customer service is unparalleled and their product quality is outstanding. Because of those two things, I prefer to support their business even if I can find the same items cheaper somewhere else.  This project is proof that if I can do it, so can you! :)


IN CASE YOU WERE WONDERING… We are PROUD to share these awesome products and services with our readers. There are so many different solutions out there for everything we could possibly need, but these are the solutions that work for us.

This post may contain information about a product sponsorship. We gladly accept discounts or samples when a company feels generous enough to support our cause. In return we support the manufacturer or local service by sharing their links and writing about our experience with them. We only seek out sponsorship and affiliate programs from products and services we actually WANT to use and likewise only accept offers for products or services that we WILL use. We are not paid for any reviews we write or feedback we provide. We simply like to spread the word and share great experiences we have had that could also bring joy to others.

8 Reasons Why We Love The Help ‘Em Up Harness

helpemup harness-3

When we first moved aboard Mary Christine two years ago, it was an immediate challenge to safely get our biggest dog on and off the boat. For the first few months we lived at the dock which was relatively easy to help him in and out. We knew, however, that dock life wouldn’t last long and sooner or later we were going to have to figure out how to get all 75 lbs of him down into the dinghy and again back up from the dinghy while floating around at anchor.

Gunner was 12 at the time and we could already tell he was having trouble jumping as well as he used to in his younger years. Getting up onto the bed was harder for him and we knew it would only get worse as time went on. Luckily, I remembered a special harness my Grandmother had found years before while researching slings and lifting tools for her sweet little dachshund, Sophie, who’s back end had been paralyzed.

Blue Dog Designs makes a special patented hip lift harness called Help ‘Em Up with a front end handle and removable back end handle with two different styles for males and females. I determined from their sizing chart that Gunner would need a large and even though Betsy was still pretty young and agile, I ordered her a medium. I knew Betsy didn’t really need to wear a harness all the time, and she definitely didn’t have any mobility issues, but we decided that having some extra ‘hand-holds’ on her while under way would be very helpful.

The very minute we received them in the mail, Gunner began wearing the front half of the harness 24/7. We unclip the back half when not in use to prevent any chafe or discomfort while he is sleeping and moving around throughout the day.

These harnesses are definitely not cheap, running an average price of around $100 each but they are absolutely worth their weight in gold!! This harness is the single most necessary item I could ever recommend for anyone with large dog on a boat, or for any dog with mobility issues. Though Blue Dog Designs sponsored us with a small discount to write an honest review, I don’t receive any compensation for recommending this product.  I am so forever grateful for what it has done for us that I feel it’s my duty to spread the word to anyone that may also want to give their dog a little ‘help up’!

Here are 8 reasons why we love the Help ’em up Harness:

1. THEY’RE BREATHABLE

We live in the tropics where the hot sun is always beating down on us. I needed a solution for Gunner and Betsy that would cover the smallest amount of surface area on their bodies, yet still have all the proper supports. This design has neoprene pads lined with air flow material, allowing our babies to wear the full harness yet not be too hot.

helpemup harness-10

2. ALL MATERIALS ARE MARINE GRADE

Living on a boat in the marine air makes everything susceptible to corrosion. I was a bit concerned on how long the harness would last in this environment but after two years of hard use, there is no sign of deterioration. The stainless steel is marine grade and all the stitching is very durable. The straps and fasteners are high quality. You get what you pay for, and when you live on a boat this is very important!

DCIM100GOPROGOPR0181.helpemup harness-4helpemup harness-21

3. CAREFULLY DESIGNED SUPPORT POINTS

The adjustable nylon straps allow for a perfect fit. The edging on the pads are made with micro fleece and the pads themselves are made of neoprene. The straps are covered with neoprene sleeves to protect against chafe. The pelvic pad under the hip lift is adjustable and very soft. The support points are designed to distribute the weight perfectly and with gentle pads in all the right places, eliminating stress on joints in a comfortable and non-invasive way.

helpemup harness-5

4. OKAY FOR LONG-TERM USE

Although it’s best to remove the hip lift part of the harness at night or whenever possible to avoid chafe or discomfort, it is totally safe to leave it on as well. Our dogs like to curl up in a ball to get cozy and the straps do pull a bit differently when they are laying down but they never seem to be uncomfortable.

“What makes this dog harness truly unique is it’s designed to stay on your dog for extended periods of time. Unlike towels, slings or leashes that need to be rigged with each use, or ramps that have to be moved or adjusted, our harness is right at hand, whenever you need it. We believe if support isn’t there when your dog needs it, it’s just too late.” -Blue Dog Designs

helpemup harness-2helpemup harness-9

5. SAFETY IS KEY

Just like kids, pets are fast, wiggly, and they are often just out of reach. With the Help ‘Em Up Harness, they think they are out of reach but you have an extra handle to grab at the last second keeping them safe! Extra handles are important on a boat because we’re always in motion. The dogs have pretty good balance but there’s always a chance of an unexpected wave to send them flying. This harness is perfect for a little extra piece of mind.

helpemup harness-8helpemup harness-1helpemup harness-22

6. TRICKY LIFTING

Whether it’s getting the dogs over the lifelines to go swimming or to get on and off a dock, two handles are better than one! We’ve used the harnesses in some precarious places.

Also on a safety note, if our dogs were to fall overboard, we would be able to safely lift them back on board with this harness. It wouldn’t slip off like a traditional harness might, injuring them in the process. Gunner has slipped off the dock twice in the last two years and luckily he was wearing his harness so we had something to grab onto getting him out of the water. Bad things can happen and it’s always best to be prepared.

helpemup harness-11helpemup harness-12helpemup harness-13

One of the most important reasons it’s imperative that we have one of these for Gunner is to get him on and off the boat. It’s what everyone wants to know . Lifting a 75 lb dog on and off of a sailboat is ‘tricky’ to say the least.

Betsy doesn’t have any trouble jumping straight from the dinghy up on the deck of our boat all by herself, however she is almost 9 years old and sooner or later that big jump will be difficult for her. When that time comes, this is how we will Help Her Up:

helpemup harness-28helpemup harness-29helpemup harness-30

Gunner thinks he can make the jump still, but in reality there is no way that could ever happen anymore. At 14 years old, his back legs just don’t work. The key is that he actually wants to get up on the boat (or down into the dinghy) which helps tremendously. He initiates the process with a little forward momentum and gets his front legs up on the tube of the dinghy.

I can’t quite reach the main handle on the front half of his harness so I just grab the side of it instead. For this maneuver, it’s fine, though not ideal for all lifts. Peter lifts the rear handle and scoops him up on deck. The back end isn’t any more difficult than the front end, thanks to this harness. I swear it’s magic how weightless they feel when you use the hip lift!

helpemup harness-23helpemup harness-24helpemup harness-25helpemup harness-26helpemup harness-27

7. LESS PHYSICAL STRESS – for us and the dogs!

The dogs don’t hurt themselves trying to jump on their own, but most importantly we don’t throw our backs out trying to lift the dogs. Before Gunner started wearing the Help ‘Em Up harness, I would bend over, slip my arm under his belly, and hoist him up on the bed. It became a painful process for me trying to get all 75 lbs of him up off the floor. At the time we still had a Toyota 4-Runner and getting him into the back of the truck was just as hard on my lower back.

With the hip lift, I can remain upright as I give him a little boost. I can’t even find the right words to describe how much of a difference it makes, but it’s a night and day difference for sure.

8. RANGE OF MOTION

No doubt, we have an active lifestyle. Our dogs are active and they go everywhere with us. Though Gunner’s mobility issues from old age have recently limited his activity level, he still likes going on adventures. Even small ones.

Our first two years have been filled with many trips to the beach to go swimming or exploration missions on a new island. It’s wonderful that our dogs can wear the Help ‘Em Up harness during all of their regular activities without it getting in the way or being a nuisance at all. They both have very tolerant personalities but if it were uncomfortable in the slightest, they would both be trying to chew it off. I’ve always noticed a complete range of motion while they have the harnesses on which is reassuring to me that I’m not forcing them to wear something they don’t like.

In fact, the harness does much more than protect their regular range of motion. It actually increases the range of motion for Gunner! Within the last few months he has gotten to a point where he cannot walk more than a few steps without his back legs giving out and folding under him. The degenerative neurological damage that has affected him has made it so that he can only walk normally if I am carrying his back legs with the hip lift when we go for a walk. He tires quickly but as soon as I give a little lift, his front end speeds up as if he knows he isn’t being held back anymore. He can practically run faster than I can if I’m holding the hip lift. Without the harness, my heart breaks watching him try to go explore the nearby bushes and grass.

It was just a few months ago he could run wild down the beach on his own…

helpemup harness-20 helpemup harness-19 helpemup harness-18 helpemup harness-17 helpemup harness-16 helpemup harness-15 helpemup harness-14helpemup harness-7 helpemup harness-6

It’s so hard for me to describe the miracles that these harnesses have created for us. We’ve been able to safely and comfortably bring our dogs wherever we go as we travel around the Caribbean Where The Coconuts Grow!

Be sure to check out Help ‘Em Up by Blue Dog Designs, or contact me for more questions!


IN CASE YOU WERE WONDERING… We are PROUD to share these awesome products and services with our readers. There are so many different solutions out there for everything we could possibly need, but these are the solutions that work for us.

This post may contain information about a product sponsorship. We gladly accept discounts or samples when a company feels generous enough to support our cause. In return we support the manufacturer or local service by sharing their links and writing about our experience with them. We only seek out sponsorship and affiliate programs from products and services we actually WANT to use and likewise only accept offers for products or services that we WILL use. We are not paid for any reviews we write or feedback we provide. We simply like to spread the word and share great experiences we have had that could also bring joy to others.