Have you been staring at the cushions in your home with a procrastinating desire to have them reupholstered? Well, I’m here to give you a little hope and a little inspiration to kickstart your very own DIY cushion sewing project!
You may remember the recent post I did about how to make easy and very cheap DIY throw pillows. It was my first real sewing project since 8th grade Home-Ec, believe it or not! I was more than intimidated but I overcame my fears quickly and I couldn’t be happier with the way they turned out.
That project was what I needed to start on redoing my salon cushions inside our tiny floating home.
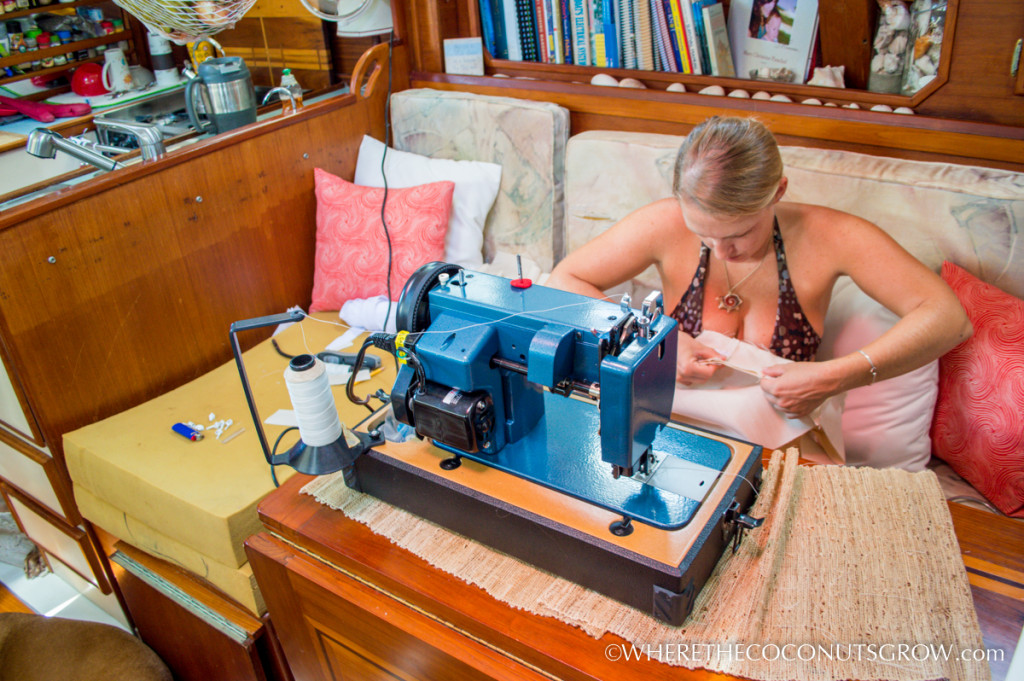
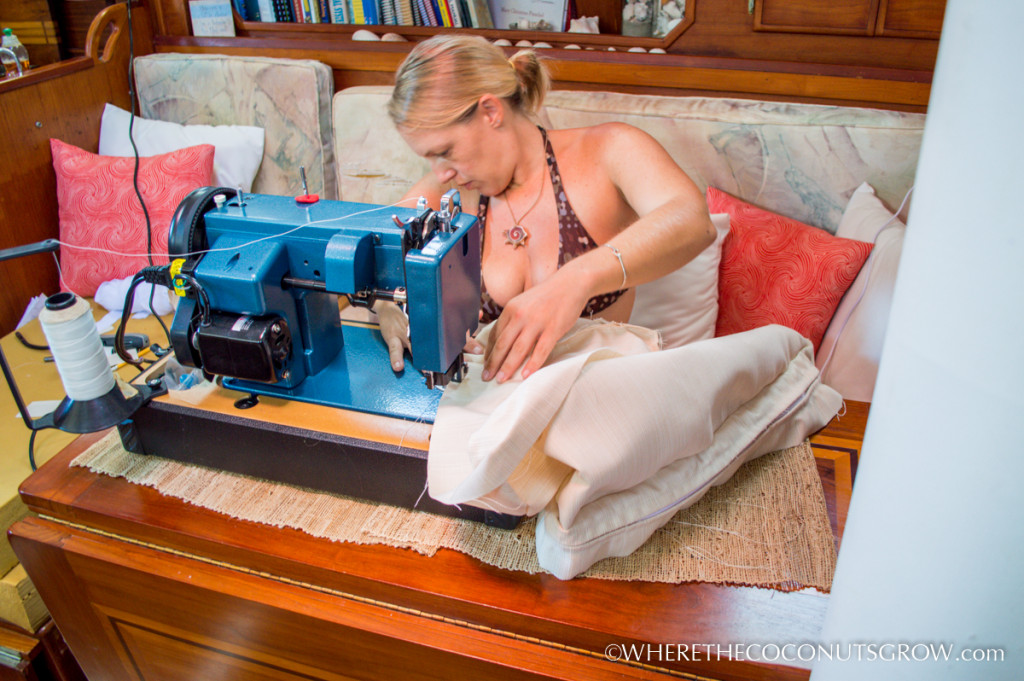
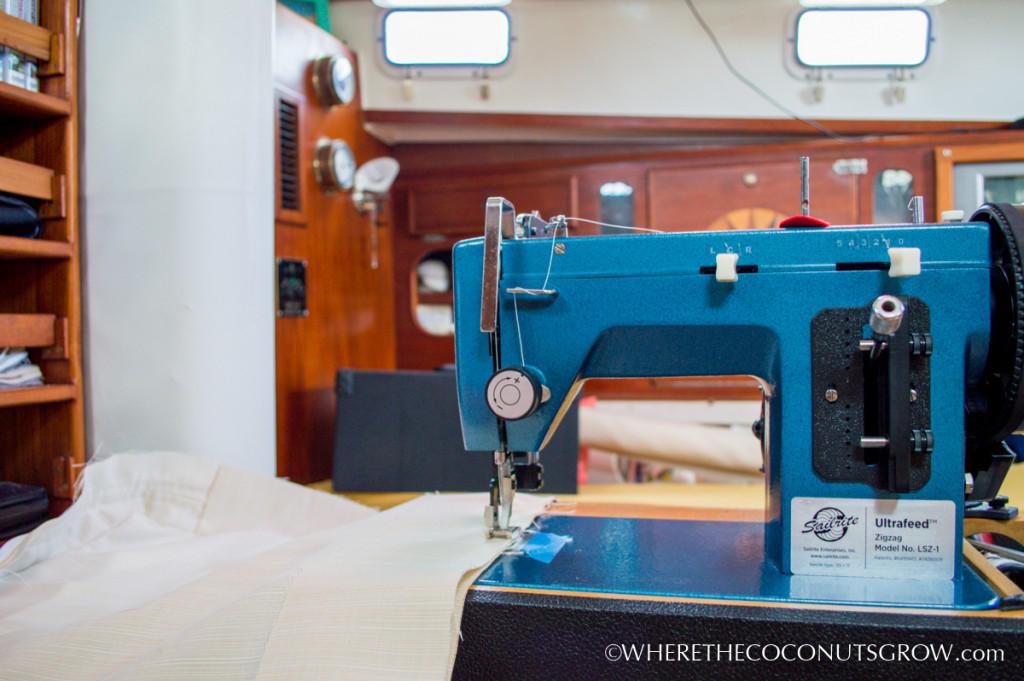
Let me just say that this project only became a reality thanks to the free how-to videos that Sailrite has on their website. I sat down and watched several of the videos on cushions over and over again before I finally felt confident enough to know how to even begin. I really had no idea what I was doing but these videos walked me through each and every step of the way. I used my new Ultrafeed LSZ-1 Sewing Machine and it was very helpful to see them use this same machine in the videos. The machine works like a dream and can handle straight stich or zig-zag through many layers of Sunbrella or sail material. The primary purpose I chose that machine was to be able to do my own sail repairs, because they will no doubt need repairing eventually. The cool thing is that I can practice using the machine on projects like this which help give my home a makeover but also help me to be more proficient using the machine before my sails are damaged and I really need to know how to use it.
THE FABRIC:
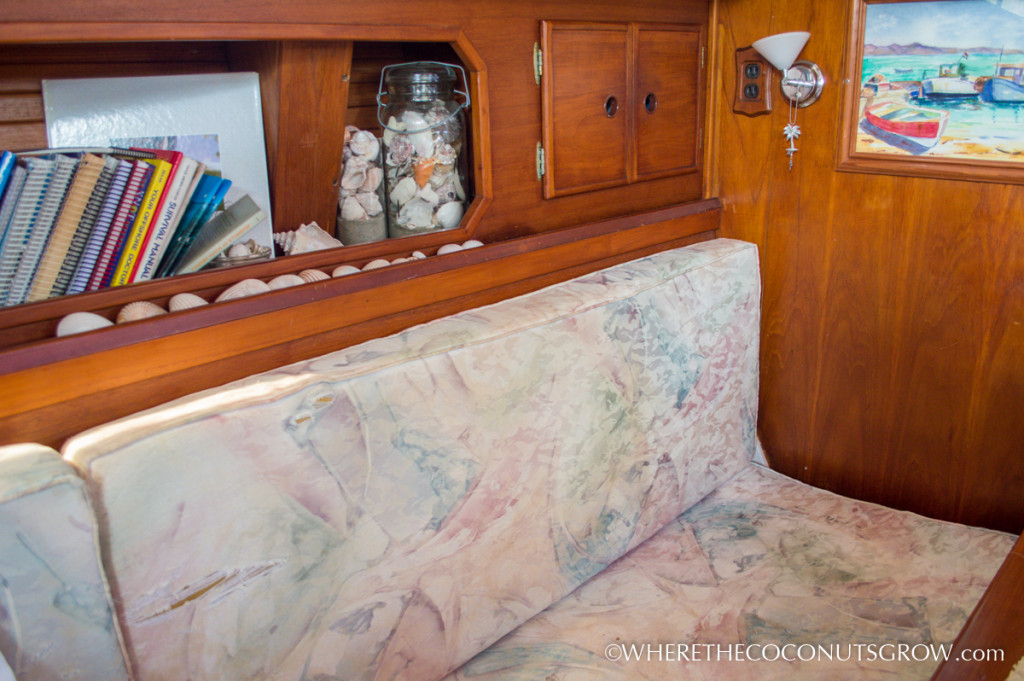
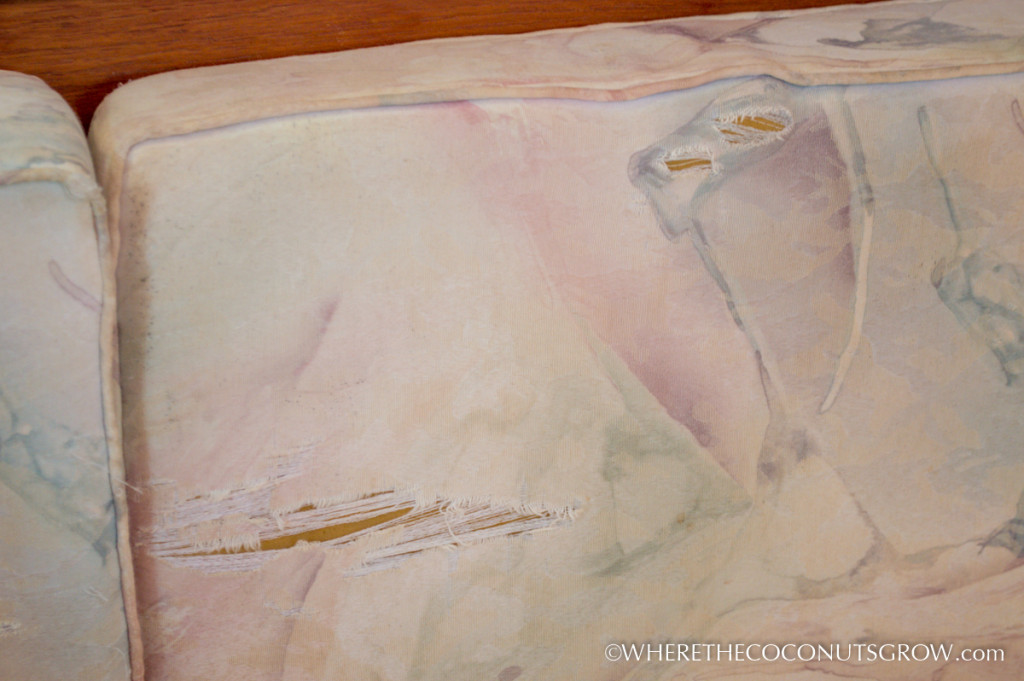
The fabric I was replacing was regular upholstery fabric, a typical fabric used for cushions. It took us less than two years to destroy them, however, living in a marine environment with two large dogs. Gunner, the Weimaraner, loves to dig himself a perfect little place to lay down and we have caught him many times clawing at the fabric when we weren’t looking. It’s nothing new. He’s done it for all 14 years of his life and he’s real sneaky about it. Nonetheless, the old fabric was ruined. I wasn’t crazy about the pattern anyway and I had always intended on changing it out but it took me two long years to finally muster up the confidence to attempt a project like this.
I knew I wanted to use Sunbrella outdoor fabric. It’s extremely durable and will last much longer than regular indoor fabric. It’s more expensive but the trade off was worth it to me. I had first caught a glimpse of Sunbrella’s Dupione line of fabric on my friend and master seamstress, Linda’s, boat. I fell in love immediately and knew I had to have it too. At $24 a yard I had to really love it!!
Here’s the craziest part… I wanted the lightest color they made. Am I freaking crazy?! Maybe a little.
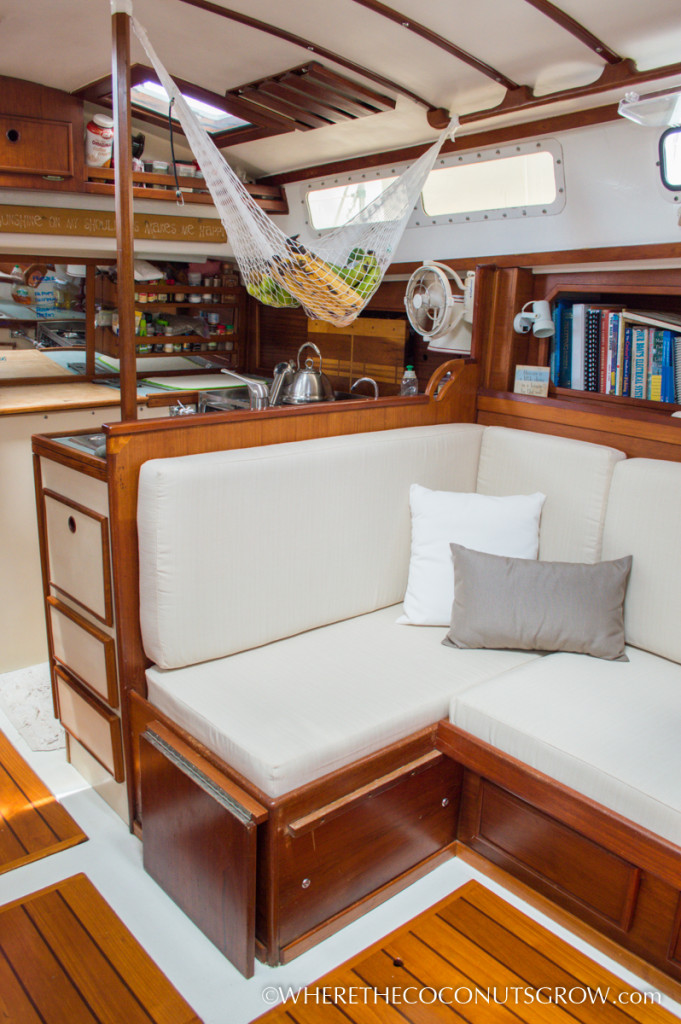
I know, I know… light fabric with dogs, or kids, is a bad idea. “It will never stay clean,” they all say. Way to rain on my parade! But I wanted the Sunbrella Dupione in Pearl, and that’s what I decided on. It was going to match my new color scheme perfectly! The texture is both soft and luxurious, yet extremely durable and water resistant. I’ll just wash the cushion covers when they need to be washed :) The best part is that Sunbrella fabric is amazing at repelling liquid and preventing stains. After time the water repellency will eventually be reduced but for now it’s hard to even get the fabric to absorb enough water to be washed at all.
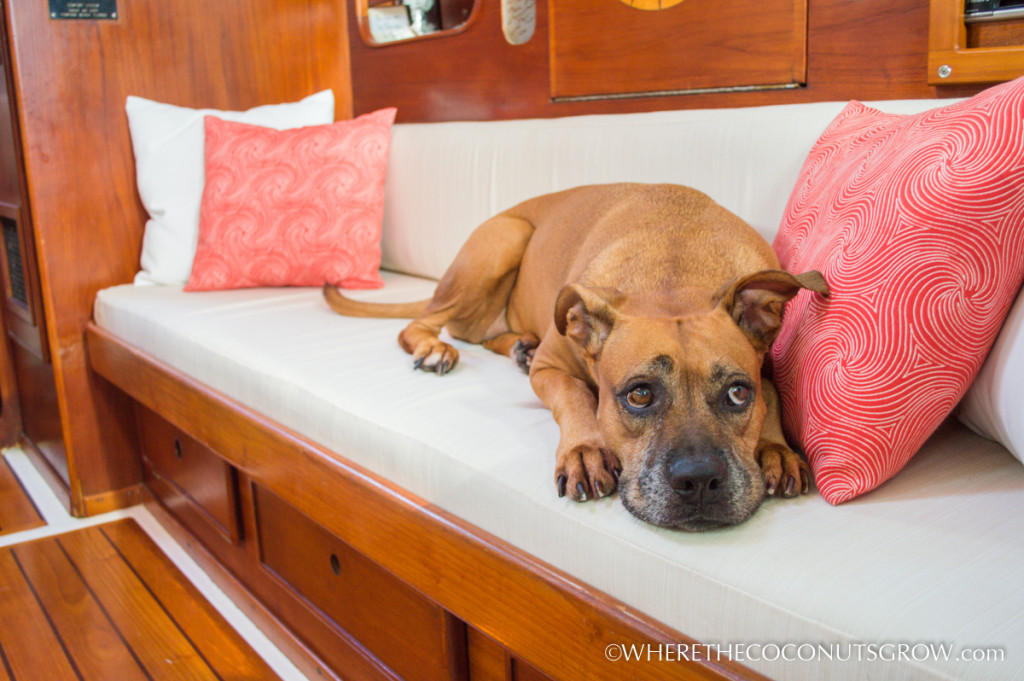
Fast forward to project completion… Gunner has already puked on the new cushions and it came right off with just a few paper towels and baby wipes! For little stains, baby wipes work great to bring them right up. For big messes, I made sure to install zippers to easily remove them for washing. I don’t let the dogs lay on the cushions as much as I used to, but a vacuum or lint roller takes care of the dog hair easily.
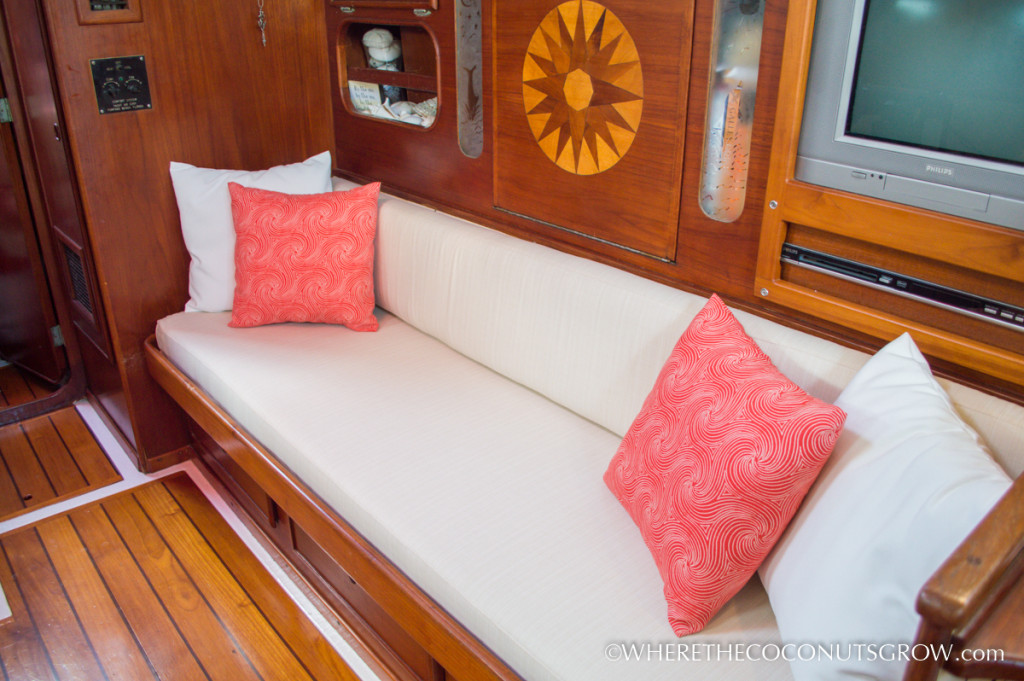
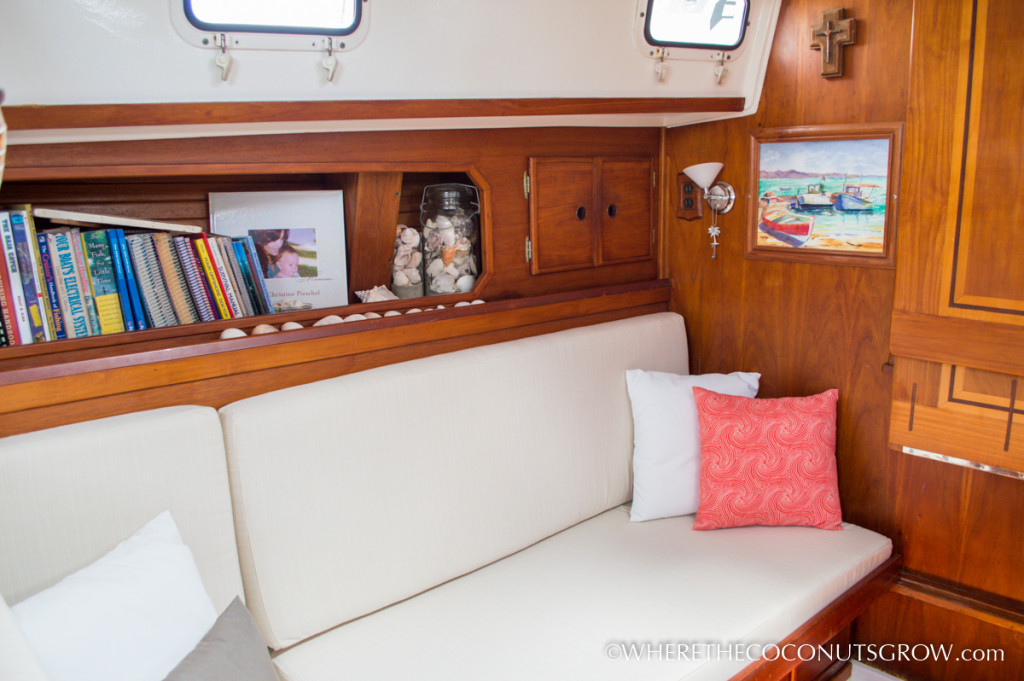
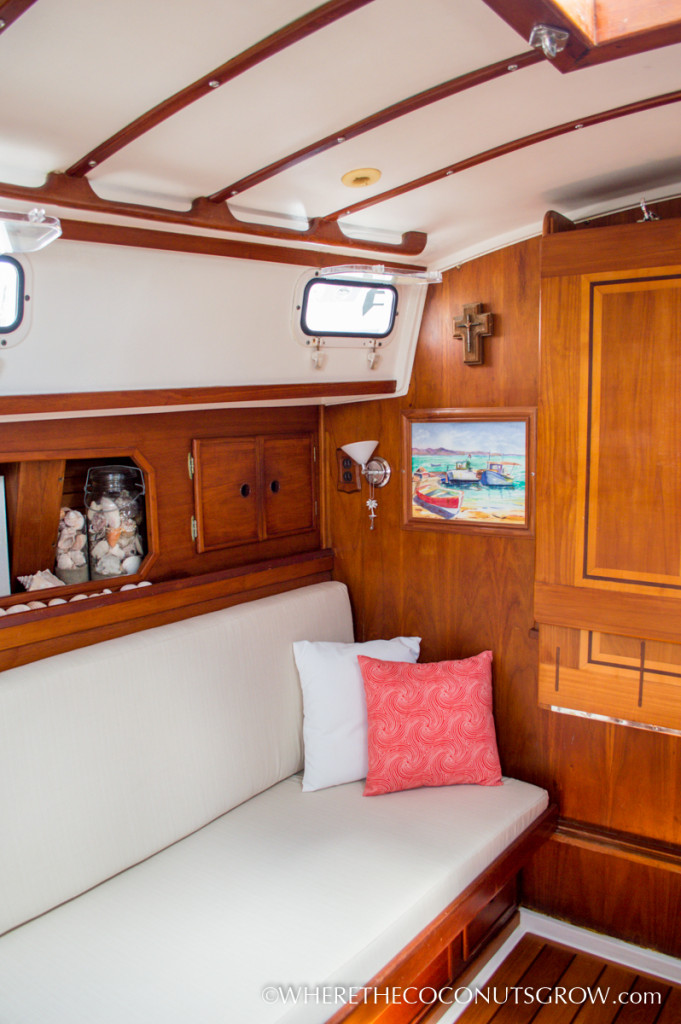
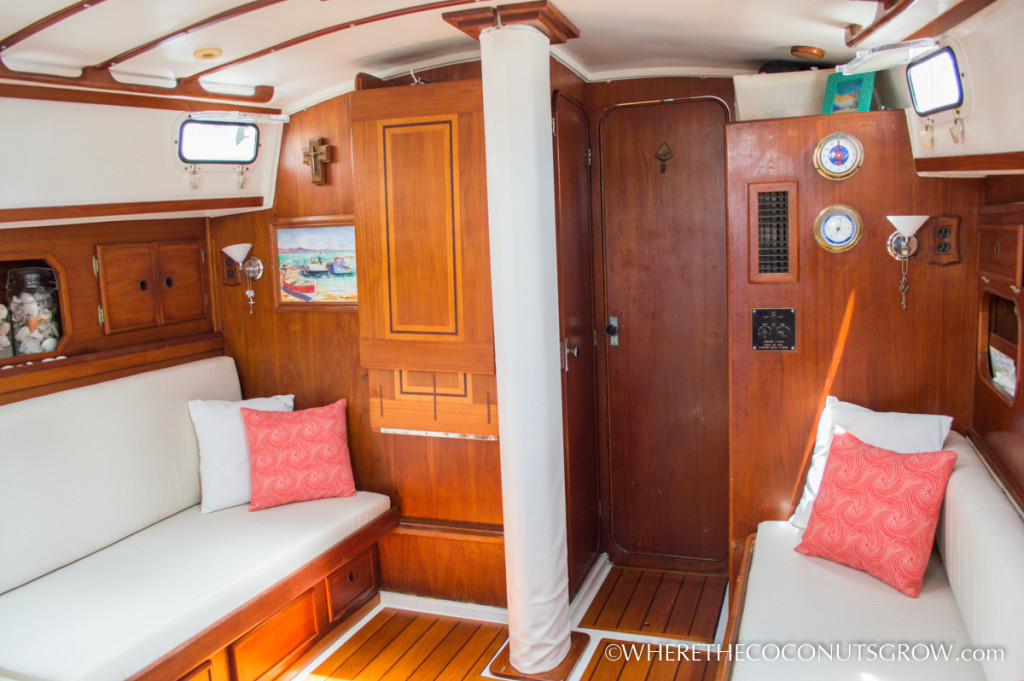
I don’t regret my color choice for one second. You’ll see in the photos below how light and bright it makes the whole room and that was really important to me. I’ve seen so many dark boats. Dark interiors just make it feel so much like a boat, not cozy at all. I like to feel cozy. This is my home. I absolutely LOVE my home :)
PATTERNING:
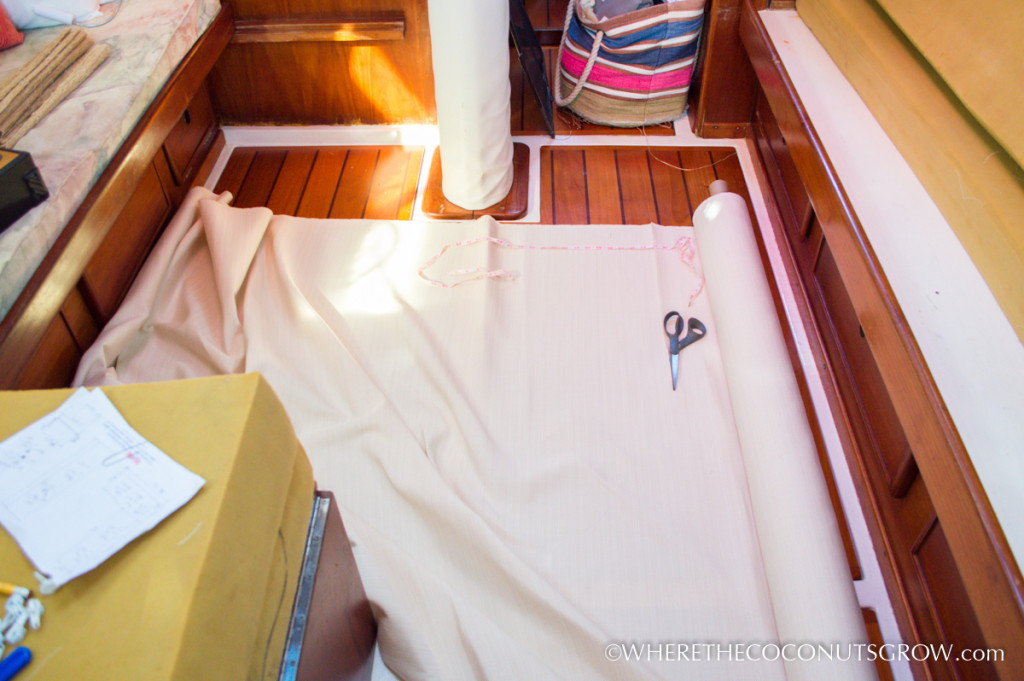
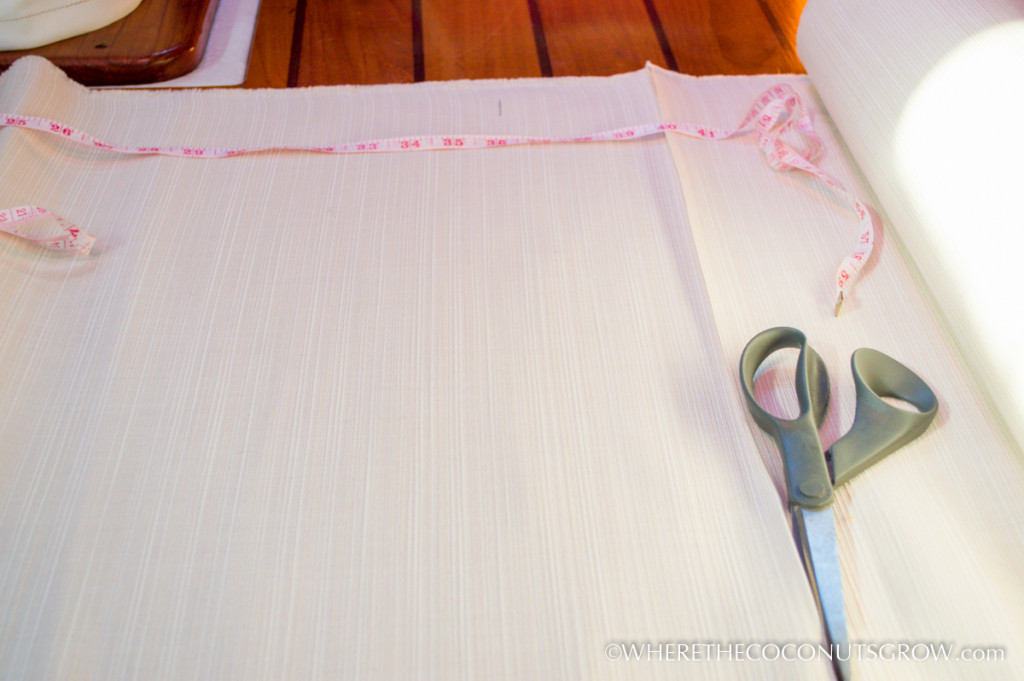
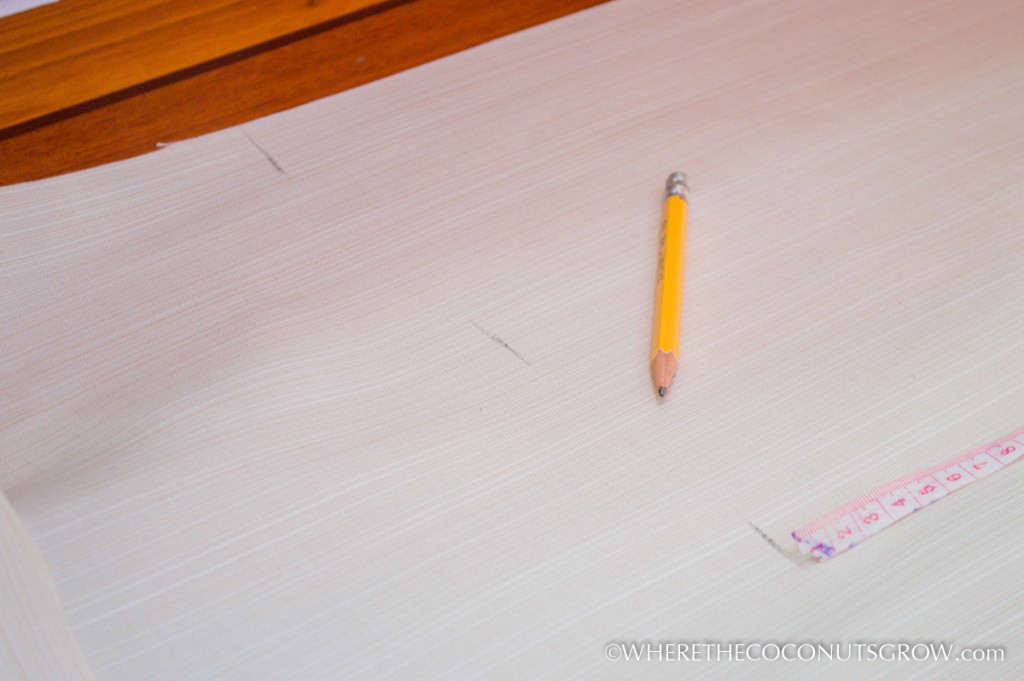
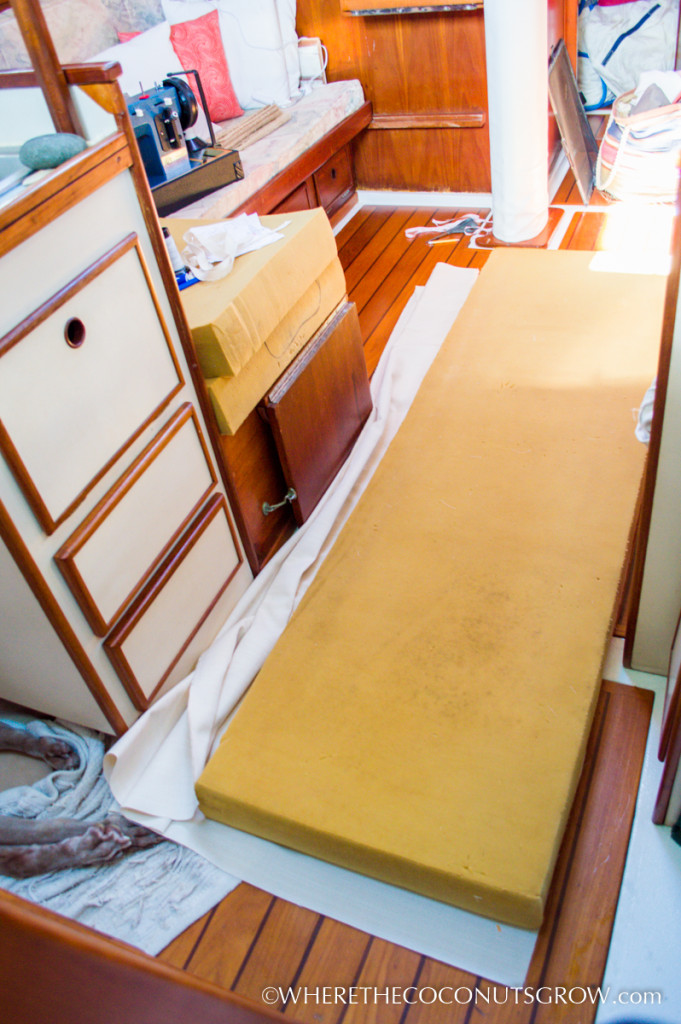
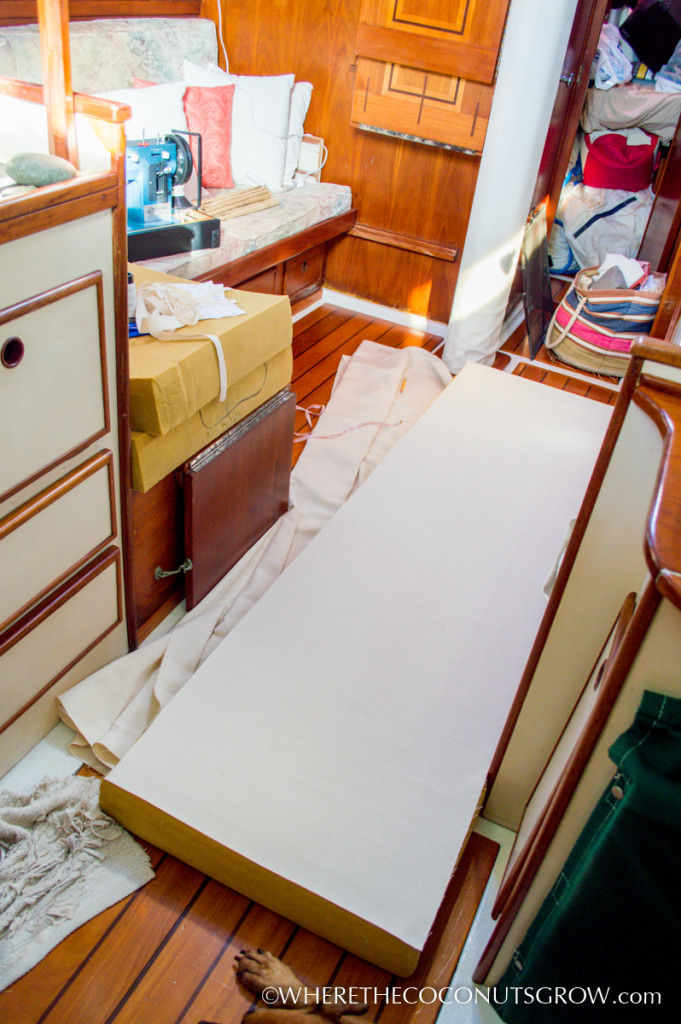
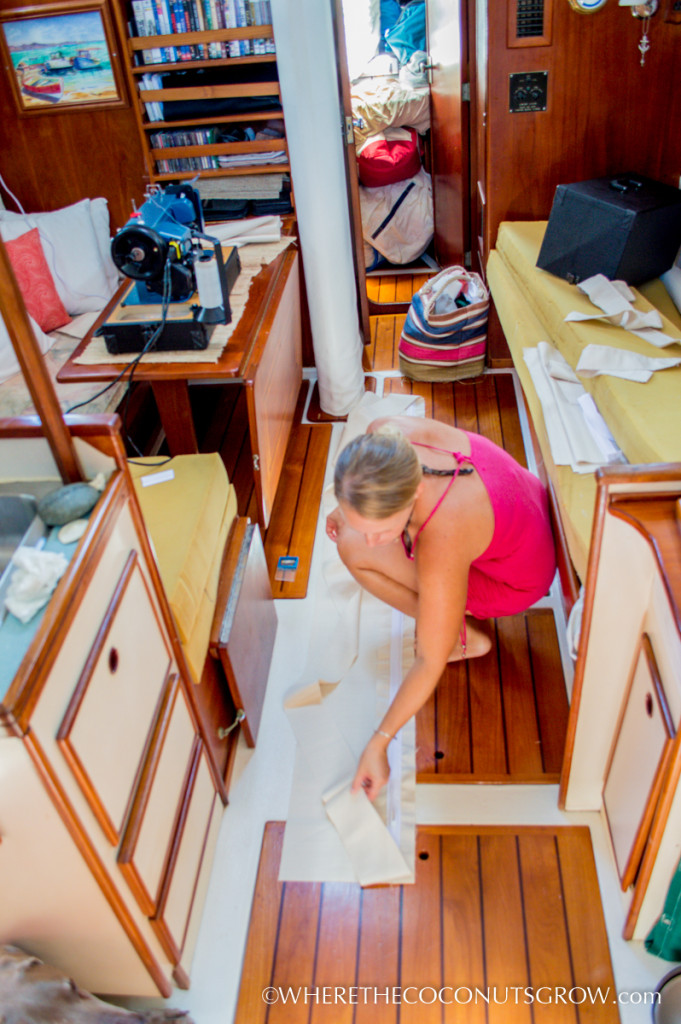
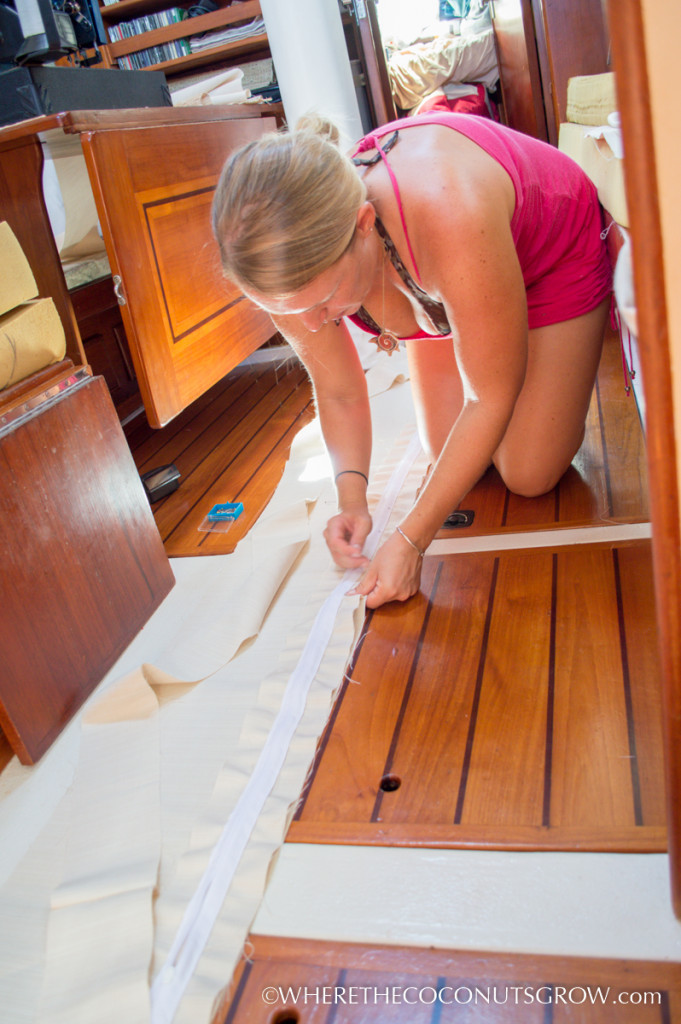
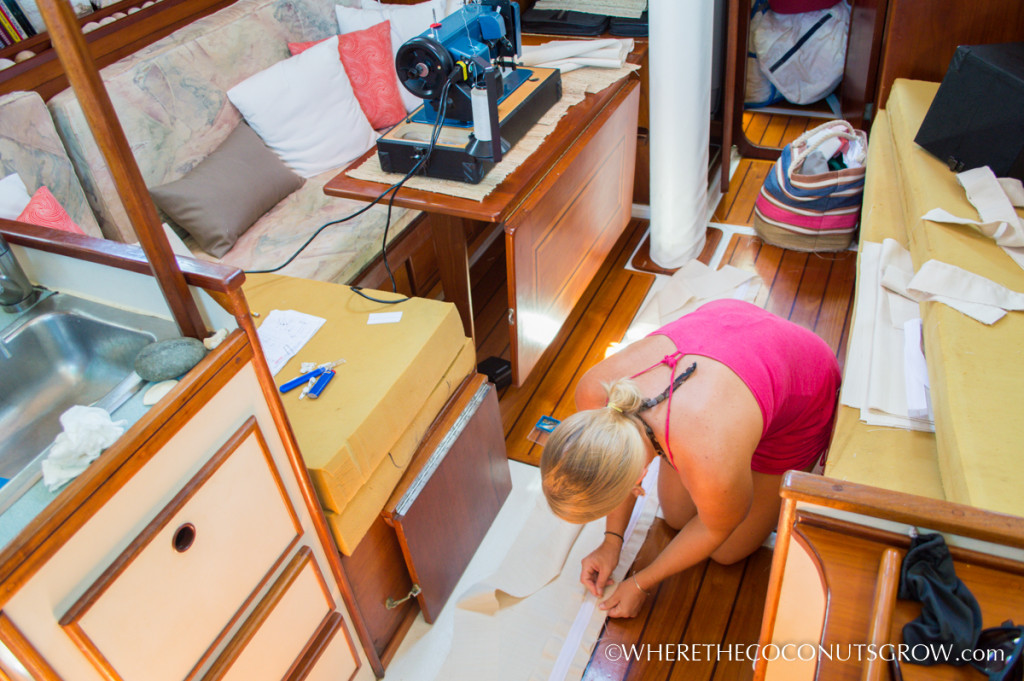
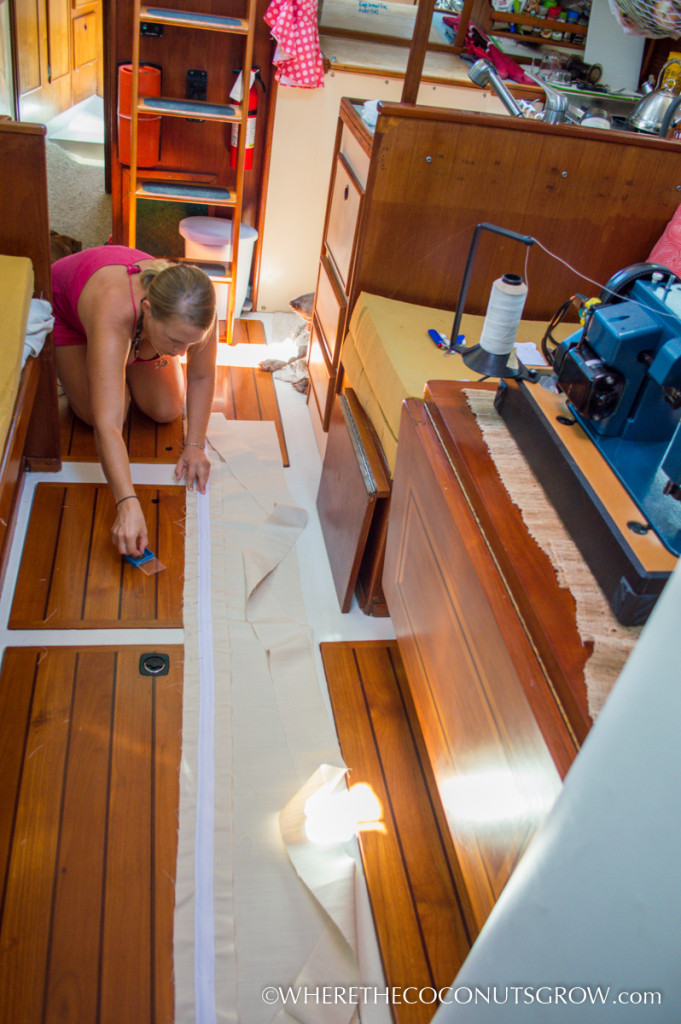
I had done all the measurements awhile back and ordered enough fabric for the salon cushions and all of my new throw pillows. I used the super helpful Fabric Calculator from Sailrite’s website to estimate how much I would need and I ended up with plenty to spare. Making a pattern from the existing foam was a bit tricky to do inside my 42′ sailboat. I traced when I could, measured, marked with pencil, turned the fabric in different directions and carefully cut each piece to an exact fit.
This is as much space as I had to work with while trying to get my exact measurements, tracing around the foam:
I laid each fabric plate on top of the foam after I cut it to make sure it was close enough.
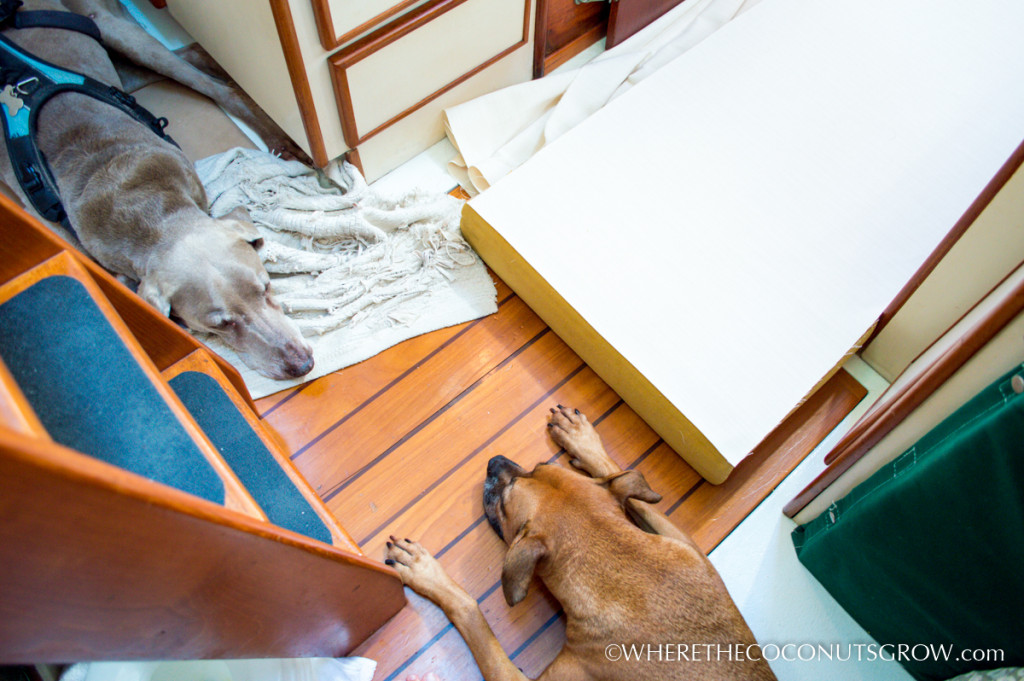
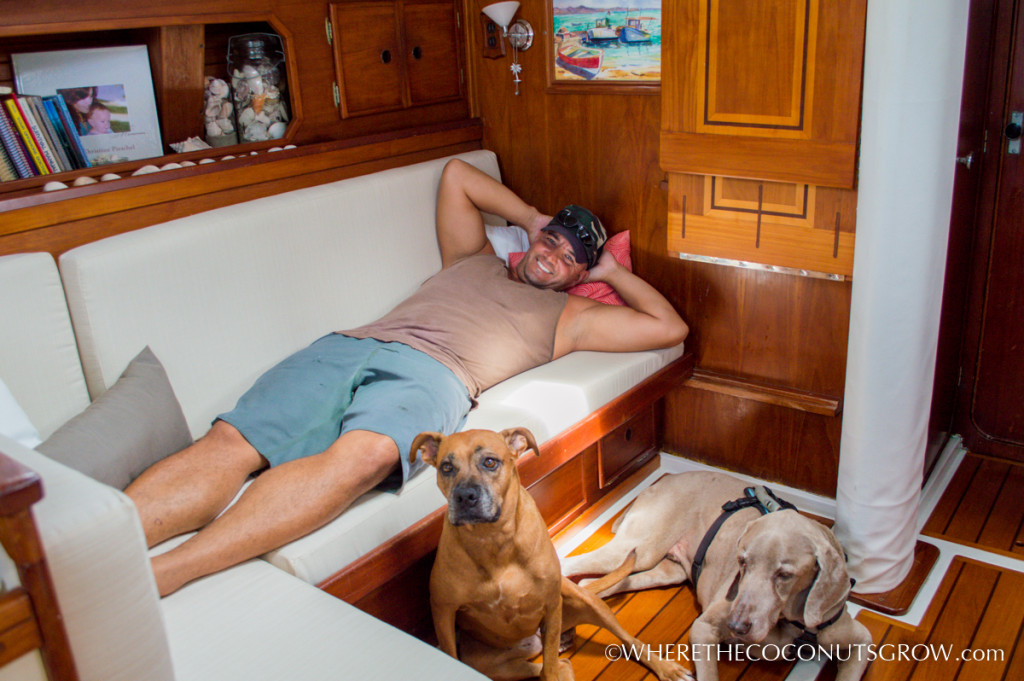
Gunner and Betsy LOVE to lay close by when I am working on projects on the floor.
ADDING PINS:
With such long zipper plaques, I found it helpful to pin the zipper plaque to the top plate starting in the center to make sure it was stretched evenly. Zippers always tend to pucker while being sewn so it’s important to pull it taught while working with it.
ASSEMBLING AND SEWING:
I did about two cushions per day, taking my time to make sure I didn’t screw up too bad. It’s important to note that I’m the only one that notices the mistakes I did make. Half way through I realized it’s not worth stressing over making it perfect and in the end they turned out far better than I could have ever hoped for.
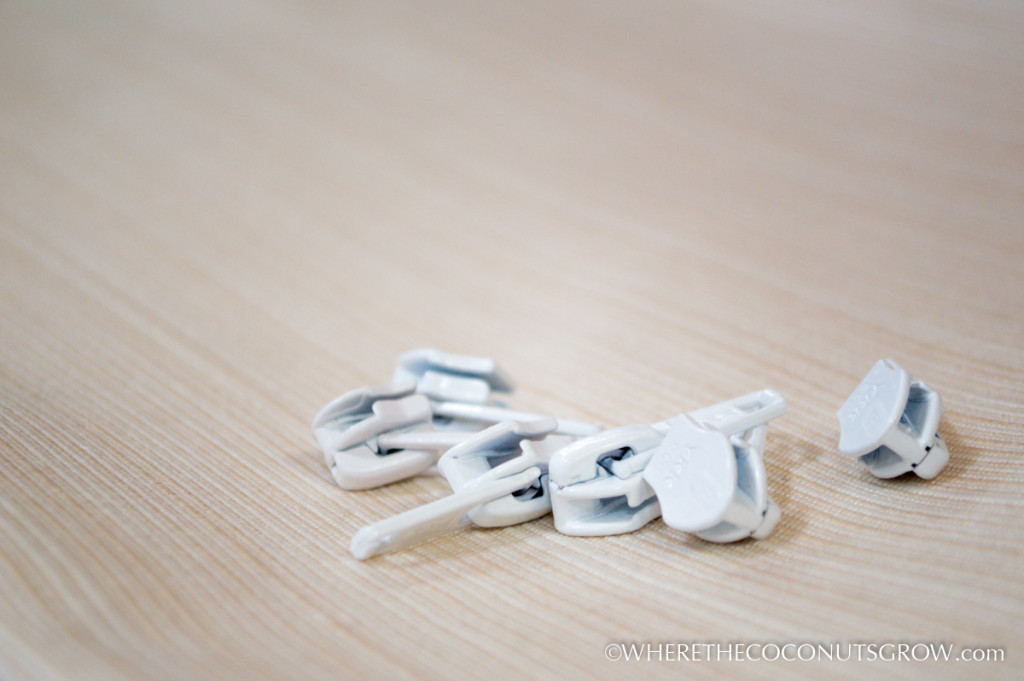
I used #5 coil, non-locking, white zippers. I only forgot to install the zipper pull before stitching the zipper plaque shut one time, but luckily I caught it right away and broke out the seam ripper to fix my mistake.
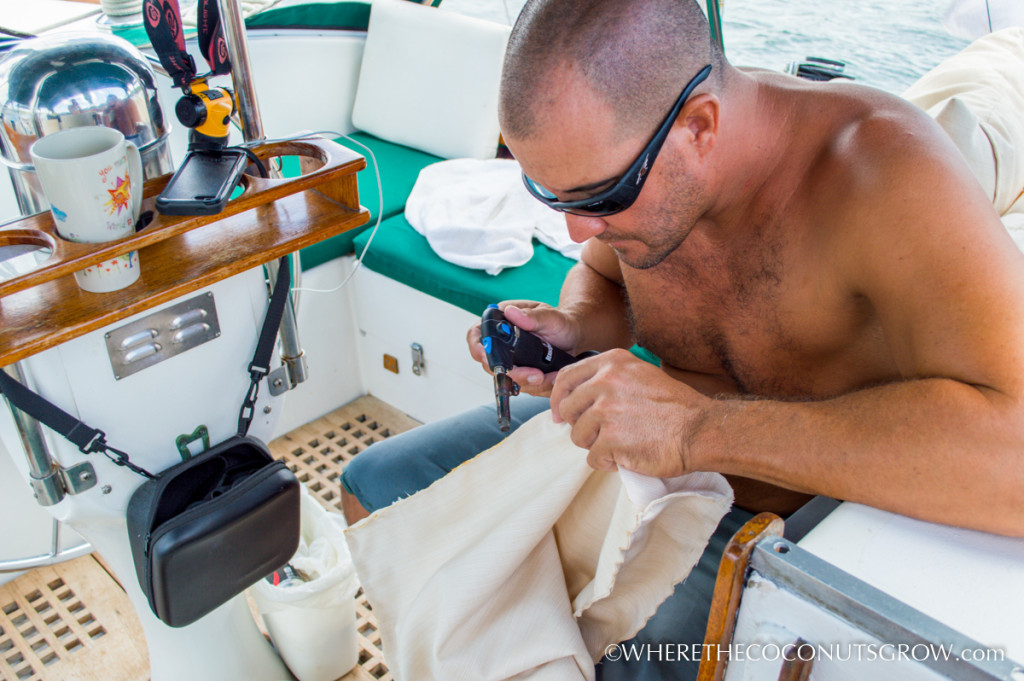
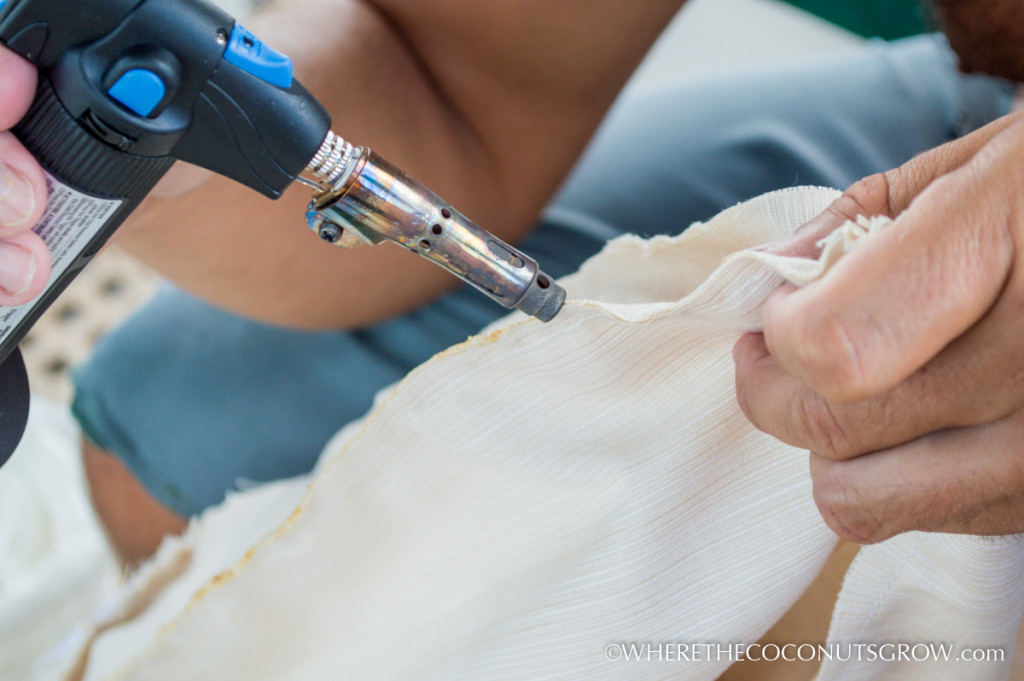
In the absence of a hot knife, Peter helped me burn all the edges with a torch to prevent fraying.
The first two cushions were the hardest, then I got into a groove. It got easier and easier as I kept going. A few days later, they were all done!!
The BEFORE pictures:
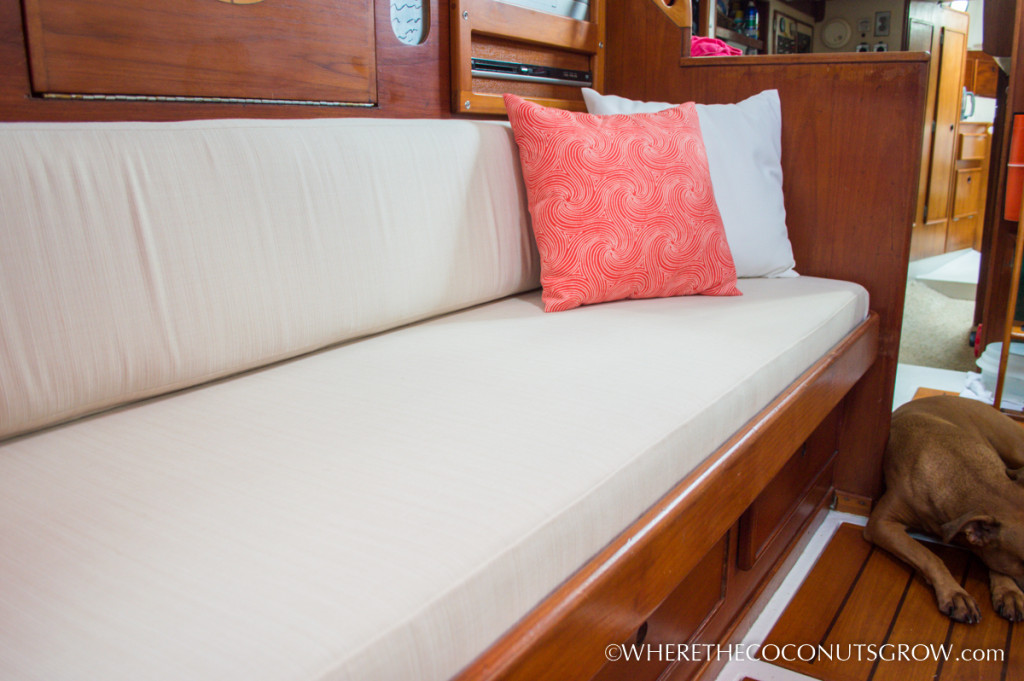
And AFTER!
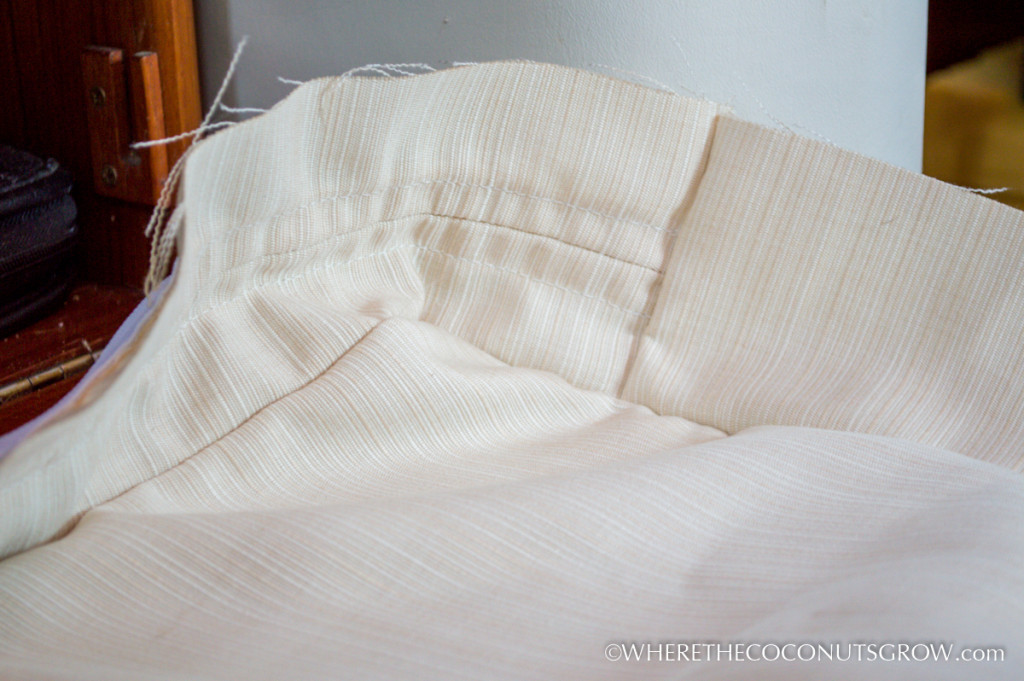
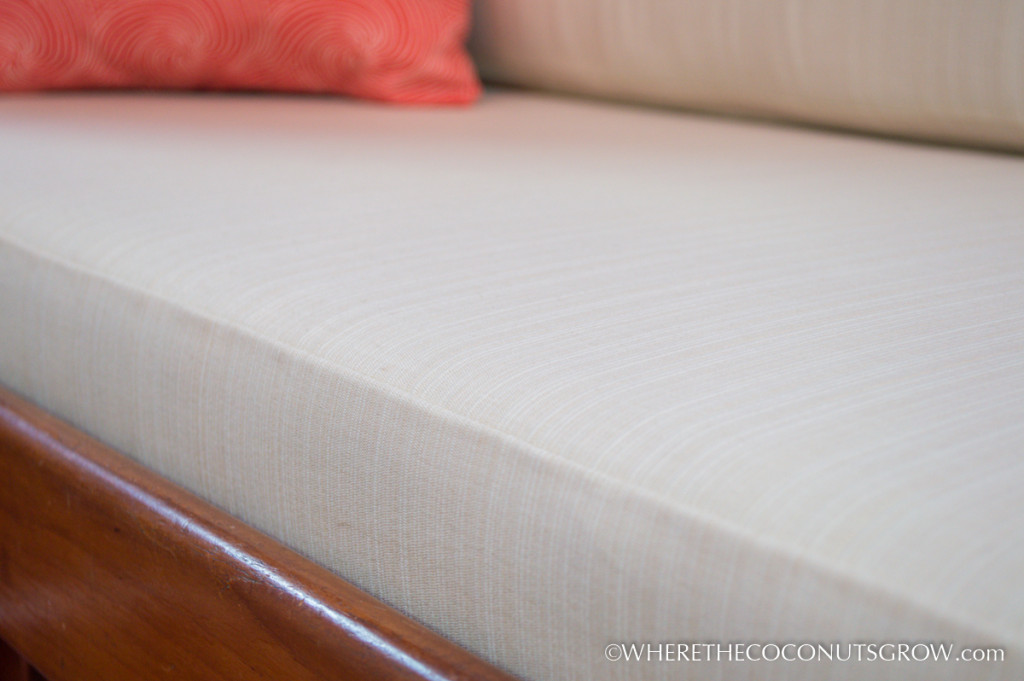
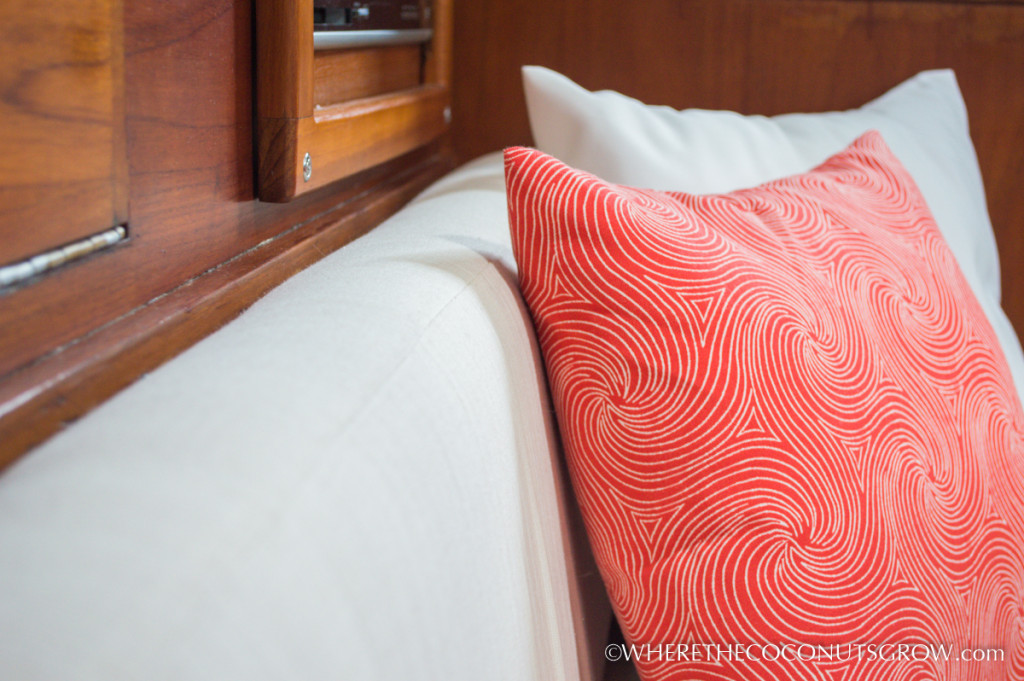
I chose to pattern an exact fit for both the top and bottom plates, as well as the boxing. Some of the Sailrite videos recommend adding a seam allowance but I wanted a nice and tight fit. I’m SO glad I chose to use zero seam allowance. This is the effect it has:
There is some unwanted puckering on the longest cushions but that’s because I was working with old foam that did not have a consistent thickness or width. It was worn unevenly in many places making it impossible to account for each dip and curve in the dimensions of my patterning. I was a little bummed at first, but now I hardly notice it anymore. Buying all new foam would have solved that but the added cost was way out of my budget.
Every time I look at my finished work, I start smiling. I LOVE how it all turned out and I love my color choices. It brightens up the room so much. I am especially happy I chose the Dupione fabric. It feels absolutely divine to the touch. With each wash it gets softer and softer.
Somebody couldn’t wait to test out the new cushions and pillows!
Looking back, I wish I hadn’t waited so long to tackle this project. The Sailrite videos made it SO easy, even for someone like me with very little knowledge of or experience with sewing. My LSZ-1 machine made it really easy to sew through the thick corners with a durable V-92 UV rated thread. These cushions should last a very long time :)
As I stumbled my way through this project, I came up with a few Lessons Learned that I wish someone had told me about before I started:
1. Always round up when estimating fabric and zippers. Measure twice, cut once!
2. A seam ripper is a magic tool and only costs $2. Make sure you have one.
3. A hot knife will save you a LOT of time and butane.
4. Buy extra bobbins. You can never have too many. Threading them before you start sewing will save you a LOT of time.
5. Number your cushions in a sketch on paper when you start planning out your fabric. Write it down as you measure and be sure to stick to your notes.
6. You can save fabric by cutting all the boxing last, if you take good enough notes of what pieces go together. Mark your fabric so you don’t get confused later.
7. Make sure to have lots of extra thread on hand. It’s amazing how much gets wasted every time you pull the fabric away from the machine.
8. Understand what seam allowances will do for each material you are working with. I am glad I chose to use zero seam allowance for this project.
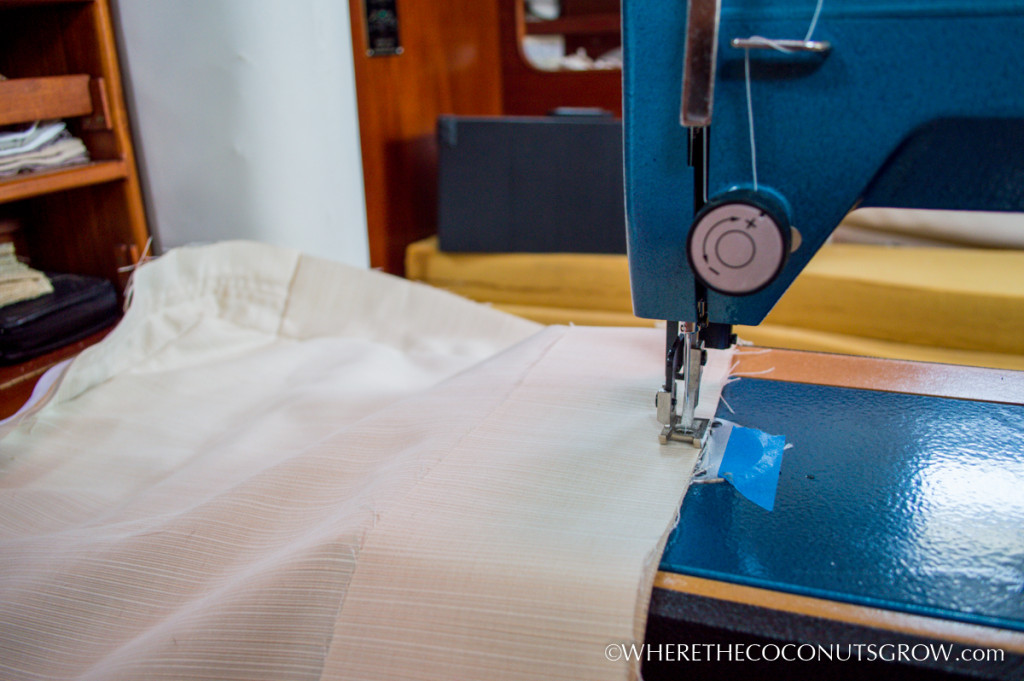
9. Use pins or basting tape to make sure everything lines up as you sew, otherwise you could end up with really ugly corners!
10. Get a good pair of scissors. If they have never been used on paper, they will be sharp enough for fabric. Keep them separate from your every day scissors.
11. Zipper plaques will shrink up as you sew, so be sure to stretch your edges and check your length often as you feed it through the machine.
12. Get a good marking pencil. I used a regular pencil but a special fabric pencil would have been nice.
13. Use a soft measuring tape when measuring fabric.
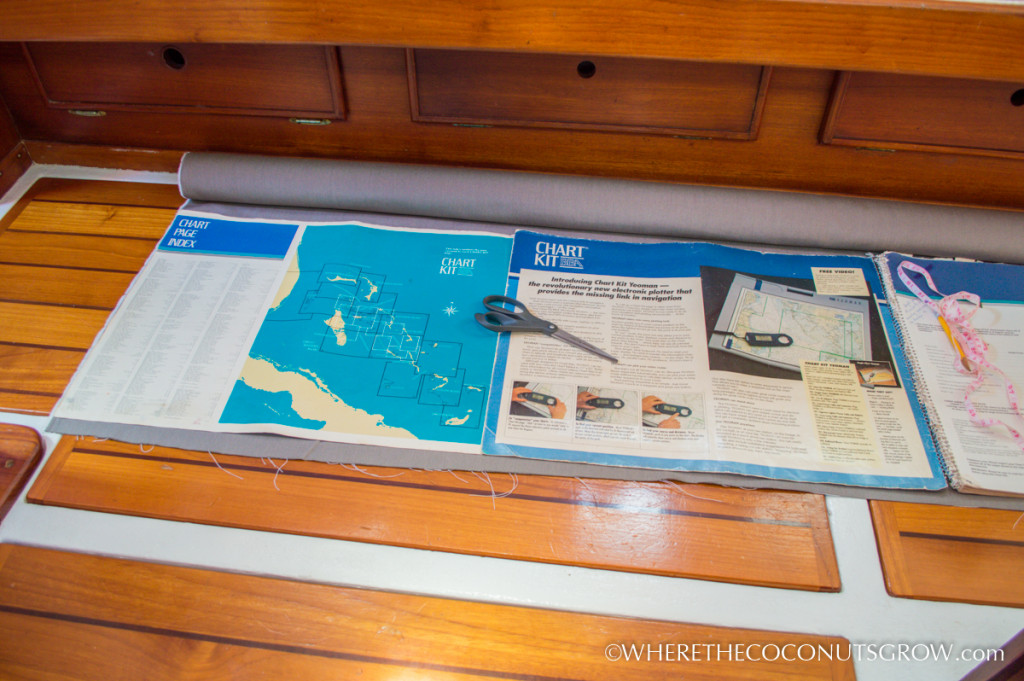
14. If you don’t have a straight edge to cut your fabric, get creative! I used chart books to make a straight line while patterning. Later, I just traced the pieces but sometimes you do need a long straight edge.
So, just in case you were procrastinating to start your own sewing projects, check out Sailrite and let them help you as much as they have helped me! They are a one-stop-shop with just about anything you need for the sewing project of your dreams. Their customer service is unparalleled and their product quality is outstanding. Because of those two things, I prefer to support their business even if I can find the same items cheaper somewhere else. This project is proof that if I can do it, so can you! :)
IN CASE YOU WERE WONDERING… We are PROUD to share these awesome products and services with our readers. There are so many different solutions out there for everything we could possibly need, but these are the solutions that work for us.
This post may contain information about a product sponsorship. We gladly accept discounts or samples when a company feels generous enough to support our cause. In return we support the manufacturer or local service by sharing their links and writing about our experience with them. We only seek out sponsorship and affiliate programs from products and services we actually WANT to use and likewise only accept offers for products or services that we WILL use. We are not paid for any reviews we write or feedback we provide. We simply like to spread the word and share great experiences we have had that could also bring joy to others.

