
It took me two years to muster up the courage to actually start all the sewing projects I’ve been dreaming about since before Peter and I bought our boat. I mean, for a girl who hadn’t used a sewing machine since 8th grade Home-Ec, redoing my salon cushions on a 42′ sailboat was just a teensy bit intimidating!!
One thing was for sure. I needed a Sailrite sewing machine. If I was going to get serious about this, I wasn’t going to just make salon cushions. I wanted to make all new throw pillows, jerry can covers, hatch covers, winch covers, gps cover, fender covers, crate covers, more sun shades, mast boots, lazy jacks, sail bag repairs, isinglass repairs, and most importantly I wanted to be able to repair our own sails on the fly. I’d skimmed over many-a-conversation on Women Who Sail and Sewing On Boats facebook groups and it was very clear that I could get by with a household machine but it was almost unanimously advised that a Sailrite makes all the difference.
I found a strong enough wifi signal back in St. Thomas and began watching as many Sailrite how-to videos as I possibly could. It seemed easy enough… those videos are so thorough and they practically hold your hand as they teach you how to make pretty much anything you want. There are dozens of free videos on their website that can make you feel invincible!
Let’s not get ahead of ourselves though…
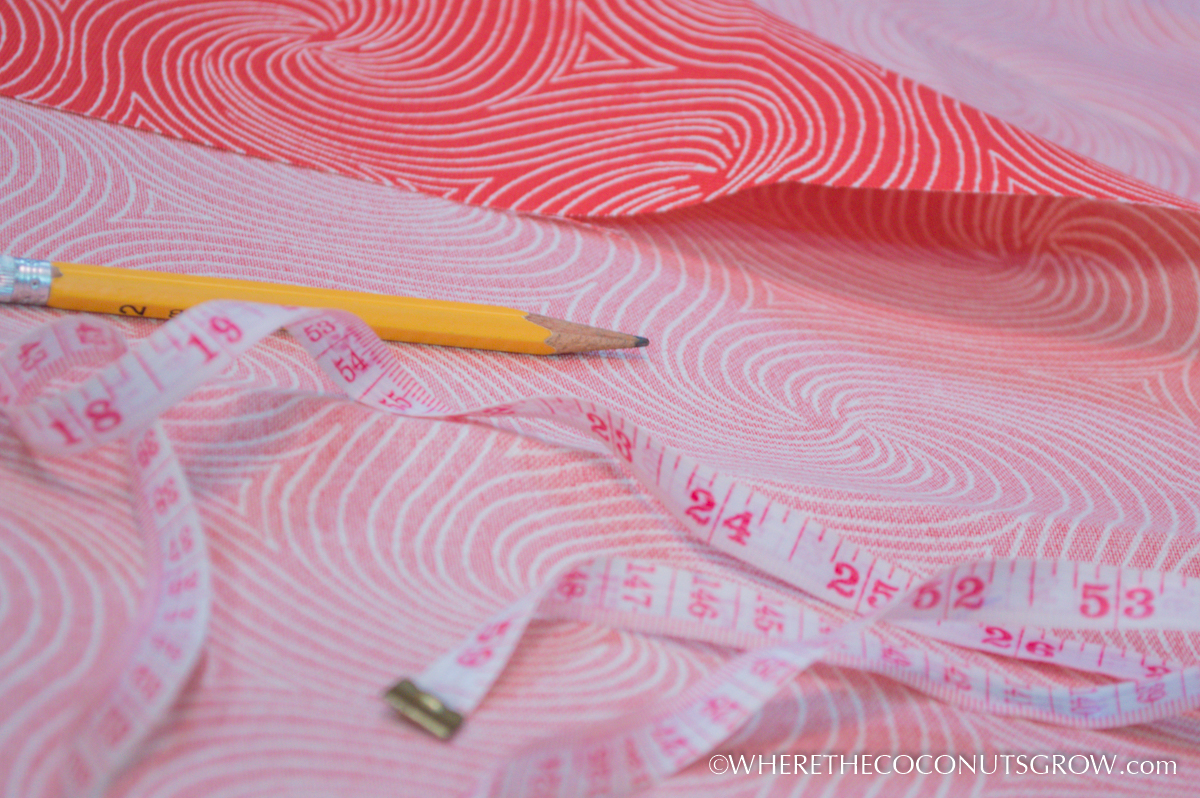
I most definitely planned to do my salon cushions as soon as I got my Sailrite machine, but I wanted to start with something a little easier to essentially learn how to use the machine. After watching about four videos about making box cushions and two videos on throw pillows, I carefully took some measurements and excitedly plugged them into the handy-dandy Sailrite Fabric Calculator on their website. I had spent weeks before deciding on what kind of fabric I wanted to use, and what my color palette would be so all I had to do was place the order.
I ordered enough fabric for my salon cushions and a ‘boat-load’ of new throw pillows. The sewing machine and all my fabric arrived at the post office in St. Thomas and we lugged it all back home in our little rental car. (For those of you that know boats, you know why I had to get rid of all the packaging first!) Peter helped me disassemble the gigantic shipping box in the grocery store parking lot and carefully assemble the base of the sewing machine so we could put the carrying case on and bring it all home safely.
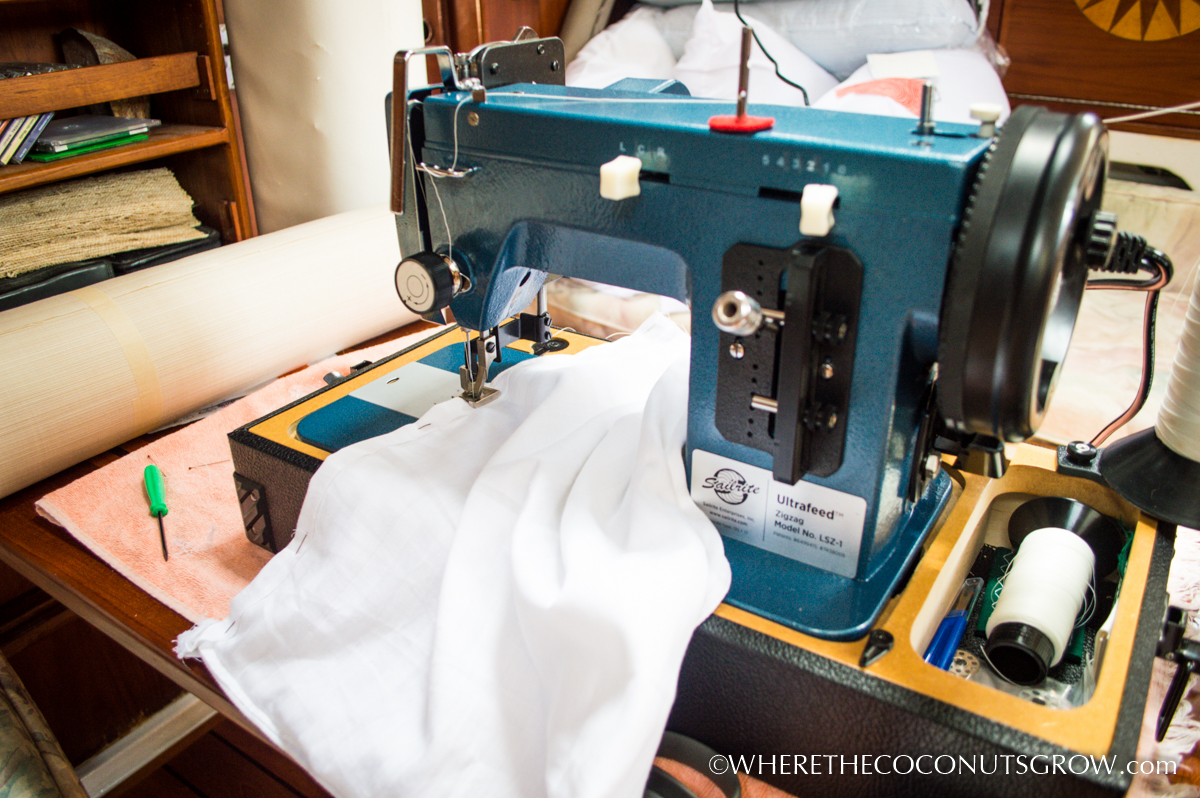
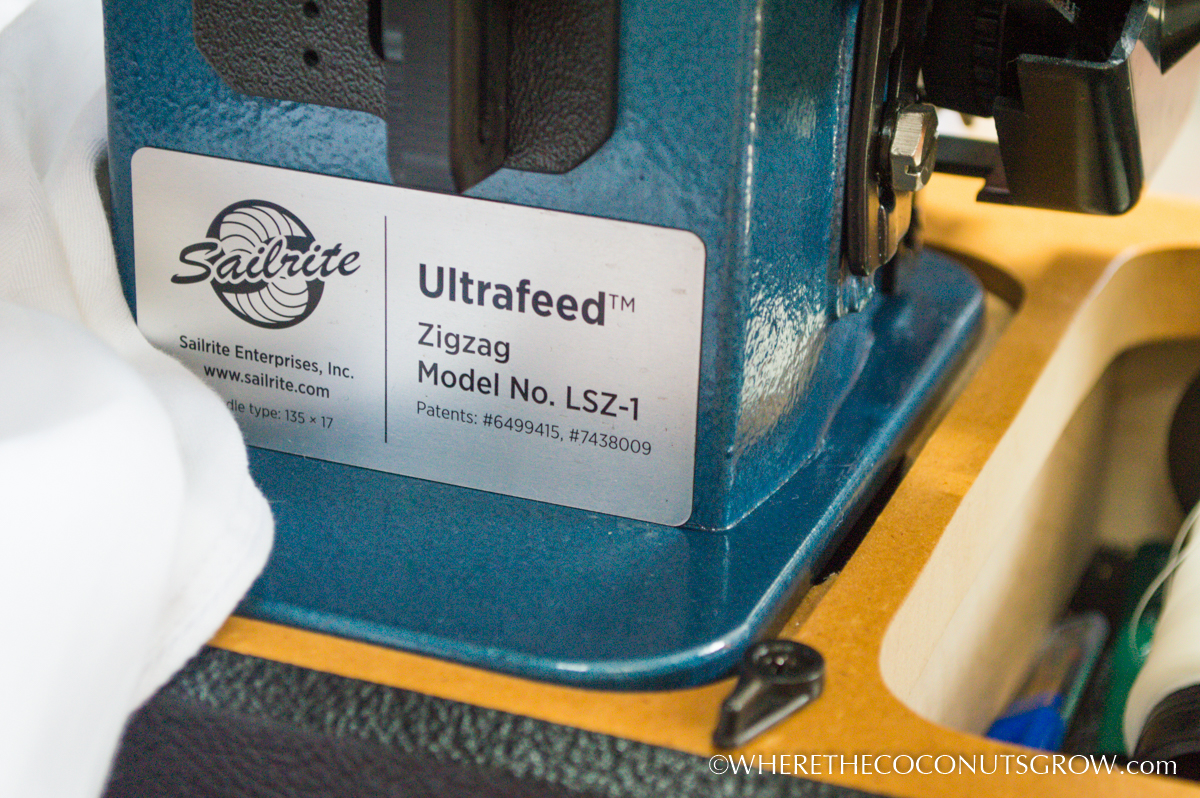
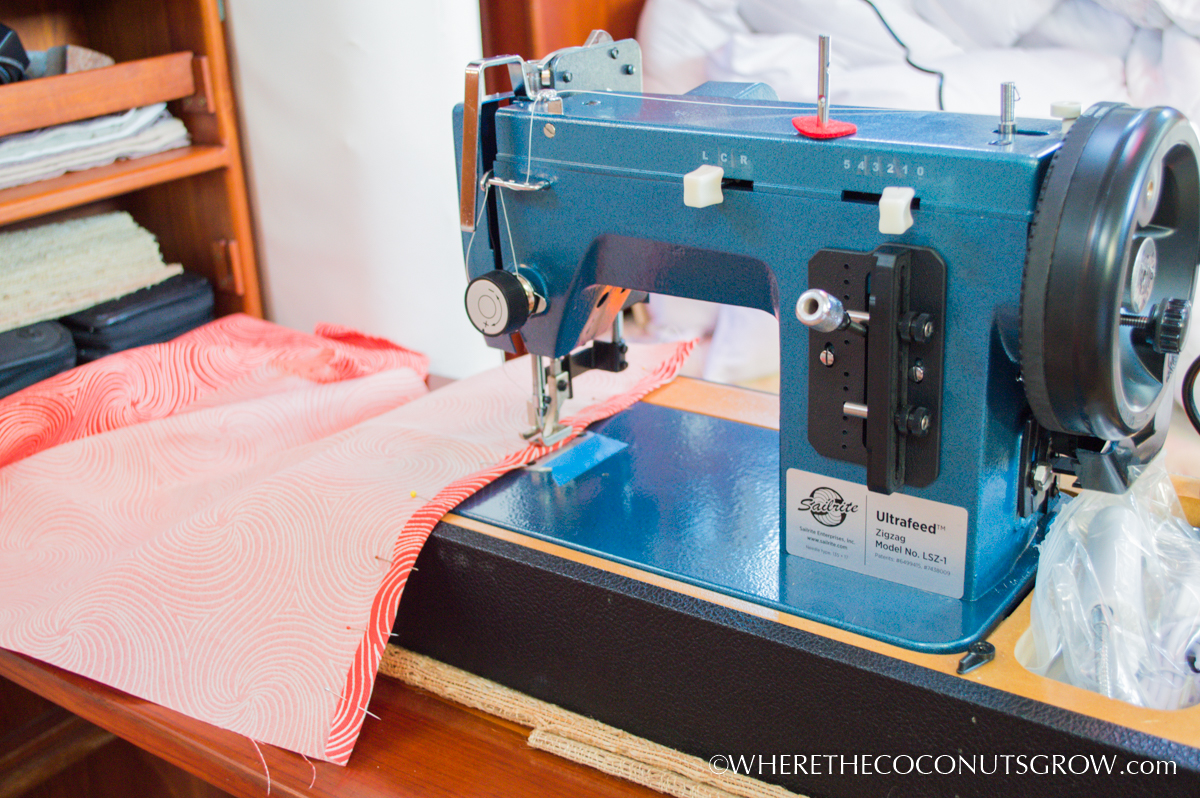
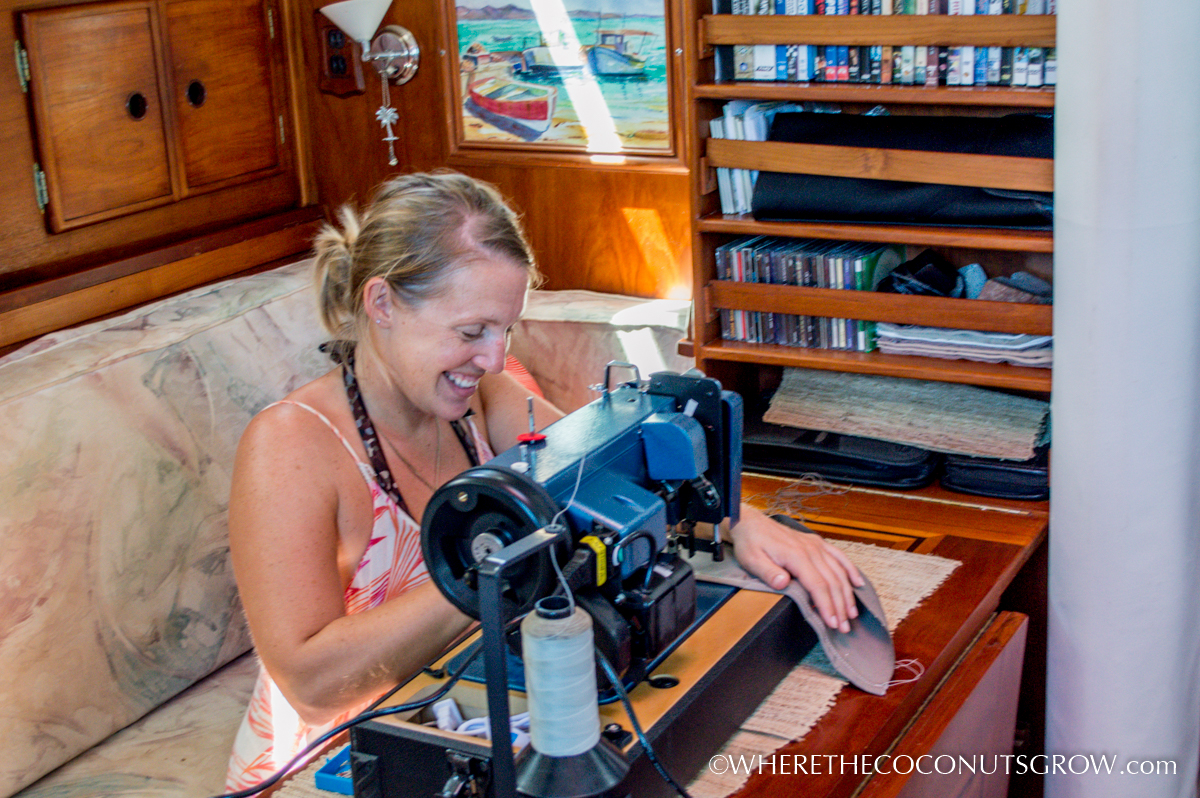
Our good friend Eben on Necesse happens to be a Sailrite expert, as he’s been sewing almost all his life and has owned a Sailrite for many years. While anchored next to us in Christmas Cove, he was so excited to see a bright and shiny new Ultrafeed LSZ-1 machine (which is exactly what he has, but with a few more bells and whistles on the newer ones) that he so graciously taught me how the machine works, how to thread it, and how to oil it. He answered all my beginner questions and sent me on my way feeling totally ready to start sewing! The booklet that comes with the machine tells you everything you need to know in a very clear way, but I learn much faster when someone shows me in person ;)
My very first project was repairing our BBQ cover. That was a piece of cake. I decided the throw pillows would come next.
How do you make your own throw pillows??
Let me show you the inexpensive idea I came up with to make all the throw pillows you want!
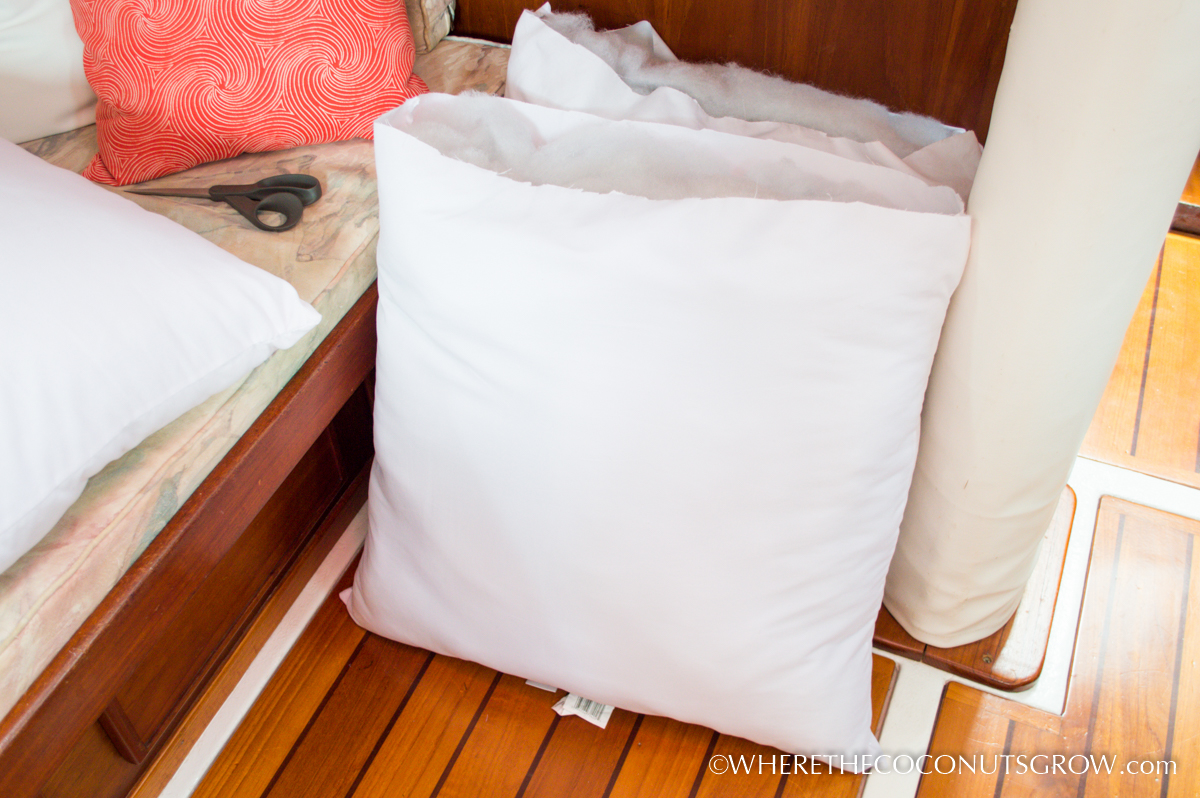
1. I waited until the local K-Mart was having a sale on regular sized bed pillows. 5-bucks each!! I also bought some king size pillows and euro size pillows that were all on sale too.
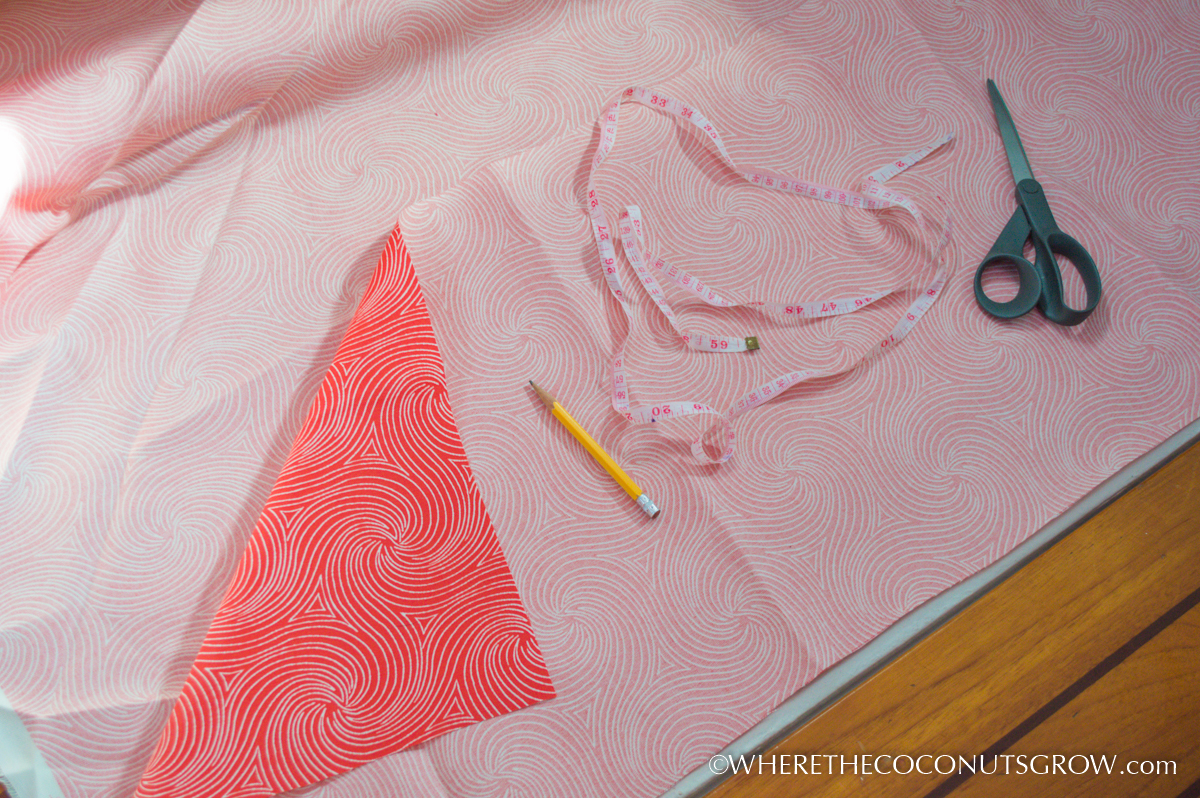
2. I took my fabric scissors and cut the pillows down to size. The king pillows were long enough to cut in half and still end up with two squares. The $5 regular bed pillows were measured and marked with pencil where I wanted to cut, making a new square pillow and a smaller rectangle sized pillow.
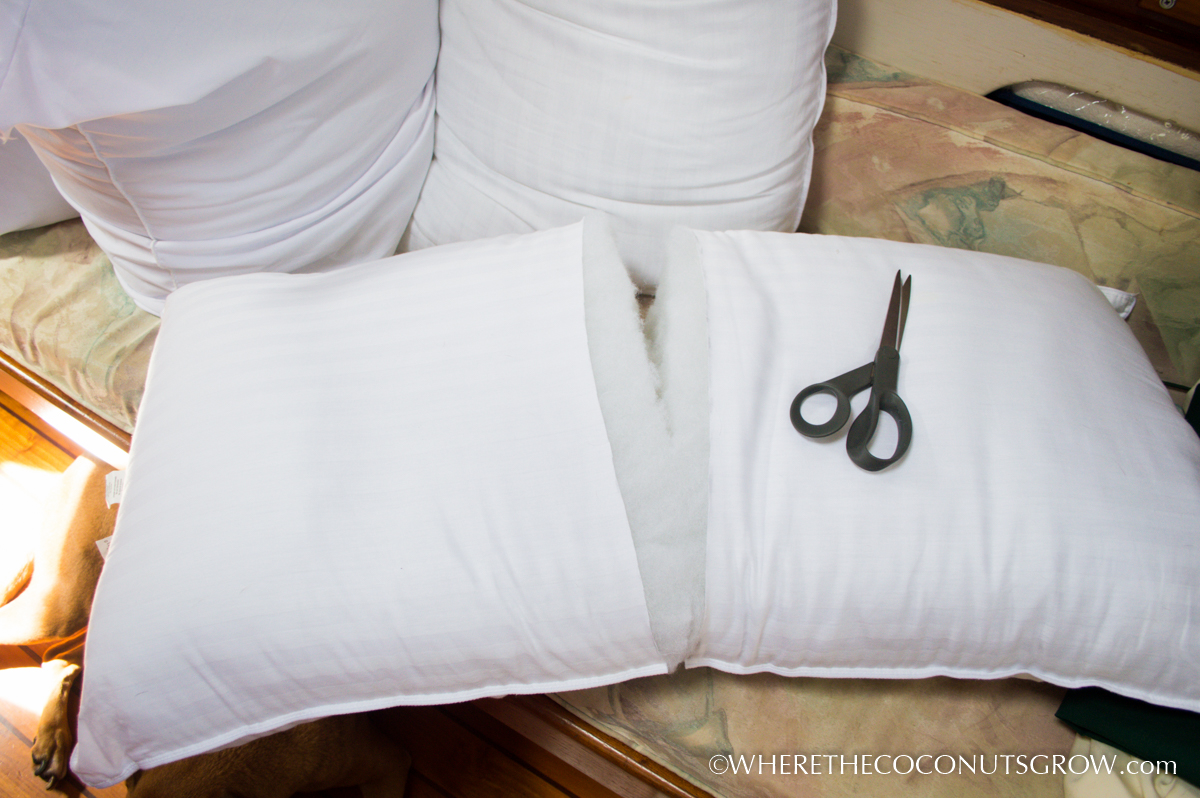
3. I removed the batting and foam support from the pillow form covers and laid them flat.
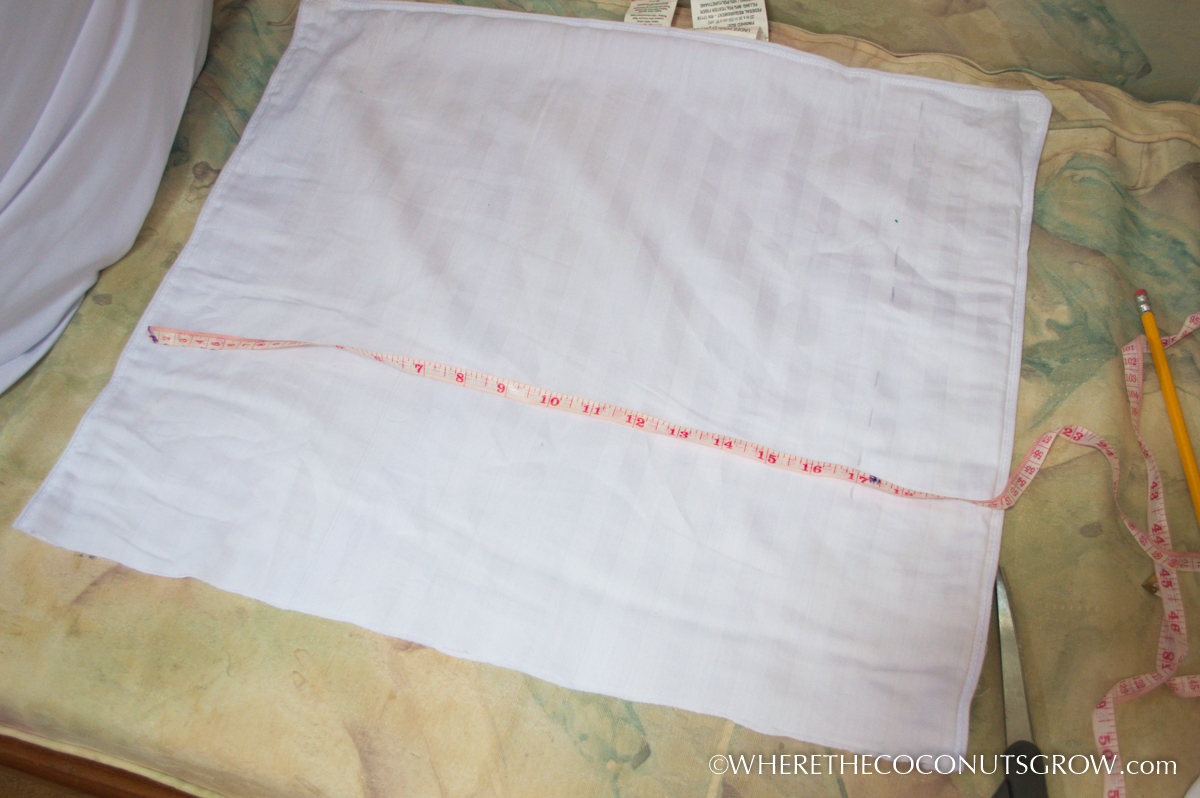
4. With a predetermined size in mind, I measured, marked and cut the pillow form fabric down to a square.
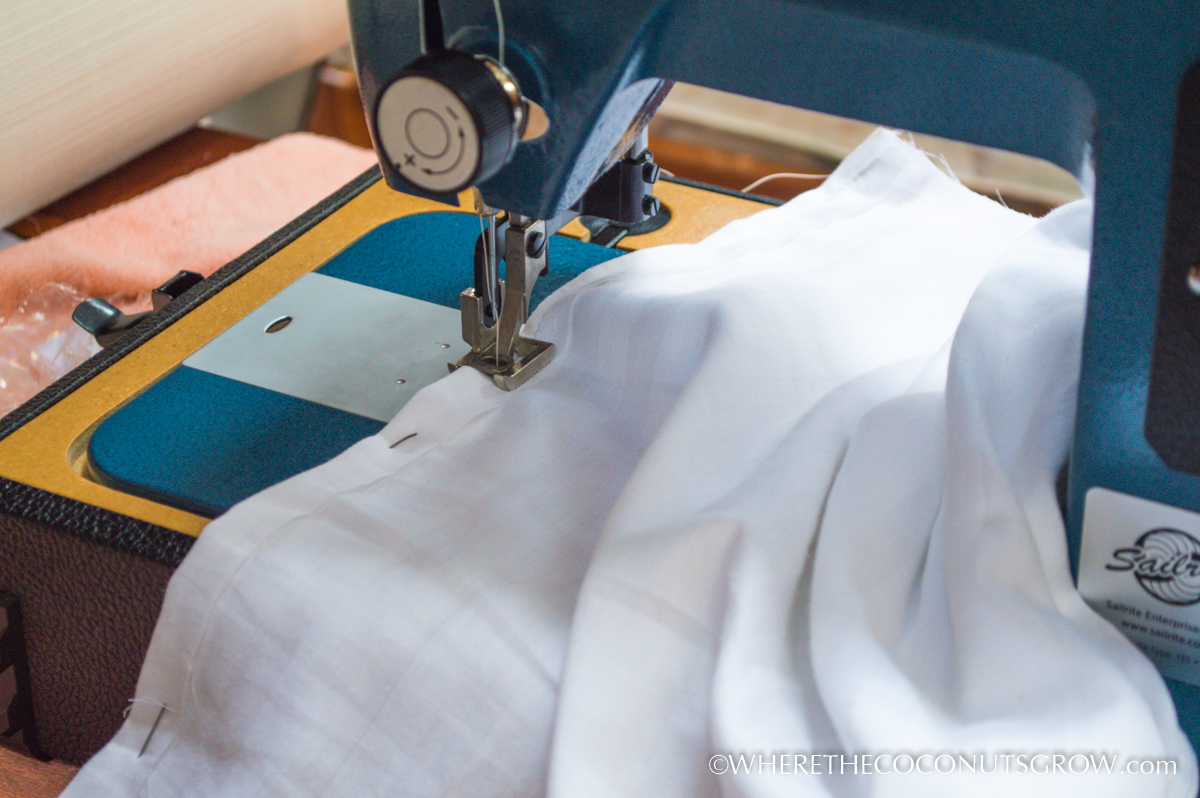
5. With two open edges, I turned them inside out and sewed one side closed, leaving one end open to put the batting back in.
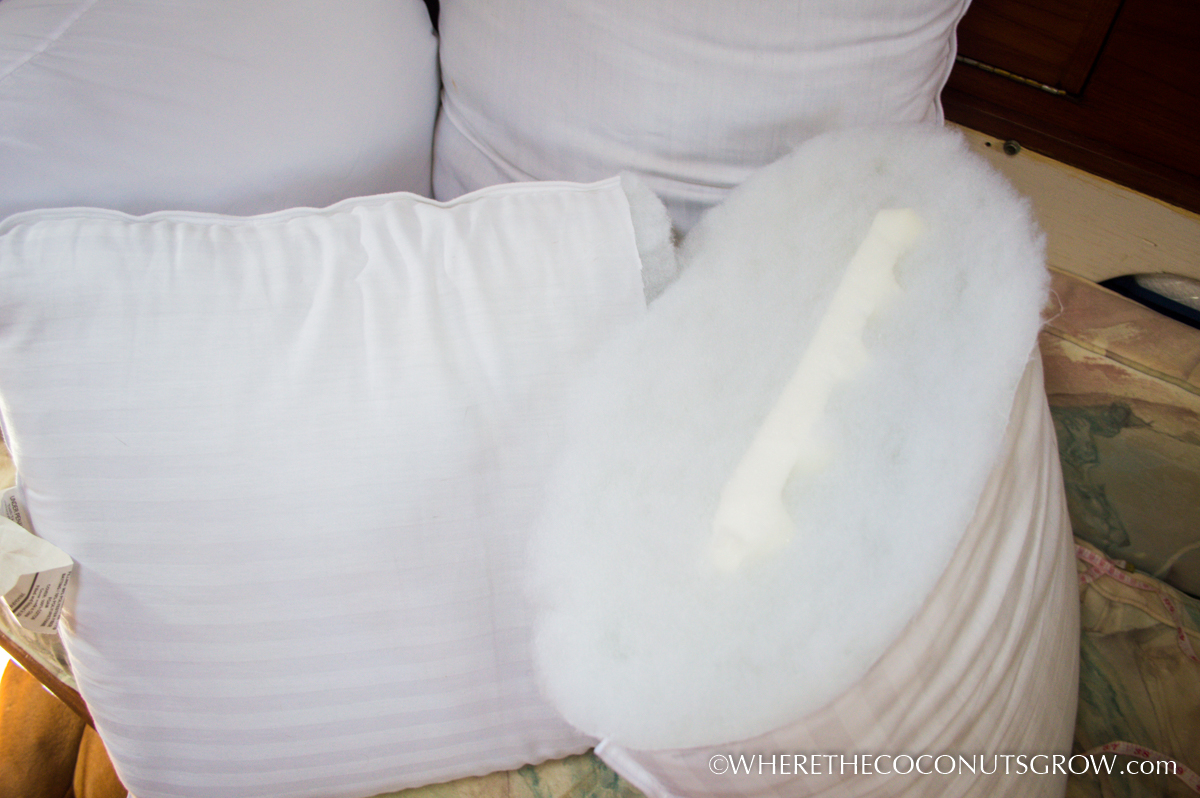
6. Once all my pillow forms were cut down and sewn to the size I wanted, I unraveled the batting for each one, removing the excess batting since the pillow form covers are now much smaller than what they were before, then I sewed them all shut.
7. With all the left over batting, I had enough to make several new pillows. I used old pillow cases cut down to size to make pillow form covers for the extra batting (see step 4).
If this sounds like more work than you’re interested in doing, you could always buy cheap throw pillows from the store and just recover them. On the other hand, Sailrite has all the materials you need to make pillow forms from scratch if you don’t want to cut up bed pillows like I did. Just watch the ‘pillow form’ video for details.
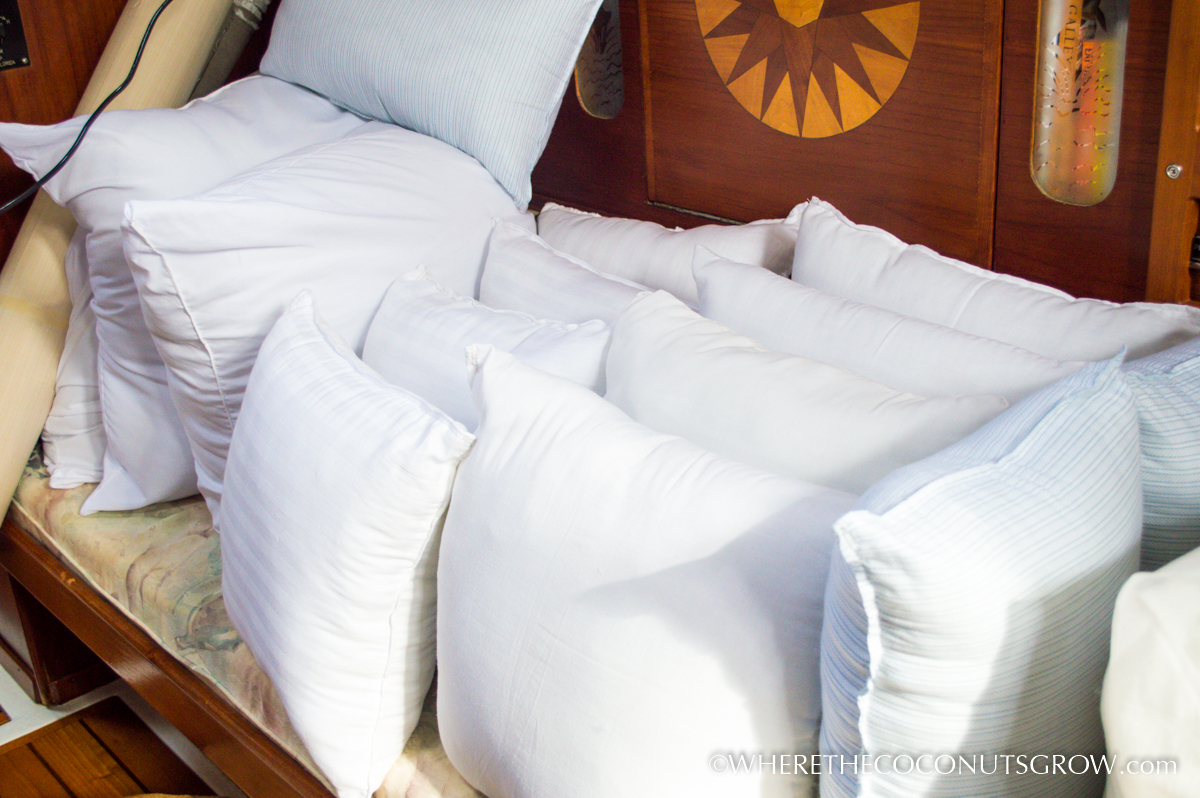
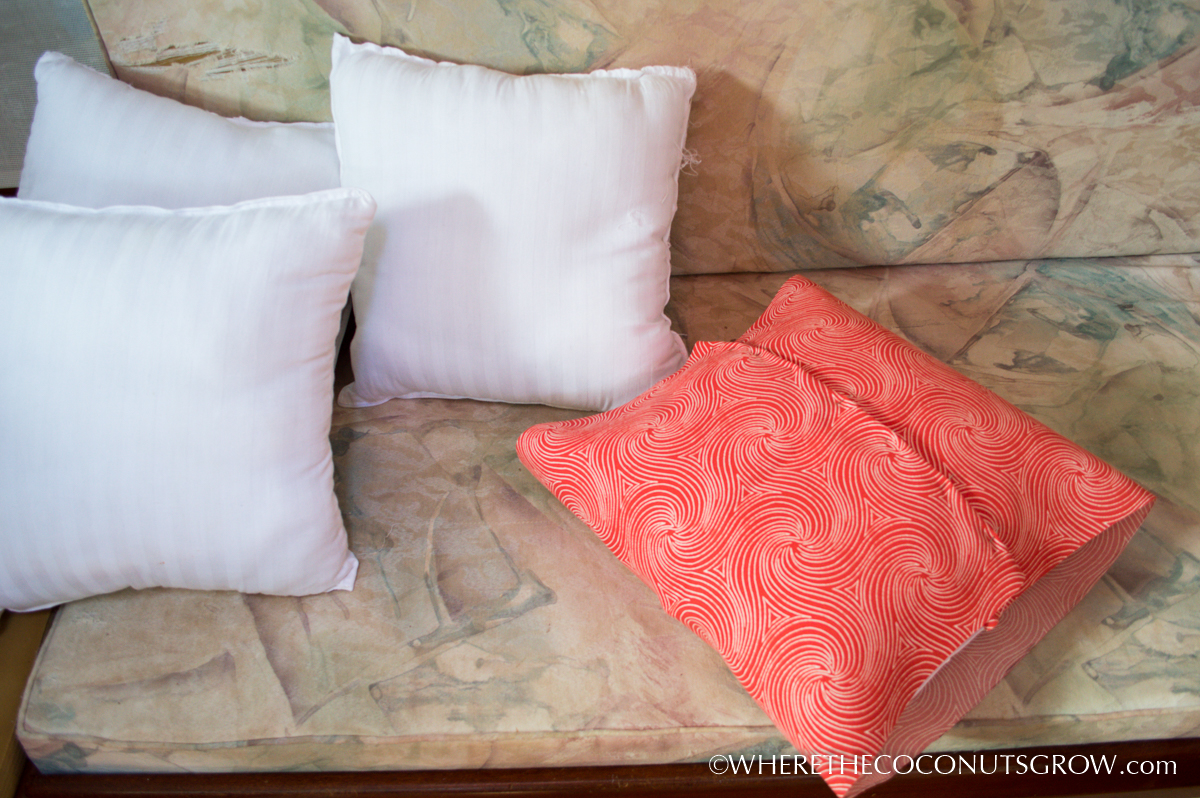
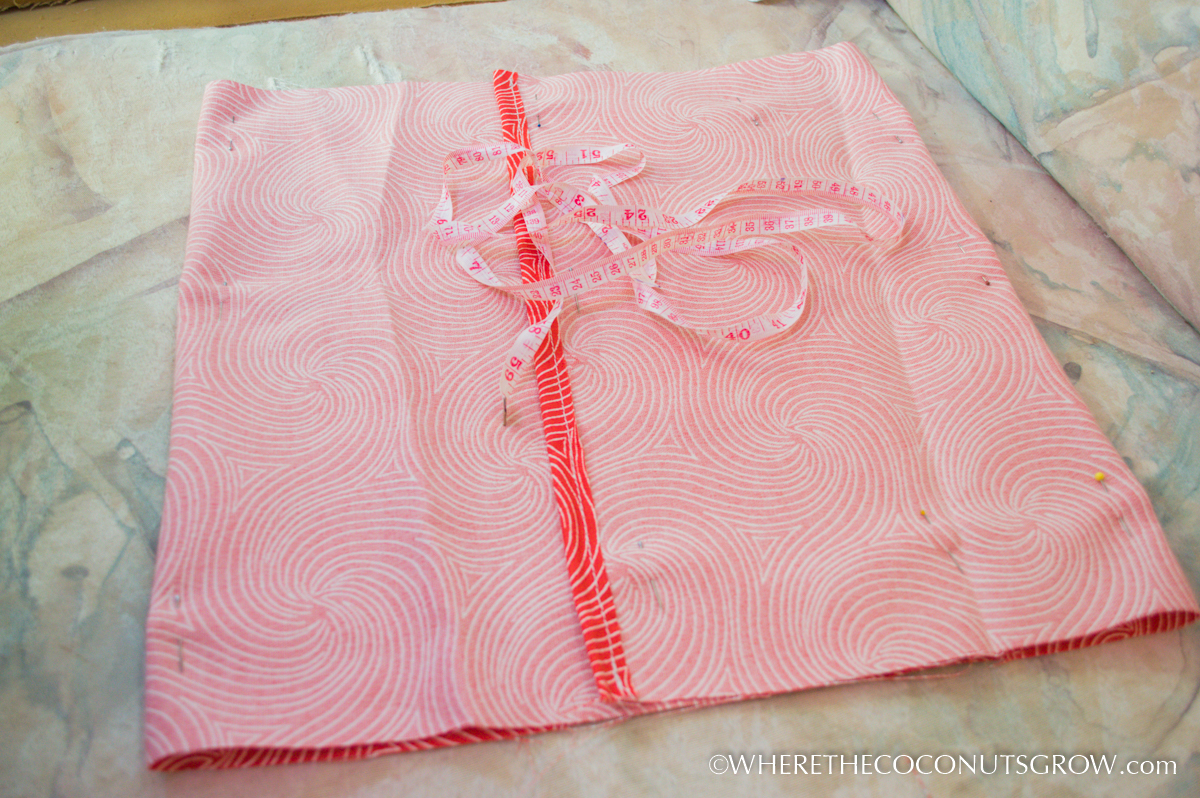
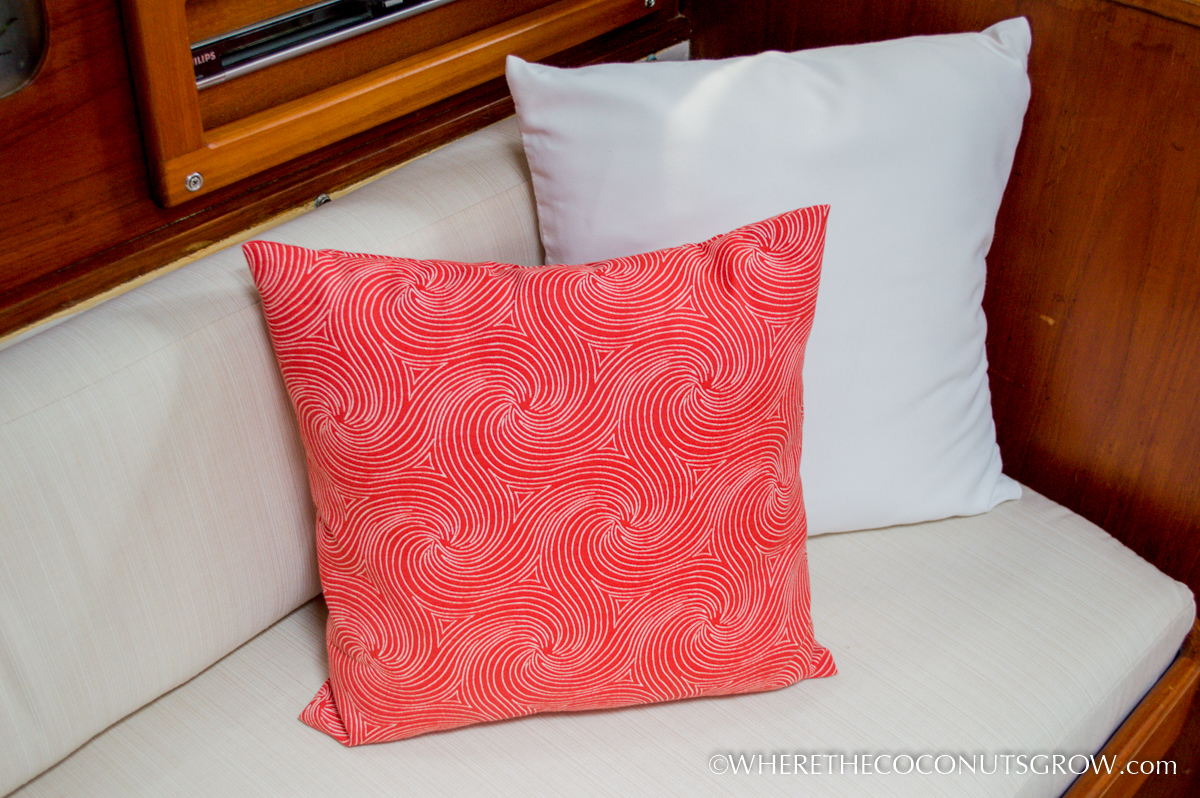
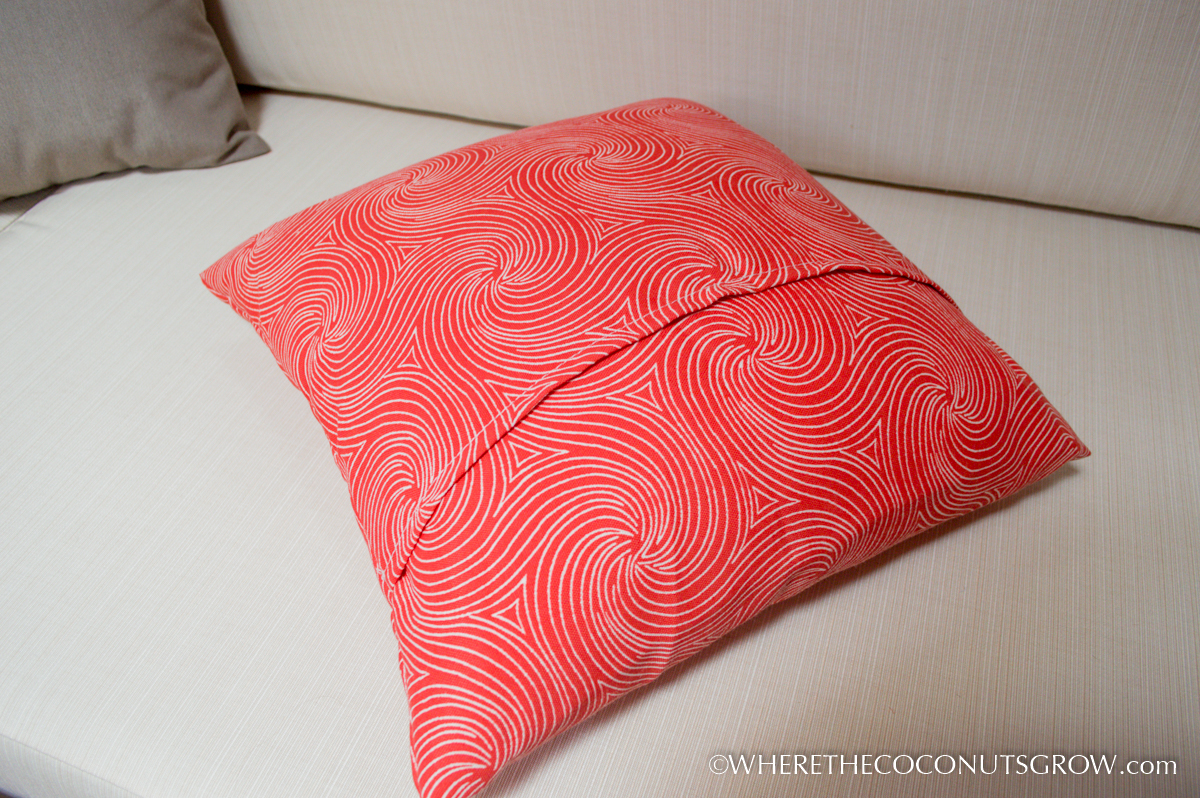
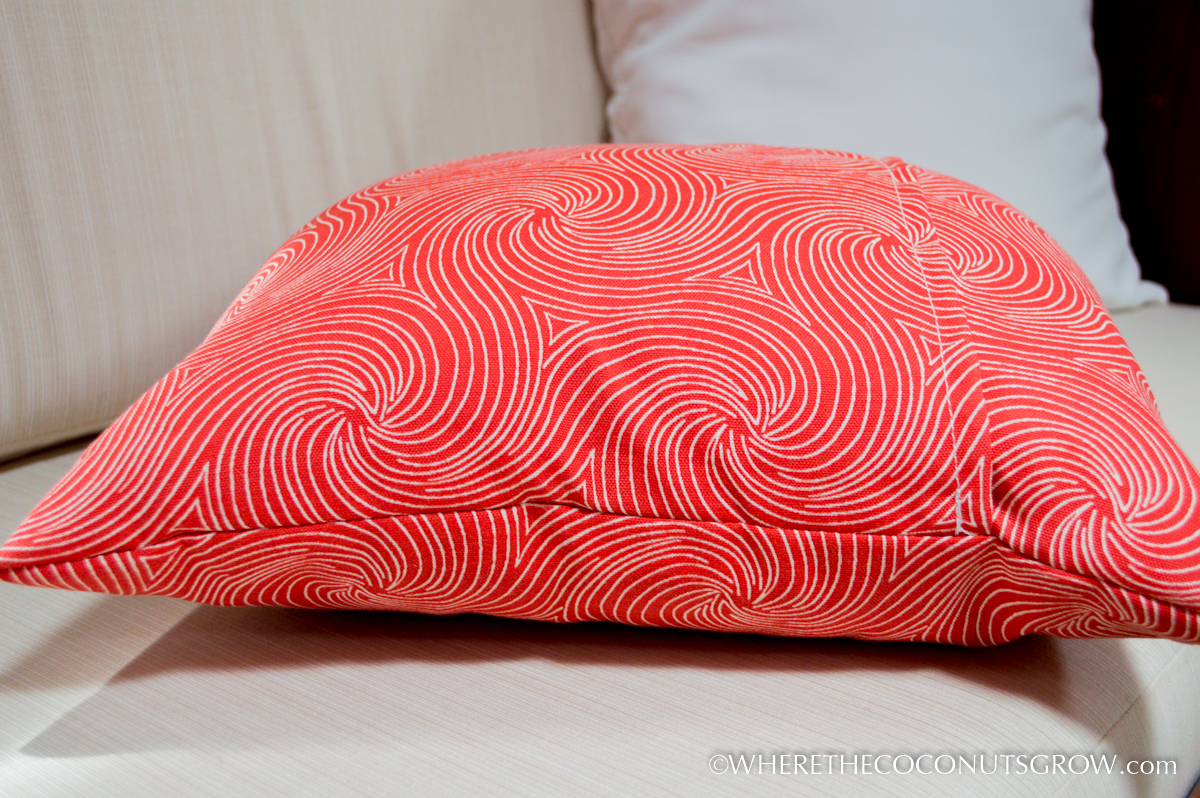
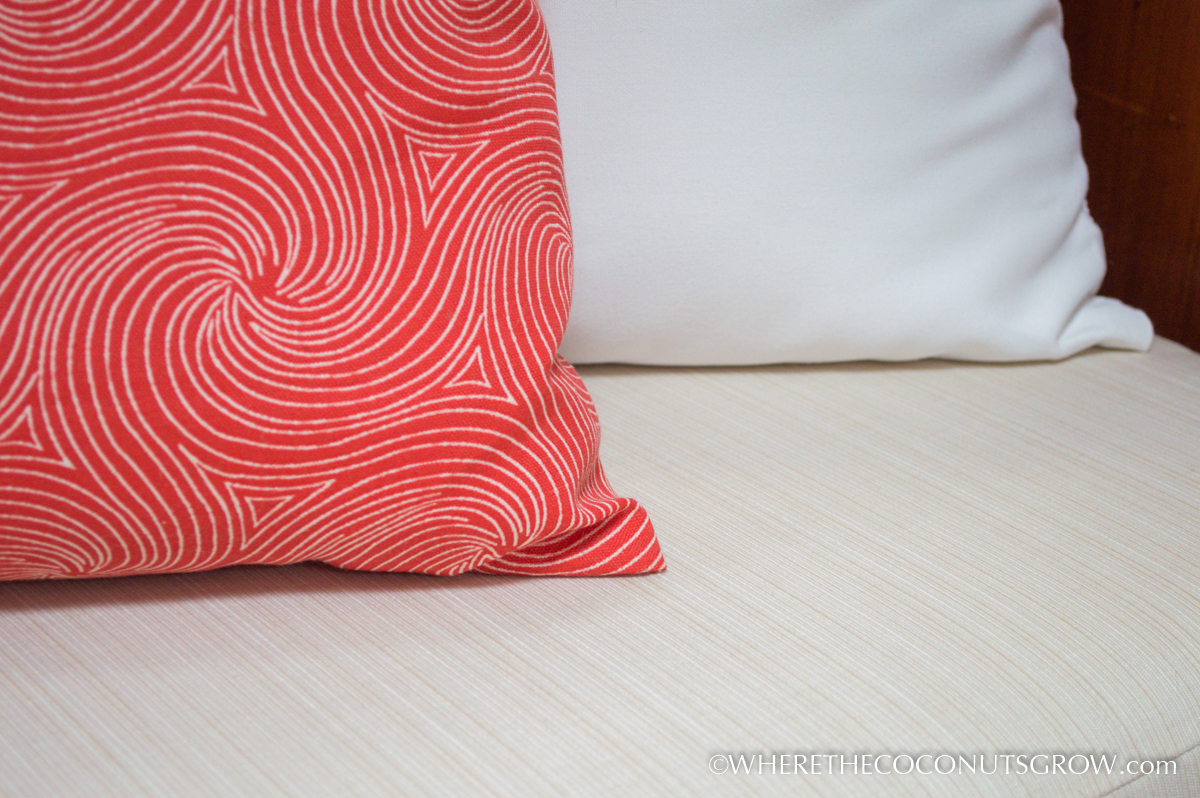
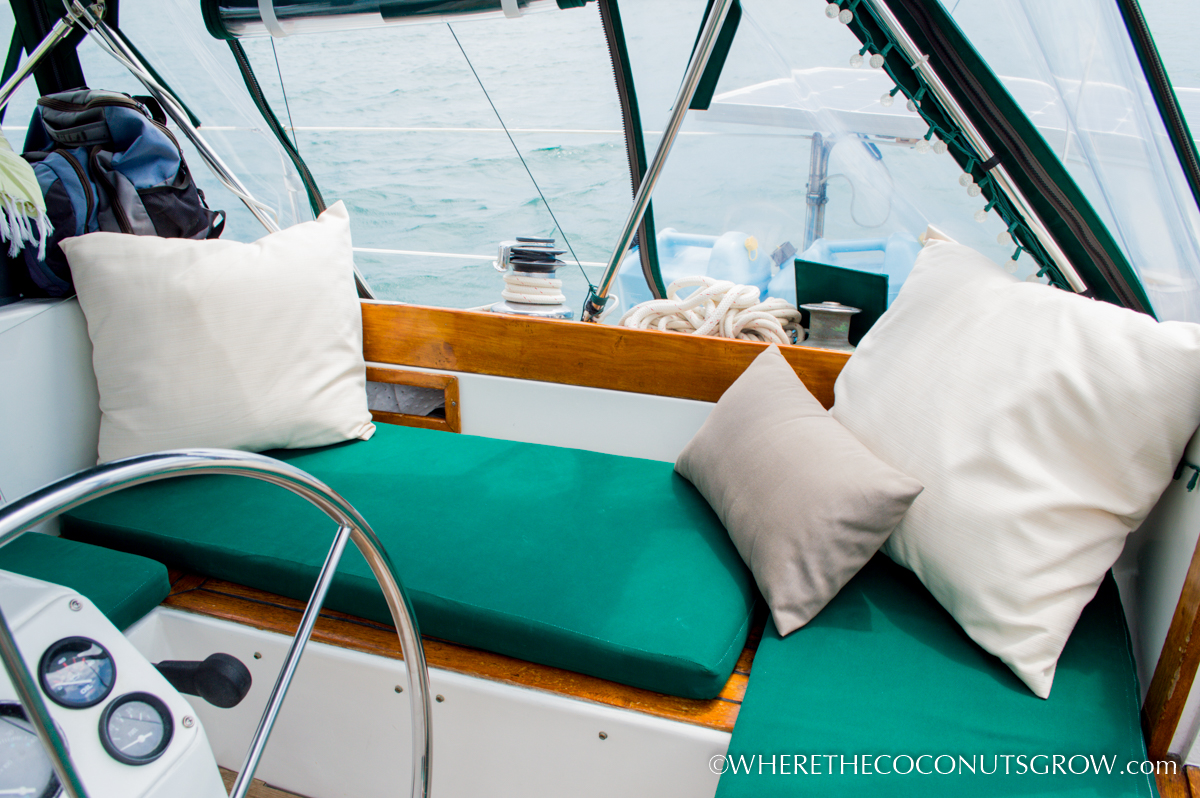
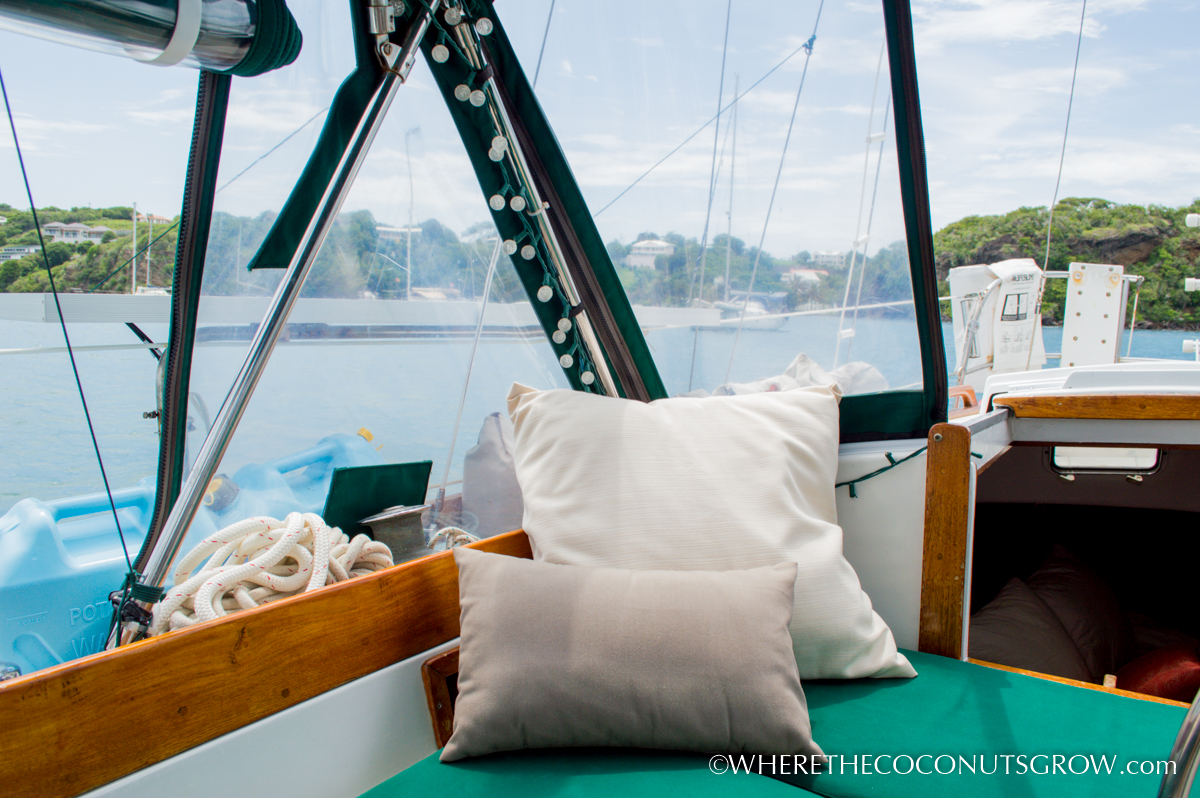
Now for the fun part! I had chosen Mill Creek Nabil in Poppy, an outdoor fabric with a simple print for my accent pillows. I’m not really into the ‘marine’ prints, busy looking prints, or the foofy floral patterns. I like simple and this fabric kind of reminded me of waves without actually being a picture of waves. I wanted a warm color scheme but didn’t want a red, orange, yellow or pink. Instead, I found a coral color that isn’t any of those, but rather a mix of all of them together and doesn’t clash at all with the Forest Green that envelops the cockpit and exterior area of the boat. With all the white areas inside my boat paired with the honey-teak stain on all the wood, I definitely wanted a warm color instead of cool blues and greens. To me, warm colors bring a cozy feeling where cool colors feel relaxing but not welcoming.
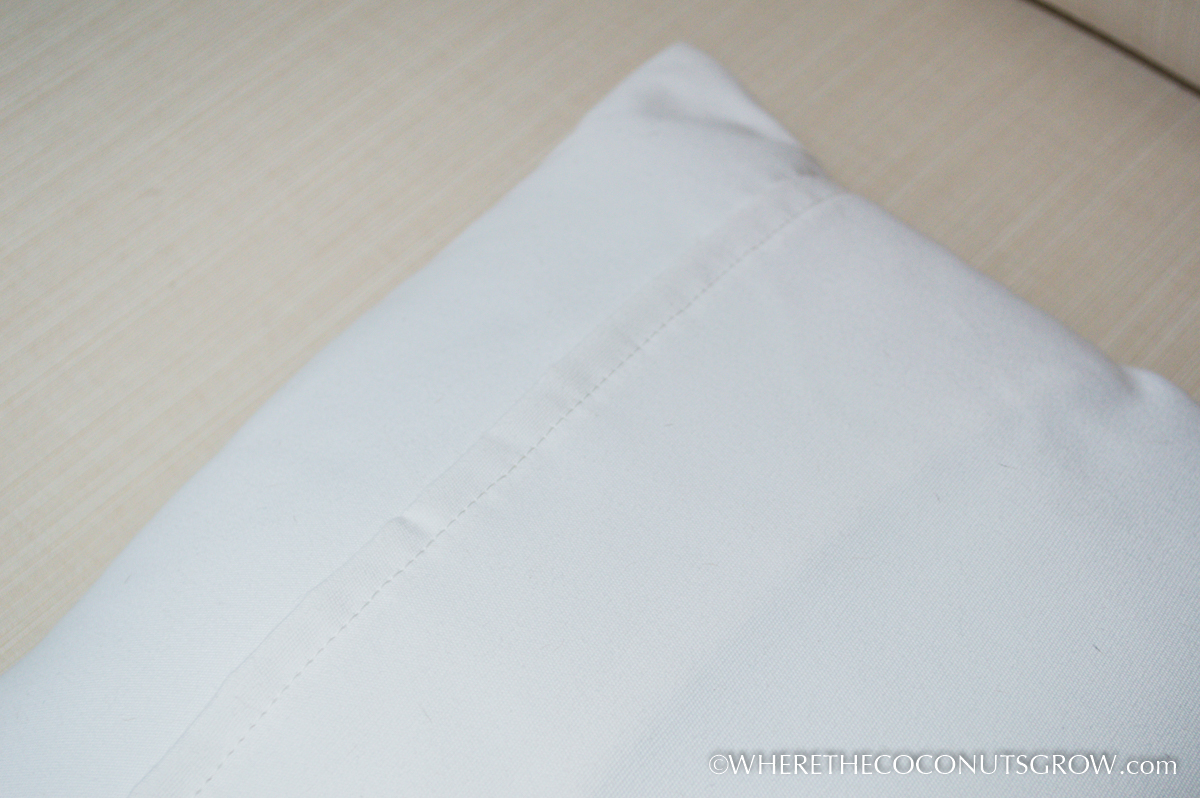
8. I wanted to make envelope-style covers for the throw pillows and the Sailrite videos were easy to follow. I marked my measurements on the underside of the fabric and cut the first pattern out to try on for size.
9. Pleased with the way it fit, I measured and cut the other three pieces, giving me a total of four pillow covers in this color.
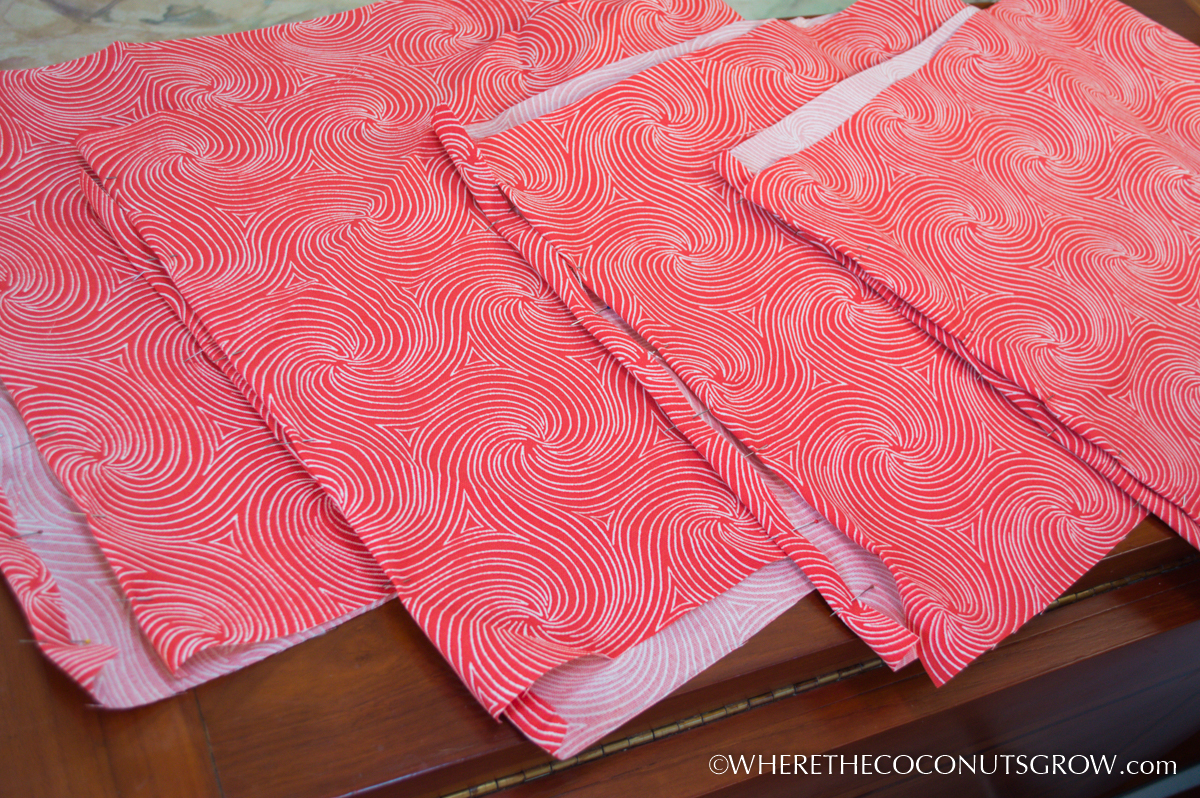
10. I followed the video and sewed them up!
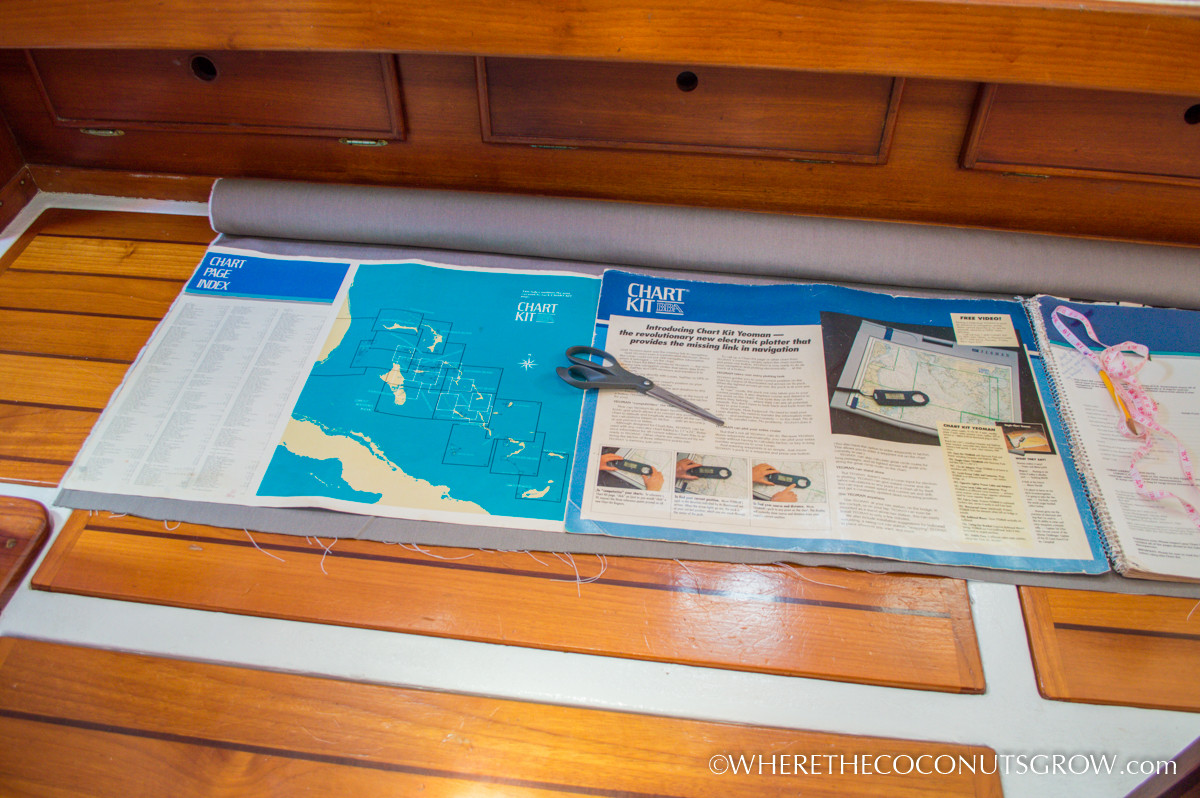
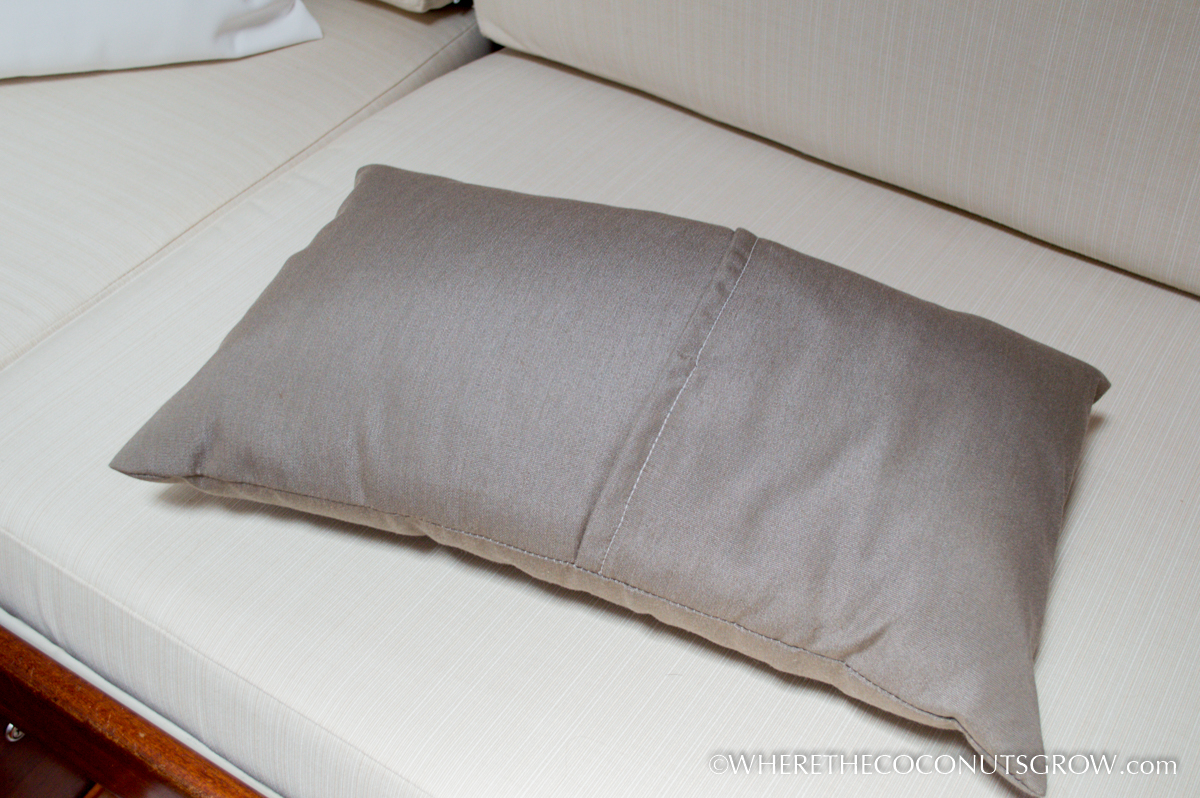
11. The next color I chose was Sunbrella Canvas Taupe. I had previously ordered fabric samples and it was the best dark/neutral accent for my color scheme. Unfortunately the roll of fabric was not cut straight, so I had to find a way to make the edge straight before cutting my patterns. When you don’t have yard stick, you have to get creative! I used the edges of several chart books to extend across the 54″ wide fabric and traced a straight line. Sewing up the rest of the new throw pillow covers was much easier than the first batch.
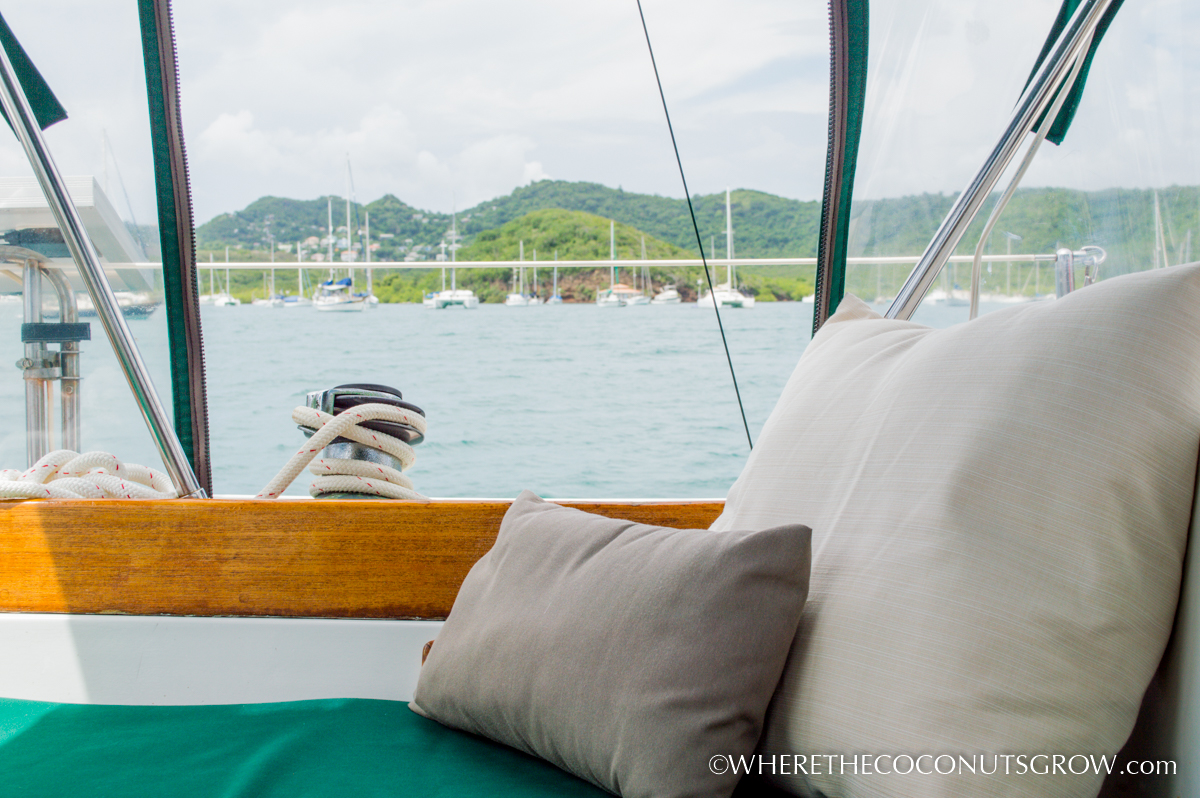
Notice the old cushions in the photo above.
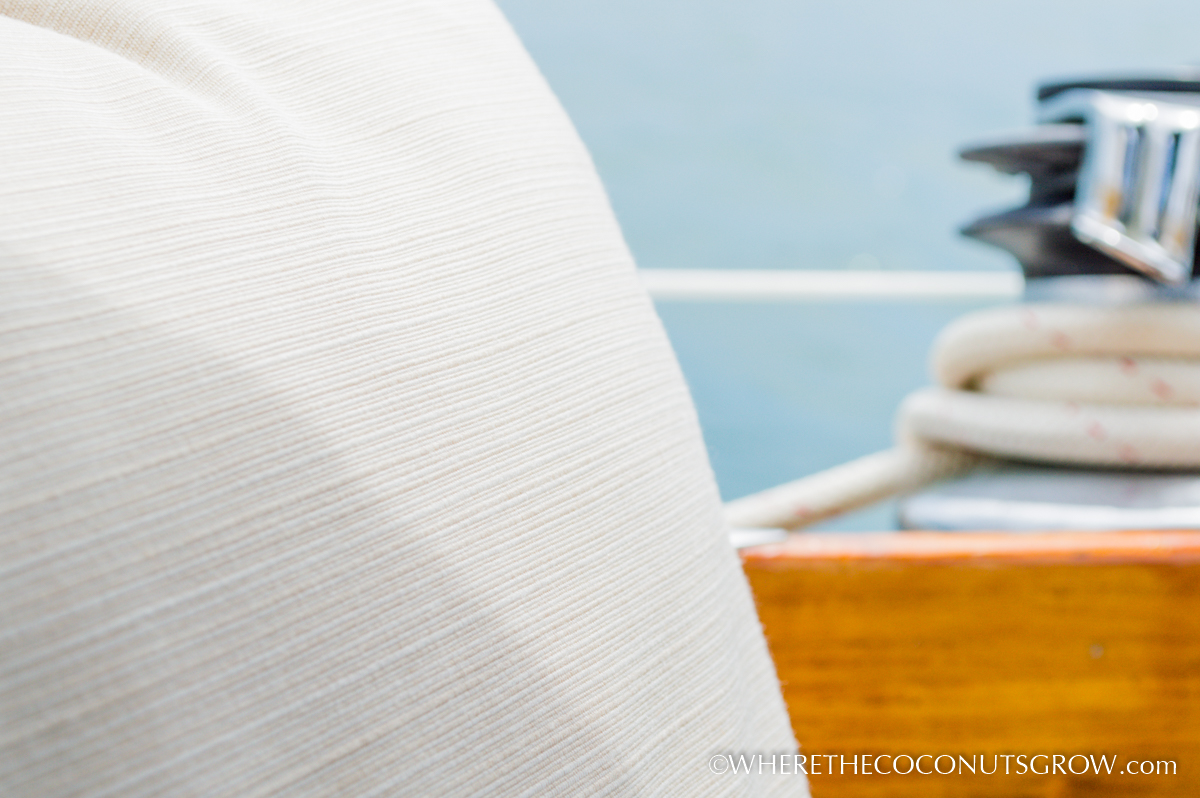
The next photos actually give you a sneak peek at my new salon cushions (which were made after the throw pillows). I had decided on Sunbrella Dupione in Pearl for the salon cushions after being introduced to the Dupione fabric in person by my friend Linda on Troubadour. She is another Sailrite Expert Seamstress and has made some pretty incredible things with her LSZ-1.
Even thought most people think I am crazy for choosing a light colored fabric with two dogs on board, I really wanted to keep it light and bright inside my home. The Dupione fabric is extra durable and easy to clean. I even chose Sunbrella Canvas White for my third color choice on the throw pillows because I loved how they all complimented each other so well.
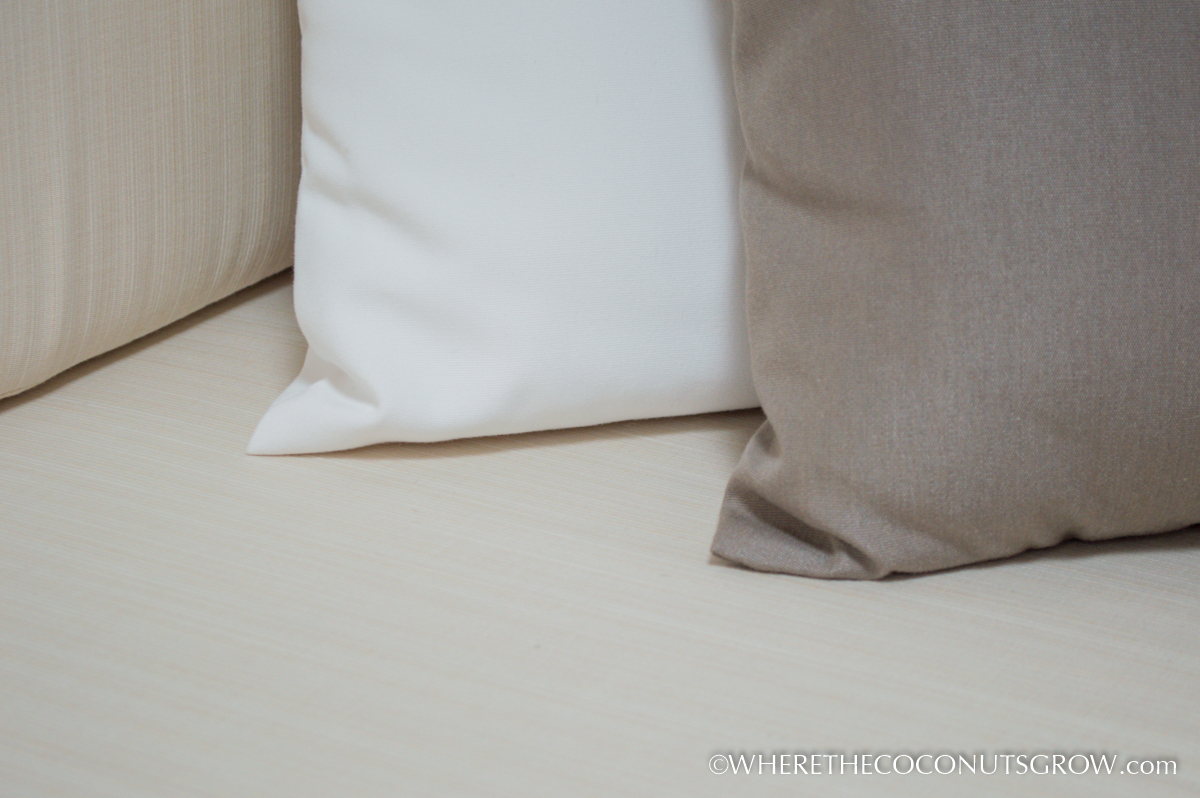
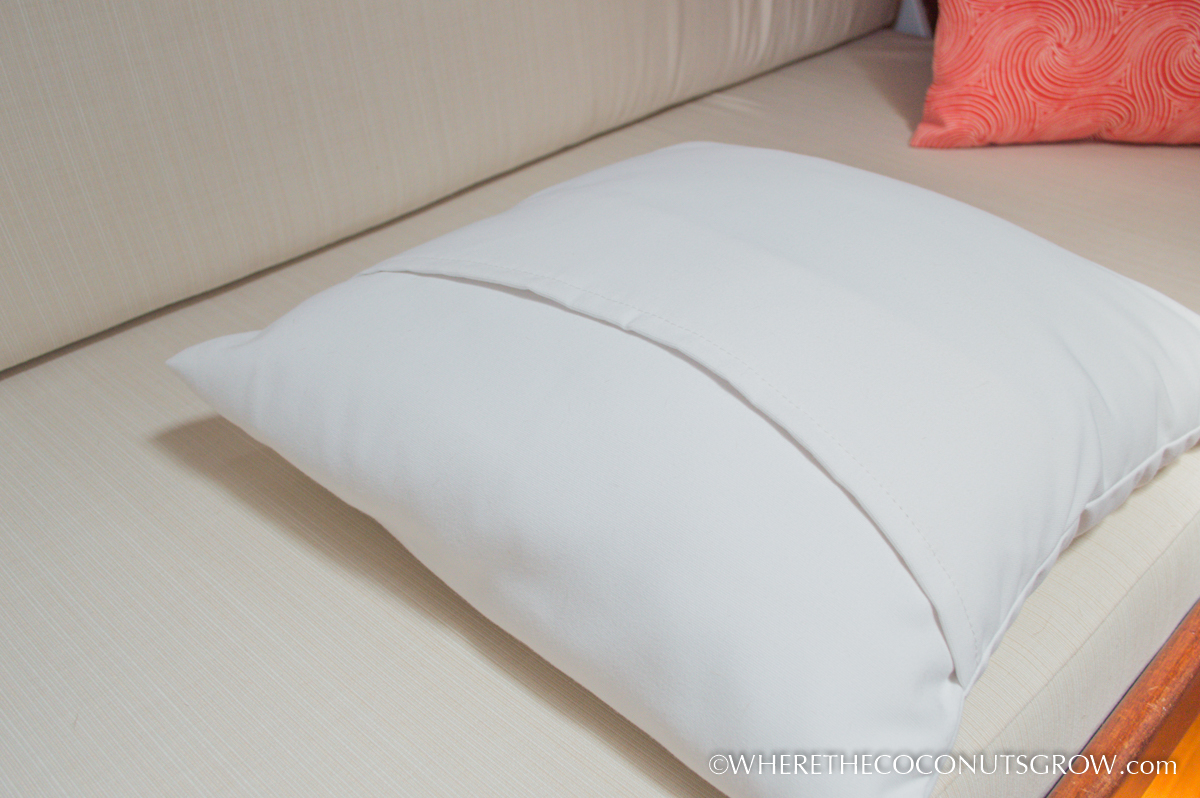
12. After finishing all the inside pillows, I finished up the big ones for the cockpit. Again with the desire to have a really cozy space, I wanted big oversized Euro pillows up in the cockpit. I decided to use the Dupione Pearl and the Canvas Taupe that I had used downstairs, tying both spaces together.


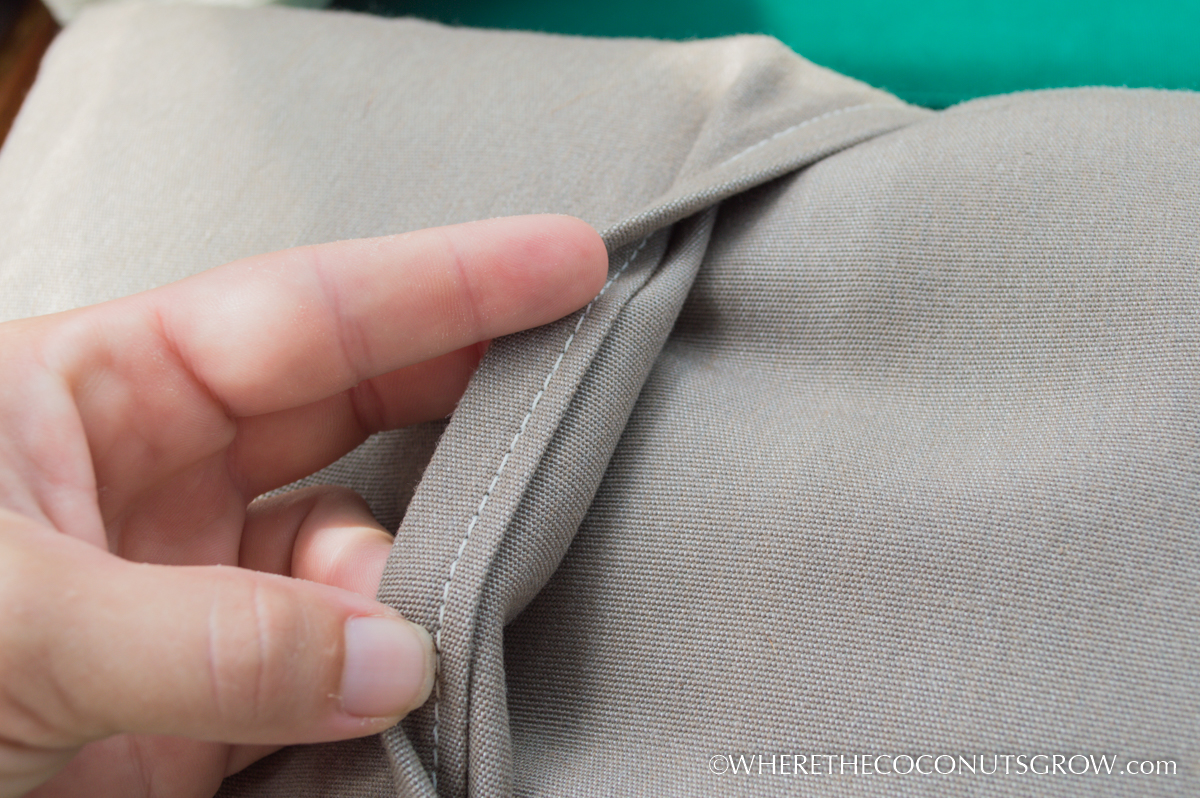
13. One thing I did differently than what the Sailrite videos said to do was the seam on the envelope edges. The first pillows I did have an unfinished edge with only one fold at the envelope opening. All the rest were folded twice before stitching the hem (see below) and turned out much nicer. There are a few little things like this that only I would notice but all-in-all my first major sewing project was a total success!
The Dupione fabric turned out simply divine! The texture is both soft and luxurious, yet extremely durable and water resistant.
I saved hundreds of dollars making these DIY covers with the help of Sailrite and couldn’t’ be happier. What do you think?!
Up next: DIY Salon Cushions
IN CASE YOU WERE WONDERING… We are PROUD to share these awesome products and services with our readers. There are so many different solutions out there for everything we could possibly need, but these are the solutions that work for us.
This post may contain information about a product sponsorship. We gladly accept discounts or samples when a company feels generous enough to support our cause. In return we support the manufacturer or local service by sharing their links and writing about our experience with them. We only seek out sponsorship and affiliate programs from products and services we actually WANT to use and likewise only accept offers for products or services that we WILL use. We are not paid for any reviews we write or feedback we provide. We simply like to spread the word and share great experiences we have had that could also bring joy to others.
Good for you on learning to sew! I avoid it at all costs, but I know that’s a mistake. Love the colors!
Jody! You are fast becoming a Sailrite Expert Seamstress! Great post, great pictures. And I do love your colors! Great job! ~Linda http://sailingtroubadour.blogspot.com
For someone who has sewn for the couple of years since 8th grade, you did a spectacular job. We purchased a Sailrite machine and found their support unmatched! Their head executives even answer the phone and take care of you. With your skills and Sailrite, you should feel confident to tackle anything!
Fair Winds and Following Seas!
Doug
S/V Harmony
Westsail 42 Ketch
Very impressive! Clever idea about turning an ordinary bed pillow into throw cushions. It all looks fantastic – love your color scheme!
Looking great, Jody! Love that coral. And pillows really do make a boat more of a home. Not to mention those passages become a lot more comfortable!
Well Done! I have also been very happy with Sailrite’s products and services. To be fair, I have been doing upholstery work for some time, but with Sailrites videos and help, I took on a whole new set of sails for my boat (jib and main!) last winter. They were cut perfectly and the kits were 100% complete. Love the cushions and pillows. Nicely done.
Doesn’t it seem like the majority of the project is just believing you can do it?
Yay!
I have been reading your blog for a month or so (I started from the beginning, only reading on my lunch breaks, LOL), and I just discovered that I have caught up; I look forward to my daily fix of coconuts!
Now I will just have to wait till the next episode I guess.
You guys are great, keep it up.
Scott and Sheri
Oh Dear! Now I want a Sailrite machine. Beautiful work honey. I love the colors so much and they are all so you. Simple and no clutter. Love it, Love it, Love it. All looks so much better. Can’t wait to come and see in person.
Great work. Hugs, and love, Bean
I am absolutely astounded that I’ve never thought of doing this. You’re a genius! Thank you for sharing! I’m just getting ready to start shopping for fabrics and whatnot for our boat (we leave in 49 days!!!) so this is perfect timing!
I don’t have a boat, but I’m planning on buying a travel trailer. I want to make throw pillows, and maybe recover the cushions if I buy used. The idea of cutting bed pillows in half is sheer genius! That’s what I will do.
Love your color scheme, the fabrics chosen; you did a perfect job on everything!